When you click on links to various merchants on this site and make a purchase, this can result in this site earning a commission. Affiliate programs and affiliations include, but are not limited to, the eBay Partner Network.
W215 ABC delete, Yellow speed racing coilover DIY installation
That the first day of my holiday. my Yellow speed coilover have arrived for 3 days, and today I have done some pre-install prepare for it.
This is the front spring, you can check the spring rate from the last 3 digits, it's 14kg/mm, 10in long
I measure and record the length and I.D., so I can find spring easily whenever I want to change to harder or softer. I.D. of front spring, 3in.
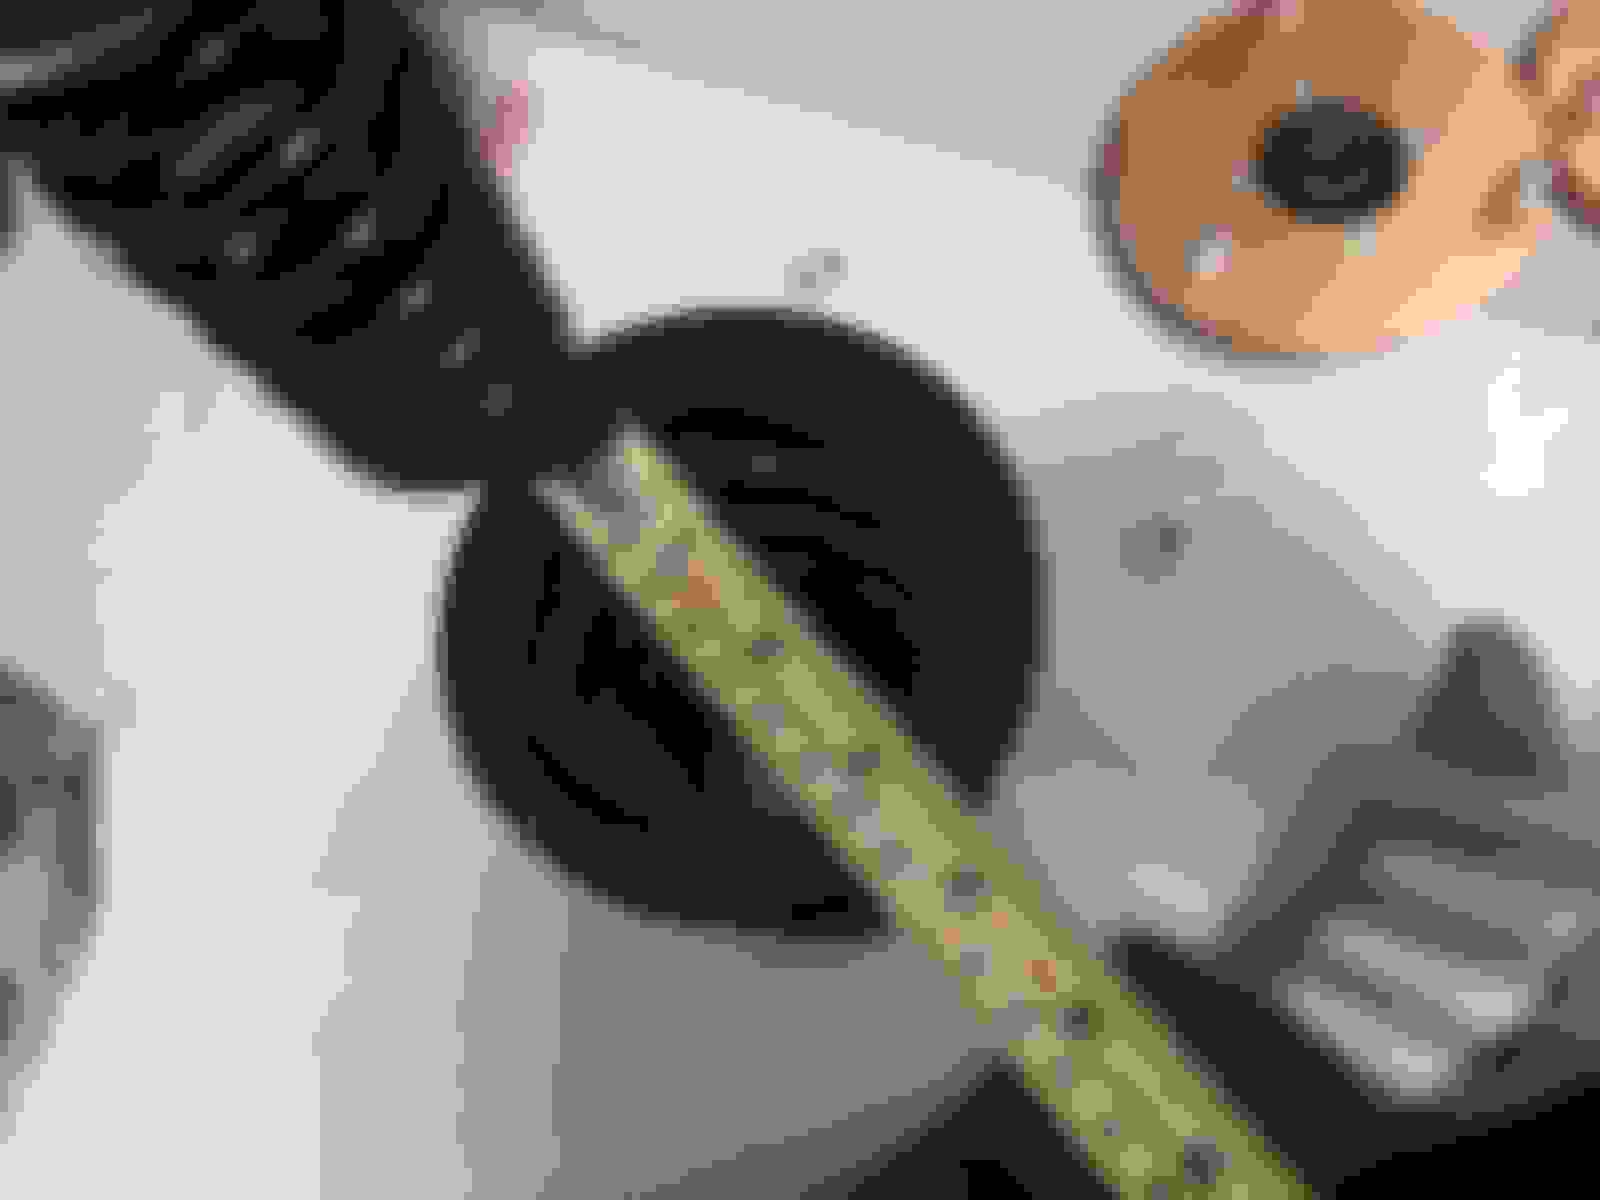
front damper 330mm long
rear spring 10kg/mm, length 8 1/4 in, I.D. 2 1/2 in
rear damper 380mm long
I disassembled to four strut and grease all the tread, for coilovers, the problem is the collar is corroed and attached to the strut whenever you want to change the height.<br/>
plenty of grease on the tread.
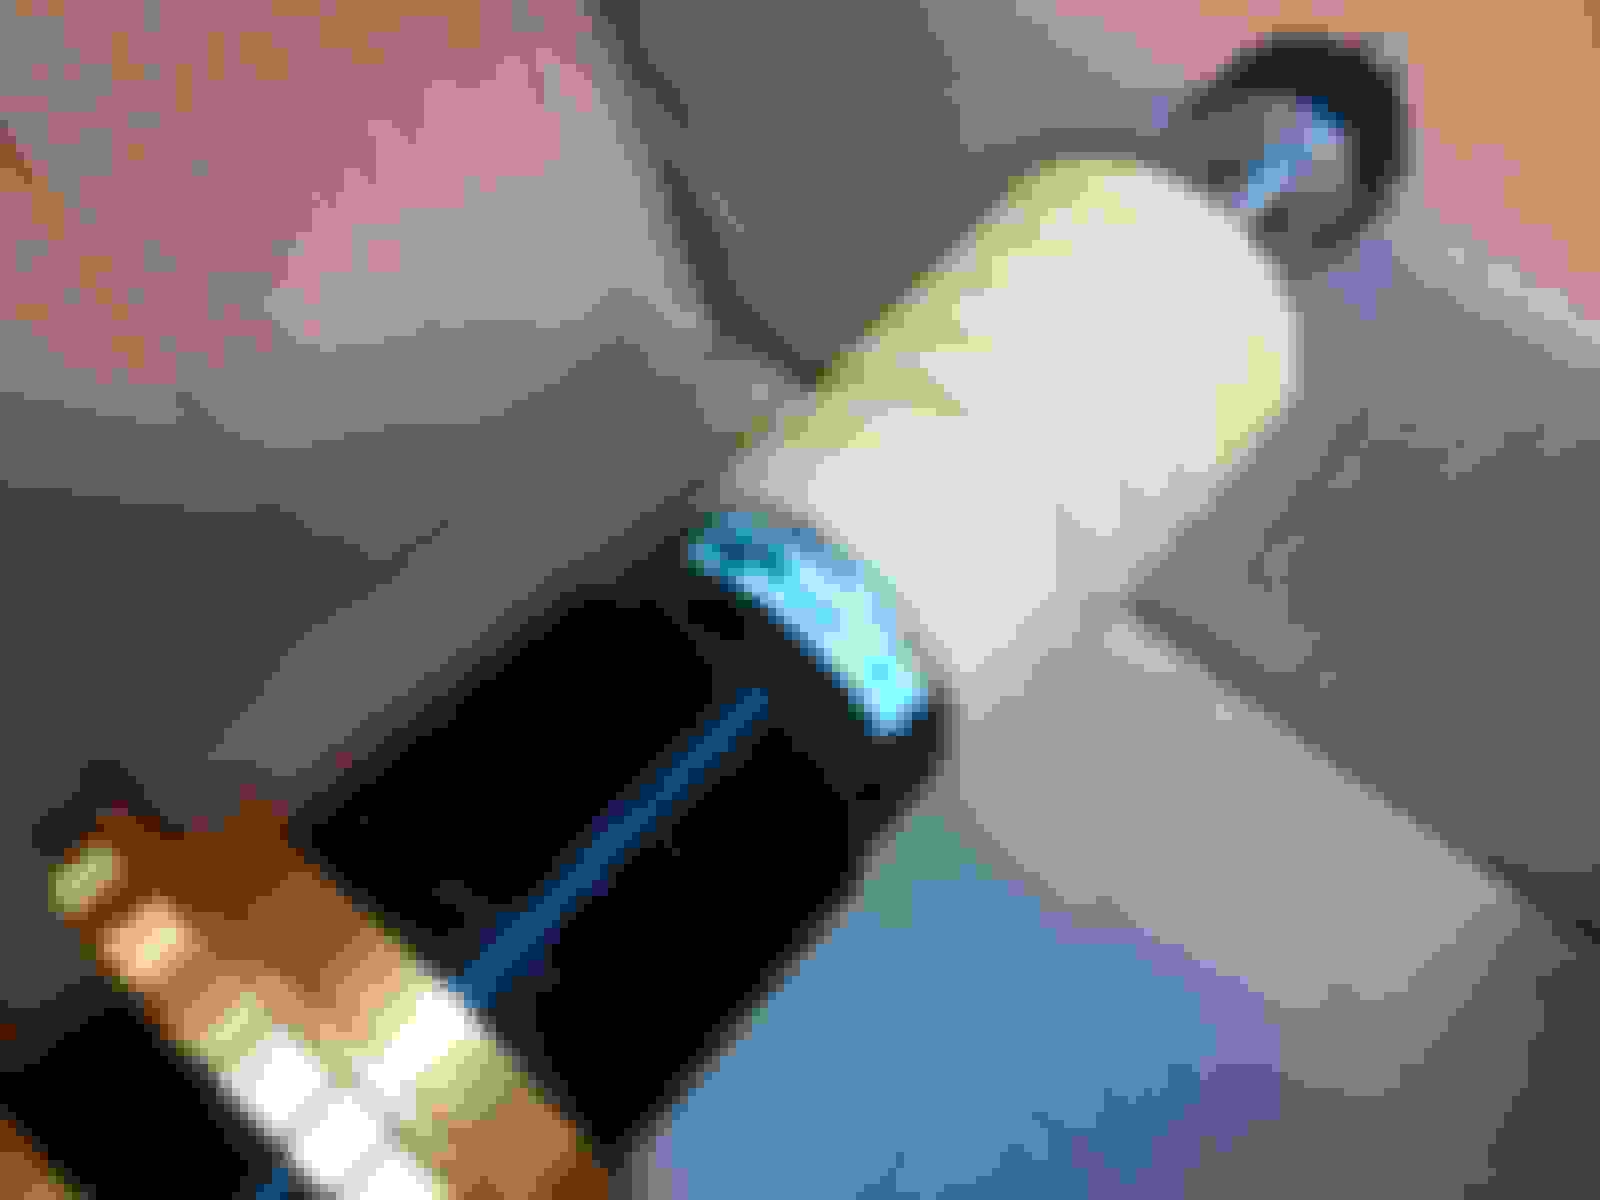
I drill a hole in each of the rear lower tubing. the hole it drill near the bottom. so to drain out any water inside. water can get into the tubing through the tread. so I better let it out faster.
No need to drill for the front strut as the water can flow out in from the bottom.
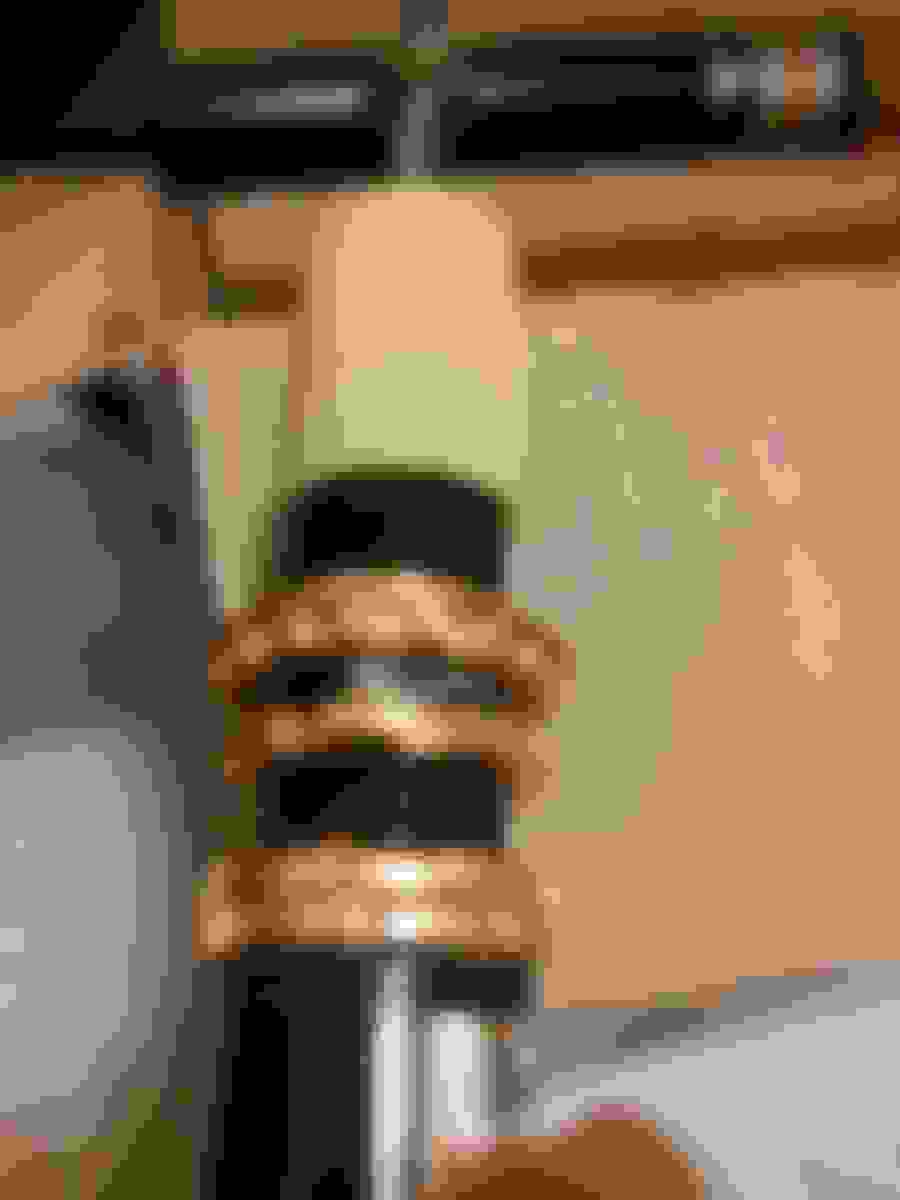
plenty of grease in tread. make further adjectment possible.
again, plenty of grease in collar tread.
and the top nut tread.
this is the slant top mount.
4 well prepared strut for tomorrow installation.
Last edited by Oriental Mirage; 09-16-2016 at 07:53 PM.
This is the end of my holidays, I finally got it done and in the second day, I installed all four struts, before, I have studied the video for a few times, some of the tools I used is differ from the video, I confirm that they are correct when working with my 2000 CL500 RHD.
I work with my rear first as I have a clean hand to work inside the car.
I start at 10:00 and finish all 4 comers at 17:00, I did it really slowly.
2/3 of the total time was spent in the rear.
today, I mainly focus on the ABC pump, I have studied the photos of the pump but have never work on it, So I spent quite a lot of time in working with it. Since nobody have confirm it's safe to run it dry, I decided to make it a loop. I route the output of the pump back into the tank, so the pump will work and receive oil but cannot build-up pressure.
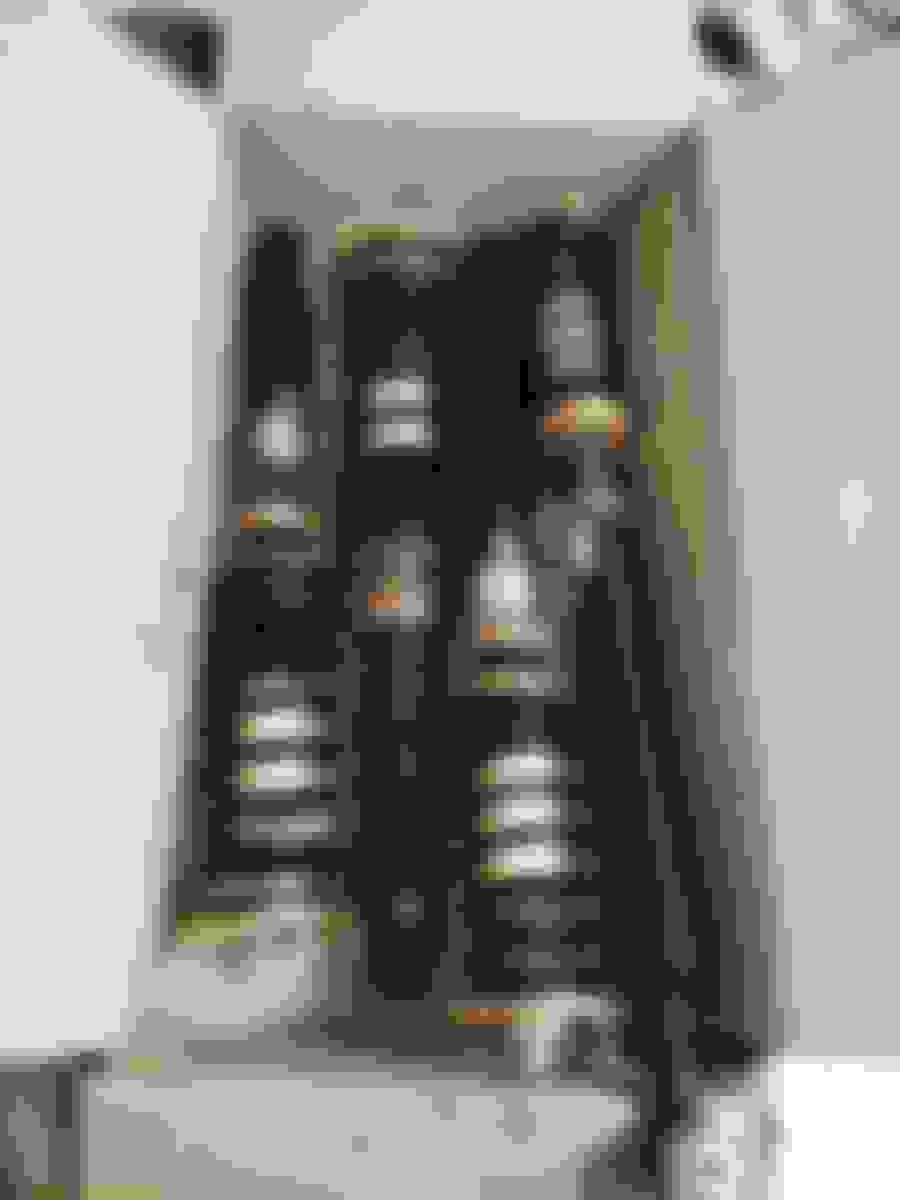
I removed fuse 46 only and it have white warning now.
The first step is to loose the 3 nuts from the rear stut upper, I recommend to use a small 1/4 in 13mm socket and 13mm open wrench, the outer nut can only be done with open wrench, maybe you can find one really low profile 13mm socket to do it. leave these two clean tools inside the car as you don't want any grease and dirt to contact with your interior.
After remove the six 13mm nuts from inside, jack up the car.
Photos below only show one side of car and anything mentioned is talking about one side of the car.
I have release the pressure by loose the bleed screw using 11mm socket.
Loose these two pivot point by using 21mm socket and 21mm wrench (inner), E18 socket and 21mm wrench (outer)
Use M12 12 point bit and 18mm wrench to loose this
Loose the sensor nut by using 10mm socket, Then you should be able to take out the old strut with a little bit of violence. Refer to the video.
insert the strut this way, insert the bottom first between the brake and control arms, you can make the strut temporary shorter and it should be easy.
use the bolt to temperary attach the strut to the lower arm and jack up the arm so to fix the upeer mount of the strut.
As you jack up the arm, you can locate the three bolts an top, it's good for you to look through the rear screen. the three bolts is not equal distance, one side of the triangle is longer.
after align, jack up further and tighten the two inner nuts first, leave the outer later. as someone mentioned, leave the adjust key in the strut before install.
After tighten the upper mount, remove the strut from lower arm and turn the lower tubing of the strut to decided length.
I add some pre-load to the rear spring make it 190mm in total with the rubber pad. and the lower tubing is 180mm from the end of the lower spring collar, the result is similar to the mid fatory setting.
Re-attach everything and you have done one side of the rear
Do the other side and Let's have a can of beer, as you have finished about 70% of the job.
The front is an easy job, much the same as in video. Tools used are 5mm Hex (Better find one really good one), 13mm socket. I am lazy to remove the lower penal to find the bleed srew, so I just release the quick connect fitting.
I preload the front spring to 235mm include the pads, lower tubing is 55mm from the end of the lower spring collar.
The slant mount should install with the thinnest toward the most inner of the three bolt, it's easy to see from top as it have a little Hex bolt with it.
Final look, as I have not work with the pump when this photo was taken, the car has not been moved and thus the height is not settled.
Final, wash your hands or may be have a bath and get back inside the car to tighten the two rear upper outer nuts.
Last edited by Oriental Mirage; 09-18-2016 at 10:01 PM.
Awesome... let us know how it drives... road conditions etc...
Curious as to pre-load settings - how did you come about those?
I usually pre-load the spring a bit when using coilover, as the spring will get used to the weight and in Hong Kong, we can not pass the annual test if you have a loose spring. So I usually the spring 10-20 mm shorter than original length.
From my sense (just my sense) , The lower tubing is to set the desire ride height, and the spring pre-load is to make the wheel not rub the wheel well when you drive in the worse road that you usually drive.
So, I need to add some more pre-load to my rear as I rub my rear when I drive back home. (The road to my home is really hash.) add the same time I need to adjust the lower tubing to shorten the overall length of the strut so to maintain the ride height.
sorry, a little confused by you pump loop. I see the pressure line looping forward, is this to the cooler? Where is your reservoir and where is the return line back to the pump inlet? I appreciate your help on this. I'm about 1 week behind you. Do the coilovers come with helpful instructions on setting up the coils and collar hieghts?
Originally Posted by Oriental Mirage
Today, I spent a whole morning to work with the ABC pump, I leave all the hydraulic stay with the car and may take them all later.
As I have never work with the ABC pump, I spent quite a lot of time to study the route of the hydraulic.
I route the output of the ABC pump back into the tank by using 14mm Banjo fitting.
I removed the cylindrical reservoir and replace it with a 14mm banjo fitting with some 5/8 fuel hose to return the fluid.
The red arrow showed the original outlet of the ABC pump which there is originally attached to a cylindrical reservoir. I detached the cylindrical reservoir and add the things along the blue line. ( engine intake and ABC/Steering oil tank removed for easy access)
Here shows the close up. Things need are, 16mm banjo ring,two copper gaske, some fuel hose to fit the banjo and hose clamps.<br/>A banjo ring with bend outlet is great with outlet the same size as the ABC tank cap inlet is prefect.
This photo show the hose route back to the tank, if you find the banjo ring with smaller outlet and you can use smaller hose which will make things easier,
This is the cylindrical reservoir that I removed, use 19mm wrench and e10 socket to remove.
Last edited by Oriental Mirage; 09-18-2016 at 10:12 PM.
sorry, a little confused by you pump loop. I see the pressure line looping forward, is this to the cooler? Where is your reservoir and where is the return line back to the pump inlet? I appreciate your help on this. I'm about 1 week behind you. Do the coilovers come with helpful instructions on setting up the coils and collar hieghts?
For the oil hose return, I add some more photos and description hope can help.
I think you can route it back to the cooler but I just route it back to tank directly, if heat buildup, I will redo it and route it to the cooler.
hello mirage.
i Was ordering my yellow coilovers and now i have a problem... how can i see if i have a flat top mont or slated top mont???
can you help me?
Ricardo, I can't guarantee it but every instance I have read about on this site for the 2000 thru 2006 CL has been an angled mount. I have a 2003 CL 55AMG of which I did the Yellowspeed conversion and it had the angle mounts.
Ricardo, I can't guarantee it but every instance I have read about on this site for the 2000 thru 2006 CL has been an angled mount. I have a 2003 CL 55AMG of which I did the Yellowspeed conversion and it had the angle mounts.
thank you alskompressor
so i Will order slanted top mont,
every one tell s me they dont know any w215 with flat mont...
Hi ! Tell me how many miles You drove on the suspension Yellow speed racing ? If there are any problems or stains ? Lay out please a photo of the car how high You have adjusted the suspension. Describe Your impressions. Thank you very much, sorry for my English, I use translator . . .
i m waiting for the package arrive. I bought it 1 week ago, to my country it come from England.
wen I mont it I tell you how it gets
about abc light I speak to a friend that works in mercedes (oficial) and he told me that we can put the sistem in off.
there is other way, get the abc fuse out, but apparently wen you put the car in start the worning light always apear... than the best way is shutting off the option in the cell, with mercedes computer.
Hornet, I installed the coilovers in October and only drove for about 3 weeks sparingly before I put car up for winter. Some observations:
- car rides pretty well although not as smoothly as the ABC system, overall, I am still satisfied with the ride
- body lean has not been an issue despite lack of swaybars
- I tried to setup hieght at 26.5 inches from road to highest point on fender lip, system would bottom out, now at 26.75 which seems to work on standard 19 inch tires and aftermarket wheels with std offsets
- I removed fuse to ABC module which leaves me with startup abc error message. not aware of anyone finding successful way to eliminate message yet
Overall, am pleased with system and am much more confident in driving car on extended trips unlike with abc. As a word of caution, I have had no success in selling my old struts on ebay despite being lowest cost and accepting best offers. Good luck selling if you plan to offset cost son Yellowspeed.
about abc light I speak to a friend that works in mercedes (oficial) and he told me that we can put the sistem in off.
there is other way, get the abc fuse out, but apparently wen you put the car in start the worning light always apear... than the best way is shutting off the option in the cell, with mercedes computer.
I can not believe your friend can shut the ABC of without messing with the HEX file. that is something mercedes doesn't do neither a dealer has developer mode DAS like I have.
Untill now, I am not aware of anyone having the whole ABC out of the car and no warning lights. It's all "I heared", "someone said", ect.
Whatsoever, Strutmasters module is arriving in 2 days
then I will try out the module with the who�le ABC out of the car in DAS ABC mode and switched in DAS to AirMatic mode. I will try combinations with fuses ect
I will post a threat for the whole mess
crossing fingers.
Hello pmercury
thanks.
i'm rooting for you
i'm still wainting for the coilovers...


 09-16-2016, 10:26 AM