How-To: M112/M113 Water Pump & Thermostat
Water Pump and Thermostat Replacement, Plus Breaking Things That Work Fine, Getting The Wrong Parts From Mercedes, and Never Picking a Big Enough Pan to Drain Coolant
If this is your first time tackling a water pump or thermostat, make sure you read this and learn what I learned with my first attempt at this repair. This, to be honest, is more of a how-not-to article.
Let’s start with the tools you’ll need:
– E10 and E14 Torx socket
– T40 socket
– 8mm socket
– 17mm socket
– Breaker bar
– Torque wrench
– Large piece of cardboard
– Pan for draining coolant
– Second pan when you realize that the first pan is about to overflow
– Large flat-head and large Phillips screw driver
– Flash light
– Extending magnetic pick up tool
– Patience
– A spare ride
– Two gallons (min) of coolant
To start, you’ll want to put your car up on jack stands, and take the bottom tray out. That’s just a few 8mm screws which I advise putting in a tray or somewhere safe away from other hardware. Once that’s out, you’ll be able to see a red drain plug for draining the coolant. Have a few drain pans ready because you will spill. And it’ll keep pouring out. You’ll be amazed at how much coolant actually comes out. Seriously, you’ll start to think the whole block and crank case is filled with it.
RELATED: How-To Spotlight: Replacing M112/M113 Spark Plugs
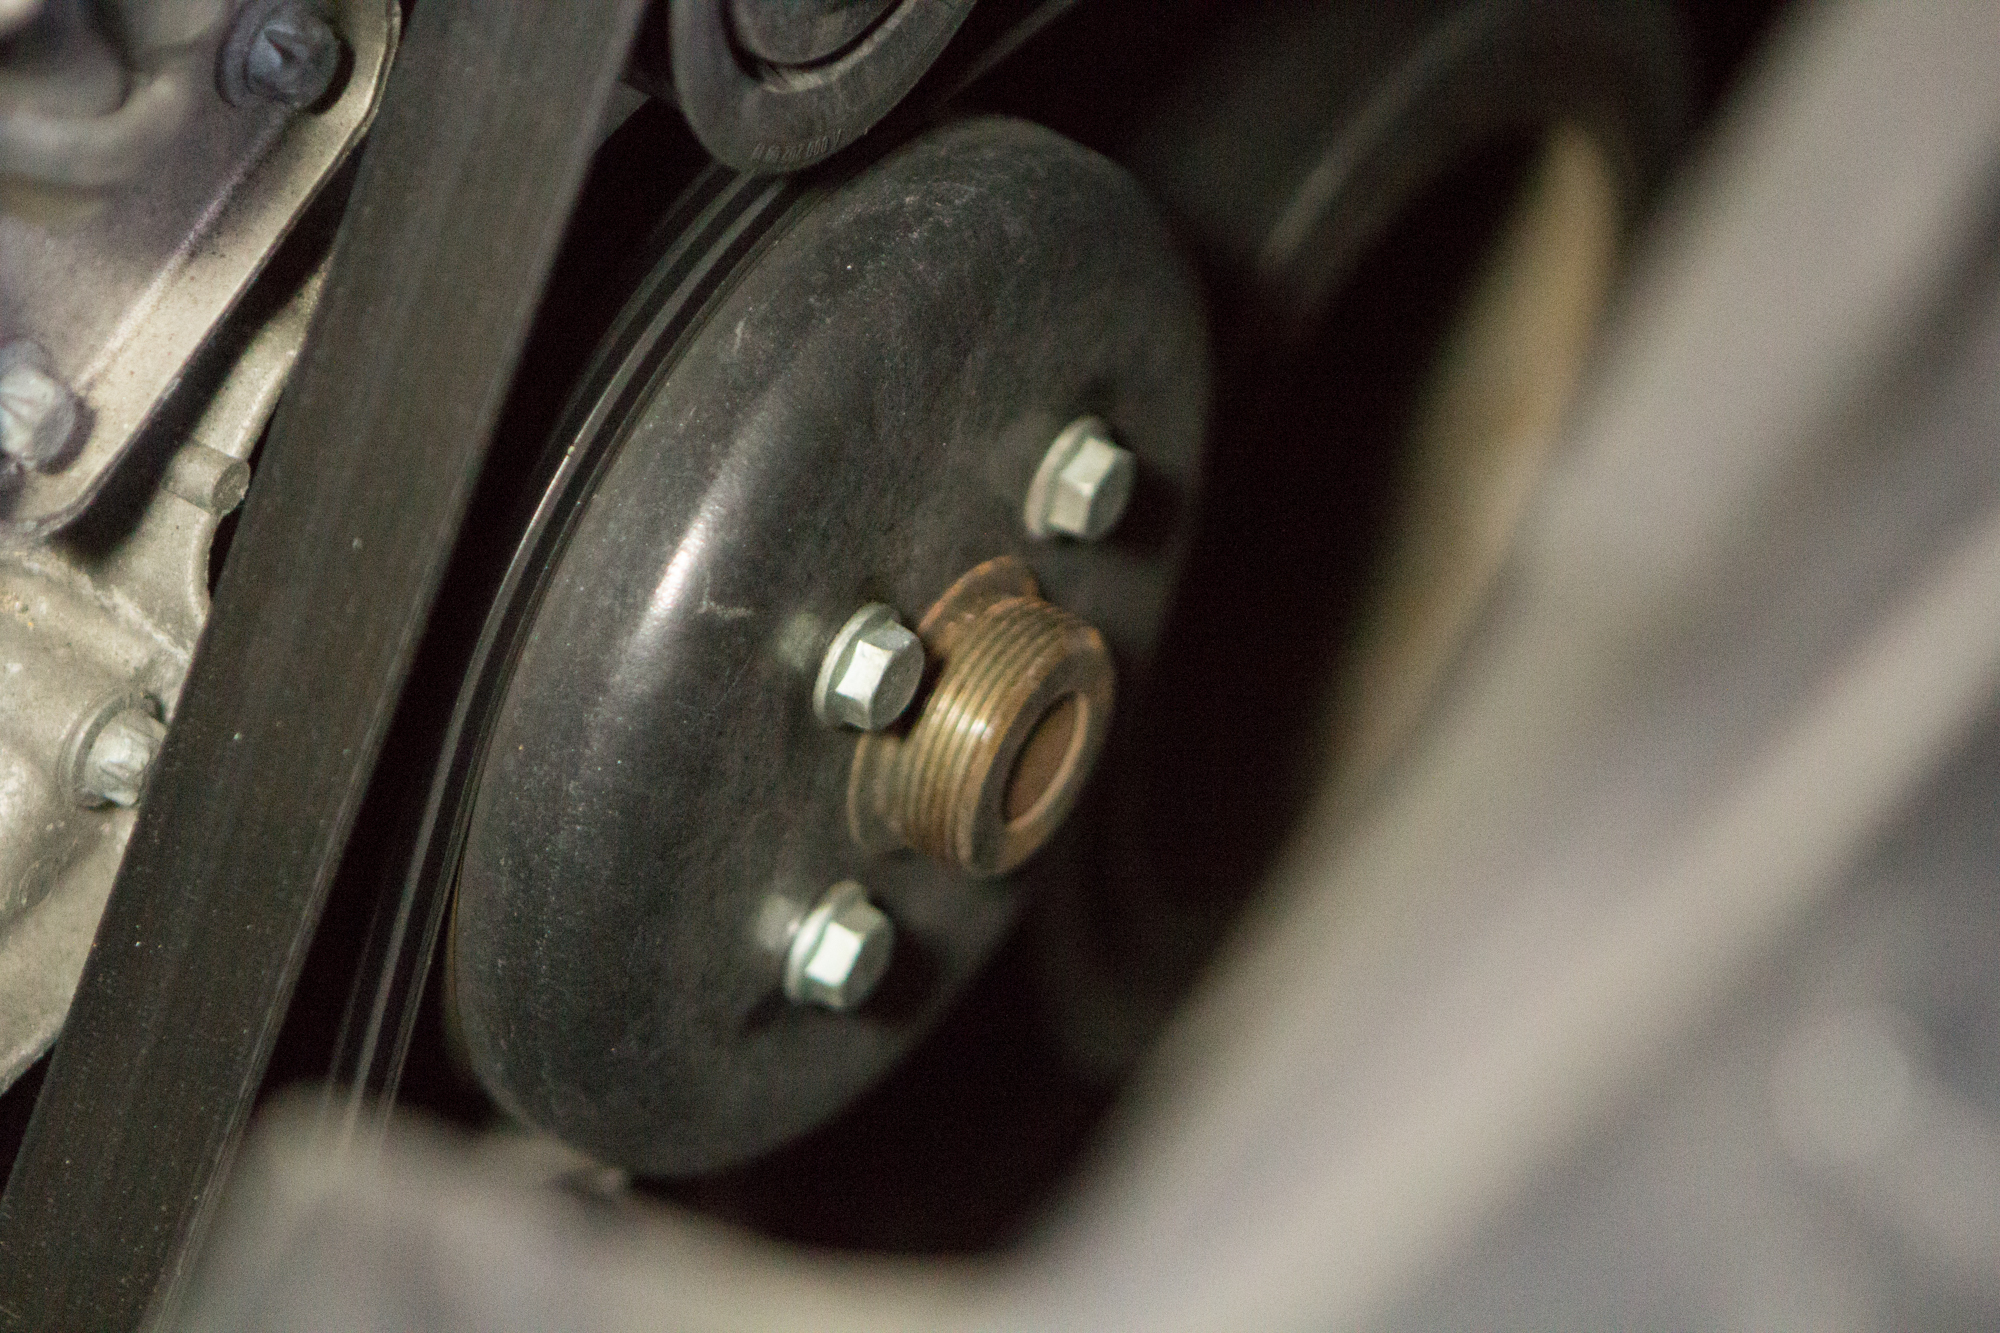
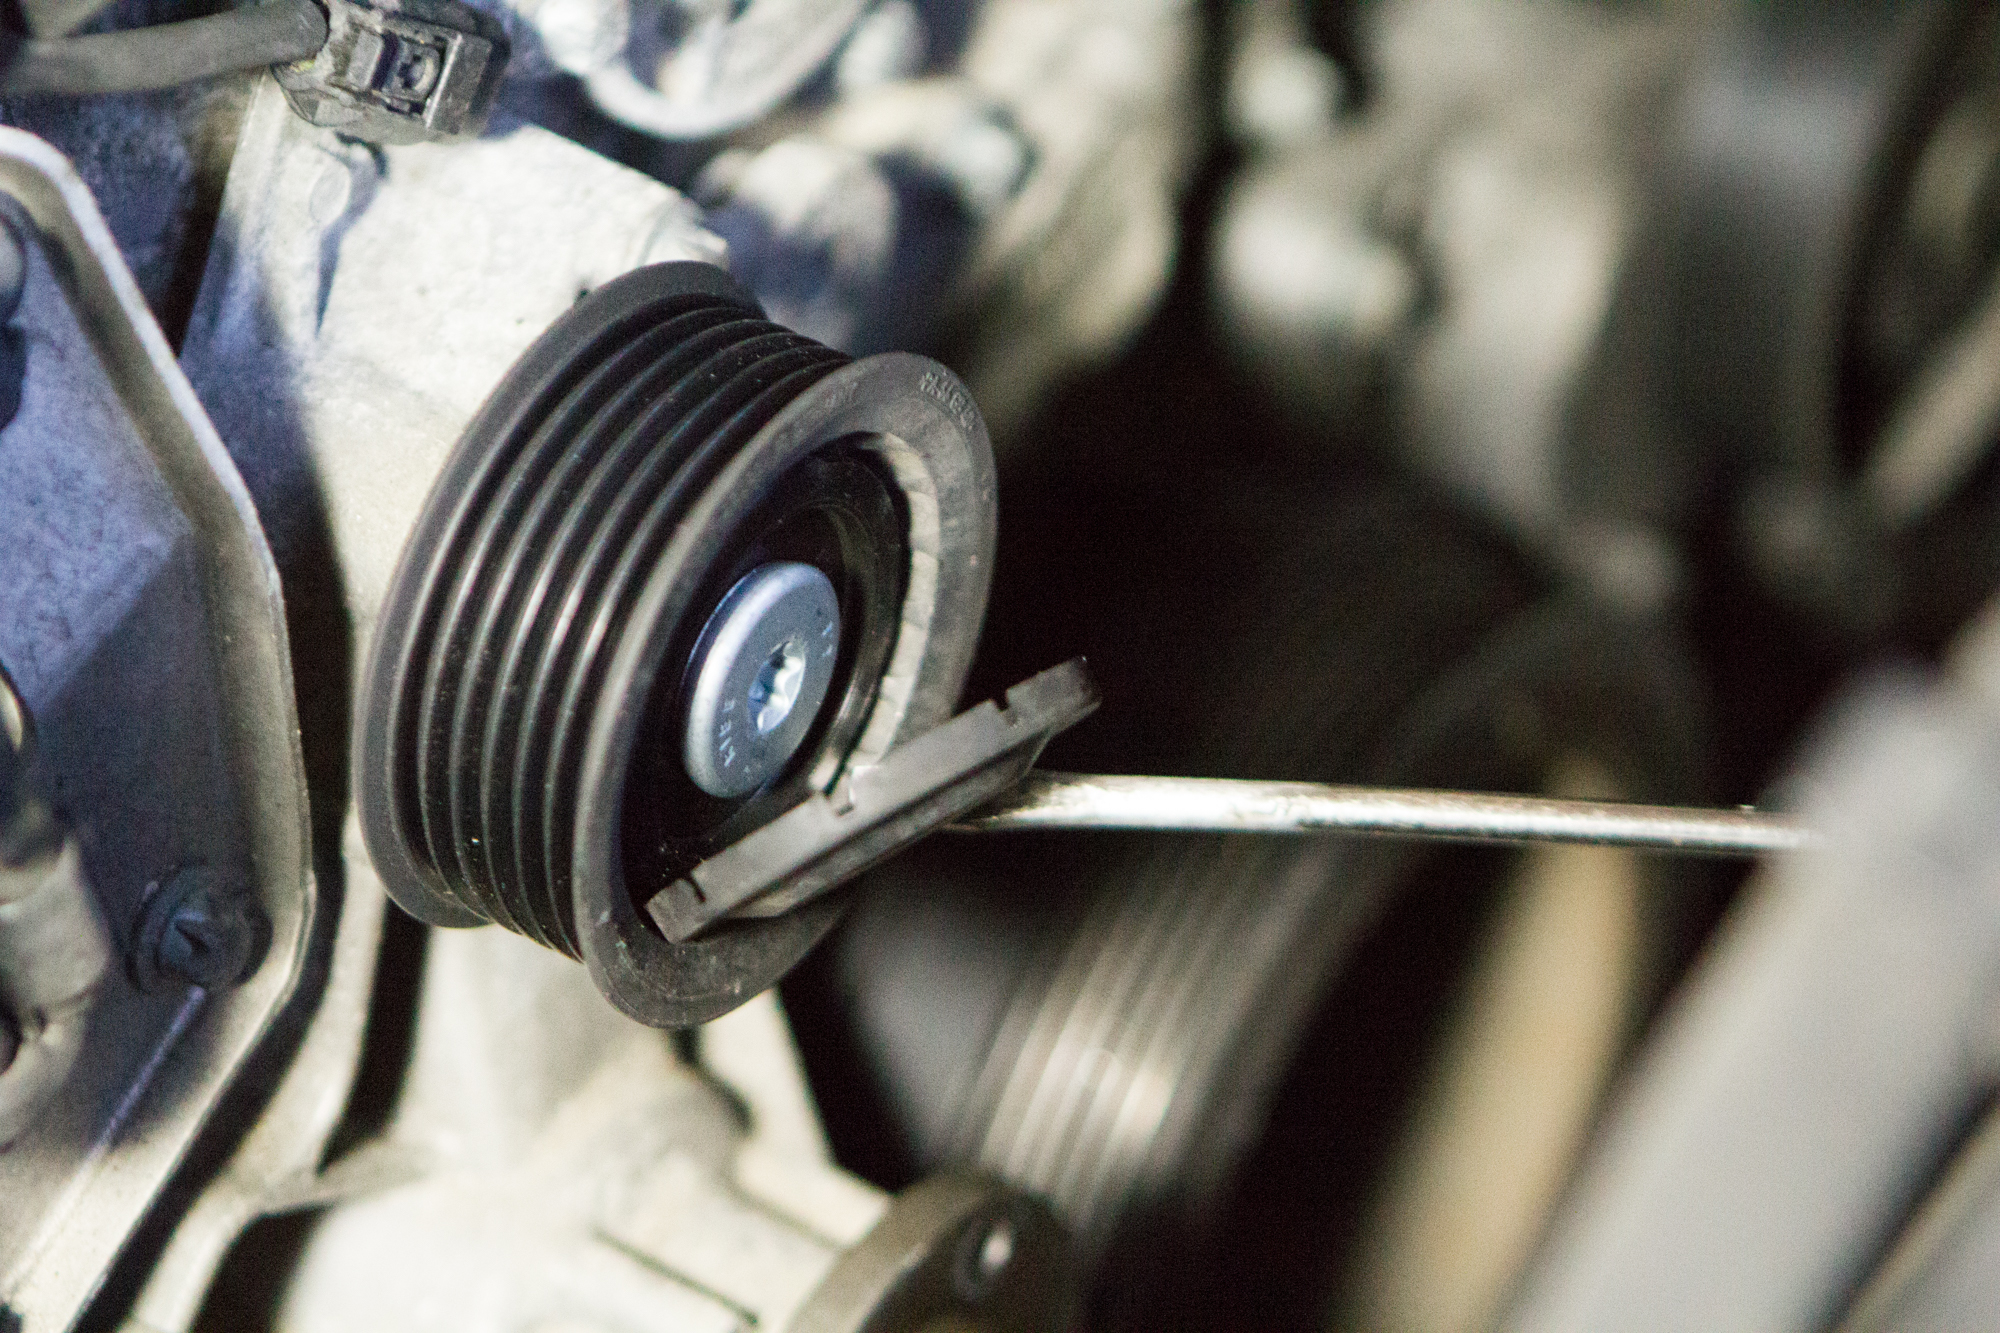
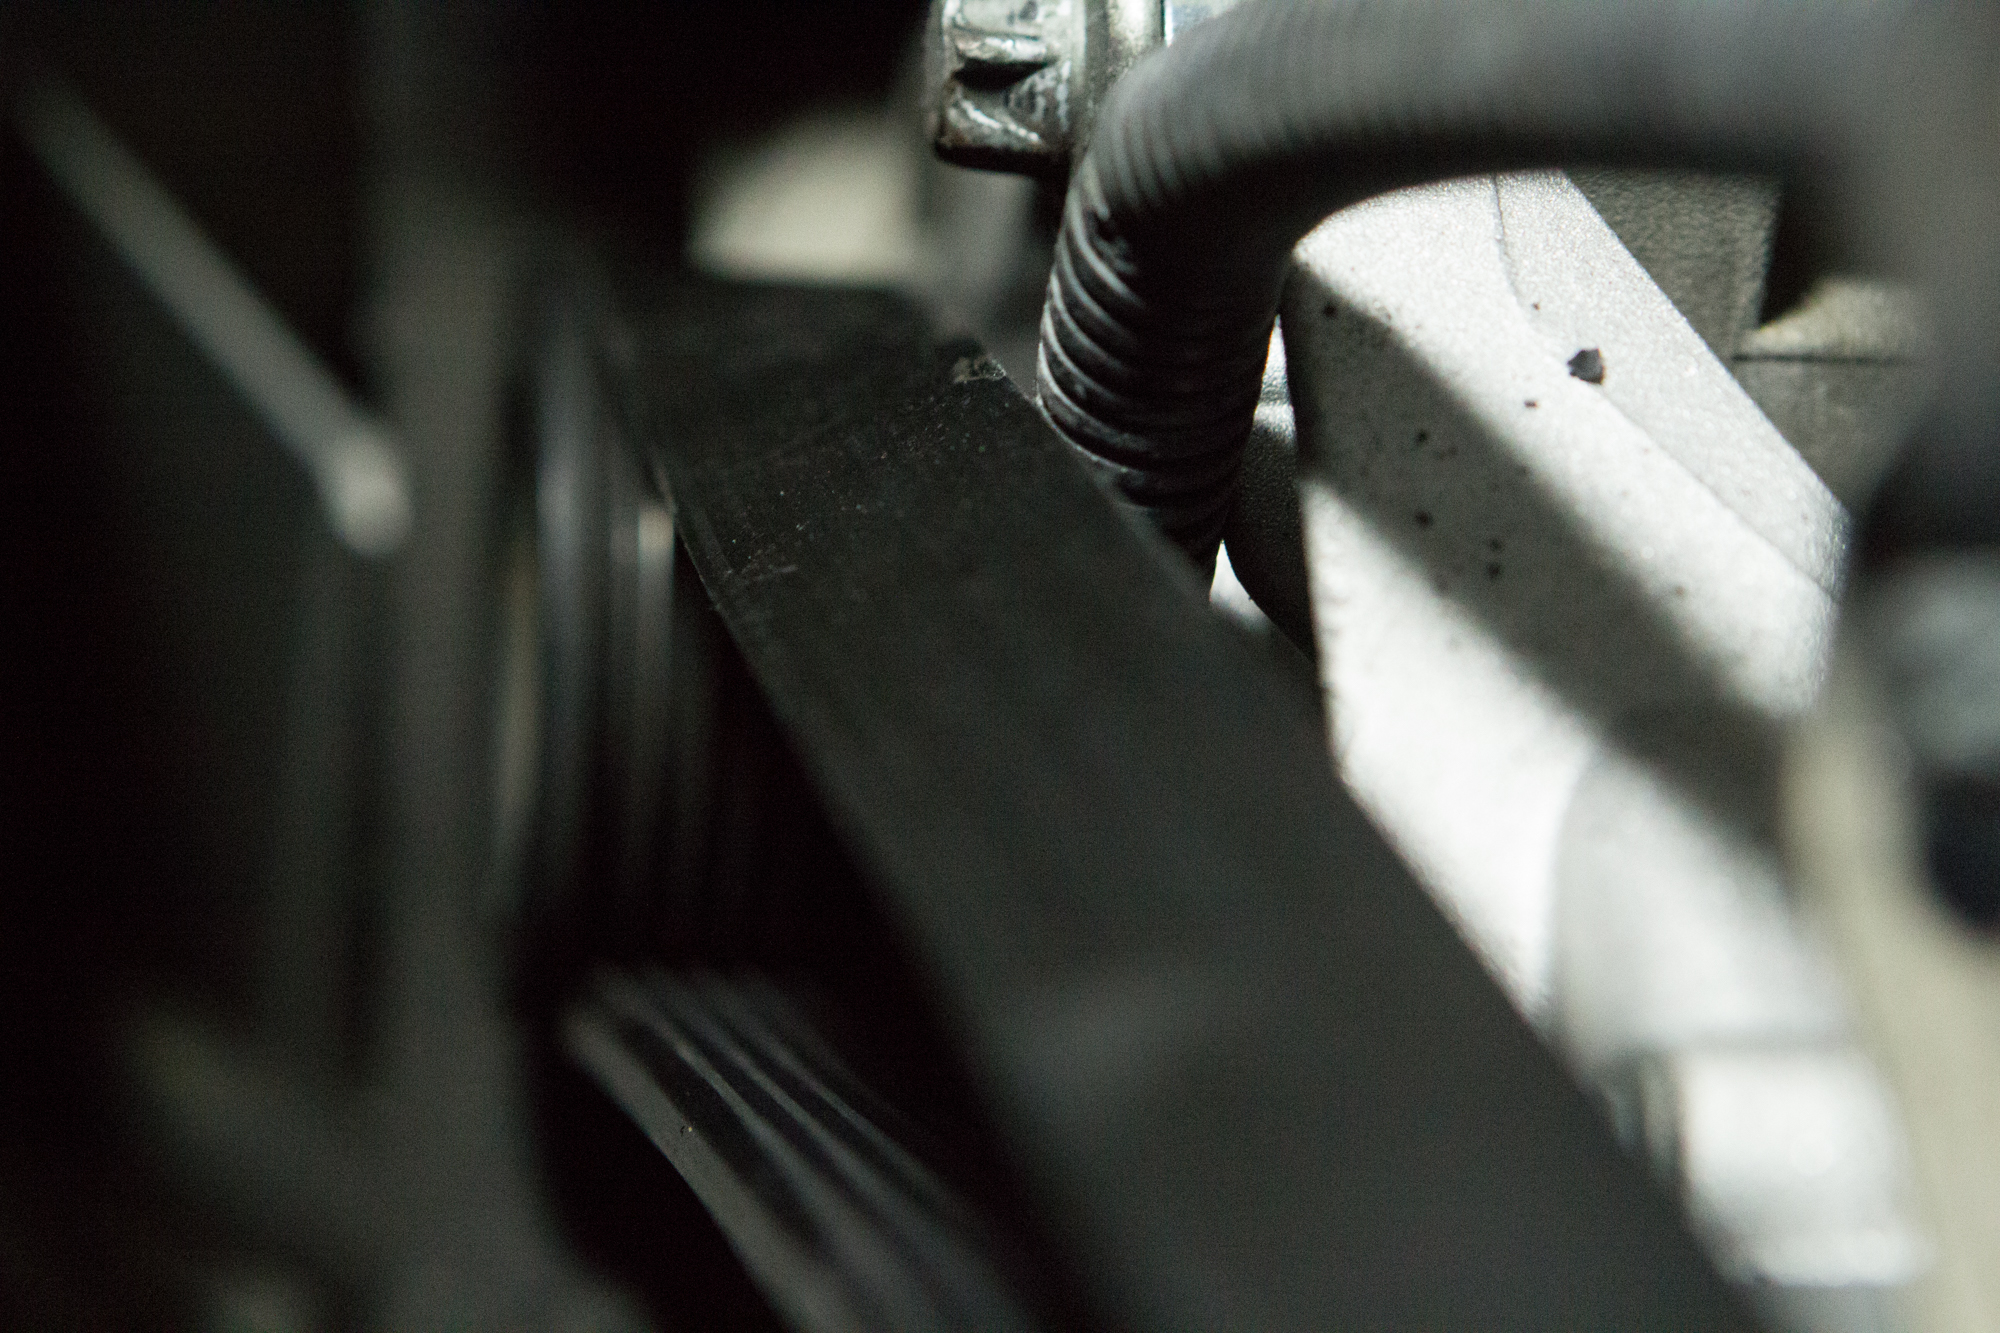
After you’ve cleaned up the coolant that you spilled all over, you’ll want to start with removing components. A lot of stuff is easier to work on when you take off the serpentine belt, but don’t get ahead of yourself. First you should loosen the four bolts on the main pulley, as shown above, because the serpentine belt gives you the needed resistance. Once those are freed up, you can tackle the serpentine belt, and get that out of the way.
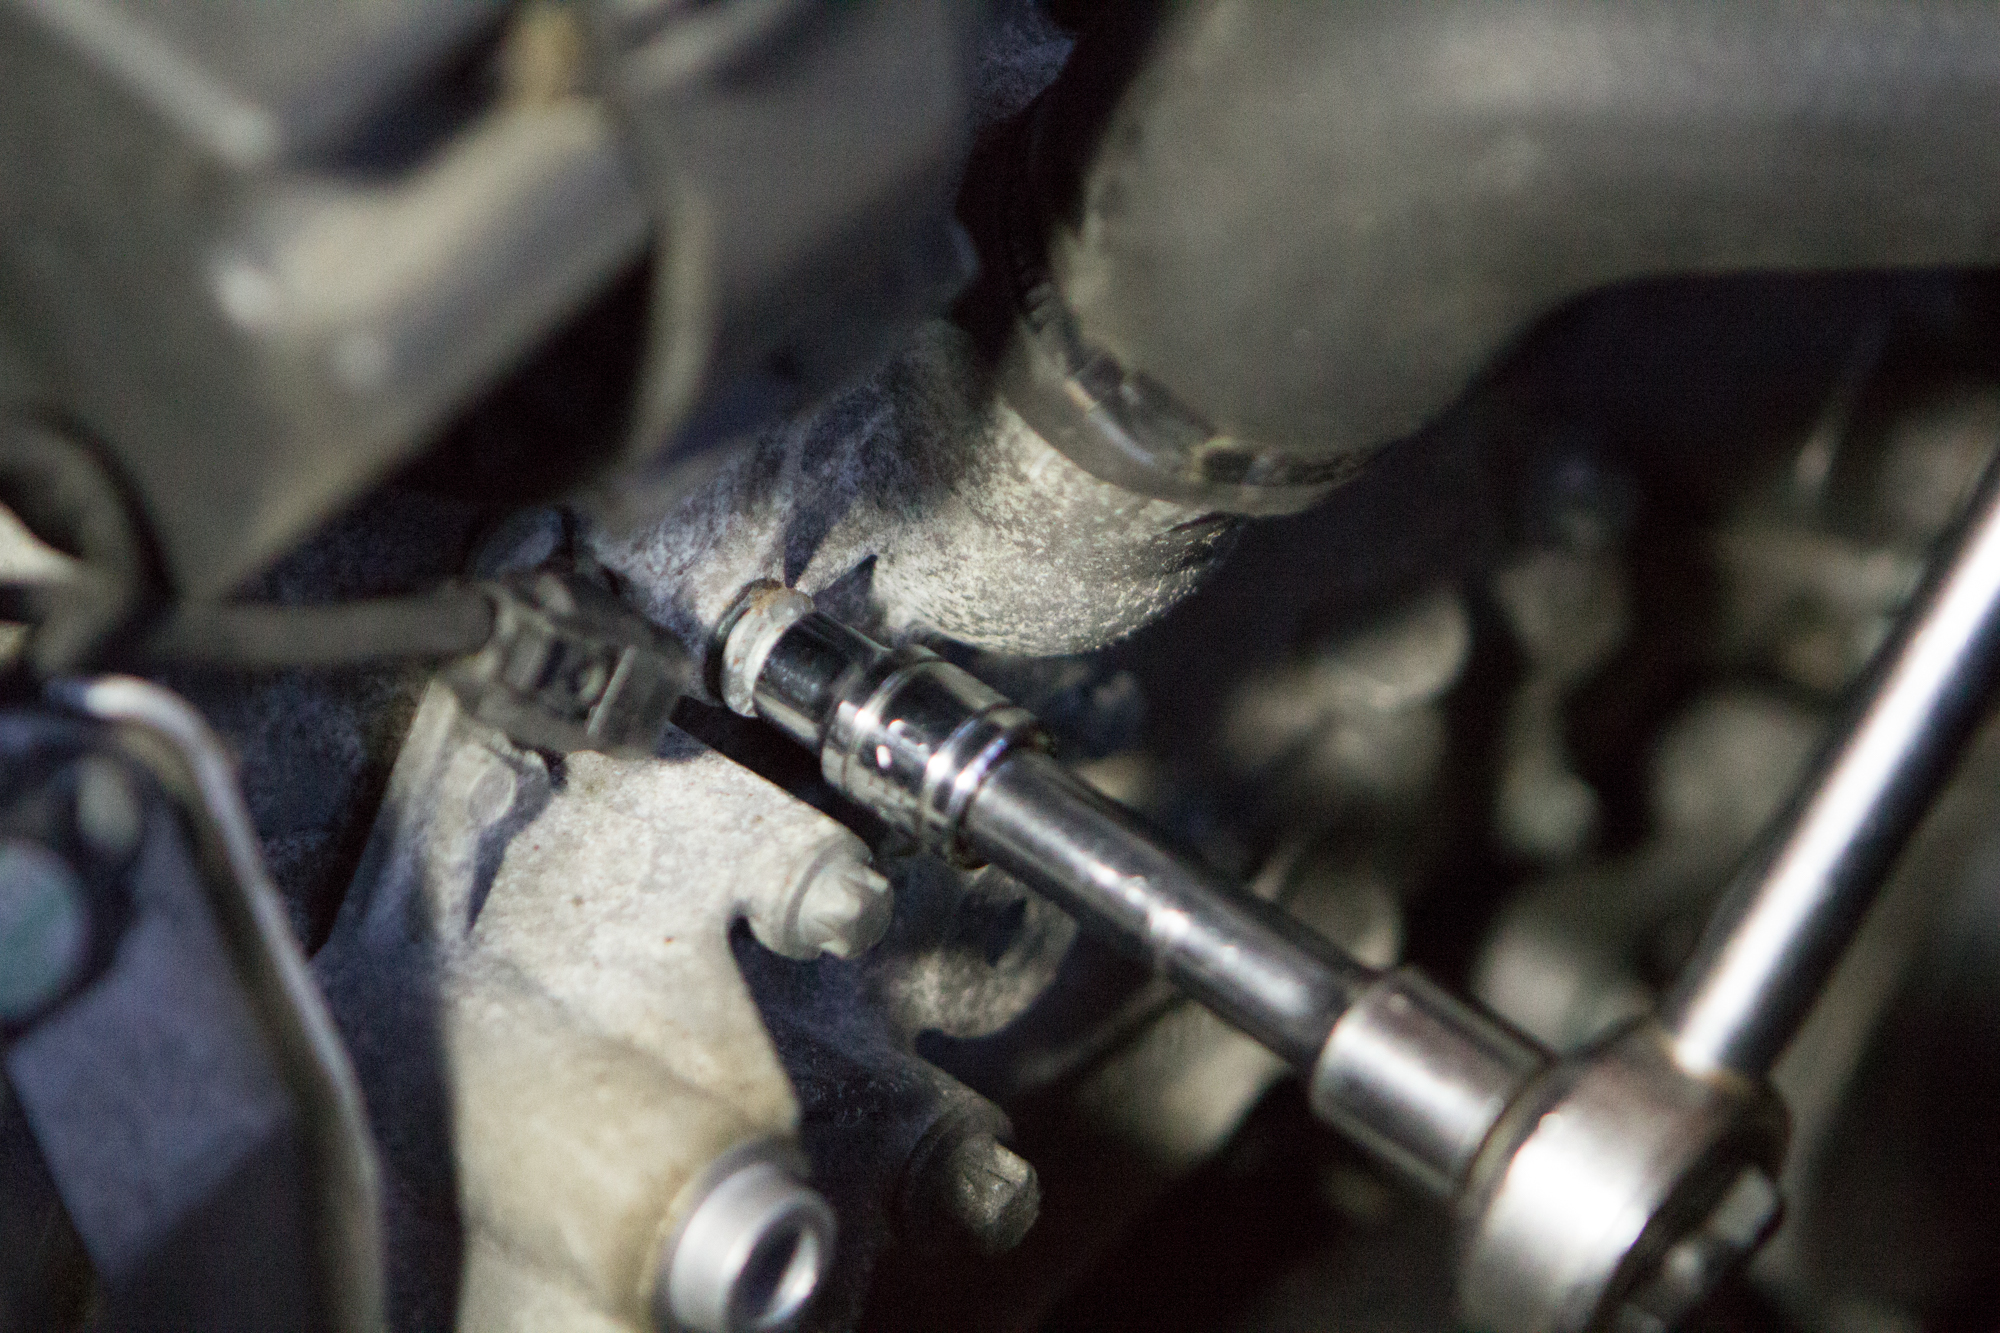
Remove the upper hose from the thermostat, and use the appropriate socket on the two Torx fittings to remove the unit. It simply pulls out, and that’s the easy part, but be careful around the coolant temperature sensor. It’s just to the left of the socket in the picture above, and easily snagged.
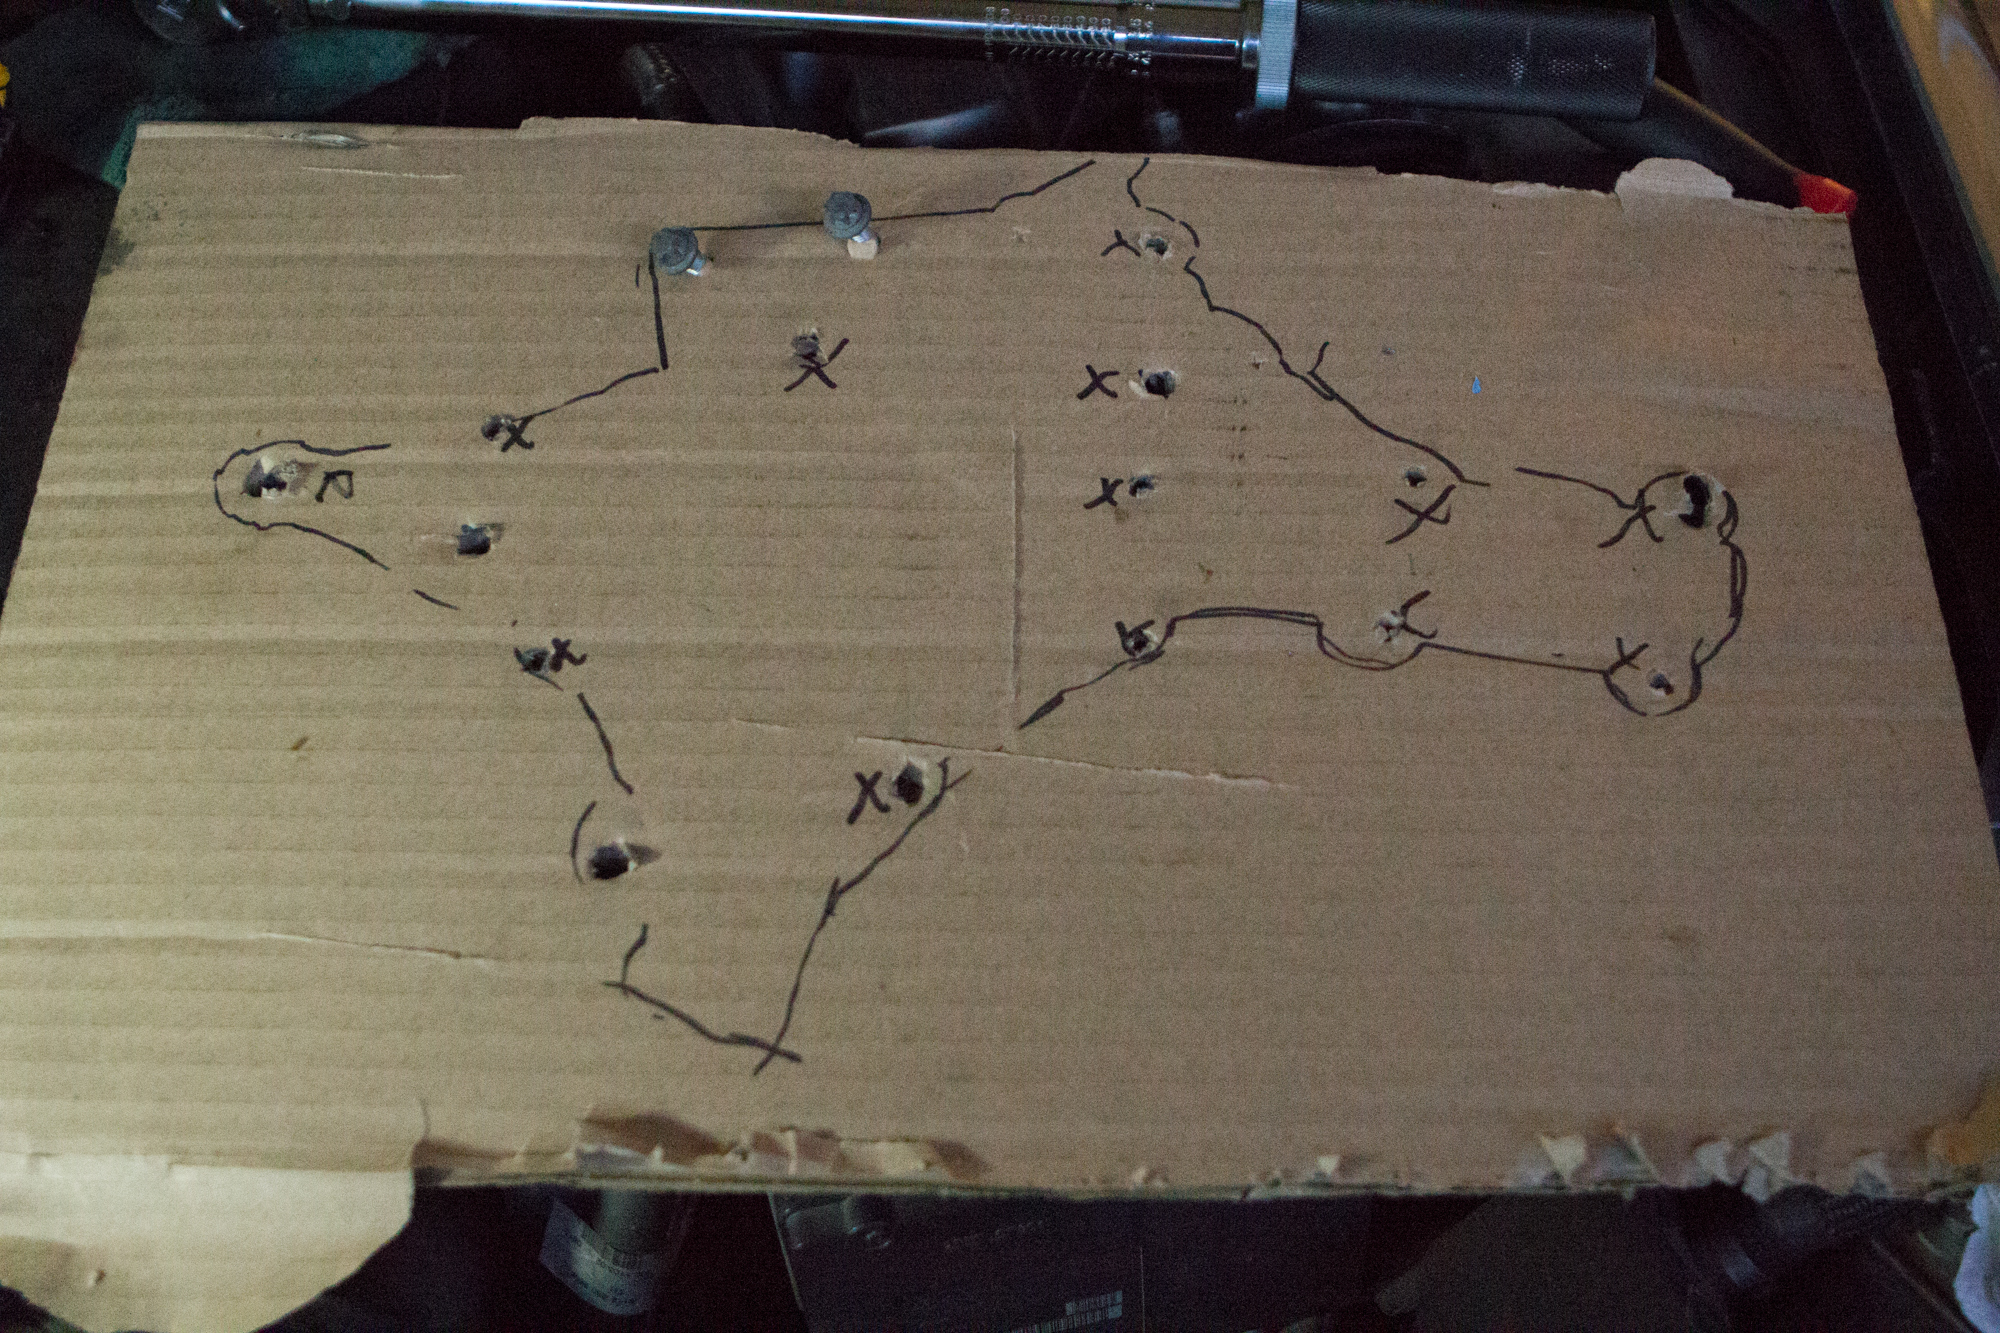
Next, you’ll want to get a large piece of cardboard. Trace your new water pump on the cardboard, and all holes where bolts may potentially go. Not only will this help you keep track of the bolts as they come out (they are all different), but you can also mark them off (I used red marker) as you torque them down during the re-installation process.
RELATED: Signs Your Valve Cover Gaskets Are Going Bad
You’ll take off the upper pulley (shown above, top), with a T40 socket and a 10mm but the rest of the bolts on the pump will use the E10 and E14 Torx fittings.

Remove the bolts in any order you like, but remember to remove the two lower coolant hoses before yanking out the whole unit. IMPORTANT: Keep in mind where that wiring loom goes just above the alternator. It goes behind the water pump.
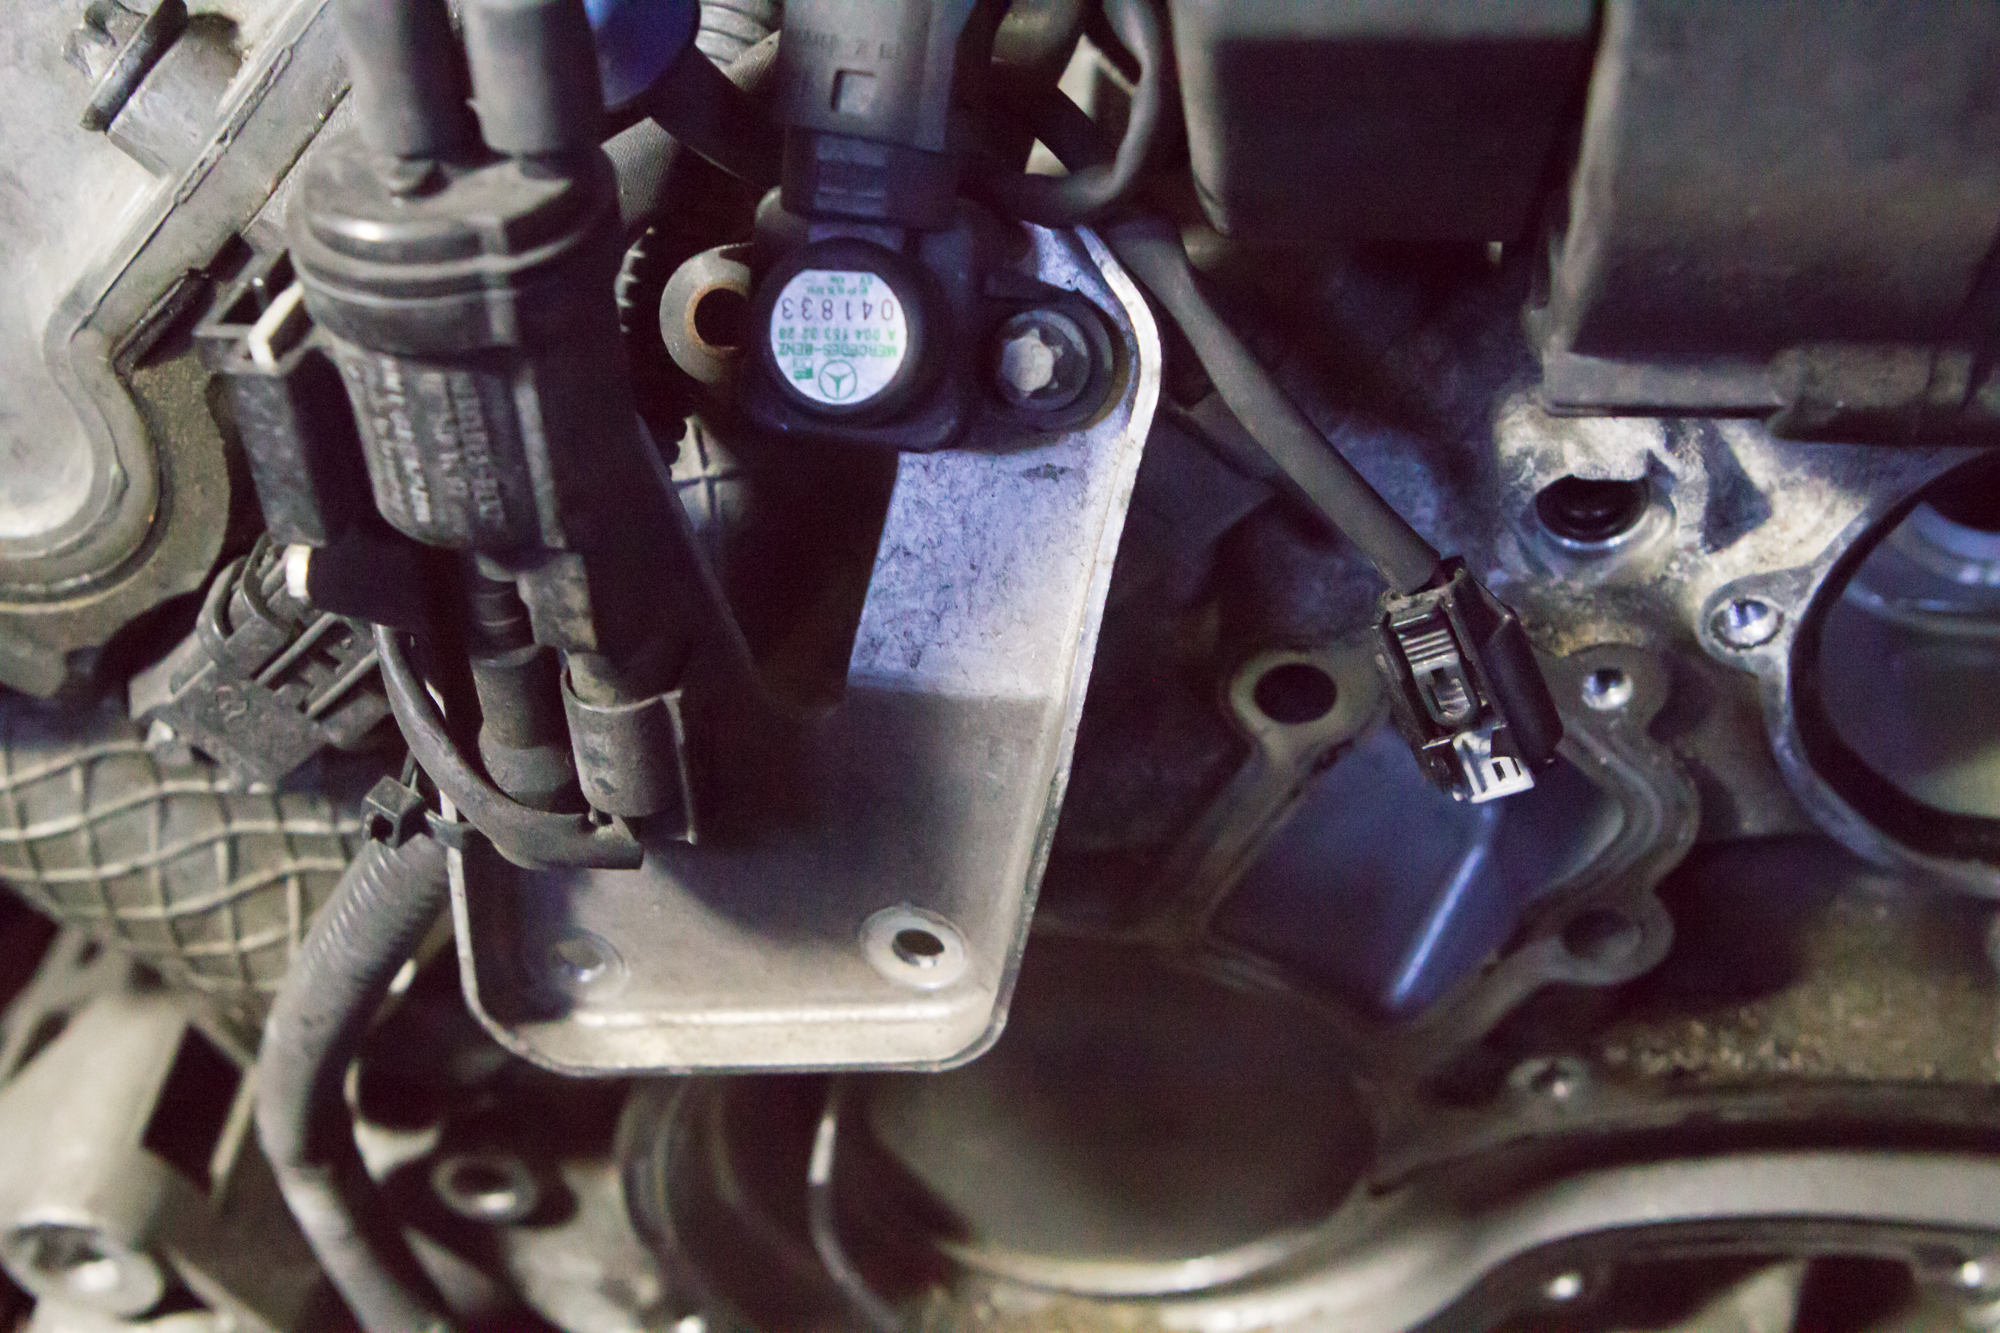
This plate as shown in the picture above hides one singular bolt on the water pump. It took me 5 minutes to find. If the water pump gives you any resistance at all to coming off, it’s probably because of the bolt behind this bracket.
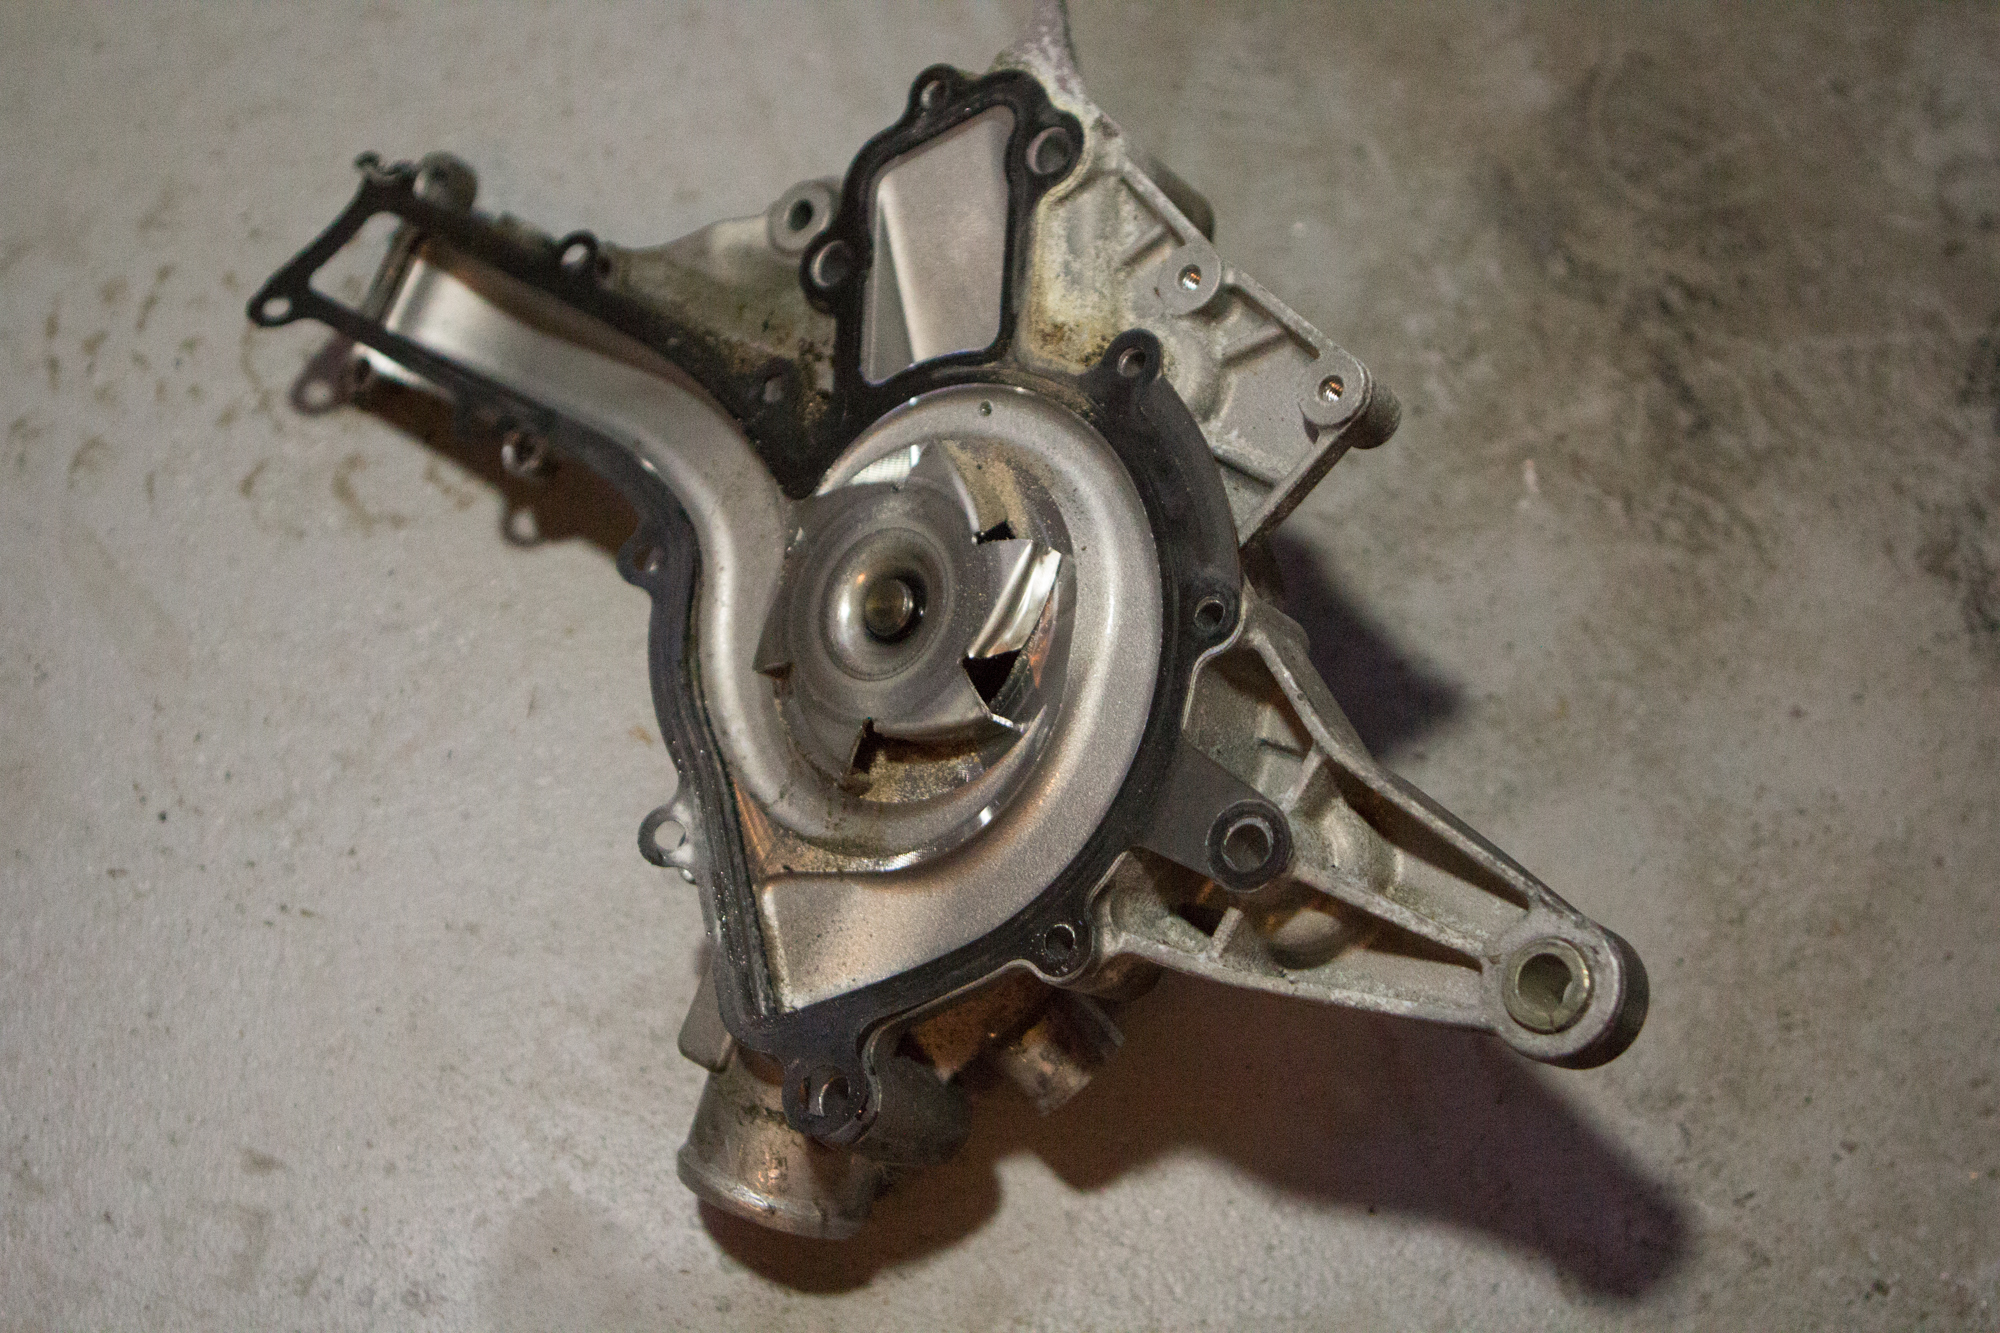
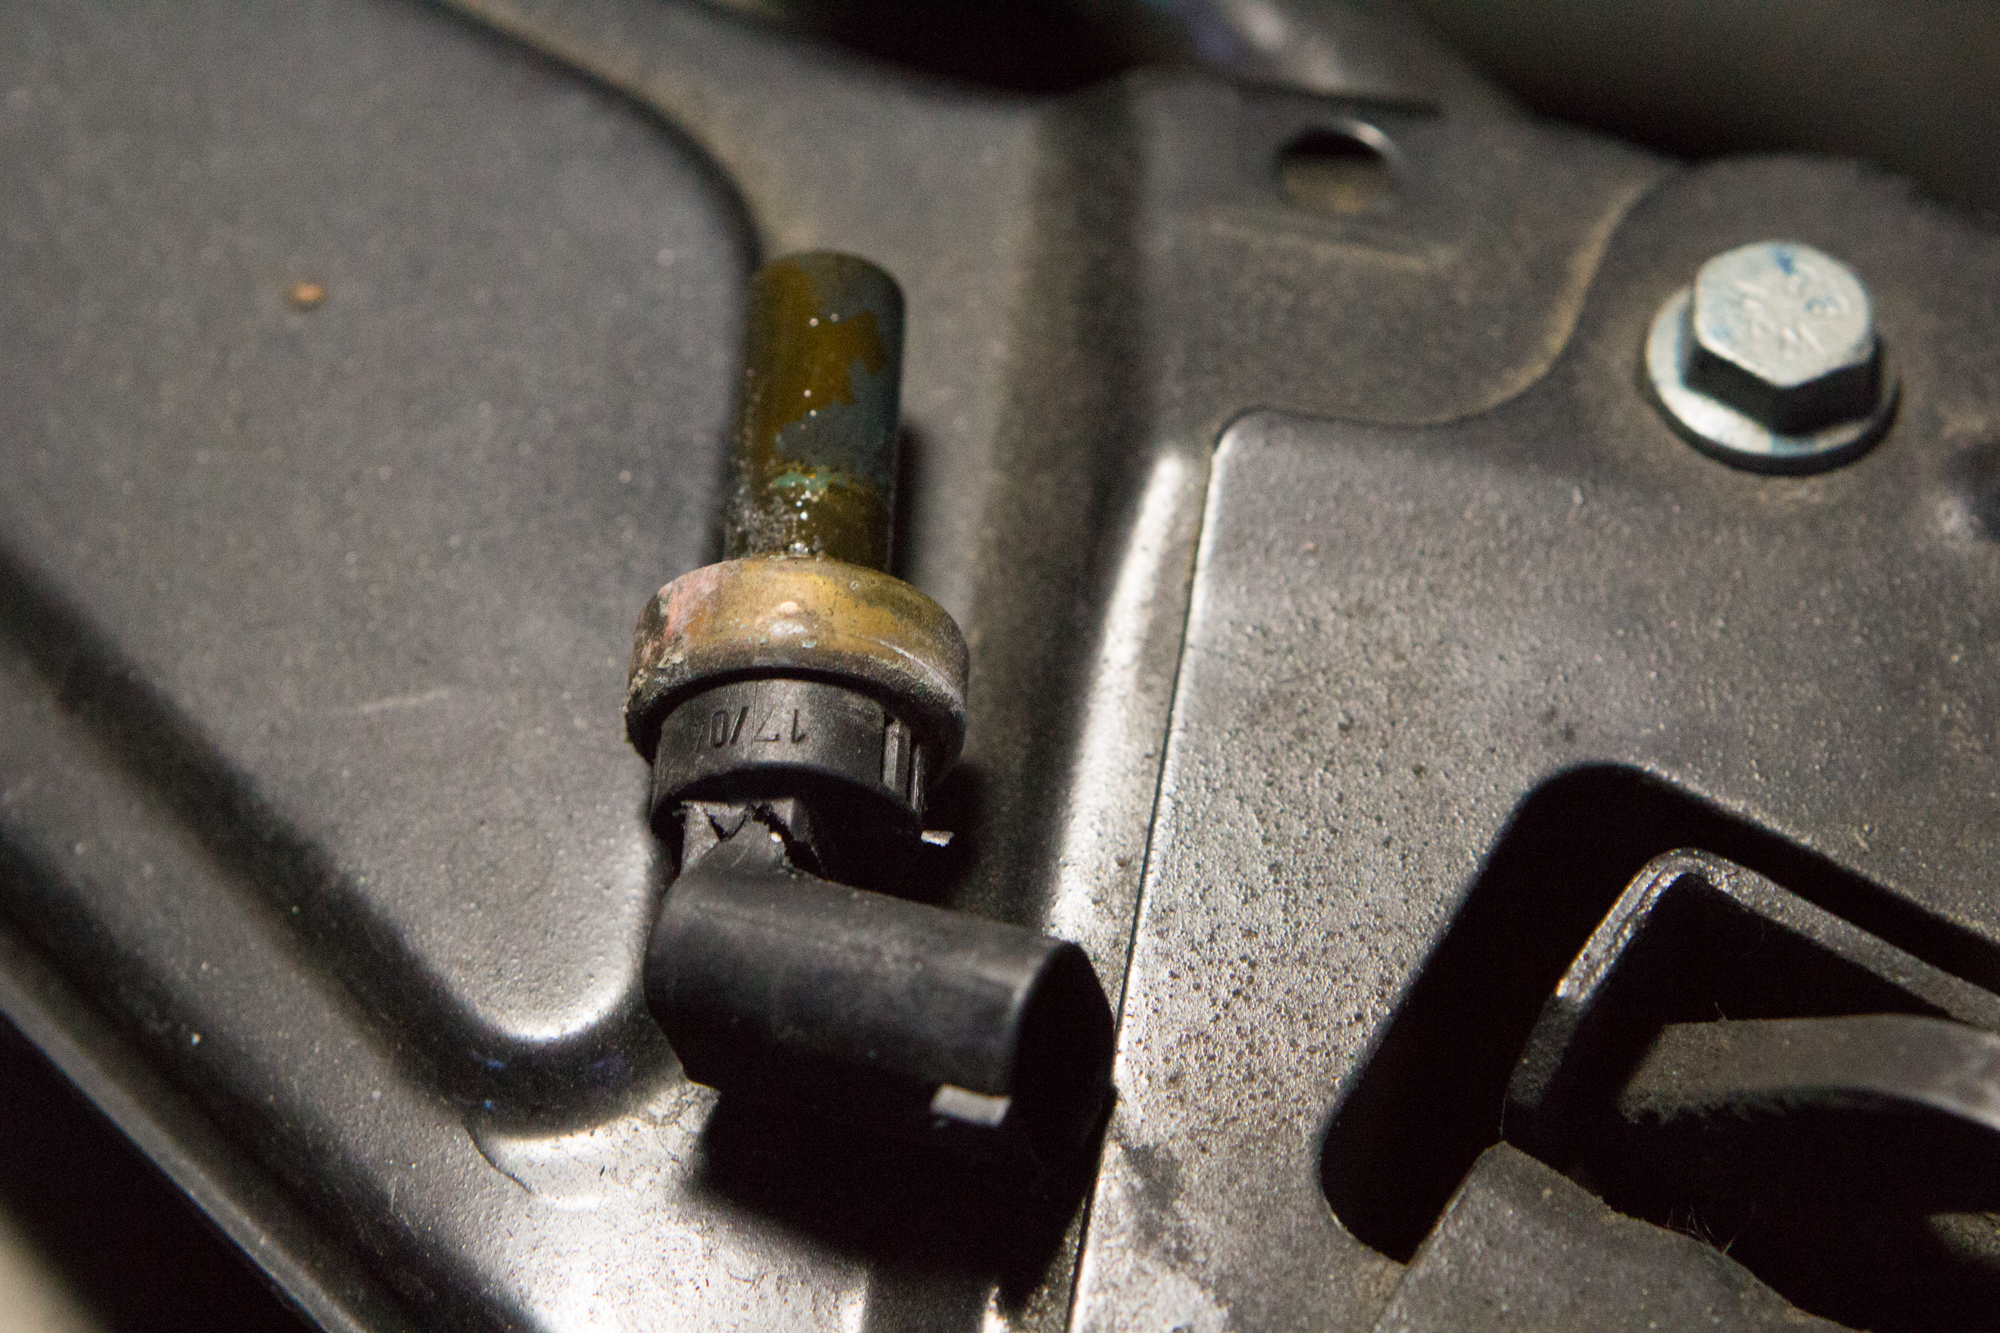
Now, if you’re a bit impatient like myself, you’ll carelessly remove the pump, while at the same time damaging the coolant temperature sensor. It’s a plastic piece on a 90 degree angle, and easy to snag on the pump. My hasty evidence is shown below.
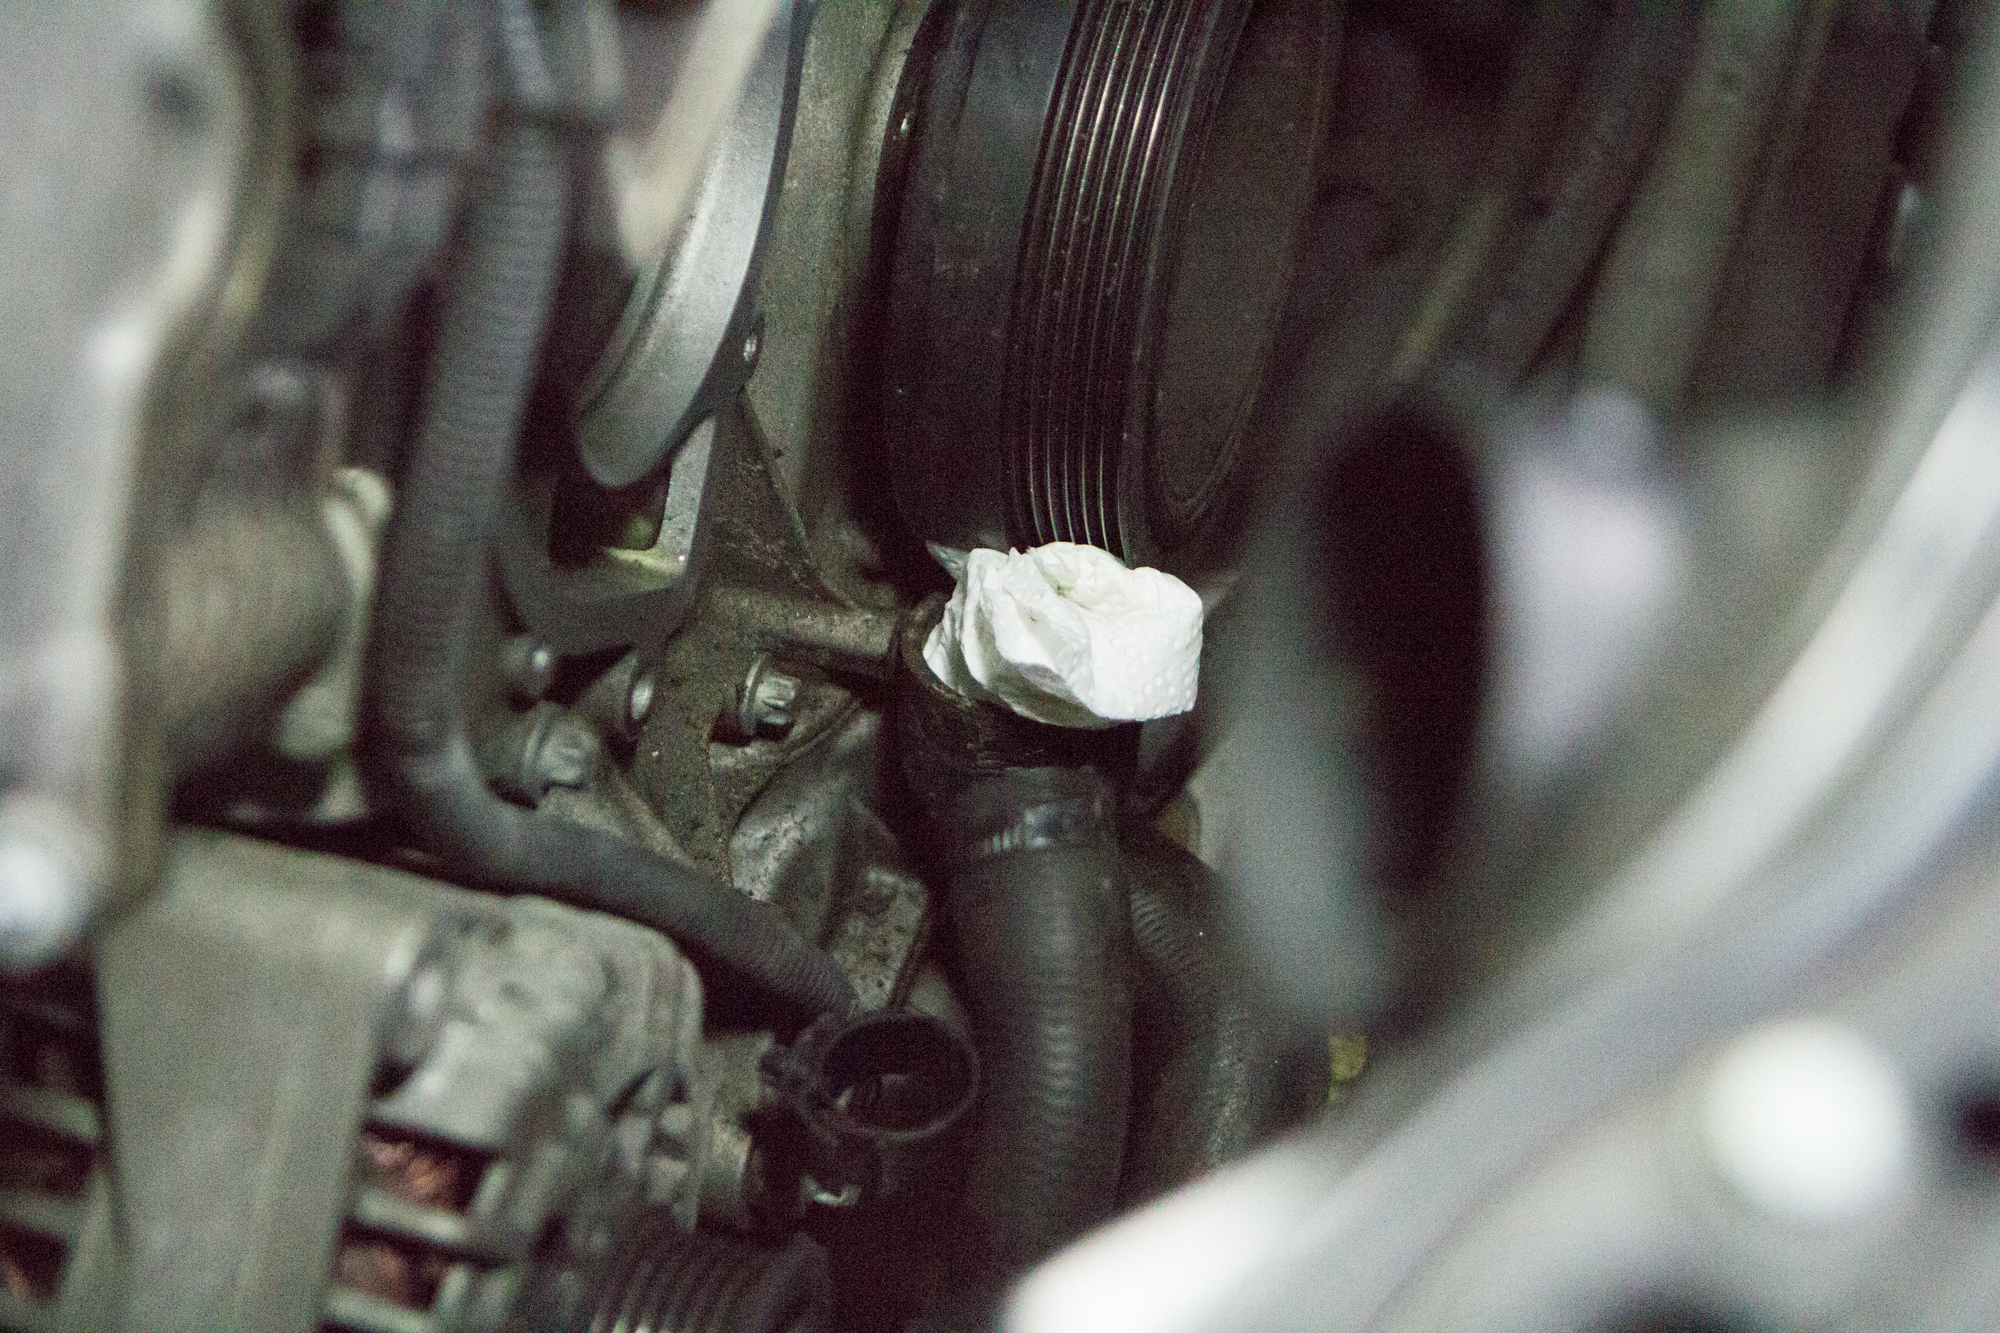
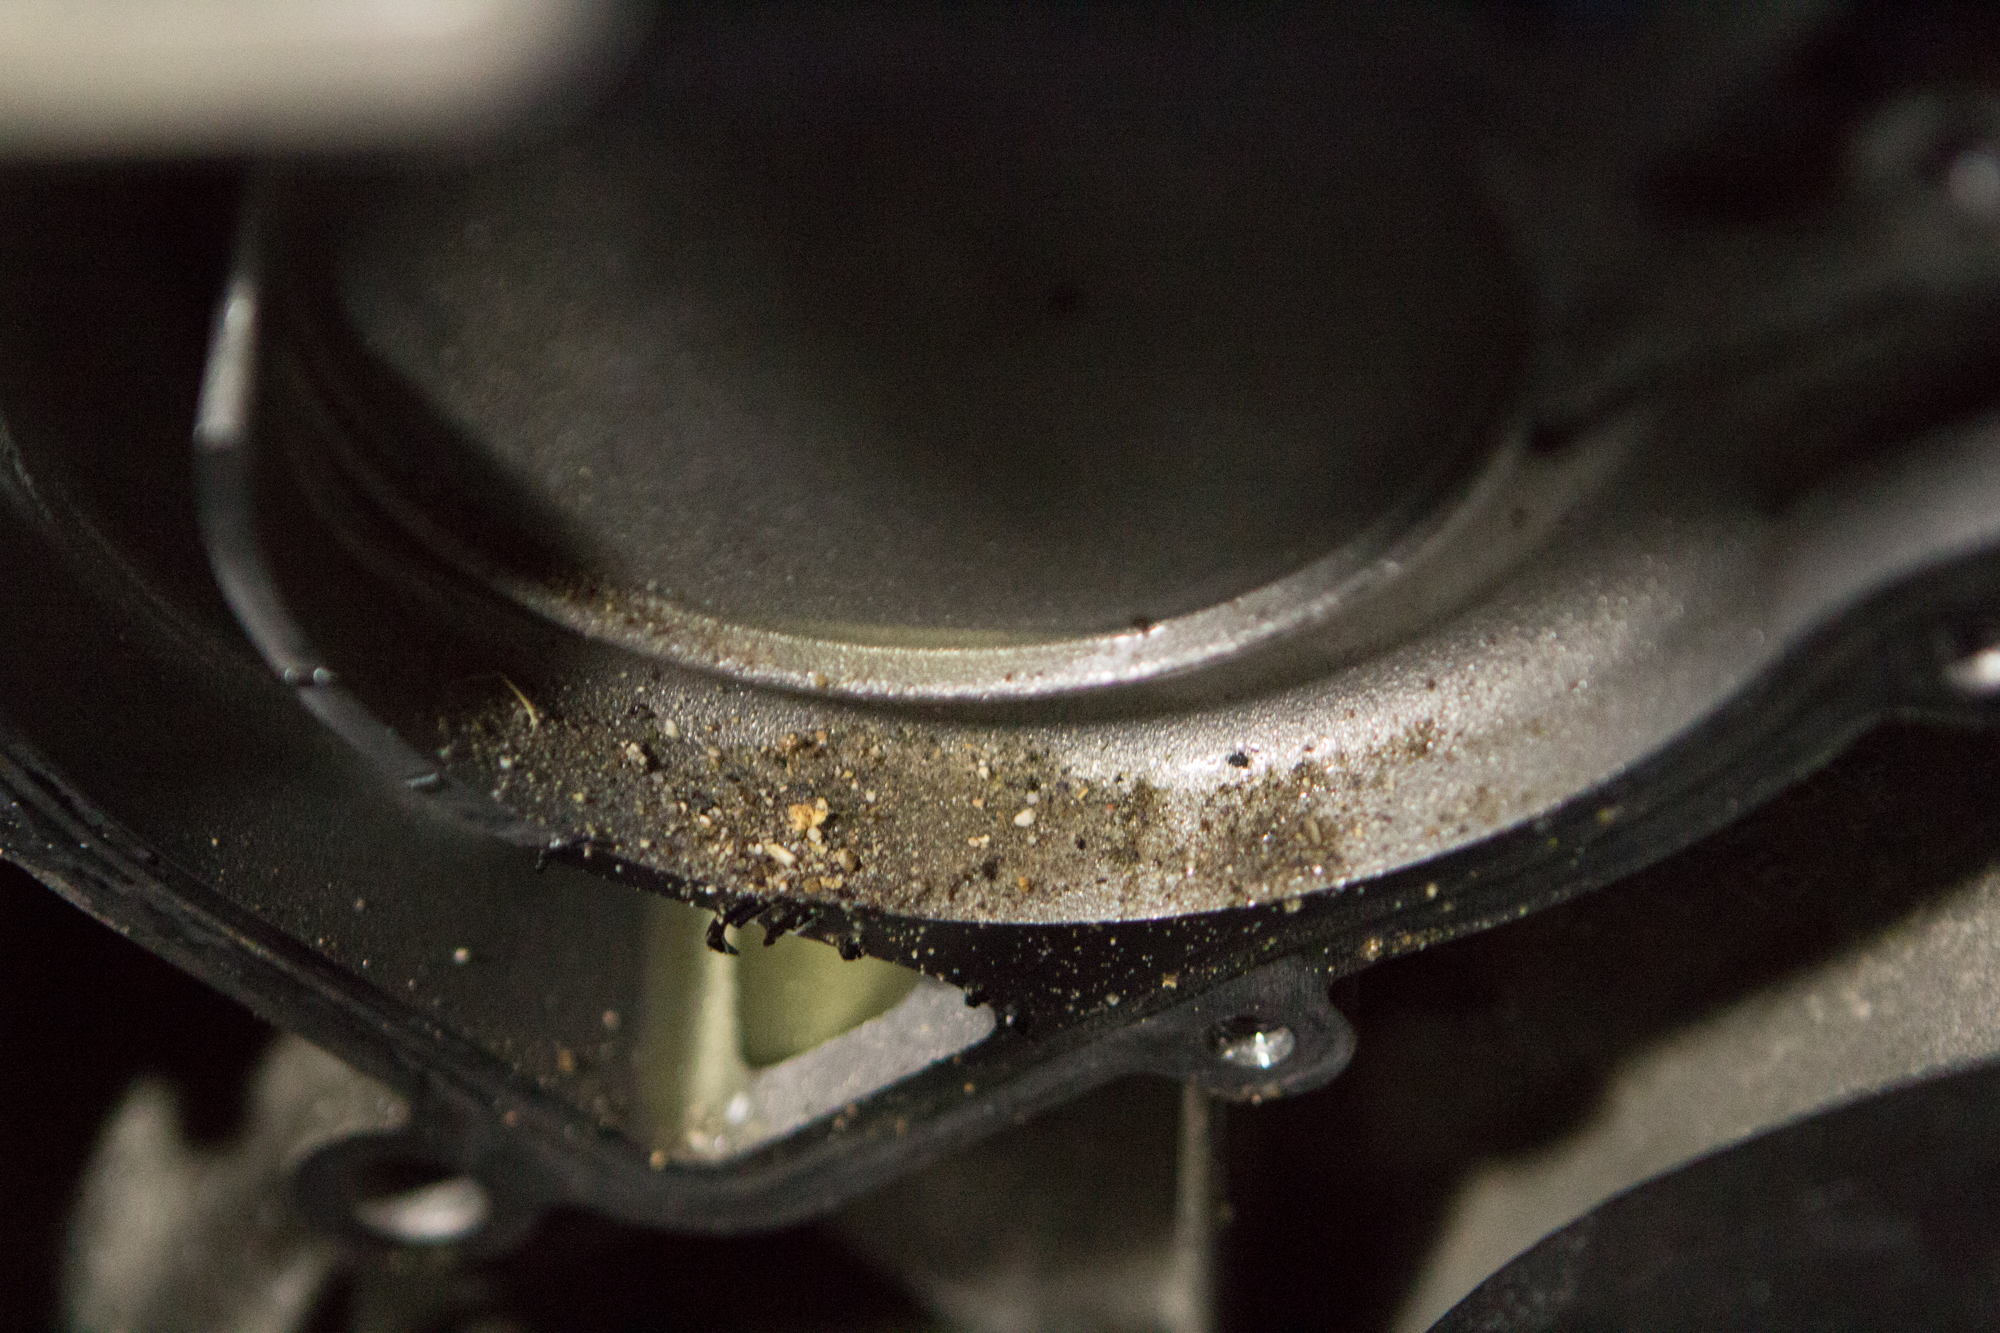
Once you have the pump removed, you’ll want to address a few things: corrosion left from the old seal, and protecting components from dirt and debris. I stuffed a paper towel inside the lowest coolant hose to keep junk from falling in there.
RELATED: How-To Tuesday: 203/209 Windshield Washer Pump Replacement
Below, you’ll see the corrosion that is left on the block. A soft scrub pad should remove the residue, without damaging the surface of the engine block.
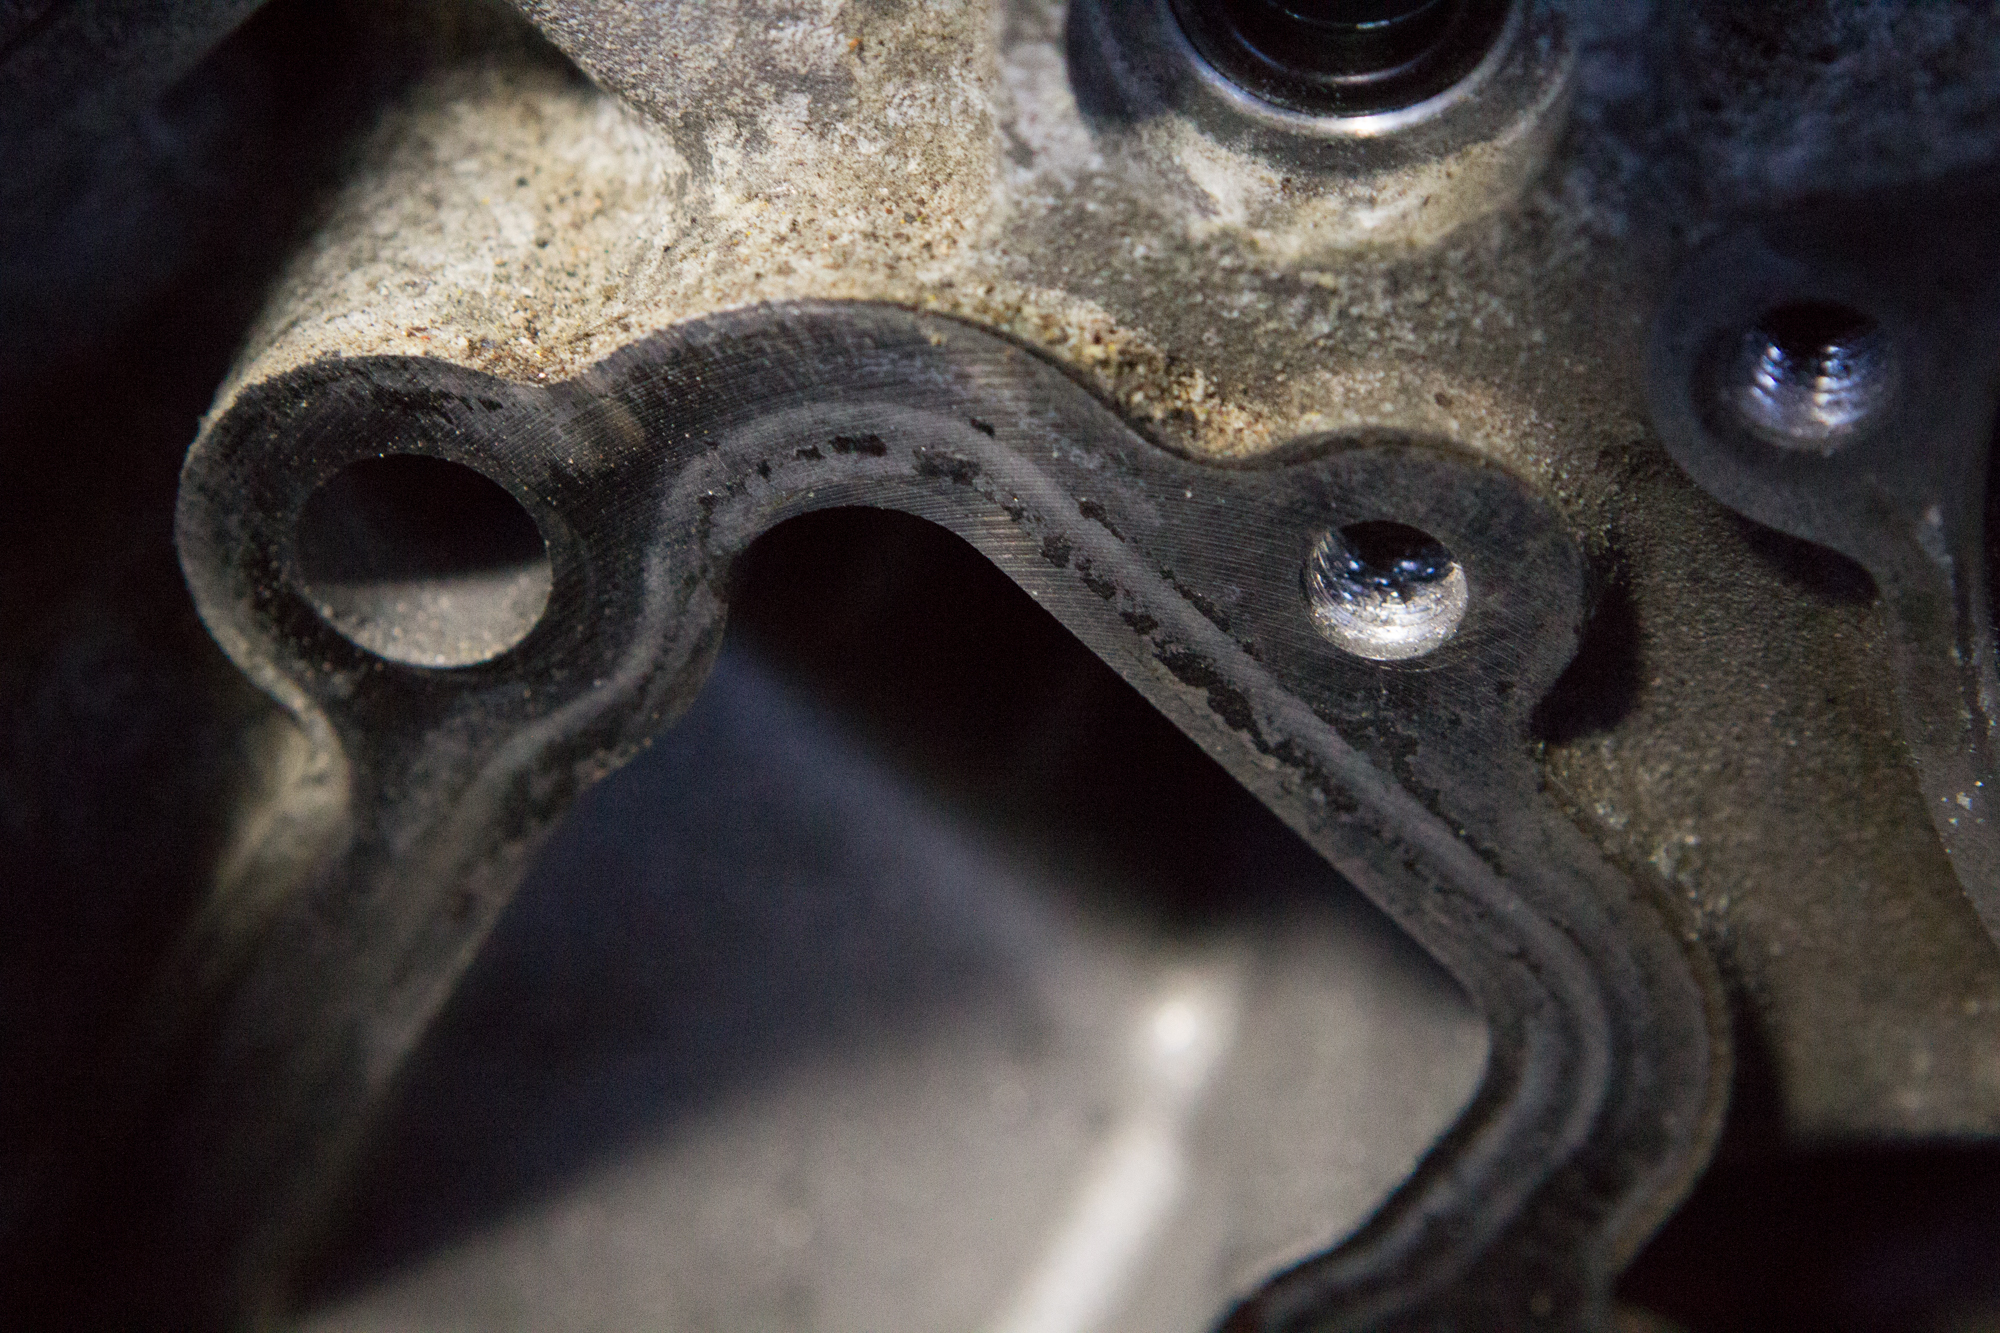
You’ll still create a bit of a mess, though, so make sure you clean out any components which have caught dirt and debris.
Once you’ve completed all this, it’s time to think about getting things put back together. I went the cheap route and ordered a non-OEM pump, which came with a paper gasket. Since the silicone sealant needed for the paper gasket is a skin irritant, I found a volunteer to apply it for me.
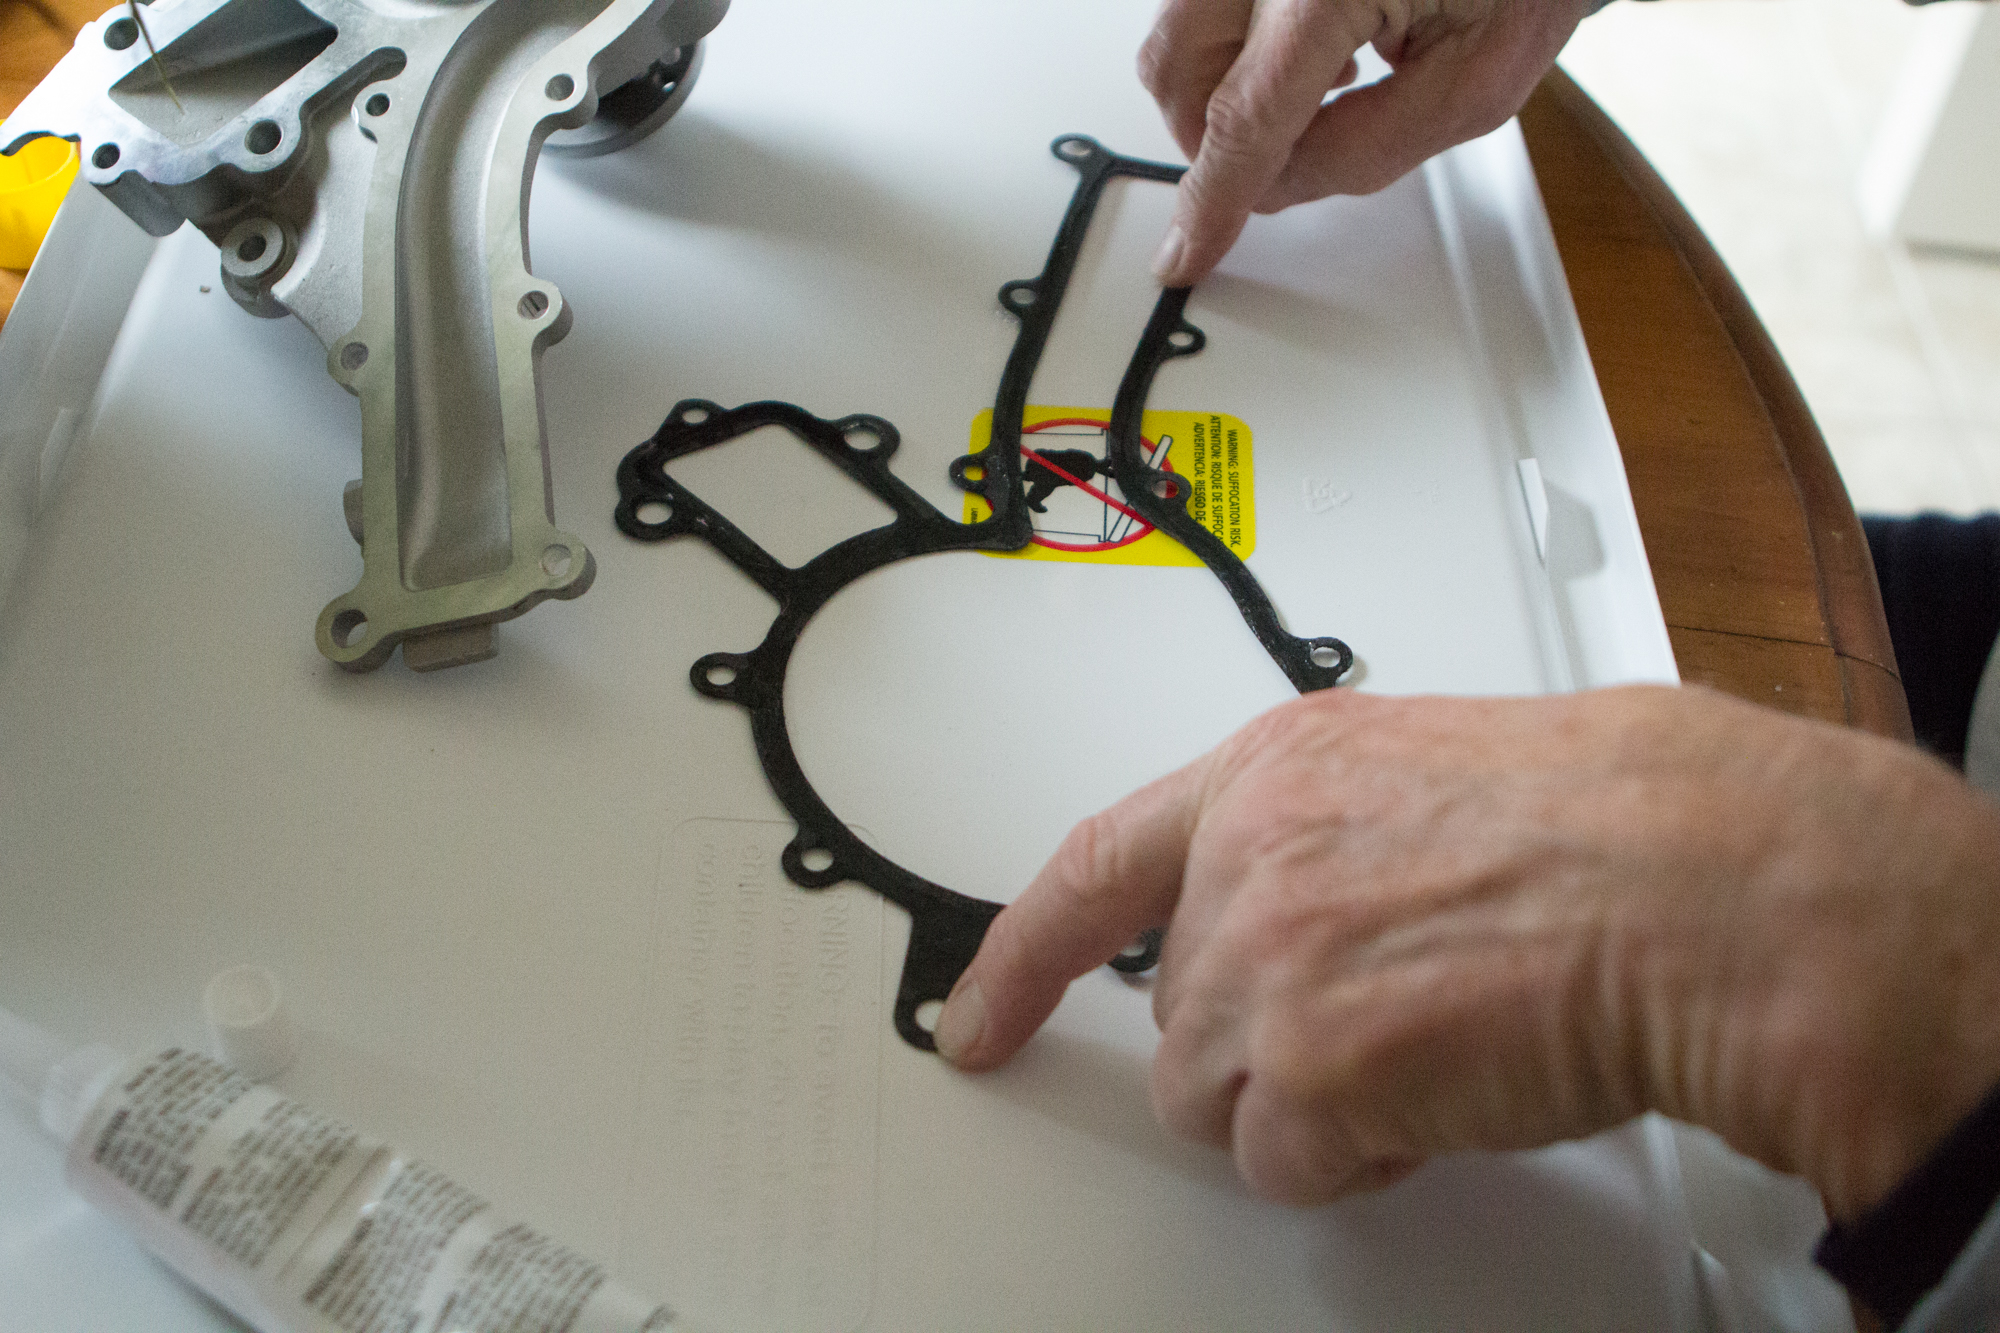
While a paper gasket came with this aftermarket unit, I recommend throwing it out immediately, because you can buy the coated metal gasket from your local MB dealership for less than $20.00. I also recommend buying that one because you won’t accidentally tear it during installation … something I know from experience.
RELATED: Classic Mercedes-Benz Engine Bay Restoration
Due to tearing the paper gasket, I had to drive to the nearest MB dealer and purchase the new one. Sadly, because I started working on the install rather late, their parts department was closed and I had to wait until the next morning to buy it. If you do tear your paper gasket, I recommend doing it early in the day.

Once you have the correct gasket, you can install the pump (again). This is where that cardboard cutout comes out handy. As you pull the bolts out of the cardboard, add a dab of thread locker. I installed and hand-tightened the bolts working from opposite sides of the pump in order to have the most even pressure applied. After they were all installed, I torqued them down gently. The larger bolts take 18-19 lb-ft of torque in my case, but make sure you verify for your specific car.
Remember that wiring loom by the alternator? Yeah, you might want to make sure it is behind the pump. Otherwise you won’t be able to put the serpentine belt on correctly.
RELATED: Change Your W124’s Cabin Air Filters
If you screw this part up like I did, you’ll have to take the water pump off (again) because there’s not enough length in the wiring loom to swing the alternator out of the way.
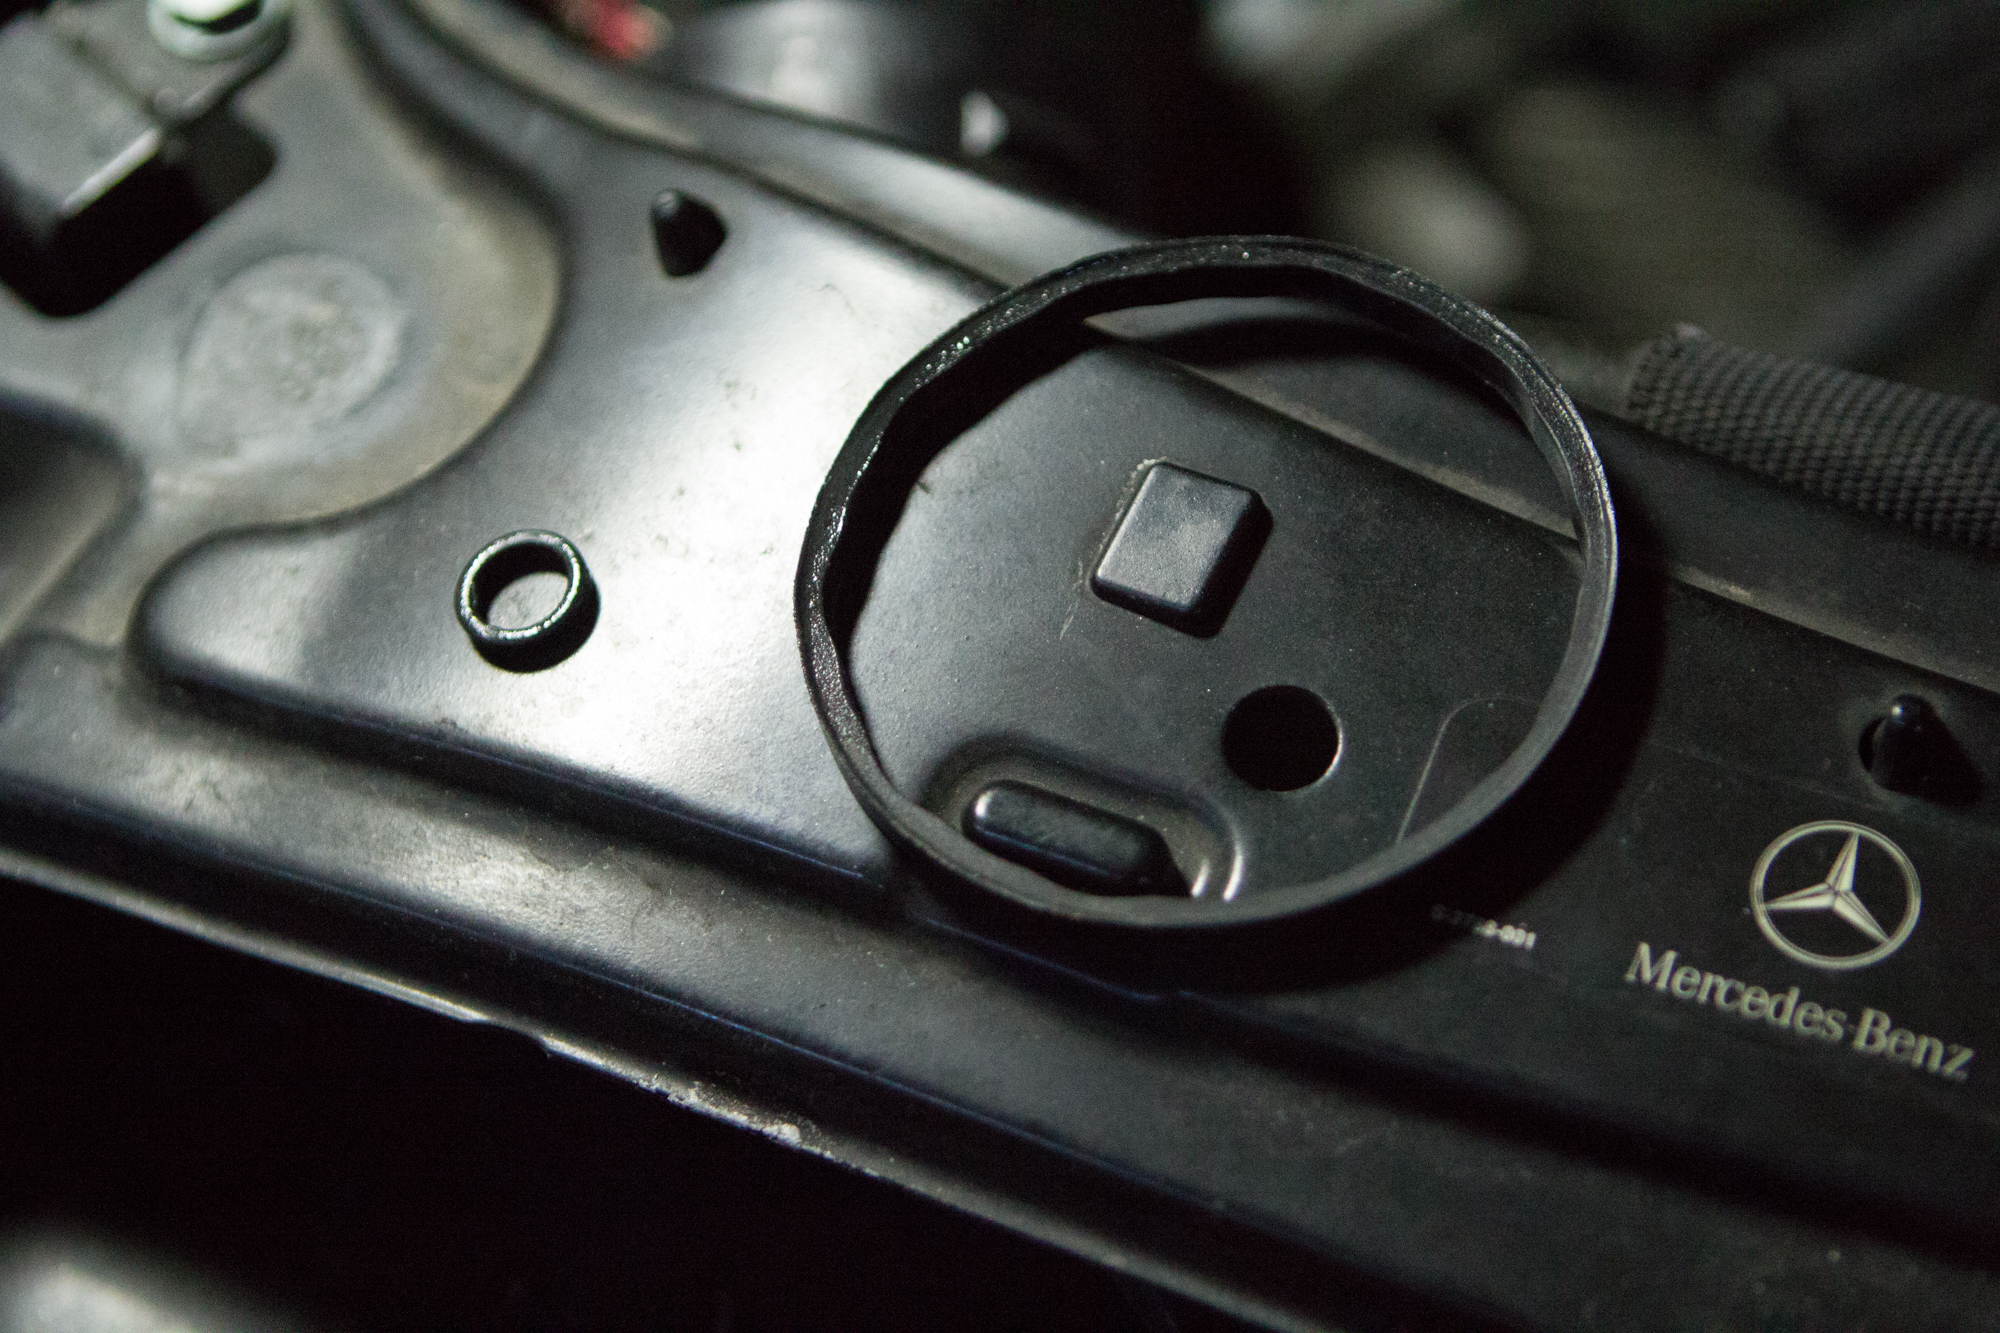
It’s also worth noting that when you remove both the thermostat and the coolant temperature sensor, there are rubber rings that you must remove before installing each new component, otherwise the parts will not fit correctly. This was easy to spot on the thermostat (below), but on the coolant temperature sensor, it might not be so obvious. For that sensor, there’s a C-clip. If it takes any force to put on, you’ve doubled up the rubber O-rings and you’ll need to take the C-clip out and remove one O-ring.
With water pump, coolant temperature sensor and thermostat all back in place, you can put the serpentine belt back on and button everything back together. Don’t forget to put the drain plug back into the radiator as well.
In all, it’s not a difficult job to do, but there are obviously some precautions to take to make the process a lot easier. If I have saved someone from getting a headache, then I’ve done the job right.