When you click on links to various merchants on this site and make a purchase, this can result in this site earning a commission. Affiliate programs and affiliations include, but are not limited to, the eBay Partner Network.
190E 2.6L 1989, 190E 2.6L 1988, BMW 535dXdrive 2014, BMW 428i 2015
Turn Signal Stalk/Light Panel Decal Review
Folks, I have been working with the seller mofaraz for the last couple weeks on his Decals.
I am very satisfied with the results and I would say the last blemish with the interior of my car is now taken care of after about 4 years of restoration.
I have no relations to mofaraz just a happy customer, and I did not clutter his post so here goes mine.
(1) The installation is somewhat tedious and time consuming but the results are very good. As good as the original
(2) This is the only way you can restore the cruise control and turn signal signage and finish to the original condition. Mercedes does not even make the same stalk any longer, instead they have a super-seeded part number that has different signage, so the look will change. Turn signals are $250 full retail, $187+tax wholesale. Other option is aftermarket for ~$60. Not sure about the cruise control. Replacement will require you to remove the steering wheel as well. Aftermarket was not an option for me as nothing on the car is aftermarket really. The decals are a fraction of these costs of course.
(3) I have to warn everyone, you need the "knack" for arts & crafts and a degree in PATIENCE to have success with this. If you have both read on ....
(4) Removal of the old lettering takes time with brake fluid but that is the only way I would do it. It may take as many as 2 days of soaking and wiping and brushing
(5) Sometimes the decal letters may come off or stick to the protective backing so tape the protective backing together with the decal to the stalk, then slide the backing out.
(6) For best alignment always burnish from the side of the arrows to the right (LHD) so that the arrows on the opposing faces line up at the end.
(7) The decals will need clear coat to protect them. Otherwise alcohol or maybe even mild cleaners will take them off. Or they will just rub out. I used Tamiya Flat clear. It is the most forgiving finish and even covers blemishes on the plastic. Looks brand new after done. I would do a minimum of 3 thin coats. It also looks like the rest of the plastic in the car.
(8) Even if you are not going to do this process, I would highly recommend clear coating the stalks you have and the light switch plate. My light switch plate had good lettering so to preserve it I applied the clear coat, looks better now and should last the life of the car.
Below are the pictures, Before and After. Since this is long I will post some pictures I took during the process separately.
- Cheers!
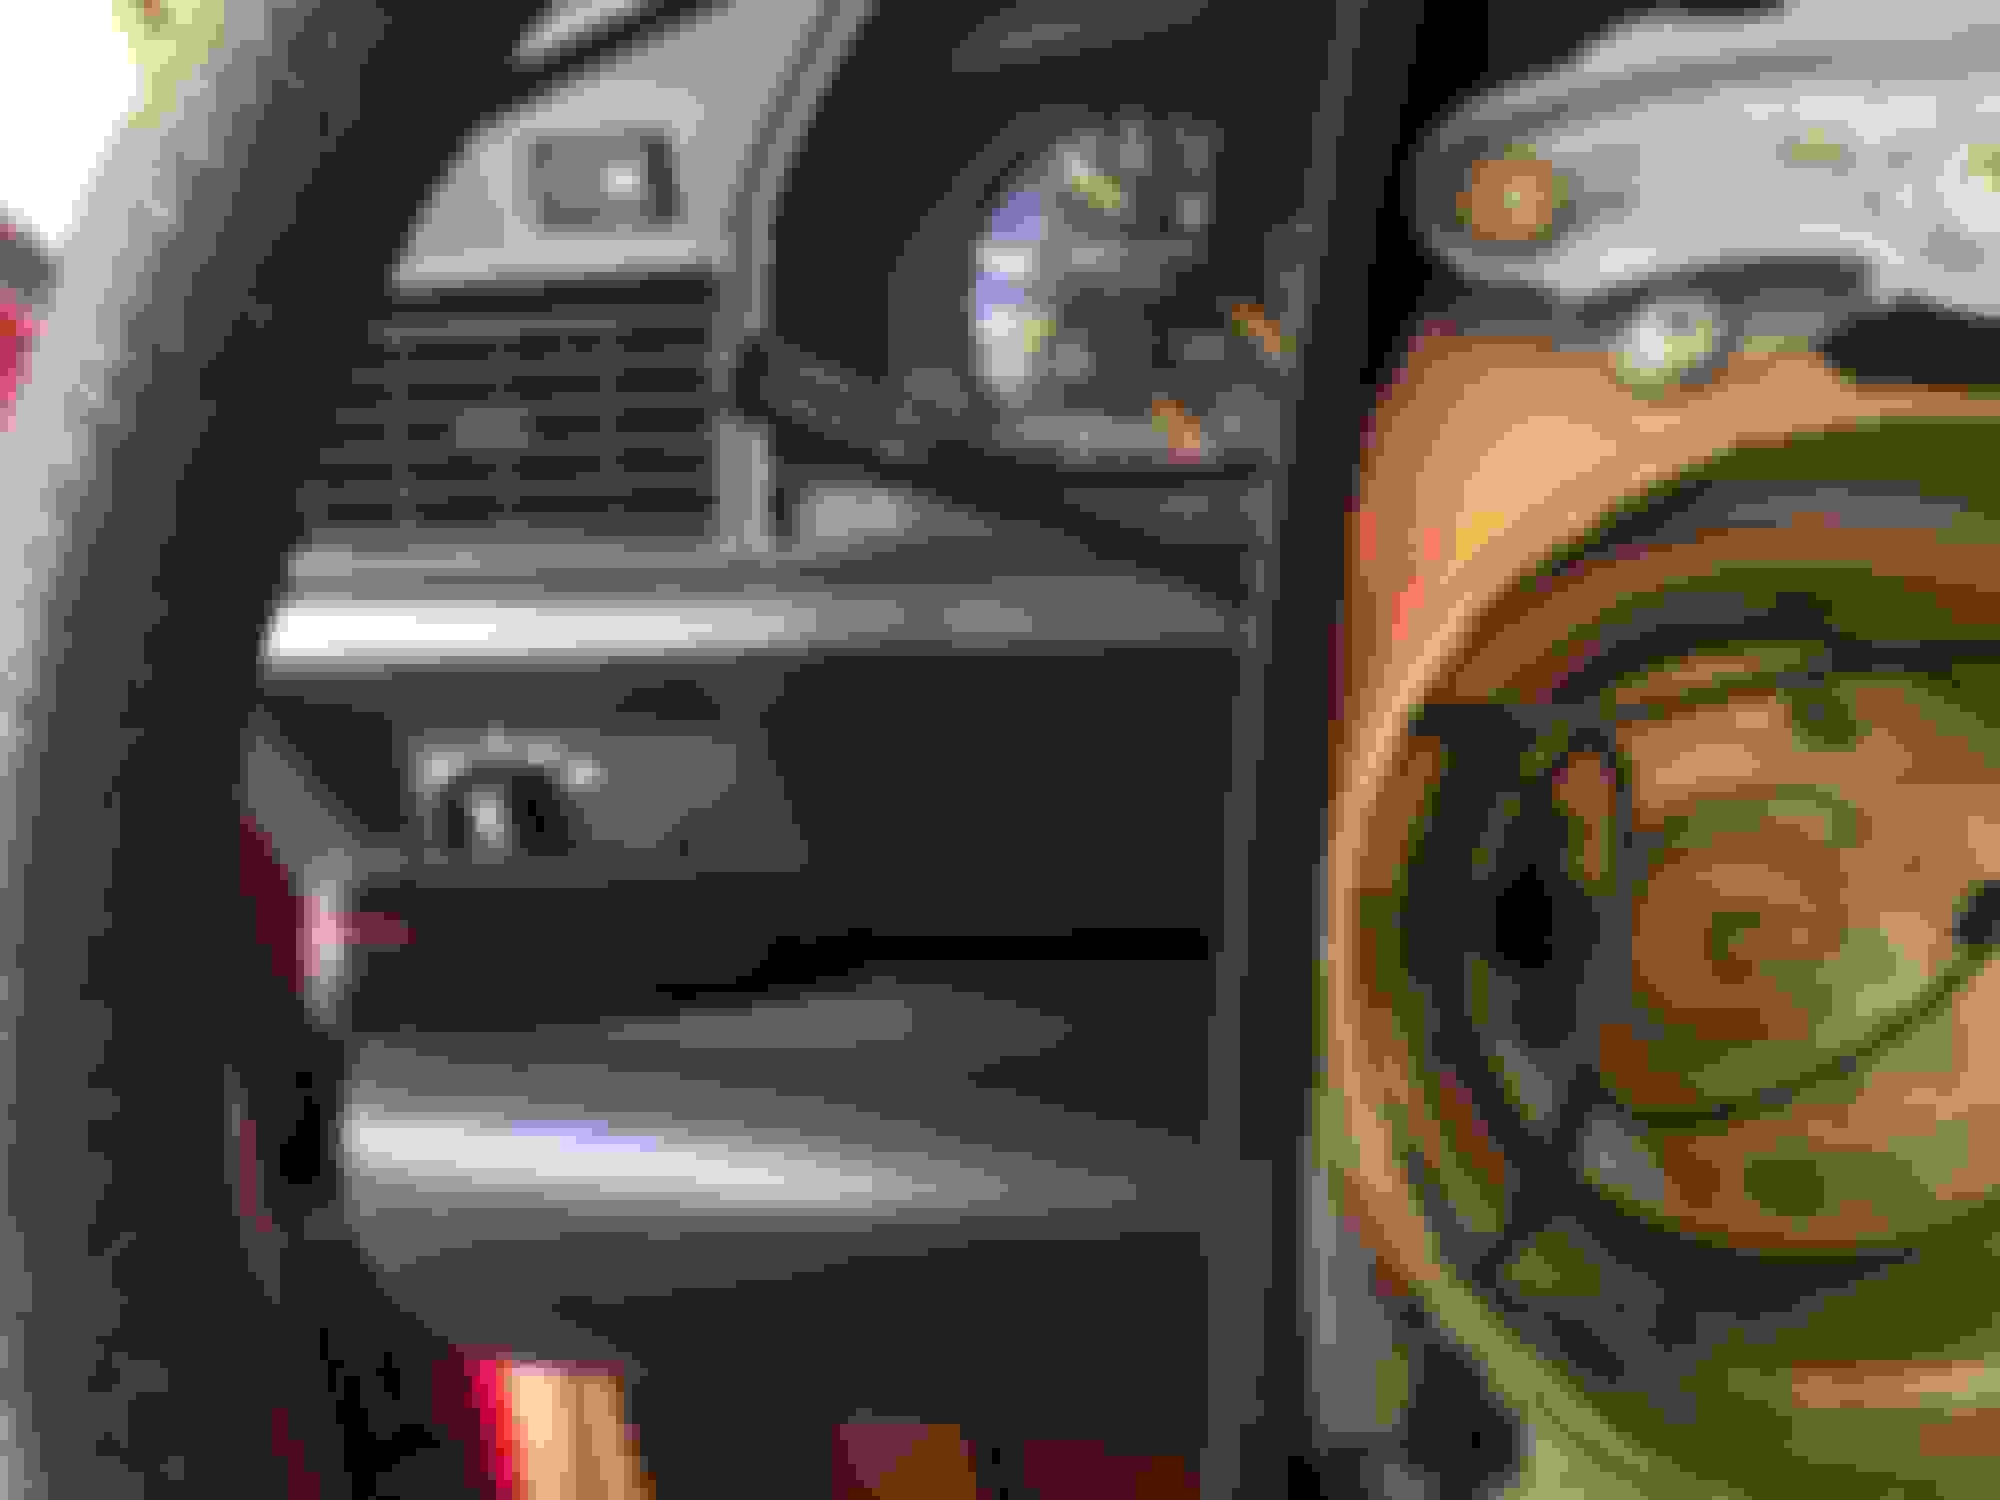
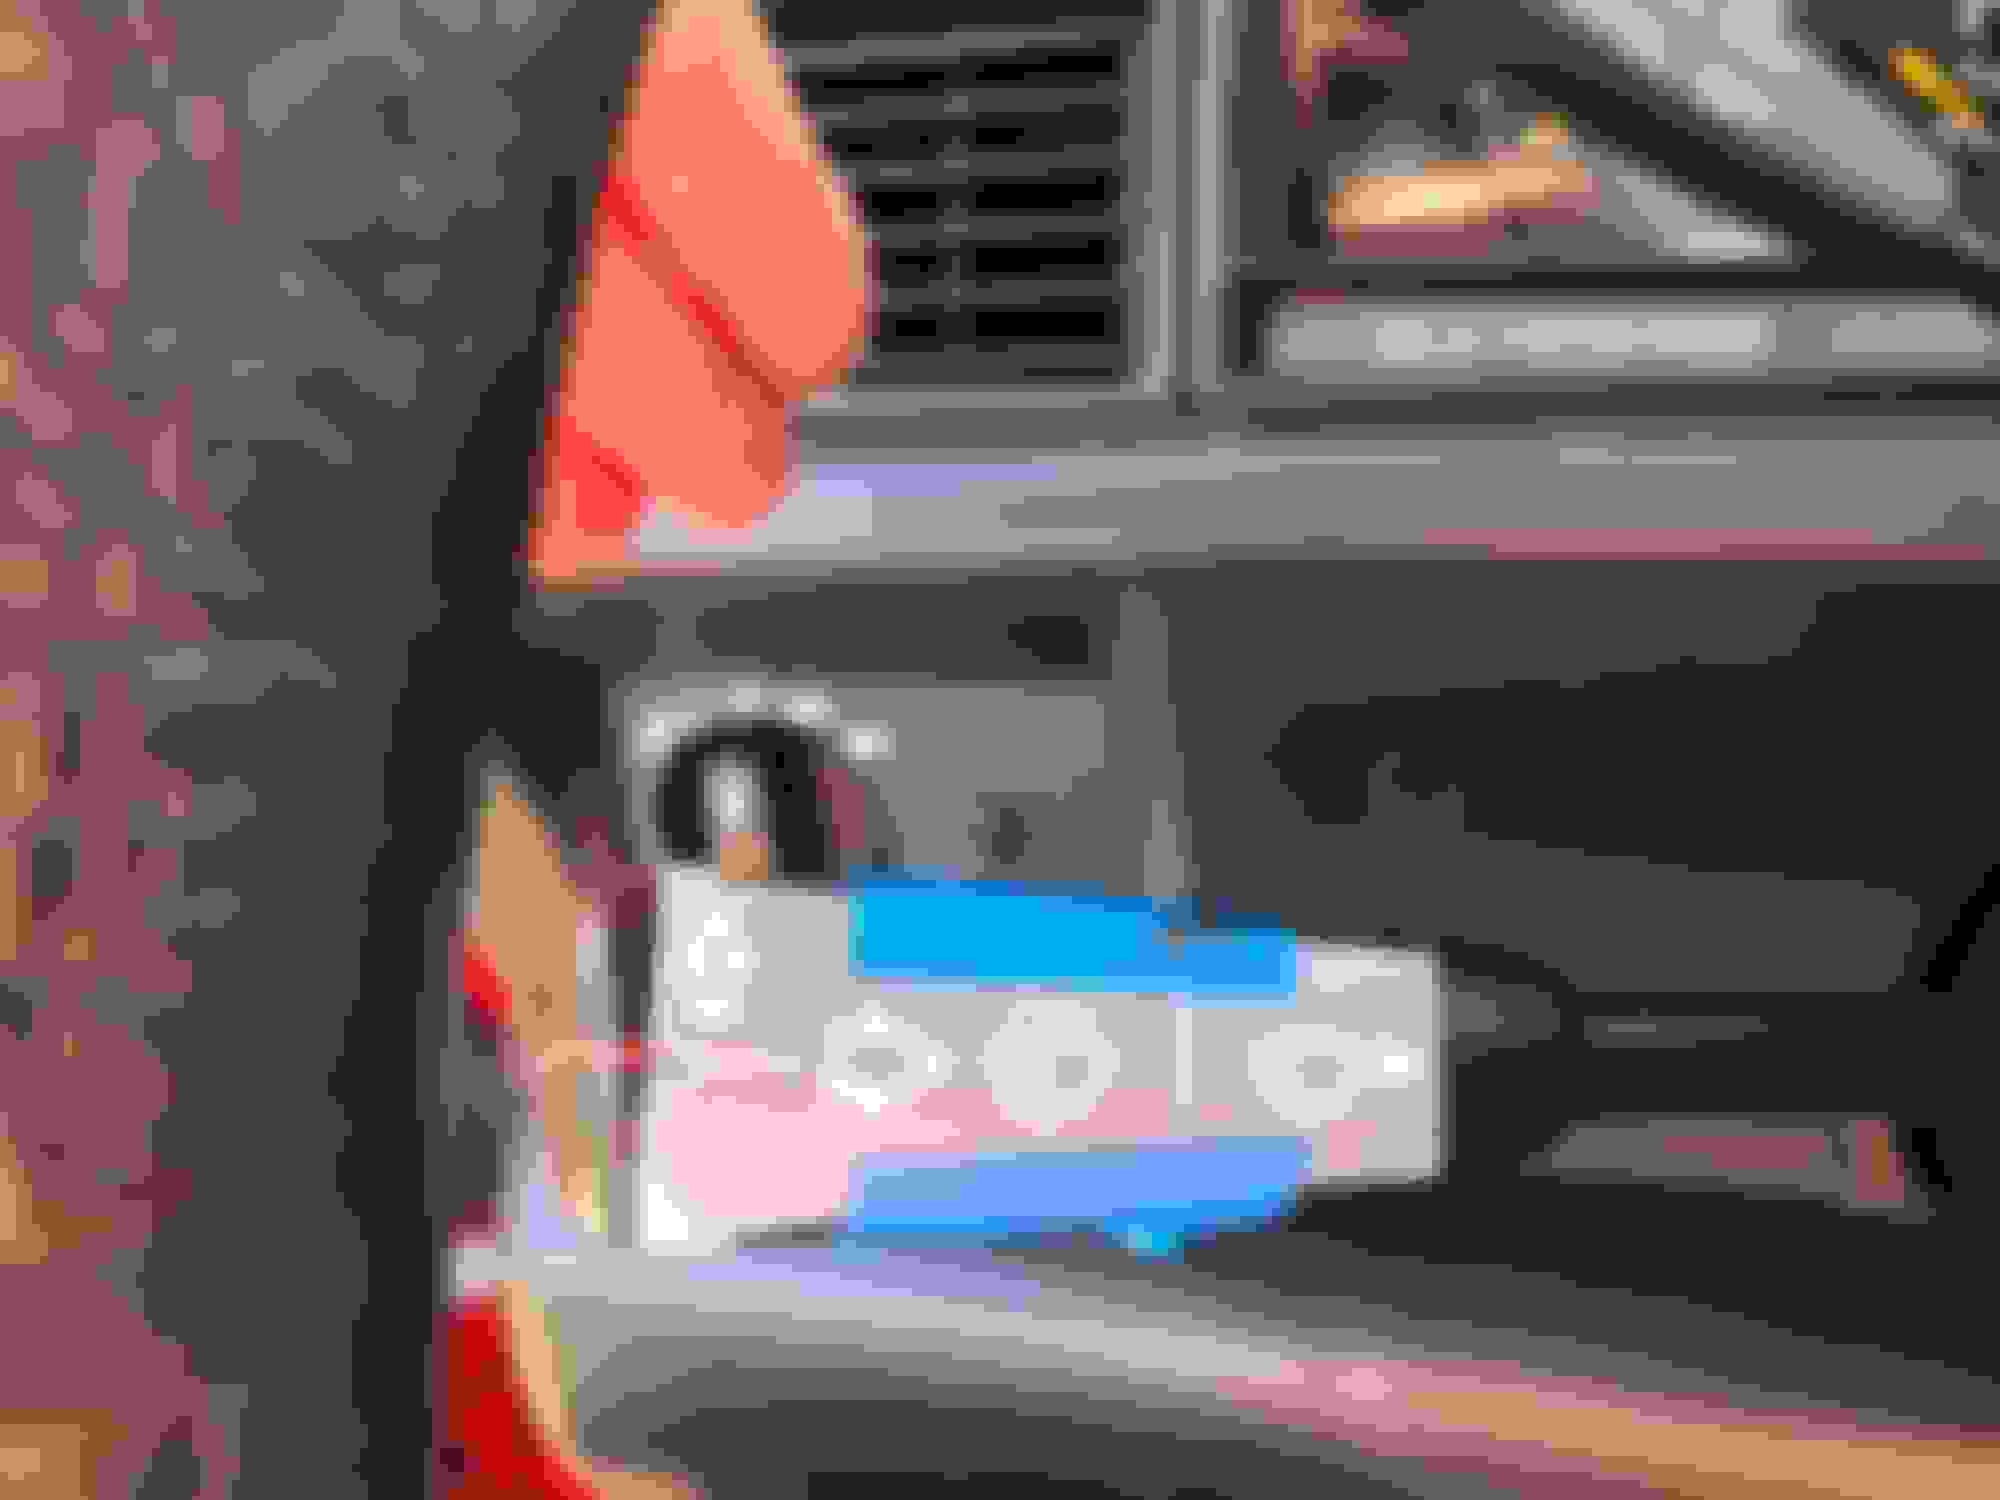
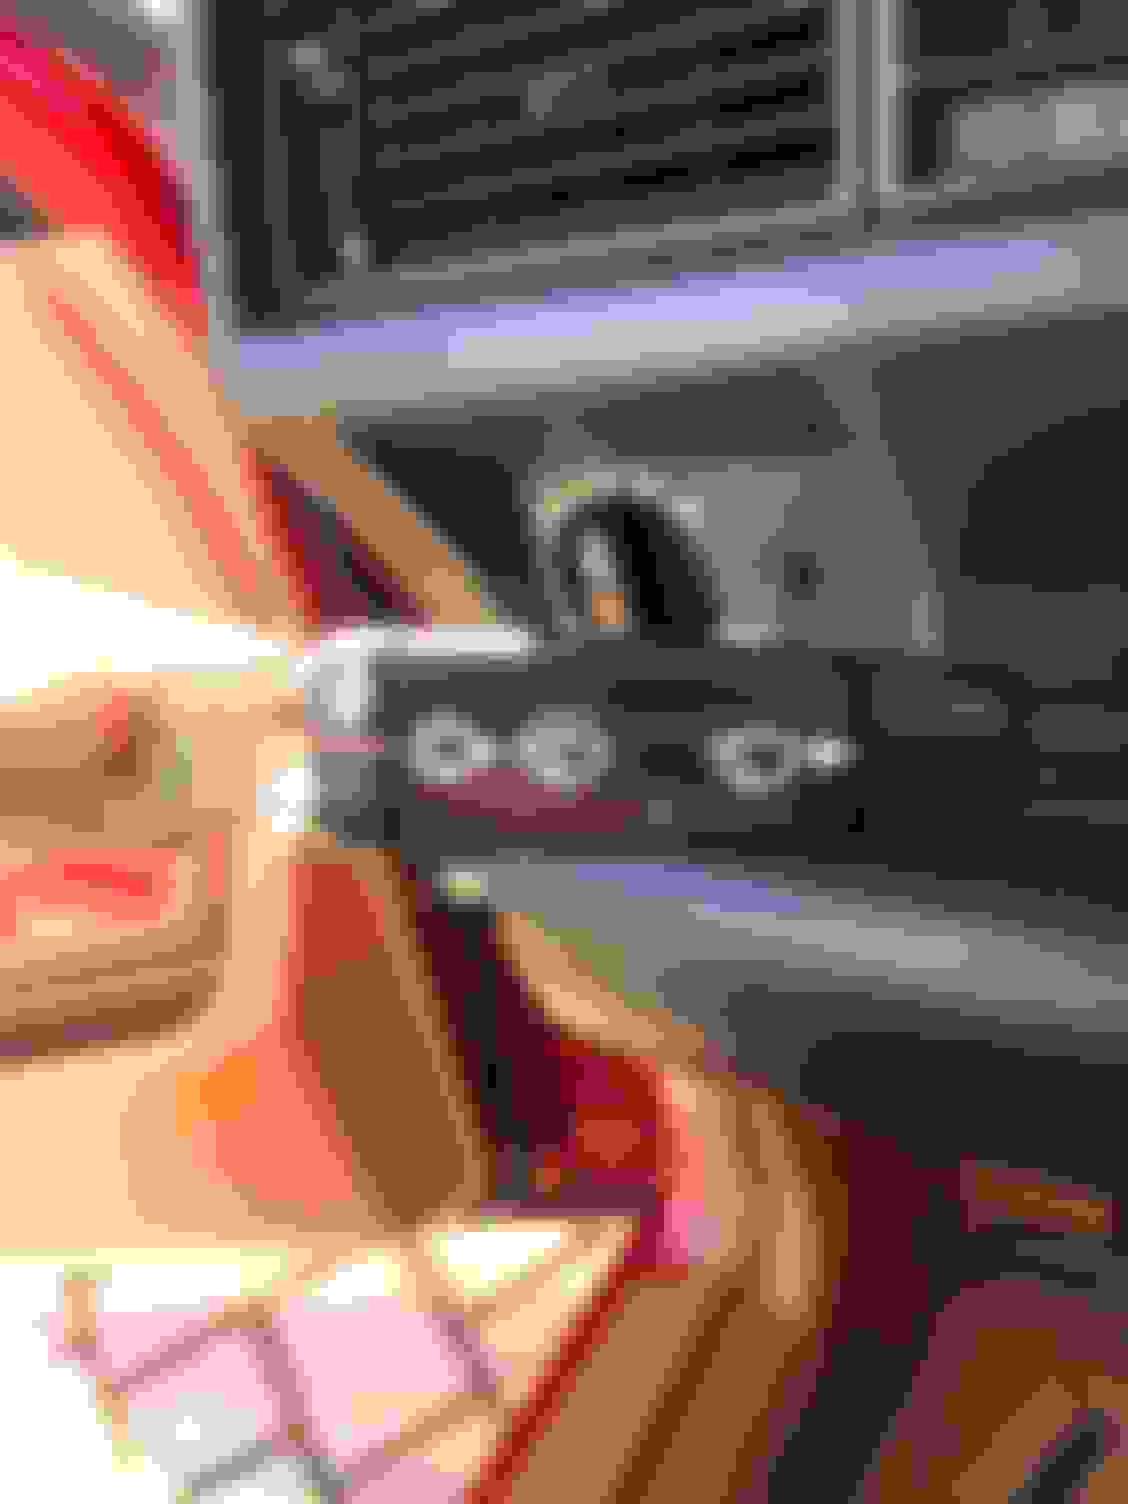
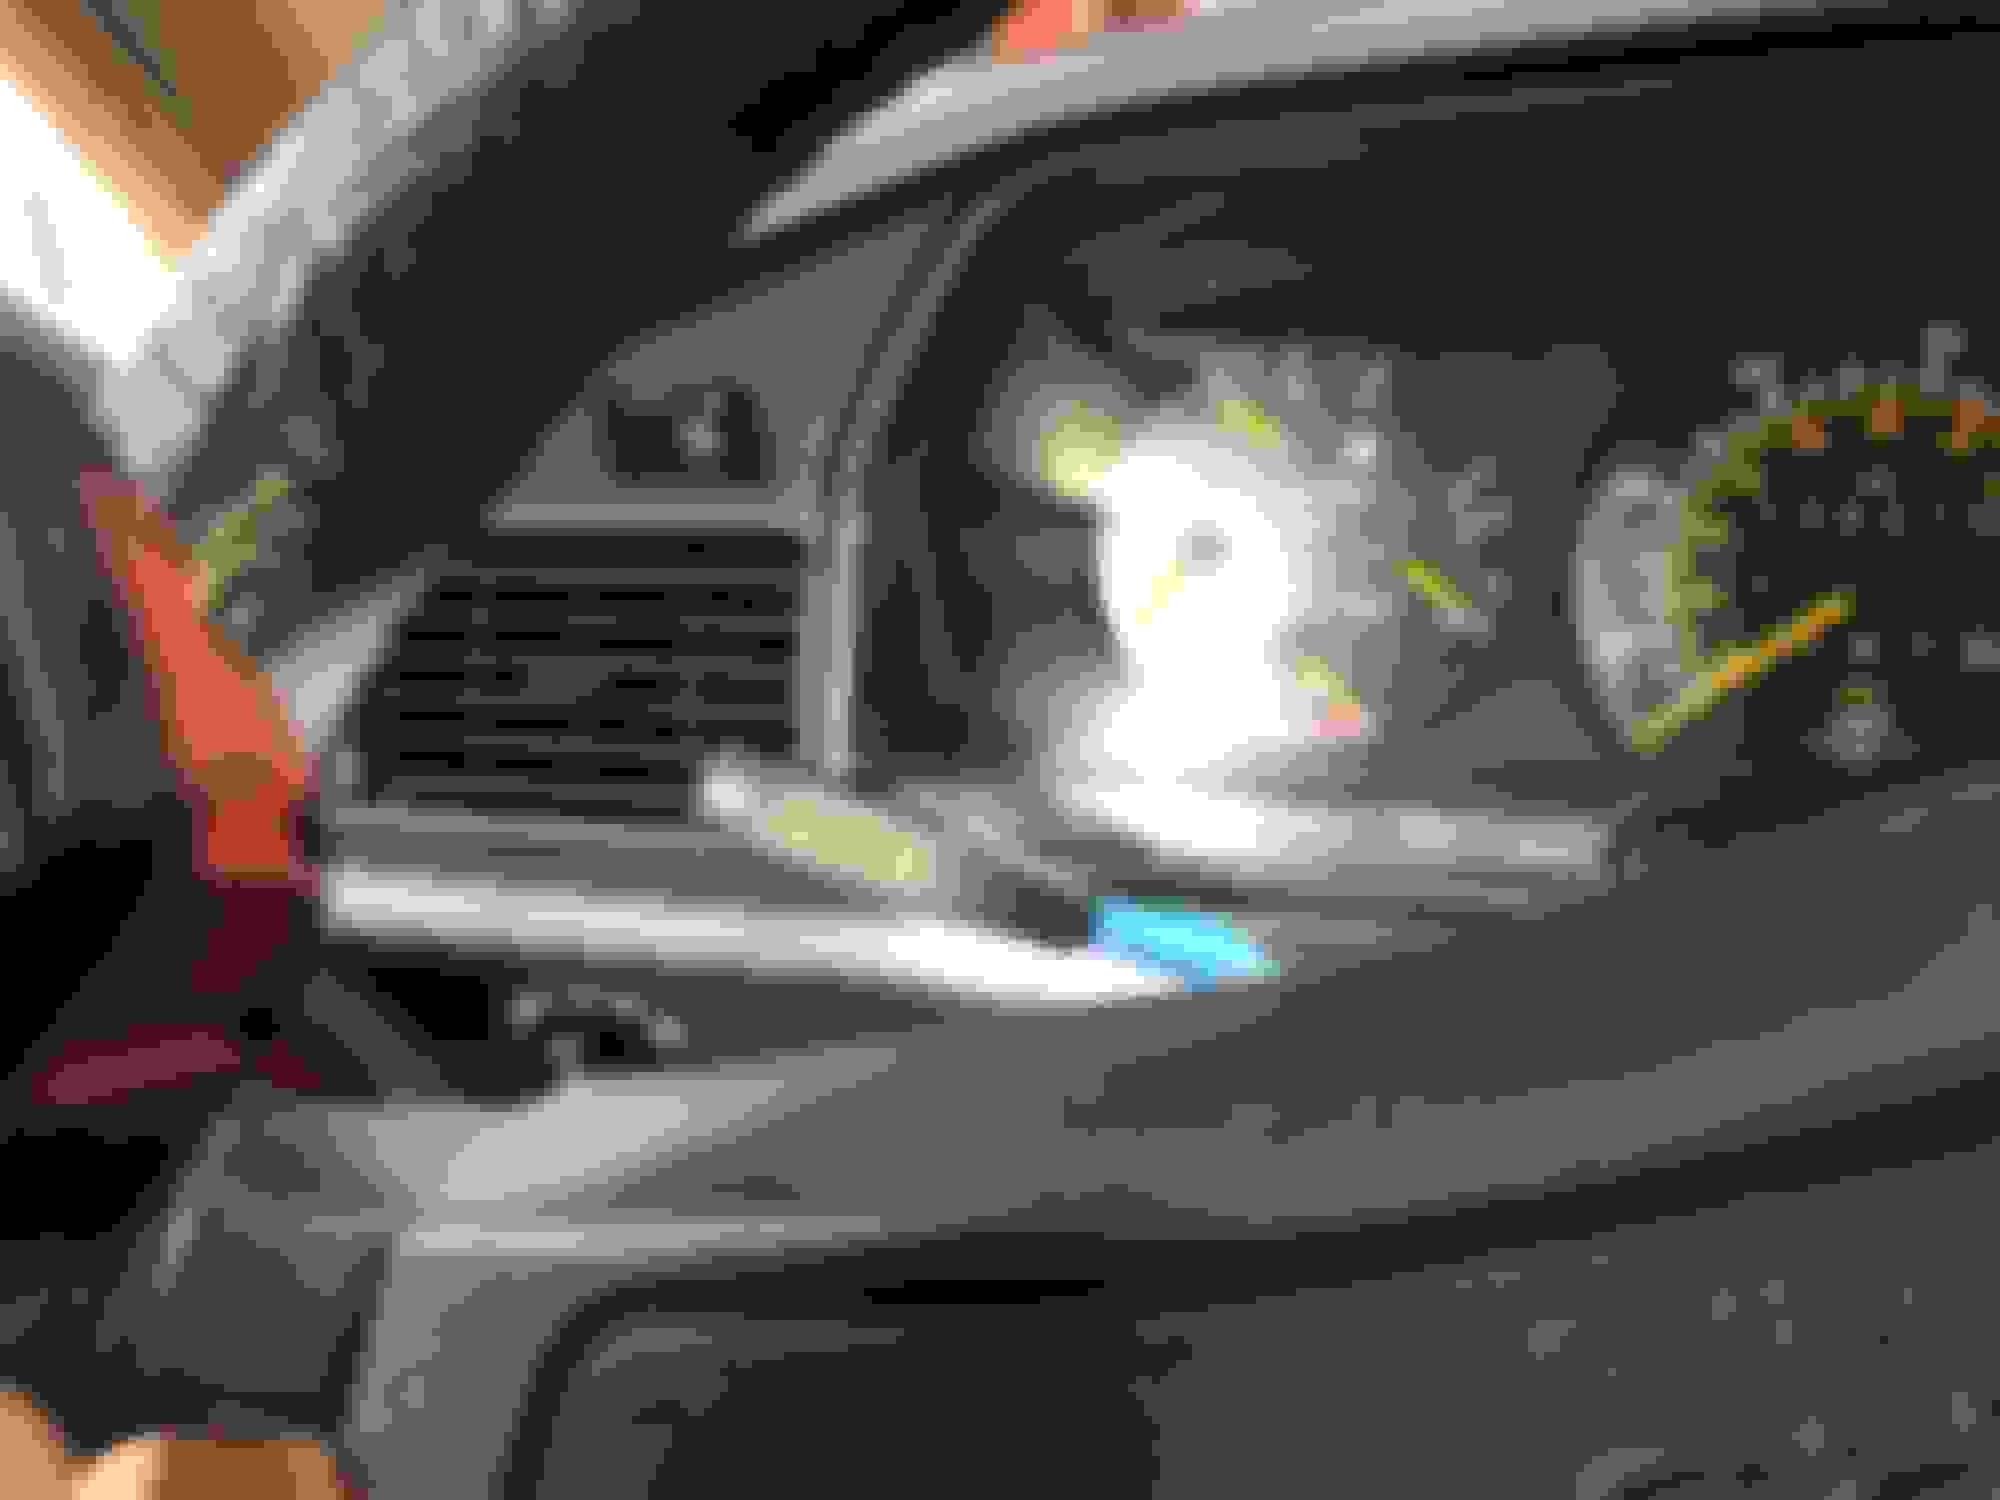
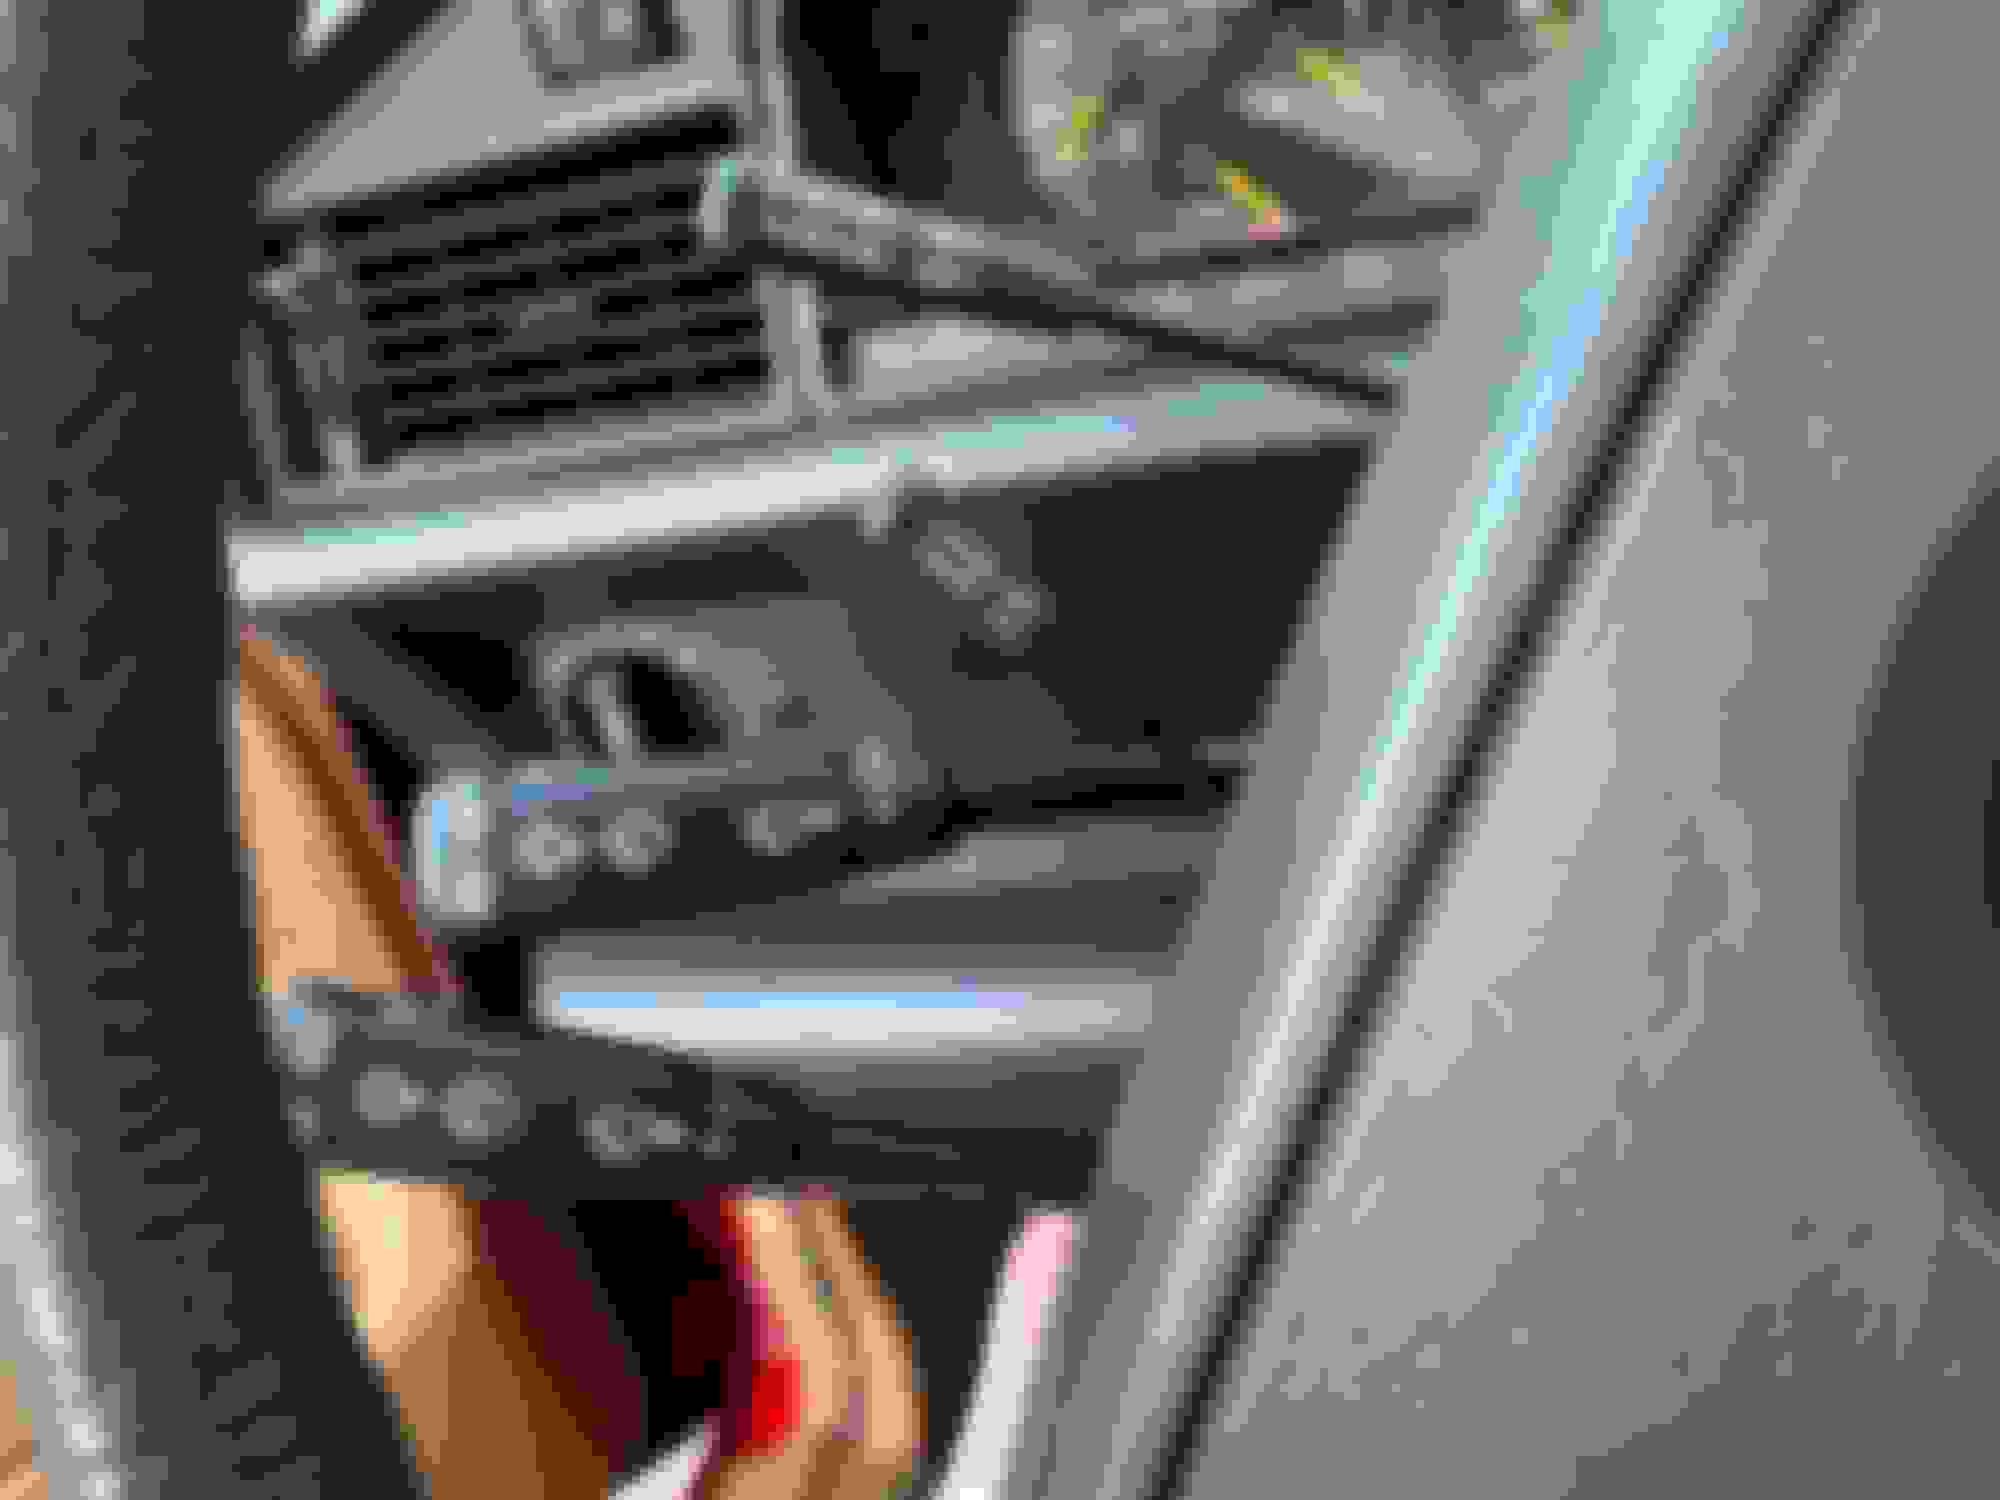
This is how they looked prior to removal. Cruise top was nearly all off but forward facing was mostly in tact but faded. Turn signal almost all gone. Notice the alignment marker tape on the end I applied.
Finished Product Finished product, different angle
Last edited by dolucasi; Nov 21, 2021 at 09:29 PM.
Reason: typo's
190E 2.6L 1989, 190E 2.6L 1988, BMW 535dXdrive 2014, BMW 428i 2015
A few more pics and tips
Same deal with the wiper markers. Make sure you burnish starting with zero. The arrow needs to line up with the zero marker and this avoids any misalignment due to slippage.
Notice the back plate of the headlight plate is missing in this photo, that's because I took it off the clear coat it to preserve it.
Done with the turn signal stalk and applied 3-4 more applications of clear coat
Time to clean the cruise control. I did them in order but it is best to clean both first. This one took nearly 48 hours of soaking and brushing occasionally. I used a take-away salad cup (cut up) as a wash basin. Brake fluid will stain paints and coats.
This is what you may get after you remove existing signage. This is because the paint was still in tact for 30 years and the plastic weathered differently under the paint and where there is no paint. Don't panic and apply your decal AFTER all the paint is removed and you are left with texture difference.
and we are done with that too. See the original letter texture marks are all gone after even the first layer of clear coat application.
And once more the final result. - Cheers!
Last edited by dolucasi; Nov 21, 2021 at 10:59 PM.
Reason: added a note
Wow! Just Wow.....Let me be the first to congratulate you on this thread -- your interior looks just like new & you did a professional job -- I am impressed
And with your permission of course please allow me to borrow a few of your images to better explain what the finished product looks like -- I know I will be explaining this process again & again in the future.
I also liked the part you decided to clear coat your light panel to help preserve it -- that was a smart move.
Be in touch & if anyone has a direct question for me -- I will try my best to answer it, but this thread is perfect --
LauraS , Today 12:48 PM
Junior Member
Congratulations on a fine presentation of your work in applying the decals. Did you apply the clear coat with a brush or aerosol spray? The finished product looks like factory new.
190E 2.6L 1989, 190E 2.6L 1988, BMW 535dXdrive 2014, BMW 428i 2015
Hi Laura, I used aerosol spray can. It is best for a smooth finish. That is why I had covered all surroundings with newspaper.
I actually have a new turn signal stalk from the factory. I will post a side by side pic when I get a chance. It has a newer looking style of insignia that is different than the original and it obviously was clear coated to protect the painted-on lettering. One can see it. My guess is the reason why the lettering wears out is once the clear coat is gone the lettering does not last long. Which is why most owners who never cleaned these have good lettering. People like me who kept them clean lost the lettering since we did not re-apply clear coat after wear.
190E 2.6L 1989, 190E 2.6L 1988, BMW 535dXdrive 2014, BMW 428i 2015
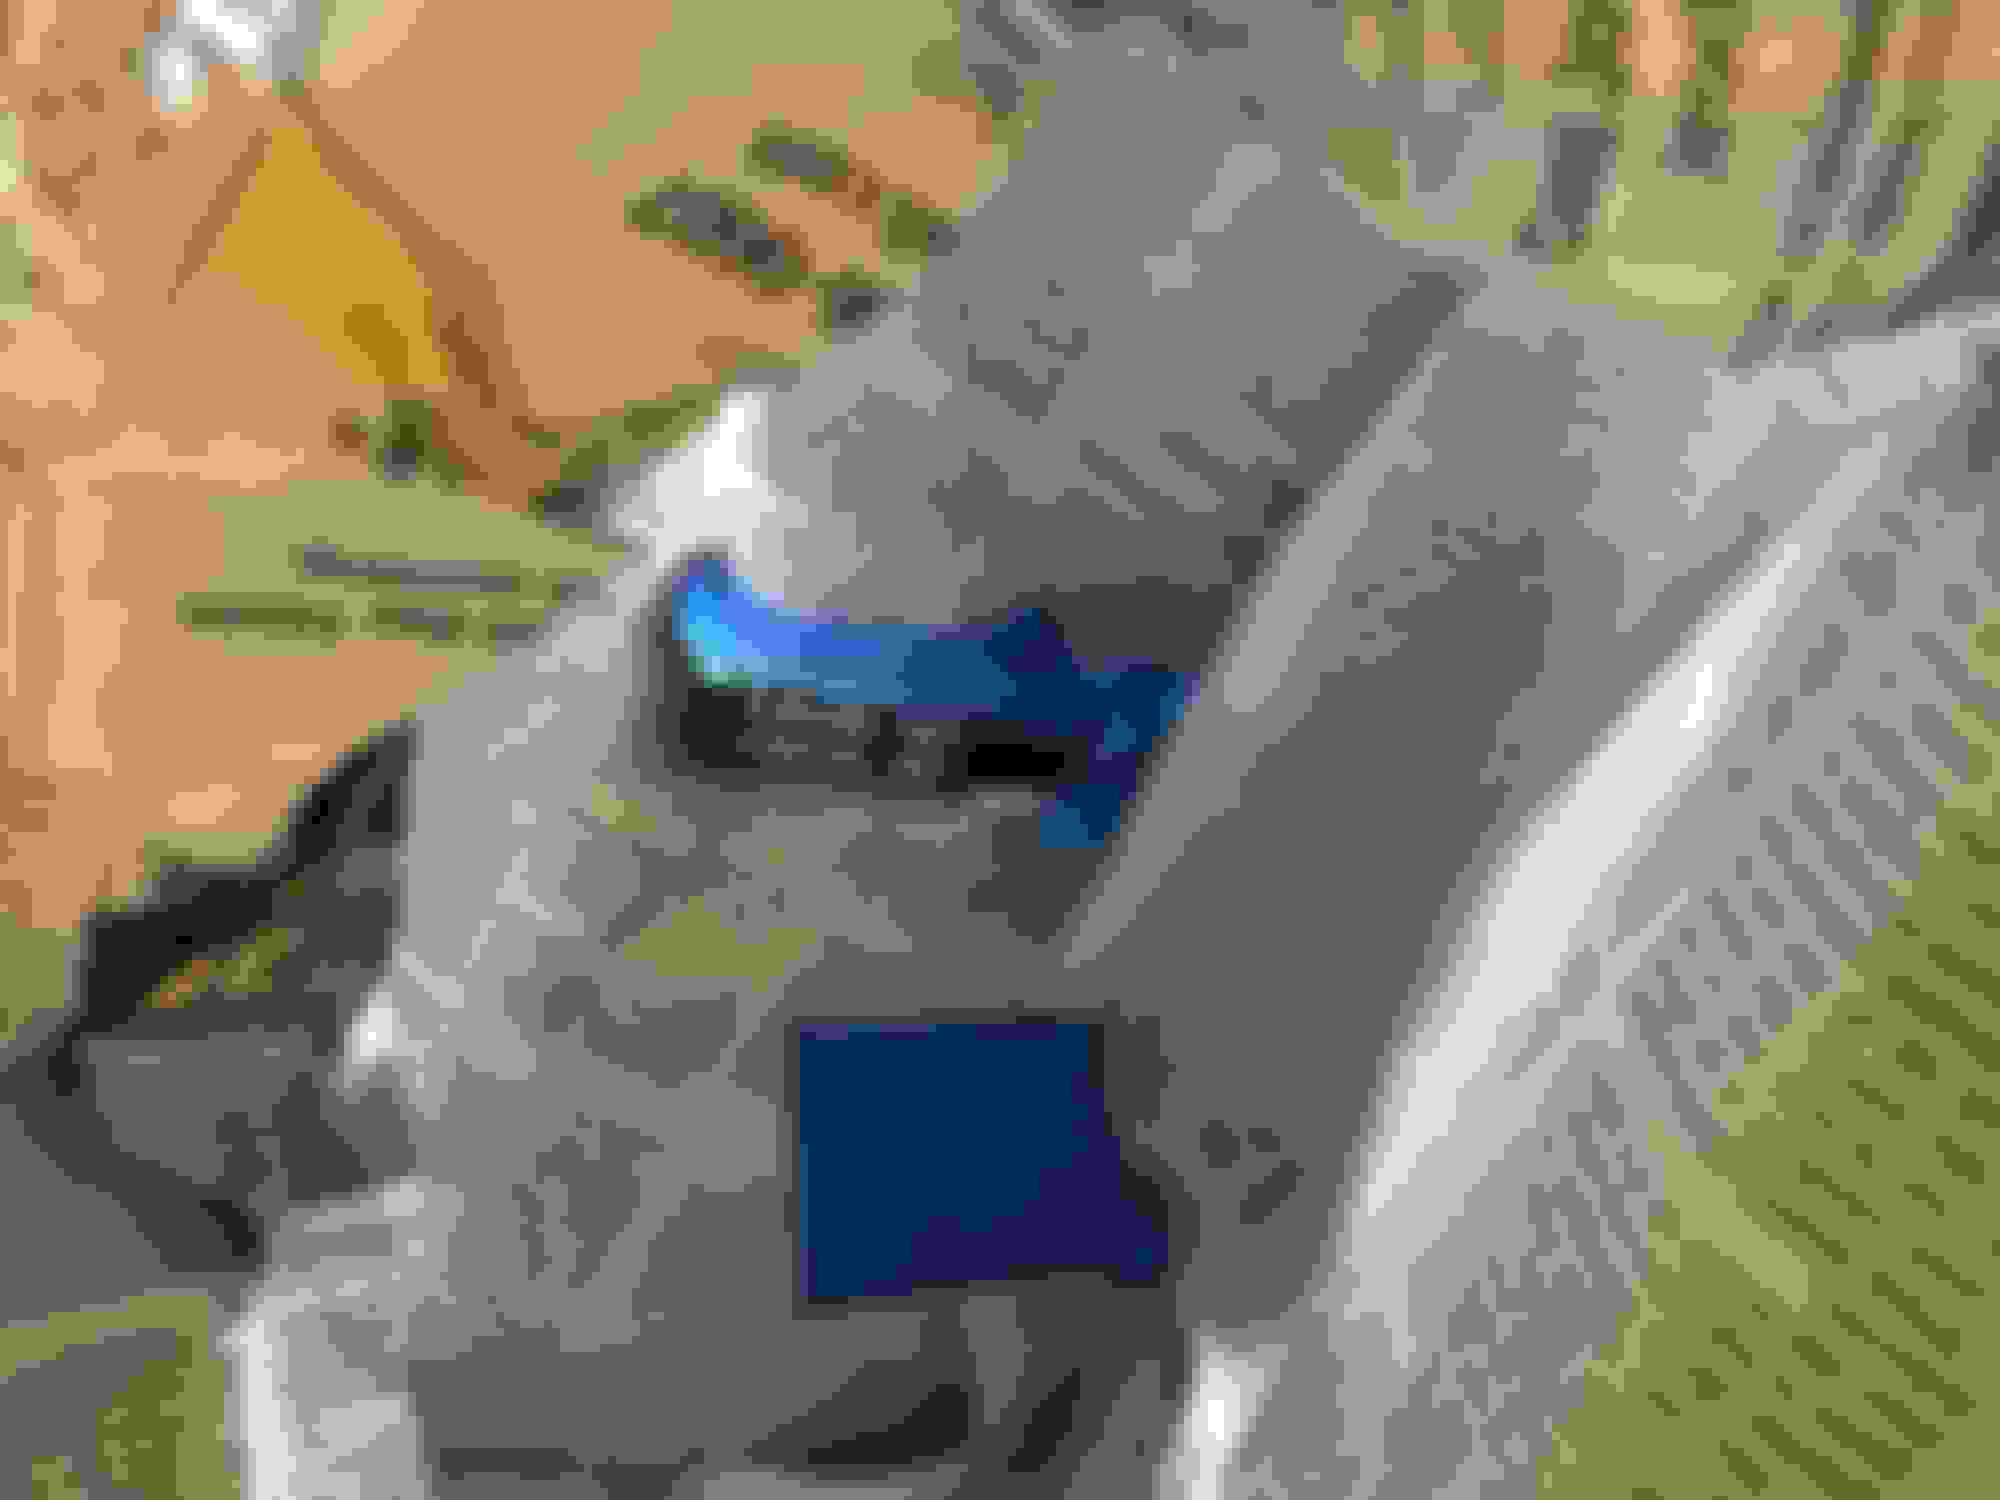
Here is the side by side as promised. The signage on the new stalks from the dealer look more like my late model BMW's. In isolation they look fine but they do not match the existing headlight and cruise control signage in the car. So I prefer the look of the refreshed Decals.
- Cheers!
Great job Dolucassi. I like the look of the original better too. I recently had to replace my wiper blade and it looks like the new MB one is a superseded part as it now has a 3 pointed star clearly visible on the top of the housing. I guess I like the original better but the wiper blade needed to be replaced so I was stuck.
190E 2.6L 1989, 190E 2.6L 1988, BMW 535dXdrive 2014, BMW 428i 2015
I actually have another stalk from a 68K mile W201. You will see that the decal application looks better than that too.
They look the same but the 68K mile one is a bit faded of course (30 years old). This is the best original I have seen in a long time.
I'll post a side by side with that one as well when there is daylight tomorrow.
- Cheers!
I appreciate your pictures, really helps to visualize all of the options. Original, replacement (newer style), and decal kit.
Pretty comprehensive analysis -- look forward to seeing it.
190E 2.6L 1989, 190E 2.6L 1988, BMW 535dXdrive 2014, BMW 428i 2015
Here is the best OEM one I have seen at about 62K miles, happens to be from a '91 model. Seems MB changed the font on the cruise stalk in different model years.
This one's clear coat is rubbing off but still in tact. The arrows on top are gone because that is the most rubbed off portion on the stalk. Side by side with the new decals. The photo does not do justice as the decal one is actually brighter than the JY find in person.
190E 2.6L 1989, 190E 2.6L 1988, BMW 535dXdrive 2014, BMW 428i 2015
Originally Posted by LauraS
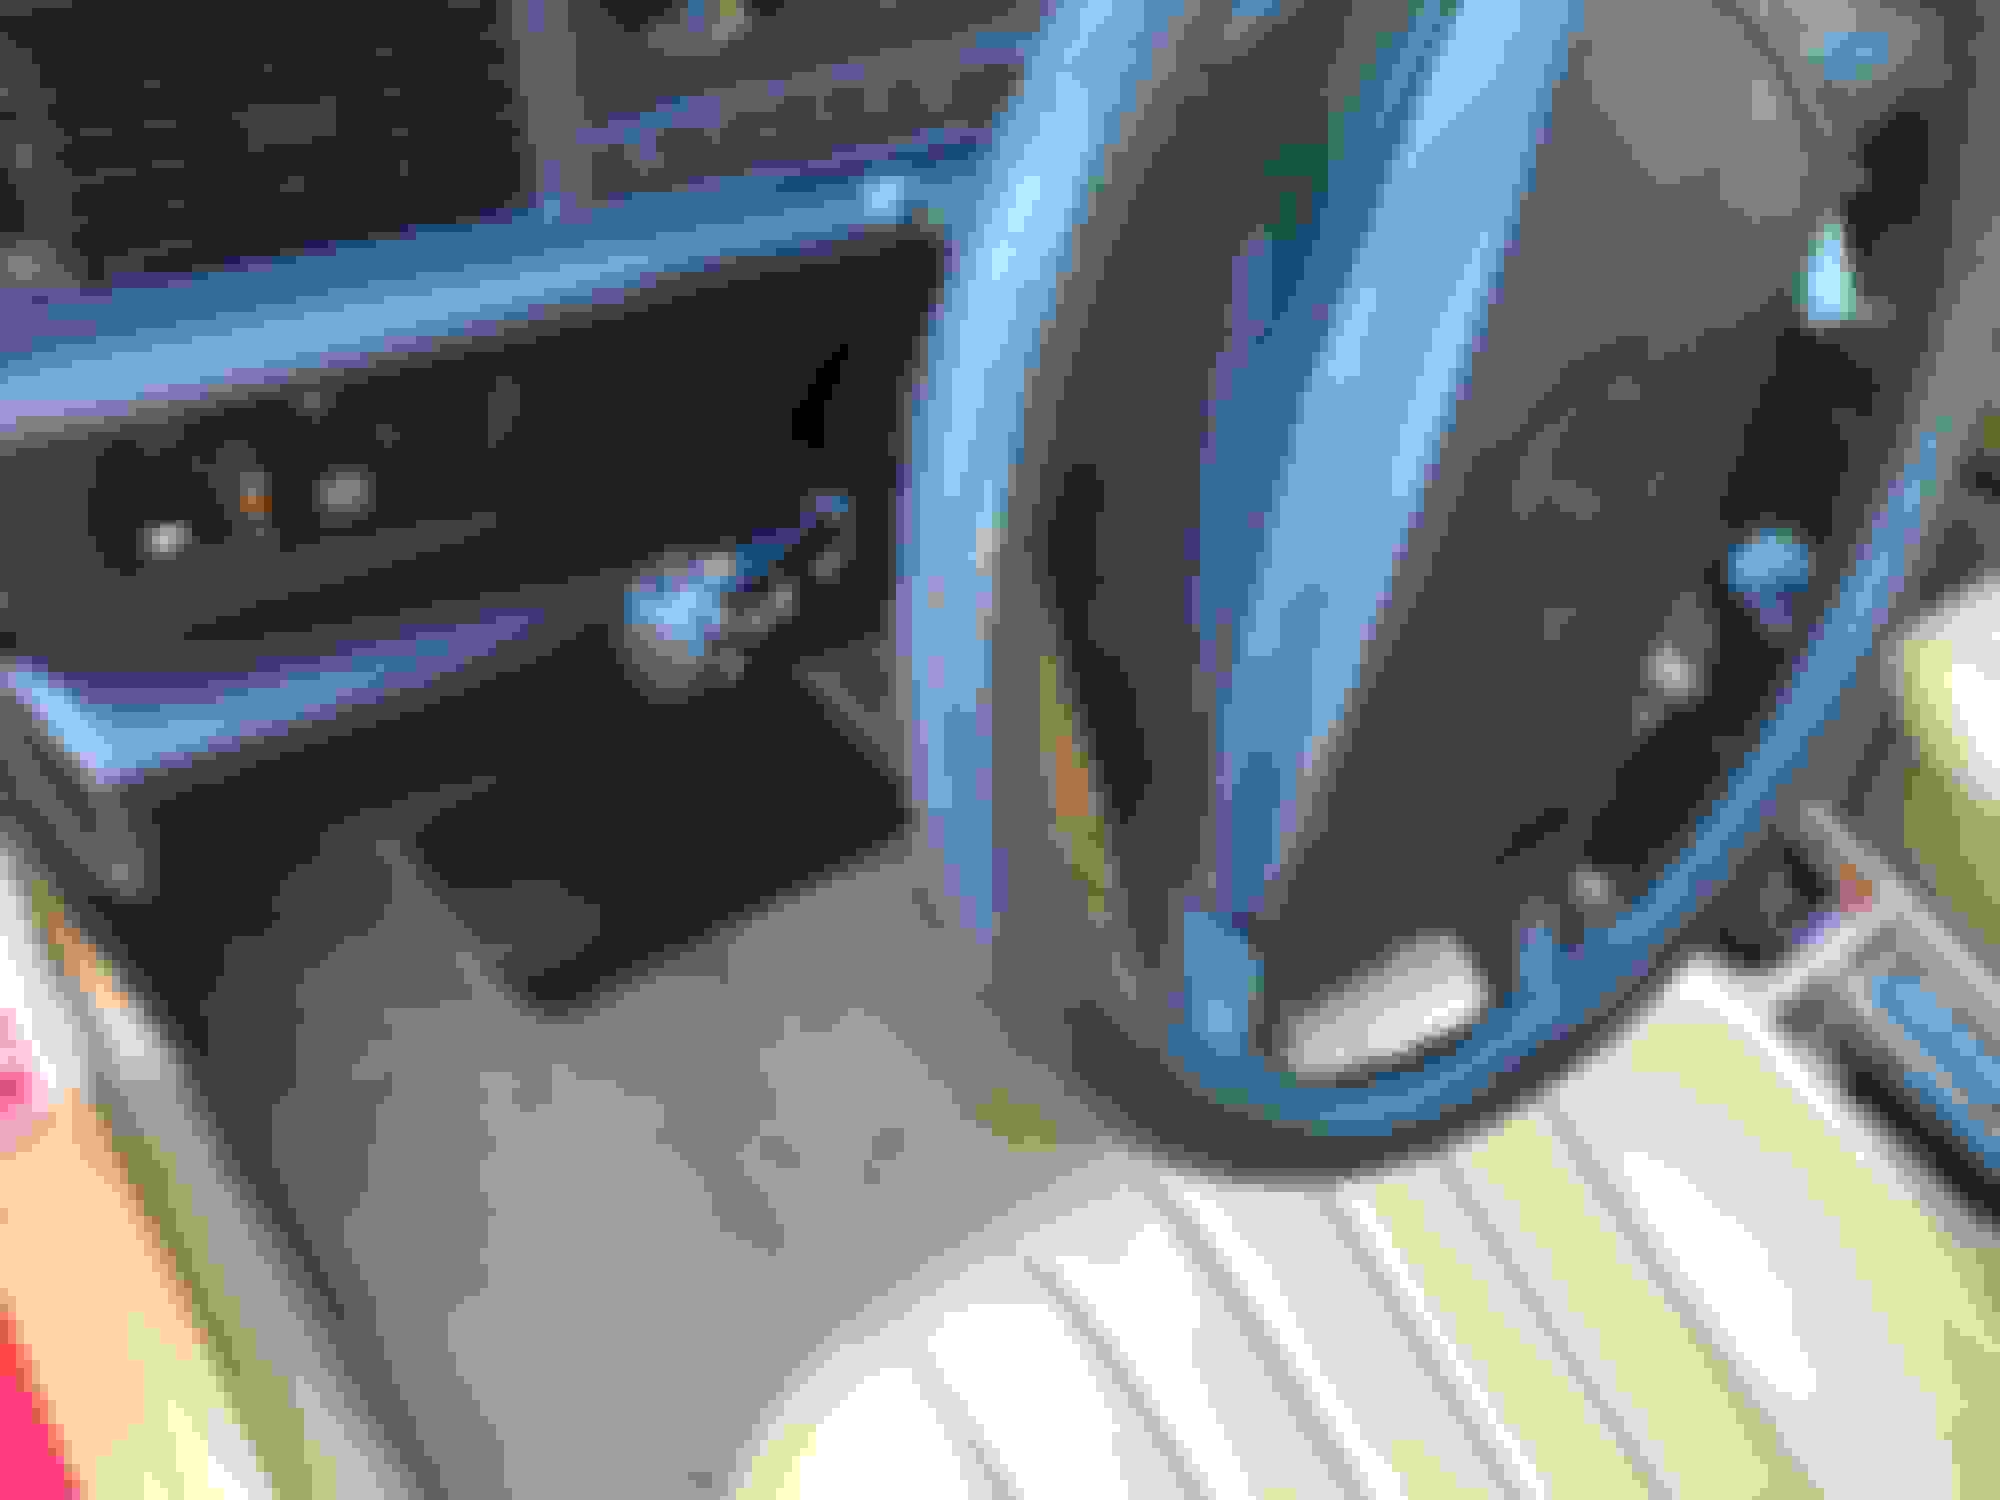
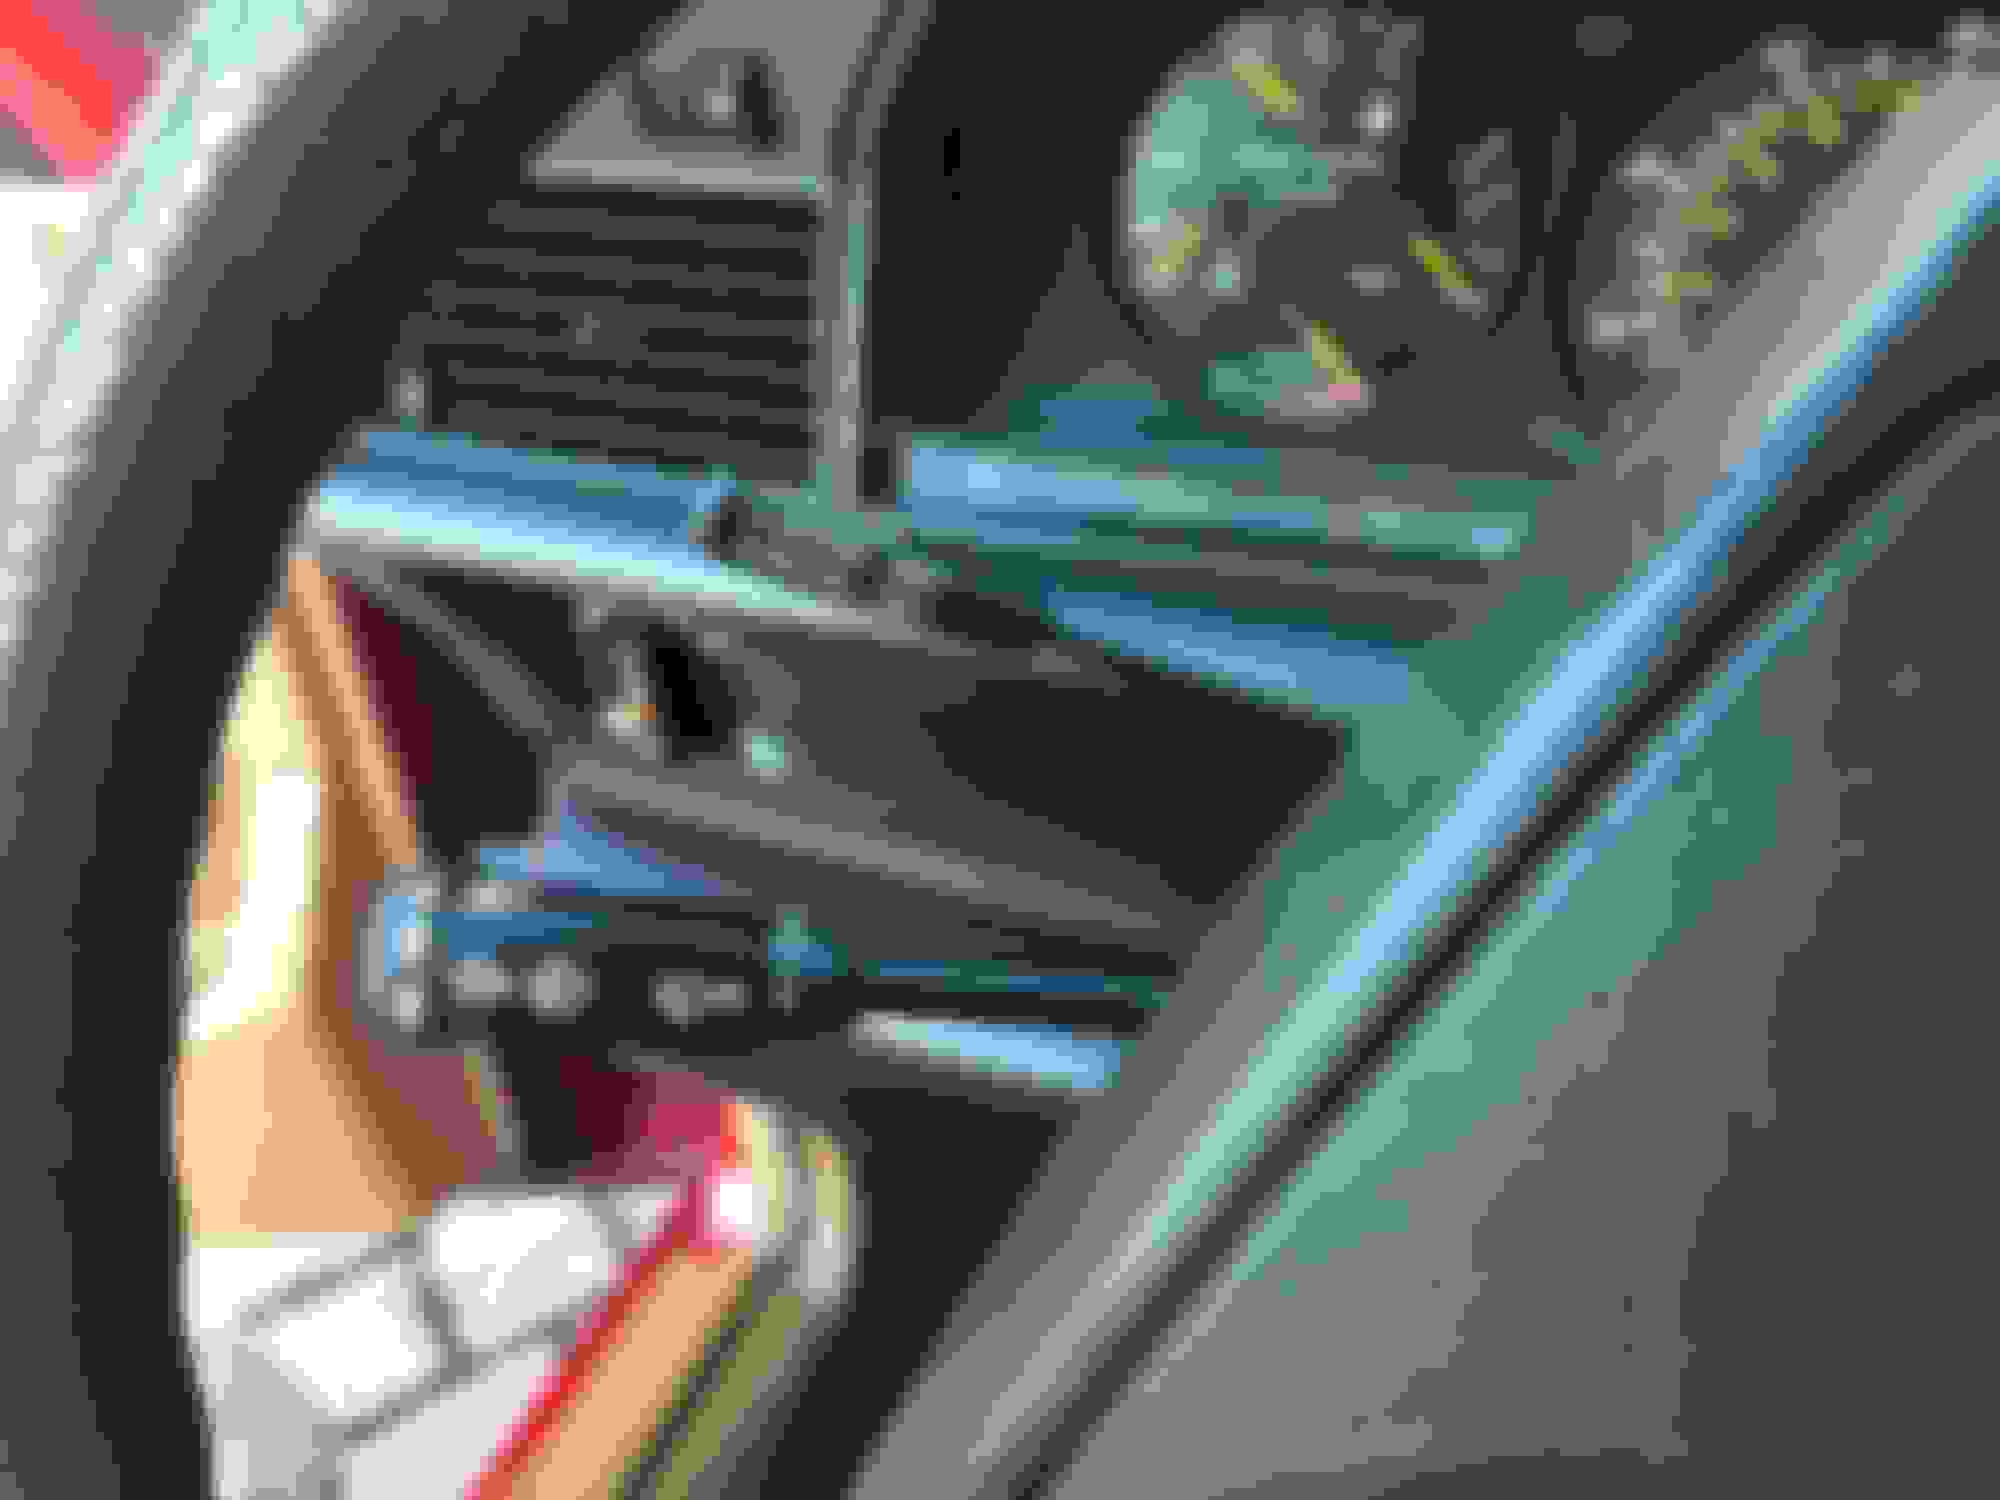
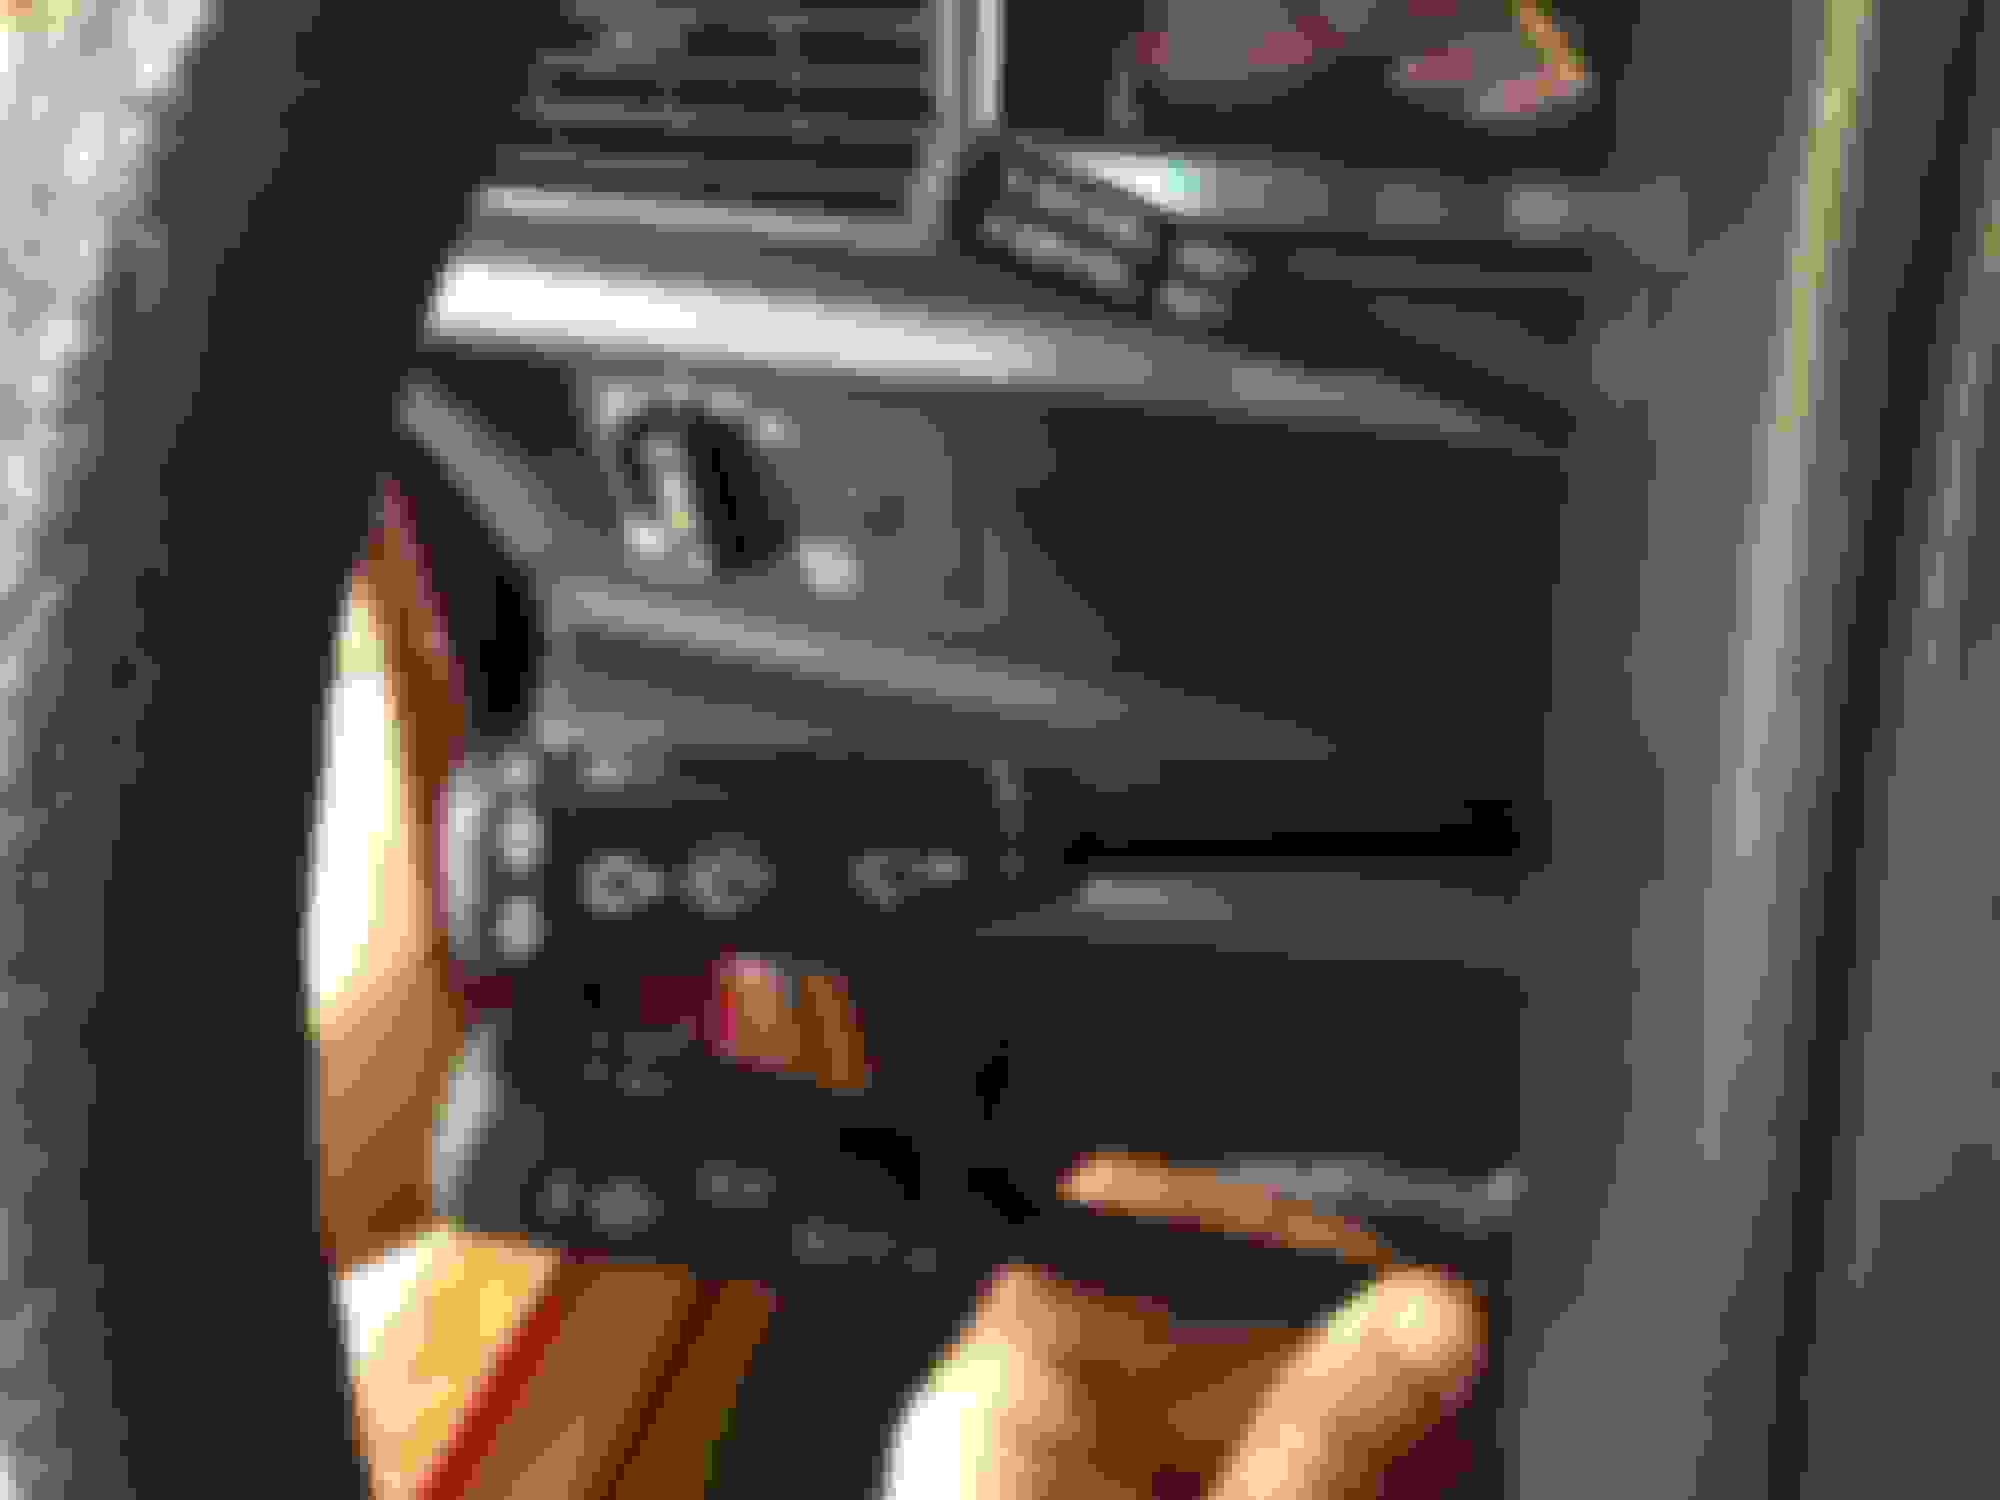
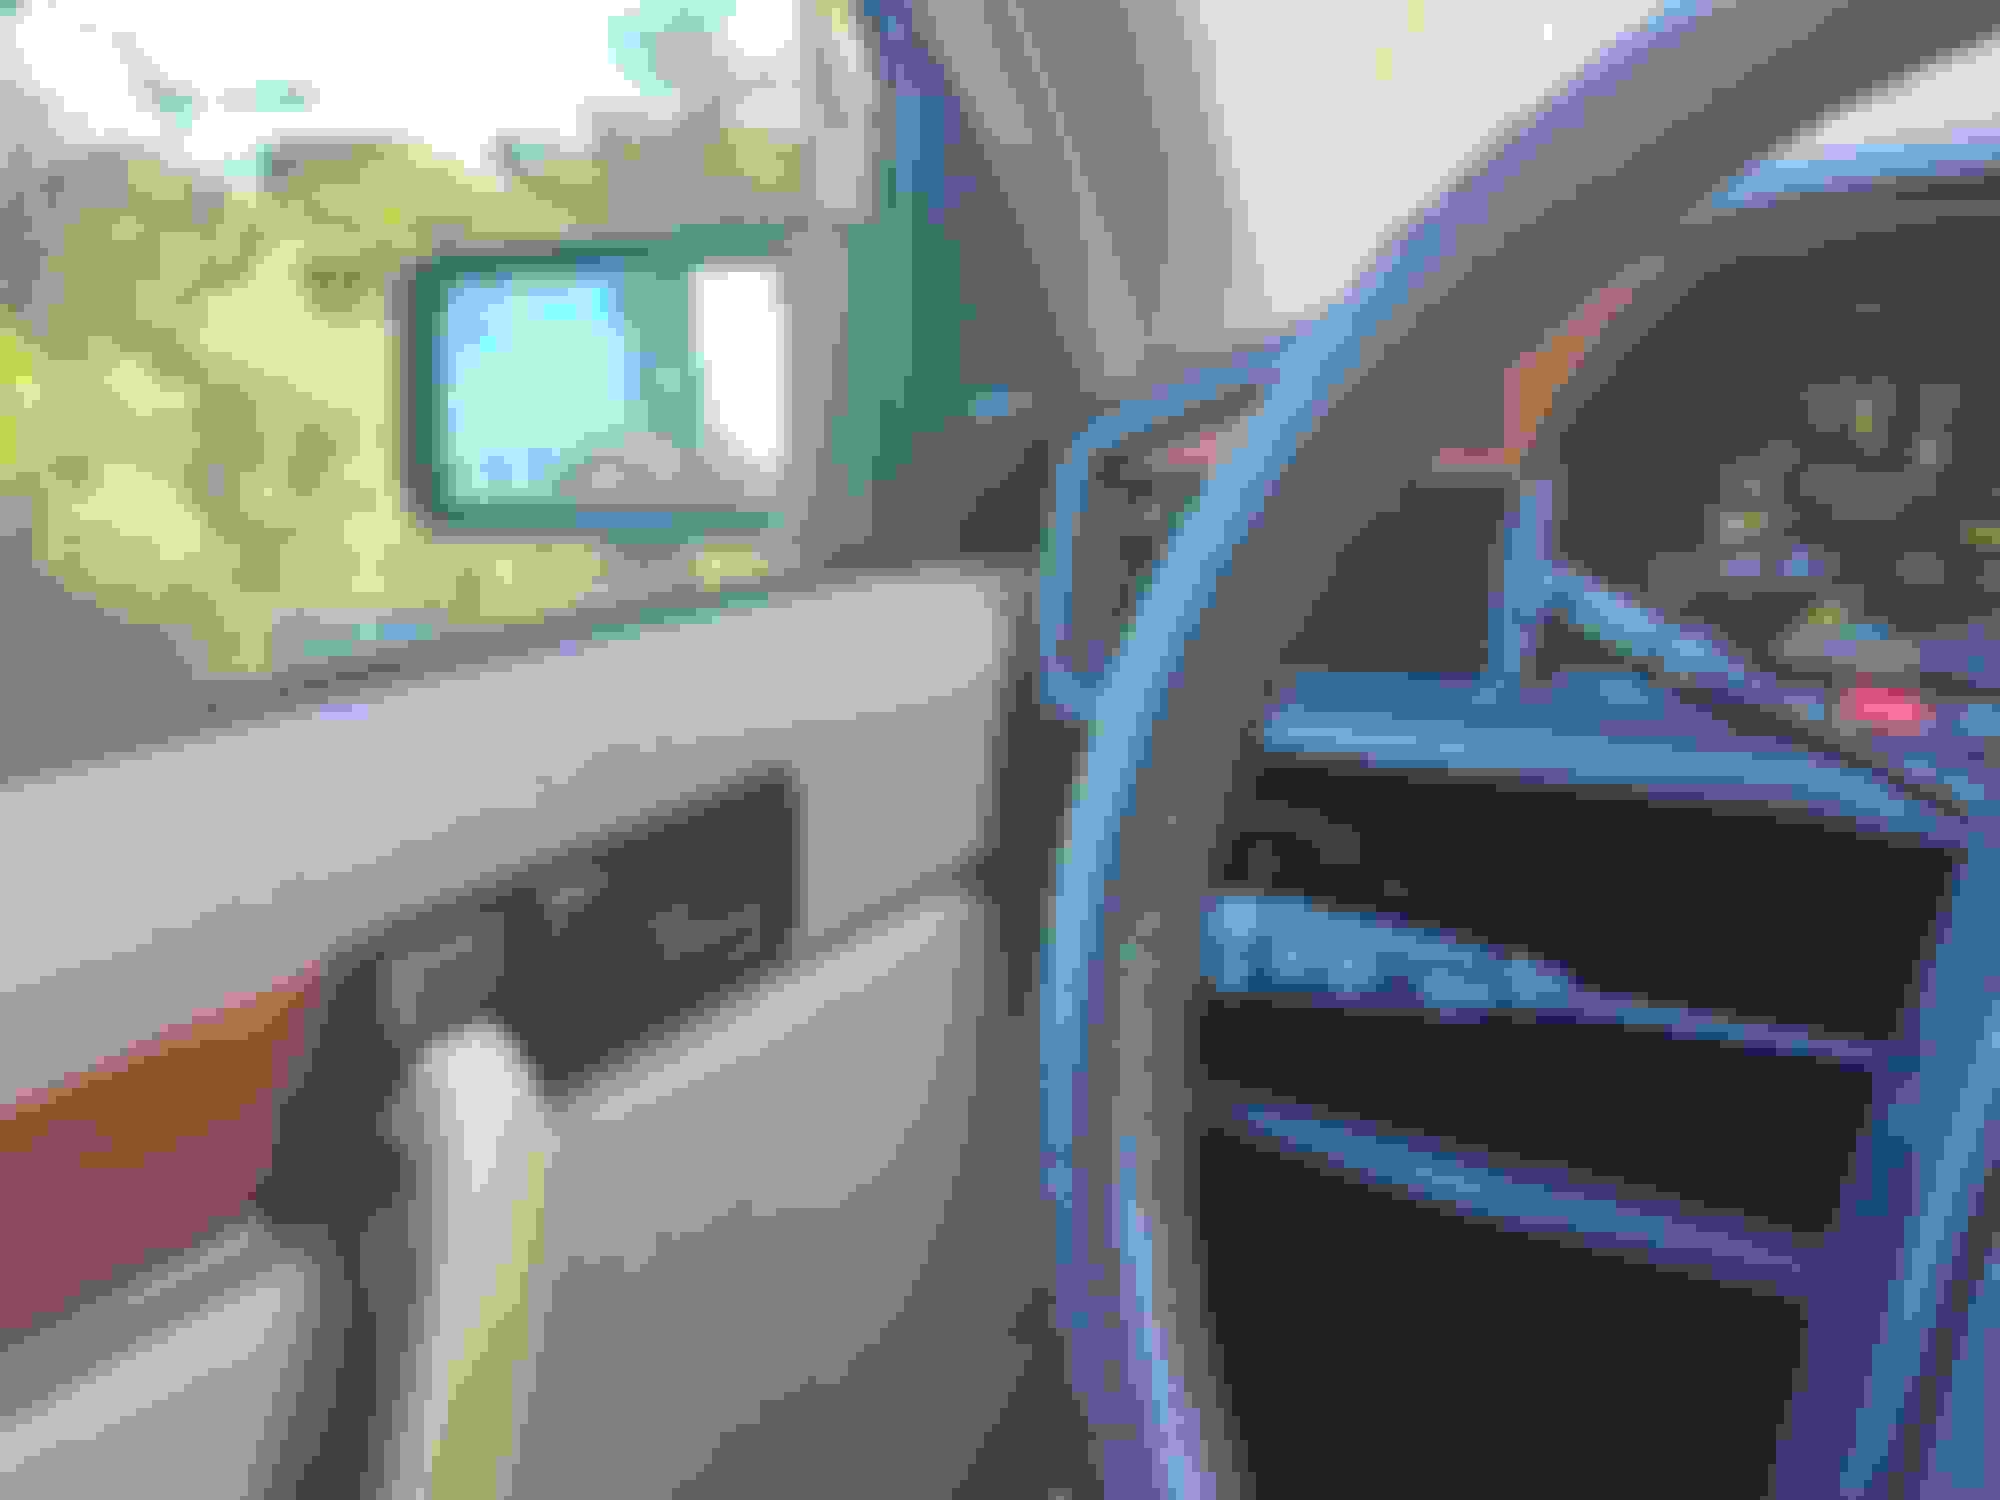
I have to ask.......what is the little pipe sticking out of the dash right next to the headlght switch? Great looking decals.!
355 asked the same question today. Last time I pulled the cluster out, I put in an extra fiberoptic cable in there and pulled it thru the panel. So it lights up when the headlights are on.
I intend to retrofit a white or green or red LED optic to cap it so it looks a bit more OE. That side of the dash is a bit dark so I figured it could illuminate the headlight *** over there. Another one of those unfinished projects....
Thanks, you sure are imaginative. At night when I drive I turn the dash lights down very low to give me better vision since there are no streetlights or glow from a city. I think I would find the light a bit annoying.
190E 2.6L 1989, 190E 2.6L 1988, BMW 535dXdrive 2014, BMW 428i 2015
I'll post after I put in the LED lens. The fiber optic lighting is very faint, just like the lighting in the various switches on the dash. If anything it needs to be made brighter.
I'll post a pic once I get a lens retrofitted (has not been done in 2 years now though, maybe you just gave me the motivation Laura). I would like it to look no different then the switches, so perhaps clear/semi-opaque/white lens is the best. At least in complete darkness it shows the general area where the headlight switch is. It would have been better if I could pull the fiberoptic thru the headlight switch itself but Mercedes did not give us that option.
190E 2.6L 1989, 190E 2.6L 1988, BMW 535dXdrive 2014, BMW 428i 2015
2.5 years since I used these decals, time flies.... I had promised myself I would clear coat them every 2-3 years. This is my daily so the cars gets used a lot. Used Tamiya FS-80 spay again.
Picture heavy installation steps.
- Cheers! Decal and protective backing taped together at the edge, both taped and aligned to stalk
Another angle
Backing removed, unfortunately one arrow sticks to the backing. No problem though...
Arrow removed from backing and applied to the stalk. Later burnished using the backing.
I used the protective backing to further burnish so the decals stick better.
Ready for clearcoat Tamiya TS-80 spray. Make sure all surfaces that will get new decals are taped and only apply one coat to protect work so far
Hi, that's an excellent work. I would like to have the time and skills to do it like you explained.
I recently bought the Mo decals and soon I'm going to try to put them in place.
Laura asked about aplying the clear coat with a brush and despite your answer was very clear, I would like to know if you have any brush applied clear coat to recomend. I'm willing to sacrifice some finish in order to save some time.
Thanks!!
190E 2.6L 1989, 190E 2.6L 1988, BMW 535dXdrive 2014, BMW 428i 2015
Hi Juan, sadly I have never used brush on clear coat. It will probably work just as well though. I would practice on a blank piece of plastic first to get the art down.
Tamiya may have brush on as well as spray on.
Mercedes SLR McLaren 722 S Is Extremely Rare Example Modified by McLaren
Slideshow: A one-of-one U.S.-spec Mercedes-Benz SLR McLaren Roadster became even rarer after a factory-backed transformation at McLaren's headquarters.