When you click on links to various merchants on this site and make a purchase, this can result in this site earning a commission. Affiliate programs and affiliations include, but are not limited to, the eBay Partner Network.
C230 Sport Coup + 2006 W164 ML350 + 99 Ford Escort RIP
Originally Posted by klausc230
I'll give that a try when the rubber band breaks. Do I bend it while in place with needle nose pliers or is there a better approach ?
Yeah, I mean it's pretty obvious once you have the latch assembly in your hand. When you pull the latch, it swings a piece of metal over to depress the
switch. Just observe how much it would need, like probably just a couple thou's of an inch. Then bend it ever so gently till it's consistently pushing the switch. Problem solved....permanently.
C230 Sport Coup + 2006 W164 ML350 + 99 Ford Escort RIP
Same sheet, different brand. They all have nuts and bolts.
I'm not a trained mechanic, but I play one on TV and in this forum.
Started with 2 cycle motorcycles, did a head gasket out of necessity on a 20R Toyota when I was 19, SOC. And it worked to my amazement! I went to the shop and bent the mechanics ears and got all the info, pre-internet.
Then on to FIAT's. Belonged to a club and learned a lot at their tech sessions.
then an older 3 series. BMW. They actually come with a tool kit and detailed instructions in the owners manual with everything right to adjusting the valves!
Pretty much everything I've learned since then had been online here and other forums, and more recently lots of good info on youtube too!
As far as bending it goes, just bend it while in the latch assembly. You can't really disassemble it.
For me, I used vice grips, and it left some teeth marks right where it contacts the switch, so don't do that! I had to sand the marks off a little so it won't wear down the area where it contacts. I chewed it up pretty bad, wasn't looking closely at where I had the tool in relation to the area where it would come in contact. Again, all pretty obvious.
As far as the technology goes, yeah when problems get past a certain point, there's no way to get around just paying someone, but most things are just the same crap I saw on any other car.
Brakes, alternators, starters, switches, fuses, bulbs, fluids, filters.
Originally Posted by klausc230
And thanks for the advice by the way. I'm a decent DIY on a 66 Ford but new to Mercedes. Half the cylinders and 50 times the technology .
Last edited by C230 Sport Coup; May 22, 2014 at 09:58 AM.
I started with a timing chain on a 69 Mach 1 and a distributor on a 72 Fiat 850 Spyder 35 years ago or so. Man I wish I still had that Mustang. Im looking forward to cussing and bleeding on the 230 a little. It's a bit intimidating but just a motor I suppose. So far just little stuff though. I'll bend that metal piece as soon as I get time.
I just received the parts (micro-switch + "screws" for lateral panels) from Mercedes and I am around to start.
6 months ago I removed all panels to see if that was not too complicated to do, but then I was stuck with the final part ==> how to remove the "block" where the microswitch goes in?
So if somebody could explain how to remove this "block" step by step in order to be able to change the micro-switch ... or is it possible to change this switch without removing the "block" ?
No need for explanation for the panels .. even if 6 months I destroyed one of the two "lateral panel screws".
Thanks in advance,
Waiting for your input before starting the change.
I know this is an old post, but I did find it helpful. Disassembled my 03 230K coupe and found everything. Micros switch works perfectly, but the hatch still only release occasionally. Green inside button releases every time. I am guessing I must have the worn wires at the top of the hatch (discussed in thread over at Benzworld https://www.benzworld.org/threads/re...1304566/page-2), the rubber shield is definitely torn so guessing I could have some wires worn in there. I assume the microswitch signals the BCU to unlock the hatch, I wanted to test the closure of the switch (works perfectly every time) at the connector to the BCU to confirm a not seeing the switch close there. Does anyone have a copy of the wiring diagram for this circuit?
C230 Sport Coup + 2006 W164 ML350 + 99 Ford Escort RIP
It begins as an intermittent problem, and then gives up completely.
If the green switch inside works, likely it's not the wiring.
Both switches are on the same circuit.
It's what I said some years back in this thread.
Bend the metal piece that accesses the switch ever so slightly to
get a positive action on the switch every time.
Replacing the 'snorkel' is PIA, I did mine, as I replaced the entire hatch,
due to 2 different accidents, the last one resulting in a shattered window.
Insurance paid me $2500...hatch cost $450 same color even + my time and gas and $10 for the snorkel.
You'd need to pull down the headliner, and access the wires, and either pull everything from the hatch, or go the other
way. I pulled everything out of the hatch, and then reattached.
I'm pretty sure I posted pics and more info around here somewhere...some years ago.
I used dish soap to get the snorkel to go on...
someone had suggested that...
I would think WD40 would ok too since it dries eventually.
Thanks for the response! I have pulled the microswitch completely out of the handle to eliminate the cam actuation affecting the situation, I am actuating the microswitch completely by end - full depression. On the bench it checks 100% good every time I actuate it - in the car it released the trunk once in the dozens of times I actuated it - leading me to believe it must be the wiring. That is why I actuatlly was looking for the wiring diagram where I could go up to the BCM and check the actuator on/off cycle there to make sure the BCM sees the switching.
Confirmed yesterday, I cut the wires going to the microswitch to take it out of the equation, after stripping the wire and using the bare copper to close the circuit I can confirm the latch only responds once in a blue moon - green switch responds every single time it is pressed. Seems like the latch switch only responds after sitting a significant amount of time (I am closing the latch manually with a screwdriver for each test cycle. Is there some sort of delay on this circuit with respect to the external handle? I have tried locking and unlocking the car and that seems to make no difference.
Maybe I missed something, but I have yet to see a Youtube video or diy on how to remove the panel to get to the hatch and the microswitch. The pdf's above leave out the one panel you really care about; the one over the handle. So here's how to get that one out:
1) remove the panel nearest the bottom of the hatch per the pdfs above. (go buy the plastic pry tools for $10 from your local parts store, if you don't have them already)
2) Remove the panels on each side of the window per the pdf above. You do have to unscrew the hatch string mounts.
3) At the lower edge of the hatch, there are four screws on the bottom of the panel along the bottom of the hatch. Remove them.
4) There are two screws along the sides of the window that were exposed when you removed the side panels. Remove them.
5) Here's the fun part: There's a panel in the center you can see with the hatch open, about 8"x10" size. It's just behind where the third tail light is. It has a small notch in the center. Take a small flat blade screwdriver into that slot and push the blade in. You should be able to detach one of three hooks holding that edge. Slide the screwdriver over until you can feel the edge of the next hook. Push the screwdriver in to release the side hook. Do the same on the other side.
6) Once the lower edge of that cover has all three hooks released SLIDE the cover along the glass, downwards, to release the upper hooks. You don't pry this cover out.
7) Once the cover is removed there are two screws to be removed.
8) With the hatch open at about eye level, grab the back of that big panel and push towards the front of the car, to release a couple of hooks. At this point the panel should be removed, and you can get to the handle and microswitch that are the real problem here.
Last edited by nlinesk8s; Nov 24, 2019 at 03:41 PM.
Reason: misspelling
C230 Sport Coup + 2006 W164 ML350 + 99 Ford Escort RIP
I posted docs from the services DVD around here somewhere, and pics but it was like more than 10 years ago.
Once you get the trim pieces off it's pretty obvious.
But the tabs on the trim end up getting destroyed.
HINT: Get some stick on felt from a lighting supply store and cut
super thin strips to put on the trim edges, and no more squeaks.
Extinct:: If the wires to the green button work, you've got your answer, spice and extention,
cut the connector leaving enough wire to connect the wire, with some solder and
shrink tubing and yer done.
EDIT- I decided to test my searching skills and those old threads seem to be gone from the W203 forum.
Maybe they got moved?
I added to the thread as the pdfs posted are missing how to remove the one panel that covers the handle.
FWIW, here's the fix I came up with, rather than a rubber band that would eventually decay and fail.
I got some very thin picture hanging wire, tied a slip knot in one end, and put that around the plug of the microswitch. Then I made multiple wraps of the wire around the body the switch is mounted to, and sealed everything off with metal tape. That provided enough tension to keep the switch in place, and not move the .010" that renders it inoperable (not a good design).
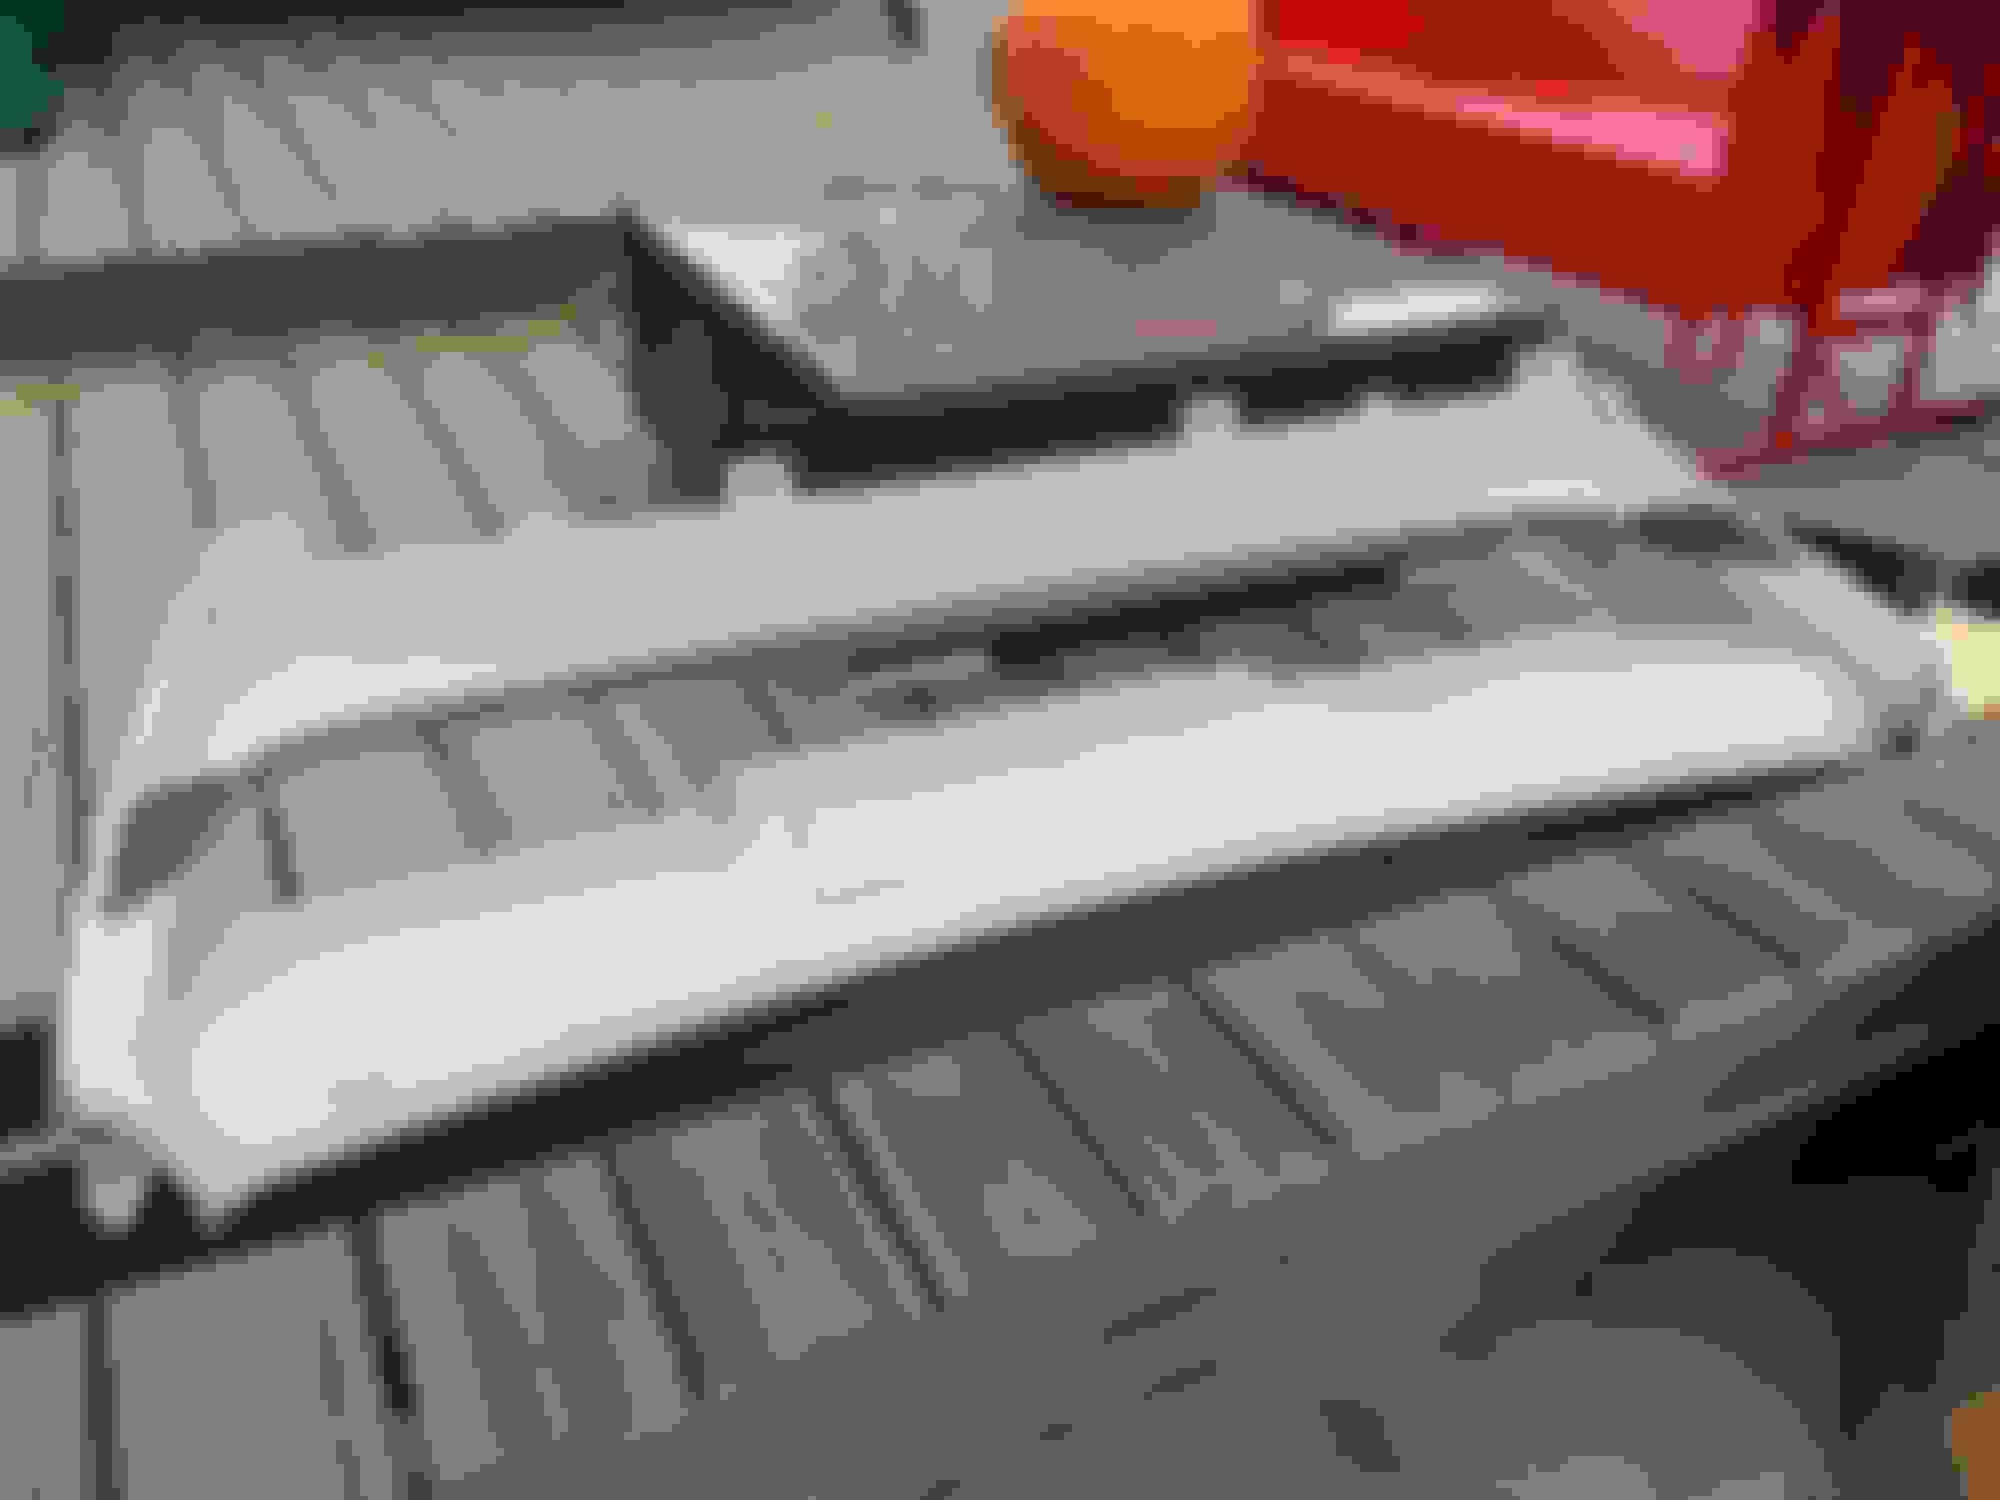
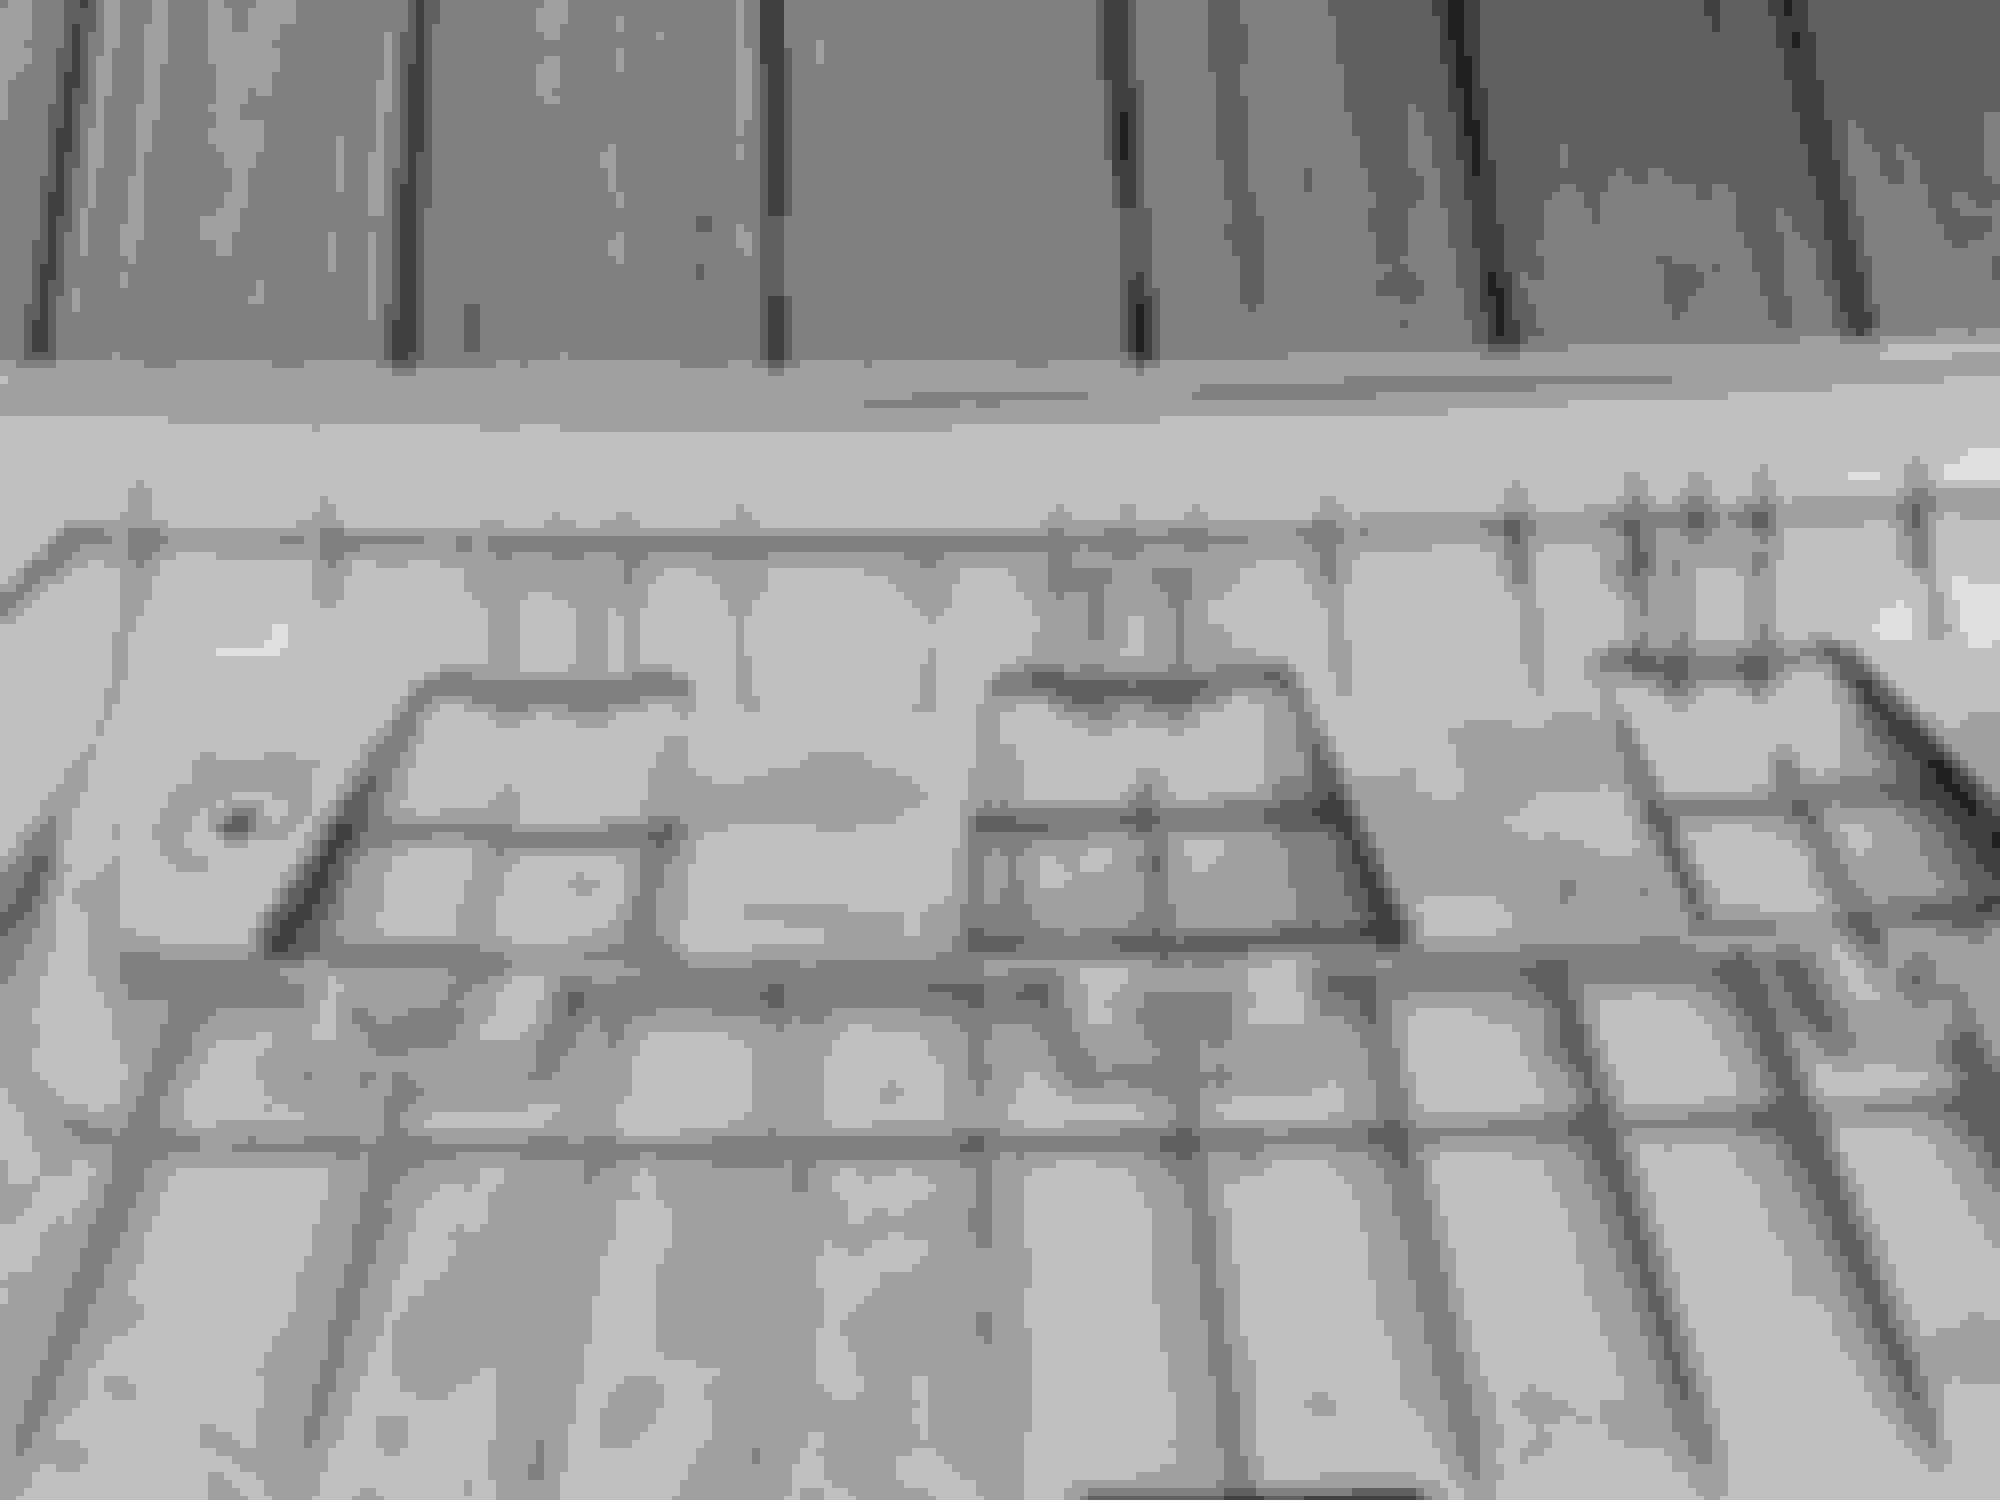
I'll try to attach photos of the panel that shows six of the eight screws needing to be removed, and the backside of the center panel that covers the other two (hatchback, btw)
Mercedes SLR McLaren 722 S Is Extremely Rare Example Modified by McLaren
Slideshow: A one-of-one U.S.-spec Mercedes-Benz SLR McLaren Roadster became even rarer after a factory-backed transformation at McLaren's headquarters.