When you click on links to various merchants on this site and make a purchase, this can result in this site earning a commission. Affiliate programs and affiliations include, but are not limited to, the eBay Partner Network.
I've been searching this and other sites trying to find the most logical and easiest place to run amp power cable from engine bay back to trunk.... I have done this several times on other cars but cannot seem to find a grommet in the firewall to pull cable through on this car... everything else I understand... I think!!!???� LOL.... Fuses, running cable under trim panels and sills, tapping into door speakers, LOCs, RCAs, remote turn ons, grounding, sub woofers/box placement, speaker wire and cable sizes... all that. I just need your expertise on where to find a grommet in the firewall...�..My car is 2006 C280 4matic without Bose system. Thanks for any ideas. Should I ask here or in audio section?
Specifically: Hey FYI there's an even better grommet, it's just behind the battery and to the left when you're looking at the firewall. It's got about 5 or 6 holes meant for wires!! The wires come out just under the glove box. It was great because the other hole/grommet would require routing the power wire alll around the engine compartment.
Yea... that's the route I want to take... it must be way down there... I looked everywhere but could not find one... I wonder if I have to take the battery out to access it... I'm gonna try and find it tomorrow and I will post some pictures... thanks for the quick response..
Thanks for the tip....That's what I did... 1) take battery out... not the easiest one to remove... had to turn it on end to remove...2) saw where the other cables go into firewall.....3) the next open grommet had a hard plastic plug in it and was a ***** to get out.4) unscrewed the plastic cover up under the glovebox area....then I sliced the one end of that plastic plug Battery location Battery removed.... can now see grommet area where cable will go through.... but wait!! There's a plastic/rubber plug in the way.. Can see it a little better... not much working space..... but Kevin was right... there they are....could have never gotten this without removing the battery... This is passenger side footwell area... Remove 2 T20 torx screws and it snaps off.. And then I saw the grommet block from the footwell area.. but that plastic/rubber plug is on this side too... I'm slicing the plug from the engine bay..being very careful not to nick the other red power cable directly beneath it.... Now I'm using a pick to pry the plug out from inside footwell area...it was difficult to remove....stuck good and very limited working space..also used needle nose pliers and utility knife... But I got that SOB....it's approximately the size of 4 gauge power cable...which is what I have... Sprayed silicone on the cable and it slid in very easily.. And came out through the footwell side of the grommet block... Another shot of that plastic/rubber plug... for me....that was the hardest part.. getting that damn thing out..thanks again Kevin yo for the good info...
in the engine bay with a utility knife and pryed and picked and cut the end from inside the footwell of passenger side until it came out...then sprayed a little silicone on the cable and slid it into the grommet and out into the passenger side footwell... there it will sit until I get around to routing it to the trunk...that's enough for me today...I'm lazy... lol ... thanks again tho...the video helped.... but did not show the grunt work..
I will be following in your foot steps this weekend. Knowing that it is possible will increase my level of motivation.
Where are you mounting your amp? I am considering using the OEM location which is under the carpet on the passenger side of the trunk. My concern is that the air circulation will be insufficient and the amp might overheat. The underside of the rear “parcel shelf” might be better from a temperature control perspective, but it won’t be as tidy.
Mine does not have an external amp...it's not Harmon Kardon or Bose.... that's why it sounds so weak and I want to put in a mono block amp and one 10 or 12 inch subwoofer...not too much.... I think I will put the amplifier under the rear deck too...there are no speakers there....probably by
the middle of next month I'll have it ready. I'll post more pics.... you should too...like to see your work....
My car didn’t come with the Harman Kardon system. I installed a Kenwood DNX6180 that I bought used. It sounds Ok with the stock speakers that are in the doors. I bought the Harman Kardon rear deck speakers from a C230 part out. This includes two 3-inch mid-range speakers and an odd-looking 10-inch sub.
I am am planning to power the rear deck speakers and sub with a Kicker 43DXA250.4. It’s a 4 channel amp and I will bridge two of the channels to power the sub. The Kenwood has RCA outputs. I will use the RCA’s to provide signal to the amplifier and continue to use the Kenwood speaker outputs to power the speakers in the front and rear doors.
My goal for the upgrade is to improve the spaciousness of the sound and the overall sound quality. (The speakers mounted in the rear doors are low and don’t contribute much to the sound I hear in the driver’s seat.). The system probably won’t provide the level of bass you will achieve with your set up. If the Harman Kardon speakers don’t do the trick I will consider replacing them with some higher quality units from a different manufacturer.
We may have different goals for our upgrades, but we may encounter some of the same challenges. Good luck with your work.
Last edited by KevinH2000; Aug 27, 2019 at 12:00 AM.
I hear ya...I'm going to replace the 4 door and front window speakers too... this is the fuse holder with the 4 gauge power cable going under the cabin filter housing and directly to the POS terminal of battery. I'll screw the fuse holder down....that is right side of the picture... the left side of picture shows the cable going down and through the grommet block....but that's 0 gauge.the brown cable.... it will be replaced by the 4 gauge... I wish I could use the 0... but won't fit through the grommet...
I didn't have much time to devote to the car today, but I did find a couple of hours to study routing the power cable to the engine bay. I had a little bit of luck removing the firewall plug. I used my hook tool to pull it out enough to grab it with a pair of vice grips. This allowed me to apply enough force to pull it out in one piece from the passenger foot well.
Firewall plug and the tools used to extract it.
Instead of connecting the power cable directly to the battery, I'm considering using the positive terminal used for jump-starting the car. This location may allow for easier mounting of the fuse holder on the side of the bulkhead between the battery compartment and the engine. This will avoid complications if I ever need to remove the battery.
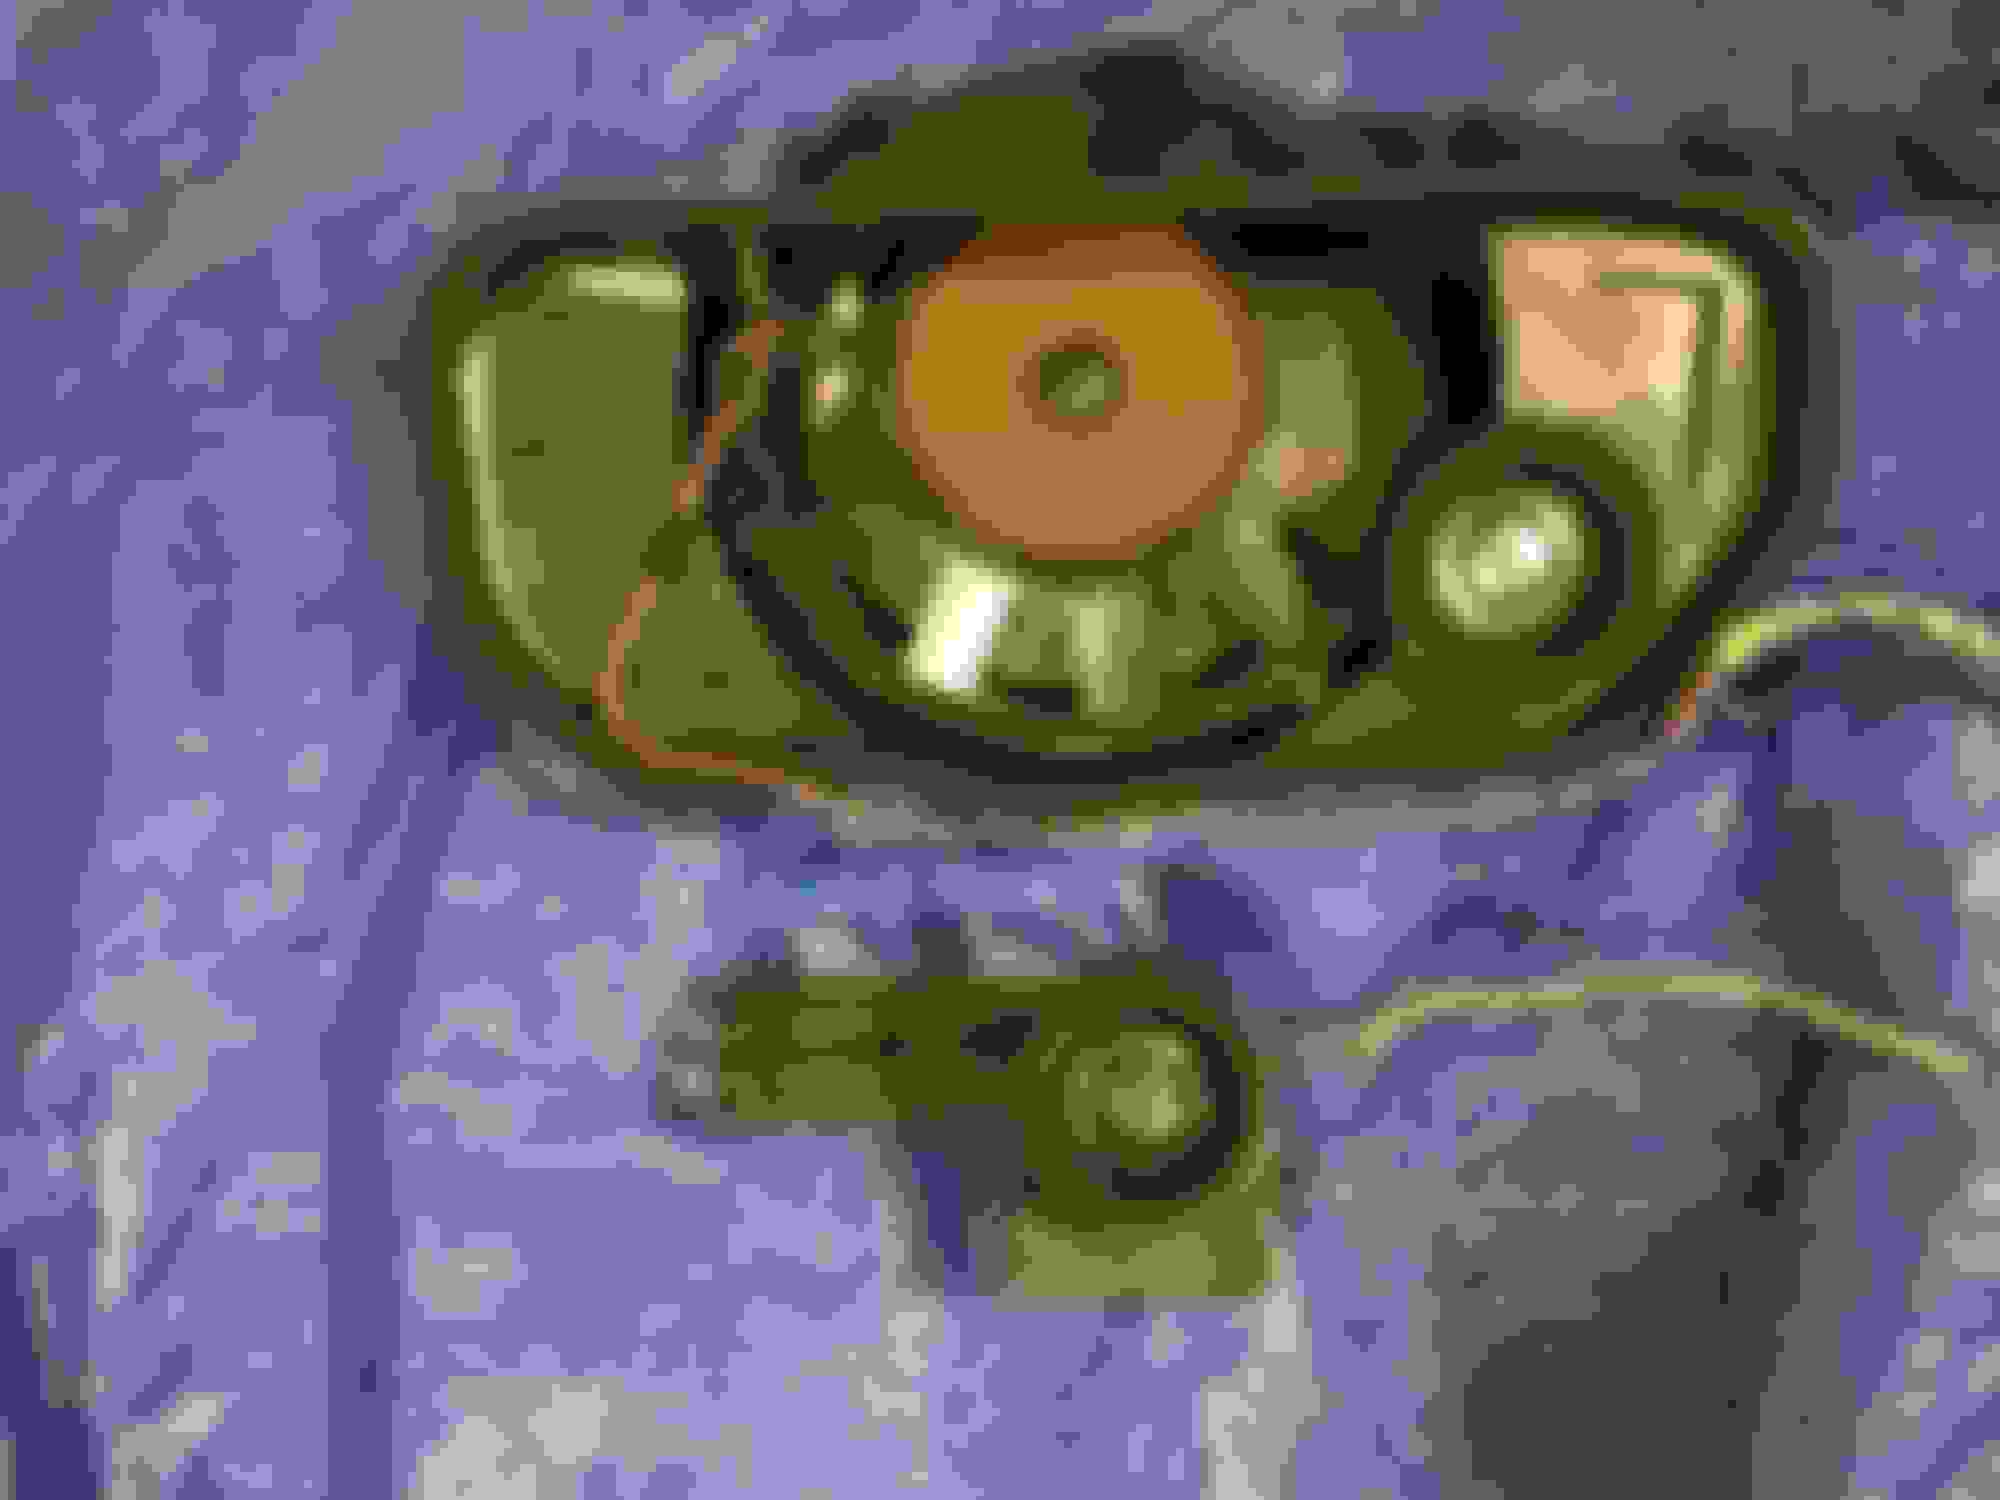
Power point for jumping the car. I am considering mounting the fuse holder on the left. I'm considering using the terminal on the right to power the amp.
I am thinking that it will be best to run the RCA cables that connect the head unit to the amp on the driver's side of the car to avoid any electrical noise generated by the power and amplifier turn on cables.
Last edited by KevinH2000; Aug 31, 2019 at 05:29 PM.
I think it's a good option... my fuse holder is very large... it's originally for 0 gauge cable... it seems to fit well on top of the cabin air filter housing due to it's size and might have a hard time fitting it into that other area... but I'm definitely gonna try... I read somewhere that a direct connection to the battery is the best instead of an auxiliary location like the jump start terminal or the SAM but forgot why...but both areas appear to be a short distance between the power source and fuse which I understand is recommended...
I found this video that shows installation of an amp in a later model C Class. I may use his guidance for the location of the fuse holder. It is at about the 10-minute point of the video.
At about the 7- minute mark this video shows a suggested location for the fuse holder. This video shows a W204 or W205. There are some similarities to the W203, so the video may provide some general guidance. Too bad there is not a video like this for the W203.
I am hoping to find a few hours to work on this over the weekend.
Last edited by KevinH2000; Sep 5, 2019 at 09:55 PM.
Yea.. I found that video too a couple weeks ago... pretty helpful... that dude knows his business.... I'm keeping my stock HU so I will be using an LOC like he did... . It's really just popping all the trim pieces off and taking everything apart and hiding/routing the cables and wires that's a PITA.. and time consuming but well worth it... I will work on mine on the 9th of this month and post more pics..I'm waiting on a delivery.. .. thanks for that...
In this video, the installer states that he used the OEM amplifier location for his installation. He doesn't provide many details. I'm concerned that there may not be enough air flow in that area.
I have the OEM amplifier mounting bracket. I am planning to experiment with the OEM location. I'll post pictures of my progress.
Go to this site upper left hand grid and click dropdown menu... click 1) how to, 2) c class 2007-2014, 3) interior, 4) how to install amplifier.... there are a few other articles related to amps and installs... I get my package tomorrow and will start my install....
This is as far as I got... First connected power supply before disconnecting battery to retain memory.. Had to double over 4 gauge cable to fit into 1/0 gauge fuse holder...I aint trying to keep buying more stuff.. I'm using what I got already.. Power cable fit in nice and snug.. That little nut on the POS battery lug is convenient for connecting the amp power cable... but I did have to grind the edges of the ring terminal so it would fit well... Then I replaced the cabin air filter housing and screwed the fuse holder on top of it... perfect placement for me and easy access. I removed the fuse as to not power the cable before completing the install..... that's how I did mine... tomorrow I will start routing the cable towards the trunk...
My back seat doesn't just pop up like others... there are 4 of these 13mm nuts that have to come off first. Much easier with this. There are 2 of these 10mm bolts... one on each side. This is the backrest part of seat. There are 4 different sizes of fasteners. There are 2 of these brackets that have a 13mm nut and a t45 torx bolt that also have to come out in order to get to the 16mm nuts you can see back there. Then these 16mm nuts Then from inside the trunk... slide these 2 levers/latches over and then the backrest can come out... what a ****ing pain... Now I can begin feeding cable... the mouldings just snapped out and the weather strip too... I opened up the black plastic covers down there and pushed and pulled the cable in..it only went in so far and then to maneuver it in. Just kept feeding it in a little at a time... this is a pic facing to the rear towards the pillar. It's going I tied a fishing line on the end of the cable to help guide it through... I think it helped some... but mostly I just kept prying those black plastic covers open and pushed the cable down in there... there is plenty of room. I used an assortment of trim pry tools This is pulling cable from pillar towards the back seat area... I just kept snapping open the plastic covers and pushing the cable down into the crevice and snapping the covers close. The pillar trim panel was a little harder to snap out... but I just went from front and back and eased it out until it popped out... I did not break or damage any pieces..this is pic of cable hanging out of the back door... once past the pillar, it is much easier to route the cable. This is the door speaker harness plug... he speaker wires matched the color scheme my car manual said....had to dig down and pull it up and then I unsnapped the blue plug. I identified POS and NEG according to my manual and just twisted some speaker wire together to them.. hell with soldering.... Then I stripped the other ends and butt joined them all together.. POS to POS and NEG to NEG. and snapped the two blue pieces back together...it only goes in one way...so ya can't mess that up... Power cable and speaker wires coming out into the trunk area... I will do the other speaker wires and route them into the trunk area. This is actually the last photo.. the end result... it showed up out of sequence....tomorrow I will do the other door speaker..and try to connect everything else too... we will see!!!
Now routing the cable along next to the back seat trim area...You can see one of those black plastic covers... I unsnapped it and slid the cable inside... that cable loop is just extra cable laying there.. Now I ran the cable and speaker wires up the wheel well hump and zipped tied them to the existing bundle of wires... hope this will not cause distortion... I read yes it will and no it won't on various sites... who the hell knows for sure... we will see!!! I pushed the cable and speaker wires through this rubber grommet and it came out through the trunk area.
Last edited by norteno; Sep 16, 2019 at 06:45 PM.
Reason: Grammar errors
Installed amp upside down... drilled pilot holes and used appropriate length screws... I had to grind down the cable lugs to fit onto the POS, NEG and remote terminals... i could have bought new ones, but I'm using what I already have... This photo you can see the amp, the LOC, and the well sanded area for the NEG cable....I just need to re route and conceal all the wires. On advice from others, I ran the remote turn on wire to number 7 fuse... I first checked with DMM with ignition off and on to make sure it is a switched circuit.... Another shot of the amplifier.. I know everyone has their own preferences and these forums are open game... but all you haters and naysayers can leave that **** alone and leave all your negative comments in your mouth.. only helpful comments accepted thank you!!!! Slanted truck speaker box to fit into W203 trunk... alphasonik shallow mount 12 inch subwoofer.....works for me... okay!!!???... again....you do you... I'll do me..if you're thinking about criticizing. I certainly encourage any positive feedback and suggestions. I will continue to tweak the system... BTW... I did not hear any interference or static or engine noise at all.... I believe a lot of it has to due with proper grounding....
Thank you for sharing pictures of your install. I hope to be adding my amp and speakers this weekend. I had set aside some time last weekend, but the HVAC blower on my car failed and I ended up using the time to scavenge the part from another car and install it mine. I may take a slightly different approach, but having your work as a guide will be helpful.
Yea. Thanks bro.... took a while... but it sounds good and you can't see no wires... send some pics when you're done.... now I'm gonna put a system in my 1999 dodge ram.....
I had the bracket for the OEM amp that I scavenged from the same car as the speakers. I've also used that car for some other parts for unrelated projects that I wrote about on different threads. I decided not to attempt to use the OEM amp, because my Kenwood double - DIN head unit would require a $100 adapter to work with the OEM fiber optic amp. The adapter would also compromise my ability to adjust the sound. An aftermarket amp made sense from both cost and performance perspectives. I'm glad I kept the bracket when I sold the amp and Sirius radio module to another board member.
The bracket enabled me to use the same location as the OEM amp - behind the passenger side rear wheel well.
The bracket you can see in this photo was already in the car. I think it will accommodate the OEM amp, but it is too small for my amp. The bracket I am using is from a car with the Hardan Kardon amp and a Sirius tuner. You may also be able to see some of the wiring for the back up camera that I installed two years ago when I bought the car.
I had to modify the bracket slightly to allow my amp to slide down all the way. I used a cutting wheel to remove the metal that was in the way. The triangular piece of metal prevented the amp from sliding all the way to the bottom of the bracket.
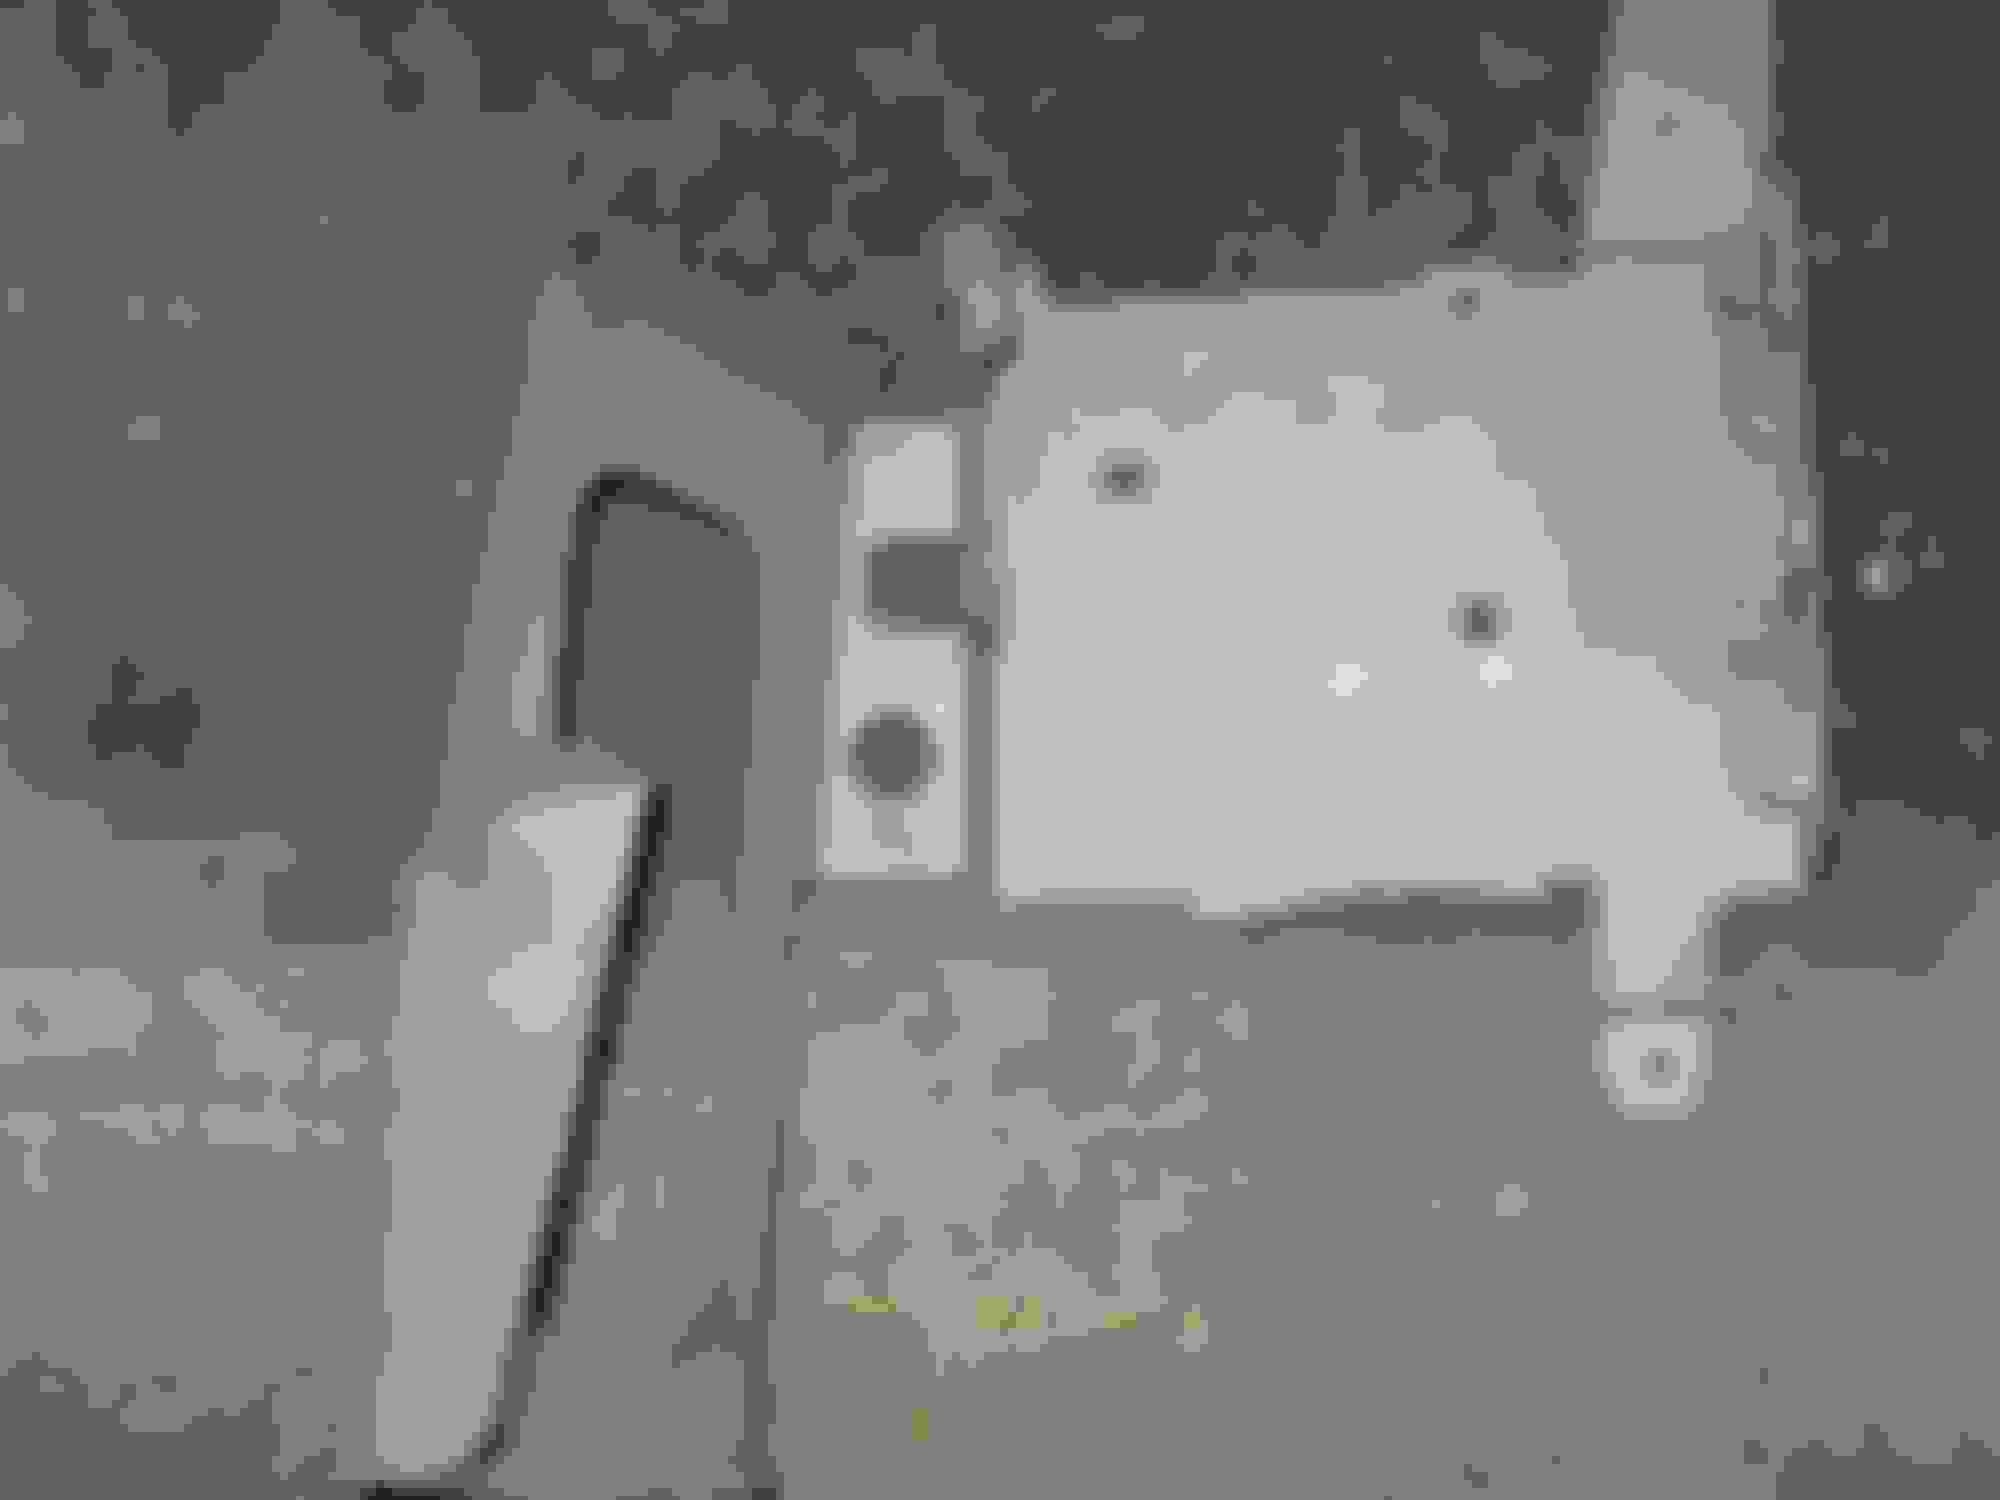
Bracket showing the metal removed
Bracket installed in the car
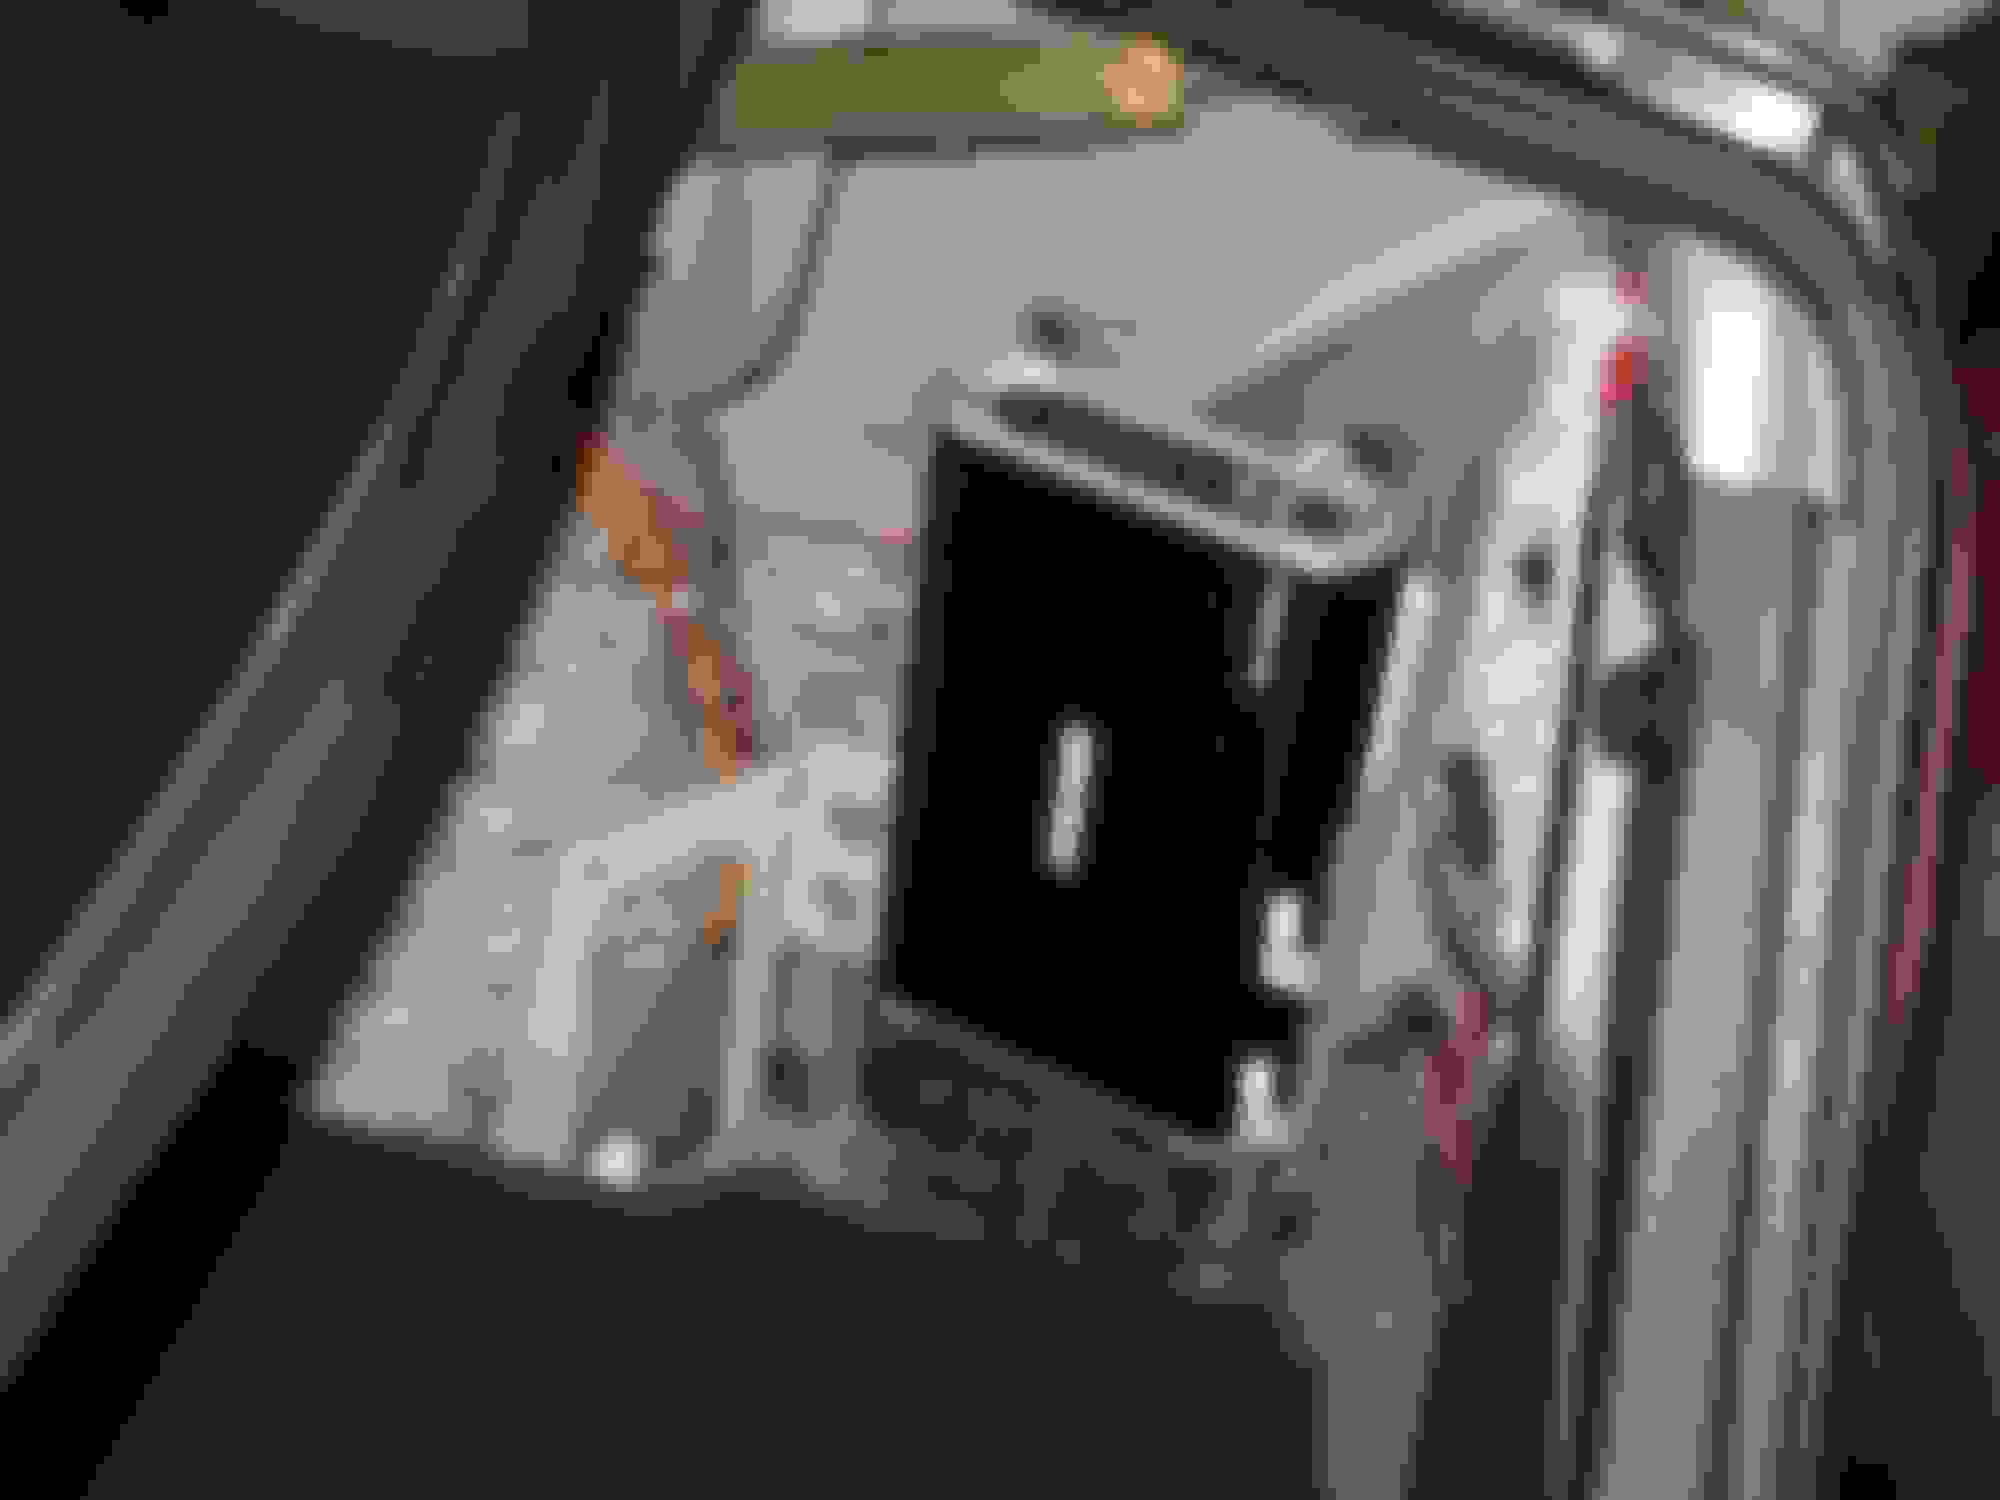
Amp installed in the bracket
I had to bend the tabs on the bracket to let the amp slide in. Once I've made all the connections, I will press them in to hold the amp tightly. I'll also wrap a strap or bungee cord around it to make sure it doesn't rattle.
The advantages of using this location are that it is out of sight and protected from loose cargo. It is also close to an existing ground. I am concerned about whether it will be adequately ventilated. It appears that there was adequate ventilation for the OEM amp. I'm not using a very powerful amp or sub, so I don't expect them to generate a lot of heat. So, I think I will be OK.
Last edited by KevinH2000; Oct 5, 2019 at 11:41 PM.
Ingenious... looks nice and all tucked away and out of sight....that's what I like about DIY...we can be resourceful and creative....and scavenge.... mine didn't have an internal amp... I would have maybe put it there too...however, I'm always adjusting and tuning the amp and LOC so I guess my location is good for that.... this is what I did on my truck today... Punched through this grommet on the firewall and ran cable through and came out up high by the emergency brake area.... I had to also grind down a ring terminal to fit it on the battery clamp nut... and the squeezed it through the red plastic cap and tightened it up...150 amp fuse.... 4 gauge in.....1 gauge out... This install will be much easier than the benzo.....
Mercedes SLR McLaren 722 S Is Extremely Rare Example Modified by McLaren
Slideshow: A one-of-one U.S.-spec Mercedes-Benz SLR McLaren Roadster became even rarer after a factory-backed transformation at McLaren's headquarters.