When you click on links to various merchants on this site and make a purchase, this can result in this site earning a commission. Affiliate programs and affiliations include, but are not limited to, the eBay Partner Network.
Really need some helpful advice on removing the headliner from my �05 C230 Sport Sedan.
Ive removed the A, B, & C pillars, the bolts behind the SRS badges, the aluminum channel in front of sunroof, and all lights, visors, grab handles, etc...
It�s hung up on the rear of sunroof, and 3 spots in the rear, behind, and on either side of the rear light.
Tried with help from my wife and daughter, standing inside sunroof opening pushing, pulling, with the wife and daughter pushing and pulling through the rear doors, forward and reverse, until it made some bad tearing sounds. Didn�t budge even a fraction of a mm., at all....
I�m clearly missing some super simple thing that needs to be released. Everything else up to this point was basically self explanatory...
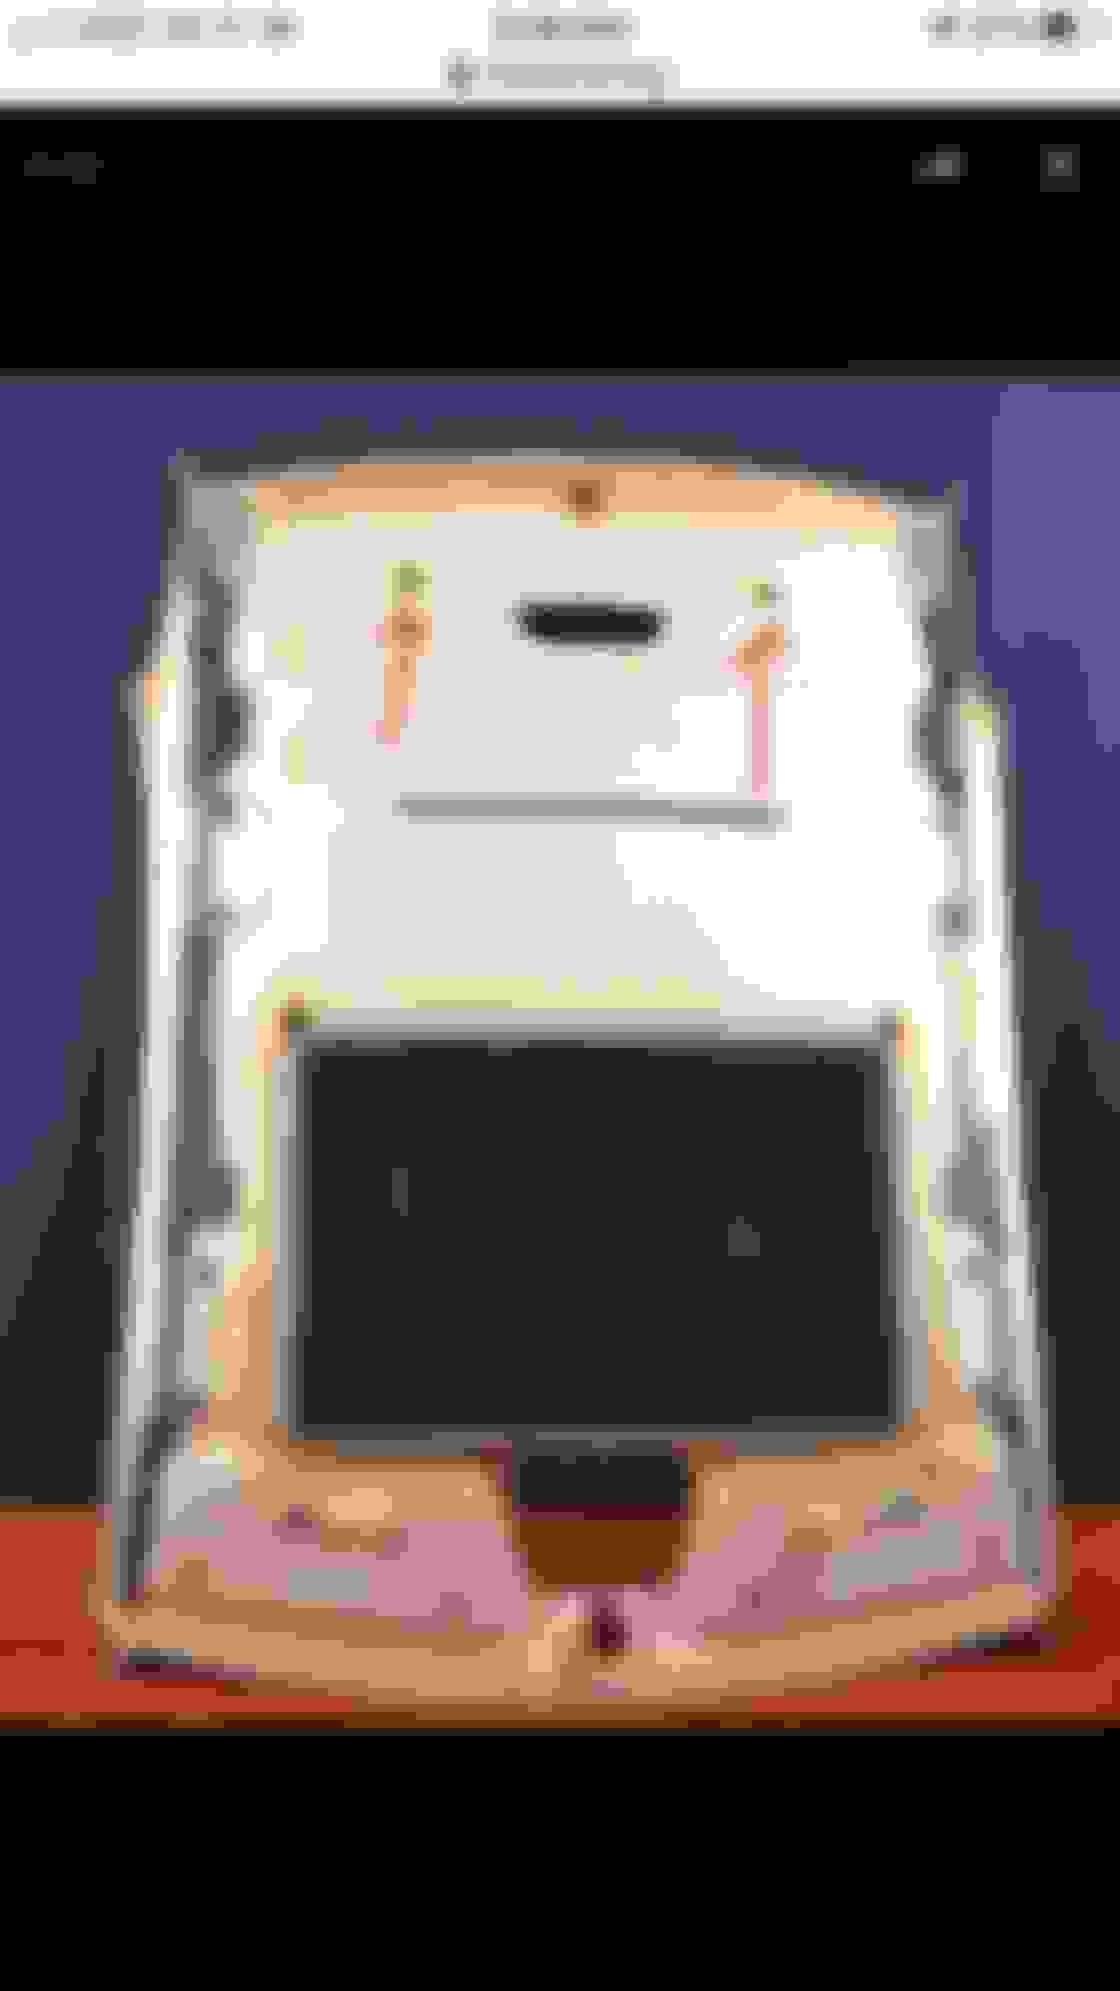
I found this pict in another headliner removal topic, but it�s of a coupe. Mine�s a sedan, but it�s hung up in basically the same spots, and the red arrows I added to pict do not appear to be Velcro, or dual lock. Knife blade does not penetrate, and if tapped, sounds like plastic...
What am I missing here???
Really wishIng I had purchased a MB service manual when they were available....
Yes, Thank you for your reply. I�ve seen the video, and looked at all 5 topics I�ve found on headliner removal here. The one that may have been helpful (had lots of picts) has had all of the photos removed by PhotoBucket. I replied to one a few posts down a couple days ago that contained 4 links to other headliner removal topics, none of them helped...
That is very kind of you to let me borrow your WIS disk, but I really don�t think that�s necessary.
I think my headliner is held up on Velcro from hell. Ha ha. I mentioned in the other topic that I replied to that I�ve tried to separate the hook and loop by shoving wedges in there, and hammering wedges directly at the Velcro. The only thing that has done is put a clear square indentation in the liner and ruin the tips of my wedges. Luckily I haven�t done any permanent damage (yet)...
That�s why when I posted this new topic yesterday I thought it must be something other than Velcro holding it up on either side of the rear light. I tried stabbing at it with a knife to separate the Velcro. It doesn�t sound or feel like Velcro.
�26. Loose Velcro strip (11) in area of installation frame (13)�
Yeah, easier said than done it seems...
The picts make it look as if the Velcro is simply glued to the backside of liner, but if that�s true, why doesn�t a knife penetrate through it??? I can see exactly where it�s hung up by the square indentation in my liner when I pull down or shove wedges in there...
Gotta say I feel pretty dumb being defeated by a damn headliner...
It was indeed Velcro, but like no other Velcro I�ve ever seen for strength. �The Best or Nothing�, right?
I had tried jabbing at with a knife a couple days prior, but apparently I gave up too soon thinking it was a clip.
Was a nice sunny day yesterday, so I took another try, figuring the heat may soften the adhesive or something. Grabbed a big 8� long knife from the kitchen, pulled down on the rear light opening until I could see a indent from the Velcro, and proceeded to stab away at it. Took a minute or two of forcefully stabbing, and it finally released!!! Did the same to the other side and got it to release too... Headliner slides forward effortlessly...
So forget about trying to be nice and use wedges. Doesn�t work...
Another tip that might be helpful.
To get the grab handles off easily, pull the locking tab inserts then give the handle a good yank, down, and slightly inward. This pops the outer locks through, then while still holding downward pressure take your flat blade screwdriver and release the inner locks. Literally falls in your lap, and no fighting, like the useless Utube video of removing them...
Hope between this, and the BenzBits link above, this will help someone in the future not make the same mistakes or assumptions I did... 👍
I have not completed my Seat Memory Retrofit, but alas I find another project facing me. (Completion of the memory seat project depends on the arrival of some parts, but I think I have resolved the technical issues.)
I noticed that my headliner is beginning to detach in the C-pillar area. Close inspection reveals no signs of water damage and I expect the problem is age-related. It appears that the foam backing on the headliner material deteriorates over time and this leads to the separation of the fabric. Many people believe that high temperatures and humidity accelerate the process and my car has experienced these conditions in abundance this summer.
I found this thread helpful and I am reviving it as I start my journey to a potential DIY headliner replacement. Before embarking on this journey I checked with two auto upholstery shops and both quoted an identical price of $525 to replace the headliner and $575 for the headliner and sunroof panel. My sunroof panel is okay, but the shops cautioned me that I may want to recover both at the same time to avoid a mismatch in color. I asked one of the shops for a quote for replacing everything to include the A, B an C pillar covering and they quoted $1245.
I found a Possible Source for Headliner Material and ordered samples for $15. The ash grey, silver grey and alpine grey colors seem like they might work with silver grey appearing to be the best match. Being able to see a sample and comparing it directly to the the existing headliner seems like a good strategy for avoiding a mismatch.
Jake’s post of the work shop procedure is a huge help. I also found these YouTube videos that help with specific issues:
There are numerous videos showing how to replace the material on the headliner and the biggest challenge appears to be removing and replacing the headliner board from the car without damaging anything. I need to remove the front seats from my car to complete some work on the memory seat retrofit. (This work is not absolutely essential, but it is something I would like to do.). With the front seats out, I should have more room to maneuver the headliner.
I am seeking feedback from anyone who has actually completed a headliner replacement in a W203. I have seen comments such as “never again” and want to proceed with caution.
These show the installation of a sunglass holder in the place of a grab handle. It provides useful information on removing the pins that hold the grab handles in place.
I need to have mine re-done as well as I made the silly mistake of using a steamer to clean it when I did a full detail of the vehicle.
I was quoted $150 to get it redone with the headliner off. I didn't ask how much for them to remove it as I assume that it'll probably be close to the $500 range as they mentioned it would require the vehicle for 2 days assuming that removal and installation of the headliner is the most time consuming than actually replacing the liner.
I thought about just spraying adhesive myself but than again if it comes out crappy or ends up drooping again after a few months because I missed a step I'd be pretty upset.
I had not thought of removing the headliner and having a shop take care of the fabric replacement. I will call the shop tomorrow and ask about that option.
I spoke to someone at work who had replaced a headliner in a Jeep. He told me that it was difficult to avoid bubbles and wrinkles in the fabric. It may be better to leave that part of the job to a pro unless I plan to need this skill again in the future.
I called the shop. If I remove the headliner and bring it to them, they will recover it for $225. I had the headliner in a 1994 Camry replaced in the early 2000’s. I don’t recall the cost exactly, but it was probably around $150.
I spent about 6 hours removing the headliner today
I had the day off and spent a major portion of it removing the headliner from my car. It is not the most pleasant job I've ever done. There are a lot of pieces of trim to remove.
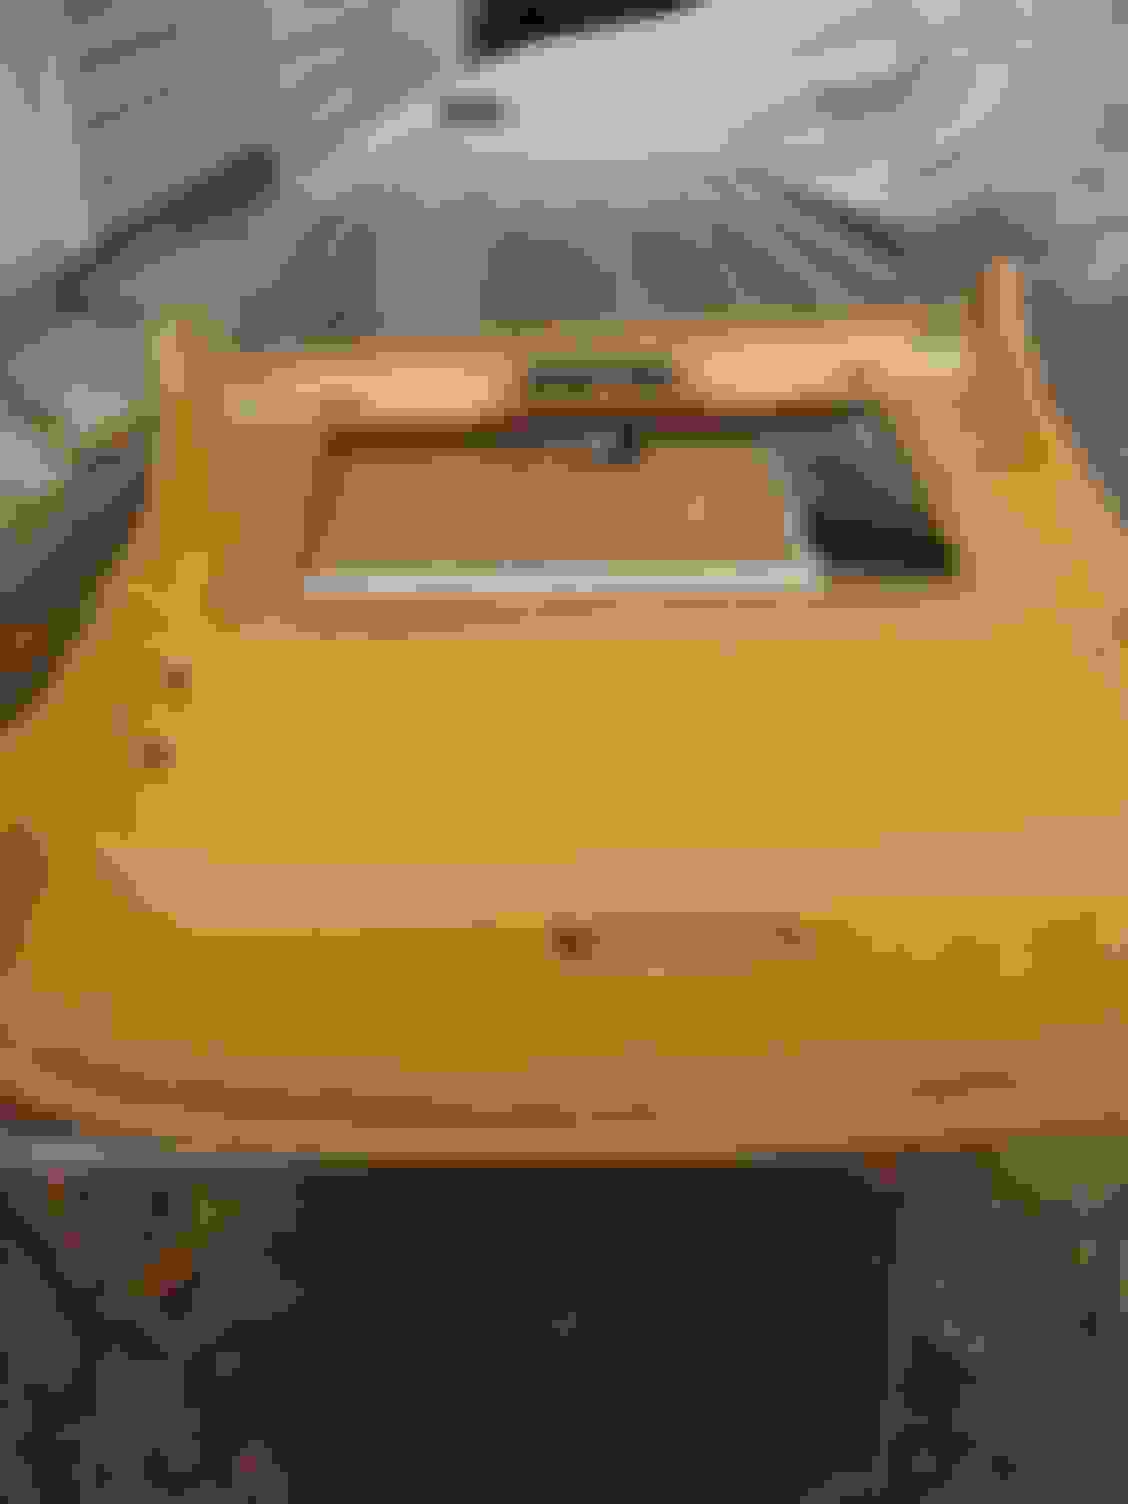
The primary reason for the project is to address the sagging in the rear. An added benefit is that the headliner and the pillar trim panels are looking a little grubby. The discoloration was not that noticeable with the headliner in the car, probably because of the angle of the lighting.
You can see the sagging at the rear.
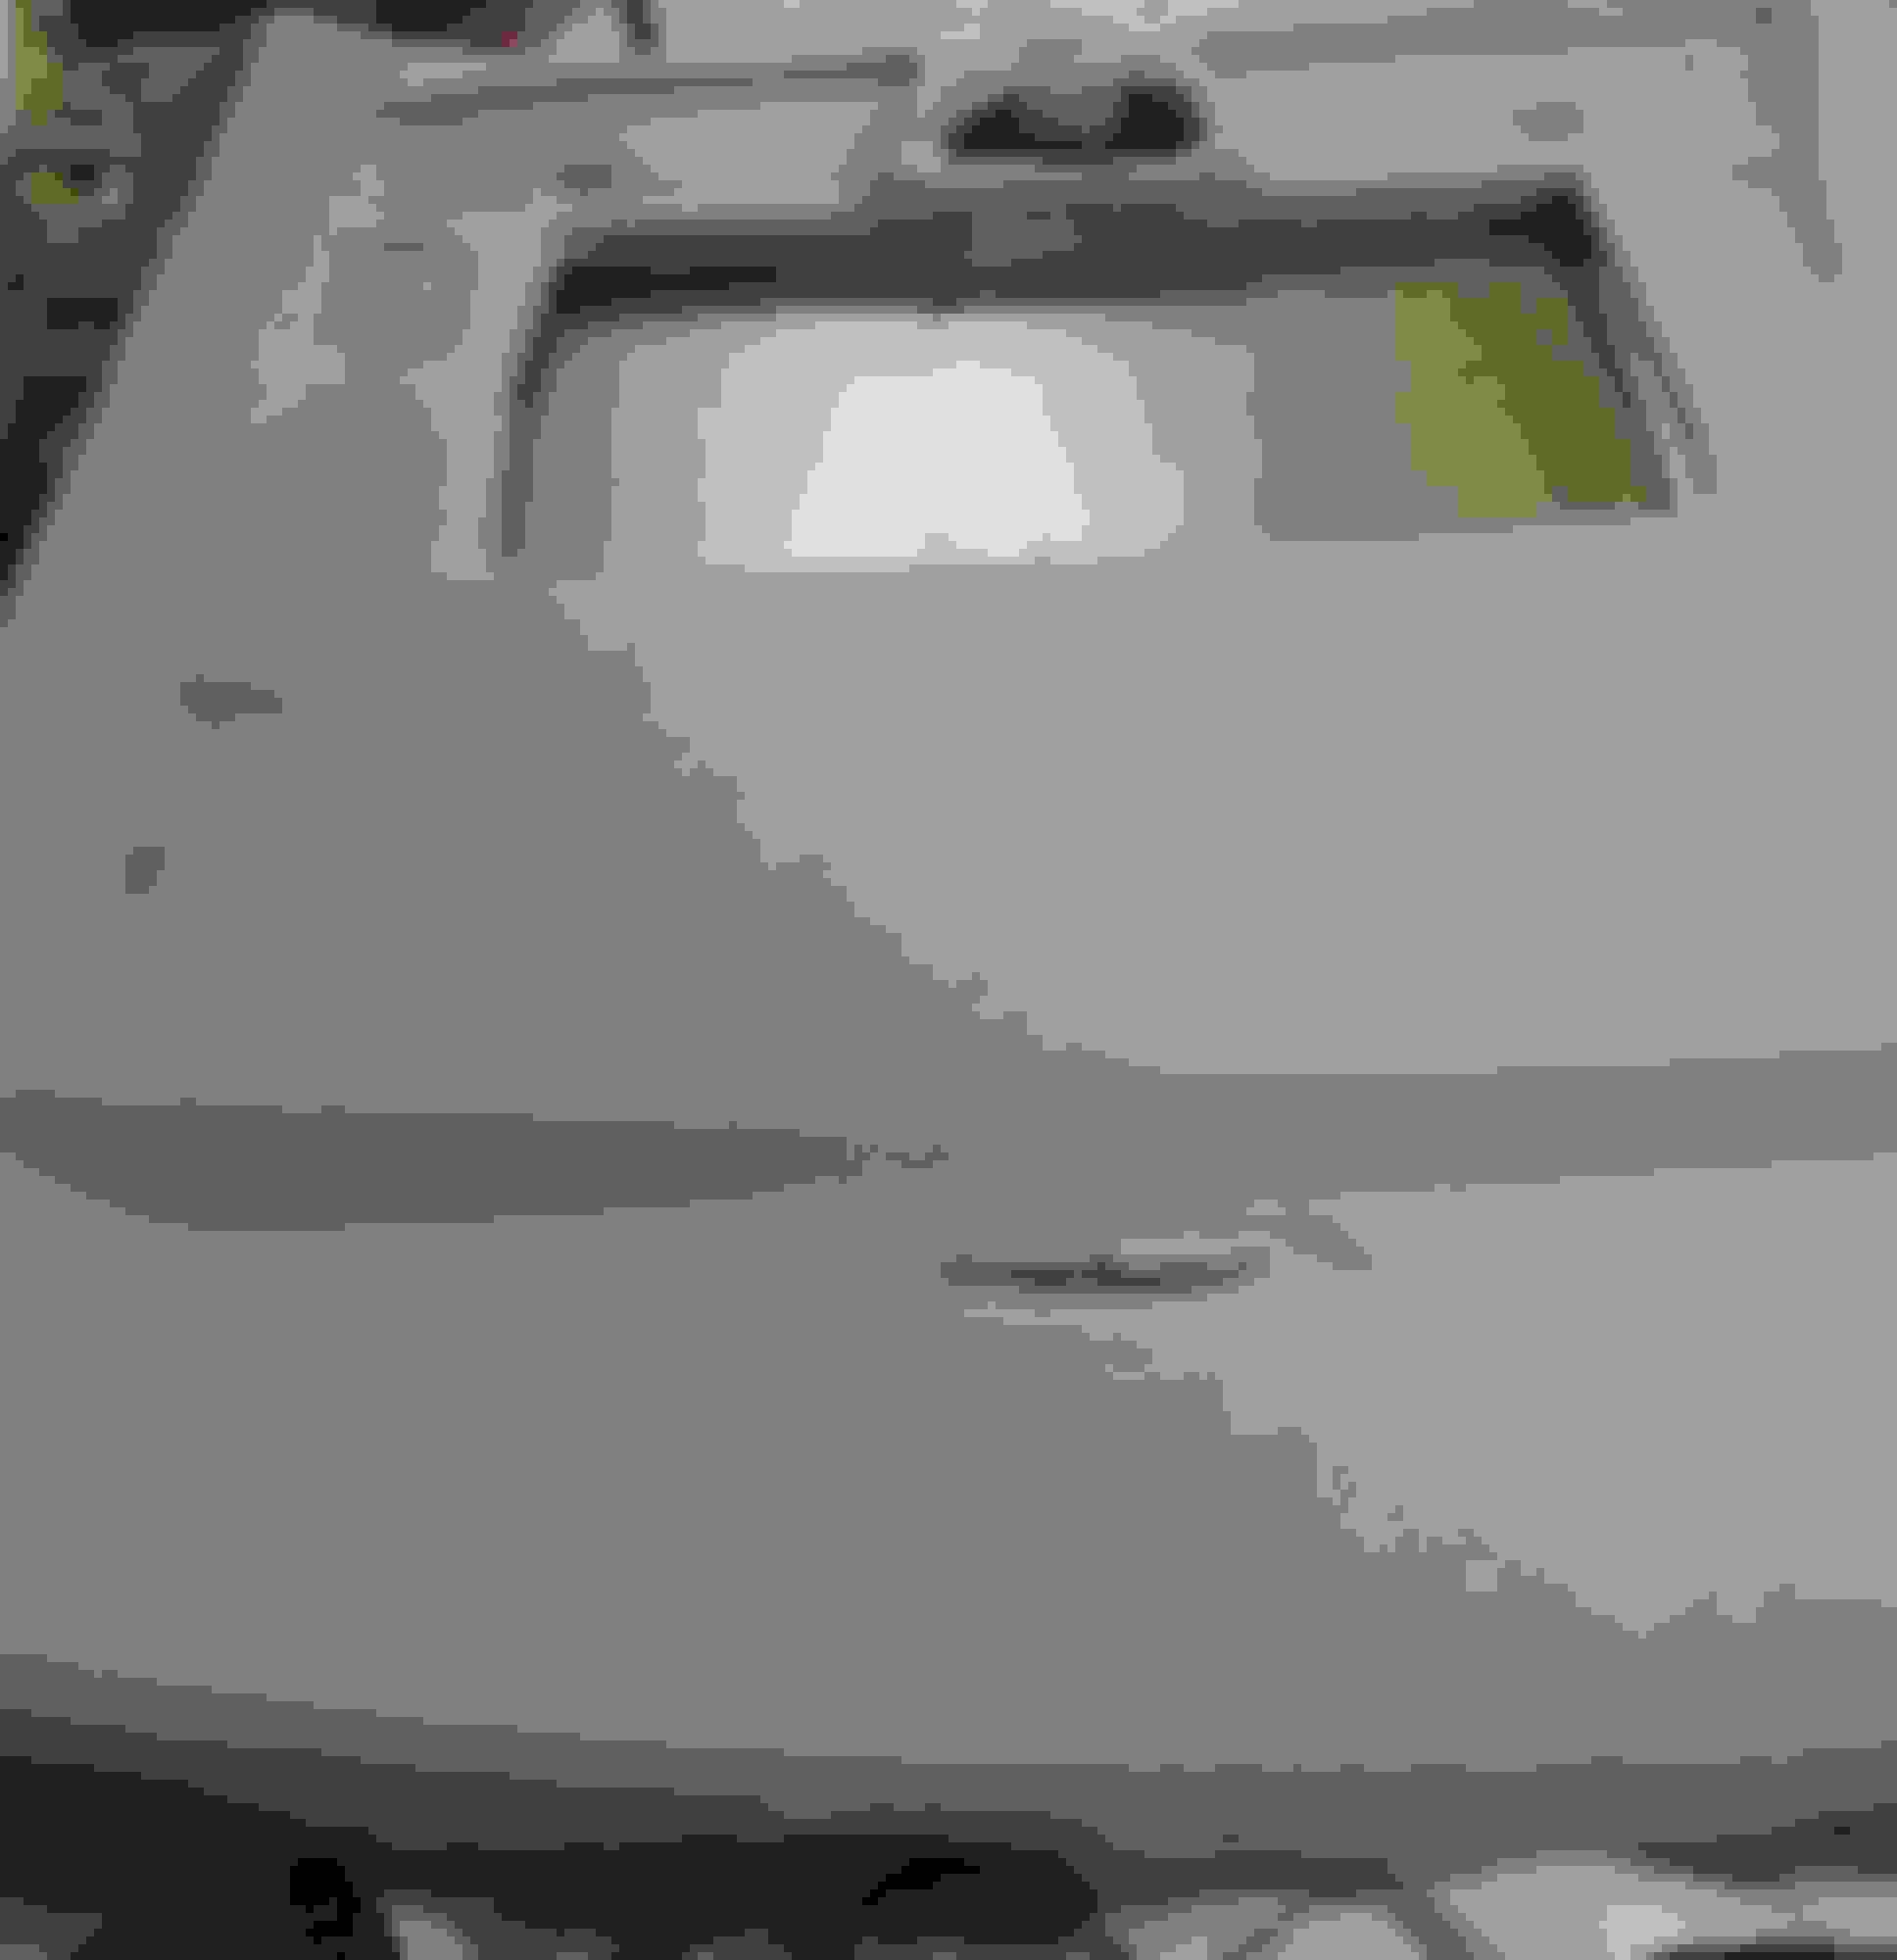
Close up of headliner near a passenger handle. Seventeen years of dirty hands have taken a toll.
My headliner had more wiring attached to the top than shown in the previous photo. The hook was not attached to the rear. I will need to glue that on before I reinstall it.
I removed the front seats to make room to maneuver the headliner out of the car and I had to bend it a little. Fortunately, it did not crack but I will need to be extremely careful reinstalling it.
The process for removing the headliner requires quite a bit of interior disassembly. The inside of the car looks like a tornado hit it. My goal is to have the car back together by the end of the weekend. I won't have much time to work on it on Friday, but I think I know how I will be spending Saturday.
I removed the old headliner fabric and started to clean off the foam backing.
I was working outside in poor light and I need to clean this more thoroughly.
I also reattached the rear hook and glued a wire that had come loose back to the top of the headliner.
During earlier projects, I discovered that the rear window had been broken and replaced. I suspect that the technicians who replaced the glass pushed the headliner down rather than removing it. This caused the wire and the hook to pull off of the headliner. If it sounds harsh to accuse someone else of cutting a corner when making a repair, I can support my theory. They also left broken glass all over the trunk and the rear seat.
Last edited by KevinH2000; Nov 12, 2021 at 10:39 PM.
I finished cleaning the headliner board this morning.
Applied adhesive.
Attached the headliner material
I have to buy more adhesive to fasten the edges and for the a, b and c-pillar trim. I'm making progress and I'm satisfied with the results although there are flaws. I think it would take several attempts to achieve perfect results. My goal is to have it look good and endure for several years.
The fabric I bought - Global Upholstery Alpine Grey Flat Knit - Is essentially a perfect match for the existing fabric. The original fabric may have faded a bit or there may be a slight variation due to a different dye lot, but I don't see a big difference.
The headliner labels indicate the color is Alpaca.
I think I am on track to finish this weekend provided I don't snap the board when I reinstall it.
Last edited by KevinH2000; Nov 26, 2021 at 07:50 AM.
Once you safely get it back inside the vehicle (not sure if you removed the center console) I hope this video helps you (and others doing this work) on getting the headliner up and in.
I have not had much time to work on this since Sunday
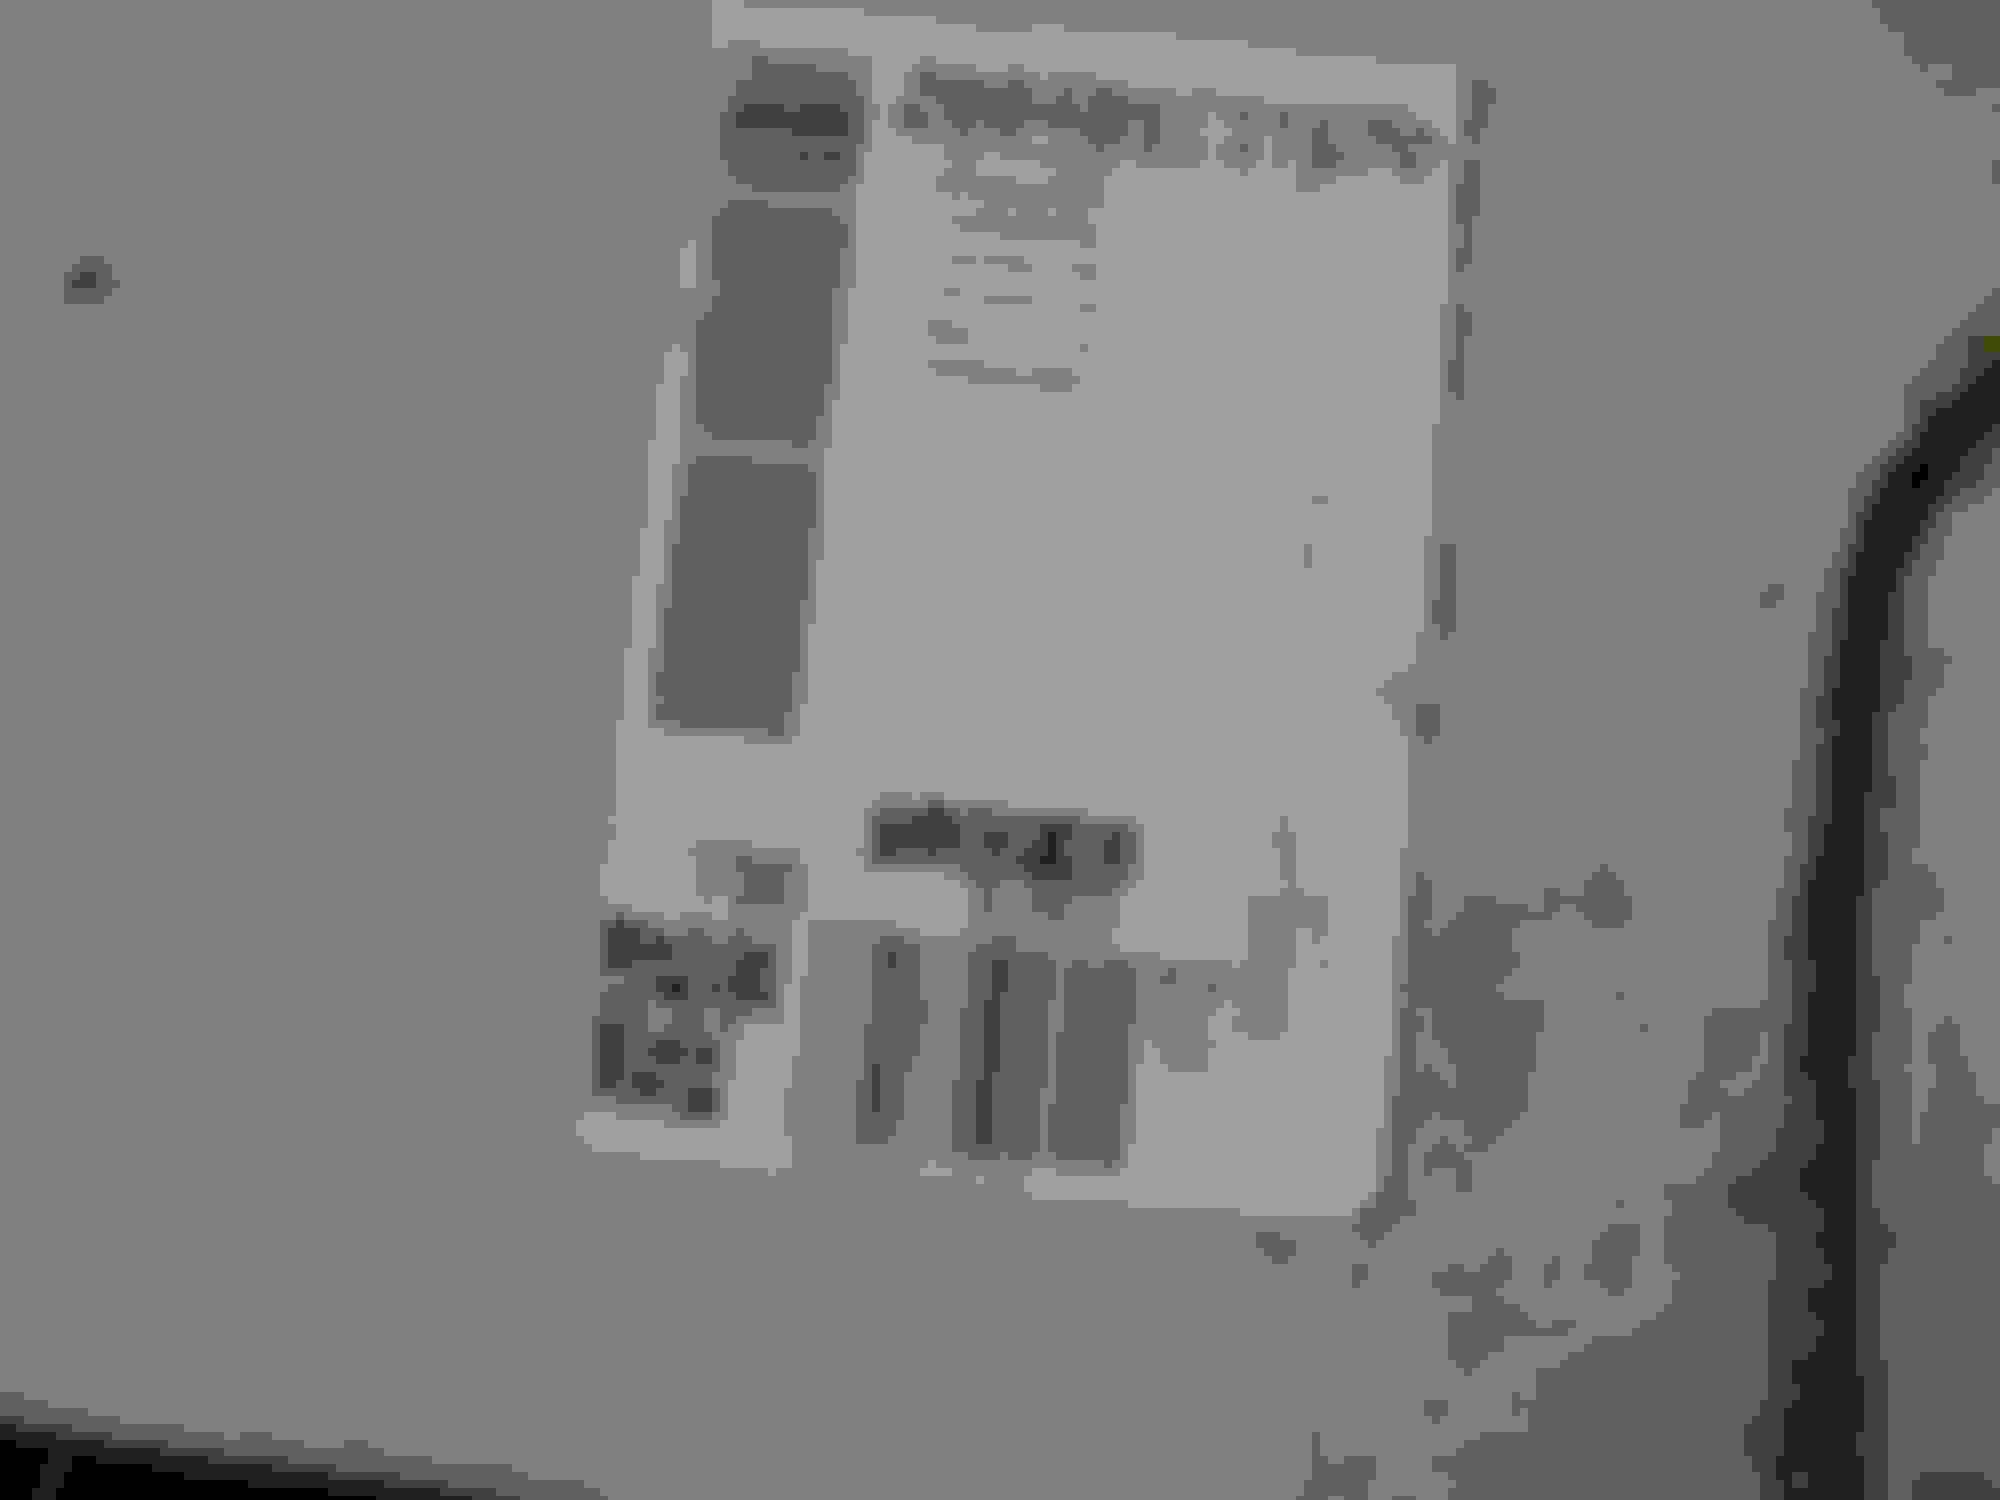
I ran into a problem installing the B-Pillar trim. This document describes the process. The challenge I am having is with Step 14. It is proving fiendishly difficult to implement this guidance: �The bolt (8) must be inserted in the support (9) and the lock pawl (7) must be inserted in the button (10).�
In the event someone else needs to reinstall their B-Pillar trim, I recommend that they only do it when they are not fatigued. I had attempted to install the B-pillar trim in a few spare moments after work. I tackled it this morning when I was better rested and I was able to install it in about 20 minutes per side.
It is (as Ed China would say) a bit fiddly. I needed to line up the clips that attach the trim to the B-pillar and the bolt and pawl simultaneously. It takes an alert mind to put everything in the correct positions and then put the trim on. I found that using some masking tape to hold the parts that slip over the bolt and pawl the proper distance apart made the task easier.
I am now on the home stretch. I should finish up tomorrow.
Here are some final observations and tips that I hope will prove useful to anyone who chooses to take on this project.
1. It is a lot of work to disassemble the interior of the car in order to remove the headliner.
2. I removed the front seats, but I did not remove the center console to make room for extracting the headliner. It may be helpful to remove the center console. I say this because I had to bend my headliner board during extraction and reinstallation. It made some alarming noises, but it didn't break. I might not be so lucky next time and removing the center console may provide enough additional space to avoid disaster.
3. Mercedes uses material without foam backing on the b and c pillars. The sunroof sunshade has some foam, but it does not seem as thick as the foam Mercedes uses on the headliner. I used foam-backed material on everything. It looks fine, but it does not look exactly like the factory-installed trim. The same fabric I used is available without foam backing. It may be a good option to buy a yard of the non-foam material for the parts that came from the factory that way. My only concern is that the glue may bleed through the non-foam fabric and there may be stains that you can see.
4. I bought 4 yards of fabric. I think I could have managed to complete the job with 3 yards if I had taken more care to lay out the parts in an efficient way. The headliner itself without the other trim panels requires two yards.
5. I used 4 cans of spray contact adhesive. I may have overdone this as most of the guides I saw on-line suggest that only one can is needed. I bought one can of 3M Headliner adhesive from Amazon to start. When it was obvious that would not be an adequate amount, I bought 3 additional cans of 3M High Strength 90 Spray Adhesive because the Headliner adhesive wasn't available in my local stores.
6. Trimming the area around the sunroof opening was a challenge for me. I'm sure a professional wouldn't have any problem, but as a beginner I cannot explain why my technique failed. The result of my error was gaps where the headliner board was not covered by fabric. I solved that problem by covering the headliner material at the top of the sunroof opening with viny trim used in marine upholstery applications.
7. Any plastic part near the sunroof including the two plastic panels in the sunroof sunshade will be brittle - probably because of heat caused by by years of sun and heat exposure in the summer. I managed to break the piece that attaches at the front of the sunshade (shown in a video linked in one of the earlier posts). Fortunately, the local dealer price matches and the replacement was a fairly reasonable $17.
8. My headliner had three wires that connect to the car. Two (on the driver side) attach to the rear SAM. The third attaches to a connector in the area to the right of the rear seat on the passenger side. The number of wires in the headliner may vary based upon the options you have in your car.
9. It is easy to pull the connector for the light sensor loose from its position on the windshield. You can reattach it by removing the black plastic cover in the center of the windshield.
10. Although I bought fabric that exactly matched the Mercedes OEM fabric, this was an expensive ($162 including shipping) option. If you are planning to recover everything, you might consider buying generic headliner material in a color that is similar to the OEM material.
11. Whether you do this job yourself or take it to a shop, you need to fix a sagging headliner. Nothing says "beater" like a headliner that brushes against your head.
This was a tedious project that required multiple days for me to complete. In the end I am glad I did it myself. My work is not perfect, but most people won't notice the flaws unless they know where to look. The savings were about $1000.
Last edited by KevinH2000; Dec 4, 2021 at 07:04 AM.
Once you safely get it back inside the vehicle (not sure if you removed the center console) I hope this video helps you (and others doing this work) on getting the headliner up and in.
I just want to say that Jake's advice helped me turn this: Damaged Sunroof Corner
Into this: Repaired Corner
I understand that the judges at my next concours de elegance will know that there is not supposed to be any trim around the sunroof, but for a daily driver I am pleased with the appearance. It certainly beats the other fixes that I tried.
Coupe owners should feel a bit smug when they reach Step 27 - Remove headliner (8) through rear door. I expect that is a much easier process than bending (and hoping not to break) the headliner while removing through a passenger door.
This video is a good illustration of the headliner removal process. I hope that it helps someone with this unpleasant job. It was posted about two years too late for me.
Mercedes SLR McLaren 722 S Is Extremely Rare Example Modified by McLaren
Slideshow: A one-of-one U.S.-spec Mercedes-Benz SLR McLaren Roadster became even rarer after a factory-backed transformation at McLaren's headquarters.