
Headlight has been removed! Now how to open it?


Thread Starter
Junior Member
Joined: Feb 2011
Posts: 20
Likes: 0
C300
Headlight has been removed! Now how to open it?
I have the c300 headlight housing take out of the car now. My question is...is there a writeup on how to open up the headlight? I see that there are some screws holding the housing to the lens/reflector...if I bake them open, will the housing just come apart? The housing is plastic, what is a safe temperature to bake it at?
yes, I searched lol
yes, I searched lol
Last edited by LJ_24; May 29, 2011 at 02:01 PM.


MBWorld Fanatic!
Joined: May 2008
Posts: 1,072
Likes: 5
From: Pittsburgh,PA, Cambridge, Ontario, CN
2003 S210 3.8L Brabus wagon
That is a simple resquest. in the oven on a cookie sheet on aluminum foil with the temp set at warm or 150 -200 degrees whichever is the lowest setting and only for a few moments. You want the adhesive to become warm and soft not hot and gooey. Remember to take off any rubber gaskets first surrounding the headlamp. Be careful with the adjusters as it is very easy to make them go out of wack if it is a HID system. Best wishes and happy Memorial Day from a US person stuck inside Canada for the weekend!!!

Trending Topics

Super Member
Joined: Apr 2010
Posts: 705
Likes: 55
From: LA LA Land
'08 C300 MM Pano
https://mbworld.org/forums/c-class-w...t-housing.html
Super Member
Joined: Apr 2010
Posts: 705
Likes: 55
From: LA LA Land
'08 C300 MM Pano
Let me also add that if I understand the process correctly, whichever method you used to take the housing apart, and after painting, you have to use the same method to soften the adhesive so that it will seal properly prior to putting it back together.
MBWorld Fanatic!
Joined: Jan 2011
Posts: 1,878
Likes: 8
From: five oh two
2008 W204 Sport
Easy,
1) Take off the 4 metal clips first
2) Preheat oven 250 degrees
3) Place headlight on cookie sheet with aluminum foil and make sure when you place it in the over that you set the cookie sheet on the lowest rack slot in the oven and keep the headlight in the most center part of the oven for 10 min
4) After 10 min, pull out of oven and pull clear lens out and away from headlight assy
5) Once your inside there will be some torx screws to take out to pull the chrome assy apart
6) When done with painting repeat above steps in reverse order


Thread Starter
Junior Member
Joined: Feb 2011
Posts: 20
Likes: 0
C300
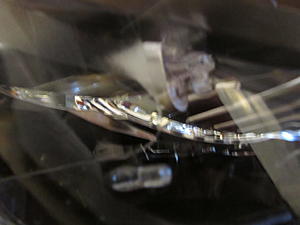
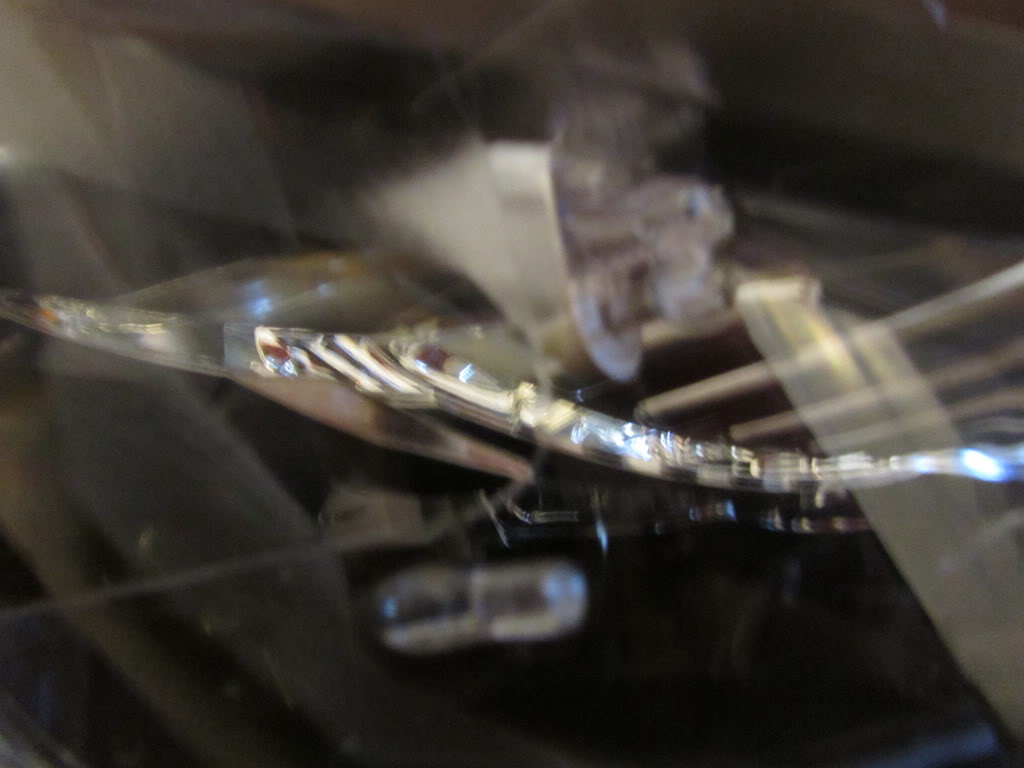
Awesome man! Thanks for the step by step process break down! I took a picture of these screws, will these come off with the lens when I bake them? Also, do you take out the oem projector when you bake them? Or just leave them in?
Do I need to worry about these screws? Holding refelector to the lens? There are also screws holding the black plastic to the reflector
Do I need to worry about these screws? Holding refelector to the lens? There are also screws holding the black plastic to the reflector
Super Member
Joined: Apr 2010
Posts: 705
Likes: 55
From: LA LA Land
'08 C300 MM Pano

Thread Starter
Junior Member
Joined: Feb 2011
Posts: 20
Likes: 0
C300
So easy after the headlight is open! Used a heatgun and went all the way around the housing with patience lol
I have better pictures coming! These are good for now! I will upload the step by step instructions tomorrow!
Projectors: Morimoto mini H1 projectors with mini gatling gun shrouds! As you can see, they match the original projector thats in the benz, as well fill in the oem halogen slot correctly! Threaded in the rear to make for a flat mounting surface! Projector is from theretrofitsource.com! Ask for Matt, but all the customer service reps are awesome!

Super Member
Joined: Jun 2006
Posts: 556
Likes: 4
2011 C300 4matic, 2015 Porsche Macan S, 2006 R500 (sold)
Great work and have been thinking about doing headlight retrofit for a while. I assume you are using it for low beam with an additional H1 HID kit.
Looking forward to your instructions.
Looking forward to your instructions.

Super Member
Joined: Dec 2007
Posts: 580
Likes: 0
C300 Sport 6MT
Projectors: Morimoto mini H1 projectors with mini gatling gun shrouds! As you can see, they match the original projector thats in the benz, as well fill in the oem halogen slot correctly! Threaded in the rear to make for a flat mounting surface! Projector is from theretrofitsource.com! Ask for Matt, but all the customer service reps are awesome!
.

SPONSOR/MBworld Guru
Joined: Jul 2010
Posts: 6,936
Likes: 215
From: California
MB W204/W212, BMW E66, Porsche 958, VW MK6 TDI, Maserati Ghibli SQ4
Good job. Getting them open is actually the easy part. Sealing them properly so no condensation gets in will be the difficult part. Looking forward to seeing this project come to completion


