When you click on links to various merchants on this site and make a purchase, this can result in this site earning a commission. Affiliate programs and affiliations include, but are not limited to, the eBay Partner Network.
I pushed down with my knee on the metal at the top. Then just turned them this it what it looks like once off. I think there was a metal bar on the top cushion side you unclip . I really can't remember but I have the whole old seat cushion in my basement
Many Thanks! Some of the padding ripped with the plastic pieces when I pulled. I wonder if super clue is ok? LOL.
Someone should go jail for designing that plug connector!
I post results later.
lol i know i lost my mind too,they must have some "special Mercedes tool" to remove that. I tried using 2 pins and going from every angle it would not move after an hour i cut the ****ing wire and just spliced and soldered them together. ya post an update good luck!
lol i know i lost my mind too,they must have some "special Mercedes tool" to remove that. I tried using 2 pins and going from every angle it would not move after an hour i cut the ****ing wire and just spliced and soldered them together. ya post an update good luck!
Finally installed last night.
When I installed the new cover, there are no metal rods on the left and right side like the old one. Design Change? The part number is same for passenger. Q. Did your new cover have rods on sides?
Ya save yourself the head ache cut the wire and solder the wire together. Lol
I completely forgot about this thread and just tried to remove the heated seat clip but cut the wire right at the plug. I didn't even think about it so I am not done the job now.
Does anyone know how to remove the clip from the harness under the seat or what tool can be bought to remove it? I don't want to damage the female portion of the clip as it seems rather fragile.
Like someone said above. This job would take minutes if were not for that wire clip.
Hi, does anyone have the instructions for removing the plug(s). I know the black and white plugs have to come out somehow. I cannot believe the solution is to simply cut the wires. Please help.....in the middle of trying to remove the seat at the moment.
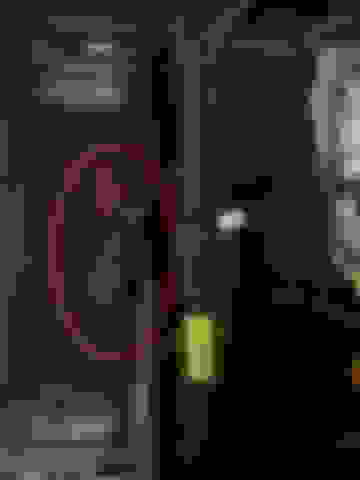
Just figured it out. The simple solution was previously mentioned. You push the sloped tabs in on the top and on the bottom of the socket that holds the black and white plugs and then pull the plugs out. But for a non-mechanic and/or someone who doesn't have the proper tools, this is easier said than done. I noticed that the socket can actually be removed itself by pulling it out towards the front of the car.....with both plugs still in. The socket slides off a plastic track quite easily. Once it is released from the crossbar that holds all the other plugs and wires, you now have better access to those sloped tabs and it is much easier to push both top and bottom....a bit on each....and the black and white plugs simply pull out. That is it!! No need to cut and solder wires. You just needed to think like MB.....out of the box!! Who would have thought to release the socket first!!! Here is a pic to show you how the released socket looks like. The arrow is pointing to the slots that used to have the black and white plugs attached. Hope that helps those who had some trouble and did not want to cut wires.
I had to go and create an account just to reply to you, but you my good sir are a scholar and a Saint! Thank you for posting this because I was really trying to avoid having to solder these wires and you saved me. Thank you!
Originally Posted by GeSeGLK350
Just figured it out. The simple solution was previously mentioned. You push the sloped tabs in on the top and on the bottom of the socket that holds the black and white plugs and then pull the plugs out. But for a non-mechanic and/or someone who doesn't have the proper tools, this is easier said than done. I noticed that the socket can actually be removed itself by pulling it out towards the front of the car.....with both plugs still in. The socket slides off a plastic track quite easily. Once it is released from the crossbar that holds all the other plugs and wires, you now have better access to those sloped tabs and it is much easier to push both top and bottom....a bit on each....and the black and white plugs simply pull out. That is it!! No need to cut and solder wires. You just needed to think like MB.....out of the box!! Who would have thought to release the socket first!!! Here is a pic to show you how the released socket looks like. The arrow is pointing to the slots that used to have the black and white plugs attached. Hope that helps those who had some trouble and did not want to cut wires.
I had to go and create an account just to reply to you, but you my good sir are a scholar and a Saint! Thank you for posting this because I was really trying to avoid having to solder these wires and you saved me. Thank you!
Happy to hear this helped you. I had to change the passenger side a couple of months ago. Was even quicker second time around!
Mercedes SLR McLaren 722 S Is Extremely Rare Example Modified by McLaren
Slideshow: A one-of-one U.S.-spec Mercedes-Benz SLR McLaren Roadster became even rarer after a factory-backed transformation at McLaren's headquarters.