When you click on links to various merchants on this site and make a purchase, this can result in this site earning a commission. Affiliate programs and affiliations include, but are not limited to, the eBay Partner Network.
So problem is like many here. Hard start, diesel like sound, P0340 code...
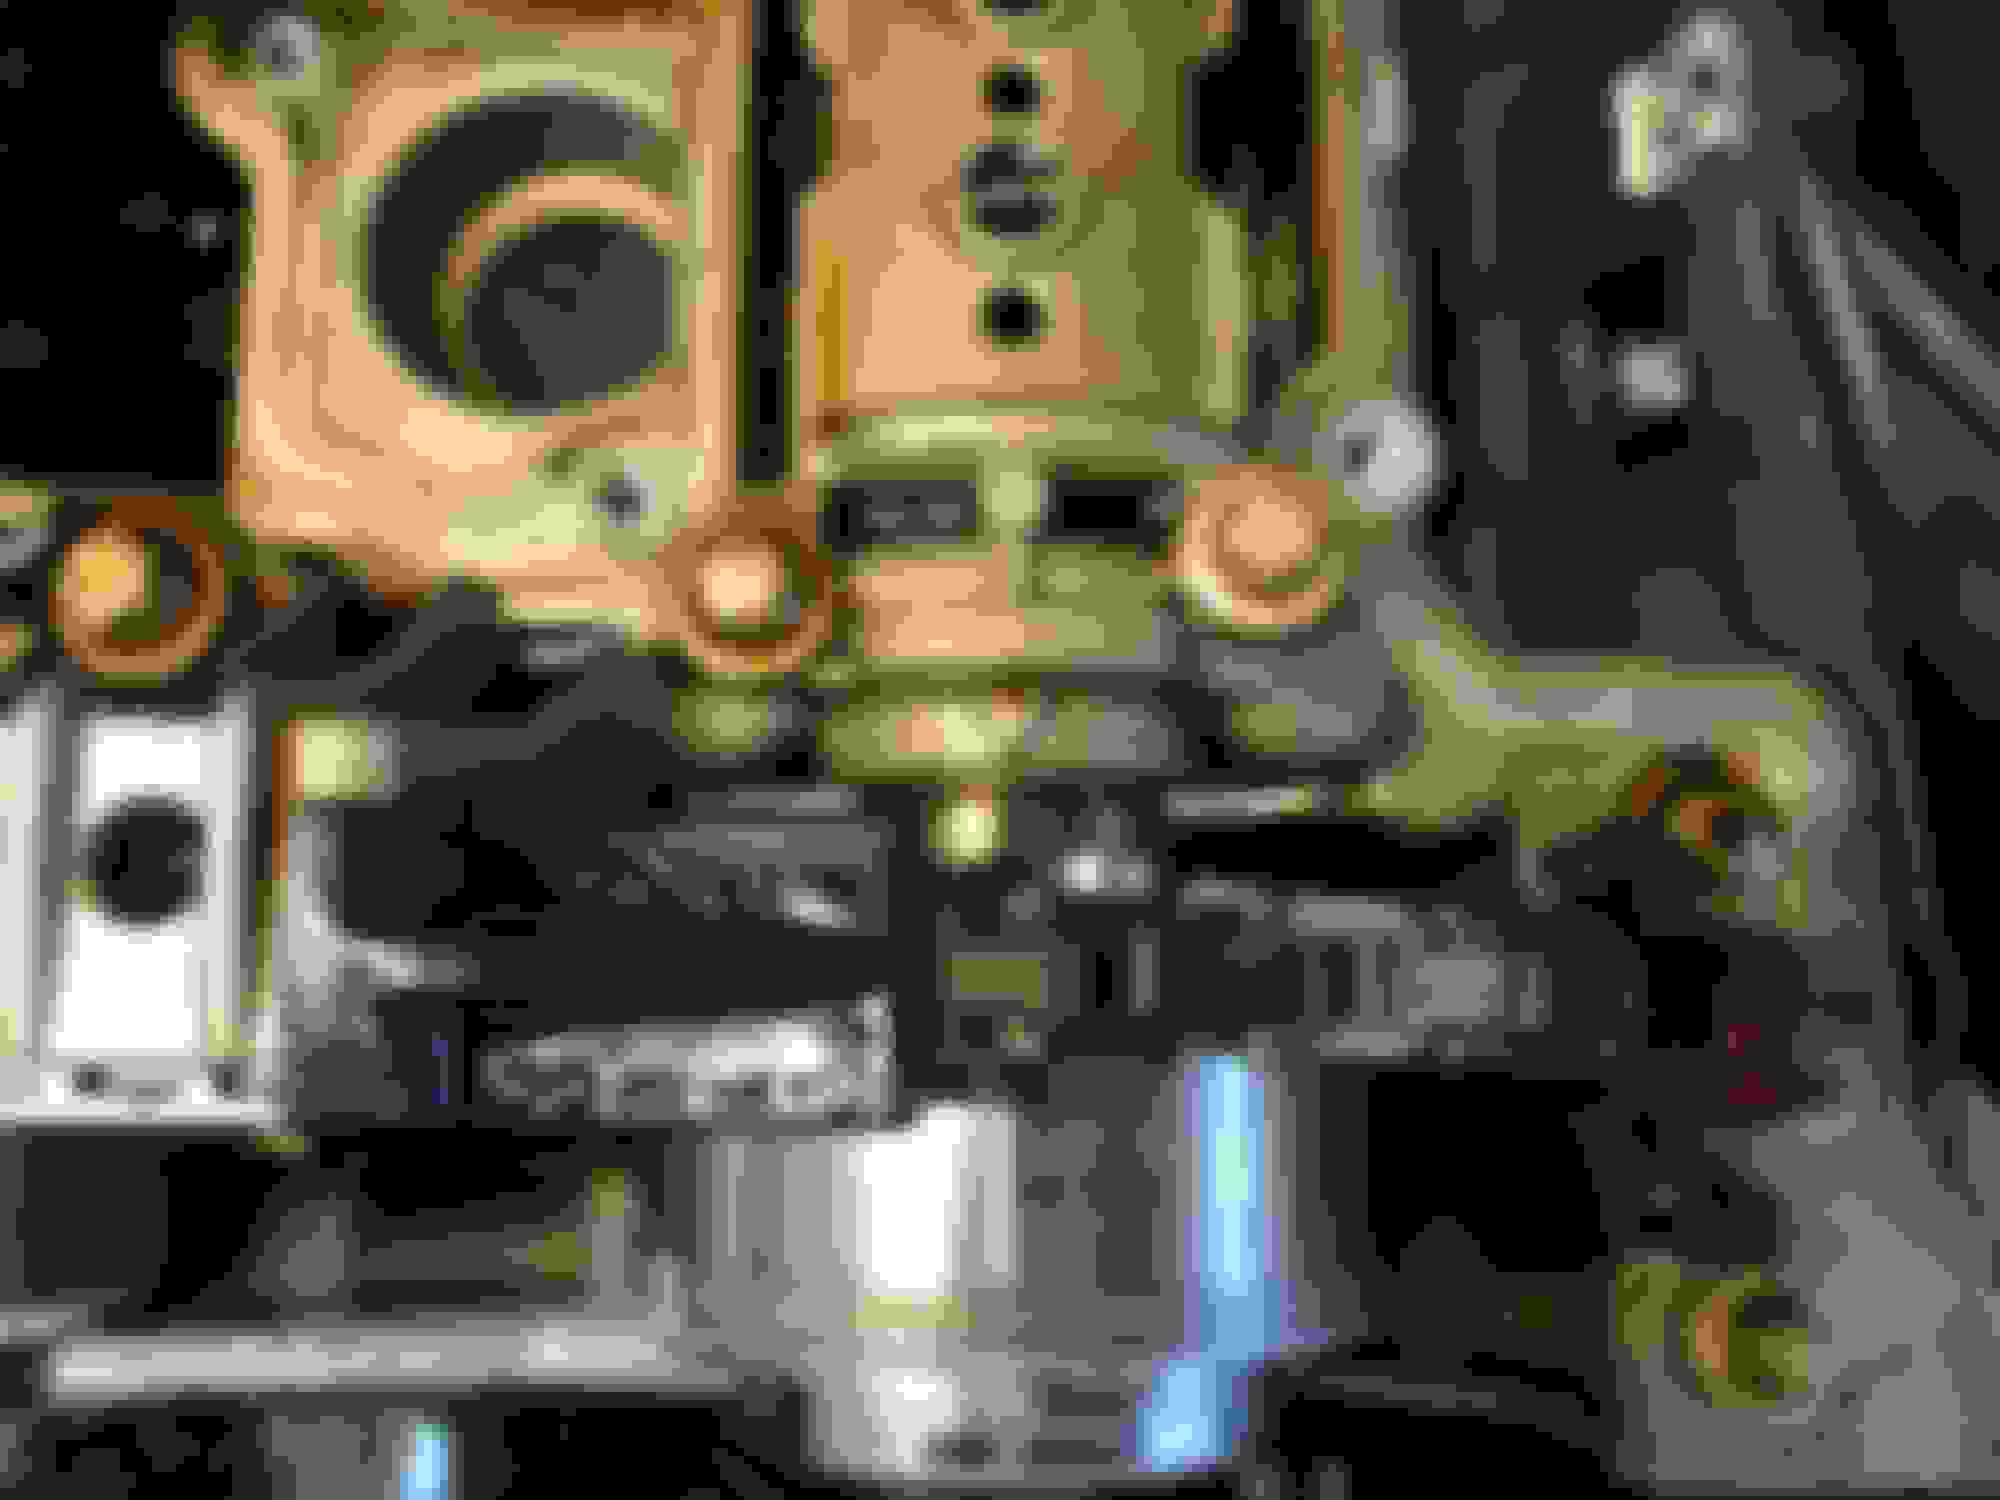
I ordered a set of cam adjusters, tensioner, and new timing chain...took the valve cover off and now I'm looking at the adjusters and they aren't worn at all (see pictures.)
The chain doesn't appear stretched either but hard to tell with tensioner still installed.
Still bad adjusters but problem hasn't been going on long enough to wear the teeth? Go ahead and replace adjusters and chain/tensioner or is it likely some other problem? Magnets/sensors?
I'm right there with you. Had the delayed "diesel sound" crank. Replaced the chain tensioner yesterday. All fine for half a day but the P0340 code returned this morning. Now looking to replace the intake cam adjuster (271-050-14-00-80). Ordered a 8MILELAKE Camshaft Alignment Engine Timing Tool Chain kit off Amazon for $80. Haven't bought the actual cam adjuster or chain rivet device yet. As tempted as I am to buy one of the cheap China adjusters I'm sticking with MB. UNLESS someone can recommend another reliable brand. Also trying the get some kind of "good faith" deal for the part from MBUSA as my CPO just expired three month ago. Also I plan on reusing the tenisioner I just bought (watched that reset video and hope it works). Any words of wisdom would be greatly appreciated. 2014 C250 M271.8
I guess I did half the hard work by taking all that off and accessing the adjusters. I might as well replace the tensioner adjusters and chain rather than risk replacing one item and having to tear it all apart twice.
Set your crankshaft to TDC and post up pictures of the timing marks on your camshafts.
If your intake adjuster has failed, you will see marks similar to the first photo below. After replacing, you should see marks similar to these second photo.
It is best to replace both adjusters.
Last edited by The Critic; Jul 6, 2019 at 04:41 AM.
It was actually off more dramatically than this (originally looked just like your first pic). In fact, it caused me to see if there was any play by placing a flat wrench on the cam and turning the adjuster (not advisable) . I was able to realign but of course won't hold under running conditions. Did you replace with an MB adjuster? If so, did you find one below $500. Also, no need to break the chain IF I'm not replacing the chain, correct? Thanks for your time The Critic.
2013 C250 SPORT, 2014 WRX STI SEDAN, 2017 E300 4MATIC
Originally Posted by rg_w204
It was actually off more dramatically than this (originally looked just like your first pic). In fact, it caused me to see if there was any play by placing a flat wrench on the cam and turning the adjuster (not advisable) . I was able to realign but of course won't hold under running conditions. Did you replace with an MB adjuster? If so, did you find one below $500. Also, no need to break the chain IF I'm not replacing the chain, correct? Thanks for your time The Critic.
From those pictures, the most likely issue is you have a stretched chain. I would replace the chain before the adjusters.
It was actually off more dramatically than this (originally looked just like your first pic). In fact, it caused me to see if there was any play by placing a flat wrench on the cam and turning the adjuster (not advisable) . I was able to realign but of course won't hold under running conditions. Did you replace with an MB adjuster? If so, did you find one below $500. Also, no need to break the chain IF I'm not replacing the chain, correct? Thanks for your time The Critic.
Yes, I used a MB adjuster. I purchased my intake adjuster from mbpartspro - they had the best prices. But after tearing it down and consulting with a few techs who had experience with this job, I elected to replace both adjusters. The intake adjuster was quite advanced but the exhaust adjuster was also slightly retarded. Both adjusters needed to be manually moved (with the T100 socket) before I was able to install the hold down tool. After replacing both adjusters and installing a new tensioner, the tool dropped right into place.
There is no need to break the chain if you are only replacing the adjusters. Just have someone hold the chain with a pry bar when you remove and replace the adjuster. Mark the links before you remove the adjuster. The crank may jump time a bit but I think the crank sprocket sort of �free wheels� when the tensioner is removed.
So just completed this job but nowhere close to taking a victory lap (perhaps in about three months). Main issue I had was getting the cam adjuster off. The cheap cam brace I bought off Amazon bent, couldn't get a good hold on the cam with a long wrench and my air impact wrench did nothing. Had to end up borrowing a SnapOn electric impact. Worked like a charm. Awesome tool right there!
Ran into a few smaller issues like broken bolt on the cylinder head cover that was shared with the thermostat and broken thermostat connector. I discovered these two issues and did not cause them. However, oddly enough my dealership did replace my thermostat under CPO warranty about two years ago. The bolt was left sheered off and the thermostat connector was rigged with two small zip-ties. Nobody else has been under this hood but me especially down that far...but i digress.
On to this project..........but I'm not a mechanic and this isn't a DIY.
TASK COMPLETED while doing this: oil change, radiator flush, new valve cover gasket (271-016-12-21) and plug gaskets (271-016-13-21), new chain tensioner (271-050-09-11) (had to pull it back out after original "diesel", long crank issue persisted and knew I had to replace the intake cam adjuster. Did not have to buy another new one as that reset thing works. Check YouTube. I highly recommend using a vise), plug/cover/cap chain tensioner (000-997-62-20), seal ring on cylinder cover (007603-014106), Loctite 5970 or MB sealent for cylinder cover (003-989-98-20-10). intake cam adjuster (271-050-14-00-80). Don't think you have to but I removed the thermostat from the cylinder cover so needed o ring (020997444564) and gasket (271203048064) and of course
Helpful notes:
Have a quality electric impact wrench handy. Thinking the cheap cam brace package I bought ($80) would have worked if I went to the electric impact wrench at first sign of issues. Plus that package did come with that special socket (271-589-00-10-00).
I removed the fan for more space. Pretty easy removal after you take off radiator upper hose
The air duct that runs from the air housing to the turbo is a pain getting back on at the turbo (no tips for that)
Paint up your marks on your chain, adjuster and where ever else before you take out that chain tensioner.
Take alot of pictures and video .
Support that chain while doing your replacement. I clamped the chain to the exhaust side and strung up the chain on the intake side with wire. This part made me the most nervous. Don't rush through this part.
Clean the cylinder cover and engine contact side right. Don't cut corners here. Also I let the sealant cure for over 24hr before starting car (not saying you should, just saying I did).
I have a bad habit of rushing through the part removal/breaking down process on projects. Don't do it on this project.
Don't forget to disconnect battery...just saying
I'm sure I am leaving out more than a few things.
Now I hope to go a week or two before the next thing breaks on this ride. Praying the chain and exhaust cam adjuster will be good for awhile.
Also please note I'm NOT a mechanic nor I'm I remotely qualified to do this job so do your own research.My car engine could blow up tomorrow because of me so this is just a friendly read at best.
I agree with all of your tips. For me I used the Baum Tools hold down kit (it is for sale btw) and it had no issues. I used an electric impact to break the adjuster bolts loose and when reinstalling, the hold-down tool for sufficient for torquing those bolts to spec. The air intake tube to the turbo is super brittle and I ended up replacing mine since some parts of it crumbled during removal; the tube lists for $270 so it is not cheap. To make reinstall easier, I lubed the ends with dish soap. The clamp for the hose (on the turbo end) can also be best accessed thru the passenger front tire fender well (after removing the liner). During the reassembly, I also replaced the oil filler gasket and the oil cap - both of mine were leaking.
I also cleaned the engine bay with degreaser and a garden hose - I regretted this later (read on and you will see why).
After 140 miles of test driving, I was merging onto the freeway and the car began to lose power. It went into limp mode. Scanning the car revealed the P000277 and P061A22 faults. I confirmed my low-side fuel supply to be sufficient, so the high pressure fuel pump was the culprit. Ended up removing the intake manifold to replace the pump. The five gaskets for the intake are crazy expensive - $80!
Finally, after repairing the high pressure fuel pump, I started receiving misfire faults for cyl #1, #2 and #4. And a P0300. After additional inspection I found the coils for #1, #2 and #4 to have a burned smell and signs of water intrusion. It looks like these engines DO NOT like to be washed, not even with a garden hose. I installed 4 new plugs and 3 coils from MB ($250). So far, all is well but I am waiting for the monitors to set so that I can smog the car and sell it.
P.S. Does anyone want to buy a 2012 C250 with over $2600 in new OEM parts?
OK, so I messed up a bit and when I removed the cam adjusters etc...it got out of alignment with TDC. Do I fix this by just adjusting the cams and aligning the marks of the cams and TDC? Can I do this with the tensioner out?
My thinking is use a wrench (anyone know the size of it?) to slightly adjust the cams so the marks all align...set crank to TDC then put chain back on...am I missing anything?
2013 C250 SPORT, 2014 WRX STI SEDAN, 2017 E300 4MATIC
Originally Posted by iJDub
OK, so I messed up a bit and when I removed the cam adjusters etc...it got out of alignment with TDC. Do I fix this by just adjusting the cams and aligning the marks of the cams and TDC? Can I do this with the tensioner out?
My thinking is use a wrench (anyone know the size of it?) to slightly adjust the cams so the marks all align...set crank to TDC then put chain back on...am I missing anything?
i think the easiest way to do this first you line up your alignment marks and then lock the cams in place. You would then set your crank to TDC and finally reinstall the tensioner.
You can install a new intake adjuster and see if the marks line up at 3 (exhaust) and 9 o'clock (intake).
Look at the mark at 3 O�clock on the exhaust adjuster and the mark at 9 o�clock on the intake adjuster. With a new chain, those two marks will line up perfectly.
I am using that tool, but I had taken it off temporarily trying to adjust the cams to try to get it aligned. This is as close as I can get (exhaust is off, intake is close.) Redo it?
2013 C250 SPORT, 2014 WRX STI SEDAN, 2017 E300 4MATIC
Originally Posted by iJDub
I am using that tool, but I had taken it off temporarily trying to adjust the cams to try to get it aligned. This is as close as I can get (exhaust is off, intake is close.) Redo it?
Yes you should redo it imho. If both cams are not in sync then the valve will not open in sync and that might lead to some combustion issues. Also you run the risk of interference between the pistons and the exhaust valves.. According to the manual the TDC can be off +|- 2 degrees but the cams
OK, so I don't know if it's because the tensioners not in yet, but when I get everything lined up just perfect, and I let go of the chain I just put on, the intake cam wants to jump a bit then there's too much slack in the chain between gears. It's hard to explain I'll try to post a video.
Mercedes SLR McLaren 722 S Is Extremely Rare Example Modified by McLaren
Slideshow: A one-of-one U.S.-spec Mercedes-Benz SLR McLaren Roadster became even rarer after a factory-backed transformation at McLaren's headquarters.