When you click on links to various merchants on this site and make a purchase, this can result in this site earning a commission. Affiliate programs and affiliations include, but are not limited to, the eBay Partner Network.
(GUIDE) How to install C63 style quad exhaust on W205 C300
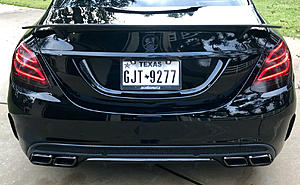
Hey guys! After countless hours researching on the internet I finally decided to take the plunge and order Muscle Leopard's C63 style quad exhaust tips with diffuser. There is only one guide on the entire internet that documents the process so I thought I would add on. Please take a look at bgm130's guides in conjunction with mine in order to get the most clear picture. Diffuser GuideExhaust Tip Guide
*Pictures at the bottom of the guide*
Part One: taking off the stock tips
1.1. Start by removing the 4 T30 Torx screws holding in the exhaust tips.
1.2. Push the exhaust tips towards the front of the car to unlatch the hangers from the car, and then push the exhaust tips out towards the back of the car. Don’t be afraid to use a little muscle, the diffuser will flex enough to clear the hanger and exhaust tip.
Part Two: taking off the diffuser
2.1. Drill out the 4 rivets, 1 on each corner of the diffuser holding the diffuser into the bumper and 2 near the center. I used a 1/8th drill bit to do this.
2.2. Move to the back of the car and start on the edges furthest away from the center, pulling on the plastic part of the diffuser to separate it from the bumper.
2.3. With a little bit of muscle the clips should start popping out, work your way slowly until all of the clips pop off. I used a screw driver to aid in popping these clips out.
2.4. Once all of these retainer clips are popped off the diffuser should have enough flex to where you can push down and reveal more clips attaching the diffuser to the bumper.
2.5. Unlatch these 8 clips. I used a screw driver to aid in popping these clips out.
2.6. Move back under the car and unclip the remaining 4 clips holding the diffuser.
The whole diffuser assembly should fall right down.
Part Three: taking off the exhaust hangers
3.1. Drill out the 2 rivets on each side holding the exhaust hangers in.
3.2. Move to the back of the car and unclip the 2 hangers holding the exhaust hanger in.
The exhaust hanger should fall right out.
Part Four: installing the new hangers
4.1. Assemble the new hangers by placing back into the previous hanger’s space paying attention to how the rivet holes align. They must look EXACTLY like stock.
4.2. Press the clips in and attach but do not set the rivets.
Part Five: installing the new exhaust tips
5.1. Align the exhaust tip hangers with their holes on the exhaust hanger and push in.
5.2. You might need to use muscle and push on the hole where the exhaust tip's tabs are suppose to slot in with a screw driver in order to push in the exhaust tip all the way.
5.3. Screw in the new exhaust tips with the supplied hardware using the same technique as on the stock tips.
Part Six: installing the new diffuser
6.1. Align the new diffuser paying close attention to the corners and how they align with the bumper.
6.2. Push in until all the clips are secured.
Part 7: tow hook cover
7.1. In order to install the supplied tow hook cover, pop off the stock tow hook cover.
7.2. Remove the plastic part by unclipping it through the back.
7.3. Clip in the new plastic diffuser piece.
Starting with only bgm130's guide and my own tinkering it took 4 hours to complete the install. Hopefully this guide will help cut down on some of the time it takes you guys to install!
Thank you! It actually wasn't that bad at all, just a bit time consuming because I had to figure out what I needed to do as I went. The pictures have been uploaded!
I was looking for a post exactly like this!! Thanks for the write up and pictures! Car looks great and you gave me the confidence to also do it myself!
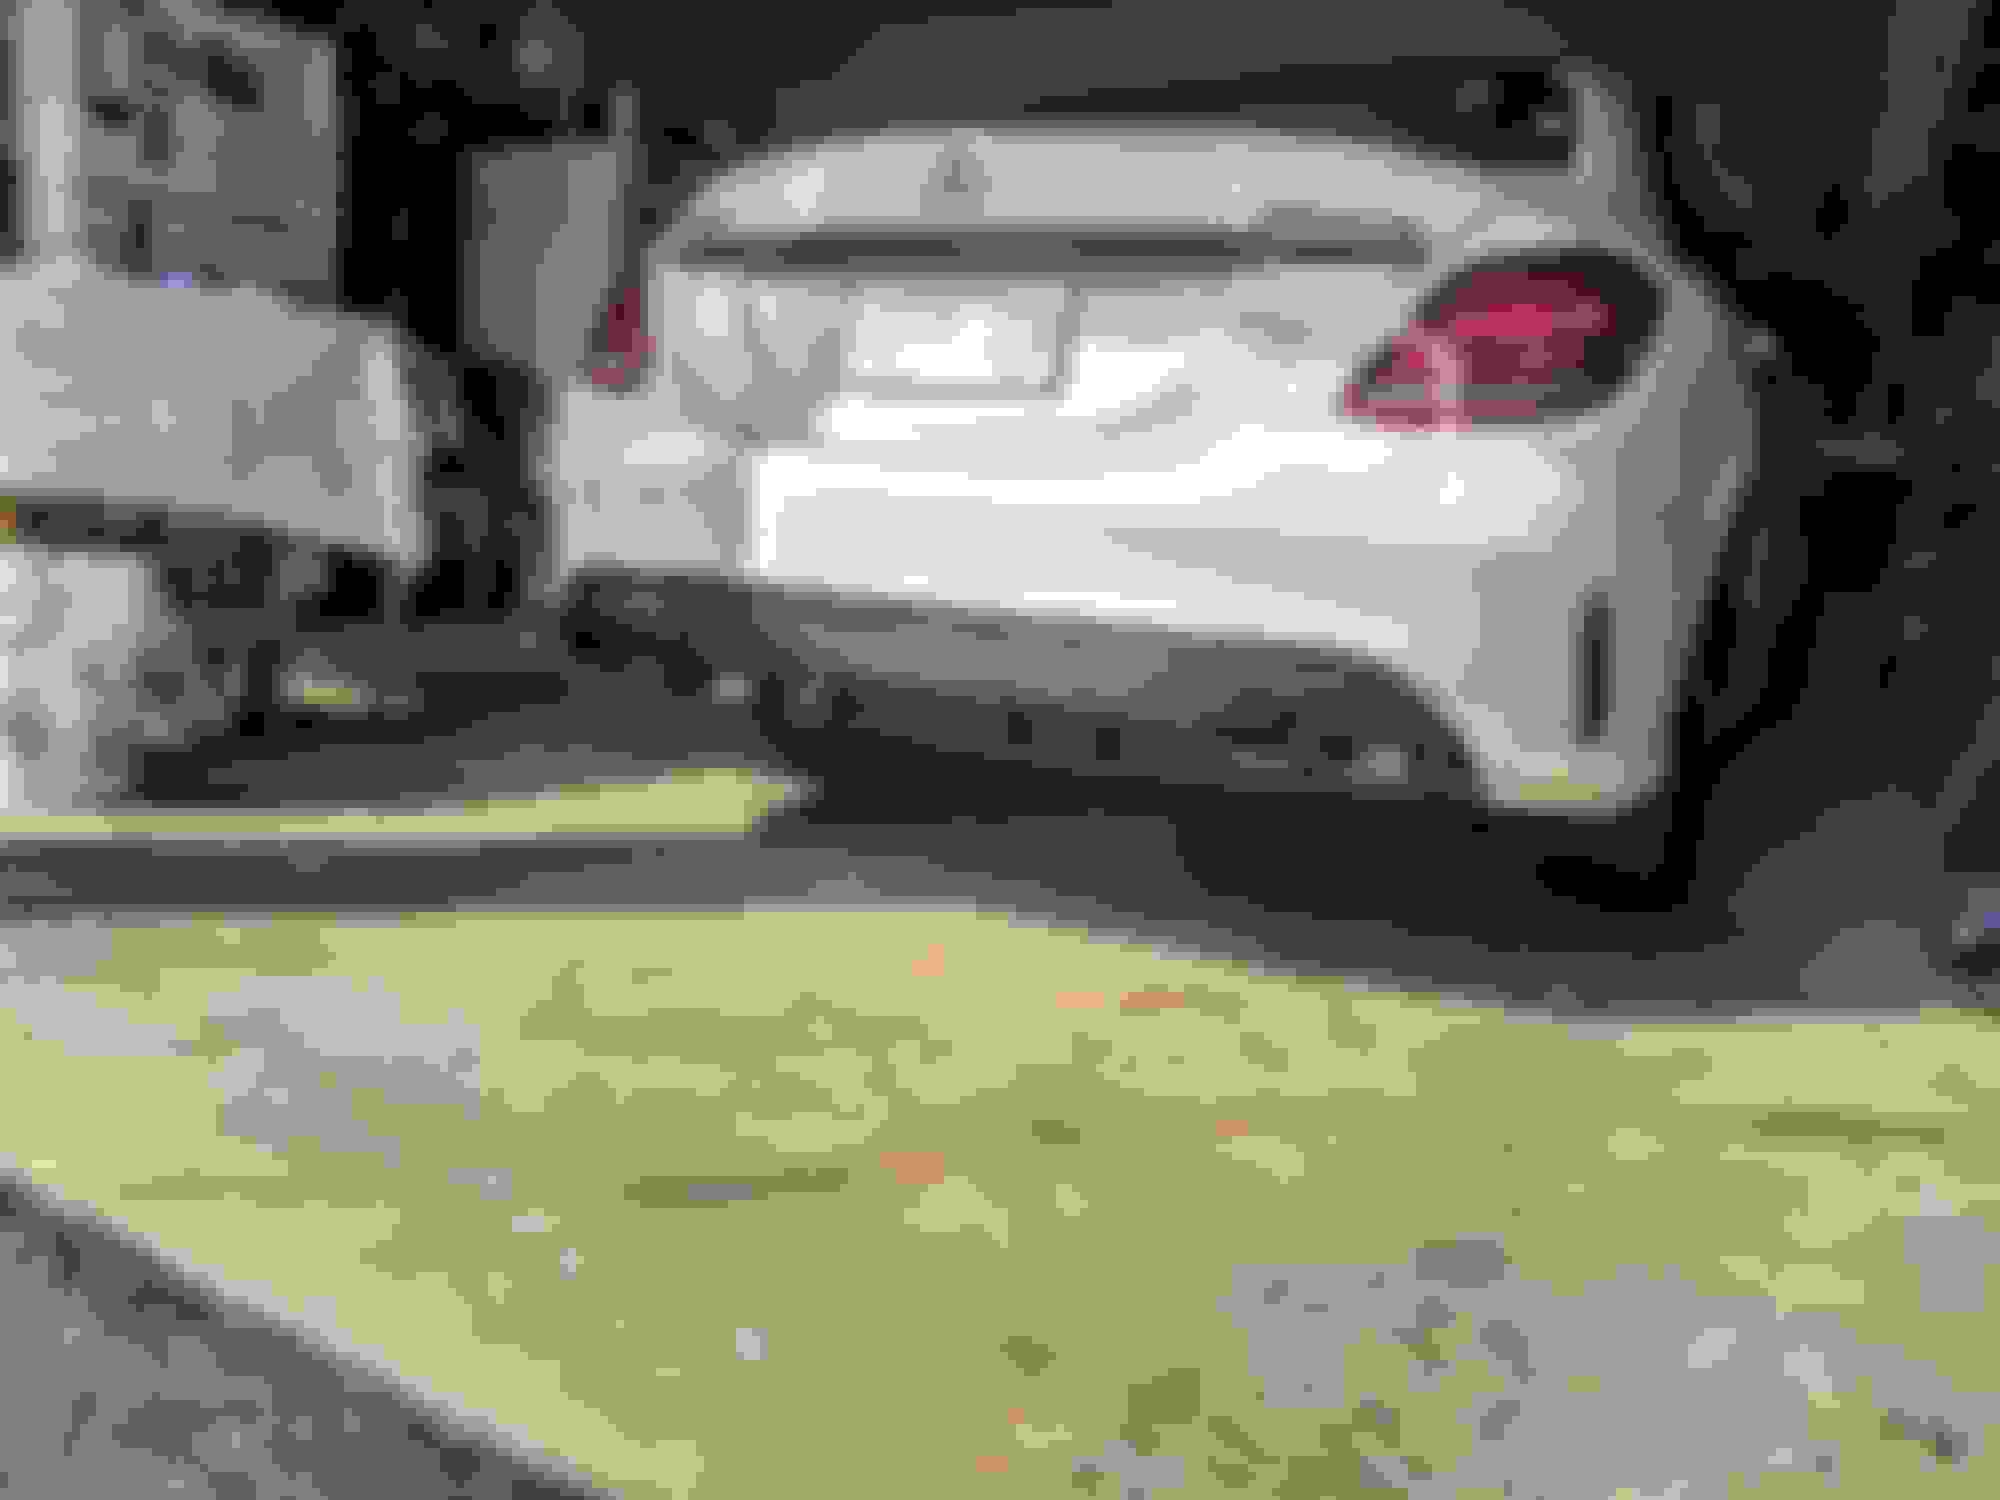
Good job on the information,wish I would have had this a couple months ago. Without any instructions I was able to figure out how to do it. Took me a while but overall fairly straight forward. Like you mentioned pushing the tailpipes hard towards the back of the car will get the tips to sick out.
Good job on the information,wish I would have had this a couple months ago. Without any instructions I was able to figure out how to do it. Took me a while but overall fairly straight forward. Like you mentioned pushing the tailpipes hard towards the back of the car will get the tips to sick out. Attachment 418733
Oh yeah, time was the most frustrating part. I love what you�ve done with your car! The dechrome looks a lot better than I expected. What tint are you running on your tail lights?
I bought the RW Carbon C63 rear diffuser conversion kit and installed it last week. I�m struggling to get the clips to clip into the bumper in the center. I would hate to remove the bumper to clip them in. Does anyone have any suggestions on how to get them to clip in without removing the entire bumper.
Thanks in advance!
Had the same problem. I had to cut some plastic around the clip area of the diffuser. Hard to explain without having close ups of that area. Don�t bother pushing hard as there�s too much plastic around the clip area on the diffuser.
Had the same problem. I had to cut some plastic around the clip area of the diffuser. Hard to explain without having close ups of that area. Don�t bother pushing hard as there�s too much plastic around the clip area on the diffuser.
Any chance you could try to explain what portion of the clip you trimmed down? Did you remove material from the very top or did remove material parallel to the barb?
What I did was wear a pair of thick gloves and place your hand (palm facing the bumper skin, back of fingers adjacent to rear bumper beam) under the bumper skin under the trunk and maneuver your hand up to the bumper beam. Palm side fingers as if your pushing the bumper skin outwards, like you are pushin the bumper skin away from the trunk lid. Wherever the clips are not attached, have a buddy push to snap the diffuser in while you with your fingers push towards your buddy. That is how I snapped mine in.
Mercedes SLR McLaren 722 S Is Extremely Rare Example Modified by McLaren
Slideshow: A one-of-one U.S.-spec Mercedes-Benz SLR McLaren Roadster became even rarer after a factory-backed transformation at McLaren's headquarters.