When you click on links to various merchants on this site and make a purchase, this can result in this site earning a commission. Affiliate programs and affiliations include, but are not limited to, the eBay Partner Network.
I have a vibration that I believe is caused by my 95,000-mile-old engine mounts. For the life of me, I can't locate a video or a write-up on how difficult (or easy) it is to do on a 2015 W205 4Matic C300. I know the W204 required a special offset tool for the top bolt, but the W205 looks like a different animal, with a torx bolt on top. It also looks as though the other bolts would be accessed from above, which (I would guess) means stuff will need to come out.
I'm able to get the car up in the air. Today, I replaced one of the front CV axles and did brake rotors and pads all around. I thought it might be easier to get to the driver's side mount during the axle transplant, but when I was in there it looked more like I'd be coming at it from above.
Any guidance? Anyone know of a video tutorial or decent write-up for the W2055 mounts?
PFL205.064 with M276.823 (Oil pump solenoid defeated)
Originally Posted by Jack Olsen
Thanks!
You're most welcome, weird this chassis (W205) came out in 2014 but as model year 2015 yet still not a video on motor mounts, unless I missed it. Otherwise M274 it is that you need to search for since that is what you have, although W212 shown in the video, M274 is the engine inside and should be the same.
Edit: Might have got it wrong but M274 came out in 2010-2013? around that range
Last edited by W205C43PFL; 01-12-2024 at 05:10 PM.
Yes I know yours the M274, I mean the engine M274 came out long before W205 was introduced. I forgot which year it could be anywhere from 2010-2013;
here's the info on the M274, since 2012 on the W204 C180 it seems but the 1.6 variant. They were using the air-to-air intercooler as well then...
thank you wiki.
Well, I'm still working on this -- putting up with the morning vibration until I'm pretty sure I can get this done in a couple of hours and be right back on the road.
The interior architecture/arrangement is different on the W205 C300 4matic than the posted-above video shows. Yesterday, I confirmed that I could get down to the three 13mm driver's side bolts from above with a long extension. Then there's an E14 bolt on top of the mount that is accessible from below if you remove the plastic panels and use a small or dual-flex socket wrench. Here's a newer video I found that covers that much of the process.
But the trick is getting enough room to move the old mount out and the new one in. The intermediate shaft for the steering is right in the way. Last night, I ran out of time at this point and decided to just snug everything back up. But then I learned it's pretty straightforward to disconnect the shaft. Here's a video on that:
So, I'm pretty sure that will allow me to move the old mount out and the new one in on the driver's side. I'll report back on how it goes.
The passenger side -- especially with a 4matic -- looks from below like it will require removing the exhaust line and two oxygen sensors in order to get room. I haven't tried it yet, but I believe removing the airbox will give me access to the three 13mm bolts and it looks as though the E14 center bolt will be a pretty easy trick from above.
But here's what's bugging me. It's very cluttered down below the passenger-side mount, but really empty and airy up above. The mount has got a heat shield on top of it that (I think) is held in place by the E14 center bolt and a single, smaller female torx bolt.
If you snap out the plastic air duct up top, there is enough room to thread the new mount ahead of the engine, down and over to where the mount goes. Easy as pie. Here's a picture with the new mount set next to the old.
So it looks as though I could loosen the three 13mm bolts, as well as the E14 center bolt, and possibly the smaller female torx bolt, and then lift the engine slightly and take the mount out from above. To me, that doesn't explain why this is billable as 4+ hours at a dealership or independent mechanic.
Am I missing something?
I don't want to get stuck on this job -- my C300 is my daily driver. But I'm unclear on whether (or why) so much gets removed in the process of replacing these mounts.
So, any guidance anyone can offer is appreciated.
Here's one more video, which shows the steering rack getting unfastened and moved over in the course of doing this job. I can understand the longer billing standard when I watch this. But is it necessary?
The mounts in the last video look different than my 2015 mounts. I don't know if that's because the 2019 C300 in the video is not a 4matic, or if other changes were made with the facelift by 2019 or if it's mislabeled.
Last edited by Jack Olsen; 05-24-2024 at 02:23 PM.
PFL205.064 with M276.823 (Oil pump solenoid defeated)
Originally Posted by Jack Olsen
Well, I'm still working on this -- putting up with the morning vibration until I'm pretty sure I can get this done in a couple of hours and be right back on the road.
The interior architecture/arrangement is different on the W205 C300 4matic than the posted-above video shows. Yesterday, I confirmed that I could get down to the three 13mm driver's side bolts from above with a long extension. Then there's an E14 bolt on top of the mount that is accessible from below if you remove the plastic panels and use a small or dual-flex socket wrench. Here's a newer video I found that covers that much of the process.
youtube.com/watch?v=n0ohWUKydLQ
But the trick is getting enough room to move the old mount out and the new one in. The intermediate shaft for the steering is right in the way. Last night, I ran out of time at this point and decided to just snug everything back up. But then I learned it's pretty straightforward to disconnect the shaft. Here's a video on that:
youtube.com/watch?v=j9lf3nI5YHo
So, I'm pretty sure that will allow me to move the old mount out and the new one in on the driver's side. I'll report back on how it goes.
The passenger side -- especially with a 4matic -- looks from below like it will require removing the exhaust line and two oxygen sensors in order to get room. I haven't tried it yet, but I believe removing the airbox will give me access to the three 13mm bolts and it looks as though the E14 center bolt will be a pretty easy trick from above.
But here's what's bugging me. It's very cluttered down below the passenger-side mount, but really empty and airy up above. The mount has got a heat shield on top of it that (I think) is held in place by the E14 center bolt and a single, smaller female torx bolt.
If you snap out the plastic air duct up top, there is enough room to thread the new mount ahead of the engine, down and over to where the mount goes. Easy as pie. Here's a picture with the new mount set next to the old.
So it looks as though I could loosen the three 13mm bolts, as well as the E14 center bolt, and possibly the smaller female torx bolt, and then lift the engine slightly and take the mount out from above. To me, that doesn't explain why this is billable as 4+ hours at a dealership or independent mechanic.
Am I missing something?
I don't want to get stuck on this job -- my C300 is my daily driver. But I'm unclear on whether (or why) so much gets removed in the process of replacing these mounts.
So, any guidance anyone can offer is appreciated.
Here's one more video, which shows the steering rack getting unfastened and moved over in the course of doing this job. I can understand the longer billing standard when I watch this. But is it necessary?
youtube.com/watch?v=Z3fNgo3mIE8
The mounts in the last video look different than my 2015 mounts. I don't know if that's because the 2019 C300 in the video is not a 4matic, or if other changes were made with the facelift by 2019 or if it's mislabeled.
All right. I�m not a mechanic. But since there�s so little on the web about this, and it�s apparently a $2,000-$2,500 job at an independent shop, I�m going to lay out what I did here in the hopes of helping someone down the line.
I spent 6 hours on this, which I think was in part due to the fact that there aren�t any good how-to videos or guides out there. I have a 2015 C300 4matic, so the presence of a front differential might make this trickier. I learned some lessons along the way, so I�ll spare you the detours and dead ends.
You can access the three bolts on the driver�s (US) side of the motor mount from above, without taking anything off. They�re 13mm bolts, two in front and one in back. The way you access the E14 bolt on top of the mount is tricky. The alternator (and its main cable) is in the way, so you have to come in from below. Remove the two panels underneath (the very front one can stay in place) with all the 8mm screws. You can see and access the motor mount from where the farther-back panel is. The steering column obstructs full access, but we�ll get to that later.
So loosen the three 13�s from above � with a long set of extensions put together) and then loosen the E14 from down below. To turn the top E14 bolt, you�ll need an articulating or stubby ratchet. Here�s my first helpful warning. Once you get it loose, get the stubby ratchet and socket off of it before you back it out. Otherwise you will back it up and into the rubber jacket for that alternator cable and the fact that I only ratchets in one direction is going to ruin your day, because you�ll be stuck. Ask me how I know.
On the passenger side, you�ll need to remove the airbox to get access to that motor mount. First remove the S-shaped air duct that feeds the airbox. Then, there are two torx screws that you remove when you normally replace the air filter. Then there�s a 7mm hose clamp on the duct going into the box. Before you loosen the duct, go around to the back and unclip the MAF sensor cable at the far end of the box. The box itself is then held in place by three pressure-fit holders � you can basically pop the whole assembly up after you�ve removed the cover. The duct connection with the 7mm hose clamp is a snug one. Wrestle it off slowly.
From above, you�ll now be able to see the E14 bolt on top of the mount, and you�ll be able to access the two front 13mm bolts that connect the bottom of the old mount. The 13�s are straightforward. The E14 is do-able with the right wobble extension. But there is also a heat shield to deal with right now, and it�s going to make the job seem impossible. The heat shield is held in place by the E14 bolt on top, and two smaller E10 bolts, one in front and one in back. When you get these out, you will believe yourself to be a god. But here�s the bigger issue: the rear-most 13mm hex bolt is just impossible to access, as far as I can tell. The heat shield is right on top of it, even once you�ve freed up the heat shield. I suppose this is why people doing this job remove the exhaust immediately downstream of the turbo to get to it. I went a short way down the road, freeing up the clamps above and below, and (in my case) almost disconnecting the two 02 sensors. But that didn�t loosen the exhaust section. There look to be two additional bolts tucked inside there, which I could get a visual on the nuts welded in to receive them, but not the bolt heads. Again, this left me stuck. It wasn�t the first time I wondered about what was so bad about a vibration while the car warmed up in the morning.
So, I�m leaving it to someone else to figure out the right way to do this. I definitely did it the wrong way. In order to access the rear 13mm bolt, I cut away a small section of the heat shield (which otherwise can wobble around down there, but never come free). This means there is slightly less heat shielding taking place around the rear-most engine mount bolt. Initially, I thought I�d rivet on a piece to replace it, but in the end I left that bolt head exposed to the turbo heat. I honestly don�t see a terrible downside to that decision, but maybe someone smarter than me will read this and let me know that I should go back in and add more heat shield material.
Okay, so that�s my one big sin on this job. Here�s how it goes from there. Once you have all the bolts (8 total) loosened up from the two engine mounts, you can remove them. I used an extending magnet to pull the driver�s side ones straight up. I was able to reach in to pull the passenger side one. Then you do the dangerous thing: you have to raise the engine itself enough to take out the old mounts. I have a midrise lift, which made this whole job less frustrating (can a 6-hour job really be called �less� frustrating?) and I used a �jack post� to raise the engine, since the car was maybe 30� up in the air. There are screw-type jack posts made for full-size lifts, and some people get away with using other kinds of jacks for this.
But here�s the thing: for me, it was reasonably straightforward to get a broad padded support under the oil pan (to avoid damaging the engine case), and then � once I�d raised the engine up -- it was reasonably easy to fish the old engine mounts out. And I�m using the word �reasonably� here generously. It was a pain in the ***, all around. To get the driver�s side mount out, I had to disconnect the intermediate steering shaft. This was startlingly easy once I had a video showing me. The official way involves using a device to keep the steering wheel in one place, to prevent breaking something in the steering system if someone turns the wheel. My solution for that was simply to NOT turn the steering wheel.
To fish the passenger side mount out was also not difficult � especially considering the fact that I had not disconnected my exhaust. It can move forward, and around to the front of the engine, and up and out.
So, engine lifted up, mounts removed, those two moments where I thought I had failed completely (E14 bolt trapped under alternator, rear-most 13mm bolt on passenger side under heat shield) and everything was great, right? I mean, at this point I was 4 hours into the project and I was sweaty and exhausted.
Well, no. The old mounts had in fact both failed, which meant the hydraulic cushioning had ruptured and there was no longer any cushioning. That was great to see, since I was so far into the project of replacing them. But the failure meant they were about 3/4� thinner than the replacement mounts. I�m still not sure why, but even raising the engine as much as I could (to the point where it started to raise the front end of the car itself), I could not get the new mounts in where the old mounts had come out. I was at my third and final moment of despair. It was getting late. The kids needed to be picked up from school. I hated Mercedes Benz a lot.
I decided to stop for the day. But I didn�t want to leave the engine propped up and stressed overnight, so I slid the old mounts back into place and lowered the engine down onto them. I spent a lot of time staring at the ceiling overnight trying to figure out how I could raise the engine even farther without damaging anything.
I couldn�t. I was mad the next morning when I tried jacking it up again. Nearly ready to give up and button everything back into place with the old mounts, I tried putting one of the new ones in a vise to see if it would compress and (maybe) stay compressed long enough to let me slide it into position. No luck on the staying compressed part. I tried a few tricks with screwdrivers to try to compress it in the course of sliding it in, and that was a total failure.
Then, finally, I tried something that I did not thing would work. I put a long hose clamp all the way around the new mount and tightened it down in order to slightly compress the mount mechanism. Amazingly, this worked. I was able to get the driver�s side mount in and then undo the hose clamp with a long extension and pull the clamp back out. It took a couple of tries to get the hose clamp positioned where it was removable, but when it worked it worked and then it worked on the driver�s side as well.
I got all of the 13mm bolts back in after that, including the one on the passenger side. I was able to get the E14 top bolts in after that. I had to lower the engine in small increments to find the sweet spot where the top of the mount and the subframe were lined up. I got all 8 bolts loosely fit, and also got the E10 for that heat shield back in. Tightening down the E14 on the driver�s side did not pose the same trapped-tool hazard on the way in as it had on the way out. The missing piece of heat shield did not (to my eye) look like it was going to lead to a cooked motor mount. I got everything in, lowered the engine the rest of the way, and then tightened all 8 bolts down.
I reconnected the steering shaft (easy!), reinstalled the airbox and MAF sensor. I almost forgot the clipped-on wire for one of the 02 sensors that attaches to the heat shield under the airbox. But I got it. At hour 6, I was able to put the lower cover pieces back on and lower the thing down. I fully expected some warning messages from stuff I might have bumped into and disconnected. But when I started it up, everything seemed great.
A quick test drive revealed the cold-engine vibration was totally gone. Was it worth it? Hmm, I don�t know. I suppose the real improvement is that the engine is now better-protected from impacts and road bumps. But the cushioning does mean everything is smooth again inside the cabin. I�ll never get my six hours back, but still I�ll call it a win.
Passenger Side Mount, from above. The E14 bolt is right over the center of the mount. All around it is a heat shield that is also held in place by two E10 bolts.
This is the driver's side mount, viewed from below.
Here's the extension length you'll need to get to the 13mm bolts on the driver's side motor mount, from above. Then use a telescoping magnet to carefully get them out.
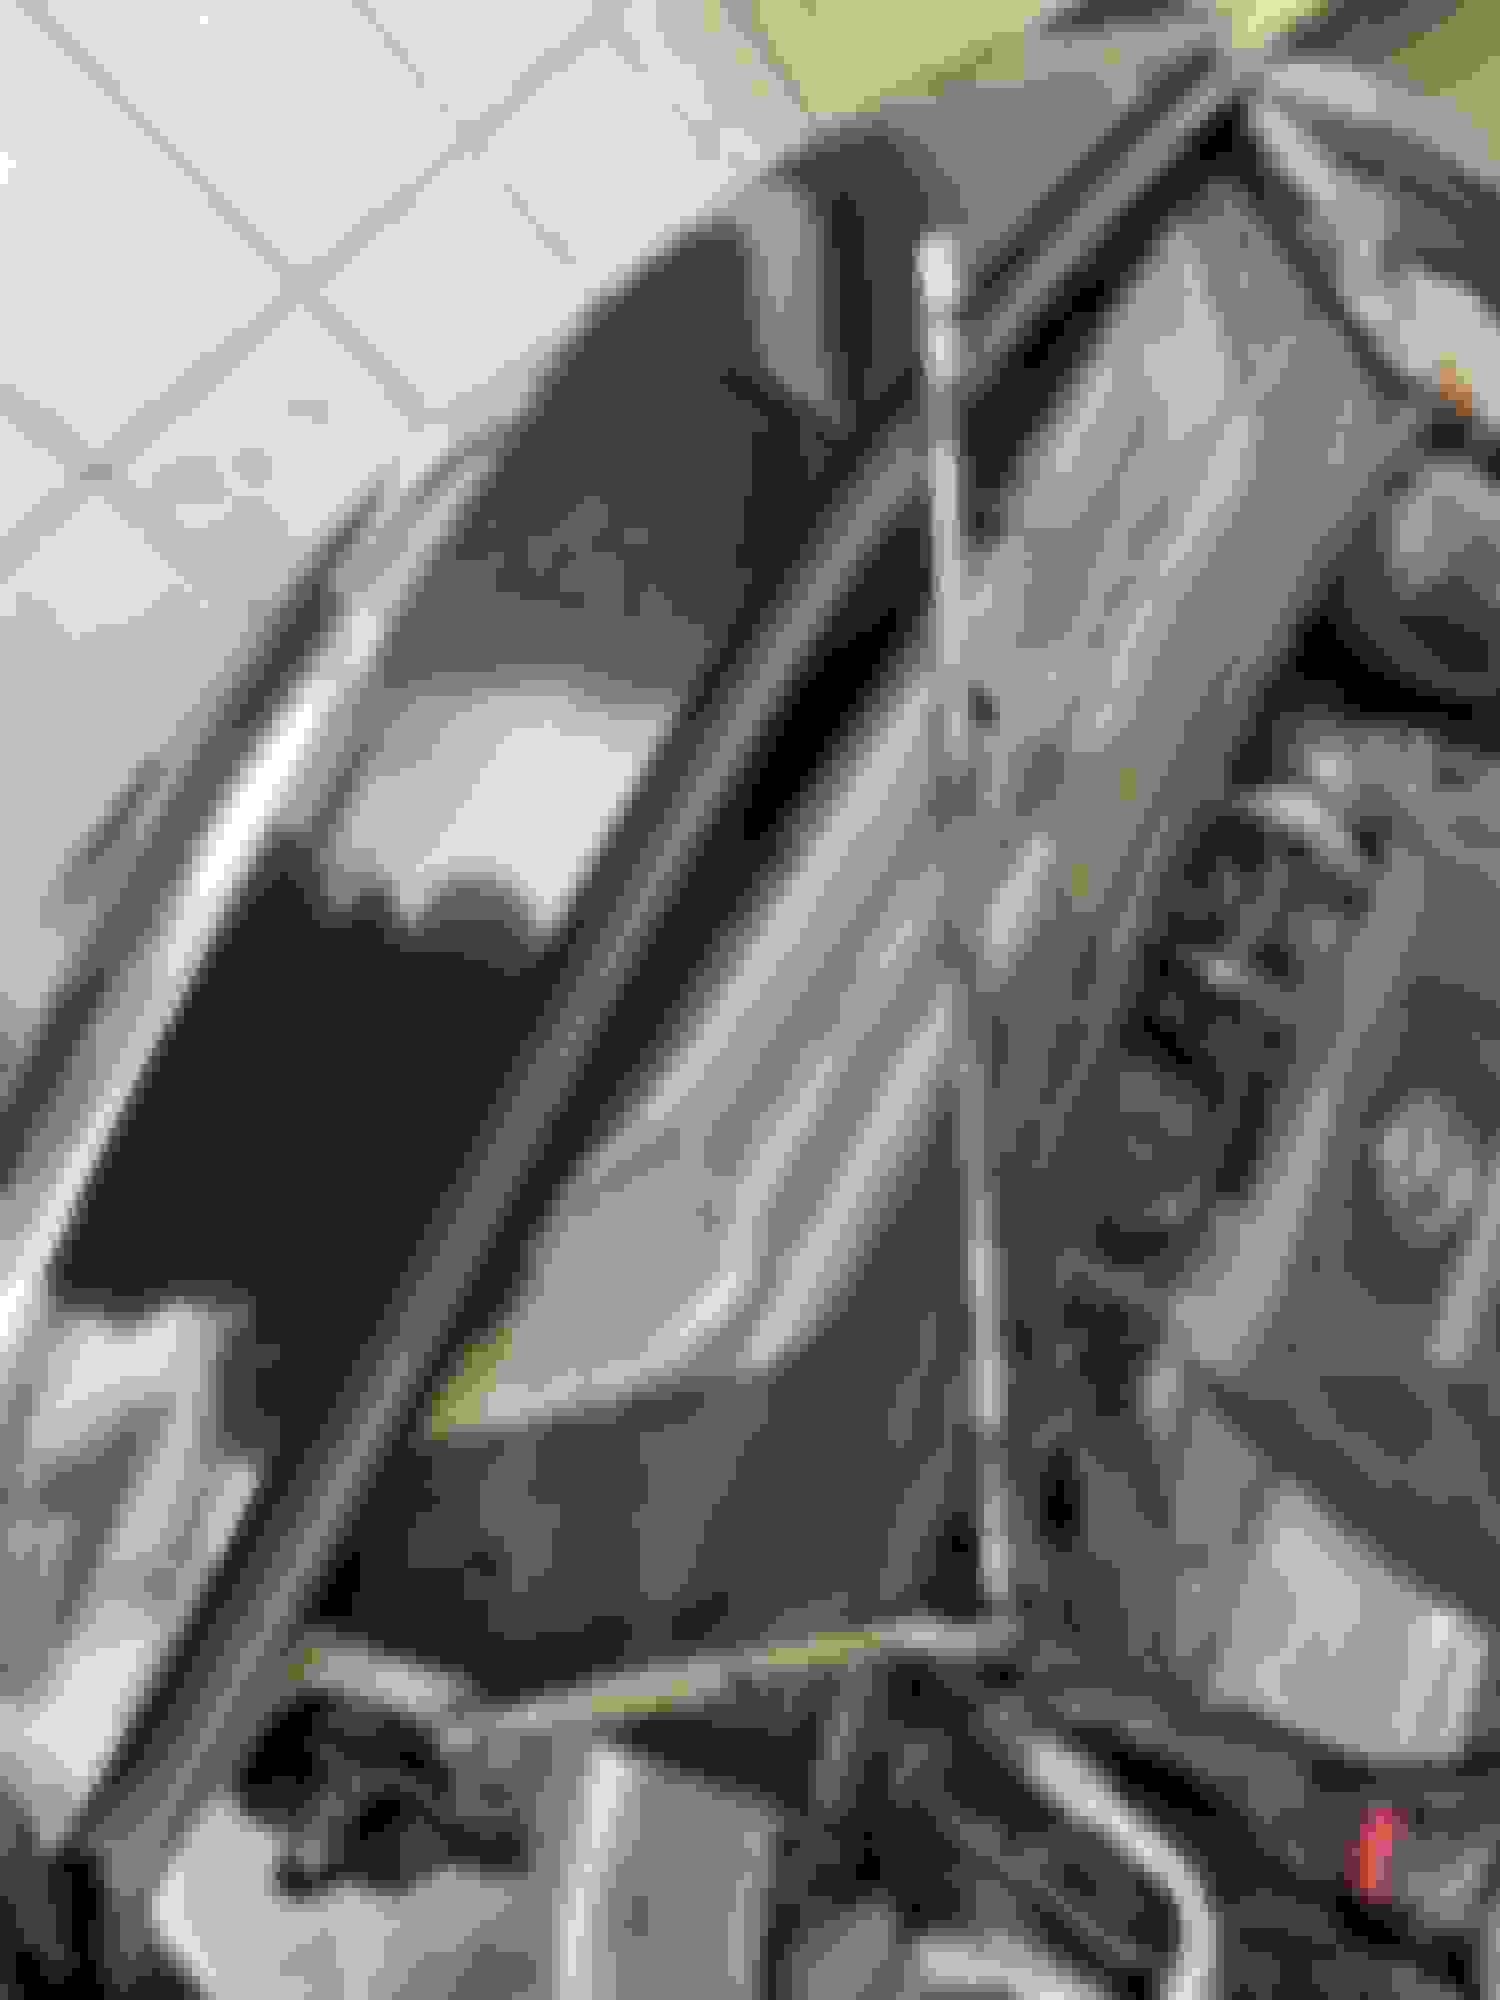
This is the driver's side mount, from below, and the picture also shows the intermediate steering shaft. It comes apart to move out of the way -- a great trick that would make swapping the mount impossible, otherwise.
This one will get you. Viewed at an angle from above, this is the E14 on top of the driver's side mount. You can get at it from below with a hinged or stubby ratchet wrench. But as you back it out, you can trap the socket and ratchet wrench under that black part of the alternator cable. Proceed too far, and you'll have to pull the alternator.
This is the driver's side mount location with the mount pulled out.
24-hour Follow up: the cold-engine vibration is completely gone. Even my kid noticed.
Was that worth 6 hours of my life? Well, maybe. Other things I notice with this fix: starting the car is smoother (which made me briefly think my starter might be failing), and the auto-transmission shifts are something I can now see on the dash but no longer feel. I didn't notice anything particularly odd with those things before -- but it makes a difference. The truly good news is that the vibration was in fact caused by failed mounts, and not by deeper troubles inside the engine.

 01-04-2024, 11:00 PM