When you click on links to various merchants on this site and make a purchase, this can result in this site earning a commission. Affiliate programs and affiliations include, but are not limited to, the eBay Partner Network.
From: Land of mountains, cheese, chocolate and watches
12' W204 C63 AMG coupe "T-Rex", 12' W451 Smart Fortwo Pulse (99' W202 C43 AMG + Ultima Can-Am sold)
Engine support repair and upgrade
I was plagued with a rumbling sound which got worse as the weeks went by which stumped everyone who replied to my thread https://mbworld.org/forums/c36-amg-c...aft-worse.html. During this period I drove the C43 with precaution and in "Miss Daisy and her chauffeur" style. I couldn't use my workshop as it was occupied by my daily driver and work-horse which had developed ATF leakage. When finally that one was sorted out, I could at last get round to seek and solve the problem(s) in the C43.
You may recall that I had noticed that the engine was leaning on the right side and I could lift that side easily with a floor jack. So after having lifted the front and secured the vehicle on axle stands and after removing the plastic sump guard, I could finally get a good look around the engine from underneath. It was a great surprise when I discovered that the right hand engine support has totally broken. The engine was hanging on just with the left engine support and rear transmission support. Obviously the rumbling was caused by the engine lying on the chassis transverse and all the noise was reverberating through the chassis.
When I removed the engine rubber mount, I discovered that one of the 4 fixing bolts holding the cast alloy engine support to the engine block had sheared in the hole, but to make things more complicated the broken end was several threads inside the hole, so no way could I get it out with a pair of pliers or a similar tool.
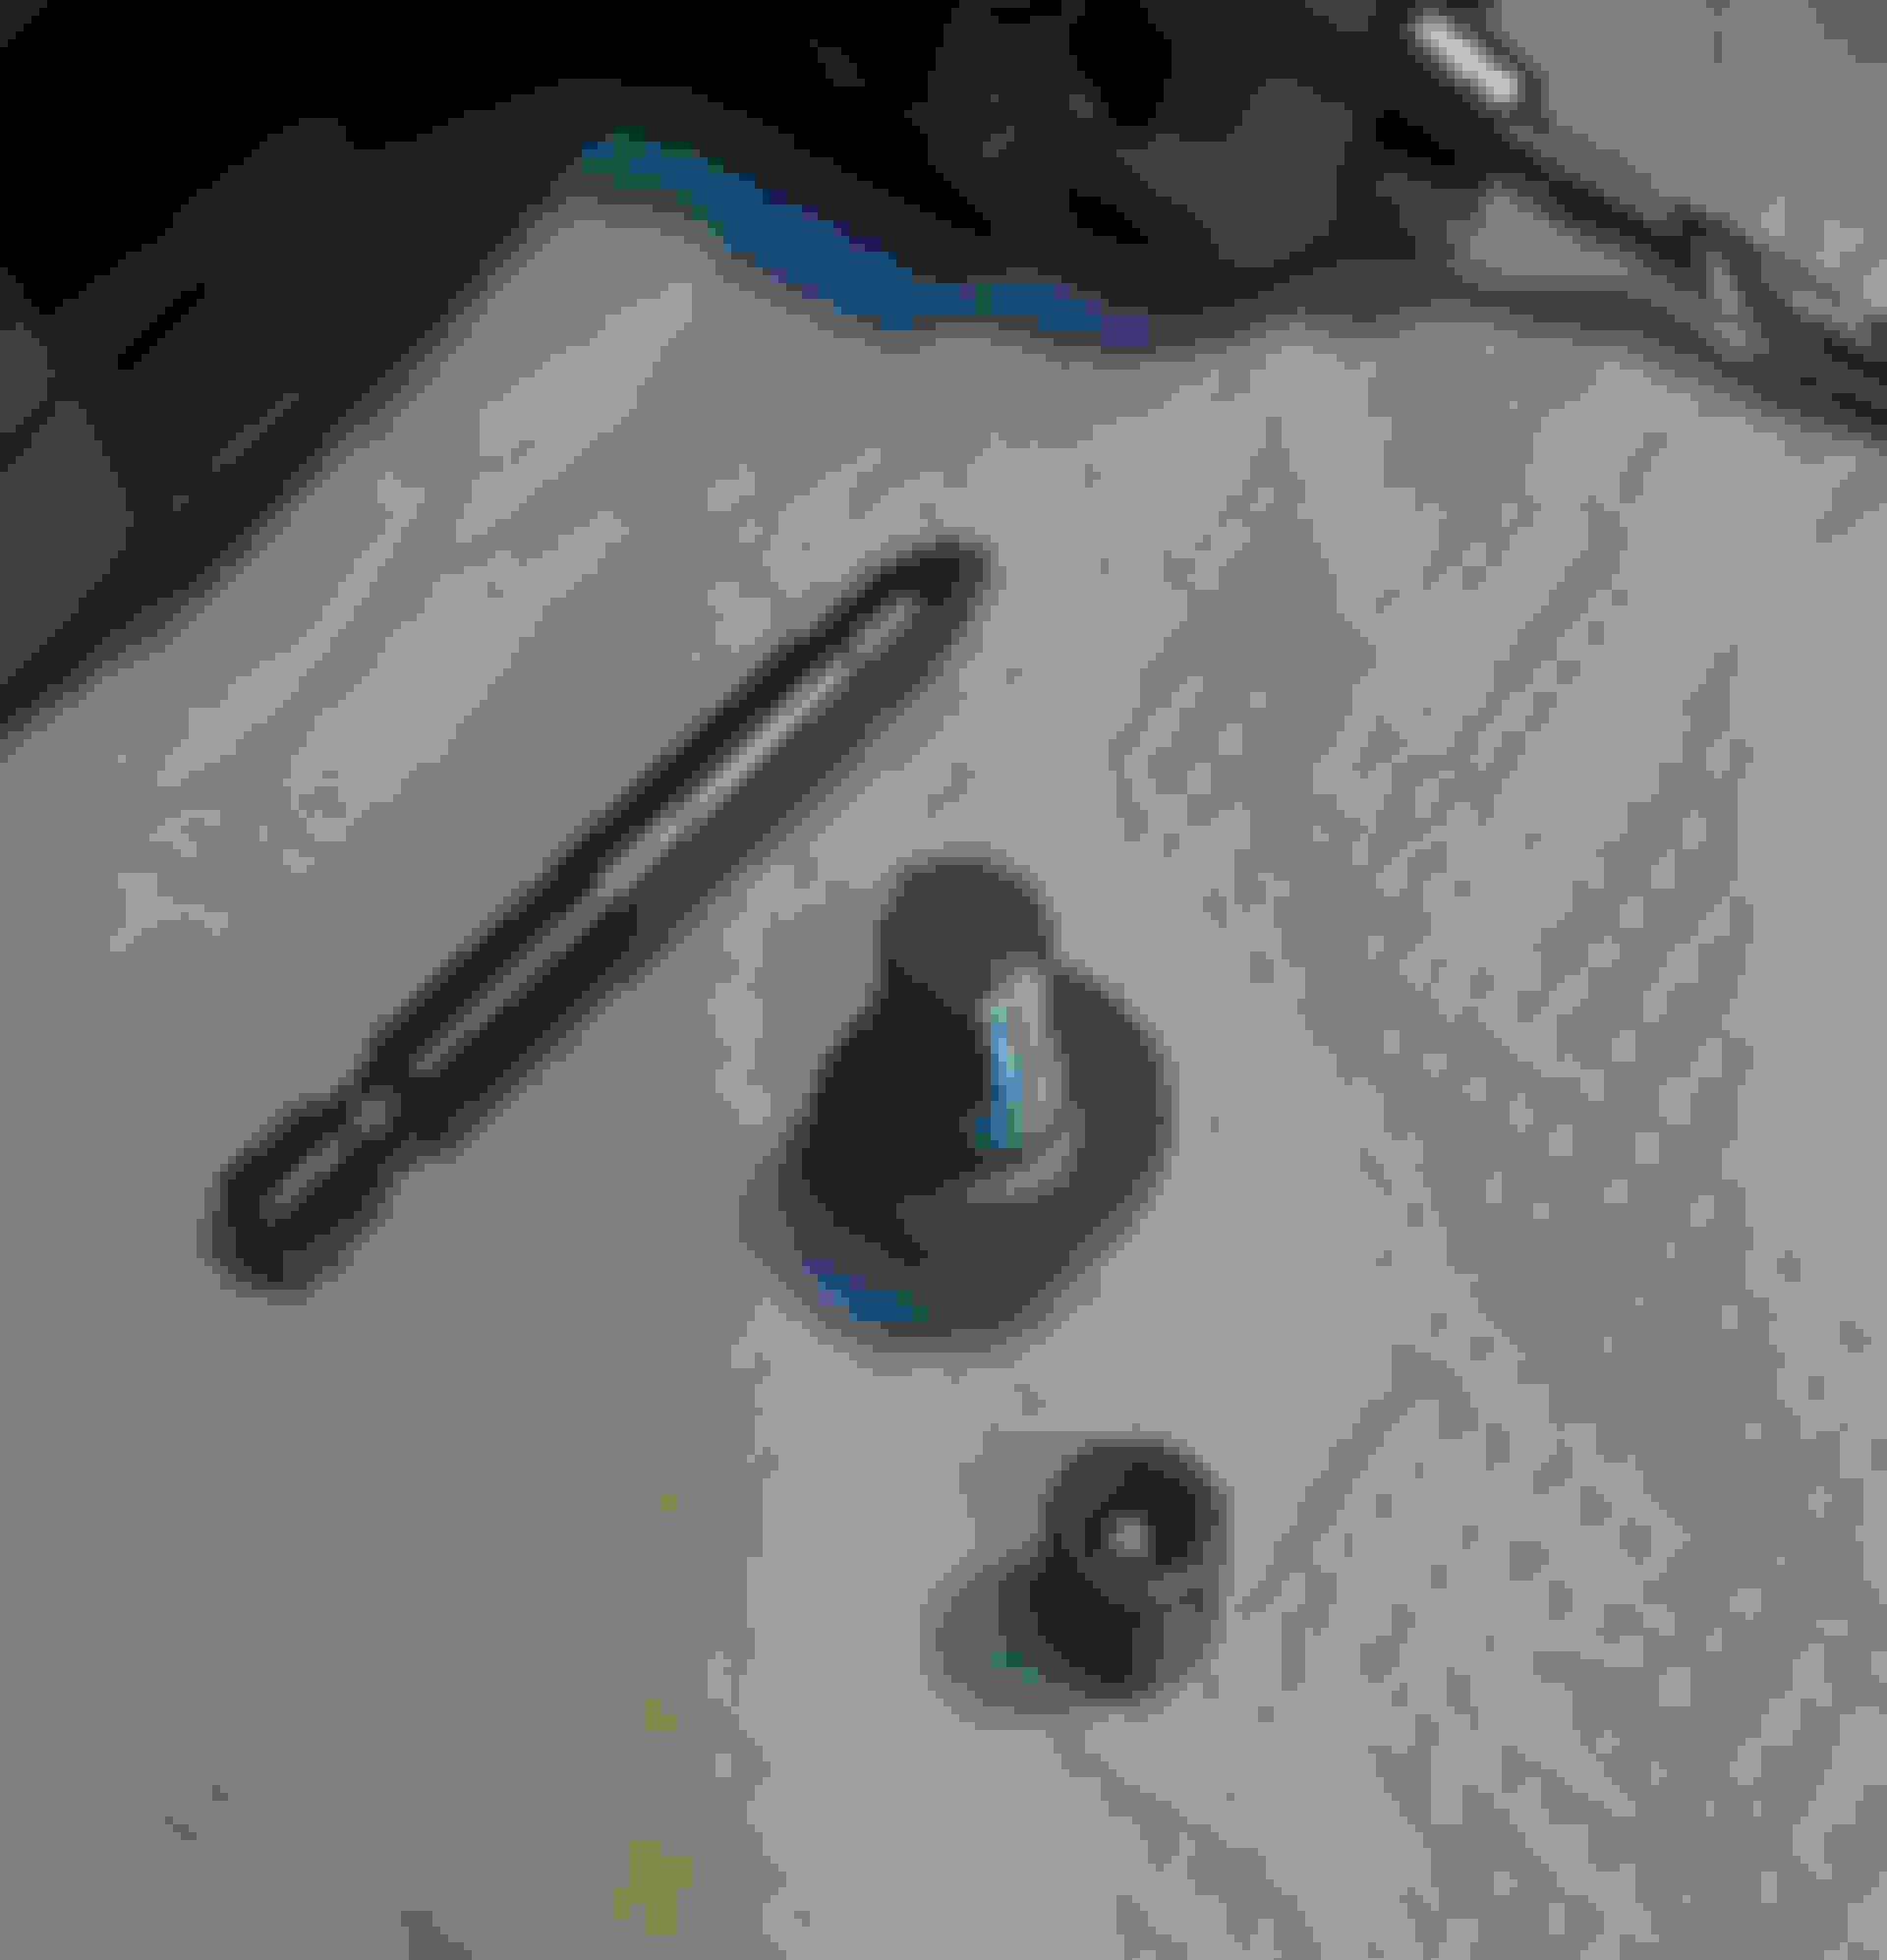
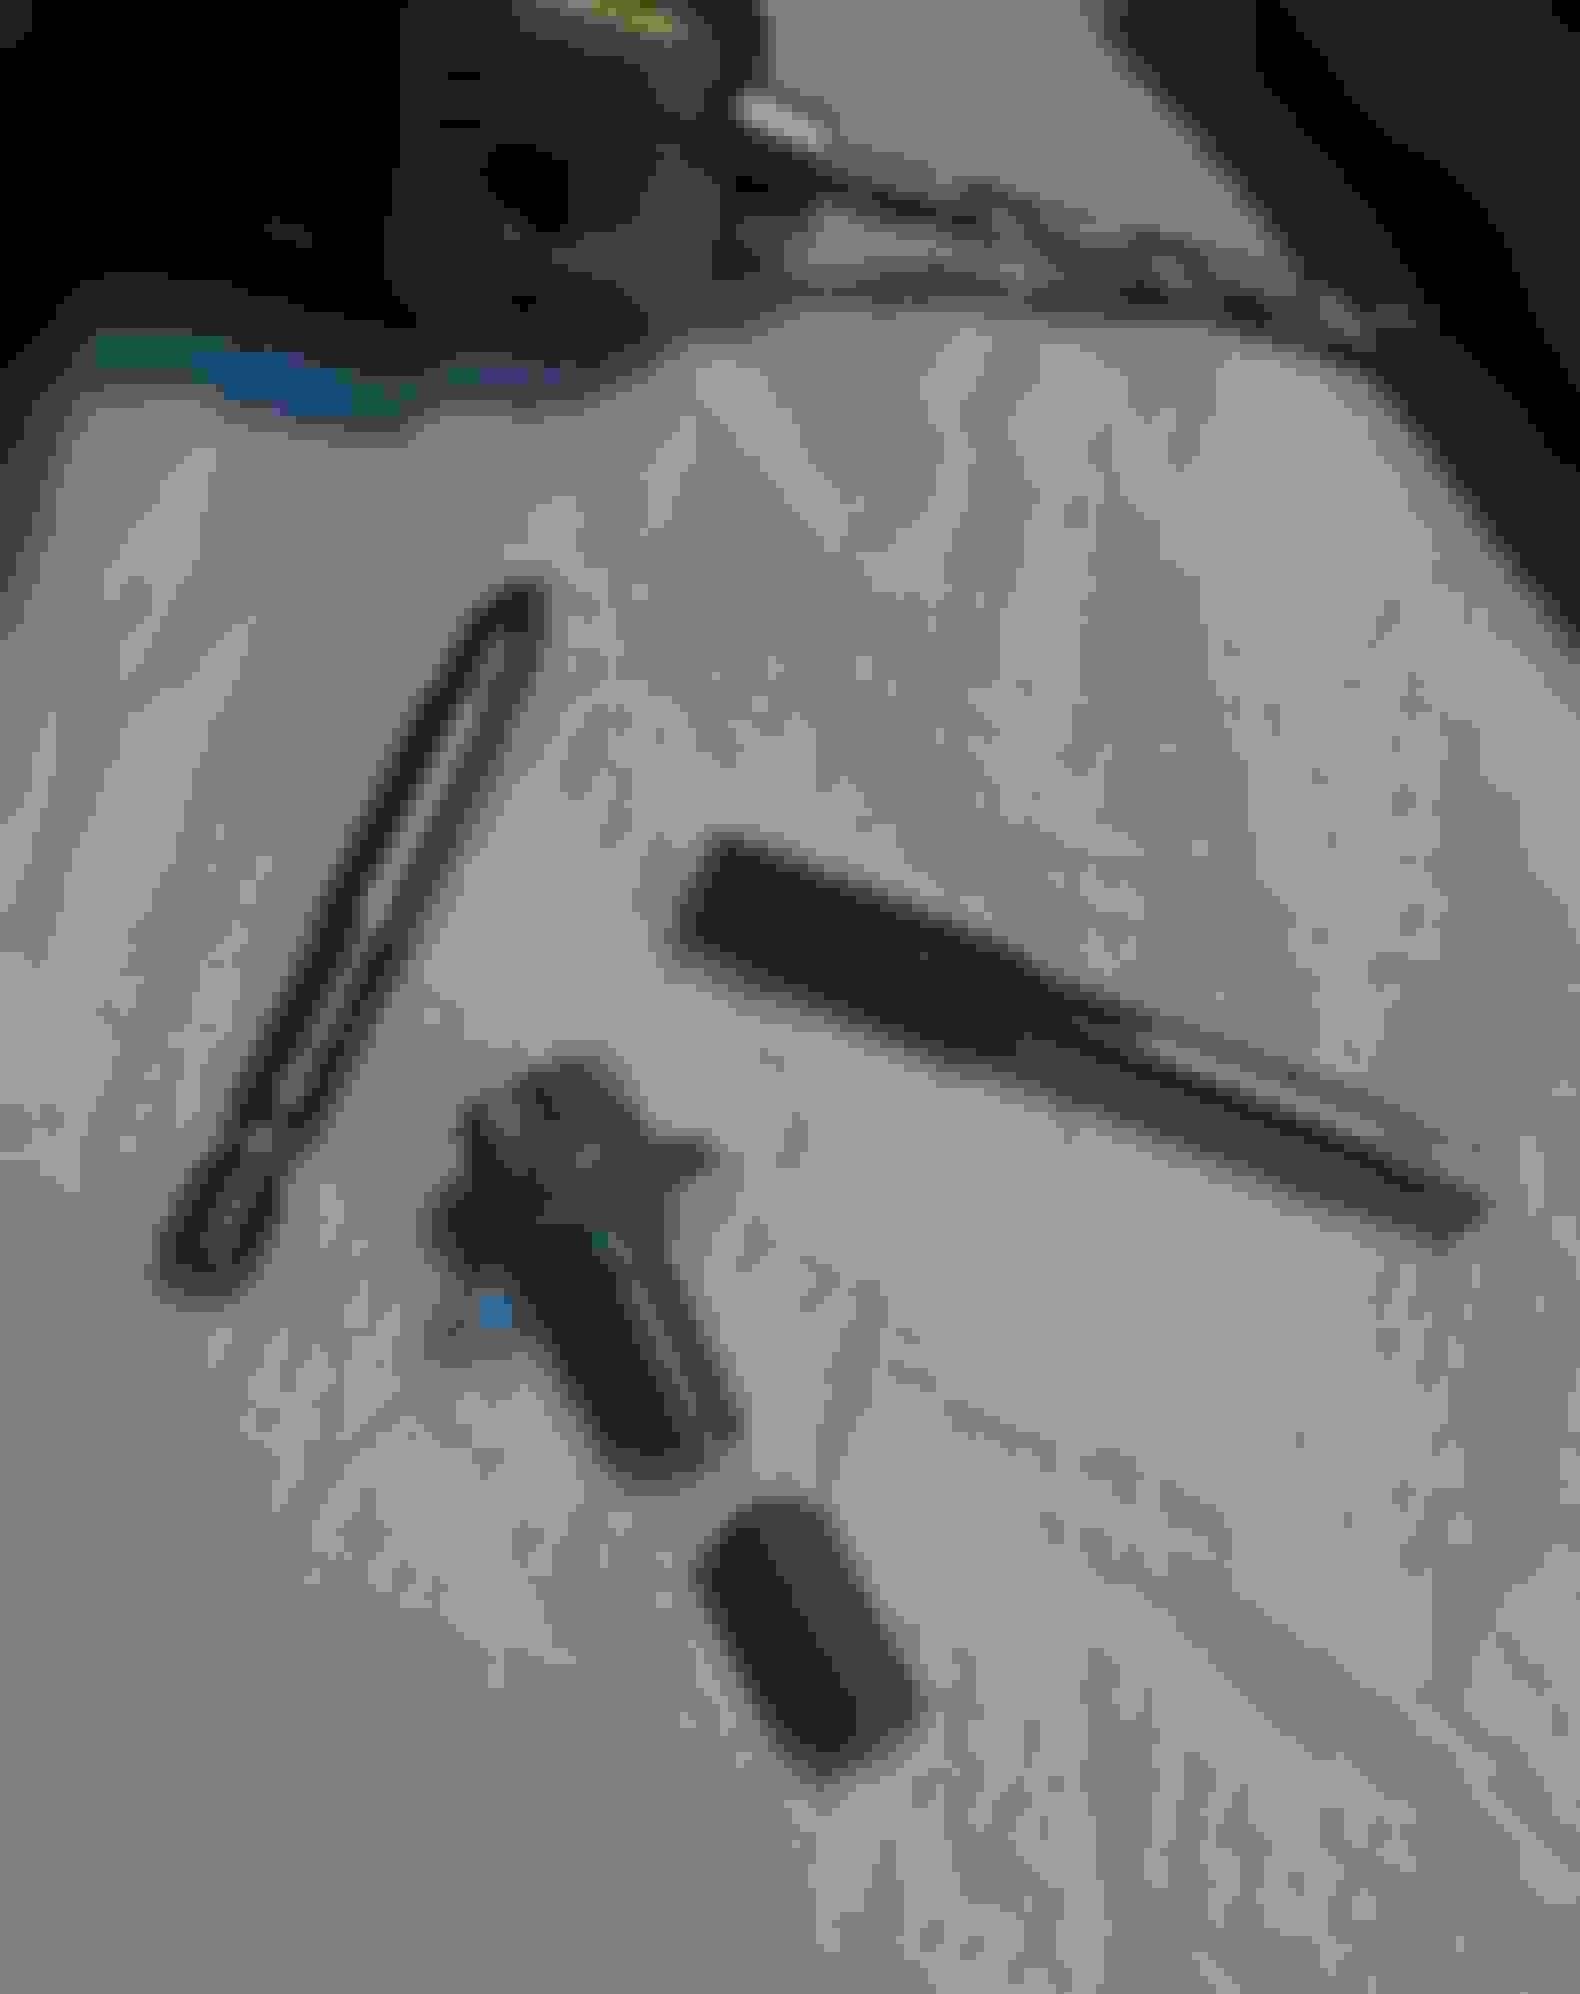
This morning I passed round the MB dealer and ordered a new allow engine support, a pair of E55K mounts (nice and stiff as recommended by our good bro Zayed) and 4 new fixing screws for the engine support. I prefer changing all 4 screws as they may have been damaged in the support failure. After the parts had been ordered, I returned to the workshop to see what I could do to remove the broken piece from the hole. I certainly didn't want to envisage an engine out operation just for a broken bolt! To make things more difficult, the broken one is the one in the top left corner (see photo below) and the furthest away in a space restricted surrounding. No way to get a drill bit in the hole using a normal electric drill and no way to get a punch to mark the centre of the broken bolt. My idea was to try making a deep enough hole so as to screw in an extractor.
Using a right angle pneumatic drill and a short 4mm bit, I aimed and centred as best as I could (remember I have no direct view inside the hole), took a deep breath and started drilling, squirting a few drops of WD40 to lubricate the drill bit. Metal shavings started to fly out which was a good sign that the hole was deepening. After some guessing the depth, I took the extractor, tapped it inside the drill hole with a small hammer and started unscrewing with a small ratchet. Suddenly I felt something biting and holding. Wowwwww it seemed to be working. Slowly unscrewing the extractor, I could feel it was turning easier and easier and suddenly I could see the end of the broken screw coming out. I could finally get my fingers around the end and unscrewed until it all came out. I screamed with joy I was sooooo happy. I blew some compressed air to remove any metal filings, then passed a M8 threader inside to ensure the threads were not damaged in any way. Perfect.
Next step on Wednesday when the parts are scheduled to be available. I just need to find the torque settings of the 4 holding screws, together with the upper and lower bolts holding the rubber engine mount.
Then onto the left side of the engine, hoping I don't find any unpleasant surprises there. Fractured right hand alloy engine support Broken bolt end with its 4mm hole Important tools used for this operation: 4mm drill bit and right angled drill, extractor and M8 threader The "guilty" hole at top left
Last edited by DRBC43AMG; Sep 10, 2018 at 02:57 PM.
Reason: Completed post
From: Land of mountains, cheese, chocolate and watches
12' W204 C63 AMG coupe "T-Rex", 12' W451 Smart Fortwo Pulse (99' W202 C43 AMG + Ultima Can-Am sold)
Picked up the new parts this morning. Not cheap specially for the alloy engine support bracket.
The difference in height between the new rubber mount (left) and the old one is significant. The old one (right) has been seriously compressed over time. The mounts comes with a white rubber cover, Is this a protection measure and needs to be removed before assembling into the engine bay and chassis? I certainly don't see this as being part of the normal assembly procedure as there is a metal heat shield covering the top.
New on the left (E55K). Big difference between the two. Old one has compressed over time White rubber cover. Is this a protection cover at needs to be removed before assembly?
From: Land of mountains, cheese, chocolate and watches
12' W204 C63 AMG coupe "T-Rex", 12' W451 Smart Fortwo Pulse (99' W202 C43 AMG + Ultima Can-Am sold)
Thanks mate, I thought so, but why put that cover in the first place. The mount doesn't need special protection and it's not going to get accidently broken
From: Land of mountains, cheese, chocolate and watches
12' W204 C63 AMG coupe "T-Rex", 12' W451 Smart Fortwo Pulse (99' W202 C43 AMG + Ultima Can-Am sold)
Thanks bro, that's great info and a perfect picture including torque specs. Sometime one photo replaces 100 words
Unfortunately it's going to be impossible to torque the top bolt due to the lack of available space. The only way perhaps would be to remove the exhaust manifold and tighten from above, or an engine out situation. I guess I'm going to tighten as best as I can using some blue Loctite on the threads...
I have to say that on the many mounts I have changed on M-B of this era I have never seen one from the factory with the white covers installed. I can't access the EPC - apparently they have taken it down for the previously announced replacement system - so I cannot verify when there are listed for thesis cars. Perhaps they are for cars delivered to cars going to specific climates?
From: Land of mountains, cheese, chocolate and watches
12' W204 C63 AMG coupe "T-Rex", 12' W451 Smart Fortwo Pulse (99' W202 C43 AMG + Ultima Can-Am sold)
Originally Posted by vinceC
I have to say that on the many mounts I have changed on M-B of this era I have never seen one from the factory with the white covers installed. I can't access the EPC - apparently they have taken it down for the previously announced replacement system - so I cannot verify when there are listed for thesis cars. Perhaps they are for cars delivered to cars going to specific climates?
Thinking now, perhaps these rubber shields are for specific models. As the new ones are for a E55K (W211) for more stiffness, perhaps they have this rubber shield as extra insulation from the manifolds just above. I imagine that a M113K must get a bit hotter than a standard M113. Just my 2p worth...
From: Land of mountains, cheese, chocolate and watches
12' W204 C63 AMG coupe "T-Rex", 12' W451 Smart Fortwo Pulse (99' W202 C43 AMG + Ultima Can-Am sold)
Yesterday I replaced the broken engine mount and reassembled the new part on the engine block with blue loctite on the bolts and torqued to specs without any major fuss. I just needed an articulated extension for the top rear bolt (the one that had sheared).
This morning I managed to assemble the new E55k rubber mounts onto the engine and chassis. It's a fiddly job to get everything aligned, then dropping the heat shield and bolt from the top. All was done by touch and before tightening the two bolts I made a quick check with my telescopic handled mirror to ensure everything was in place. The bottom chassis holding bolt was loctited and torqued to 35Nm specs. The top bolt that's a different story. After tightening with my fingertips using a 16mm socket, final tightening was done with an open end spanner. Unfortunately there is absolutely no way you can torque the bolt to specs in situ. Possibly that can be done without the exhaust manifolds, but no way am I going down that road. When and if I swap to a 55 engine, I'll use the mounts and get them assembled and torqued with the engine out of the chassis.
Next job the left driver's side. Suspense and possibly plenty of swear words to go with it until it's done
From: Land of mountains, cheese, chocolate and watches
12' W204 C63 AMG coupe "T-Rex", 12' W451 Smart Fortwo Pulse (99' W202 C43 AMG + Ultima Can-Am sold)
So after lunch, I passed onto the left (driver's) side. Space is very restricted with the bloody big A/C compressor taking a good part of the free space.
After breaking the seal on the top bolt, it was plain sailing removing the top and bottom screws. I did need to jack the engine on the left side a good way up to free the rubber mount. It came out easily but with a tight squeeze. All told 15 minutes work and NO salty words said
The rubber mount is really shot, cracked and certainly worse than the right side, so I have no regrets changing them
Also the heat shield looks like a standard MB item
Next step, install the new rubber mount, but that will be for another day.
From: Land of mountains, cheese, chocolate and watches
12' W204 C63 AMG coupe "T-Rex", 12' W451 Smart Fortwo Pulse (99' W202 C43 AMG + Ultima Can-Am sold)
Originally Posted by jensl76
yes that is possible
But I thought that the roads in Switzerland are very good........
Not everywhere my friend. In my region, the state has been cutting back budgets for road maintenance over the past years. With several harsh winters (global warming ) roads have cracked and are in a poor state. Some mountain roads I can't take with T-Rex any more without fear of damaging something... Well it has happened with some costly consequences
Not everywhere my friend. In my region, the state has been cutting back budgets for road maintenance over the past years. With several harsh winters (global warming ) roads have cracked and are in a poor state. Some mountain roads I can't take with T-Rex any more without fear of damaging something... Well it has happened with some costly consequences
Everywhere the same ****!
But i love your mountains for that...
From: Land of mountains, cheese, chocolate and watches
12' W204 C63 AMG coupe "T-Rex", 12' W451 Smart Fortwo Pulse (99' W202 C43 AMG + Ultima Can-Am sold)
Replaced the driver's side engine rubber mount rather easily, once you lift the engine from that side on the sump with a big block of wood for protection. Lift enough so that you can fiddle in the mount between the lower chassis transverse and top alloy engine bracket. The A/C compressor and related pipes do get a bit in the way but it's doable. The MB WIS (Workshop Instruction System) does mention the removal of the steering shock and all the steering linkage. This does indeed open up the space from the other side of the chassis transverse, but if you have normal sized hands you can slide them from that side to help you position the rubber mount. The top part is all done with touch only as you don't have a visual up there.
I found that once you have the mount in approximately the right place, I screwed in the bottom holding bolt a couple of turns to keep the mount from moving around on the chassis transverse. Once I positioned the top mount nib in it's holding groove on alloy engine bracket, I gently lowered the floor jack a couple of mm to let the nib slide down the groove. Again this is all with the touch method and confirmed with my telescopic handled mirror. Then mounted the metal heat shield with the top fixing bolt. Once you manage to get the bolt to bite on the first threads, it should be plain sailing getting the bolt inside the rubber mount, fingers first followed with a 16mm socket and final tightening with a 16mm ring spanner. As with the other side, it's impossible to get a torque wrench to tighten to 55Nm specs, so you have to rely on your muscle work. Once that is done, don't forget to remove the loosely held bottom bolt, apply some blue Loctite on the threads and torque to 35Nm.
Job done!
Under the vehicle I noticed some traces of rubbing on two metal pipes (ATF related) where the engine had dropped with the broken engine fixing bracket and possibly because the rubber engine mounts had compressed to a very low level. I'm happy that I did this upgrade and hope it solves the rumbling I was experiencing of late. I just need to get the vehicle off the engine stands, mount the air-box and clean filters and I'll be going for a test drive
Once on the ground I placed the spirit level on the intake and it's perfectly centred
Keep tuned for the final words and conclusion New E55K engine rubber mount in its final resting space Metal to metal rubbing traces on the ATF oil pipes on both left and right sides Metal to metal rubbing traces on the ATF oil pipes on both left and right sides Spirit level bubble now centred
Last edited by DRBC43AMG; Sep 18, 2018 at 10:46 AM.
Reason: Correction
From: Land of mountains, cheese, chocolate and watches
12' W204 C63 AMG coupe "T-Rex", 12' W451 Smart Fortwo Pulse (99' W202 C43 AMG + Ultima Can-Am sold)
Just came back from a test drive. The front feels soooo much more planted than before, probably due to the new stiffer engine mounts withholding engine mouvements and no more creaking or clanking noises
On the other hand, the rumbling sound is still there It is more pronounced when lifting off the accelerator pedal and can be heard coming from the passenger footwell
Wondering if it's finally the U joints as that's the only thing which has not yet been changed, and if not could it be internal transmission?
Mercedes SLR McLaren 722 S Is Extremely Rare Example Modified by McLaren
Slideshow: A one-of-one U.S.-spec Mercedes-Benz SLR McLaren Roadster became even rarer after a factory-backed transformation at McLaren's headquarters.


 specially for the alloy engine support bracket.


")


 It is more pronounced when lifting off the accelerator pedal and can be heard coming from the passenger footwell


