


Weistec M156/M159 Oil / Air Separator
MBWorld Fanatic!
Joined: Aug 2005
Posts: 2,207
Likes: 2
From: North Jersey
2012 CTS-V
so what exactly are you supposed to do after this is installed?
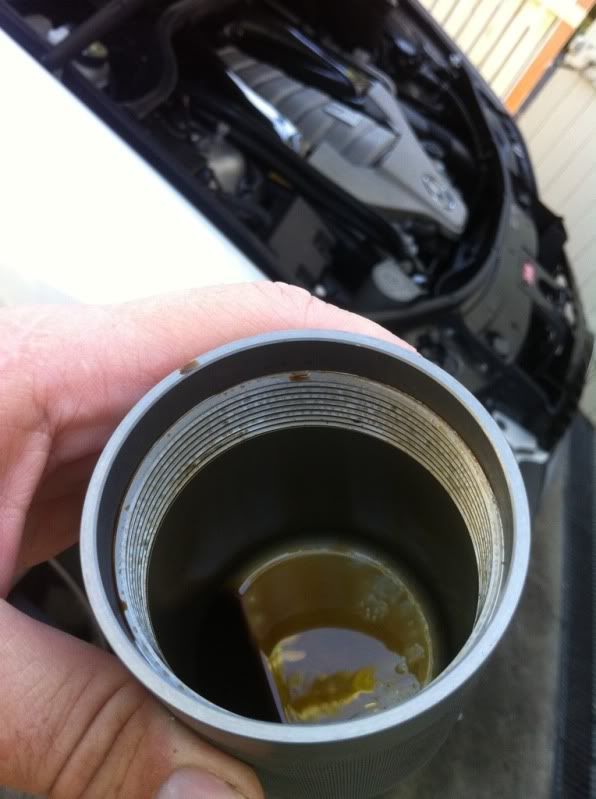
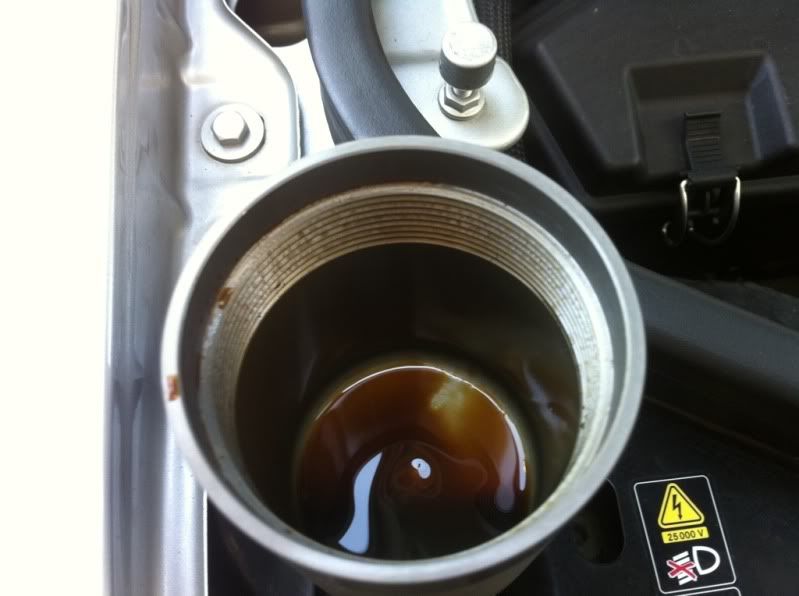
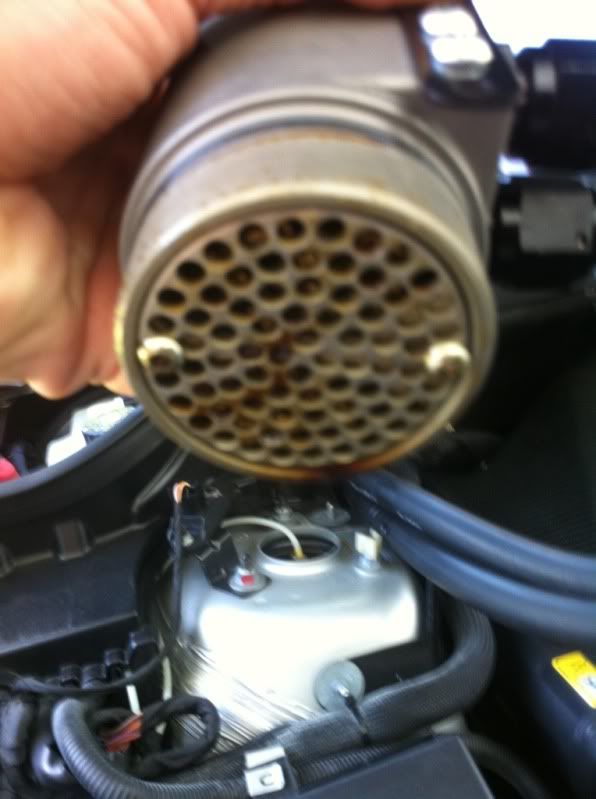
it kind of looks like the bottom part screws off... is that where the oil goes? and you empty it out and screw it back in?
is this done every oil change?
and someone suggested spraying something and cleaning the intake during the first install... is this recommended by weistec?
it kind of looks like the bottom part screws off... is that where the oil goes? and you empty it out and screw it back in?
is this done every oil change?
and someone suggested spraying something and cleaning the intake during the first install... is this recommended by weistec?
The instructions show nothing about cleaning the intake except wiping the connections with a clean shop towel prior to install but I guess it can't hurt.
Eventually the intake will clean up on its own as oil will be diverted to the separator.

Senior Member
Joined: Jul 2010
Posts: 288
Likes: 2
From: Brisbane, Australia
RR Evoque Dynamic, Benz Valente (work hack)
so what exactly are you supposed to do after this is installed?
it kind of looks like the bottom part screws off... is that where the oil goes? and you empty it out and screw it back in?
is this done every oil change?
and someone suggested spraying something and cleaning the intake during the first install... is this recommended by weistec?
it kind of looks like the bottom part screws off... is that where the oil goes? and you empty it out and screw it back in?
is this done every oil change?
and someone suggested spraying something and cleaning the intake during the first install... is this recommended by weistec?

Thread Starter
Former Vendor of MBWorld
Joined: Dec 2010
Posts: 585
Likes: 29
From: Anaheim California
Weistec
Please shoot us an email at info@weistec.com and we will be happy to email you a copy. Thank you!
Weistec Engineering
Weistec Engineering
Thread Starter
Former Vendor of MBWorld
Joined: Dec 2010
Posts: 585
Likes: 29
From: Anaheim California
Weistec
so what exactly are you supposed to do after this is installed?
it kind of looks like the bottom part screws off... is that where the oil goes? and you empty it out and screw it back in?
is this done every oil change?
and someone suggested spraying something and cleaning the intake during the first install... is this recommended by weistec?
it kind of looks like the bottom part screws off... is that where the oil goes? and you empty it out and screw it back in?
is this done every oil change?
and someone suggested spraying something and cleaning the intake during the first install... is this recommended by weistec?
If you haven't already, please visit our website for more information on the Oil/Air Separator system.
http://weistec.com/m156os.html
Thank you very much!
Weistec Engineering
MBWorld Fanatic!
Joined: Sep 2008
Posts: 2,177
Likes: 14
From: Central Florida
2014 Audi RS7
Well, for a C63 its not quite as straight forward as previously thought but not that tough. You will need to fabricate your own installation bracket.
You CANNOT install the unit where the instructions tell you on a C63 because we have a dip stick there.


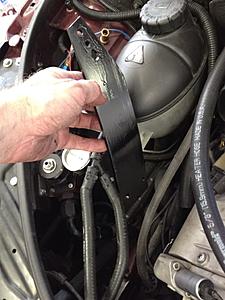
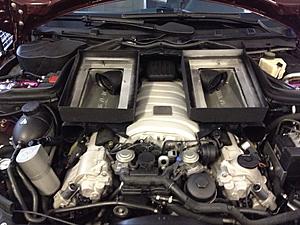
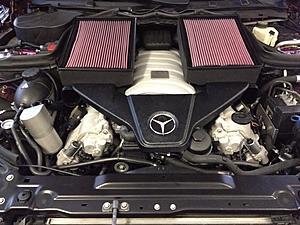
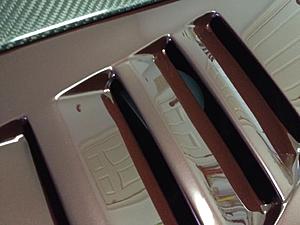
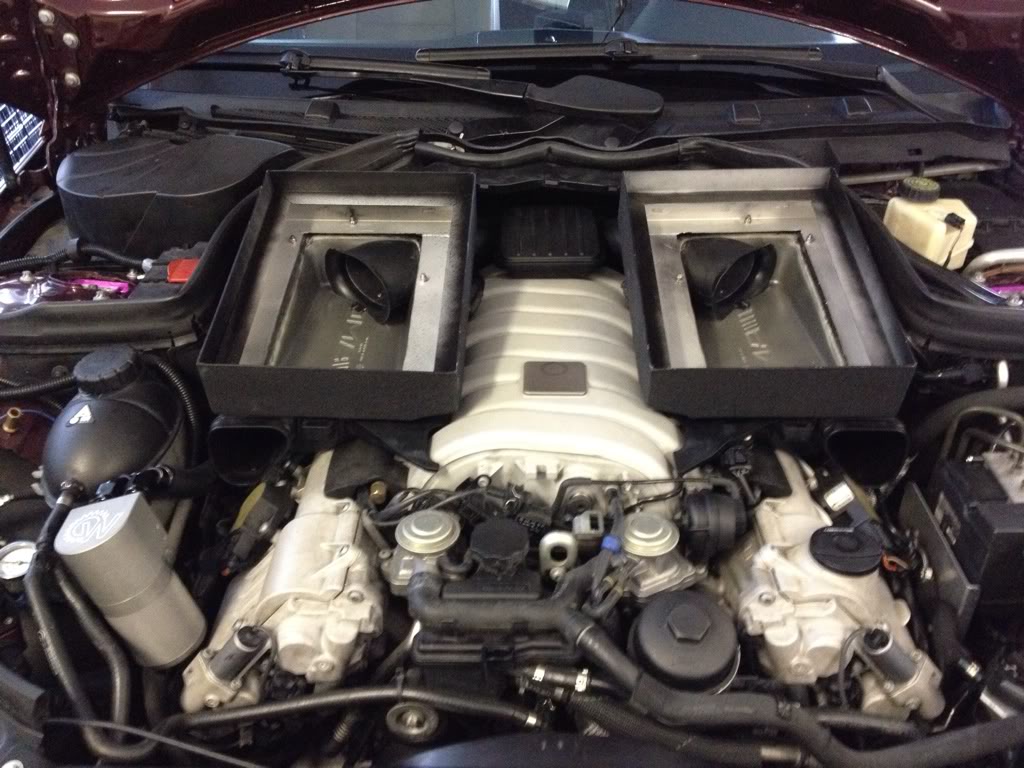
Remove all the intake stuff:

Then cover up the rear intake opening with some painters tape or rag.
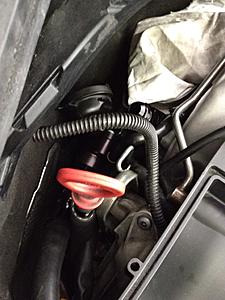
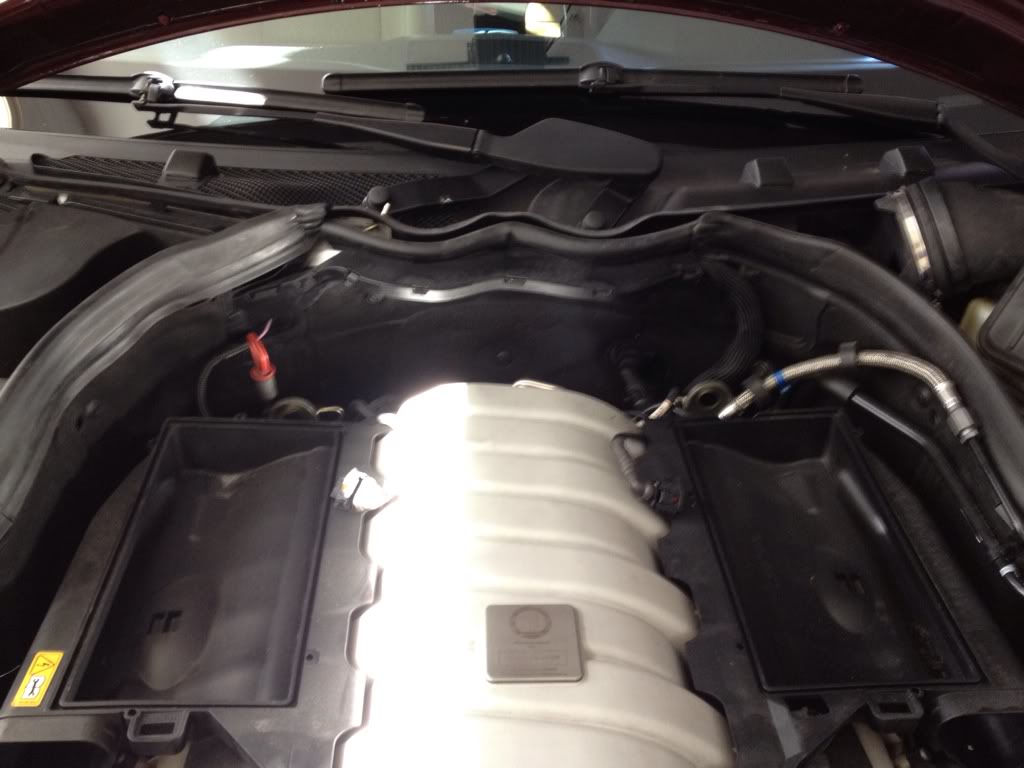
Then remove the single T30 torx screw and pull out the stock PCV valve:
After wiping out the openings and cleaning the O-rings put some fresh oil on them and intall the new parts. Don't drop anything like I did and drive yourself crazy for an hour trying to find that little "C" shaped clip that holds the new fitting into the intake manifold.
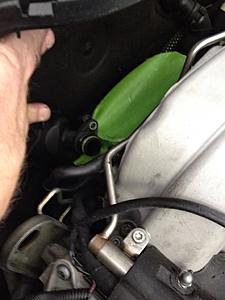
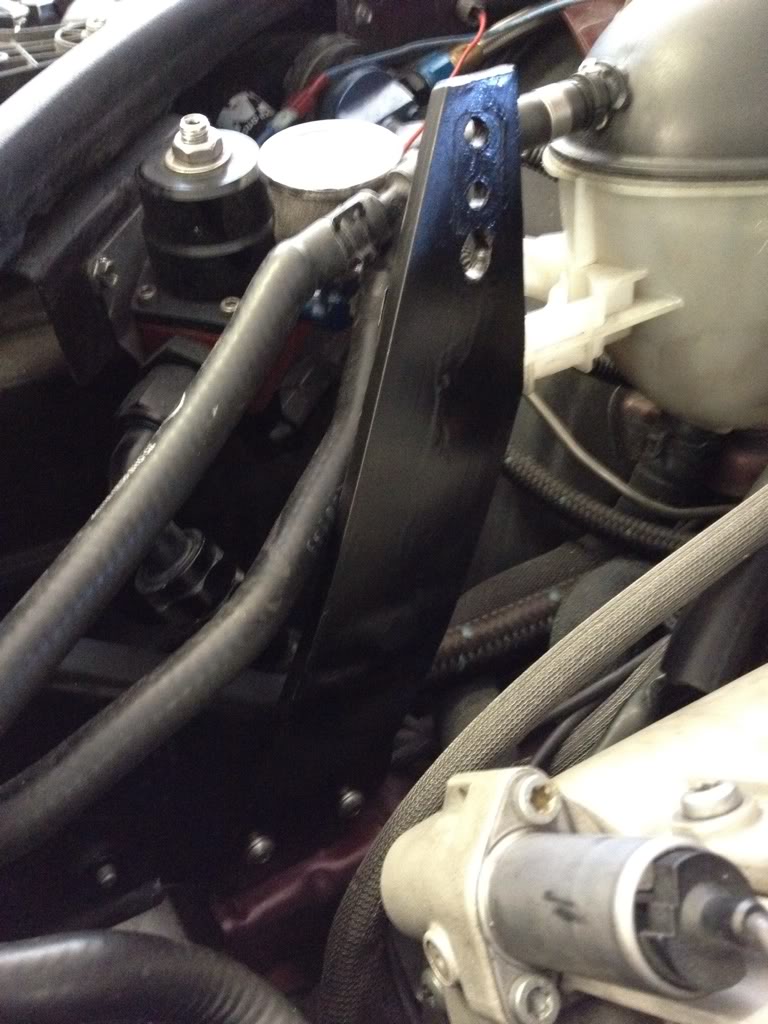
I did install a piece of hose around the dip stick because the new aluminum brackets were rubbing the dip stick.
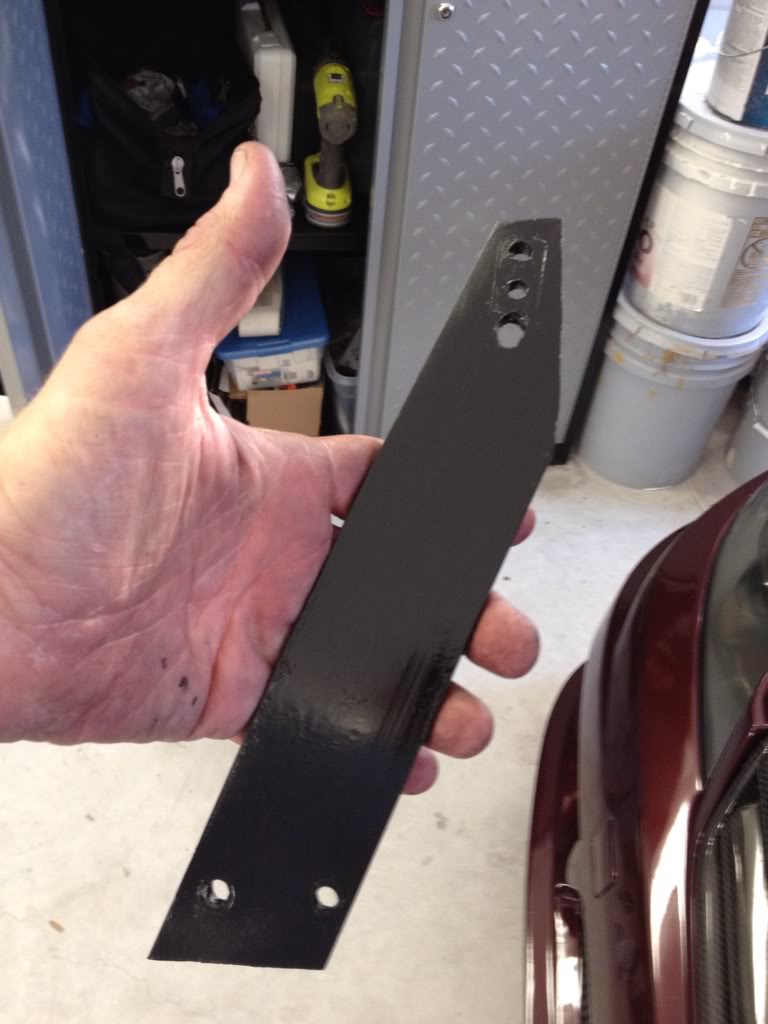
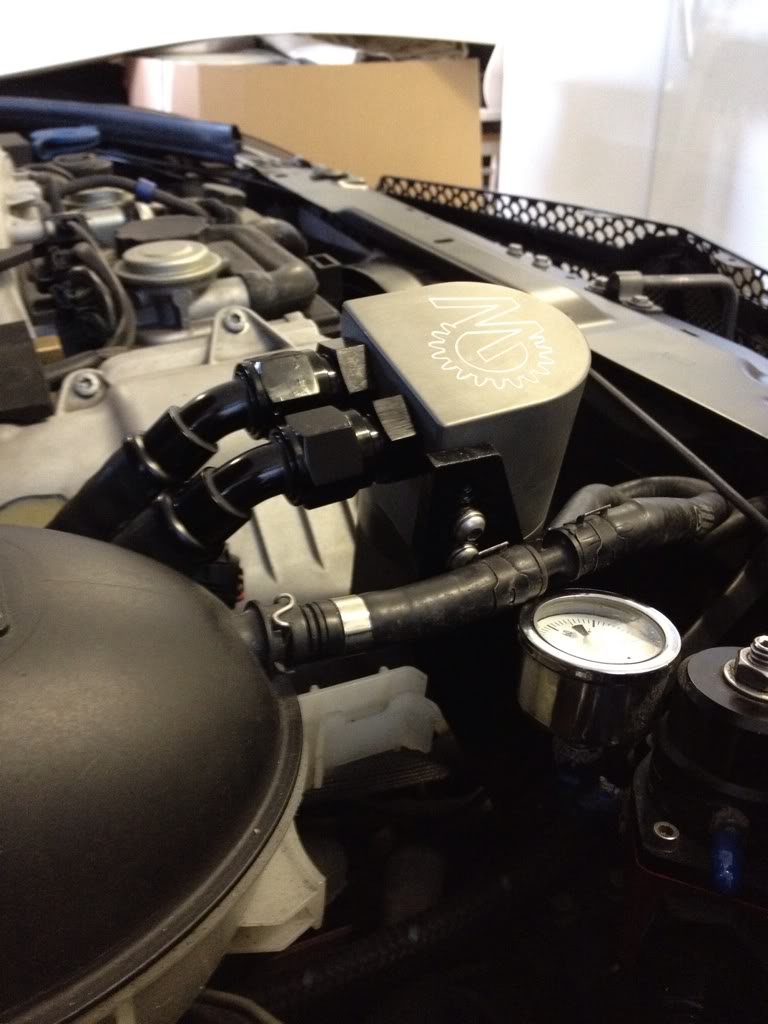
Then I fabricated a bracket out of 2" flat aluminum bar, and NO its not an edger blade and yes its ugly but I'll redo it another day. I installed mine on two existing bolts that had 10MM bolts in it. Just replace the two bolts with longer ones.

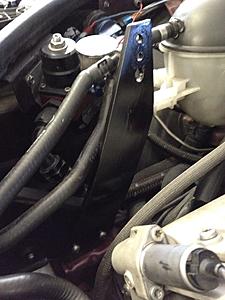
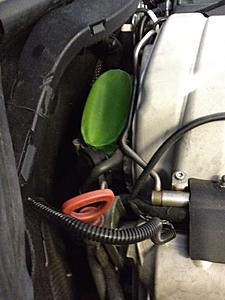
Then install the new separator:
Be sure to put a piece of the bracket supplied to keep the separator off the bracket so it will spin to remove the accumulator.
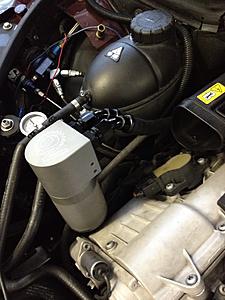

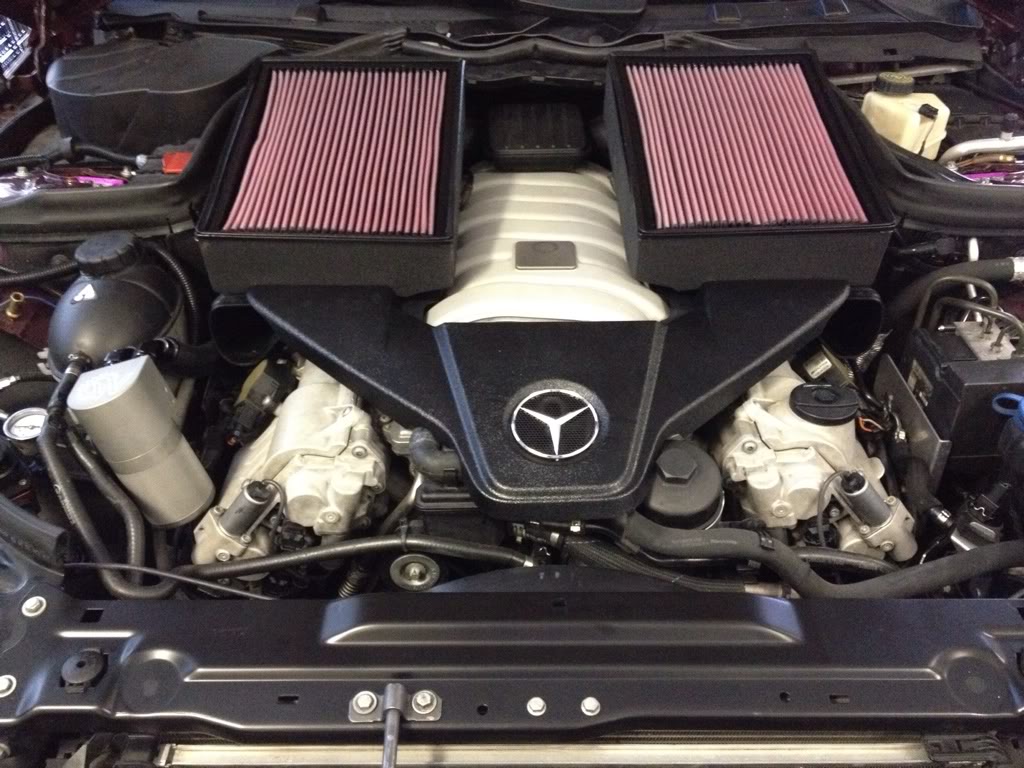
Then put it all back together:
Good luck but allow yourself a couple of hours to make the bracket.
You CANNOT install the unit where the instructions tell you on a C63 because we have a dip stick there.

Remove all the intake stuff:
Then cover up the rear intake opening with some painters tape or rag.

Then remove the single T30 torx screw and pull out the stock PCV valve:

After wiping out the openings and cleaning the O-rings put some fresh oil on them and intall the new parts. Don't drop anything like I did and drive yourself crazy for an hour trying to find that little "C" shaped clip that holds the new fitting into the intake manifold.

I did install a piece of hose around the dip stick because the new aluminum brackets were rubbing the dip stick.
Then I fabricated a bracket out of 2" flat aluminum bar, and NO its not an edger blade and yes its ugly but I'll redo it another day. I installed mine on two existing bolts that had 10MM bolts in it. Just replace the two bolts with longer ones.

Then install the new separator:
Be sure to put a piece of the bracket supplied to keep the separator off the bracket so it will spin to remove the accumulator.

Then put it all back together:

Good luck but allow yourself a couple of hours to make the bracket.
Last edited by Dads C63; Dec 31, 2011 at 08:19 PM.
Super Member
Joined: Dec 2009
Posts: 992
Likes: 2
From: Denver, CO
2008 CLS63 AMG
I have one installed on my CLS 63 and I think this is a great mod to have. I've driven with the oil/air separator for about 2k miles and it has caught a good amount of oil. I'll post up pics here soon. After the install, I have noticed that the car sounds a lot more healthy. Response is a lot more responsive and crisp. I have certainly noticed less ticking/pinging from the motor.
As for the install on the CLS 63, it does not fit on the passenger side of the car due to the ecu cables being in the way. I had to re route it all to the driver side behind the motor.
As for the install on the CLS 63, it does not fit on the passenger side of the car due to the ecu cables being in the way. I had to re route it all to the driver side behind the motor.
MB World Stories
The Best of Mercedes & AMG

Manual Mercedes? 6 Times Sindelfingen Let Drivers Have All The Fun
Verdad Gallardo
Mercedes SLR McLaren 722 S Is Extremely Rare Example Modified by McLaren
Verdad Gallardo
8 Classic Boxy Mercedes Designs That Have Aged Like Fine Wine
Verdad Gallardo
Flawlessly Restored Mercedes 190E Evo II Heads to Auction
Verdad Gallardo
Electric Mercedes C-Class Unveiled: 11 Things You Need to Know
Verdad Gallardo
Mercedes EQS Gets A Major Update: Everything You Need to Know
Verdad Gallardo
5 Underrated Mercedes-Benz Models That Don't Get the Love They Deserve
Verdad Gallardo
Mercedes 300D Has Pushed Well Past 1 Million Miles and It Ain't Stopping
Verdad Gallardo
10 Most Reliable Mercedes-Benz Models You Can Buy Used
Verdad Gallardo
Member
Joined: Apr 2009
Posts: 126
Likes: 0
1990 500SL-2002 C230 Coupe-2012 c250 Sedan SOLD-2012 C63 Coupe
...
Did this product ever get updated to be more of a drop in into the C63?
Ill pay 500 as long as I can actually drop it in without fabricating additional parts.
Ill pay 500 as long as I can actually drop it in without fabricating additional parts.
Senior Member
Joined: Jul 2010
Posts: 288
Likes: 2
From: Brisbane, Australia
RR Evoque Dynamic, Benz Valente (work hack)
You can install as per the original instructions, just that you will need to lift the oil separator out of the way to check the dipstick.
Super Member


Joined: May 2011
Posts: 883
Likes: 72
From: Vancouver
2018 e63s edition 1
How on earth are you getting your hand under the product to unscrew that knurled portion?
also, excuse my ignorance but what it be a good/bad idea to seafoam the car before installing one of these? i don't know much about the product and the idea of it scares me but i've heard it's actually a great product.
also, excuse my ignorance but what it be a good/bad idea to seafoam the car before installing one of these? i don't know much about the product and the idea of it scares me but i've heard it's actually a great product.
MBWorld Fanatic!
Joined: Feb 2003
Posts: 5,983
Likes: 21
From: Vegas and Vancouver, BC
.
Super Member
Joined: Jul 2015
Posts: 793
Likes: 22
From: NY
2001 Porsche 911 Turbo (heavily modified)
Now this peaks my curiousity. Incredible that this thing helps the motor so much. Now I just need to get the funds together to purchase one and install it.
Whats the average time for install? 1-2hours?
Whats the average time for install? 1-2hours?


