When you click on links to various merchants on this site and make a purchase, this can result in this site earning a commission. Affiliate programs and affiliations include, but are not limited to, the eBay Partner Network.
Hi everyone, I recently replaced my passenger side motor mount. I did some searching on the forum and couldn't find any posts on it, so I thought I'd do a quick write-up. Here's how things started off and I'll give 2 pieces of advice: get the proper offset tool for motor mounts for a Mercedes, and out your car up on ramps or jackstands the night before so you don't have to work around hot exhaust and engine bits!
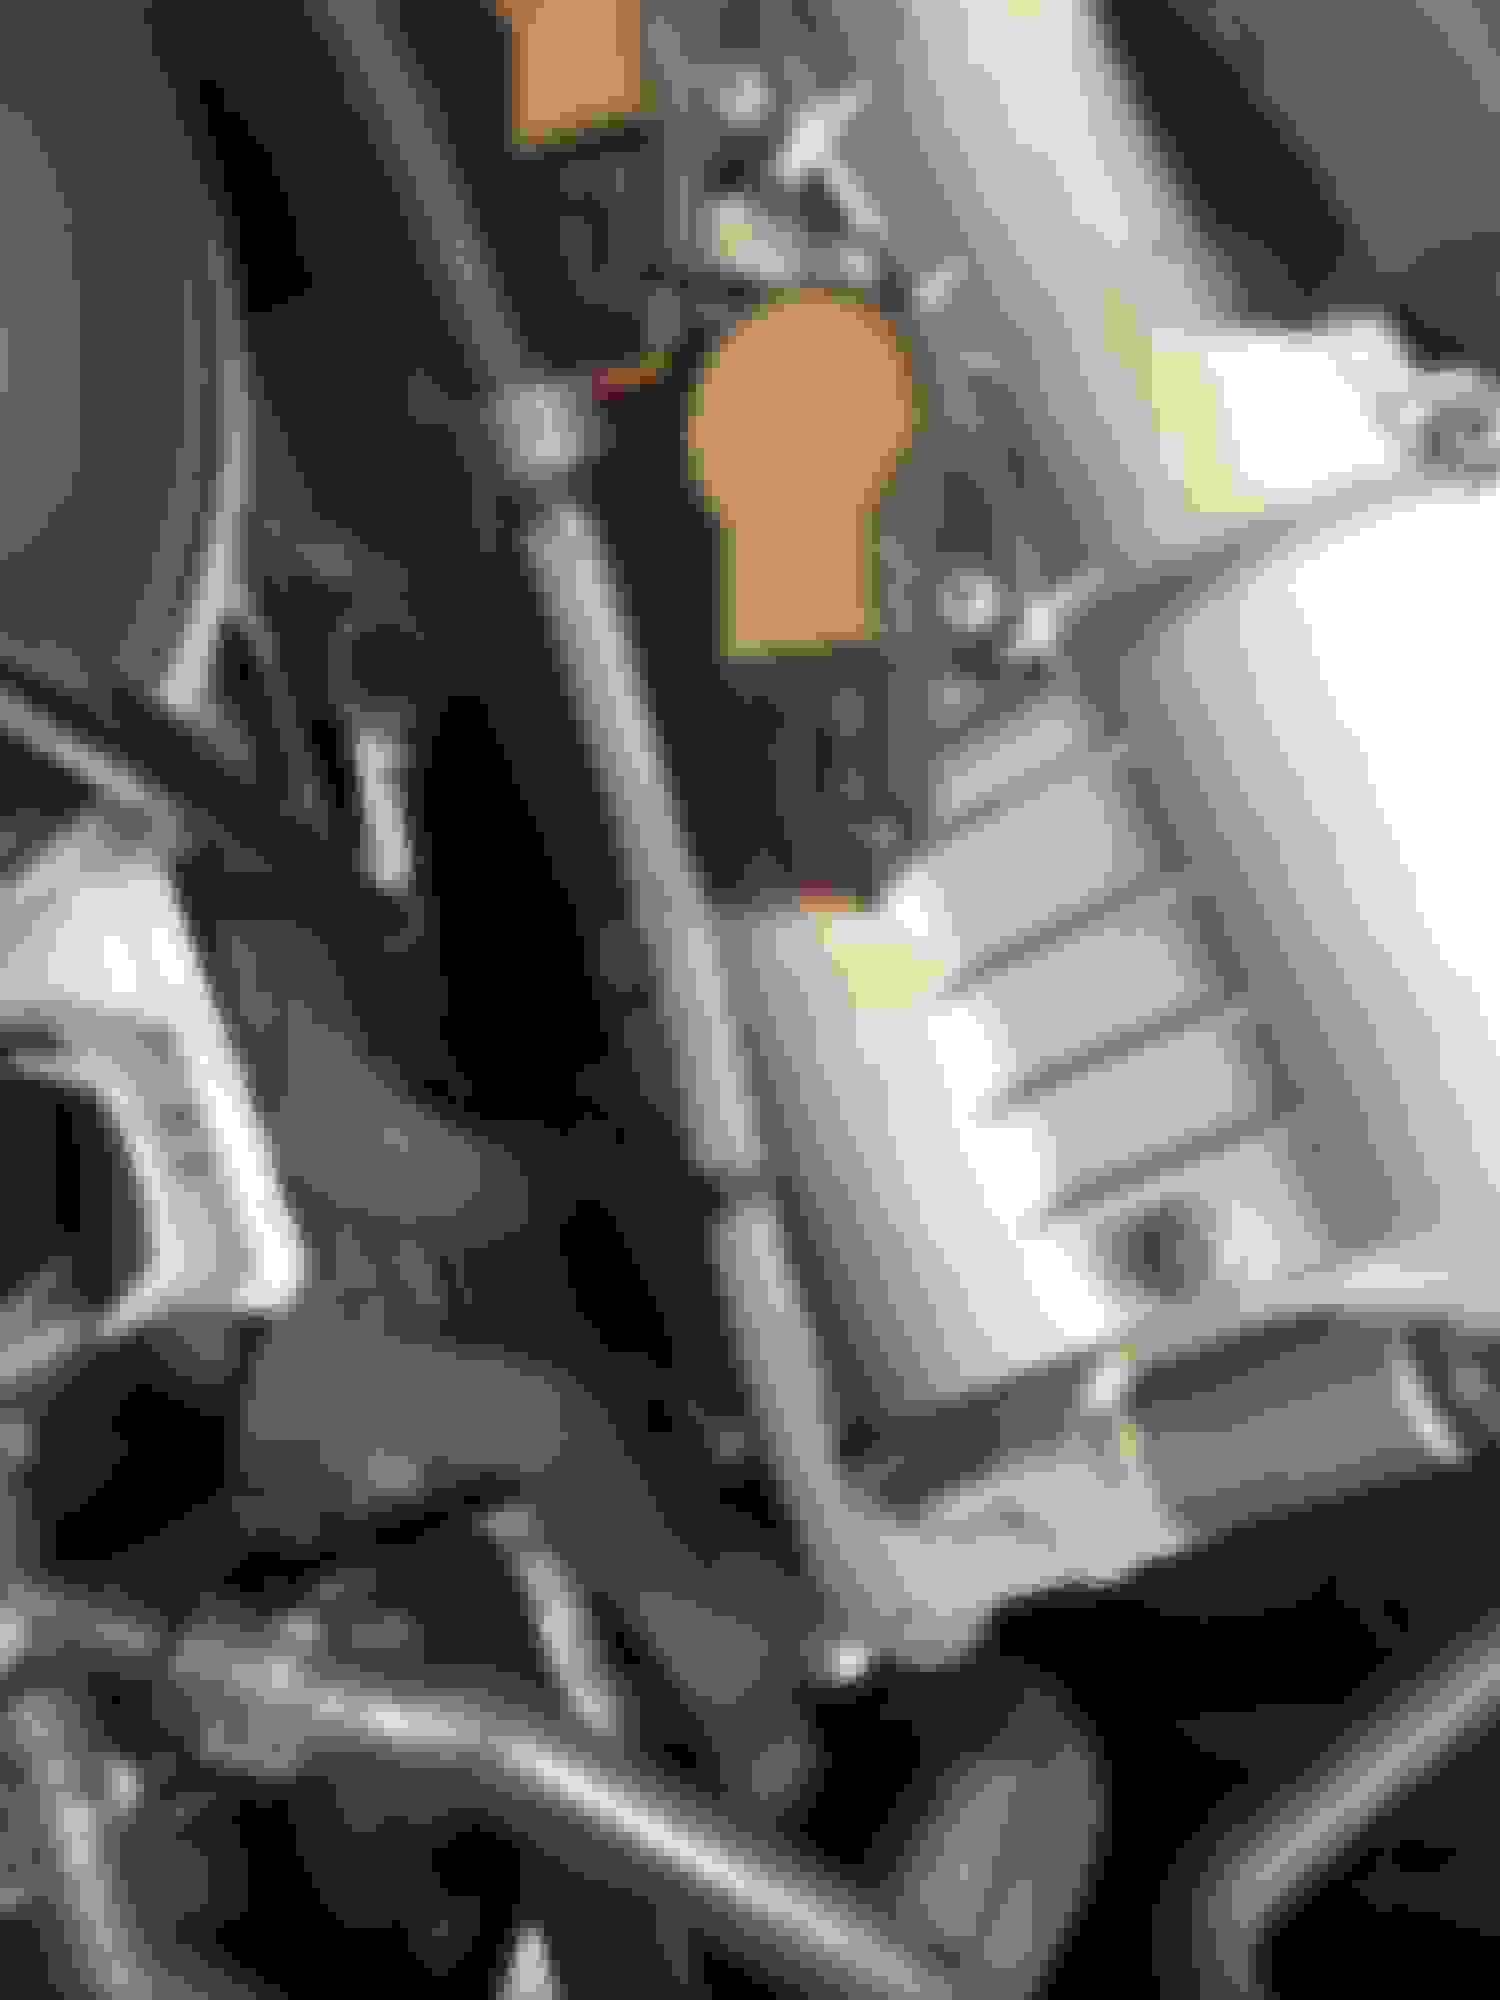
This is where you'll be now, plate removed and steering rack loose and moveable (note that I didn't disconnect the rack from the steering column, just the subframe.
Start by removing the two bolts holding the steering rack to the subframe and support bracket. They are the 2 bolts in the middle of the bracket you can see. Although I unbolted and removed the entire metal plate to give myself more room, you likely wouldn't need to do that. Bolts are 18mm.
Now you can see the motor mount easily. Start by loosening the 16mm bolt at the top of the mount before doing anything else. If you can't get that, there's no point undoing anything else.
i used a red-neck devised assembly that I'm too embarrassed to show you to get the top bolt off. Again, just spend the $20 bucks and get the proper tool. Plus, I only did the passenger side, the drivers side would be far more difficult without the proper tool.
Once the top bolt is finger tight, you can loosen the bottom 2 13mm bolts and remove all 3. Before I jacked the engine up I also loosened the bottom 2 bolts on the driver side mount to give the engine some more flexibility to be raised.
Next up was a floor jack with a 2x10 under the oil pan and slowly lifting the engine. Slowly jack and make sure nothing is binding. Be careful doing this but also remember that you're just lifting the engine back to where it should be anyway so it should be fine.
With the rack loosened, there is lots of room to drop the mount out once the engine is lifted. Try to install the new mount, but you will likely have to lift the engine further for your new mount that hasn't collapsed at all.
Once you have the mount in, get all the bolts started and finger tight before lowering the engine, then lower the engine and tighten everything down.
i just did the passenger side as my driver's side mount was still totally fine. If you wanted to do both, go through the same process on the other side ... just be prepared to swear a bit more as it is a bit tighter due to steering shafts and such.
Overall this took me about 3 hours including an oil change. If I had done both, figure another 30 minutes. This is not difficult to do if you are at all decent with tools; there's nothing really technical to it except for working in confined spaces.
if any has any questions please ask buti just wanted to let the group know this is a very doable project even on ramps if you want to save yourself some cash.
This shows how badly the mount had collapsed. The metal housing of the mount was actually coming in contact with the subframe. I can get my index finger between the metal mount housing and the bottom of the rubber piece that bolts to the engine with the new. my drivers side had barely collapsed at all but the passenger was toast.
And here's the passenger side mount. Again, easier to get to and would be the one to start with for practice if you were doing both.
I need to check mine. I have a very feint popping/knocking sound from the passenger side front that I can hear at times. Motor doesn't feel rough and no signs of handling/driving issue. From what I can tell, it sounds like some sort of bushing that's gone bad. Doesn't sounds like metal to metal contact.
How long did the entire process take?
Last edited by cornerjunkie; Oct 4, 2017 at 02:40 PM.
I've had the car for 18 months now. It was fine for several months with no noises or rattles.
I did a track day day and that's when it started; just a very slight rattle at start up when it was cold that would go away when warm, and I'd get a clunk if I hit a speed bump or something too hard as the mount would compress and make contact with the subframe.
I did another track track day several months later and that was when it official packed it in. There would be a metal to metal rattle at a stoplight at idle (would go away when I popped it into neutral) and it would go away when it was completely warmed up, but would always come back when it was cold. There was never a drivability issue, just the annoying noises that made the car far less awesome to drive!
you really just need to check the clearance between the aluminum body of the mount and the subframe. On my new one I could get my index finger between the two almost up to the first knuckle. On the old one, th subframe was almost resting on the mount. On the drivers side I could get the tip of my index finger in between so I left it as it clearly hadn't collapsed near as much. (I know this is a highly scientific method of testing, but we are talking about a motor mount... 👍
All in to do the passenger mount and oil change was about 3 hours, and that includes getting the car on/off the ramps, belly pan install/removal, etc. I'm willing to bet I could have shaved 20-30 min off that if I'd had the proper motor mount tool as well.
Another quick thing you can do to check is park your car on level ground, open the hood, and check how level the engine is. Before changing the mount the passenger side of the engine sat noticeably lower that the driver, maybe half an inch. After replacement the passenger is just slightly higher than the drivers side. (You can also check this at the oil pan and compare it to side to side with the crossmember; it'll be obvious if one side is sitting substantially lower.)
due to the direction of rotation of the engine, one mount always is loaded with compression stress and the other with extension/stretching stress.
The side that stretches, obviously won't show compression signs, but if not changing it, it won't "help" the side that DOES compress, so the compressed mount will fail faster.
The mounts in these cars will fail early due to all the quarter mile runs, launches, dyno runs and so on.
Yes, I'll be totally honest that the intention was to change both mounts. But, not having the proper tool on hand (have I mentioned this before?) made me forgo the drivers side for now. But, I view it like the tires on our cars; we know the tears wear out twice as fast and I don't replace all 4 just because the rears are fully worn. The drivers side mount had 'wear'', the passenger side had failed.
one thing I forgot to mention in my write-up is to make sure you DISCONNECT THE BATTERY before you begin.
Trans mount is in the work bench waiting to be replaced; it just hadn't arrived yet when I did the motor mount.
Thanks for the tutorial. Right when I hit 50k miles, the car started vibrating a lot at idle and disappeared while moving or when the engine warmed up.
I have been holding off on doing this job for the last six months and was close to taking it to the stealership to get it done. Now the car feels like new again. Unfortunately, while I was lying under the car, I noticed all my ball joints on driver/pass side were all worn out so I guess I have more projects.
The top bolts are easy if you have the special tool to break the torque for the top bolt and just use a stubby 16mm ratcheting box end to get the bolt off.
1) There is a lot of room on the passenger side so the mount is easy to come off.
2) The driver side is very tight due to the steering linkage in the way but if you leave the passenger side unbolted, you can lift the engine high enough to make clearance.
3) The trans mount is self explanatory and the easiest of all three (10 minute job).
Can one of you guys post a link to this special tool, let's see how it looks like? Also, In the past, with BMW, the dealer was not happy to sell special tools.
Great job on replacing the mounts ... glad my quick write-up gave you the confidence to tackle it yourself. And I'm glad to hear the special tool does its job and works well with the top bolt, because that was the only part of the process I got at all frustrated with.
I recently completed both motor mount replacement, here are some comments:
-I can't believe that the steering rack support plate nuts are floating, in 2010 they should have been captive.
-The to through bolts, that hold the rack to the chassis have a sequence of torque and are stretch bolts. The WIS does not require replacing them. The floating nuts make torquing so much more difficult.
The bolts that hold the plate to the chassis, except the rack through bolts are 110 Nm
The throughbolts are 70Nm, followed by 90 degrees. Be careful, those 90 degrees are a lot.
The top mount bolt has a torque but can't be torques in this application, so I ignored it.
The bottom mount bolts are 28 Nm.
-I did not use ramps, but jacked the car from one side, then jacked from the front jacking pad with another jack (this would not fit under the other side). This was a mistake and here's why. I thought that since the steering rack never gets disconnected from the wheels, nor from the steering column, the alignment never gets disturbed.
But in the process of re aligning the rack to bolt it back to the chassis, because the car was not jacked uniformly, I had to wiggle the wheels, to make the bolt holes line up.
As I did this, once I was done and went for a drive, I noticed that my steering wheel was not straight anymore. This is dangerous for the airbag clockspring, which could be stretched beyond its limits. But oddly, I was only off by 45 degrees. So I booked an alignment at the dealer and added that cost to my cost. My independent shop would have wanted $500 plus tax for motor and transmission mounts and the dealer I didn't even ask. So alignment was not even half of that.
-My mounts should have been ok, my car has now just over 50K miles. I was just getting a bit of rattle in idle on cold days, before the car warmed up.
They almost passed the Tassos test: try to slide your fingers between the swaybar and the bottom of the block (the oil pan is further towards the middle of the car, at that point you have the bottom of the block). Tassos says that you should be able to do this, then your mounts are ok. I almost could do this. So once the mounts were out, they were almost bottomed out. Once the new ones were in, you could slide a lot more ....
I tried to give you a better test, using the extension for a measurement.
just barely sliding = mounts shot.
-I also made my own special tool. I actually made two. It involved me going to Sears (which is closing), using an angle grinder and a Harbor freight inverter arc welder.
I expected to fail, but had the mounts and wanted the instant gratification of completing this work, not having to wait another week and a half for an ebay purchase to come in.
So the first tool failed, was too long. I cut it and re-welded it. It kinda worked.
Now the second tool is made from a ratcheting box wrench. Once I was done with welding thisone, I had the length down.. This tool succeeded way beyond the factory tool. I recommend people try to make one. Working with this made even the nightmare location on the driver's side easy.
2010 C63 AMG RIP. 2021 Toyota Tacoma TRD Off Road, 2013 C63 coupe
The motor mount you pulled has the part number 2042401617. the mount you replaced it with is 2042405117.
does anyone know if there was a reason for the part number change?
Maybe an engineering change.
the price is also different 1617 costs around $120
and 5117 $170.
Urgh, I need to do mine soon...that smooth MB refinement at idle is no longer there. 'tis true....loads of WOT pulls will wear them out real fast. Mine were perfect before the winter. This winter I've had a deathwish with WOT pulls and managed to toast them in a short period.
Has anybody had the East Coast Euro ones fitted yet and is able to comment on the smoothness in the cabin?
Vladds...did you do the tranny mount too? How's it feeling now?
We haven't released the C63 mounts yet. We have put quite a few miles of testing on out shop car and you can barely tell they are there. They will be released in under two weeks
Last edited by East Coast Euro; Mar 12, 2018 at 07:50 AM.
Mercedes SLR McLaren 722 S Is Extremely Rare Example Modified by McLaren
Slideshow: A one-of-one U.S.-spec Mercedes-Benz SLR McLaren Roadster became even rarer after a factory-backed transformation at McLaren's headquarters.