When you click on links to various merchants on this site and make a purchase, this can result in this site earning a commission. Affiliate programs and affiliations include, but are not limited to, the eBay Partner Network.
Just wanted to start a timeline where I can post and review modifications that i’ve done to my 2013 C63 sedan non pp car. I bought the car as several of my other daily drivers kept becoming modified to the point where they aren’t “dailyable” anymore. So it’s anyones guess as how far I will go with this car.
Summer 2018:
Mods:
Row Airboxes with AFE dry filters
Pretty simple to install, great beginner mod. Seems like more hype then anything though, unsure if there is really any benefit.
Secondary cat delete
Had a local exhaust shop handle this. Cheap modification that helps the car breathe a little better and slightly increases the sound. No regrets with this one.
Eurocharged V7 tune
Bang for the buck this is awesome. The V7 tune totally wakes this car up and I was surprised by the increases in power on an n/a platform from just a tune and the above modifications.
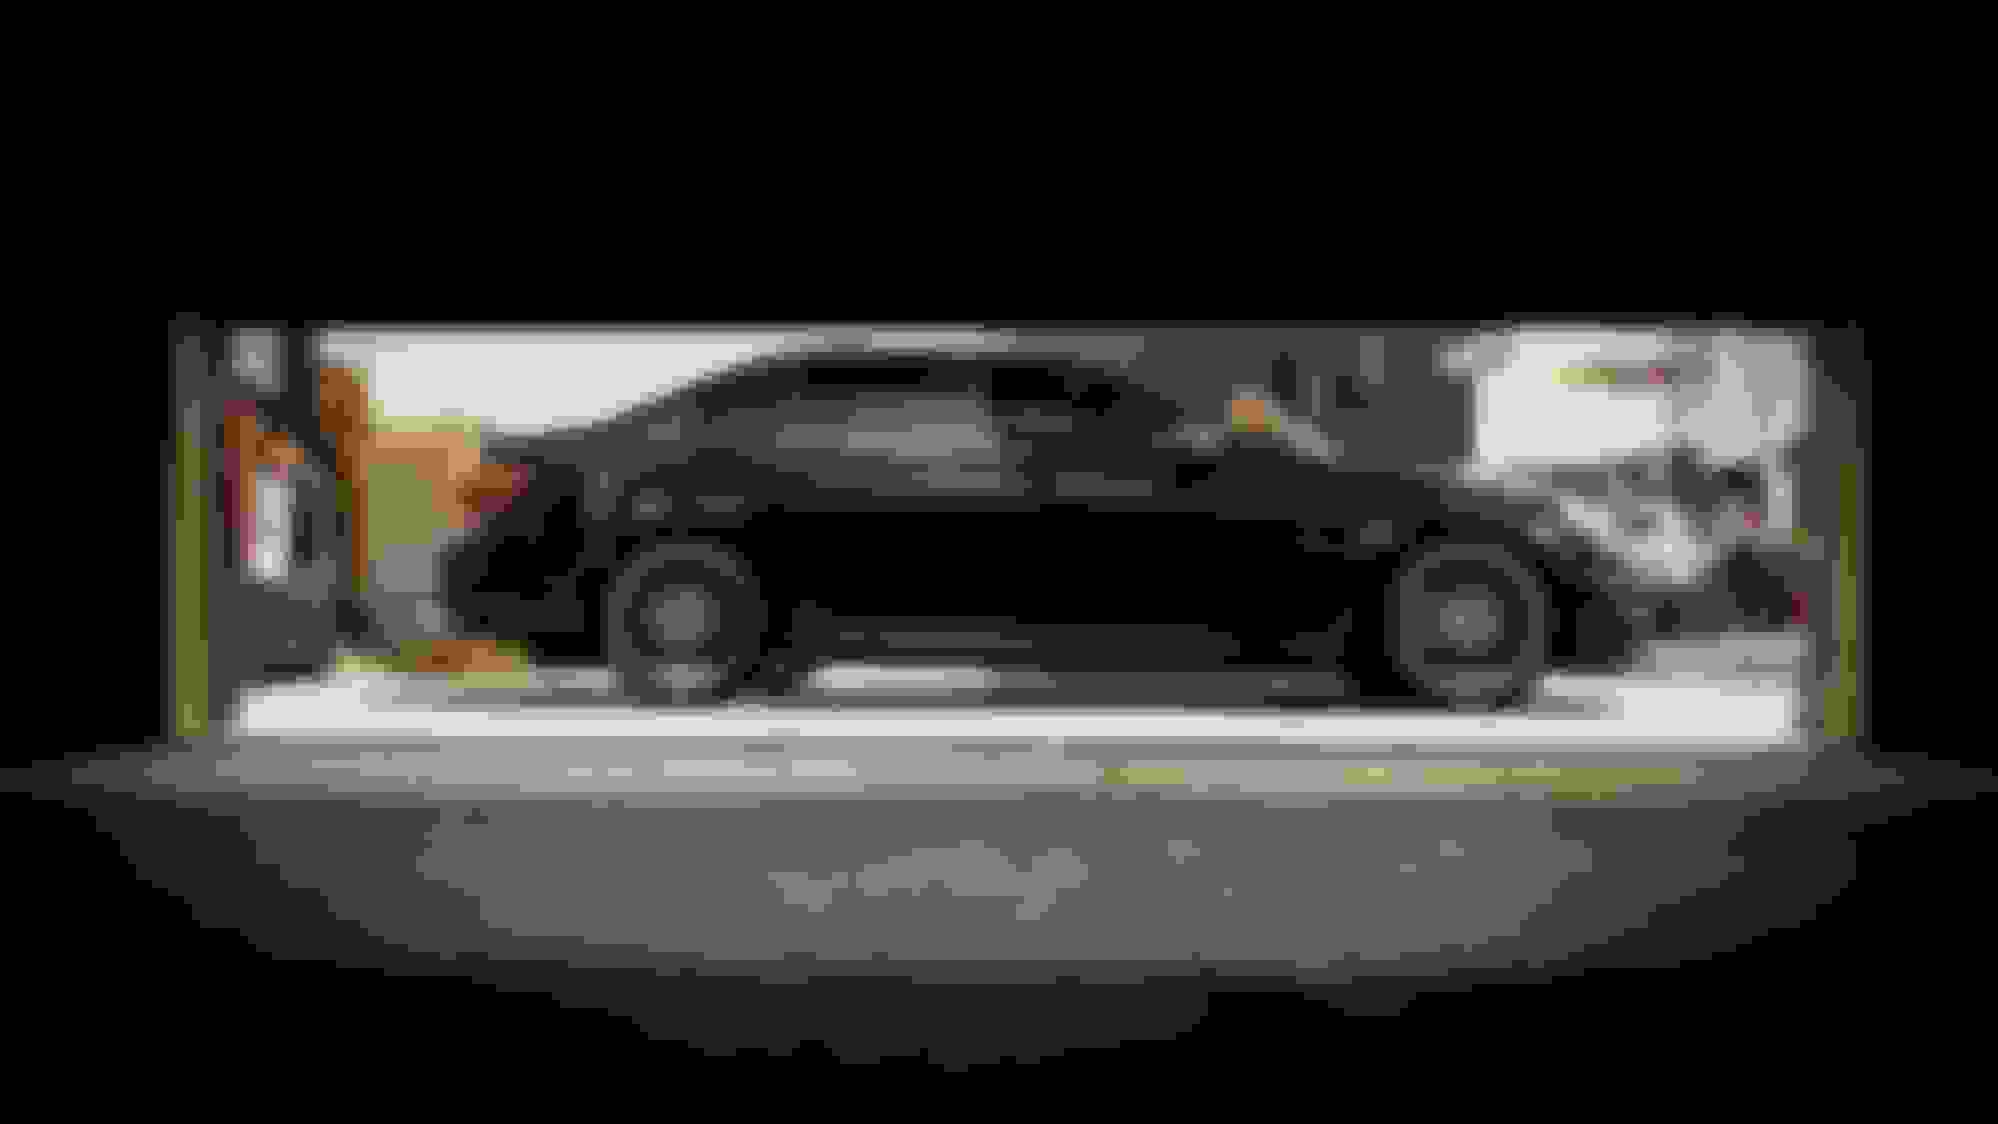
H&R springs w 17mm rear pads
Install was kind of a pain in the ***. The final results look amazing though and I don’t think I would go any lower. Noticed a slight pull to the right, even after an alignment but it isn’t like the car is trying to drive itself off the road. It’s just a very slight pull. I wonder if this is caster related?
F1 fabirication camber arms
Used these to correct the camber after the spring install
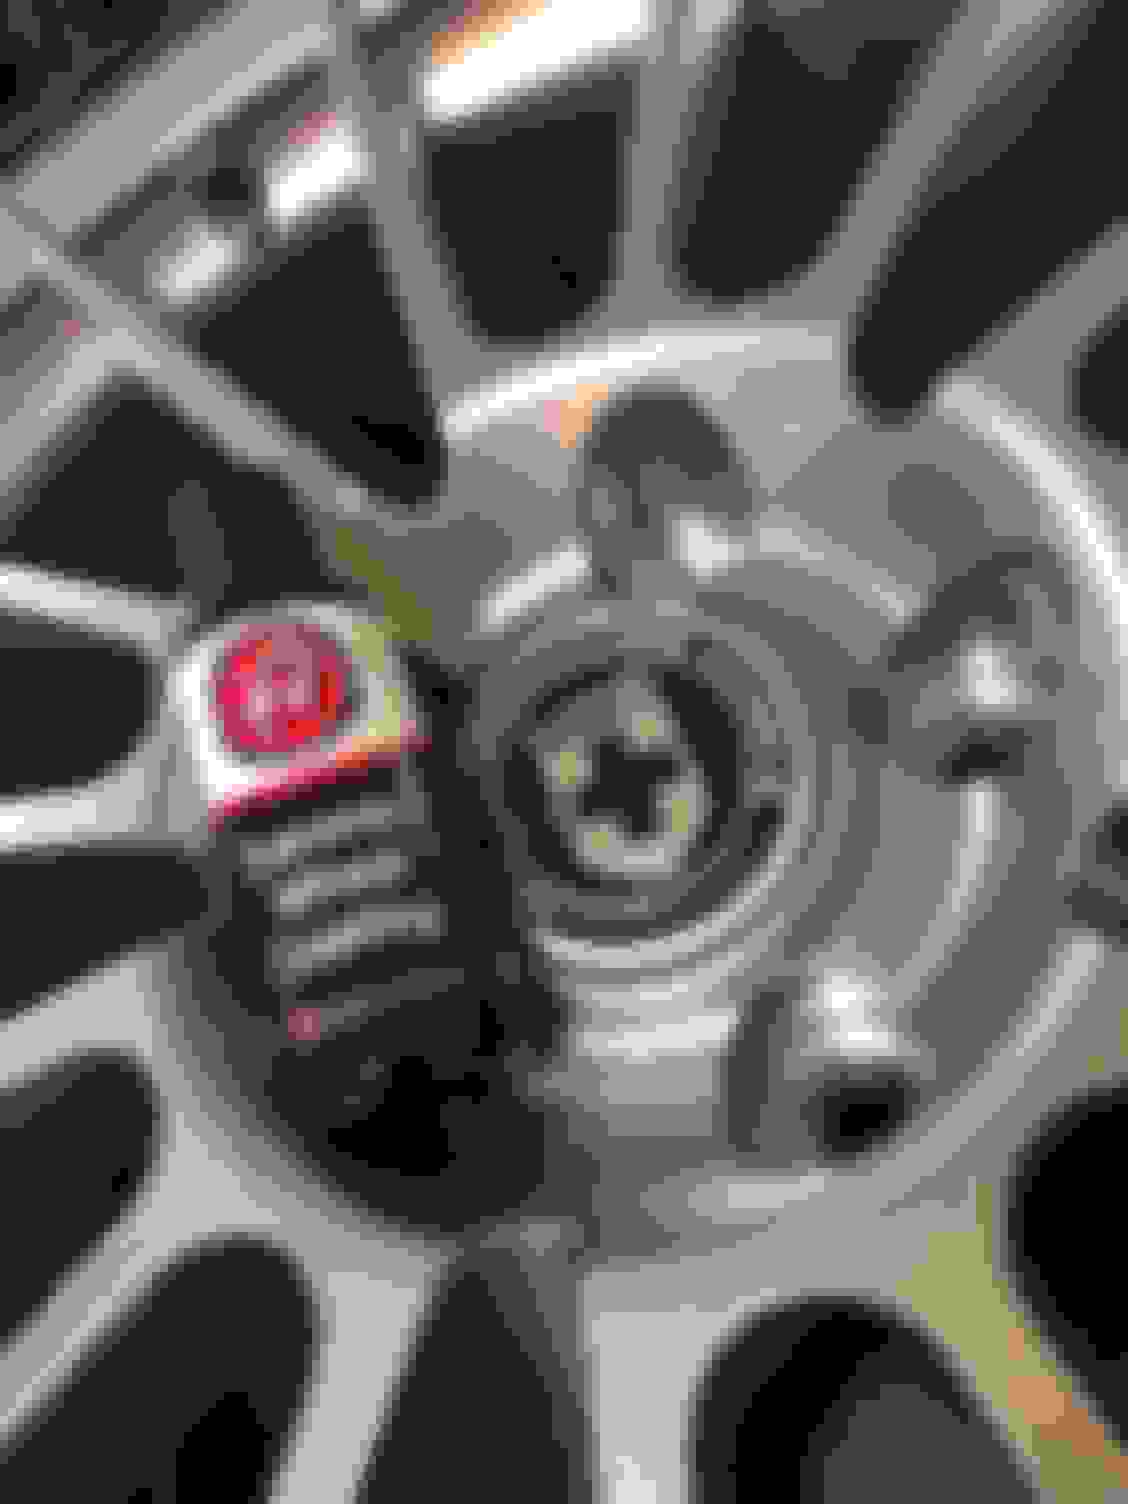
Verde wheels
Gloss black chrome wrap
JB speed spoiler
JBspeed has incredibly quick shipping and the product fit great. It is a carbon overlay on frp though and not a true carbon fibre part. For the price you can’t go wrong with this either.
The jolley rancher red wheels were becoming a little to loud for my tastes. I already have a green envy fiesta ST for track days so I needed to find something more subtle. I was really leaning towards a set of forgestar F14’s but Black Friday came around and HRE had a killer deal on the FF15’s so I couldn’t pass that up. I had a spare set of pilot cup 2’s for the front laying around and ordered a pair of the pilot sport 4S for the rear in the HRE recommended 235/35/19 and 255/30/19. I also decided to ceramic coat the wheels with the Adams wheel ceramic kit as cleaning and maintaining a 15 spoke wheel doesn’t sound like a good time. Went on pretty similar to any ceramic and doing it while the wheels were already off the car was way easier to get all the surfaces.
Some pictures installed on the car
I think the fitment is okay. The rear is really good but the front might need a spacer to push the wheels out just a little bit.
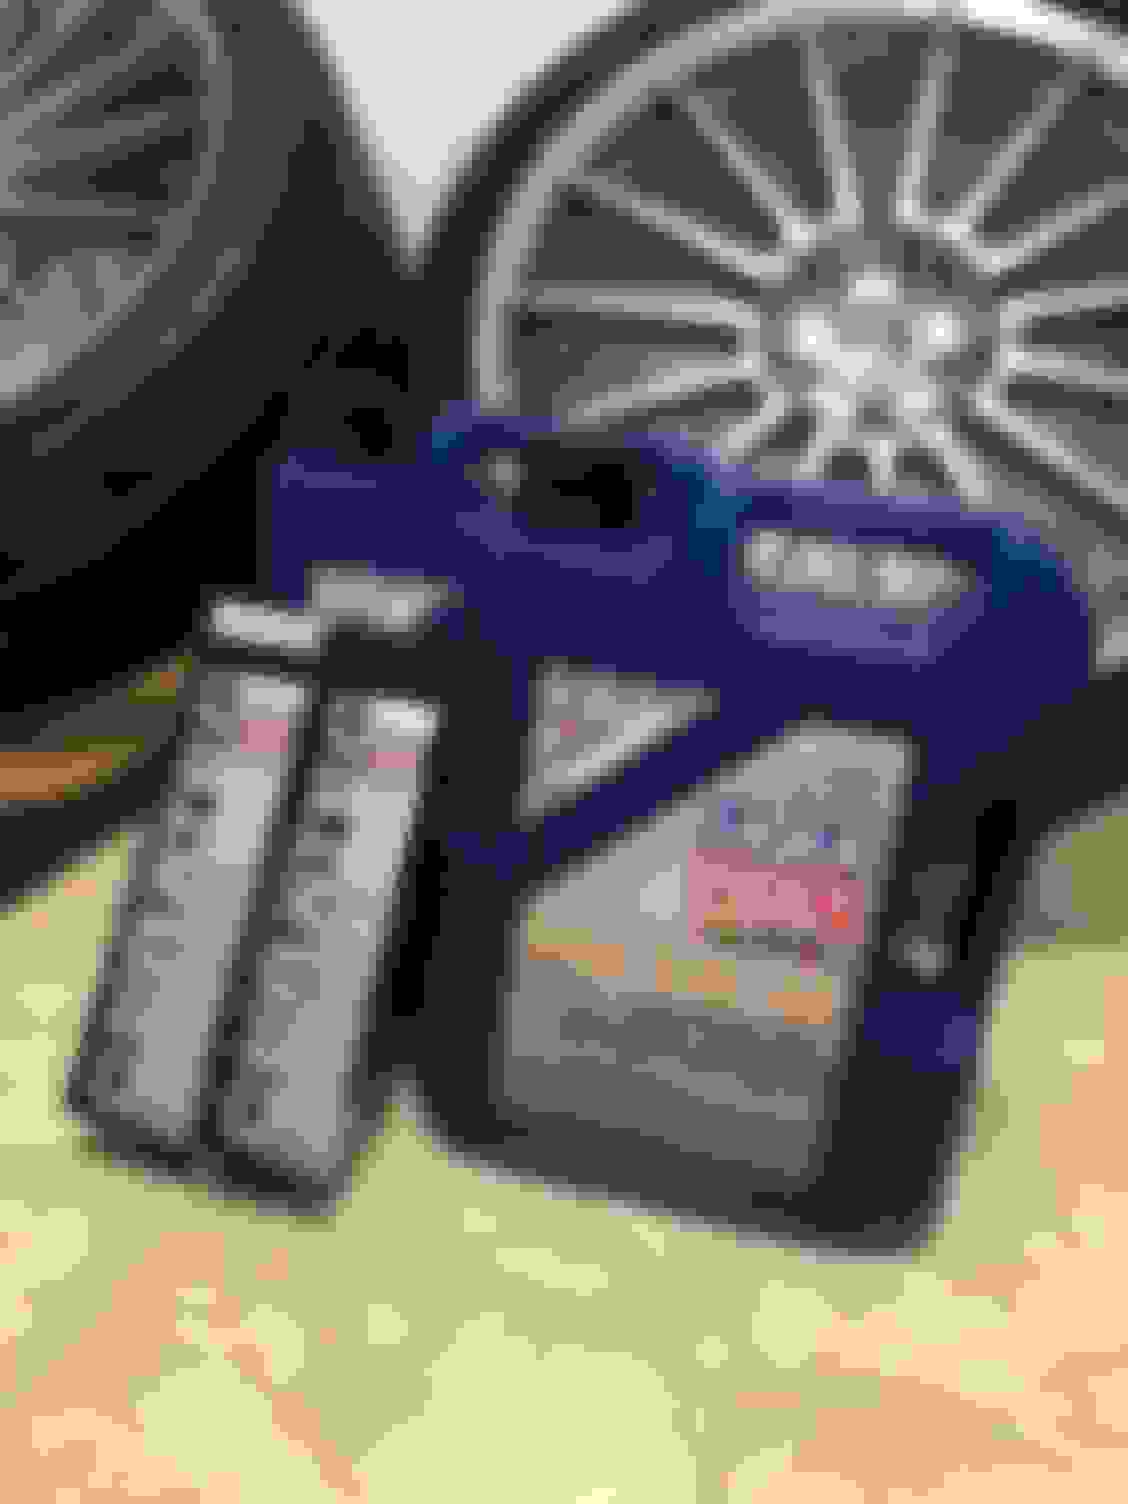
From my lurking on on the forums I decided to go with the liqui moly 5w-40 and try out the ceratec treatment. My cars always had some ticking on startup, not as bad as some of the videos posted but I figured it couldn’t hurt.
RW carbon big fin diffuser for the rear
Before
During
After
The carbon weave weave on this piece is really nice. The install wasn’t terrible but it was more involved then I would have expected to make it fit properly. The DIY I found on the forum must have been for a pre facelift as there were some differences. The ‘torx’ screw on the bottom of the bumper by the exhaust tips was a rivet and the center bumper bracket supports were clip in style to the diffuser. Drilled the rivets, drilled some holes in the bumper supports and used new hardware to secure everything. The tab area on the RW carbon diffuser had excessive resin that had to be grinded/sanded away to make everything snap in properly. Once that was all sorted though it fit nicely and isn’t going to come flying off.
I was thinking about doing an RW front lip but now I’m somewhat on the fence about that.
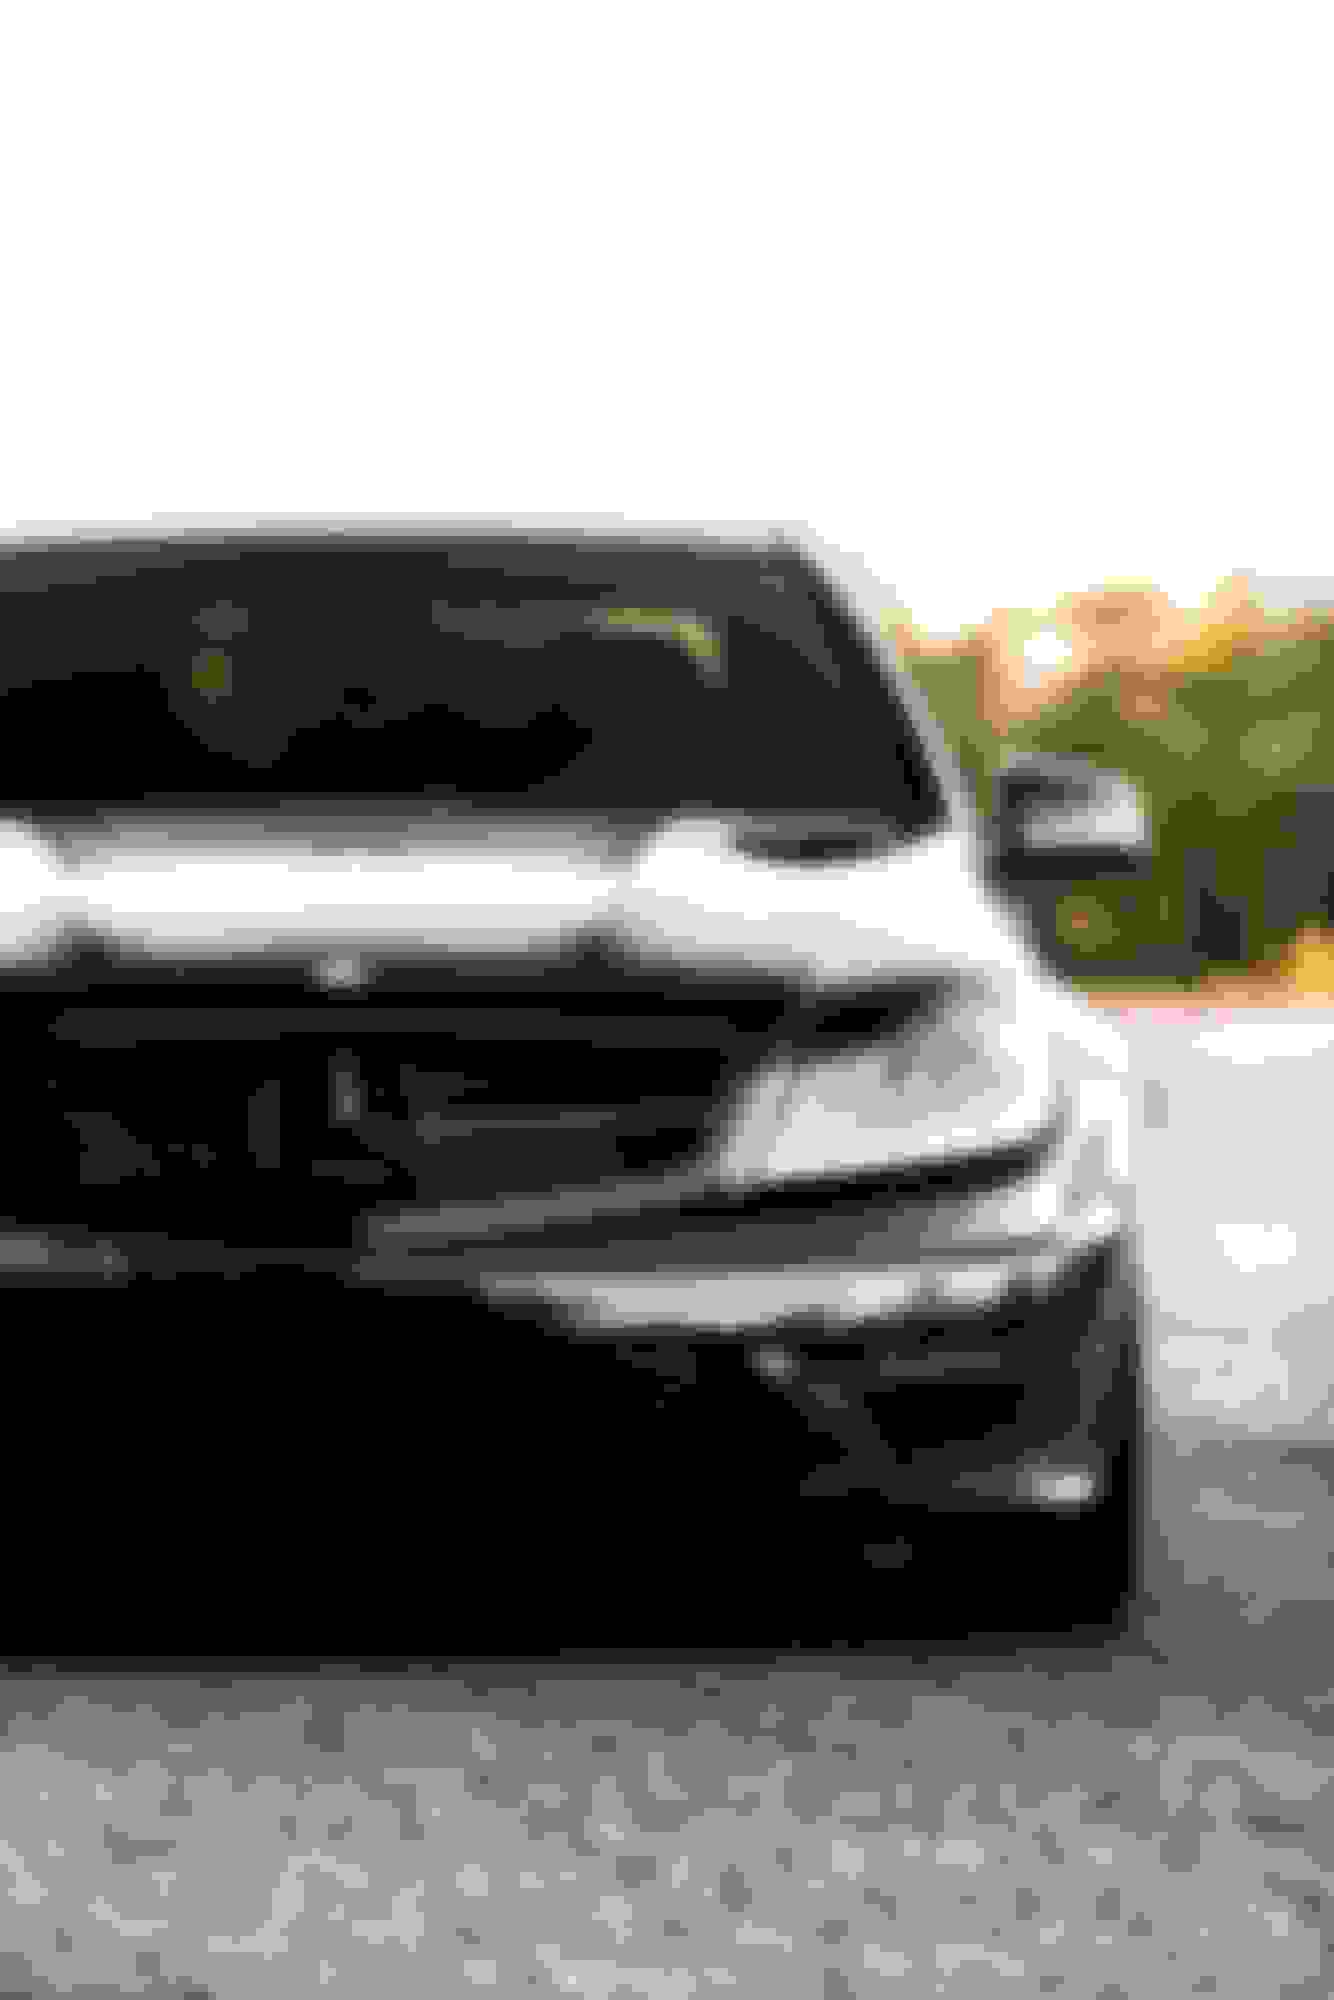
I’m trying to do the air block off plate mod. Does anyone have any tips on how to remove the plastic radiator cover that sits above the grill? The grill is push in and pull up correct? Picture for reference
Take off the snorkles. Then at the back corners of the plastic radiator panel it should look like it clips on. Just kind of pull up there. They should just pop off. Or maybe check youtube. I'm too lazy to look for a video for you. Sorry.
To remove the plate, take off the intake snorkles, turn the little screw tab in the front middle to unlock the cover. Then you will have 2 tabs at the back on each side. Remove the hoses from those, and pull up firmly on them. Just be careful, I did this in a cold garage and broke one of them off.
Then you can grab the plate by the remaining 2 tabs in the middle on each side and pull towards yourself and upwards.
The Grill is easy to get off once you remove the radiator cover. You just need a 10mm socket to take off the bracket in the middle. Then you just push in on the bottom of the grill starting at the middle and moving to the sides. Once all the tabs are released it comes right out.


 03-17-2019, 09:08 PM