When you click on links to various merchants on this site and make a purchase, this can result in this site earning a commission. Affiliate programs and affiliations include, but are not limited to, the eBay Partner Network.
So wayyyy back on January I had a low coolant light come on.
some coolant was leaking out of a radiator hose so I had the car towed to one shop were they were unable to get to the car any time soon so it went to the current shop. That brings us up to now. I�m getting an invoice next week to have the car put back together and put on a tow truck to bring it back to me. I went to the shop today to hopefully get some more pictures but the car was unavailable.
Some more information is that according to him Exhaust Cams look worse than the Intakes.
I have already ordered the cam lock tool. Are there any other special tools I might need? Also is head porting worth it? Just curious since I will already have the heads off.
12 C63BS Magno Alanite Grey, 22 X3M Brooklyn Grey, 08 BMW E93, 22 Ducati Desert Sled, John Deere 3R
You asked about tools, cam locking tool you will need, there is also a tool to remove the special pin for the cam guide rail you need to remove to get the heads off.
if you are attempting this yourself, read everything on this forum about doing it and all of the videos on you tube by taso’s at gulf performance.
the biggest challenge you may have is that once the head bolt head breaks off, you then have to clear the bolt to get the head off and room is limited with the engine in the car. Passenger side has more room than drivers side but more may break if some already have. Someone can probably chime in on if there is enough room to get the heads off with broken bolts while in the car or how hard it might be to try to extract the broken bolt with the head still om.
12 C63BS Magno Alanite Grey, 22 X3M Brooklyn Grey, 08 BMW E93, 22 Ducati Desert Sled, John Deere 3R
Originally Posted by Vladds
Are two cam kits needed, to lock both heads up at the same time?
No, it is nice to have 2 so you can do them both at the same time, but not necessary, you can do one at a time with one set, best to triple check between sides though that nothing moved when you did the first side. When I did mine, the dealer had done the Cam Adjusters a few months before and when I test fit the tool before taking anything apart to do the cams, one side locked with the crank in the right position, the other side would not and was about 15 degrees out of time, so when the dealer did it they moved the crank a little between sides. Car ran fine like that but felt better after both sides timed properly. 2 tools would eliminate any error but really not necessary.
I have also posted this a few other times, but a word of warning, it took me a few tries from Amazon to get a tool that wasn't junk. First tool the rear locking bar that fits in the rear slots in the cams was far from straight, had a very nice curve to it, really bad, so returned it (it had a black front plate to position the tool). Second one was the one with the red front plate and the cam bridge tool that locks the cams near the front would not fit on - it was machined incorrectly and would not fit over both cams at the same time, I ended up just machining it a tiny bit to get it to fit. So warning is check out the tool and before you dig in make sure you can get the tool on as the car is before you start in case you have to order a different one (or buy the real one if you want to spend the extra money).
Last edited by roadkillrob; 06-26-2021 at 02:34 PM.
No, it is nice to have 2 so you can do them both at the same time, but not necessary, you can do one at a time with one set, best to triple check between sides though that nothing moved when you did the first side. When I did mine, the dealer had done the Cam Adjusters a few months before and when I test fit the tool before taking anything apart to do the cams, one side locked with the crank in the right position, the other side would not and was about 15 degrees out of time, so when the dealer did it they moved the crank a little between sides. Car ran fine like that but felt better after both sides timed properly. 2 tools would eliminate any error but really not necessary.
I have also posted this a few other times, but a word of warning, it took me a few tries from Amazon to get a tool that wasn't junk. First tool the rear locking bar that fits in the rear slots in the cams was far from straight, had a very nice curve to it, really bad, so returned it (it had a black front plate to position the tool). Second one was the one with the red front plate and the cam bridge tool that locks the cams near the front would not fit on - it was machined incorrectly and would not fit over both cams at the same time, I ended up just machining it a tiny bit to get it to fit. So warning is check out the tool and before you dig in make sure you can get the tool on as the car is before you start in case you have to order a different one (or buy the real one if you want to spend the extra money).
I ordered the Red one from Amazon is there a different one I should buy?
12 C63BS Magno Alanite Grey, 22 X3M Brooklyn Grey, 08 BMW E93, 22 Ducati Desert Sled, John Deere 3R
Originally Posted by Xavier Smith II
I ordered the Red one from Amazon is there a different one I should buy?
just try it and make sure it all fits there are 100 different ones on Amazon most people have no issues i just had bad luck. Only other option is the real one from fcp for $300 or so
And once you get to the bolts, people do bolt by and start from the middle, using the sequence as if you do head gasket.
The torquing, you do for every bolt all the stages in one shot, right ?
I had read something about putting some silicone sealant on the new bolts and saw in a video someone saying that the new bolts have silicone under their heads.
Should probably drain the coolant from the block drain plugs, but then the alternator has to come out, right?
How many had vapor smoke come out for a while, like sea foam, when they restarted at first ?
And at the end you have to do Xentry cam teach in, right ?
12 C63BS Magno Alanite Grey, 22 X3M Brooklyn Grey, 08 BMW E93, 22 Ducati Desert Sled, John Deere 3R
Originally Posted by Xavier Smith II
So do I need to mark up the cams or can I just have Xentry do it?
You just use the cam alignment tool to set timing correctly and then you can run the car but you should run the cam teaching program in Xentry to have it learn the position perfectly.
This is the tool you need to ensure cams are installed correctly
You just use the cam alignment tool to set timing correctly and then you can run the car but you should run the cam teaching program in Xentry to have it learn the position perfectly.
12 C63BS Magno Alanite Grey, 22 X3M Brooklyn Grey, 08 BMW E93, 22 Ducati Desert Sled, John Deere 3R
Originally Posted by roadkillrob
You just use the cam alignment tool to set timing correctly and then you can run the car but you should run the cam teaching program in Xentry to have it learn the position perfectly.
I don't have Xentry, so I just did mine and drove it over to the dealer and had them run the cam teaching program, others have never done it and not reported issues, but for 30 minutes labor figured it was best to have it done.
Some advanced scanners are capable of camshaft position teach-in. I am using Foxwell NT 530. I drove the car for some time before the teach-in process, and it ran fine but I would always do it after repairs.
I have not done this work yet and am gathering some information at this time.
What I do know is that back in the day, after doing headgaskets on my Maserati Biturbo, even though it had all the coolant drained and sat like that for more than a week, when everything was done and the car was buttoned up, upon the first restart, the "seafoam effect" happened.
At that time, I called an professional mechanic friend and was told that in headgasket work, it is normal for steam to come out of the exhaust, because of leftover coolant.
Now, the first board member that did and documented the bolt-by-bolt procedure here, who since has sold his car, I seem to recall that he also mentioned an amount of steam coming out of the exhaust.
This doesn't really bother me too much, but neighborhood-wise, I want to know if there's a possibility that I'm going to "seafoam" the neighborhood, with my steam.
You shouldn�t get any coolant into the cylinders going the bolt by bolt replacement method. If you do it means the gasket has been compromised and now will need to come off abs be replaced more than likely
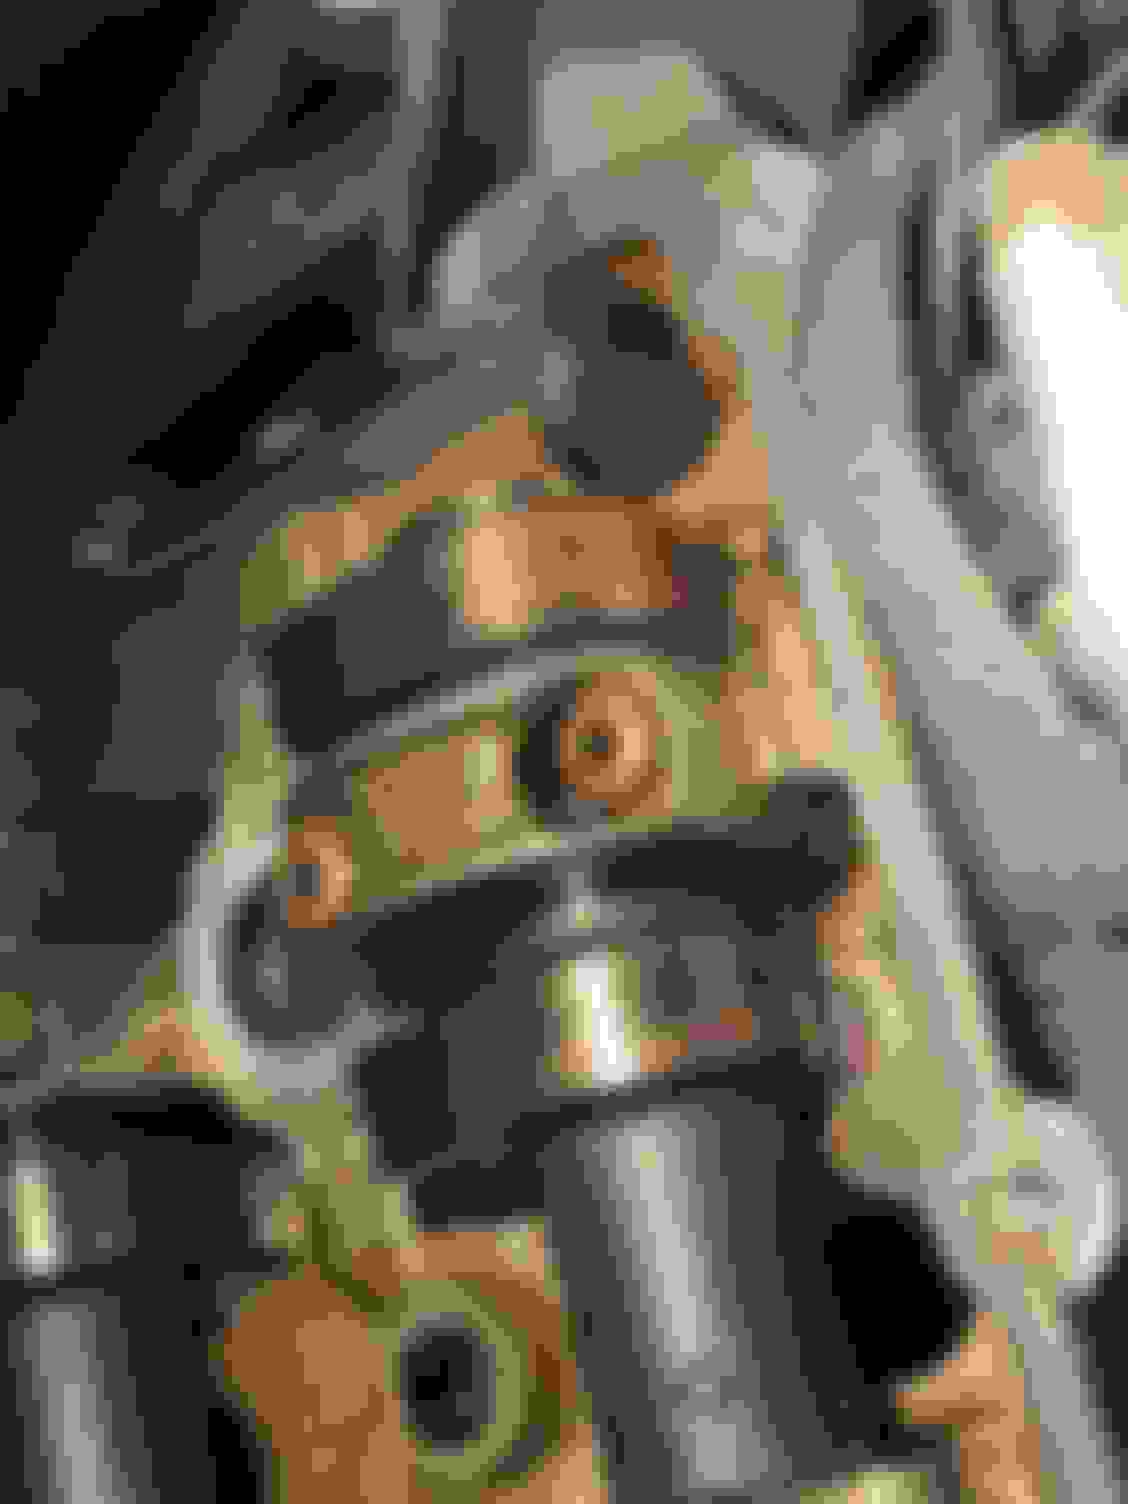
Theres this stuff I don�t think it�s rust because it�s not chalky like rust and it�s only on this cam lobe. I am going to be pulling the Cam caps today to inspect the journals.


 06-25-2021, 07:03 PM