When you click on links to various merchants on this site and make a purchase, this can result in this site earning a commission. Affiliate programs and affiliations include, but are not limited to, the eBay Partner Network.
I recently installed an aftermarket Android screen into my Mercedes A-Class 250 Sport. It took me a couple of nights to install it, first because it's one of my first installations I've done on my car, and secondly the instruction on how to install it was useless. So, I wanted to share my learnings if some of you guys want to install it yourself.
But please be adviced that installing the screen is at your own risk, I'm in no way a certified mechanic or professional.
First of all I want to give a huge thanks to aznmode and his description on how to install it in the W204. That helped me a lot and he also gives some nice pointers on how to tweak the factory android installed on the device. https://mbworld.org/forums/c-class-w...reen-unit.html
Tools needed.
Some cable.
Bits screwdriver.
Electrical insolation tape.
Prying tool or similar.
Cable ties.
Removing the 5” stock screen
First you need to get access to the screws holding the screen in place. You can get access to the screws without removing the rubber cover. It’s difficult to see but the rubber protection can be removed be prying it out beneath the screw mounting.
The easy way I found was to carefully to pry the rubber aside and get access to the screw.
Be careful here because you can easily tear it off.
When you have taken the screws out carefully wriggle the screen lose and pull upwards. Unplug the two cables attached to the screen.
Remove the front mounting it’s fastened by a spring mechanism so pry it loose with you prying tool.
Remove the inner cover by removing the 3 screws holding it in place.
Removing the air vents
Now this is where I ran into my first challenge. The instruction and most youtube videos out there shows that you can very easily remove the vents with a pry off tool. In my car they were just stuck it took me two hours and trembling hands and sore fingers until I found a solution.
The air vents are fastened by a spring mechanism, so they are not fastened in any other way. I just had to use pure strength to get them out and that was the scary part.
How to remove the air vents.
Take an electrical cord or something similar and stick it into the air vent pass it through until you pass the plastic cross section. Then pass the cord/wire out again going under one of the plastic sections.
That way you have something to grab and pull. I used two wires for the top and bottom just make the pull force even.
Make sure that you fasten the cord all the way back in the air vent and don’t fasten it to the fan or you will pull that out and break the air vent.
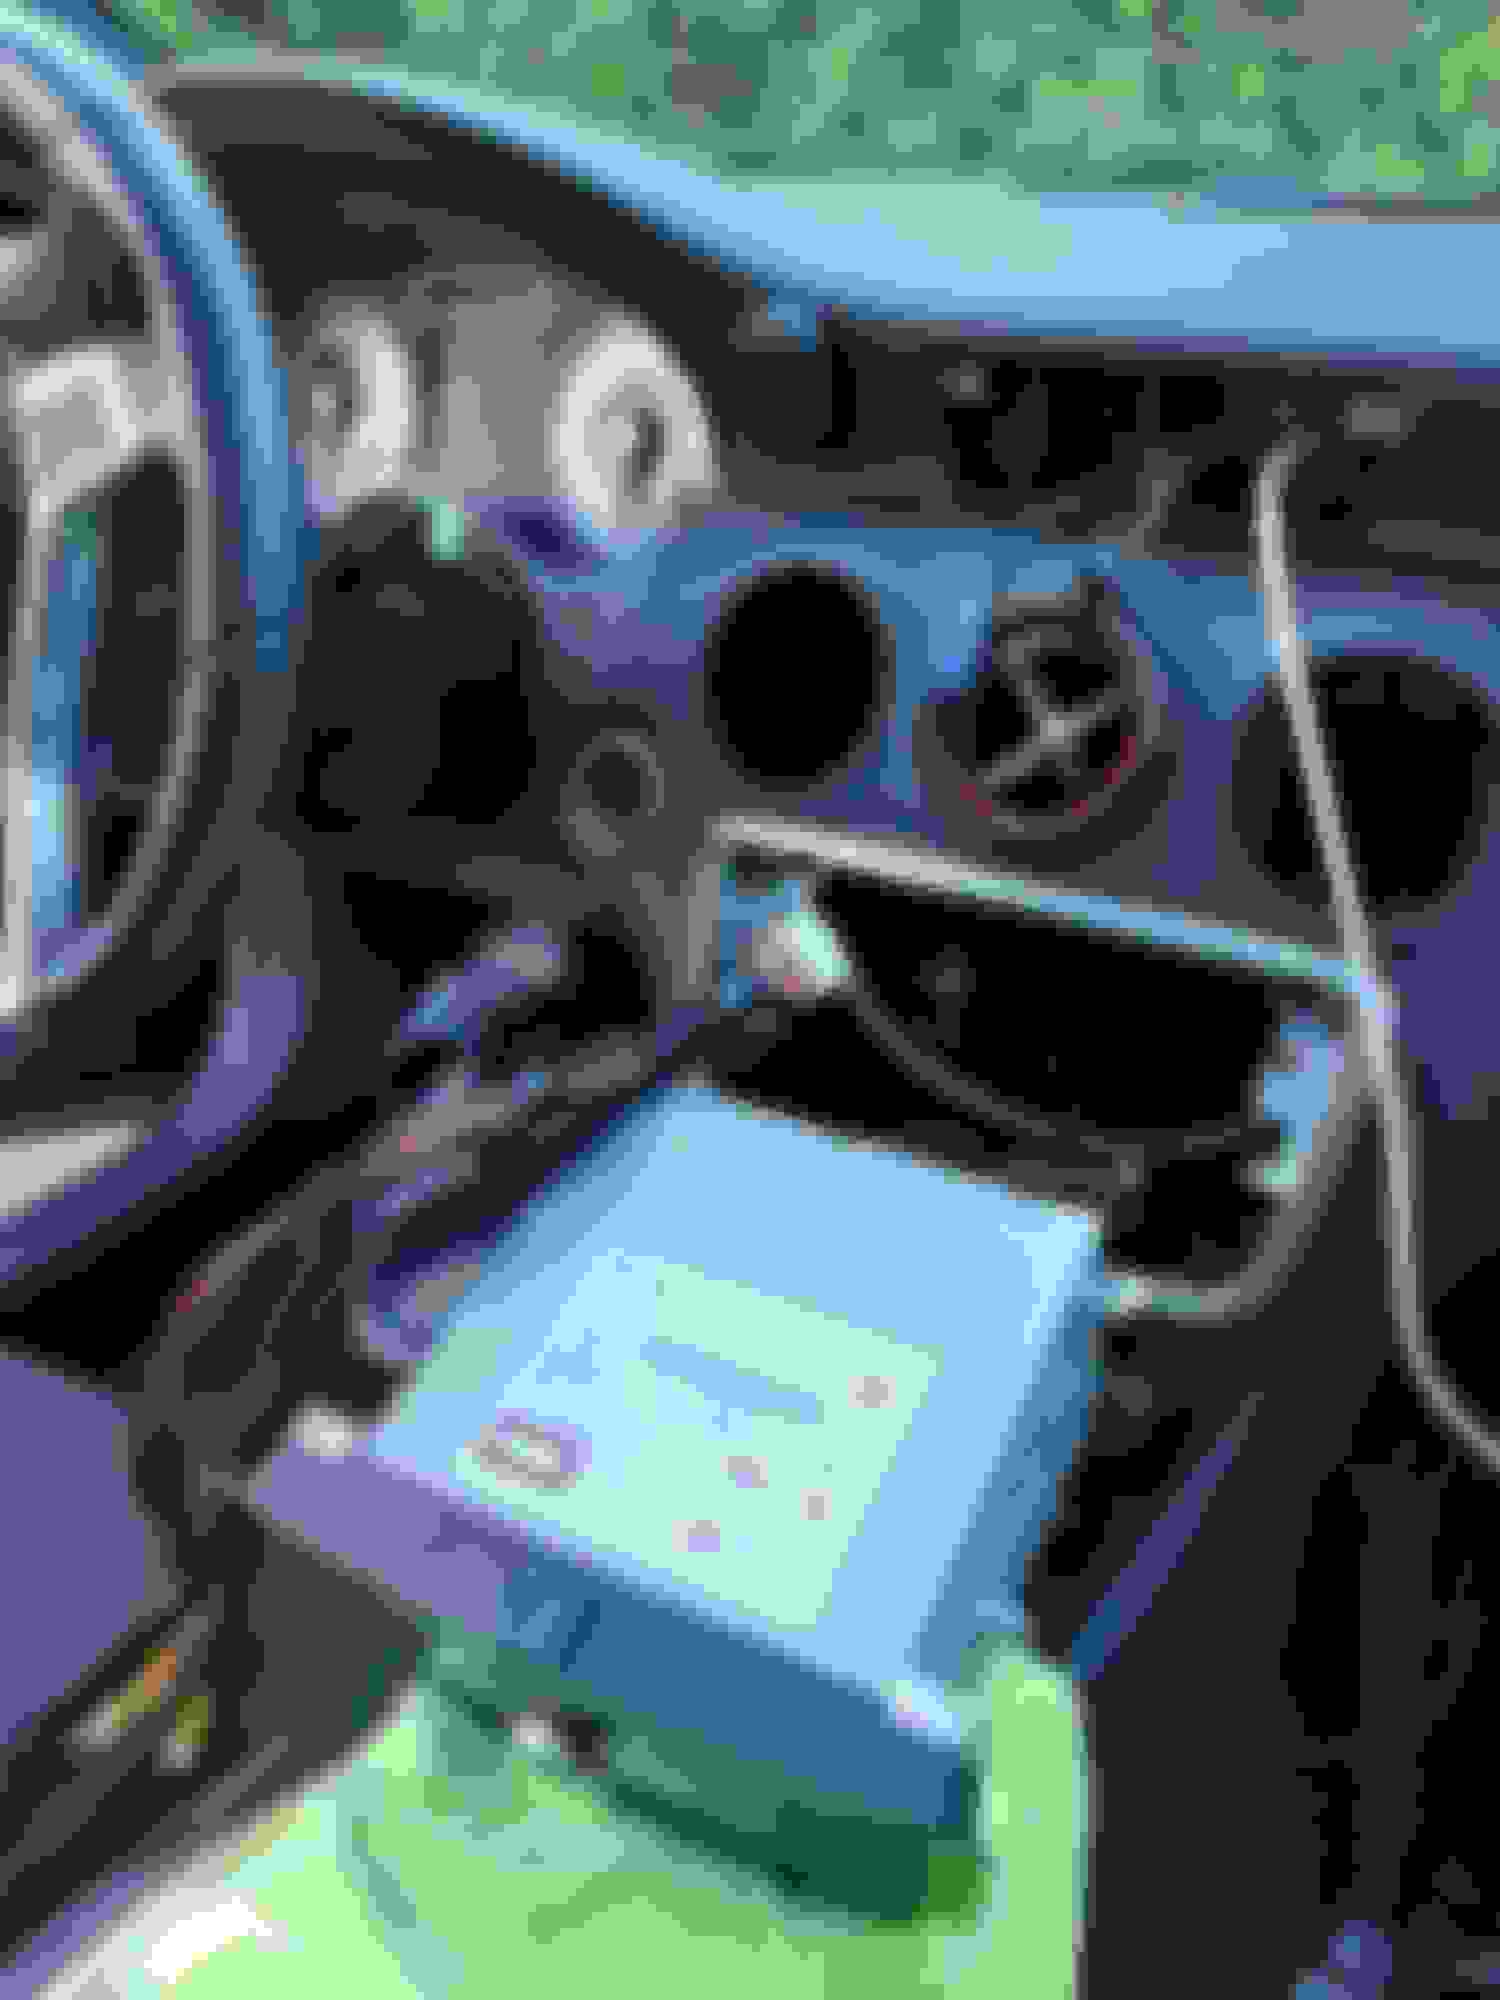
Removing the Command module / Radio unit
After the middle left and middle right vents has been removed you can get access to the screws hold the command module in place.
Loosen the screws, you don’t have to take them out, and pull on the mechanism holding the Command unit in place. Carefully pull out the command unit.
Installing the new cables and wiring
Now remove the original big black plug from the Command unit. Here you must consult the quick start guide you get from you supplier, because you may have to move a fiber cable if you have one installed.
When you have attached the new cable to the command unit and attached the old cable to the new one you need to pull the power cable from the Command unit area up to the screen mounting area.
The easiest way I found was to use a cord/wire and guide to from the screen area right side and down to the command unit right side. Then I use the cable ties to fasten the power cord to the wire. That way I could pull the power cord up to the screen area.
A tip here is to wrap all lose wires with the electrical insolation tape, so they don’t rattle or get stuck when you try to pull the cable up though the interior.
Attach the supplied cable that fits the round blue cable ending in the screen area. On this cable there is a USB cable that is a really good idea to expose some where in your car for later updates or just to use for charging you phone.
I pulled the USB cable down by the glovebox. Again, I used my cord/wire trick to pull the USB cable through.
Testing
Before you put everything back together attach your Carsara Android screen and see that everything is working. Check that you get a signal from the original Command unit. And consult the quick start guide to see that you get the correct system information. I did not have to change anything it worked out of the box. But you may need to change the A/B cable and the screen fix size. Just check you quick start guide.
When you are confident all is working you can detach the screen again and start assembling everything.
Assembling the Command Unit
This was the most frustrating part for me it took me over and hour and some beat up arms and hands to figure out where to put all that new cable that needed to fit inside the Command unit compartment.
But I finally was able to fit the black plug and cables in the middle down section. There is hole there big enough.
If anyone knows how to remove the side panel down by the glove box I believe it would make this task so much easier.
Screen unit/ Air vents
Insert the air vents look for the description top on them and push them in.
Attach the gps cable to the screen and put the cord inside the screen mounting compartment. I at first put the gps receiver inside that compartment but the reception was really bad, so I had to mount it just behind the screen on the dashboard.
Pull the power and data cord through the mounting pieces and attach them to the dashboard. Now attach and mount the screen.
I know this post i almost a year old, but im in the situation of having trouble fitting the command unit back in. Its missing a little space to go back in.
i�m attempting this now myself and cant for the life of me remove the air vents. I have tried this exact method yet my vents did not budge. I have therefore gone for the instrument cluster removal tool not to sure if they will help. Reckon you could put up a video? Would be useful to compare the pressure your applying as i do believe i am on the verge of breaking mine
i�m attempting this now myself and cant for the life of me remove the air vents. I have tried this exact method yet my vents did not budge. I have therefore gone for the instrument cluster removal tool not to sure if they will help. Reckon you could put up a video? Would be useful to compare the pressure your applying as i do believe i am on the verge of breaking mine
You need a tool to remove the airvents, Will get the partnumber and post a picture of the tool tomorrow when I get home
Sorry for the late respons, but here is a picture of the tool needed. You insert it at the buttom of the airvents and pull, if you look with a light there is a hole you can get it through
Just got mine and it really was frustrating to shove all those wiring behind the original NTG. I skipped the Mic and antennas because I can get clear signal even without those.
I can' hear any audio but according to the guide I should connect it either via Aux, Bluetooth or USB to get sounds. I'll be trying it later
Fixed it, set it on Aux Video and it sounds great! Problem is my TV is not available anymore
There are built-in apps that can show RPM and Speed and all AC info etc. but the speedo/taco is laggy, is there any other app that can detect signals coming from the car itself without OBD?
Mercedes SLR McLaren 722 S Is Extremely Rare Example Modified by McLaren
Slideshow: A one-of-one U.S.-spec Mercedes-Benz SLR McLaren Roadster became even rarer after a factory-backed transformation at McLaren's headquarters.