When you click on links to various merchants on this site and make a purchase, this can result in this site earning a commission. Affiliate programs and affiliations include, but are not limited to, the eBay Partner Network.
This seams (pun intended) to be a common problem with our tops. I had a separation of about an inch that then tapered away from the hole for a total about about 10 inches. After researching and talking to various adhesive manufacturers I was guided to something called s-18. It is a neoprene cement so it stays flexible and it is recommended for a wide array of jobs including bonding canvas to itself.
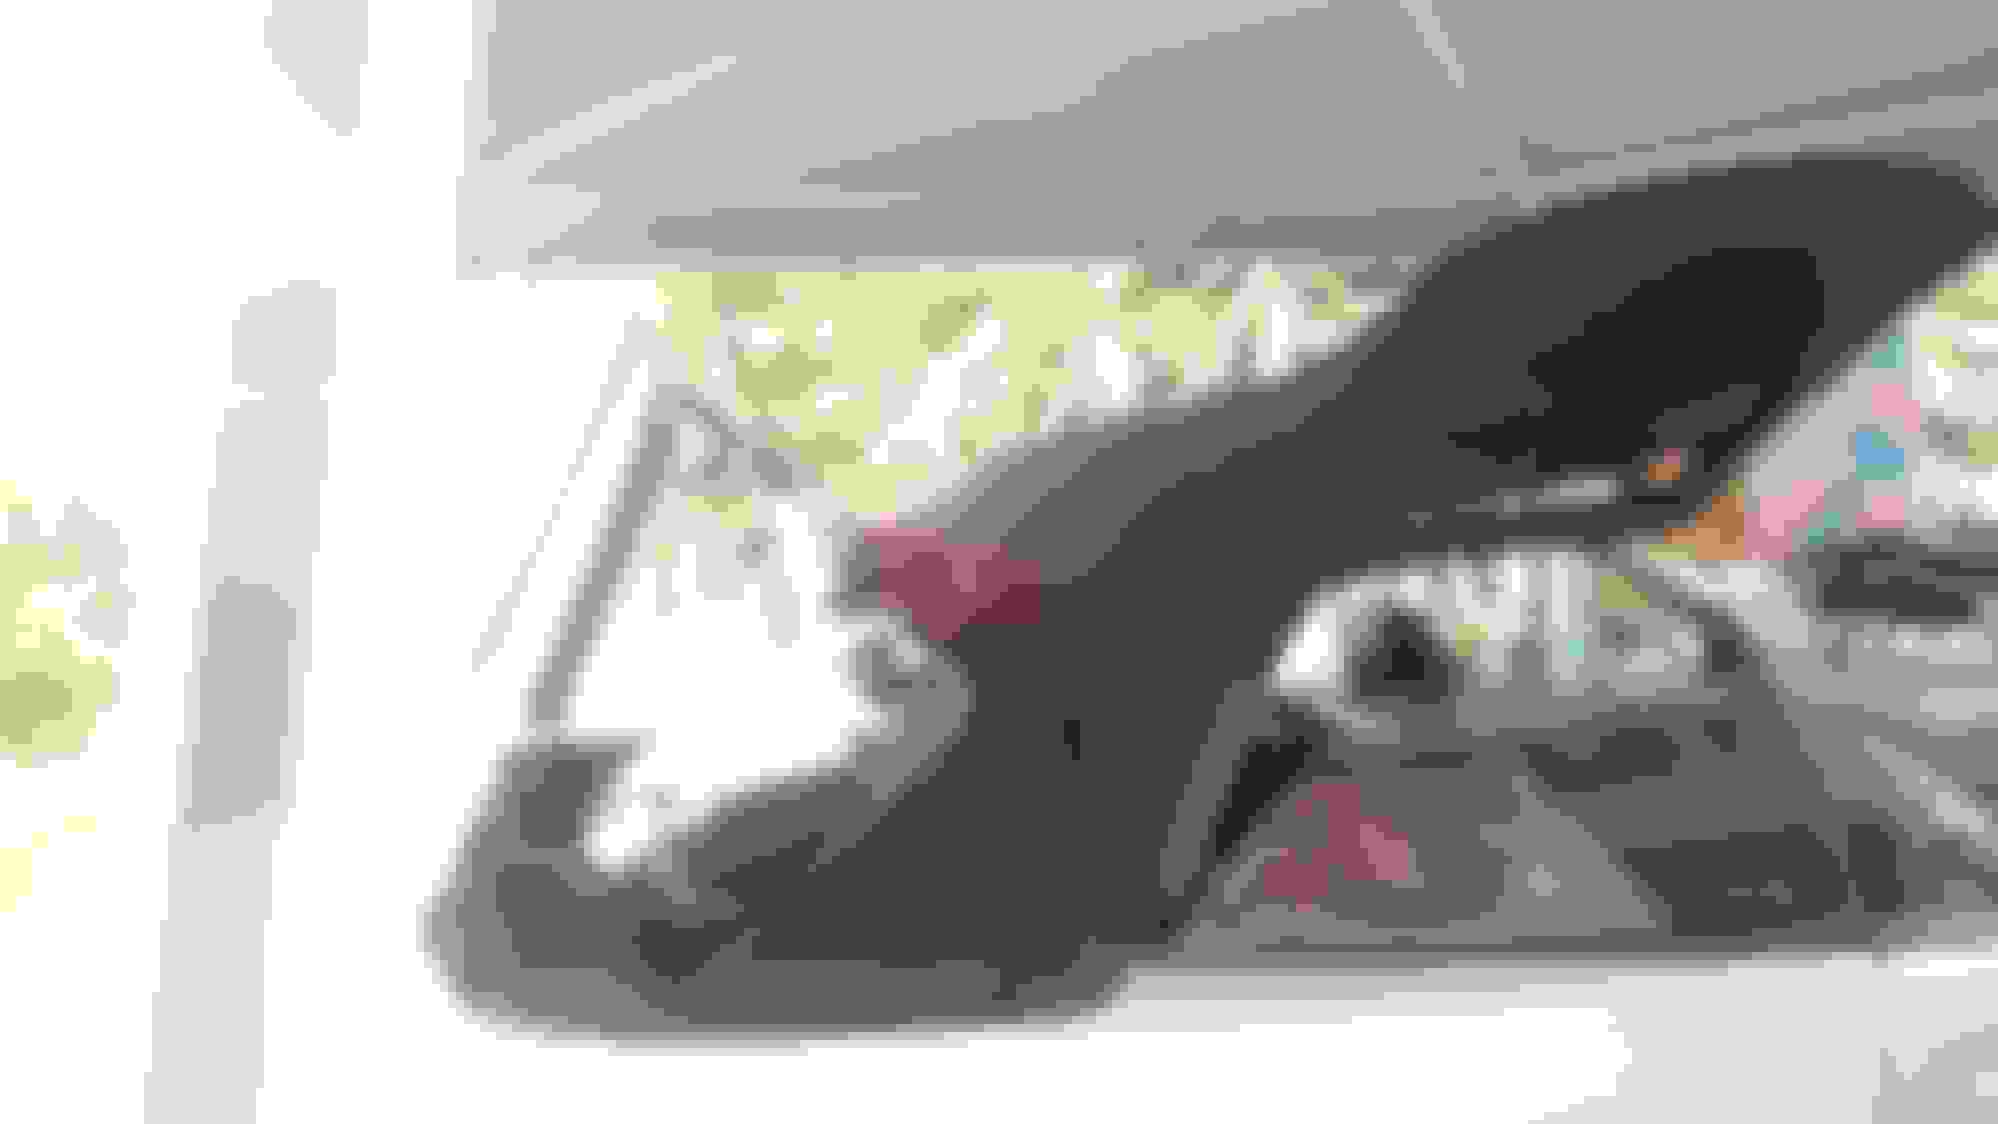
I opened the top to a vertical position to take the stress off of the material. I cleaned the area well with alcohol. In retrospect I probably should have tried to scrape any remnants of the original adhesive... hindsight being 20-20 and all.
I taped off the seem using duct tape. Regular painter's tape would not adhere well enough. It is a contact type cement so I applied it to both sided of the seam and let it dry for 15 minutes. I then carefully mated the surfaces and clamped it up. I let it cure for a couple hours then unclamped it.
I had spread the cement a little to far to the outside of the seam so you can see the white of the cement a bit, but I used a permanent black magic marker to shade it in. You really can't see it unless you really look for it. Now comes the test of time. Hopefully this will solve the problem. I will report as time goes by.
Where did you buy S-18? As far as clamping, I guess I could go look, but is the top loose enough from the frame once you raise it part way that you can pull the seam out flat to clamp it? What did you clamp it with?
As far as clamping, yes with the top half open (forgot to mention I cut a length of wood to prop it in the upright position) I was able to clamp it and also to work my hand in behind the top so I could push from the inside as I was attaching the 2 sides. I used 4 small spring clamps lined up right next to each other on the outside along the seam.
I repaired mine with Goop Boot & Glove adhesive. It's holding, but it made a mess, even with tape, so it doesn't look too good. I also tried using a marker and paint to hid my mistakes, but that doesn't last. Overall, my top is really showing its 9+ year age. There are a lot of shiny "rub spots" on it where it sits folded in the trunk. There are also a small near holes in it for m road debris. I intend to replace it. I can buy a replacement OEM Haartz canvas for around $800 so I'll make this a good winter weekend project.
Just wanting an update on the repair using S-18. Did it hold?
It held for about 6-8 months then came apart. I finally just found a car upholstery shop and they put a seam in it. It cost about $300 for them to partially remove the top and sew and glue it but well worth it. I then cleaned and treated it with Ragtop and it looks like new.
$300 for that repair is a bargain! I replaced the entire canvas on my CLK and it was a two (long) day job. The bulk of the work on the canvas is around the back glass, but still, getting from the front to the seam is still 20% of the work, so what they did was easily a 5-6 hour job.
As I mentioned, mine held for months wit the Goop contact adhesive. I did make a bit of a mess, but it cleaned mostly using a small wire brush to gently remove the excess adhesive. The problem, though, was that there is also an inner layer of adhesive that you can't access from outside. The trailing edge of the front section of the canvas is folded under itself and glued, then that is glued on top of the leading edge of the rear section of canvas. Here's a cross-section diagram showing this:
It's that top "GLUE" section you can't get to without going underneath the canvas. What happens is that internal adhesive also pulls loose, and then you end up with a seam like this cross section:
The green GLUE is your new adhesive applied from outside, and the brown is the separated old adhesive on the inside.
If your canvas is in otherwise good condition, I'd recommend removing it enough to fold it back to the seam and then work from the inside. You'd still glue both parts of the seam, but before using adhesive on that internal folded seam on the front section trailing edge, you'd stitch the sections together, like in this cross section:
So apply adhesive to the edges of the two sections (the green GLUE), and then stitch. Once that is set, then apply the adhesive in the blue GLUE area and fold the front section over to create that nice rear-facing crease.
I'm having the same issue Near Houston Texas. The back is separated (on an '08 clk350) about an inch our so and i can't decide on whether to do the job myself or pay to have it done. I was quoted $6500 at the dealership and laughed the entire way out.... I would love any info on where to take it in the area.
I can't recommend a shop in Houston, but I checked the Robbin's site (http://www.robbinsautotopco.com) and looked for authorized dealers in your area. They list one in Houston and one in College Station Robbin's is the leading maker of aftermarket convertible tops. I replaced my entire canvas with theirs and was very happy with it. If your canvas is in otherwise good condition, you might just consider havign the seem fixed. In my case, I had some fabric deterioration and shiny spots on my canvas so I chose to replace it.
It held for about 6-8 months then came apart. I finally just found a car upholstery shop and they put a seam in it. It cost about $300 for them to partially remove the top and sew and glue it but well worth it. I then cleaned and treated it with Ragtop and it looks like new.
Can you tell me where you got it repaired? I'm desperate
I WANTED TO CONTRIBUTE TO THE CONVERSATION BECAUSE I HAVE AN '08 CLK350 WITH THE SAME ISSUE. IN THIS FLORIDA HEAT AND HUMIDITY MY TOP BEGAN TO SEPARATE AT THE MAIN REAR SEAM ABOVE THE REAR WINDOW AT THE TWO CURVES...THEN THE WHOLE THING OPENED UP. I DID TRY SOME GLUES BUT IT LOOKED NASTY. THEN I READ THIS BLOG AND COMBINED EVERYONE'S SUGGESTIONS AND STORIES AND DID THIS. I BOUGHT SOME GLUE AND CURVED NEEDLES AT WALMART...THE ADHISIVE IS FOR FABRIC, PERMANENT AND WASHABLE, OR AT LEAST THAT IS WHAT IT SAYS. THE APPLICATION BOTTLE HAS A NICE NOZZLE THAT U SNIP WITH A PAIR OF SCISSORS AND TINY TO FIT IN THE SEAM AND YET SECRETES A GENEROUS AMOUNT OF ADHESIVE (PIC) $3.74; NEEDLES: $2.74. NEEDLENOSE PLIERS, SCISSORS, RAG, AND I USED A HEAVY BLACK THREAD THAT I HAD A SPOOL OF FOR MINOR CLOTHING REPAIRS.
I TOOK AN ARMS LENGTH OF THREAD...ABT 3FT AND CUT IT OFF, FOLDED IT IN HALF AND TIED A SINGLE KNOT IN THE DBL THREAD END. HELD THAT END WITH MY RIGHT HAND AND SLID MY LEFT HAND ALONG THE THREAD TO THE LOOPED END AND FED THAT THRU THE NEEDLE, PULLED THE THREAD THRU HALFWAY SO I NOW HAD 4 STRANDS OF THREAD. I JOINED THOSE FOUR THREADS EVENLY HOLDING WITH MY RIGHT HAND AND TWISTING THREADS WITH MY LEFT AND THEN TYING A KNOT. YOU END WITH A STURDY THREADED NEEDLE OF ABT 12 INCHES.
I STARTED RIGHT IN THE MIDDLE OF MY SEAM ABOVE THE REAR WINDOW WITH THE TOP SLIGHTLY RAISED ABOVE THE WINDSHIELD AS OTHERS DID AND PROPPED IT WITH A PIECE OF WOOD. ON THE UPPER FOLDED SEAM I INSERTED THE NEEDLE THRU THE DBL MATERIAL JUST AT THE INSIDE BACK-EDGE OF THE FOLDED MATERIAL. HAD TO USE THE PLIERS TO PUSH AND PULL IT THRU, MOVING SLOWLY AS TO NOT TANGLE THE THREAD WHICH CAN HAPPEN EASILY. I THEN PUSHED THE NEEDLE BACK THRU THE MATERIAL JUST NEXT TO THE FIRST THREAD, PULLED IT THRU AND THEN INSERTED IT INTO THE LOWER LAYER OF MATERIAL AT THE OUTER EDGE OF THE SEAM WHERE YOU CAN SEE THE MANUFACTURERS OLD LINE OF ADHESIVE OR DISCOLORATION. I WANTED TO BE CERTAIN TO PULL THAT TOP MATERIAL DOWN AND SLIGHTLY OVER THE LOWER MATERIAL LINE. ALL THE TIME MAKING SURE THREAD IS NOT TWISTED OR KNOTTED. THE THREADS CAN BE SLIGHTLY LOOSE AT THIS POINT. THEN ONE MORE INSERTION THRU THE TOP FOLDED MATERIAL TOWARDS THE BACK OF THE MATERIAL AND CLOSE TO THE OTHER THREADS. ONCE AGAIN I DID NOT PULL VERY TIGHTLY ON THE NEEDLE AND THREAD BECAUSE NEXT I TOOK MY GLUE BOTTLE AND SQUEEZED IN SOME GLUE RIGHT AT THE STITCH AND ABT A QUARTER TO HALF INCH EITHER SIDE. TRY NOT TO TOUCH THE GLUE AT THIS POINT. CUT THE THREAD LEAVING ABT 6 INCHES OR MORE AND TIE A KNOT WITH THE HANGING THREAD. SEPARATE TWO THREADS FROM THE OTHER TWO AND NOW TIE THESE TWO TOGETHER INTO TWO NICE TIGHT KNOTS MAKING SURE THAT ALL THREADS ARE TIGHT AND LET THE THREAD HANG DOWN
THIS ESSENTIALLY IS KNOWN AS A "DART" IN SEWING. I THEN MOVED ABT 6-8 INCHES LEFT AND THEN RIGHT OF THAT DART AND REPEATED THIS PROCESS. EACH TIME I THREADED ANOTHER NEEDLE WITH A NEW PIECE OF THREAD. IN THE END I HAD ABT 6 OR 8 DARTS AND THE REST OF THE AREAS I SQUEEZED IN GLUE FOR NOW. I DID NOT THREAD THE NEEDLE INTO THE INNER LINER. THIS WAS ALL DONE THRU THE CANVAS TOP MATERIAL ONLY. AS I SQUEEZED IN GLUE INTO THE REMAINING AREAS, I LOWERED THE TOP TO ABOUT 4-6 INCHES FROM THE WINDSHIELD AND PLACED SOMETHING HEAVY ON EACH SPOT. SOMEONE SUGGESTED CLMPS WHICH I DID NOT HAVE NOR DID I COMPLETELY UNDESTAND HOW THEY CLAMPED THE HEAVY MATERIAL EVEN THO THE PICTURE WAS CLEAR AS TO HOW IT LOOKED.
AS IS TYPICAL FLORIDA WEATHER IT IS RAINING OUT AND WHEN IT STOPS LATER THIS EVENING I WILL TRIM THE HANGING THREADS, PROBABLY INSERT SOME ADDITIONAL ADHESIVE AND FROM WHAT I HAVE SEEN ALREADY IT LOOKS LIKE A FACTORY SEAM. I WILL TRY TO ADD SOME PICS WHEN I FINISH. ANY EXCESS ADHESIVE THAT SQUEEZED OUT WHILE WEIGHTING THE MATERIAL I JUST WIPED WITH THE RAG AND KEPT PRESSING IT BACK INTO THE OPENING.
I AM NOT AN ENGINEER, BUT THOSE AT MERCEDES SHOULD HAVE HAD THIS SEAM STITCHED AT THIS CRITICAL POINT OF STRESS ON THE ROOF BUT HEY....MAYBE IT WOULD HAVE LASTED ANOTHER 10 YEARS INSTEAD OF A FULL REPLACEMENT AT THIS JUNCTURE FOR THOSE WHO COULD AFFORD IT
I AM NOT AN ENGINEER, BUT THOSE AT MERCEDES SHOULD HAVE HAD THIS SEAM STITCHED AT THIS CRITICAL POINT OF STRESS ON THE ROOF BUT HEY....MAYBE IT WOULD HAVE LASTED ANOTHER 10 YEARS INSTEAD OF A FULL REPLACEMENT AT THIS JUNCTURE FOR THOSE WHO COULD AFFORD IT
I need to do my seam , how has your repair lasted ?
Sorry I never answered anyone here, I sold the car for a 335i a few years ago and haven't been here much. In any event, if you are in So Cal and need to have this done i used a small shop in Garden Grove called Juan's auto upholstery. 9941 Belfast Dr. Garden Grove. 714 501-6285. Just make sure you show him how the top works and how to release the pressure in the system when he is working on it. He blew out one of my hydraulic cylinders and I had to fix that which was a PITA
NONE OF THE GLUES THAT I TRIED WERE OF ANY CONSEQUENCE.
HOWEVER, THE STITCHES OR "DARTS" THAT I SEWED INTO THE FABRIC LAYERS ARE HOLDING WELL AND I ONLY HAVE ABT 6 OF THEM. I STITCHED THEM STARTING FROM THE INSIDE OF THE LOWER LAWER OF MATERIAL SO THAT THE FINAL KNOT WOULD BE HIDDEN ON EACH ONE. ONE FURTHER NOTE IS TO BE SURE TO OVERLAP THE TOP LAYER OF MATERIAL ABOVE AND BEYOND THE LOWER LAYER BY ABT AN EIGHTH OF AN INCH TO COVER THE MATERIAL WHERE THE FACTORY GLUE REMAINS. NO LEAKS! MIGHT SUGGEST TO TREAT THE OVERALL ROOF MATERIAL WITH SOMETHING TO ALLOW IT TO REMAIN PLYABLE AFTER THE STITCHING.
can you post some pics of completed repair...thxs!
Originally Posted by Rick BARON
I WANTED TO CONTRIBUTE TO THE CONVERSATION BECAUSE I HAVE AN '08 CLK350 WITH THE SAME ISSUE. IN THIS FLORIDA HEAT AND HUMIDITY MY TOP BEGAN TO SEPARATE AT THE MAIN REAR SEAM ABOVE THE REAR WINDOW AT THE TWO CURVES...THEN THE WHOLE THING OPENED UP. I DID TRY SOME GLUES BUT IT LOOKED NASTY. THEN I READ THIS BLOG AND COMBINED EVERYONE'S SUGGESTIONS AND STORIES AND DID THIS. I BOUGHT SOME GLUE AND CURVED NEEDLES AT WALMART...THE ADHISIVE IS FOR FABRIC, PERMANENT AND WASHABLE, OR AT LEAST THAT IS WHAT IT SAYS. THE APPLICATION BOTTLE HAS A NICE NOZZLE THAT U SNIP WITH A PAIR OF SCISSORS AND TINY TO FIT IN THE SEAM AND YET SECRETES A GENEROUS AMOUNT OF ADHESIVE (PIC) $3.74; NEEDLES: $2.74. NEEDLENOSE PLIERS, SCISSORS, RAG, AND I USED A HEAVY BLACK THREAD THAT I HAD A SPOOL OF FOR MINOR CLOTHING REPAIRS.
I TOOK AN ARMS LENGTH OF THREAD...ABT 3FT AND CUT IT OFF, FOLDED IT IN HALF AND TIED A SINGLE KNOT IN THE DBL THREAD END. HELD THAT END WITH MY RIGHT HAND AND SLID MY LEFT HAND ALONG THE THREAD TO THE LOOPED END AND FED THAT THRU THE NEEDLE, PULLED THE THREAD THRU HALFWAY SO I NOW HAD 4 STRANDS OF THREAD. I JOINED THOSE FOUR THREADS EVENLY HOLDING WITH MY RIGHT HAND AND TWISTING THREADS WITH MY LEFT AND THEN TYING A KNOT. YOU END WITH A STURDY THREADED NEEDLE OF ABT 12 INCHES.
I STARTED RIGHT IN THE MIDDLE OF MY SEAM ABOVE THE REAR WINDOW WITH THE TOP SLIGHTLY RAISED ABOVE THE WINDSHIELD AS OTHERS DID AND PROPPED IT WITH A PIECE OF WOOD. ON THE UPPER FOLDED SEAM I INSERTED THE NEEDLE THRU THE DBL MATERIAL JUST AT THE INSIDE BACK-EDGE OF THE FOLDED MATERIAL. HAD TO USE THE PLIERS TO PUSH AND PULL IT THRU, MOVING SLOWLY AS TO NOT TANGLE THE THREAD WHICH CAN HAPPEN EASILY. I THEN PUSHED THE NEEDLE BACK THRU THE MATERIAL JUST NEXT TO THE FIRST THREAD, PULLED IT THRU AND THEN INSERTED IT INTO THE LOWER LAYER OF MATERIAL AT THE OUTER EDGE OF THE SEAM WHERE YOU CAN SEE THE MANUFACTURERS OLD LINE OF ADHESIVE OR DISCOLORATION. I WANTED TO BE CERTAIN TO PULL THAT TOP MATERIAL DOWN AND SLIGHTLY OVER THE LOWER MATERIAL LINE. ALL THE TIME MAKING SURE THREAD IS NOT TWISTED OR KNOTTED. THE THREADS CAN BE SLIGHTLY LOOSE AT THIS POINT. THEN ONE MORE INSERTION THRU THE TOP FOLDED MATERIAL TOWARDS THE BACK OF THE MATERIAL AND CLOSE TO THE OTHER THREADS. ONCE AGAIN I DID NOT PULL VERY TIGHTLY ON THE NEEDLE AND THREAD BECAUSE NEXT I TOOK MY GLUE BOTTLE AND SQUEEZED IN SOME GLUE RIGHT AT THE STITCH AND ABT A QUARTER TO HALF INCH EITHER SIDE. TRY NOT TO TOUCH THE GLUE AT THIS POINT. CUT THE THREAD LEAVING ABT 6 INCHES OR MORE AND TIE A KNOT WITH THE HANGING THREAD. SEPARATE TWO THREADS FROM THE OTHER TWO AND NOW TIE THESE TWO TOGETHER INTO TWO NICE TIGHT KNOTS MAKING SURE THAT ALL THREADS ARE TIGHT AND LET THE THREAD HANG DOWN
THIS ESSENTIALLY IS KNOWN AS A "DART" IN SEWING. I THEN MOVED ABT 6-8 INCHES LEFT AND THEN RIGHT OF THAT DART AND REPEATED THIS PROCESS. EACH TIME I THREADED ANOTHER NEEDLE WITH A NEW PIECE OF THREAD. IN THE END I HAD ABT 6 OR 8 DARTS AND THE REST OF THE AREAS I SQUEEZED IN GLUE FOR NOW. I DID NOT THREAD THE NEEDLE INTO THE INNER LINER. THIS WAS ALL DONE THRU THE CANVAS TOP MATERIAL ONLY. AS I SQUEEZED IN GLUE INTO THE REMAINING AREAS, I LOWERED THE TOP TO ABOUT 4-6 INCHES FROM THE WINDSHIELD AND PLACED SOMETHING HEAVY ON EACH SPOT. SOMEONE SUGGESTED CLMPS WHICH I DID NOT HAVE NOR DID I COMPLETELY UNDESTAND HOW THEY CLAMPED THE HEAVY MATERIAL EVEN THO THE PICTURE WAS CLEAR AS TO HOW IT LOOKED.
AS IS TYPICAL FLORIDA WEATHER IT IS RAINING OUT AND WHEN IT STOPS LATER THIS EVENING I WILL TRIM THE HANGING THREADS, PROBABLY INSERT SOME ADDITIONAL ADHESIVE AND FROM WHAT I HAVE SEEN ALREADY IT LOOKS LIKE A FACTORY SEAM. I WILL TRY TO ADD SOME PICS WHEN I FINISH. ANY EXCESS ADHESIVE THAT SQUEEZED OUT WHILE WEIGHTING THE MATERIAL I JUST WIPED WITH THE RAG AND KEPT PRESSING IT BACK INTO THE OPENING.
I AM NOT AN ENGINEER, BUT THOSE AT MERCEDES SHOULD HAVE HAD THIS SEAM STITCHED AT THIS CRITICAL POINT OF STRESS ON THE ROOF BUT HEY....MAYBE IT WOULD HAVE LASTED ANOTHER 10 YEARS INSTEAD OF A FULL REPLACEMENT AT THIS JUNCTURE FOR THOSE WHO COULD AFFORD IT
Please post some pics of completed convertible repair...thxs!
Please post some pics of completed convertible repair...thxs!
NEXT CHANCE I GET.....ACTUALLY, I NEED TO UPDATE MY STITCHING BECAUSE I TRIED SO MANY METHODS THAT I DID NOT FULLY COMPLETE THE WORK AS DESCRIBED. ALSO, I AM WORKING OUTDOORS AND THE WEATHER WAS NOT COOPERATING. WHEN I GET THE CHANCE TO REWORK THE ROOF, I WILL SEND PHOTOS....WITHOUT GETTING INTO DETAILS, I AM CURRENTLY IN A WHEELCHAIR BECAUSE OF SURGERY....CANNOT STAND UP TO DO THE WORK AND TAKE PICTURES.
ESSENTIALLY, THE "DARTS" ARE HIDDEN AND THE SEAM MATCHES AS ORIGINALLY MADE.
THE BEST POSITION IS TO RAISE THE ROOF APPROX 2 FEET ABOVE THE FRONT WINDSHIELD....THEN USE A PIECE OF WOOD OR SOMETHING TO KEEP THE ROOF FROM DROPPING. ANOTHER COMMON PROBLEM IS FOR THE CANVASS ROOF TO SEPERATE NEAR THE BACK WINDOW AT THE LOWER SIDE. THAT IS MY NEXT REPAIR...SH B SIMPLE THO.
Mercedes SLR McLaren 722 S Is Extremely Rare Example Modified by McLaren
Slideshow: A one-of-one U.S.-spec Mercedes-Benz SLR McLaren Roadster became even rarer after a factory-backed transformation at McLaren's headquarters.