When you click on links to various merchants on this site and make a purchase, this can result in this site earning a commission. Affiliate programs and affiliations include, but are not limited to, the eBay Partner Network.
You can keep map sensor from m113 and it should be good. If you look closely in VRP build you can see they use m113 MAP and even MAF!! And they declare you need to use m113k ecu and harnesses but m113 ecu don't have maf readings 😀 so what's the point to buy amg ecu if you still needed retune it? Or I don't understand something??🤔
So, the idea of the M113K ecu is that it comes with the fuel map already set-up for the supercharger. The only reason the ECU should be tuned if you want to get the full power out of the supercharger is because the car will run rich with the 550cc injectors and this kit is a fixed pulley kit (no more supercharger clutch) which also needs to be tuned for when at idle.
Keep in mind, if you actually had a car with the M113K and did 550cc injectors and/or the fixed pulley mod, that car itself would also require a tune despite having everything else already done.
I think you might be able to get away with no tune if you were to use stock M113K Injectors, but I am not sure about the drivability due to the fixed pulley. If you wanted to continue using the supercharger clutch (it might take a bit of work, but I am sure it can be done just the same. However you won't be using VRP's pulley they provide in the kit for this), then you wouldn't need a tune at all. You would just need to flash your vehicles VIN onto the new M113K ECU to keep the interior, gauge cluster, etc, working properly.
I hope that maybe clears up some confusion. If not, continue to ask and I'll see if I can make it make more sense.
Lots of updates since the last, but I am saving it all for one massive update post to prevent spamming the forum here. Progress is definitely being made.
However, I ran into an issue and am currently attempting to figure it out. If you have any idea of where I can look (I couldn't find anything in Xentry/DAS/other mercedes software with pdfs, etc) to get more info on this, or if you know about it please comment.
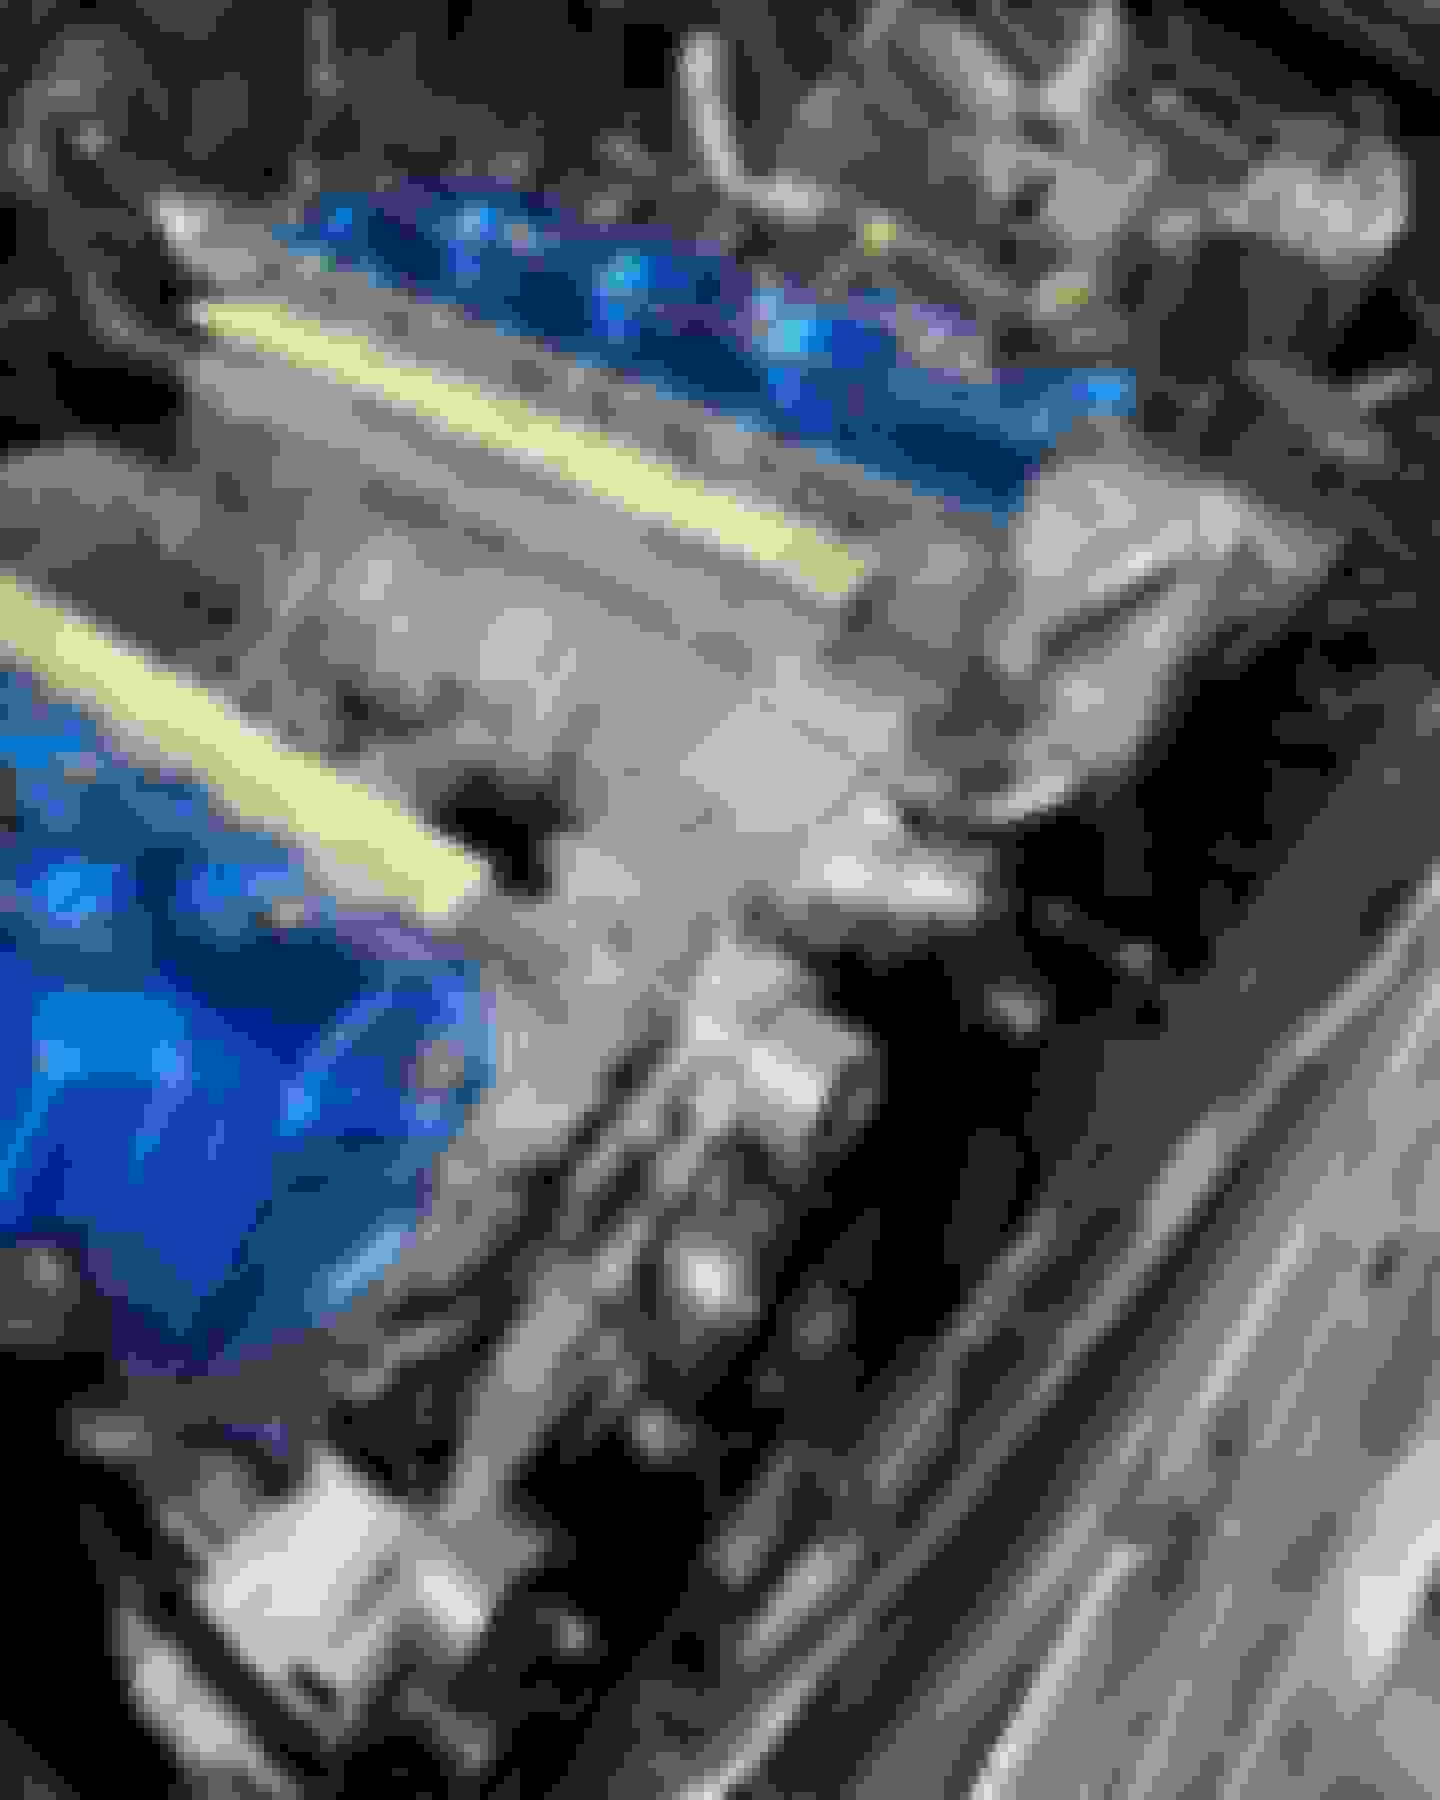
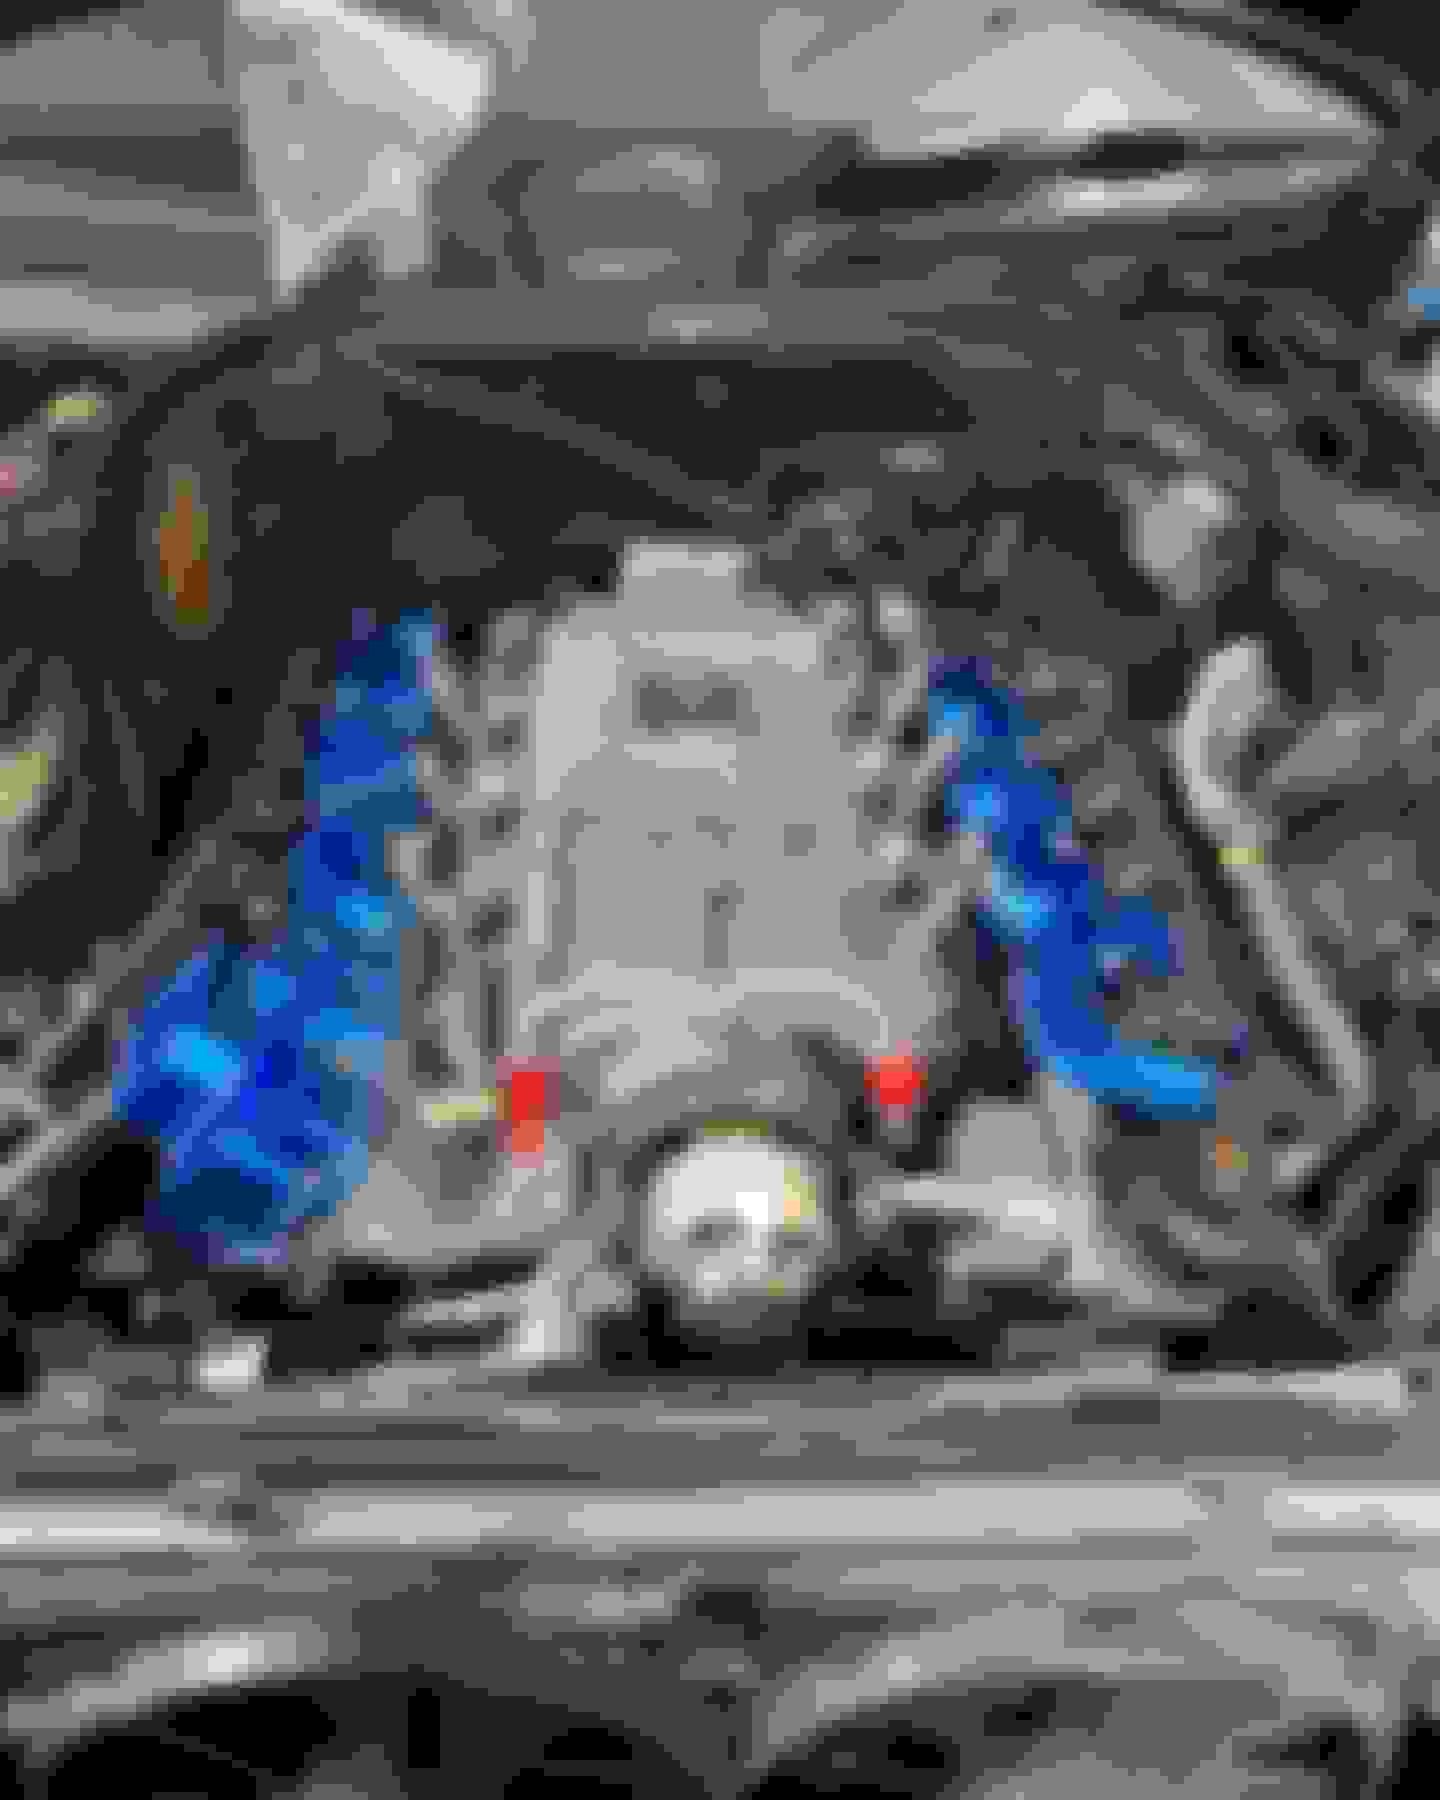
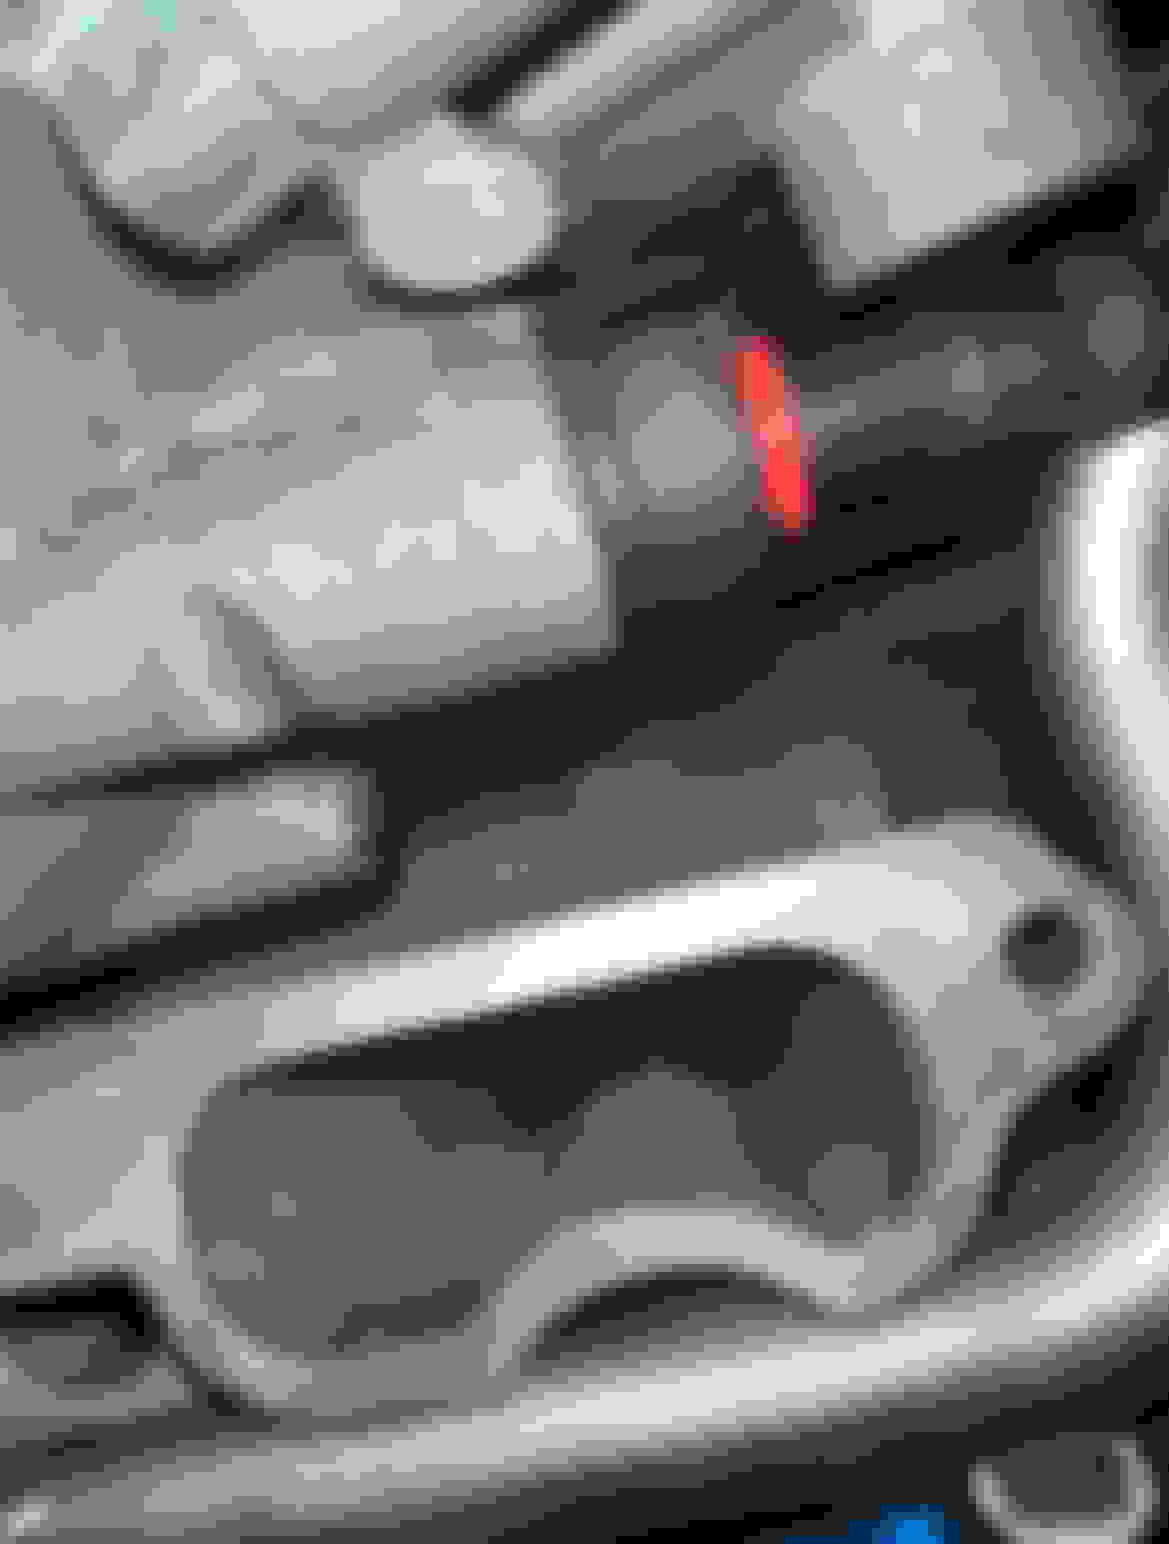
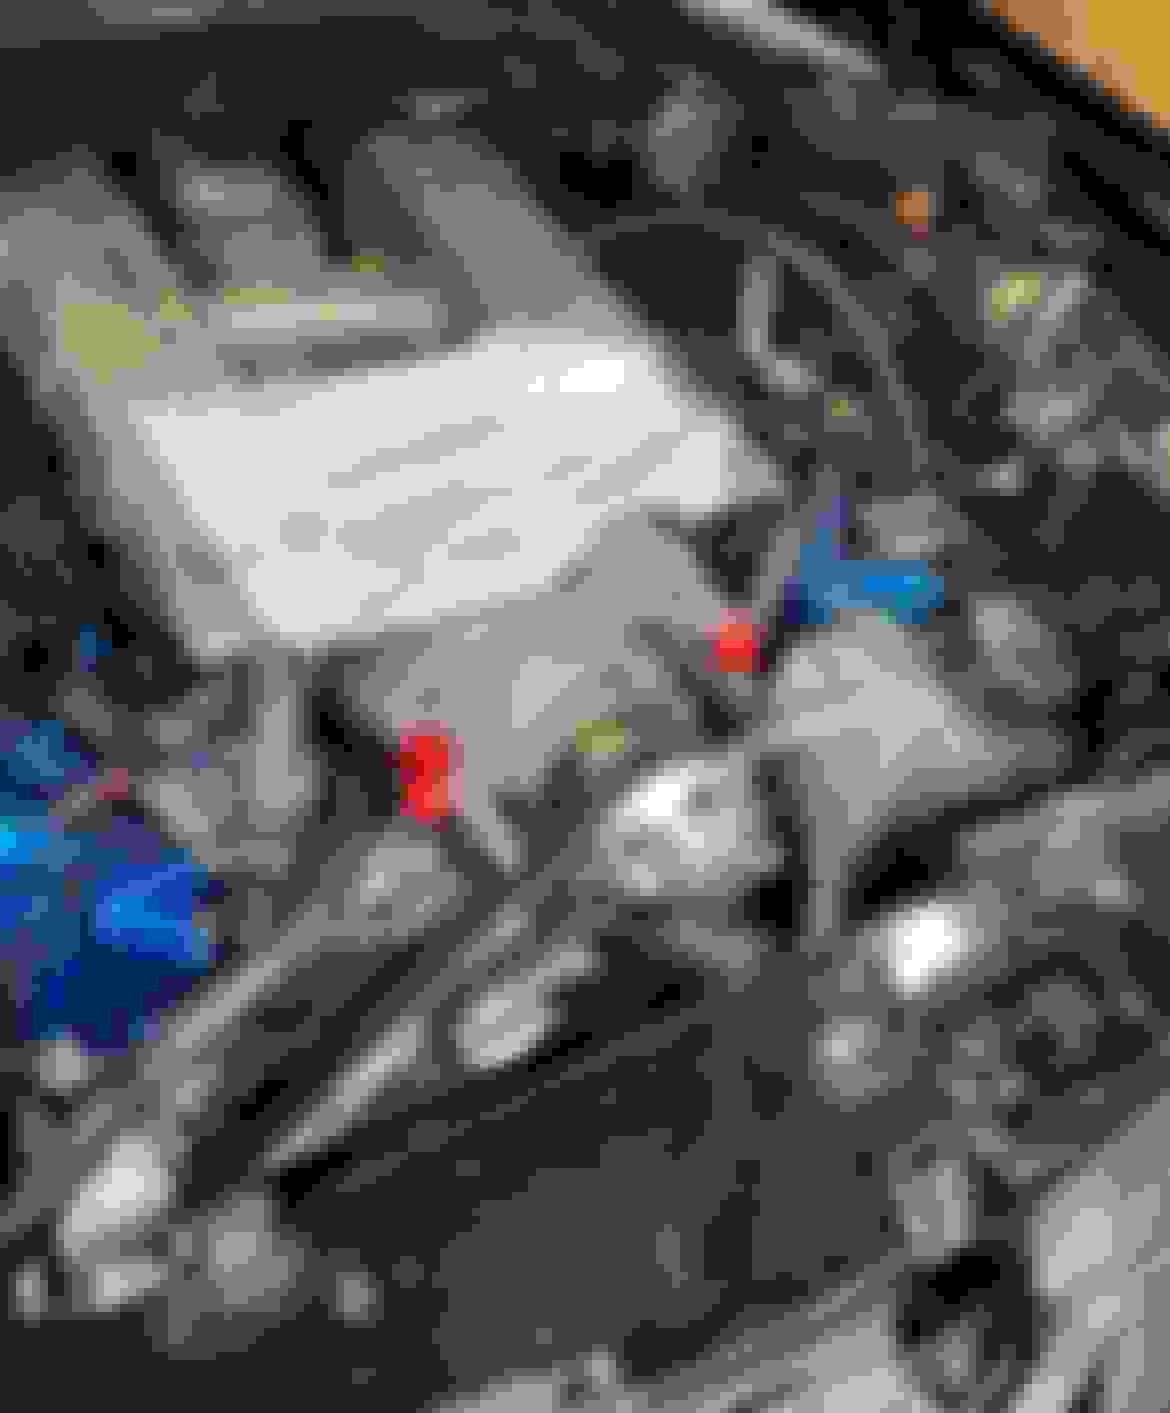
My current issue is with the new wiring harness. It is seemingly missing a connector and has a black and yellow wire free hanging. I checked the pins on all the connectors and they check out (none missing). The original wiring harness of my car has this wire running to the connector that is missing from the new one. I have also traced it to be connected to Driver or passenger side of the coil pack connector. 2/3 pins on this coil pack connector have continuity with the open black and yellow wire. Please see the picture to reference the black and yellow wire I am talking about. This pack of connectors is what plugs into the ECU. The harness is from an 03 CL55 AMG with VIN WDBPJ74J93A038007
I may have solved the issue I am having. I am going to sleep as its 3:30 a.m right now, but will reconfirm tomorrow that my idea is correct and will get to work moving forward with the process and we shall see if I am correct when the day comes to turn the key.
You dont need the Maf, just the modules, you can use the existing maf.
This is old school stuff we used to use on Mitsubishis back in the day but they work
They also used to use a Rising rate fuel pressure regulator to increase fuel pressure under boost Leaving this info here for any 2.0 people looking to do the swap on stock ECU.
This provides fuel to the high pressure pump at 60 psi (or whatever is stock). This adds significantly to the potential of the 2nd pump.
The rail hanging off of one leg of the tee sees fuel pressure commanded by the regulator. That it is a dead end, is the same configuration as stock.... dead end.
The reg dumps back into the Tee and is also at the 60 psi. The regulator doesn't care.
This layout has the small handicap of warming the fuel about 20F under hard use. Not significant, but can be countered by any number of small coolers, but I would not bother.
The two Tees, pump, and RR regulator can all be bundled into one neat little box.
The fuel pressure gage can most easily be tapped off from the inlet to the RRR, rather than a third tee.
Two slightly different style RRR's can be used. If you would ever want to increase the base 60 psi, the MR regulator without a signal to the 1 to 1 side will maintain a constant
pressure until boost arrives. The 1 to 1 side can be adjusted anywhere between zip and 100 psi for a steady base. When boost happens, then the RRR side again takes over.
This can permit bigger injectors with an accompanying increase in the overall range of tuning due to both the injector size and the greater difference between the lowered base pressure and the
peap of the secondary pump. To do this will require reducing the in tank regulator to less than the new desired base pressure. Or, eliminating the stock regulator altogether.
The standard RRR deletes the 1 to 1 function secondary regulator, but can do the same job by applying the same vacuum signal to both sides of the big diaphragm but blocking the boost
from the bottom side of the diaphragm with a check valve.
Also note, and perhaps of interest, the adjustable onset of gain capability of the RRR permits it to force fuel pressures up with a "lack of vacuum" signal. The adjustability allows the higher fuel pressures
to be available at close to or just at full throttle, and still cruise at completely stock fuel pressures. This allows an easy tuning function for normally aspirated mods, rather than strictly boosted set ups.
There is also an old Kleeman instructional floating around from 2007 that shows the full install of their kit, which does include the provisions for the ME2.0 fuel system.
The ME 2.8 can also work with the MAF translator fyi, but I would swap ECU to a K for simplicity.
Hello all, back with another update. It doesn't include everything I was hoping to have included. However, it has been about a week since the last one. Below is the list of things I have done since the last update.
Front side fuel system is fully assembled with E85 kit from VRP
Rear side fuel system is 95% assembled (will finish tomorrow) just needs the fuel filter threaded in-line with the fuel line. Should take me about 30 minutes, hour max tomorrow. This will completely finish the fuel system on the car.
The supercharger pulley is installed and pinned.
The supercharger ported snout and 82mm throttle body adapter are installed.
The SAI bracket clearance is done.
The oil pressure sensor is installed on the oil pressure test port. This may need moving/adjusting when I install the belt, but I am not 100% certain as of yet.
Mishimoto thermostat was installed into new thermostat housing (the new housing is provided by VRP in the kit and requires no clearance-ing). The mishimoto thermostat opens around 10 C sooner and keeps temps closer to 70 to 80 C instead of reaching 90 to 100 C.
New pulleys provided in VRP kit are installed. The stock idler is replaced by the smooth pulley and the one with teeth is installed onto the upper alternator bracket bolt position using the provided aluminum bushing they give with the kit.
Intercooler reinstalled
Bypass valve + new gasket installed (have read boost-leak horror stories when re-using, so replace when it is off).
Still chasing down the wiring harness issue, but I have a VERY promising lead and may actually have this figured out sooner than later. If anyone has adapted an M113K Harness to this W208 chassis, feel free to chime in with pictures of your ECU box, but I have been lucky enough to get some video of someone elses. I will provide in-depth detail on how to make the harness work to help others and prevent confusion in the future.
Another little issue I ran into was that the surge tank on the passenger side will hit the trans dip-stick. This will need to be rotated/moved somehow, have not looked into this yet at all.
I've also misplaced my VRP SAI Block off plates, so either they will show up or I will make my own with what I have on hand.
Nice work.!!!
I'm testing similar kit on my cls500. But I can't sort it out. It acts weird with 7g transmission it keeps cuting down engine power. Does 5 speed gear box act like this(non amg)?
I'm testing similar kit on my cls500. But I can't sort it out. It acts weird with 7g transmission it keeps cuting down engine power. Does 5 speed gear box act like this(non amg)?
Bonjour! Vous allez avoir un glissement de ceinture! les constructeurs rationalisent AMG aurait aussi tout fait sur la poulie accessoire comme vous ! n�oubliez pas qu�AMG ne l�a pas fait car le compresseur consomme 50HP � 90% vous allez glisser et quelque chose d�autre c�est un AMG atmosph�rique que vous avez � la base chez VRP ils ne vous ont pas dit que vous avez un VR de 11 qui ne passera pas !! vous n�aurez que P0300 P0304/308 pour commencer vous devez enlever 1� par psi d ou � 11psi de charge vous devez enlever -10�c est sur 100% nous en reparlerons vous payez des d�penses alors que votre conduite de carburant est parfaite par exemple et pour corriger et que �a va � mi-chemin vous devez passer par au moins un AEMFIC8 pour tout corriger mon ami
Great Job so far Kaleb, keep it up! It's coming along. Projects like this and engine swaps never get done when you think they will so just have patience. It will all be worth it once its done and you can enjoy it. Good stuff bud
Bonjour! Vous allez avoir un glissement de ceinture! les constructeurs rationalisent AMG aurait aussi tout fait sur la poulie accessoire comme vous ! n�oubliez pas qu�AMG ne l�a pas fait car le compresseur consomme 50HP � 90% vous allez glisser et quelque chose d�autre c�est un AMG atmosph�rique que vous avez � la base chez VRP ils ne vous ont pas dit que vous avez un VR de 11 qui ne passera pas !! vous n�aurez que P0300 P0304/308 pour commencer vous devez enlever 1� par psi d ou � 11psi de charge vous devez enlever -10�c est sur 100% nous en reparlerons vous payez des d�penses alors que votre conduite de carburant est parfaite par exemple et pour corriger et que �a va � mi-chemin vous devez passer par au moins un AEMFIC8 pour tout corriger mon ami
I appreciate the warnings and advice! However, I am aware of the 11:1 compression creating a lot of stress and heat on the motor. This is part of why I will be taking multiple steps to making it run safe on this higher compression motor. To begin with, LTH have reported dropping boost levels down to 8PSI roughly, which removes 2 to 3 psi of boost. Then I have E85 as well to help with cooling and pre-det. On top of that, the split cooling kit to keep the supercharger running cooler. Additionally, a ram air intake through the headlights should keep the IAT slightly cooler. I also have a mishimoto thermostat that opens 10C (or 20C) earlier, thus keeping the motor running cooler as well. It will be conservatively tuned. I will also be getting VRP's billet surge tanks to increase air flow and potentially decrease boost a little more (or at least temps slightly).
I am aware that the above precautions still are not as safe as M113K swap or M113 with 10:1 compression. However, my point in doing this is as a test for others that might be interested in doing it to their M113 that has 11:1. I am interested in testing this motor to see what it can do. If it blows, another M113 is around $1,000 USD and not terribly hard to come by.
The fuel line upgrade is to accommodate for the E85. I don't know how clean (or dirty) the stock lines are. Additionally, using the stock lines creates tricker issues when combined with using an adjustable FPR, creating a return line, etc. I plan to have this car making upwards of 700 to 1000whp in the future and would rather eliminate the fuel line problem now while I can. There are a multitude of reasons and a lot of thought went into it, as it would have been so much cheaper and easier to use the stock fuel line.
Additionally, I am confused regarding the AEMFIC8 mention. I am using M113K wiring harness and M113K ECU. This will allow me to tune the fuel and spark adv. There should be no need for AEMFIC8 and plenty of mention that this is the case throughout the forums.
If I misunderstood anything, please clarify. Thank you!
It has been awhile as things have slowed down. Below are the things I have gotten done since the last update.
Wiring harness put on car and mostly installed
EVAP inlet port capped off
EGR port capped off
PCV inlet port capped off
Brake booster line connected
Fuel rail + injectors installed
Flex fuel kit harness adapters pinned and installed
FPR to Fuel rail connection made
Surge tanks installed
New 2 step colder plugs installed
Fuel return line hooked up to tank
Fuel filter hooked up to pump
SAI Block off plates fabricated and installed
PCV Breather filters installed
Throttle Body installed
Intercooler coolant reservoir mounted
Coolant reservoir is ran to heat exchanger
Intercooler outlet is ran to coolant reservoir as well
I'm currently waiting for the proper connector to get power to the Bosch 010 "Cobra" style pump for the split-cooling.
Once this gets in, I will have the split-cooling kit installed and hooked up entirely.
The next step is to start applying 12V to the harness and see what needs to be addressed. However, IF ANYONE HAS ANY INFO ON M113K Harness TO W208 CHASSIS PLEASE SHARE (if it saves me time and/or solves my issues, I will happily paypal like $50 or something lol)
Last thing is the ram air intake setup through the headlights!
Still chasing down the wiring harness issue, but I have a VERY promising lead and may actually have this figured out sooner than later. If anyone has adapted an M113K Harness to this W208 chassis, feel free to chime in with pictures of your ECU box, but I have been lucky enough to get some video of someone elses. Iwill provide in-depthdetail on how to make the harness workto help others and prevent confusion in the future.
This is what is so often missing from this forum. People seem to want to keep info locked up in a vault. I'm sure some future reader will appreciate you sharing this.
This is what is so often missing from this forum. People seem to want to keep info locked up in a vault. I'm sure some future reader will appreciate you sharing this.
Update regarding this:
I am currently working with a tuner to solve my electrical, programming, and tuning issues. The shop I am currently working with is Mercedes Swap Shop. They have been amazing thus far and I will continue to update the forum afterward. The car, as of right now, should start within the next 3 weeks.
Power tuning will follow depending on how long it takes for myself to get a data logger to work and record data. The tuner informed me of what to expect and given the car mods, it is possible to go from anywhere between 550whp and 650whp. This number is pure theory as of right now, but we will see it translated soon.
.
Last edited by Katiliuk4s; 05-10-2023 at 04:43 PM.
Another update. (I'm losing track of these updates lol)
Coming really close to having this start up happen. In the mean time, enjoy the pics below. They'll show the beginning of my headlight intake molding process, the fuel pressure sensor, the oil pressure sensor, and the belt installed. Any questions, ask away!
I have the ECU, TCU, and EIS unit plugged back in. I have fuel pressure thru the regulator set to 73psi as of right now. Currently, VRP's flex sensor kit is giving me issues and not allowing 12V to the injectors. Looking into installation errors and reached out to them for assistance with this as well.
The car currently cranks, but does not start which is why I chased down the injector voltage issue. Once this is solved, I pray that it will finally crank and start once and for all. We are so close everyone!!
Notes - the TCU is now tuned with 4 different modes. I cannot wait to feel the difference in the trans. I still need to run power and ground for the fuel pressure, oil pressure, and boost gauges before I can reassemble the dash and take it for a spin. Unfortunately, the intake requires different parts to reach the headlight housings for the ram intake design, but it should allow for an interesting before and after to see if I can feel any gains at speed. See below for pictures of the intake HALF installed.
IT STARTED!! Here's a clip of the start up. Its short because I ran into an issue of air in the fuel lines which I am currently working to solve right now. Sounds good and idles smooth without the air bubble issue!
I will be clarifying the wiring harness information regarding making the M113K harness work on the W208 chassis still, just haven't gotten around to it yet! This doesn't allow for everything to still be plug and play necessarily, as programming still needs to be done for the ECU. However, it will have you situated so the wiring is complete and it will simply be a programming issue at that point.
for everyone with some revs from the front of the car! The fuel pump I had on it was bad which was giving me fuel pressure issues so I am replacing it with an AEM 400LPH "-044" style. It flows enough to support the power level with E85 that I will need. This will also involve upgrading the stock wiring to give the pump a better power source.

 03-25-2023, 12:02 PM