When you click on links to various merchants on this site and make a purchase, this can result in this site earning a commission. Affiliate programs and affiliations include, but are not limited to, the eBay Partner Network.
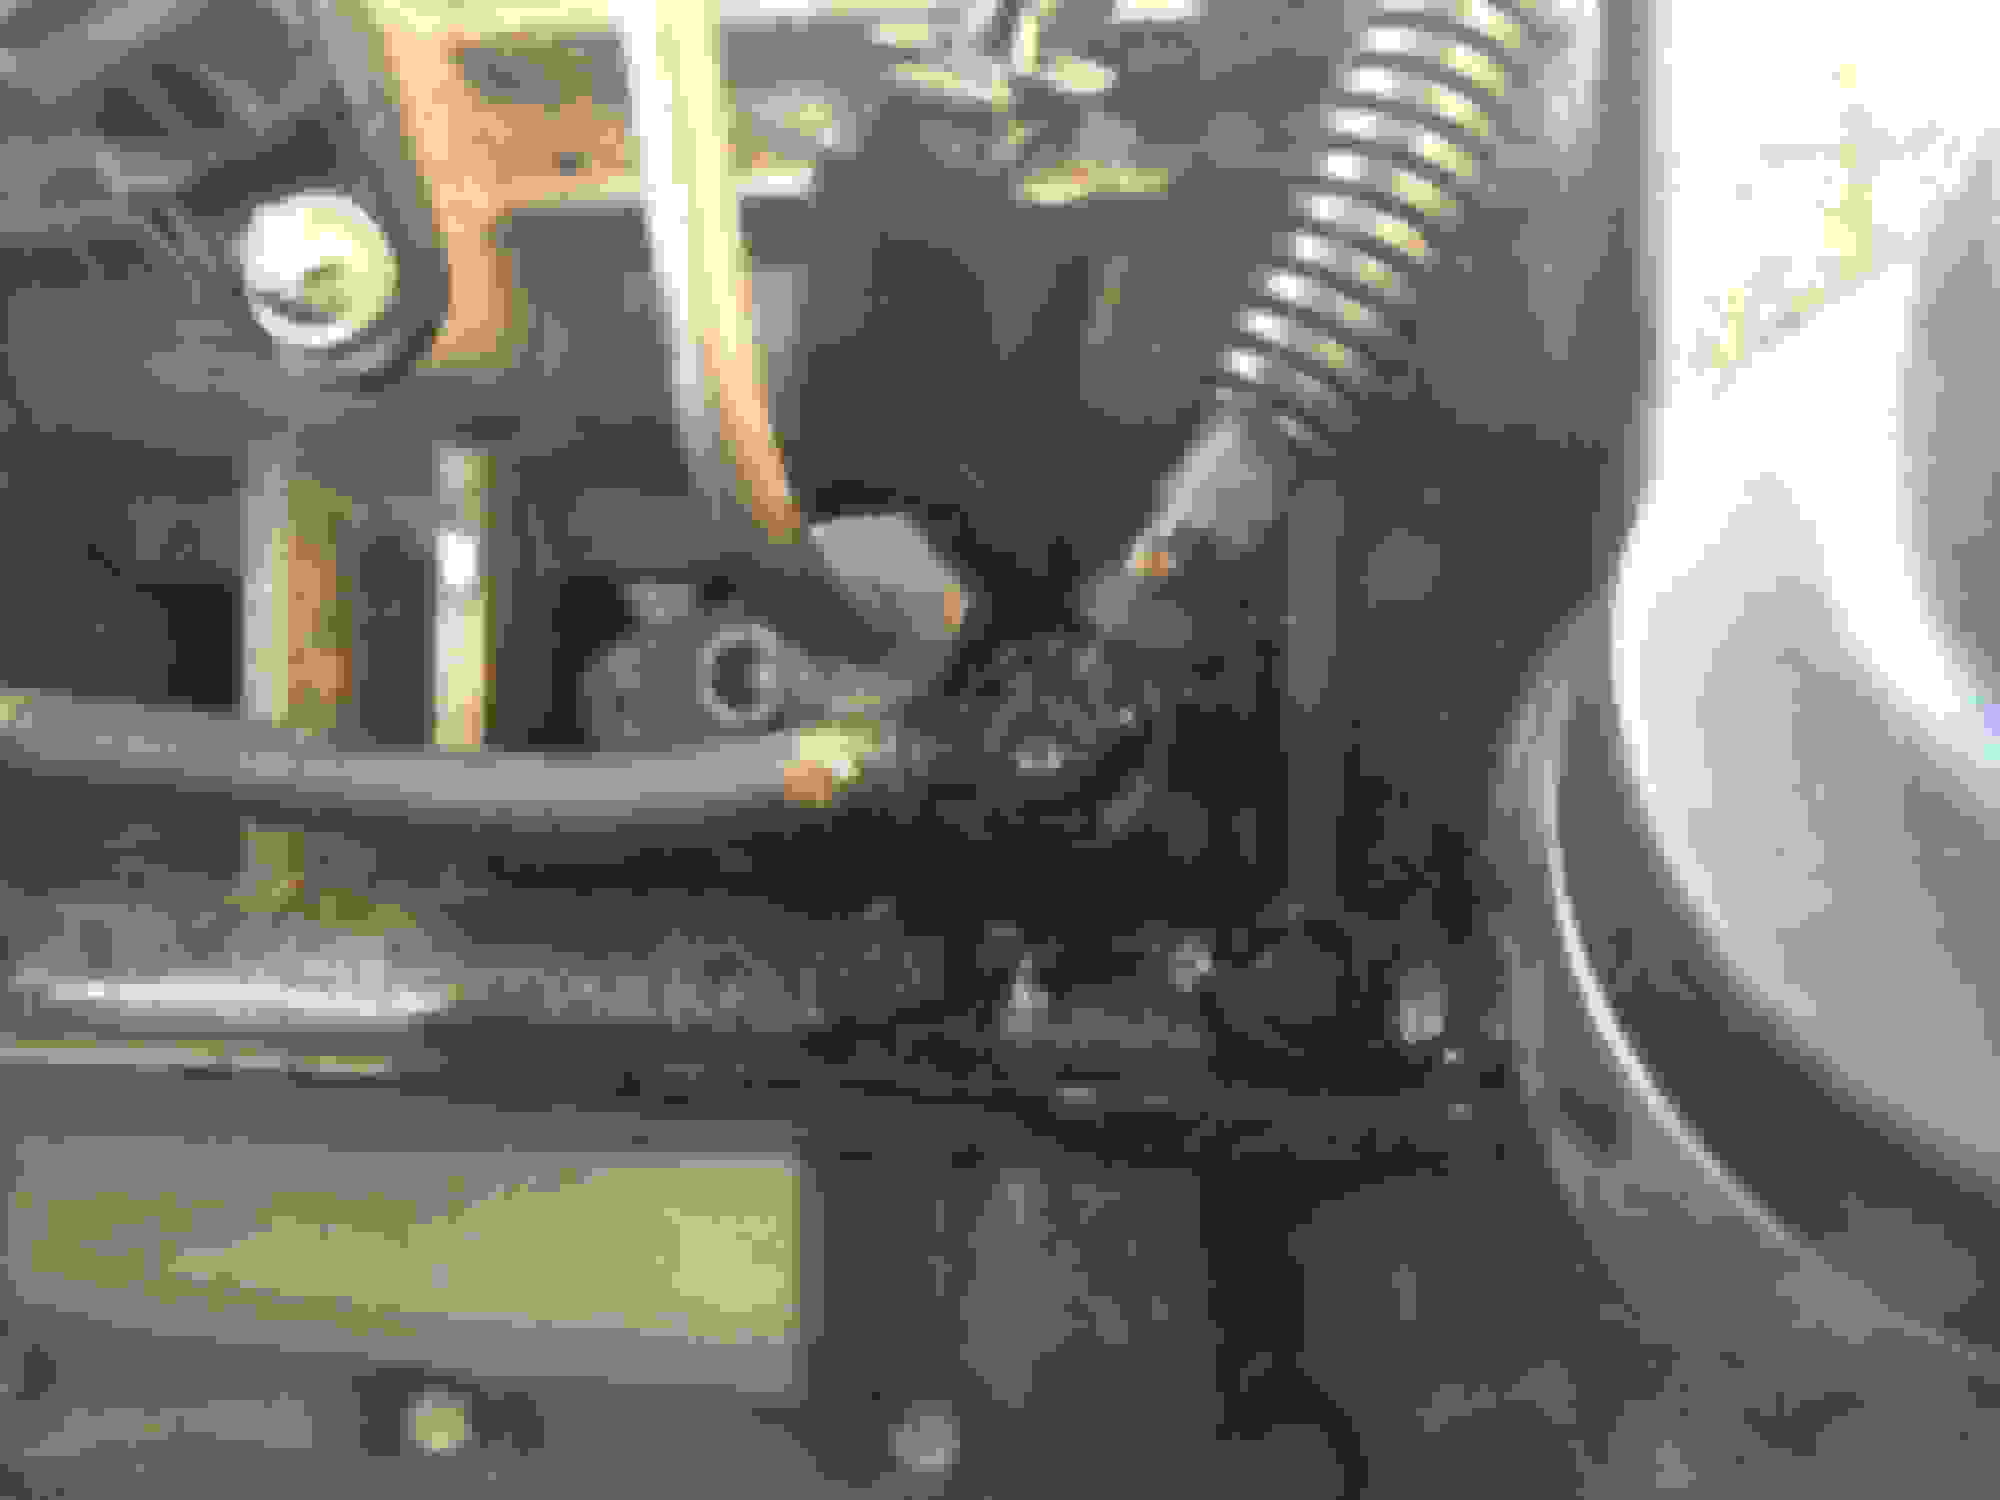
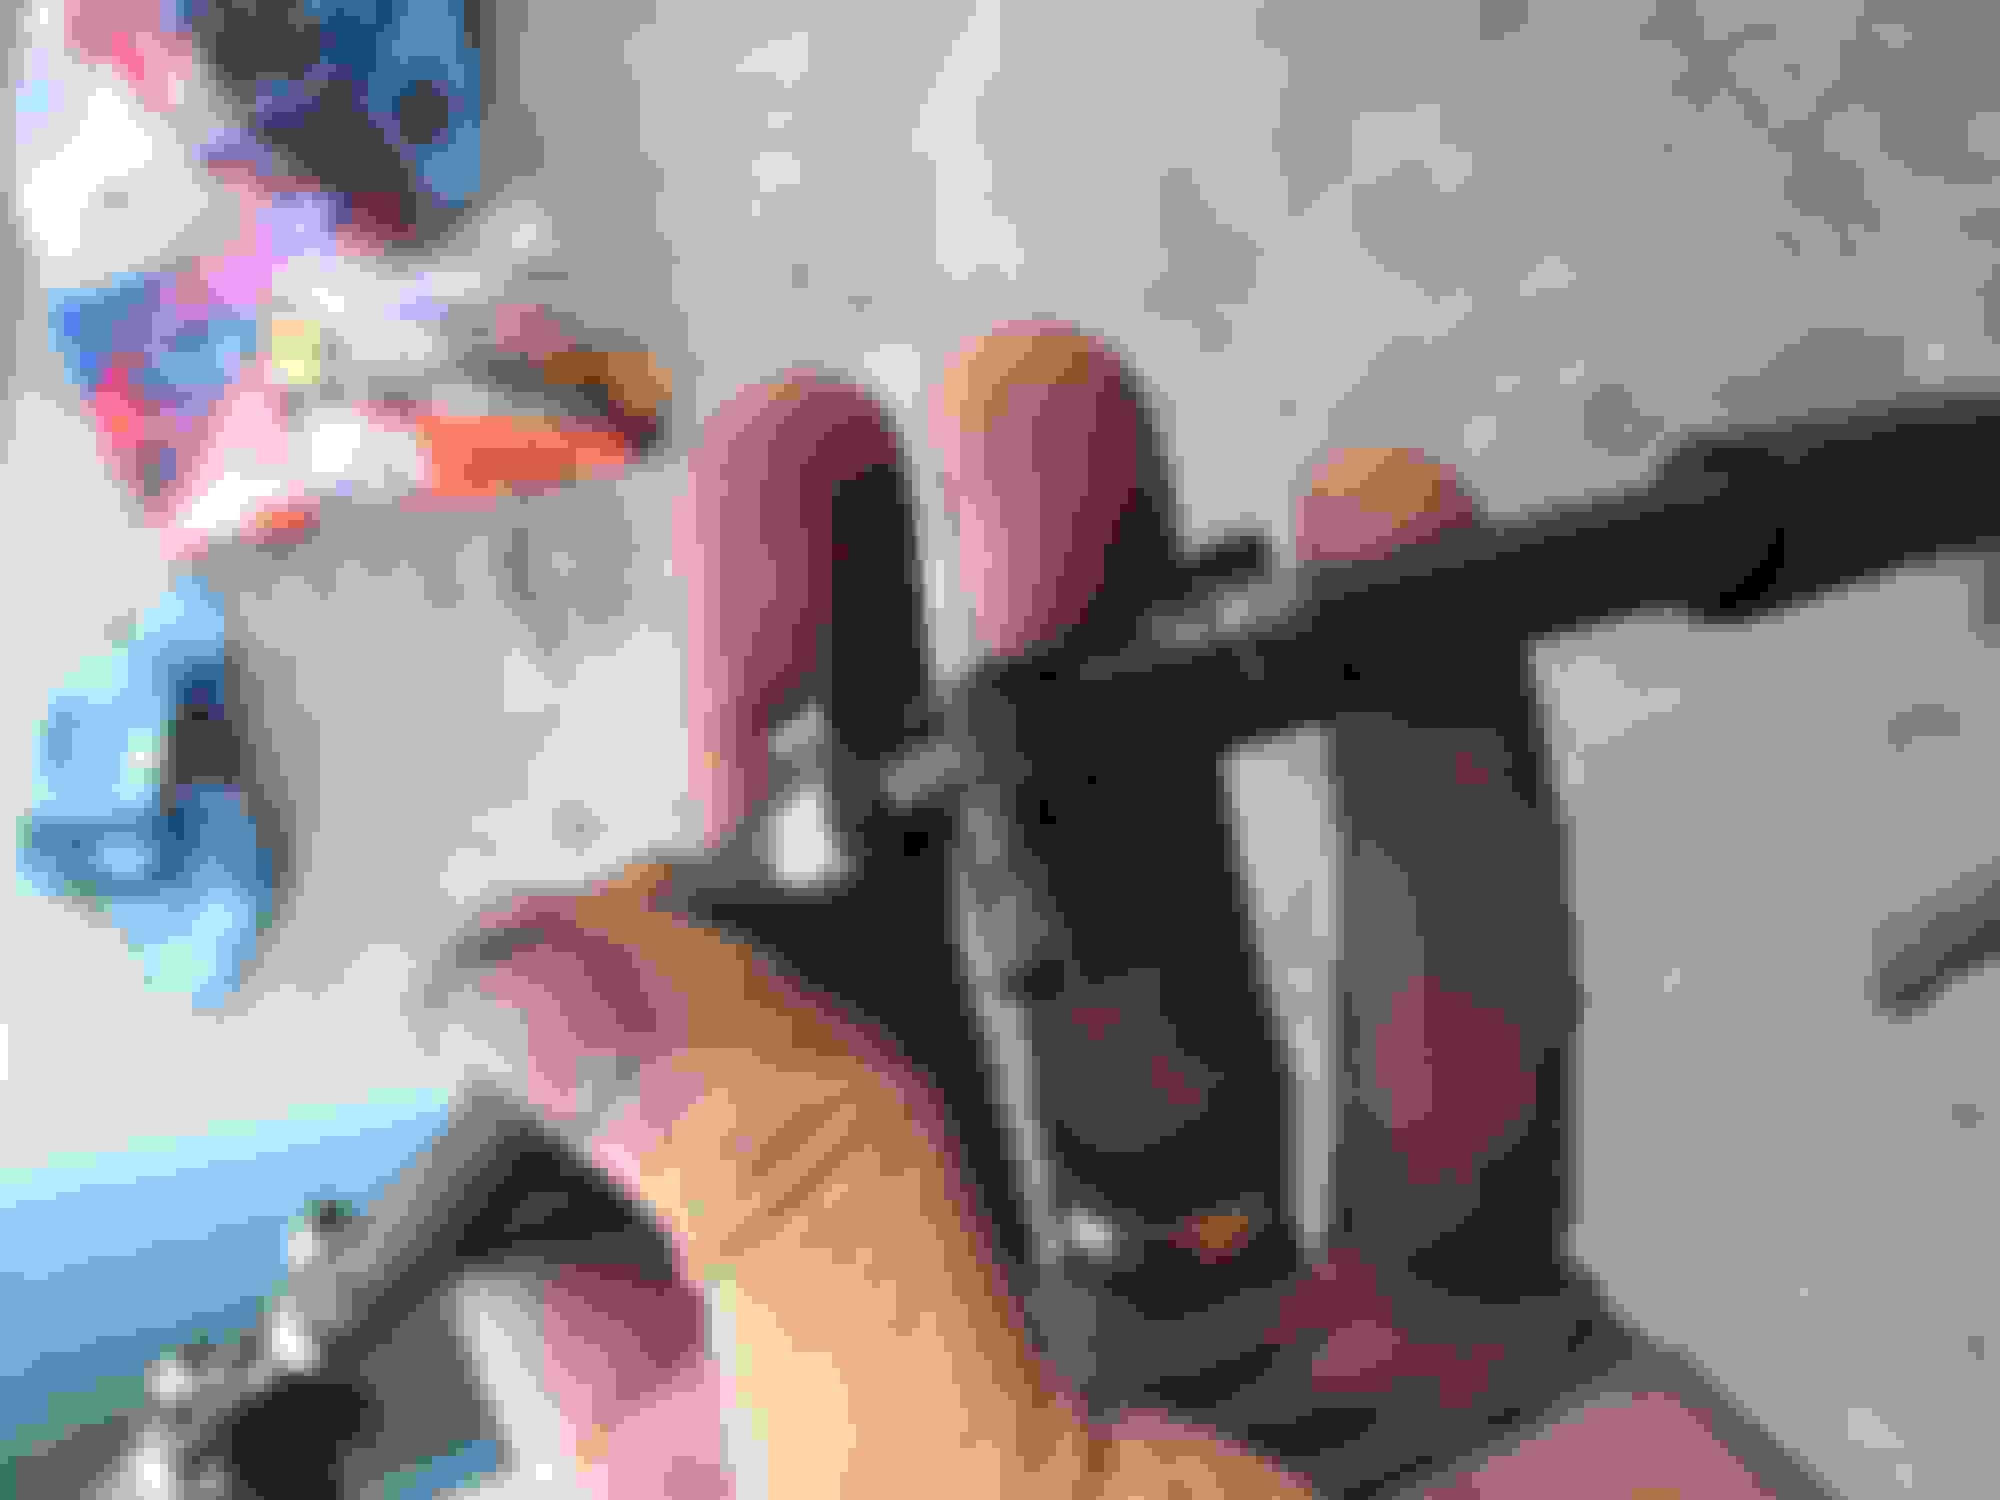
I spent a solid hour cleaning out the injector bore. I used a nylon bottle brush with a hand drill and acetone.
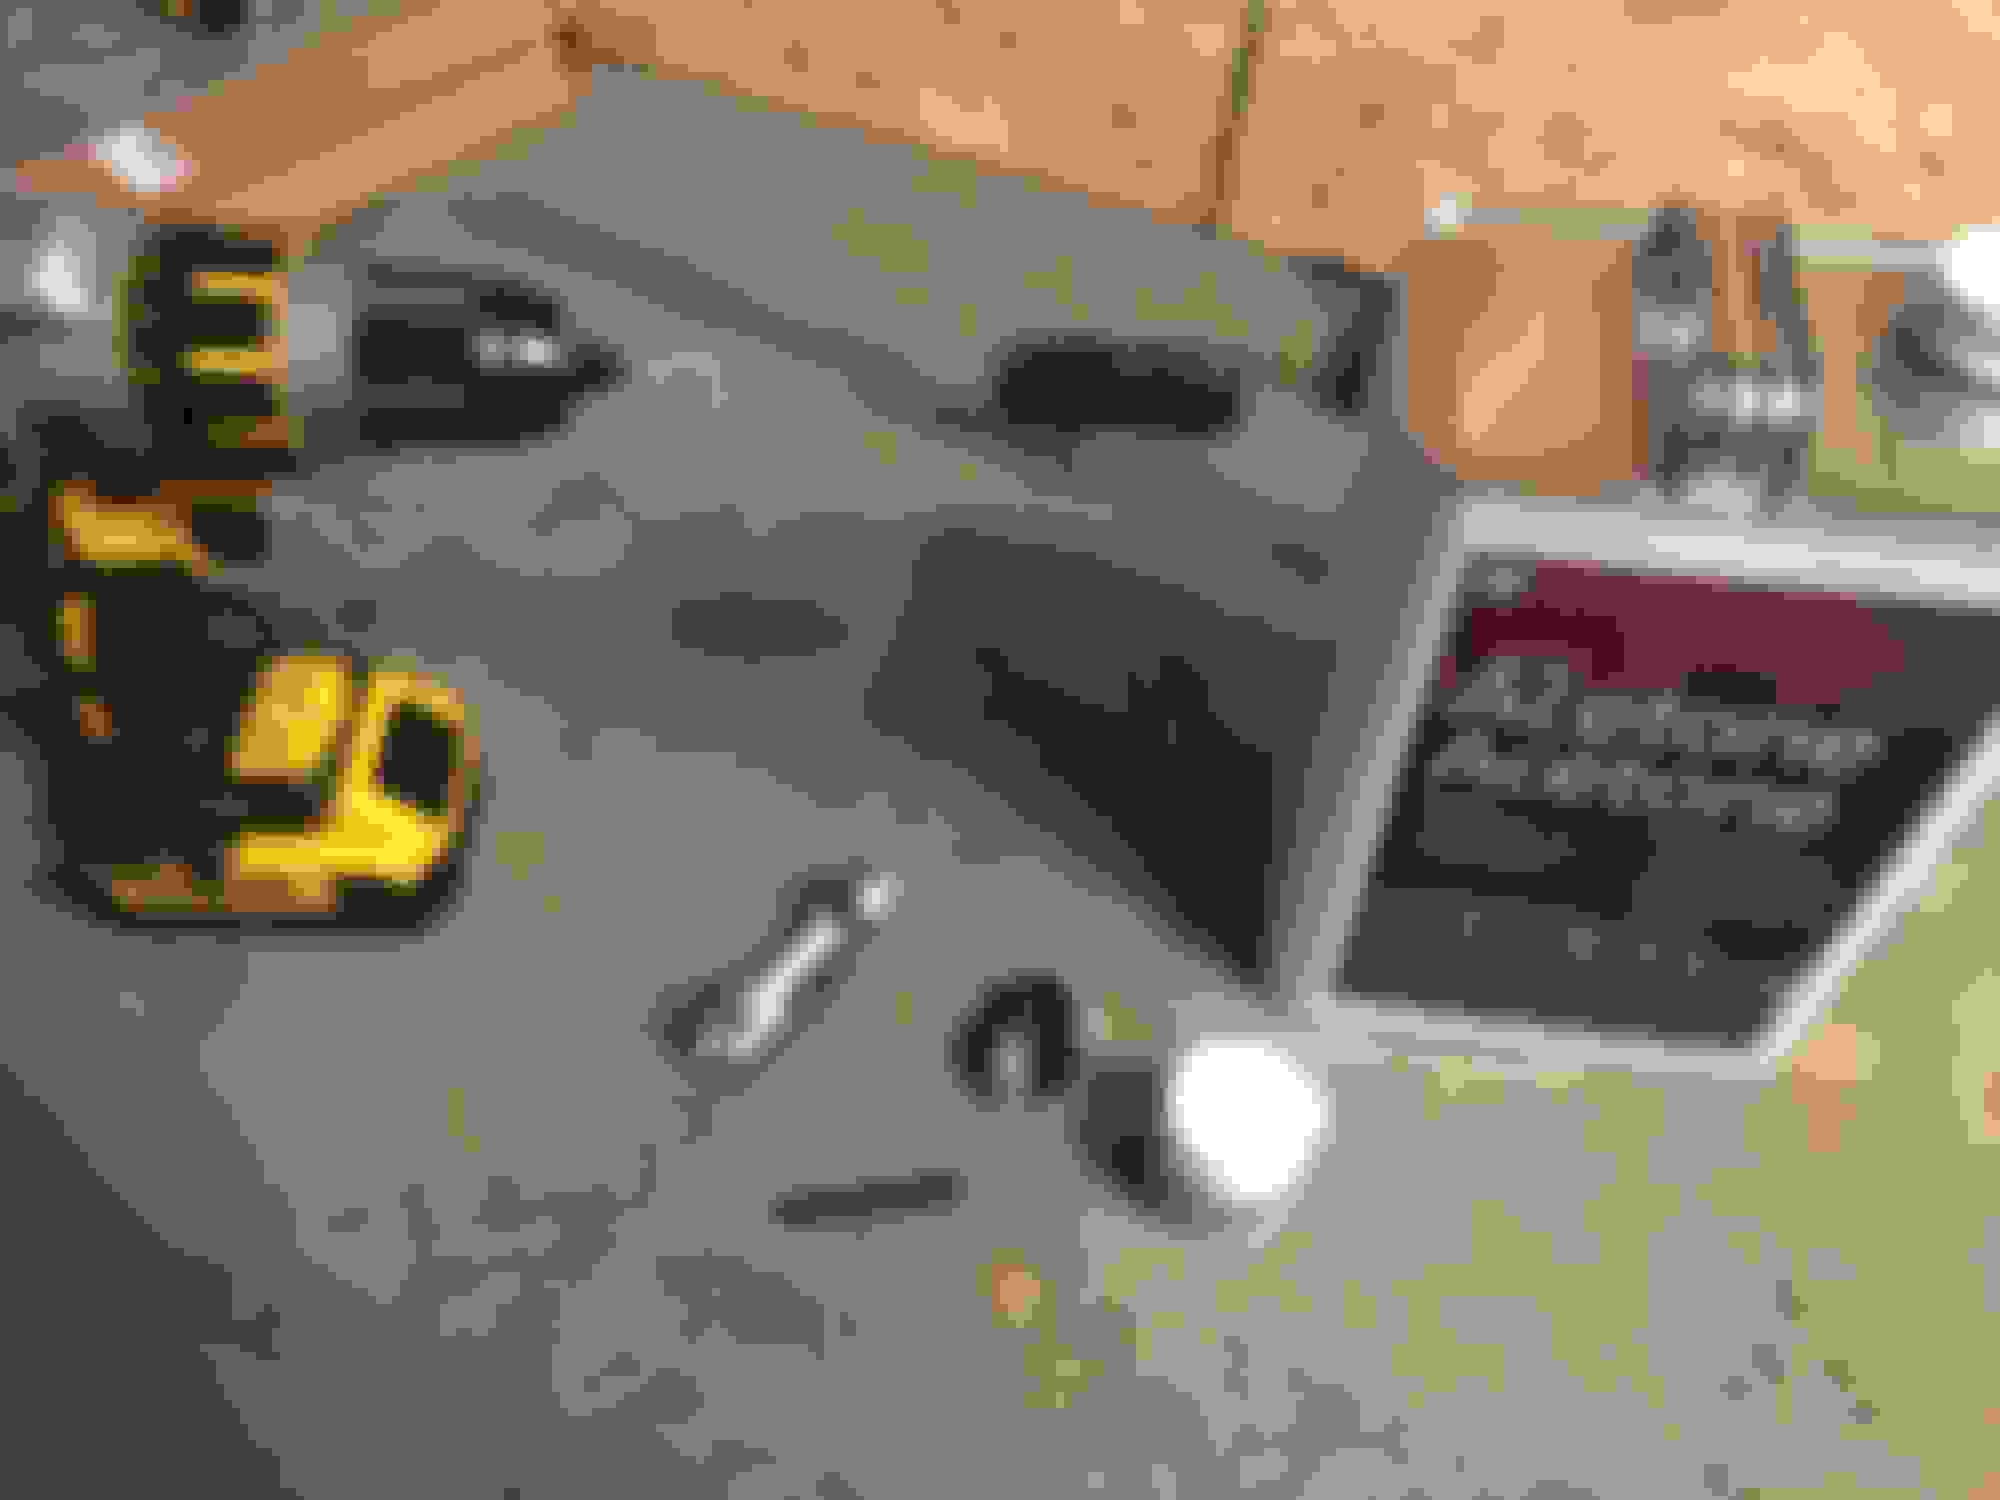
Before:
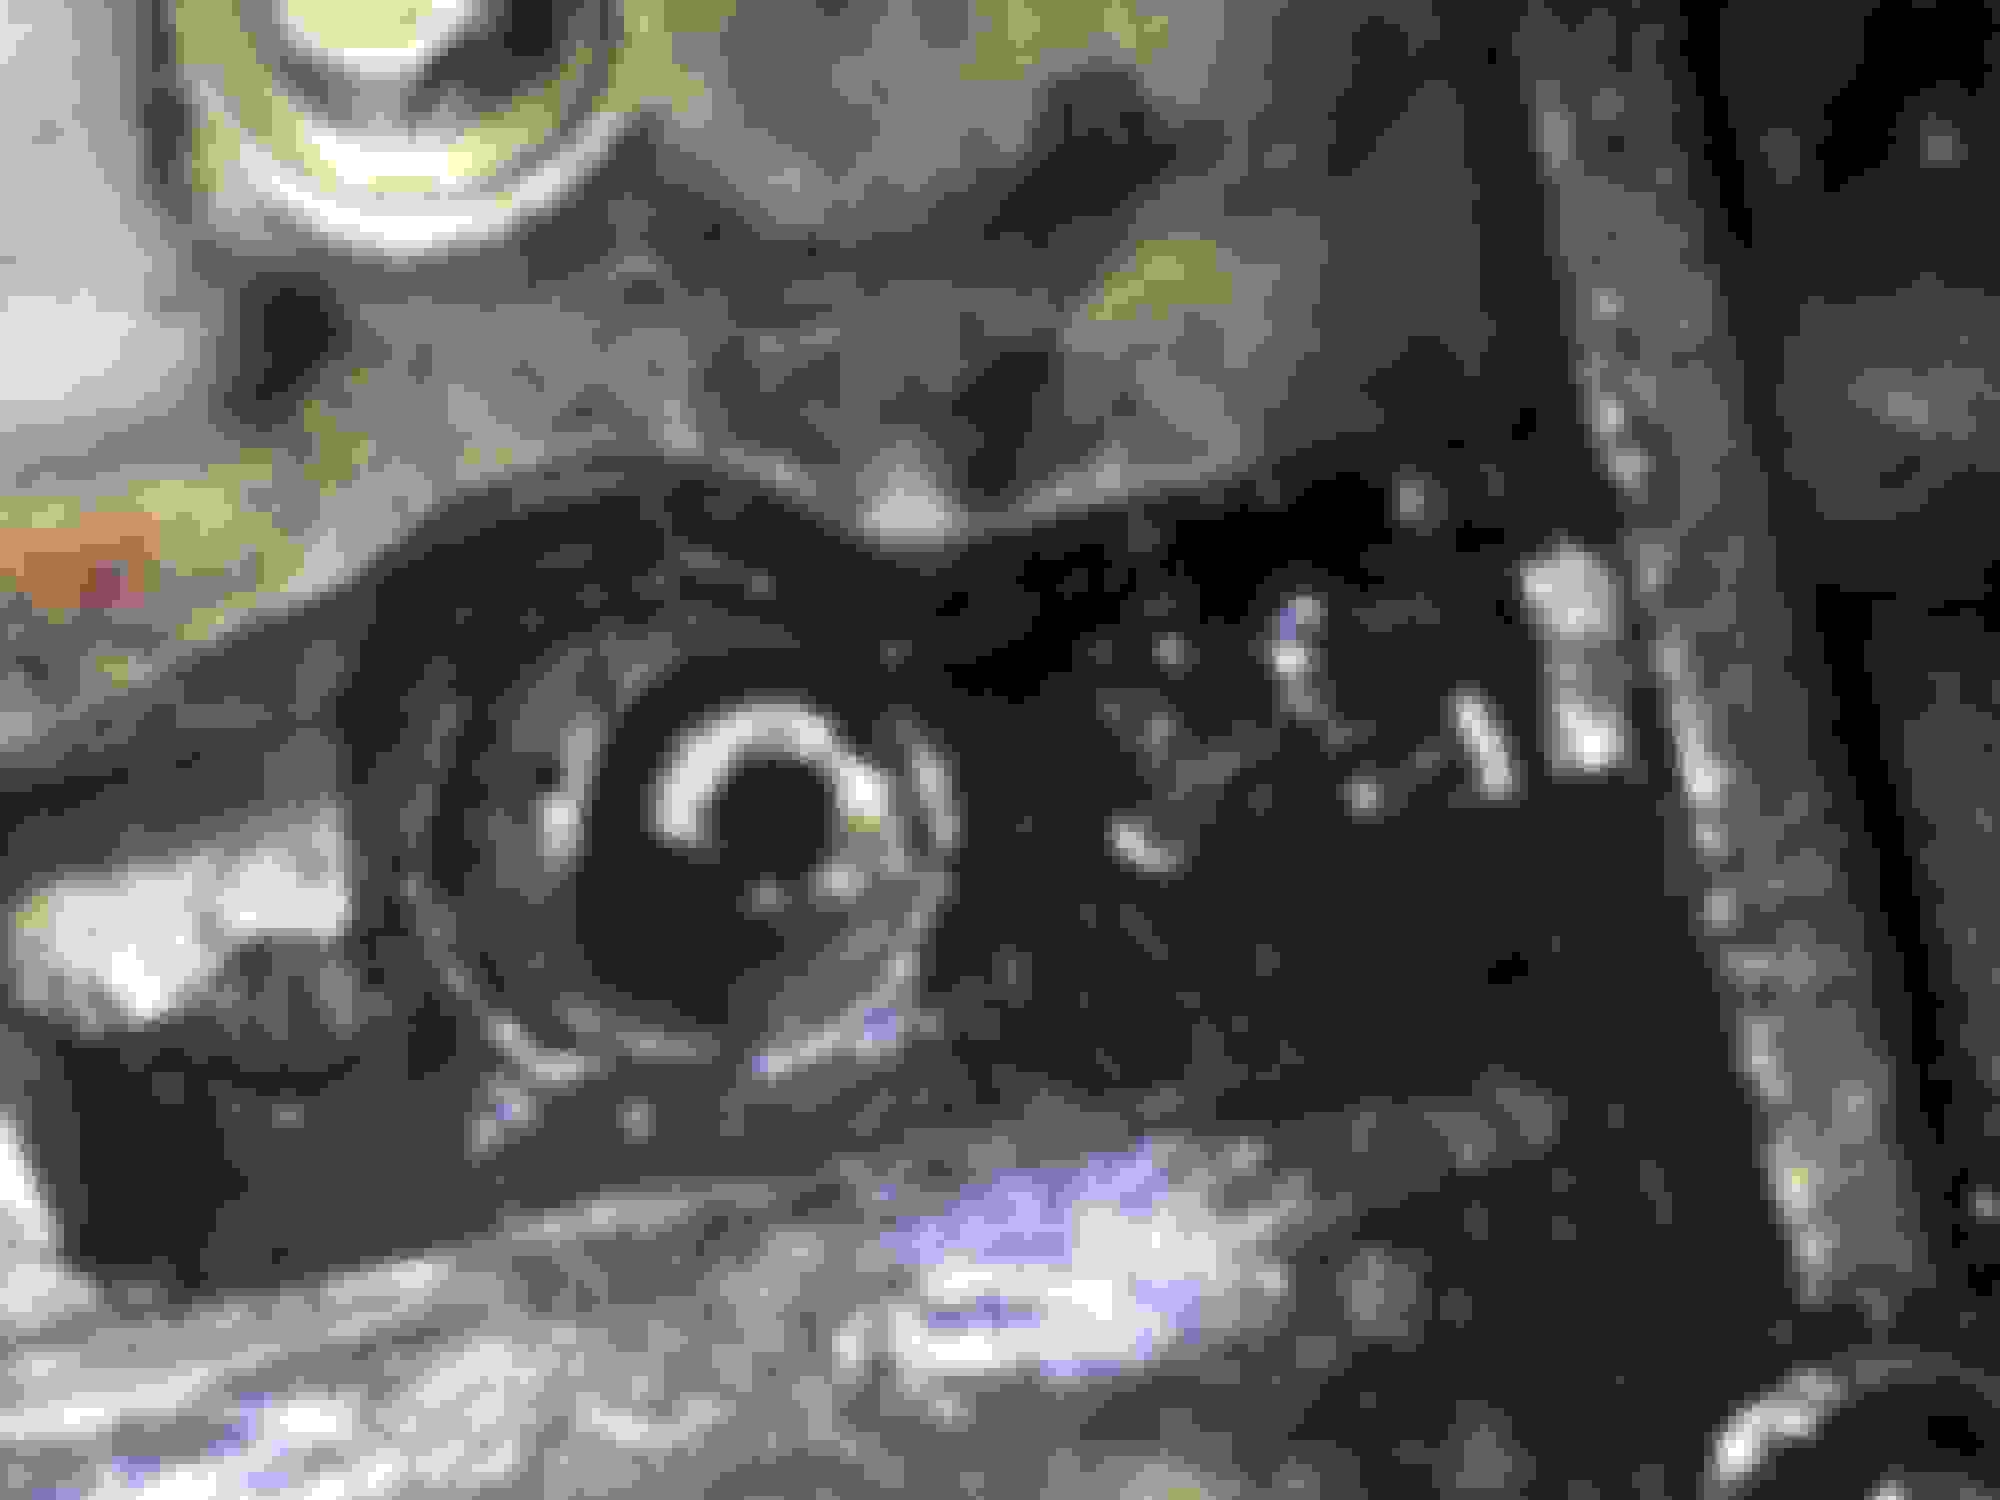
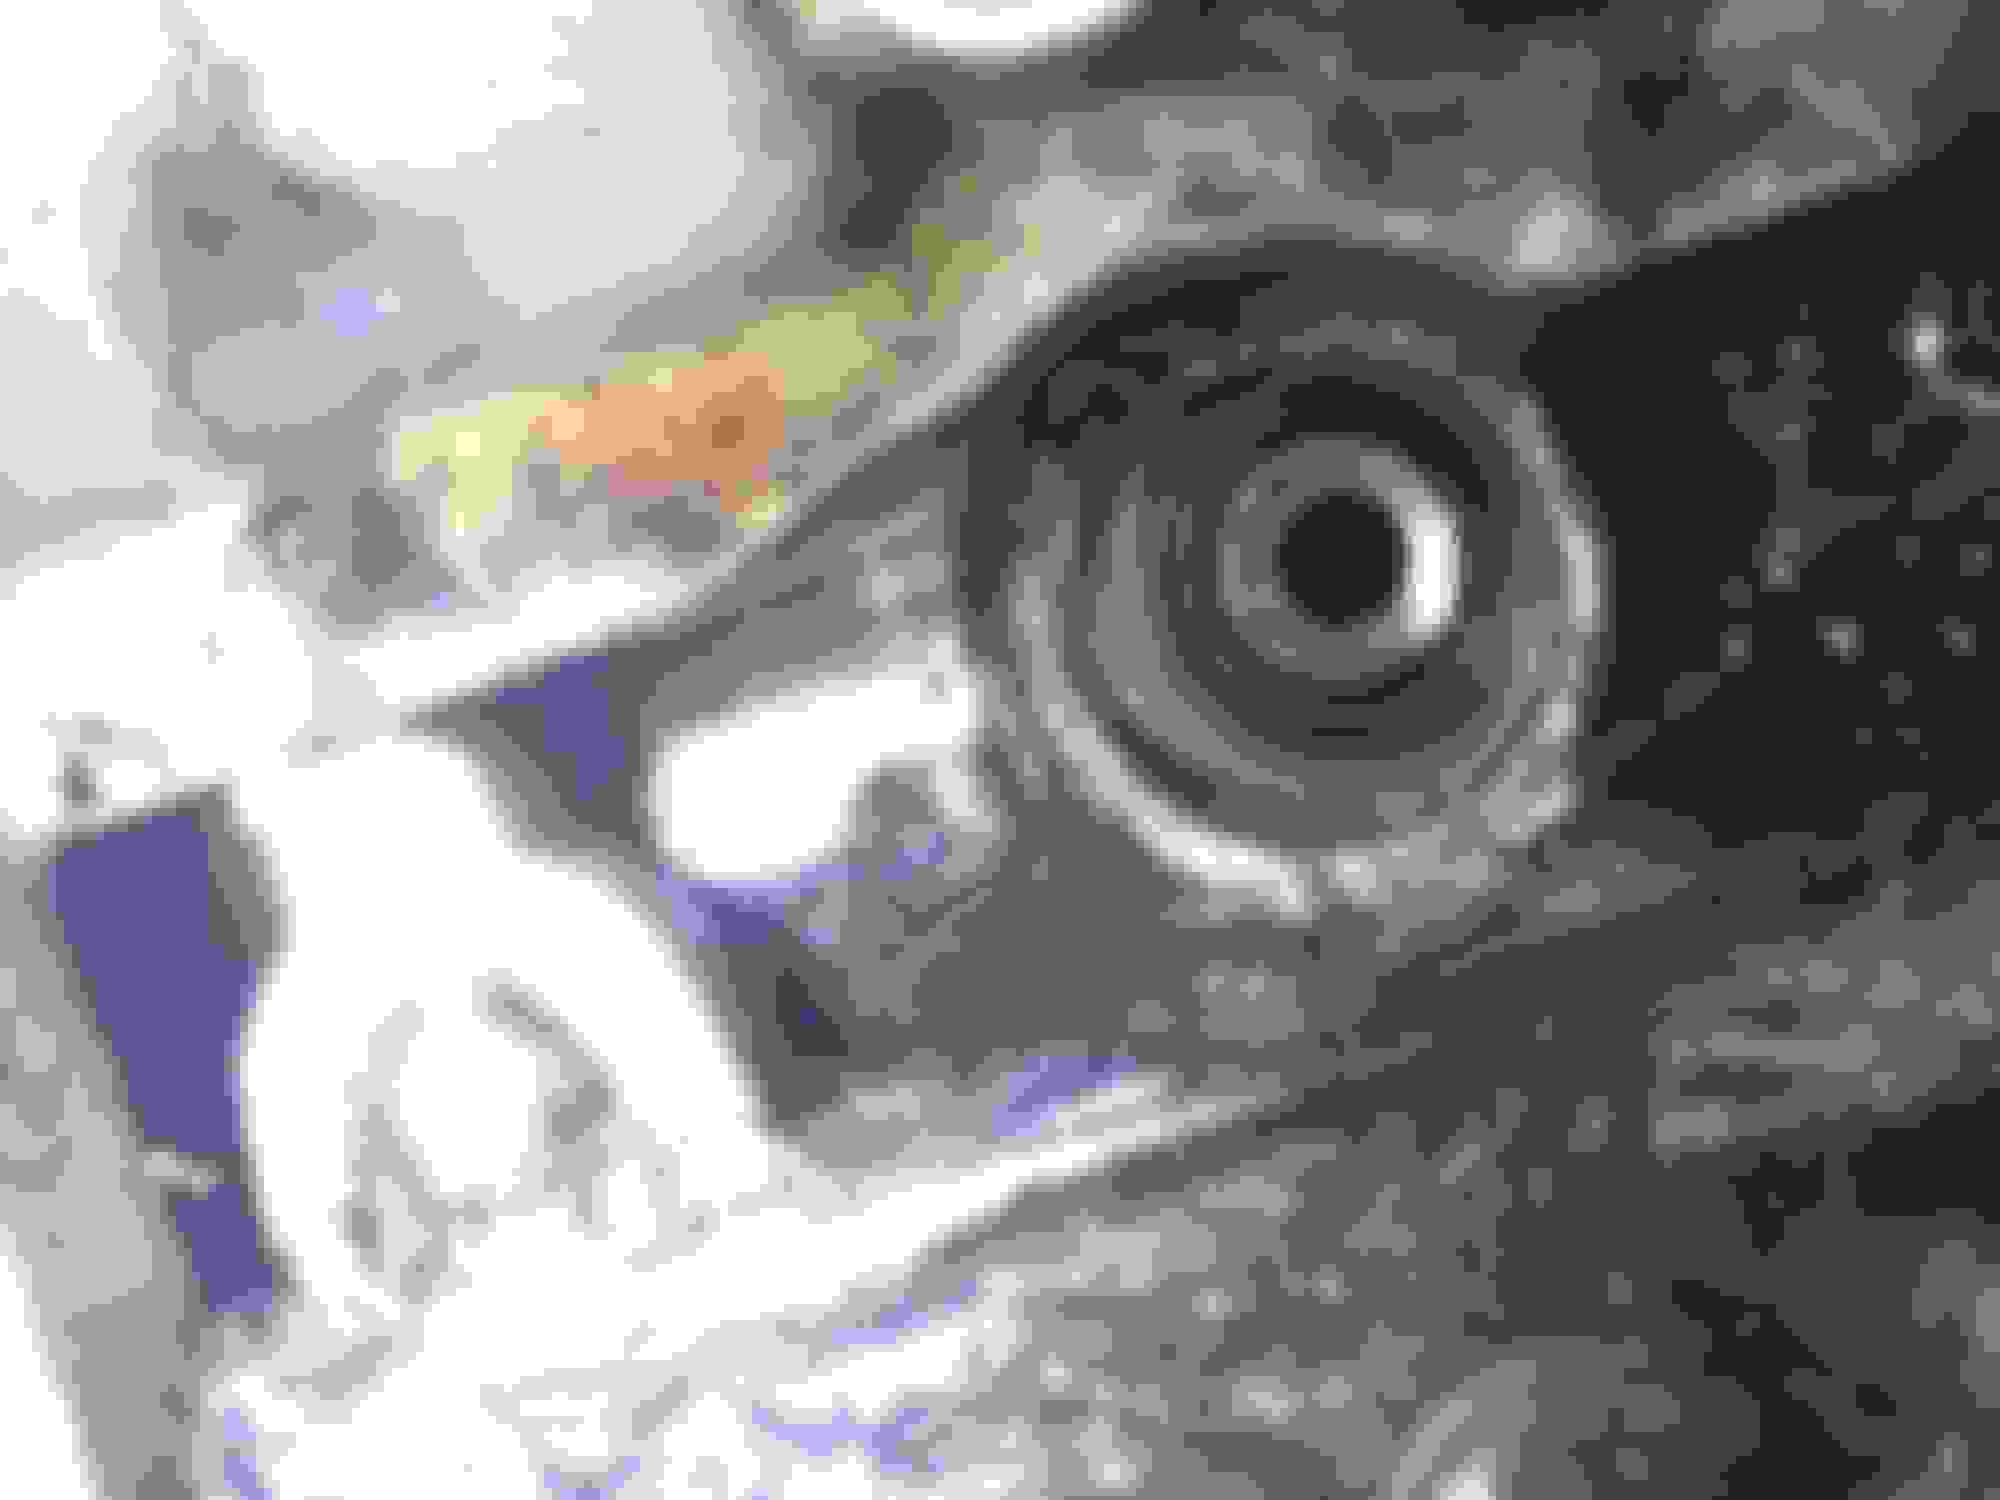
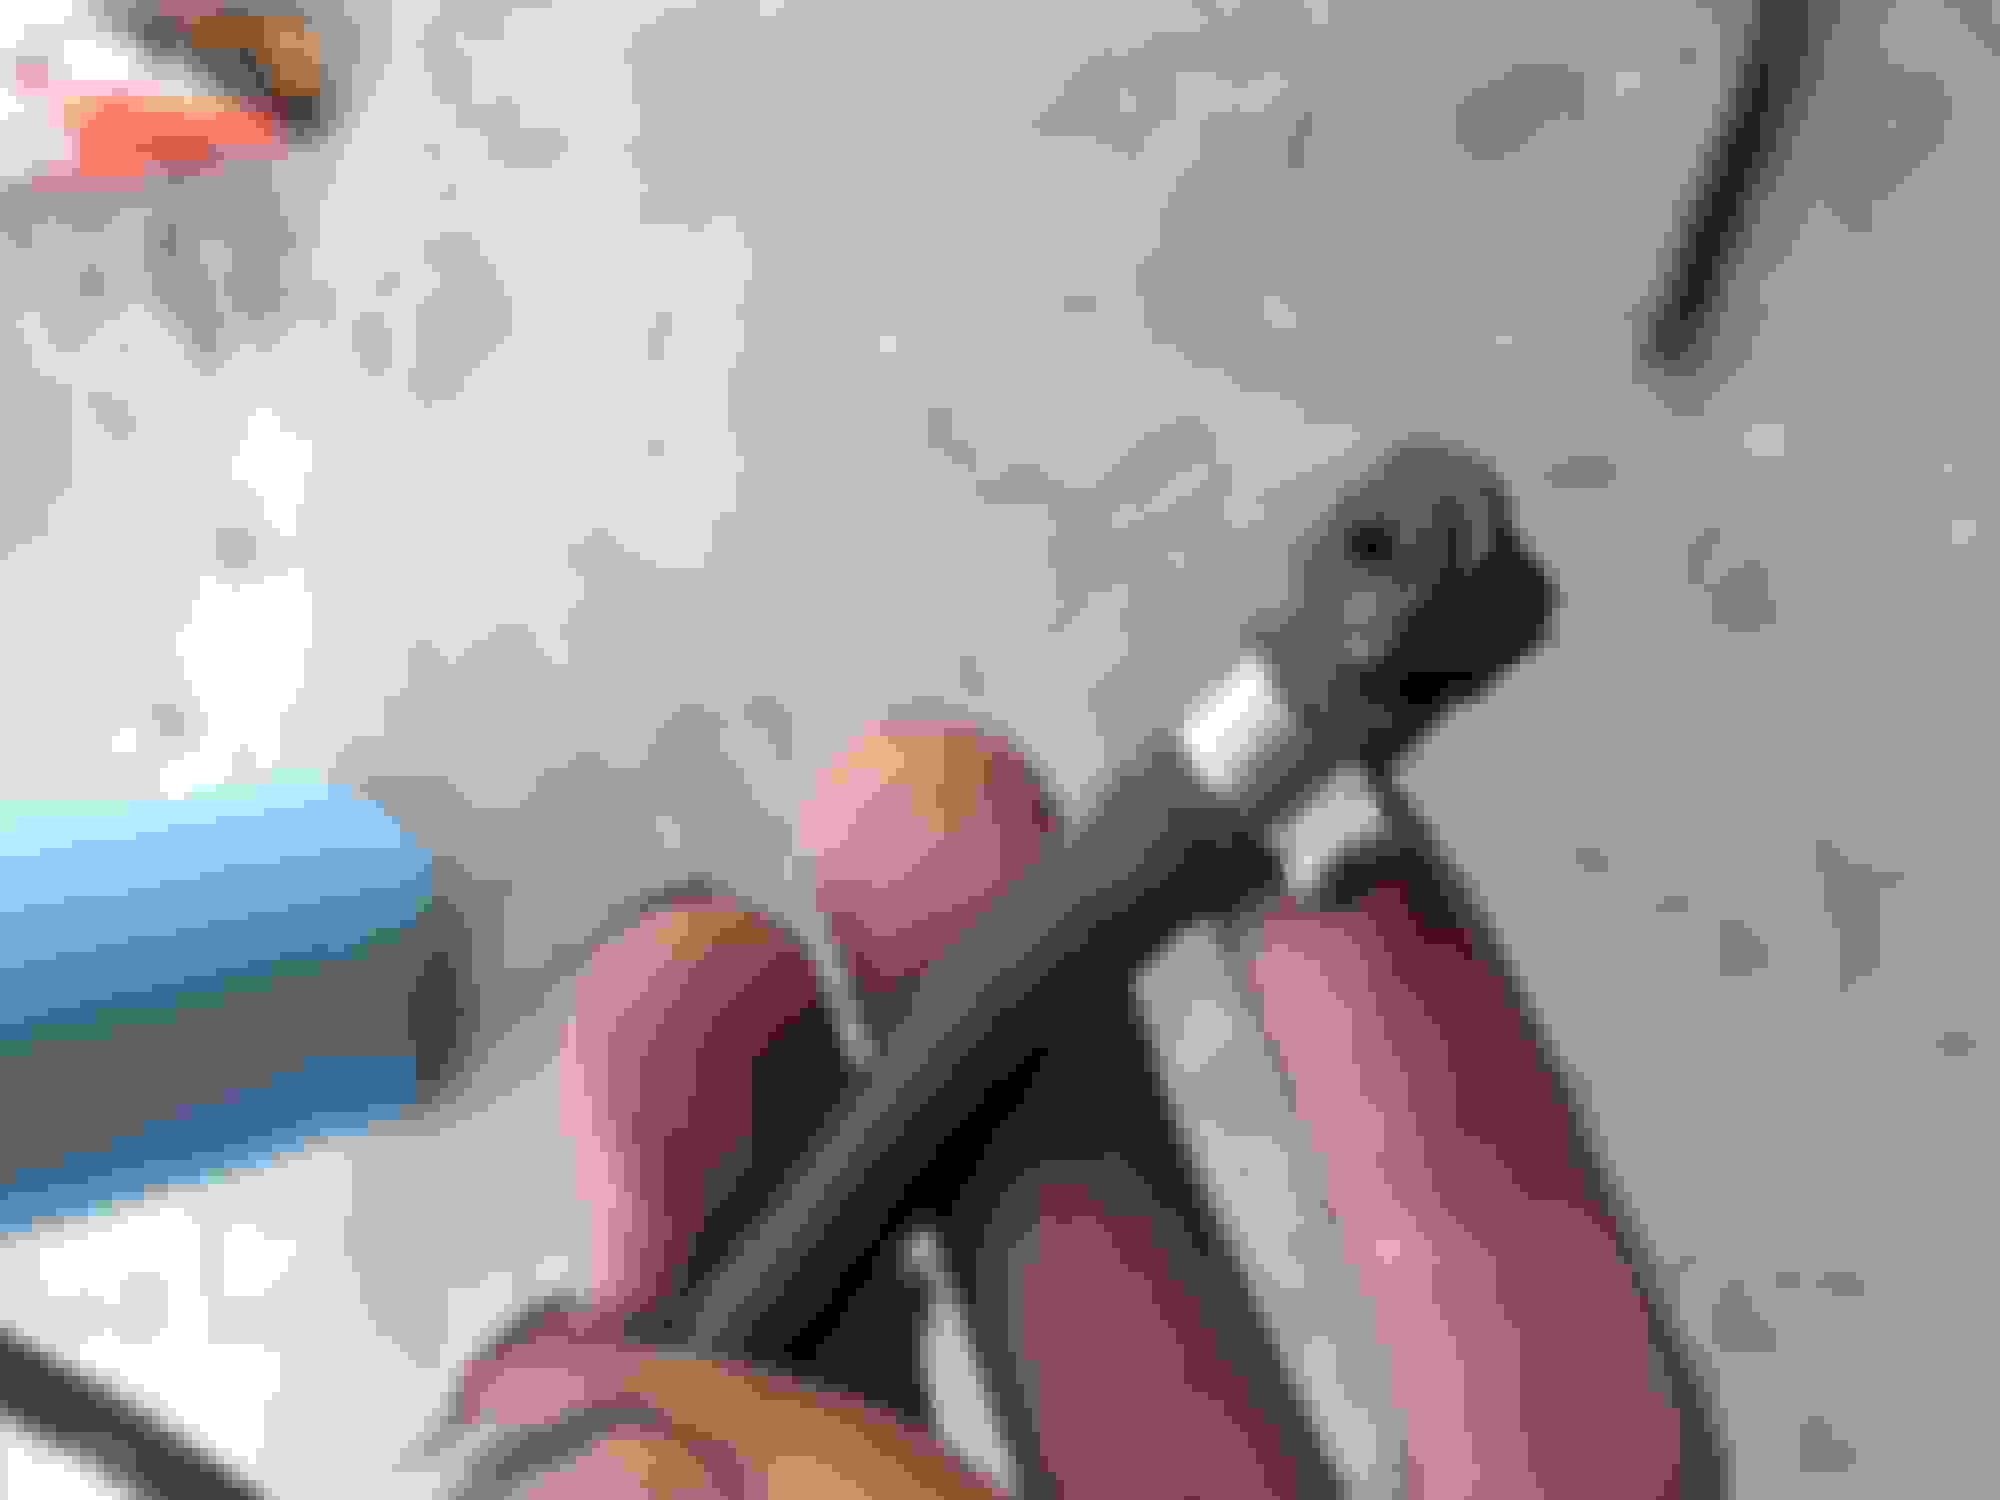
After:
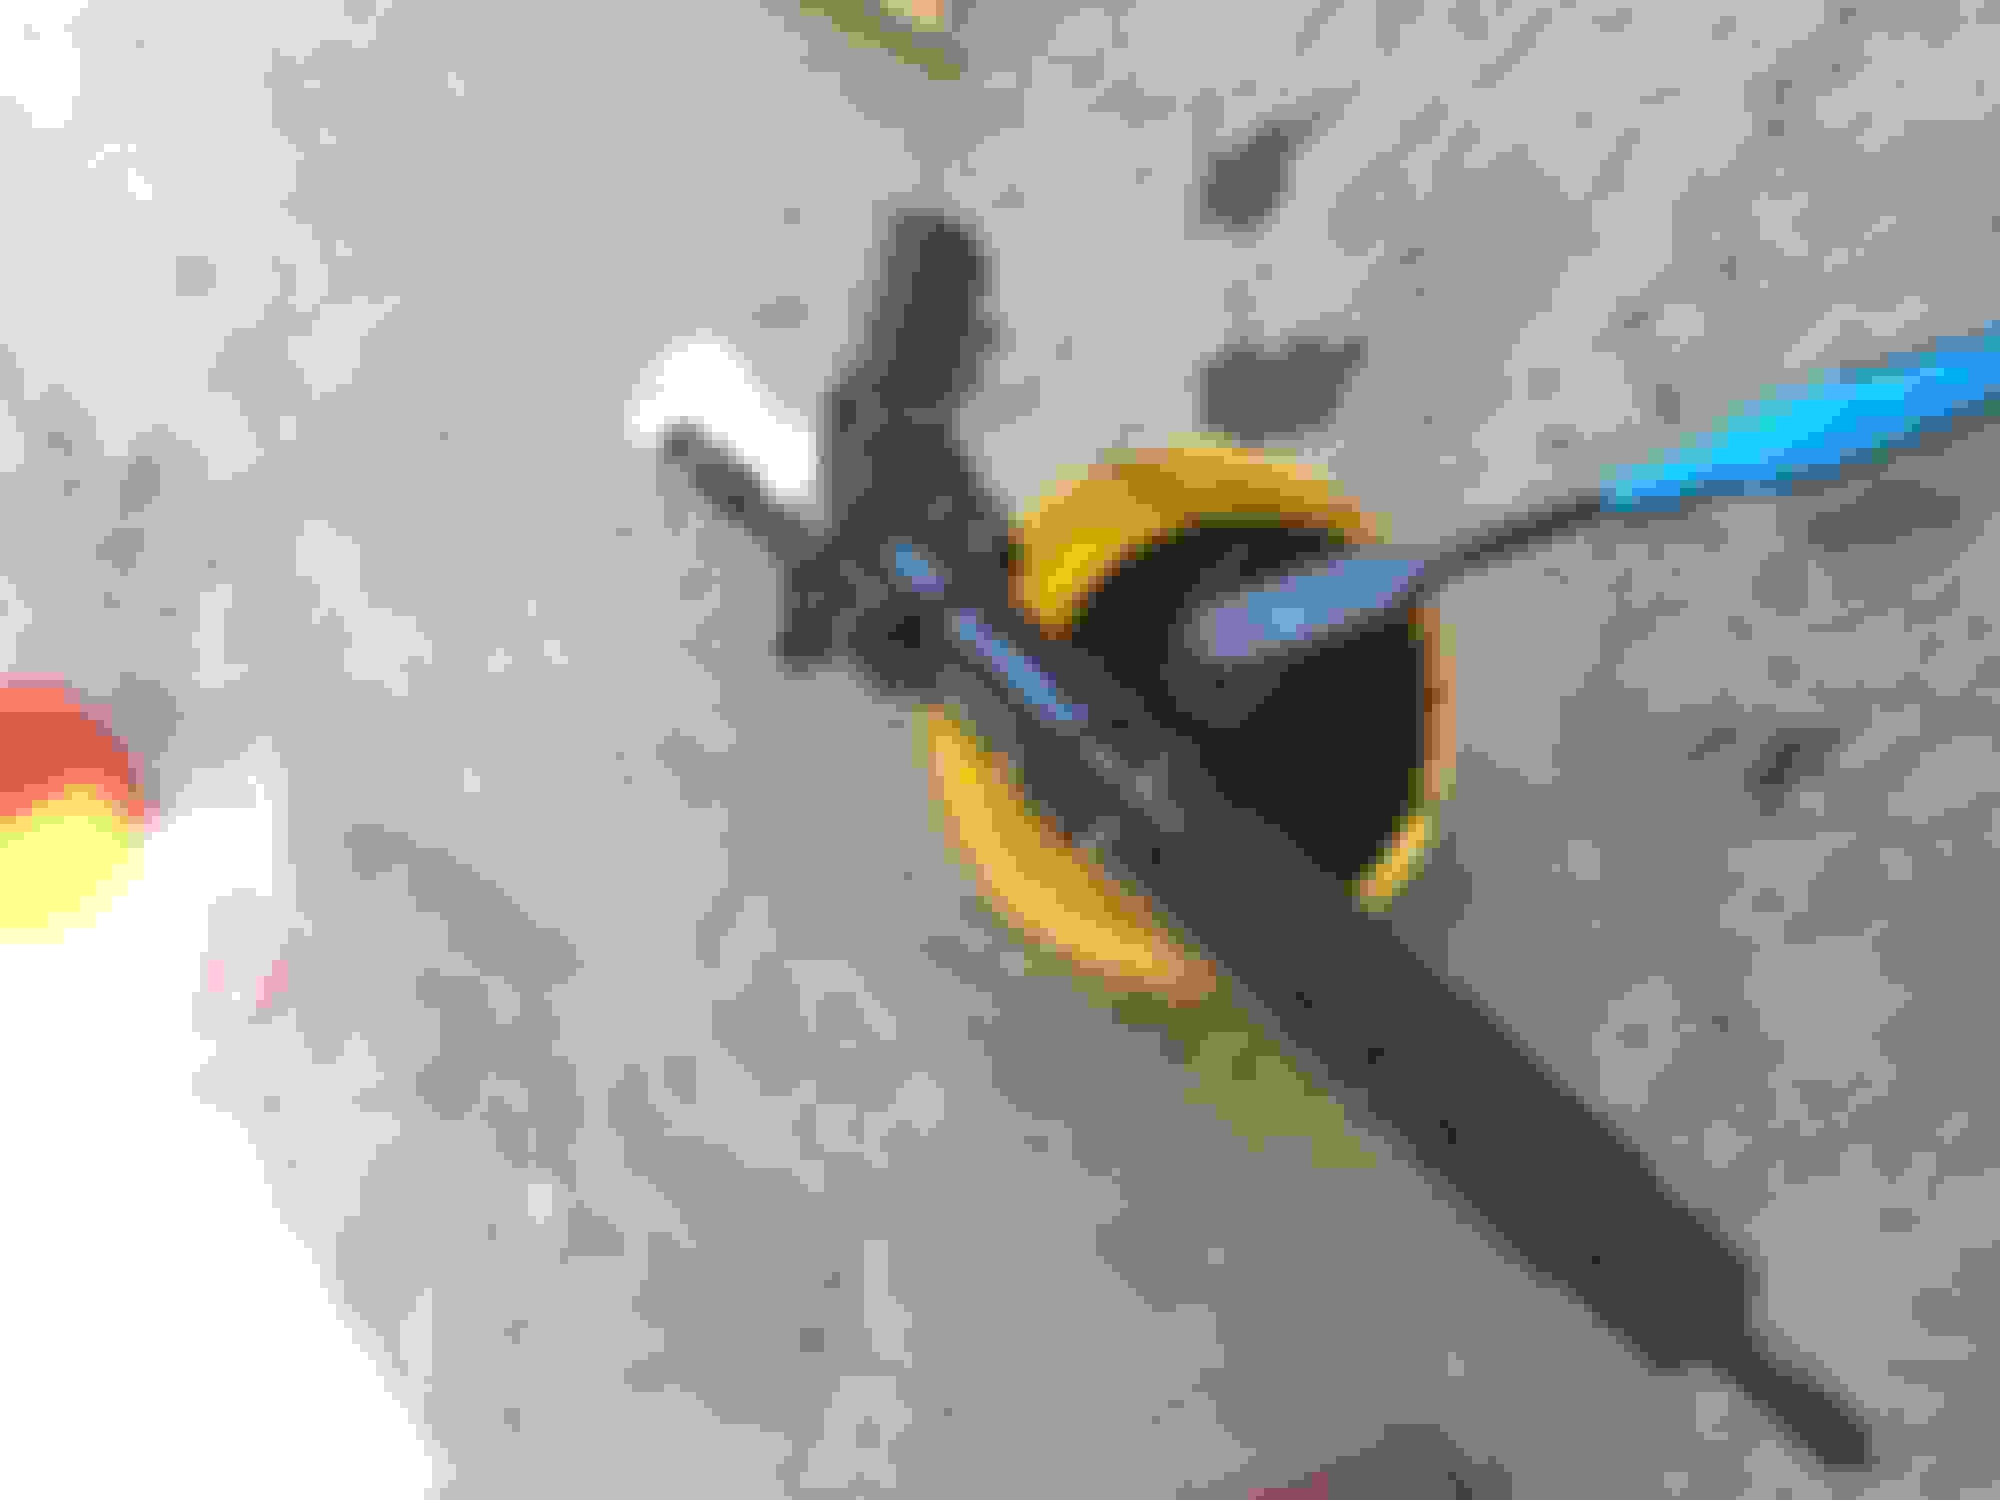
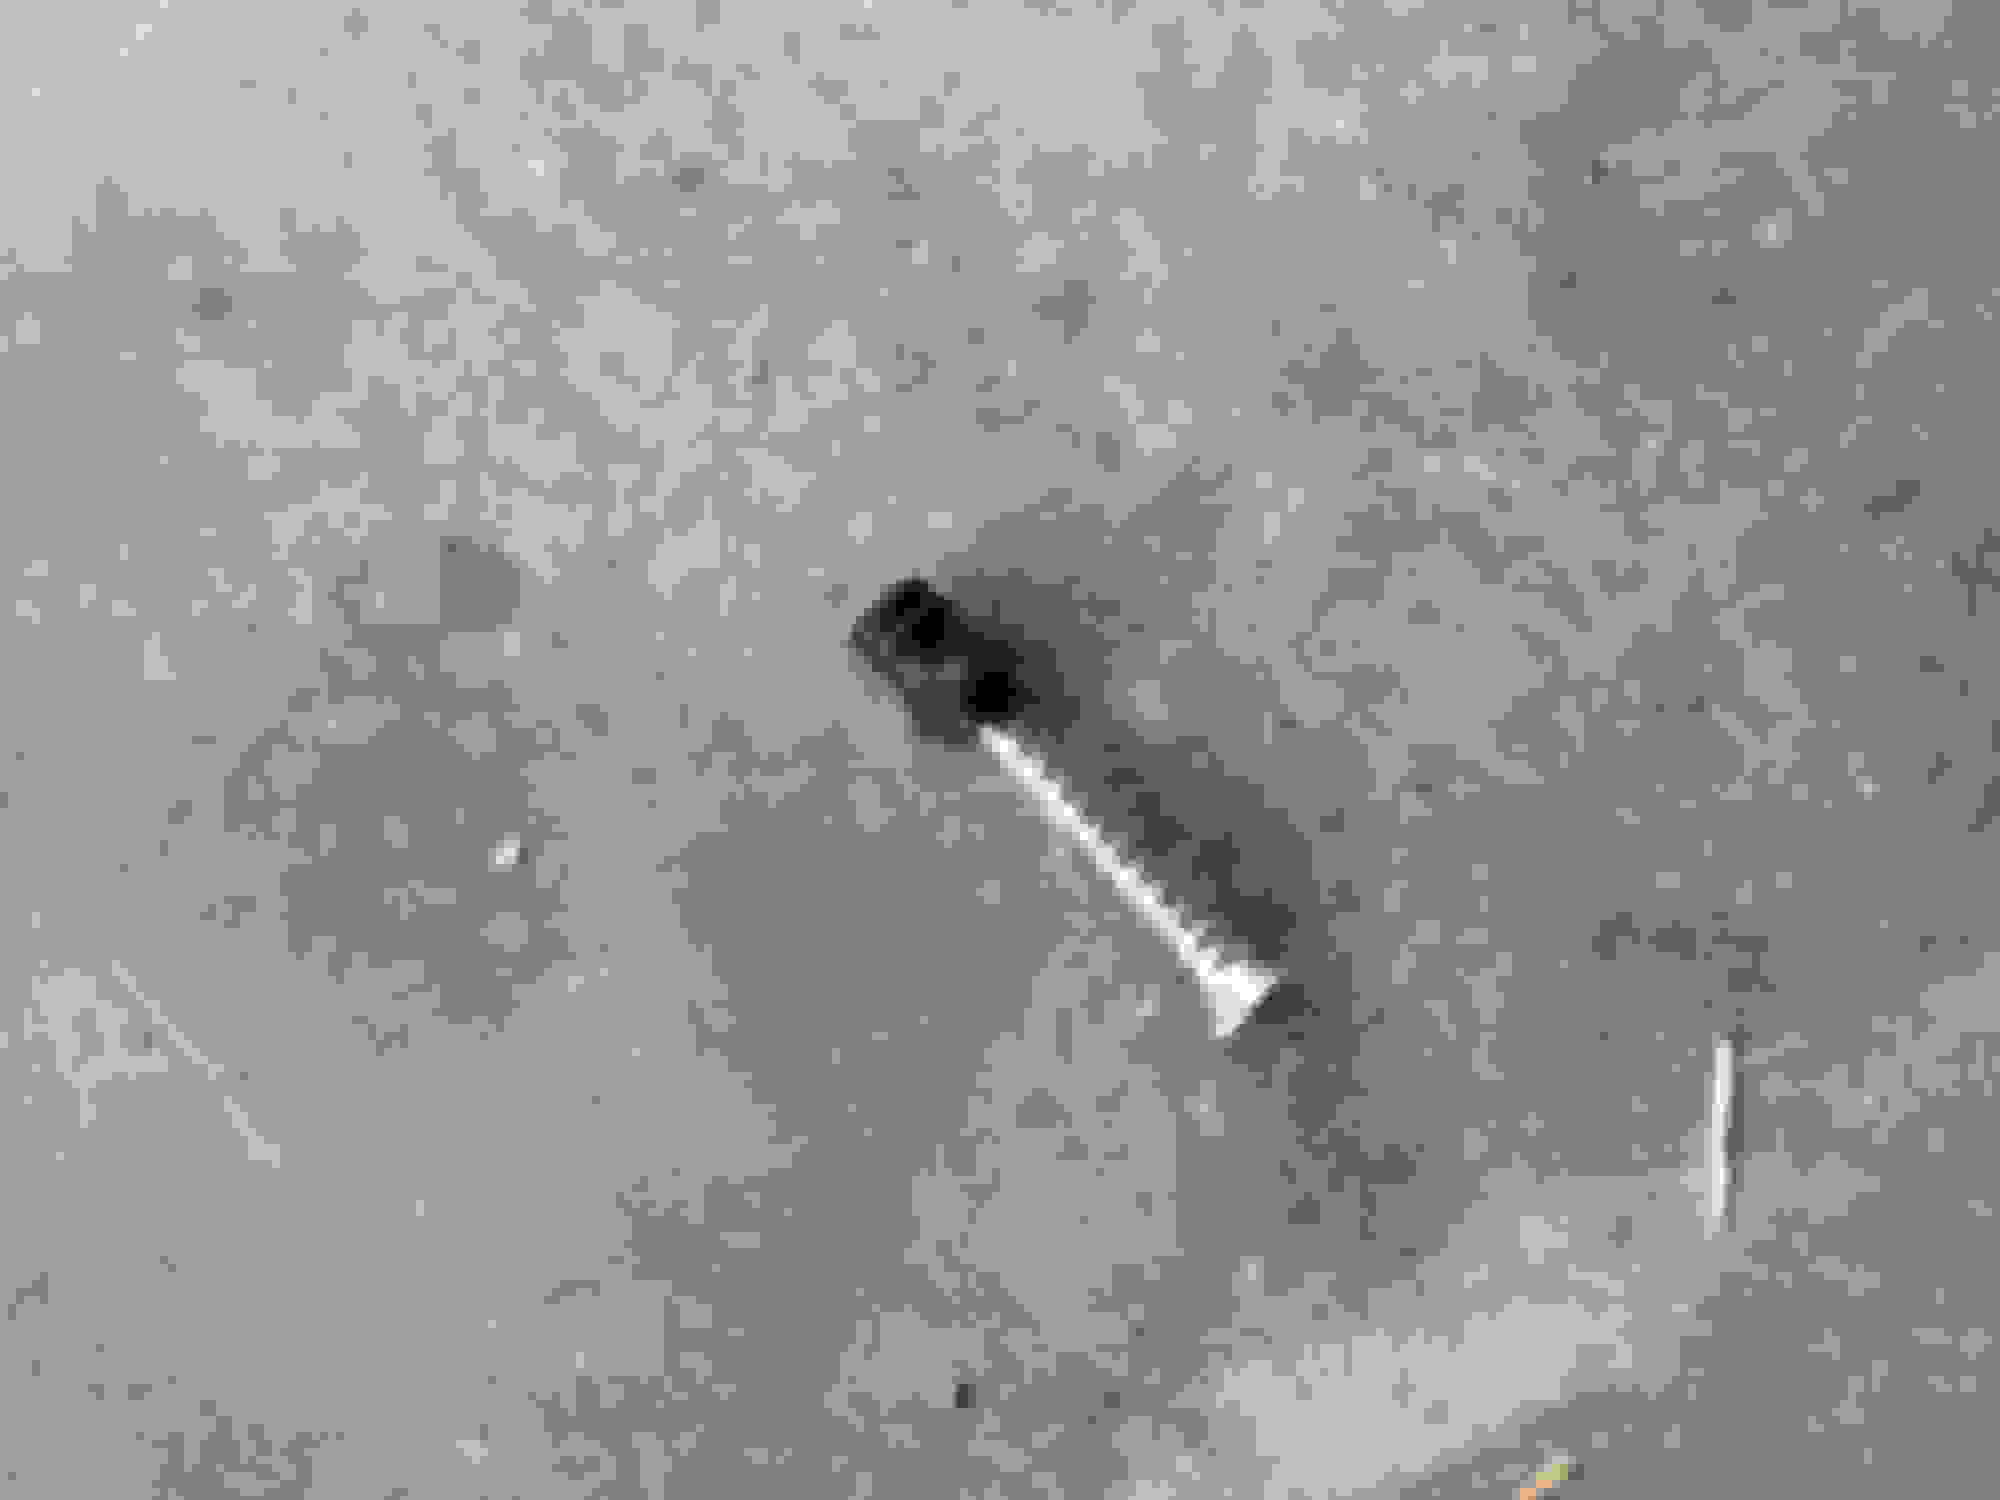
Unfortunately the locking ring for the return fuel line was so caked with the black death, I couldn't release it without breaking. This requires replacing the entire return fuel line assembly:
This is what the locking ring looks like. You just need to pry it upwards with a flathead screw driver. Be careful, they break easy.
There is no way to get the return fuel line off in one piece without taking off the driver side fuel rail. This is because it feeds under the turbo pipe and the fuel rail, and the injector nozzle will not fit through the tight passage. I just cut mine.
Also, the male fitting snapped off in the return 'T' junction at the fuel filter. All the plastic here is very brittle. It could have used a little better engineering in my opinion, especially given that this is expected to be a common repair.
Now, I know you're wondering, how did I re-install the new return line without removing the fuel rail. Answer: I just routed it over top. There's plenty of clearance, and also a stand-off right next to it for the engine cover mount:
I couple special things you will need:
1) 17mm flare nut socket - for the flare nut on the injector
2) 18mm flare nut wrench (head) - for the flare nut on the fuel rail
3) MB Special Ceramic grease - for coating the injector
4) Bottle brushes to clean the injector bore and the bolt hole
5) Acetone
Last edited by marc hanna; Apr 15, 2016 at 09:02 PM.
The 17mm flare nut socket is the only tool that will allow you to get the fuel line on and off the injector properly, as well as torque it back on correctly.
I would also recommend repairing as soon as possible, even though the vehicle remains perfectly drivable. This is because as time passes, the black death gets worse, and the clean-up becomes more involved. The first symptom that will tip you off, is the occasional whiff of diesel fuel inside the passenger compartment.
Many thanks for your post, it was all I needed--Knocked it out in about 2.5 hours all in.
PS, got the ceramic grease through Importec (FEBE) for $6US, same stuff as the $29US dealer price.
What did you use for a thread adapter to grab the injector with the slide hammer, also, did you twist it in the bore at all to loosen it up? I had to place the yoke back in place and CAREFULLY ease it back and forth to turn it loose, then it slide hammered out easily.
I'm glad it worked out well for you. I didn't use a slide hammer. A little acetone was all that was necessary, and I used the bolt and the hold-down finger as a cam and lever to eject the injector.
I'm glad it worked out well for you. I didn't use a slide hammer. A little acetone was all that was necessary, and I used the bolt and the hold-down finger as a cam and lever to eject the injector.
I think mine was quite a bit more siezed than yours may have been, and there is absolutely no way I would've ever gotten that thing out of there without twisting it in the bore. I even needed to twist it while I was slide hammering it to get it free up
I would also recommend repairing as soon as possible, even though the vehicle remains perfectly drivable. This is because as time passes, the black death gets worse, and the clean-up becomes more involved. The first symptom that will tip you off, is the occasional whiff of diesel fuel inside the passenger compartment.
aww man, mine occasionally smells like diesel fuel
i guess i am replacing the seal
Sometimes exhaust or exhaust leaks can have a certain smell as well.
The best thing to do is take off the engine cover and with the engine running, look for what seems to be a jet of air coming from the injectors, and thick black oily looking residue around one of the injectors. The residue is actually hard and glassy when you touch it.
Would it make sense to plug the injctor chamber with some kind of expanding plug at the very bottom where the injector tip goes in when performing injector change?
Washing the injector chamber with acetone and this dirt getting into the combustion chamber can't be a good thing, or am I too cautious here?
The most important thing would be to clean around the injector before pulling it, making sure to get any sand or other loose particles out of there so that is doesn't fall in. The "black death" dissolves into the acetone, and remains fluid, so there wouldn't be any issue with particulate or dirt going into the cylinder. The OM642 is a direct injection, so there's no pre-chamber for residue to collect in. Any residue would be cleaned out of there shortly after starting up the engine.
An expanding plug would prevent getting the seat for the seal clean, and may result in a reoccurence of a leak.
Would it make sense to plug the injctor chamber with some kind of expanding plug at the very bottom where the injector tip goes in when performing injector change?
Washing the injector chamber with acetone and this dirt getting into the combustion chamber can't be a good thing, or am I too cautious here?
The cleaning kit has a super neat video on youtube that details how to use all the components, which INCLUDEDS, a cool little plug that you fit into the injector hole at the bottom of the injector hole.
That looks like it would do the trick. I just bought a set of nylon brushes from amazon and I clipped the eyelet off the end of the handle. $14.99, came with 20 brushes of assorted sizes.
The cleaning kit has a super neat video on youtube that details how to use all the components, which INCLUDEDS, a cool little plug that you fit into the injector hole at the bottom of the injector hole.
That's exactly what I was thinking. It would appear that with the plug in, you can still clean the seat.But the video shows that they remove it before sanding the seat. Hmmm perhaps using an ear plug (sound protection) would work?
Can you please take some closeup shots of the plug and measure it too?
thanks
Last edited by GoodByeHonda; Nov 6, 2017 at 04:24 PM.
I am doing my 642 engine swap and that was the only place I could find some info on injector removal.
Couple of things to add
-the return lines (picture #7) snap off injectors - once you push the big ring up. I used very long needle nose pliers for it.
-the electric plug on injector is locked by the white plug (picture 1) but that still did not release the lock. I had to push small flat screwdriver under to lift the locking tab.
-glow plugs connectors are just push-in.
The computer shows that at 180k miles the engine had injectors replaced and 3 I pulled out so far come off with 2 fingers pull. Whoever install them- put lot of white grease what kept the long body clean.
If you don't mind Marc, I will add some tips about injectors here. Don't feel like making whole pictorial about engine swap.
7Nm plus 90 degrees plus 90 degrees(after 7Nm). This is for the 6mm torx bolt mb part # a000 990 29 07. This is one time use only. Make sure you absolutely get all the particles from the hole before final install. If you don't have a tap, make one out of the old 6mm hex bolt by grinding a grove. This way when you pit it in it'll collect all the debris from the treads. Make sure you don't go too deep or else you'll get antifreeze fountain...
Oh, I should add that you must hold the injector in place when applying final torque on the 17mm top fuel line. Cant remember the torque on that.
Last edited by GoodByeHonda; Feb 11, 2018 at 01:41 PM.
To add different experience. I did not have black death, but was swapping injectors to new engine.
All of them come out without a puller. Couple of more stubborn took some wiggling. I put a screwdriver between the end of clamping wedge and with the clearance in the cover was able to move them back and forth few degree. That broke the bond and using fuel line for pulling I got them out.
All injectors come wet from the holes. I am replacing engine so don't care about dumping dirt into old one, but catching the fuel while disconnecting fuel lines might be good idea and finding a way to vacuum the stuff before injector pull might be good idea as well.
2 of injectors had the grease washed out, meaning they had to have fuel around them for some time. Engine was dry when I bought the car, so what happen in the past will be a mystery.
Just completed a job on rebuilding/ taking apart all 6 injectors on my 2009 ML 320 blutec. All has been reinstalled, injectors greased, new copper washers and hold down bolts installed. Torqued to 7Nm plus 90 degrees each bolt. I have hard time starting it. I have loosened the inlet lines from the common rail until air lines were cleared from any air while cranking the engine, also the screw on fuel pump was loosened till air bled. Still no luck. Is there a need to re program each injector for a successful start?
Mercedes SLR McLaren 722 S Is Extremely Rare Example Modified by McLaren
Slideshow: A one-of-one U.S.-spec Mercedes-Benz SLR McLaren Roadster became even rarer after a factory-backed transformation at McLaren's headquarters.