When you click on links to various merchants on this site and make a purchase, this can result in this site earning a commission. Affiliate programs and affiliations include, but are not limited to, the eBay Partner Network.
i would like to share my w124 1990 Mercedes Benz restoration project.
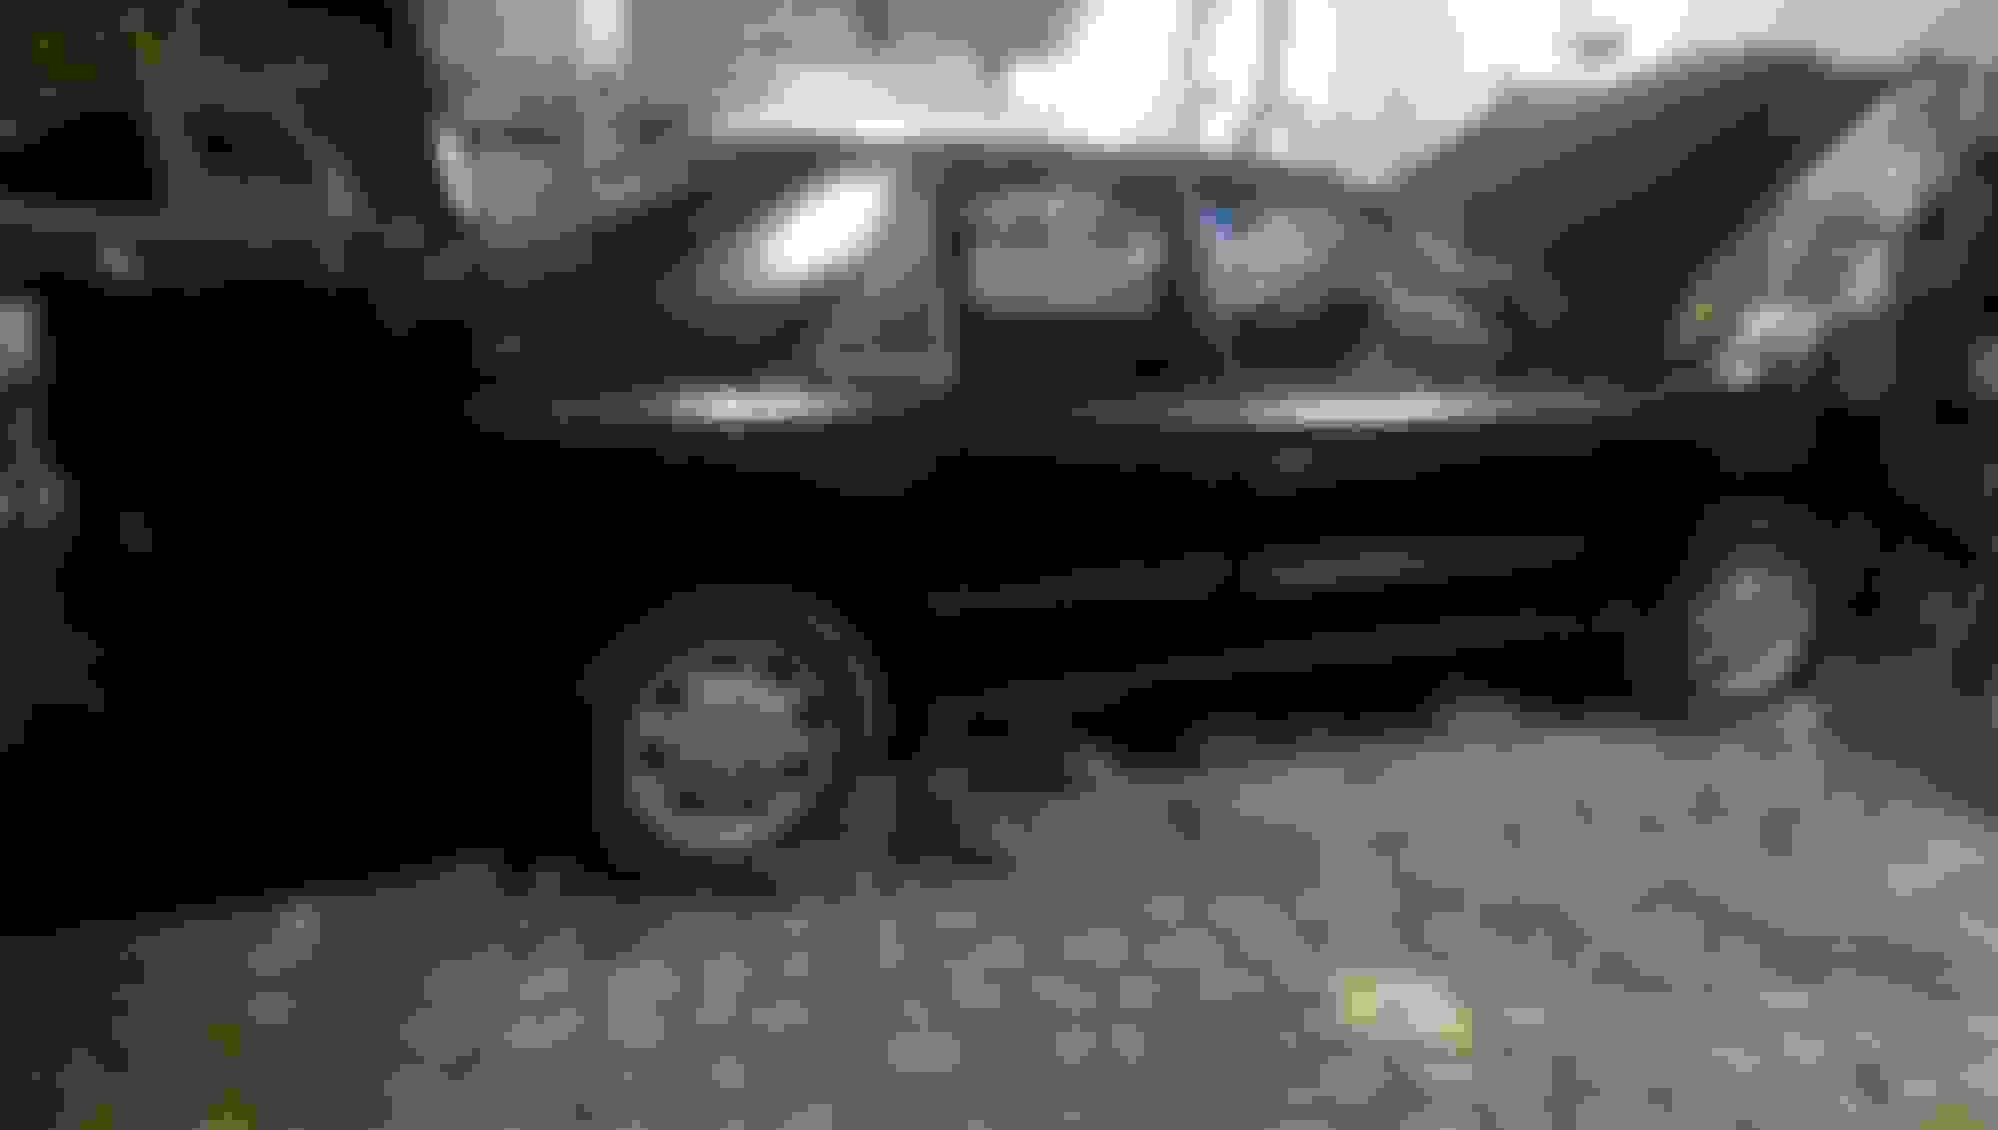
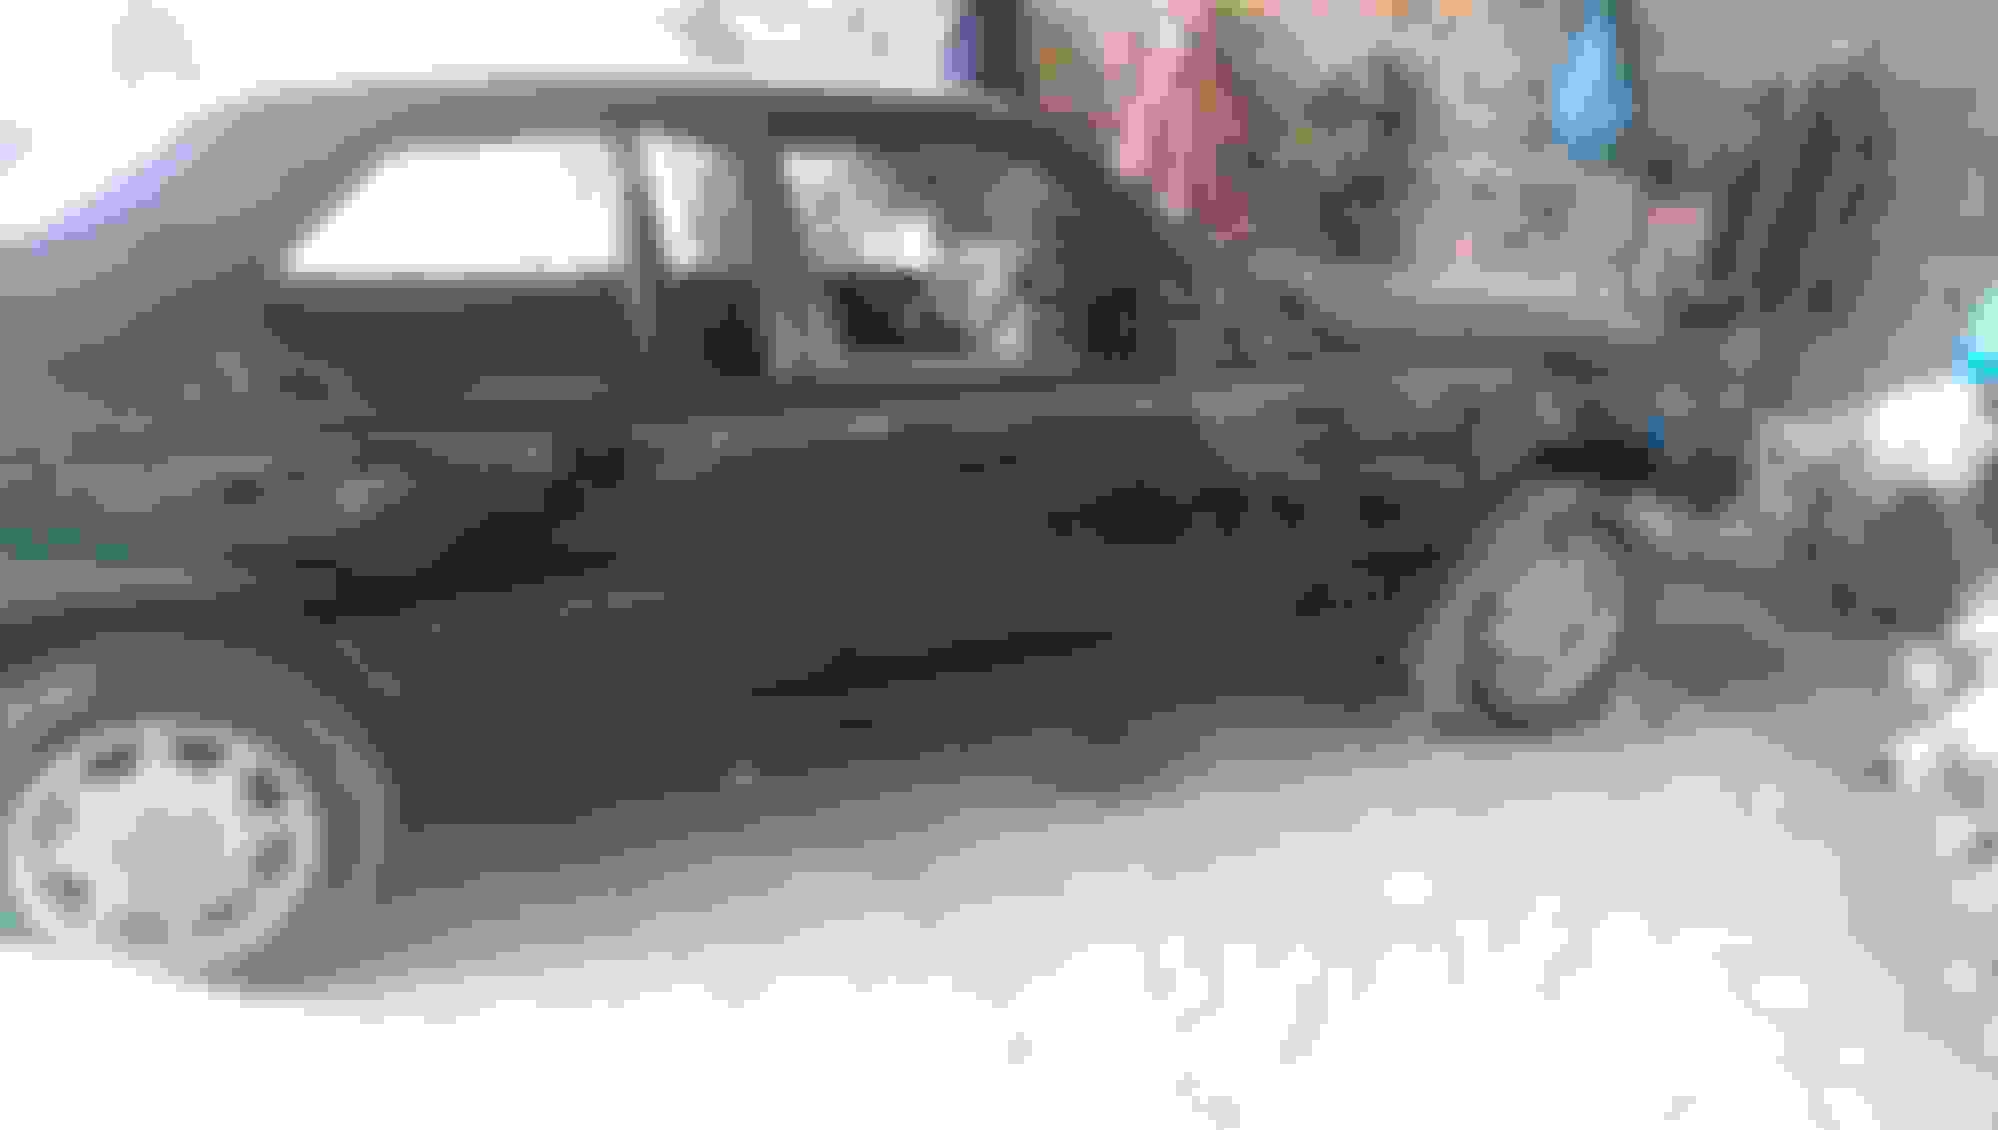
i started planning the project in 2013 .i bought this w124 in really bad condition, complete car was a total junk except the engine and frame of the car. good thing was car wasn't involved in any major accident so frame was perfect and rust free.
Mechanical condition
before purchasing this car ,previous owner recently swapped the engine with lexus is200,s 1g-fe engine, mounted to w124,s 4 speed manual transmission so it was in perfect condition. front and rear shock absorbers were damaged and leaked. all bushings were damaged. front and rear suspension, axles , drive shaft, wheel discs ,brakes , differential were not in proper working condition. worst part was the complete wiring . when i popped the hood it felt engine is covered in thick spider,s web that was the wiring. if i turned on the headlights, indicators wold turn on, front parking lights with reverse gear, AC with hazard switch and it goes on....
..shortly everything need changed.
exterior condition
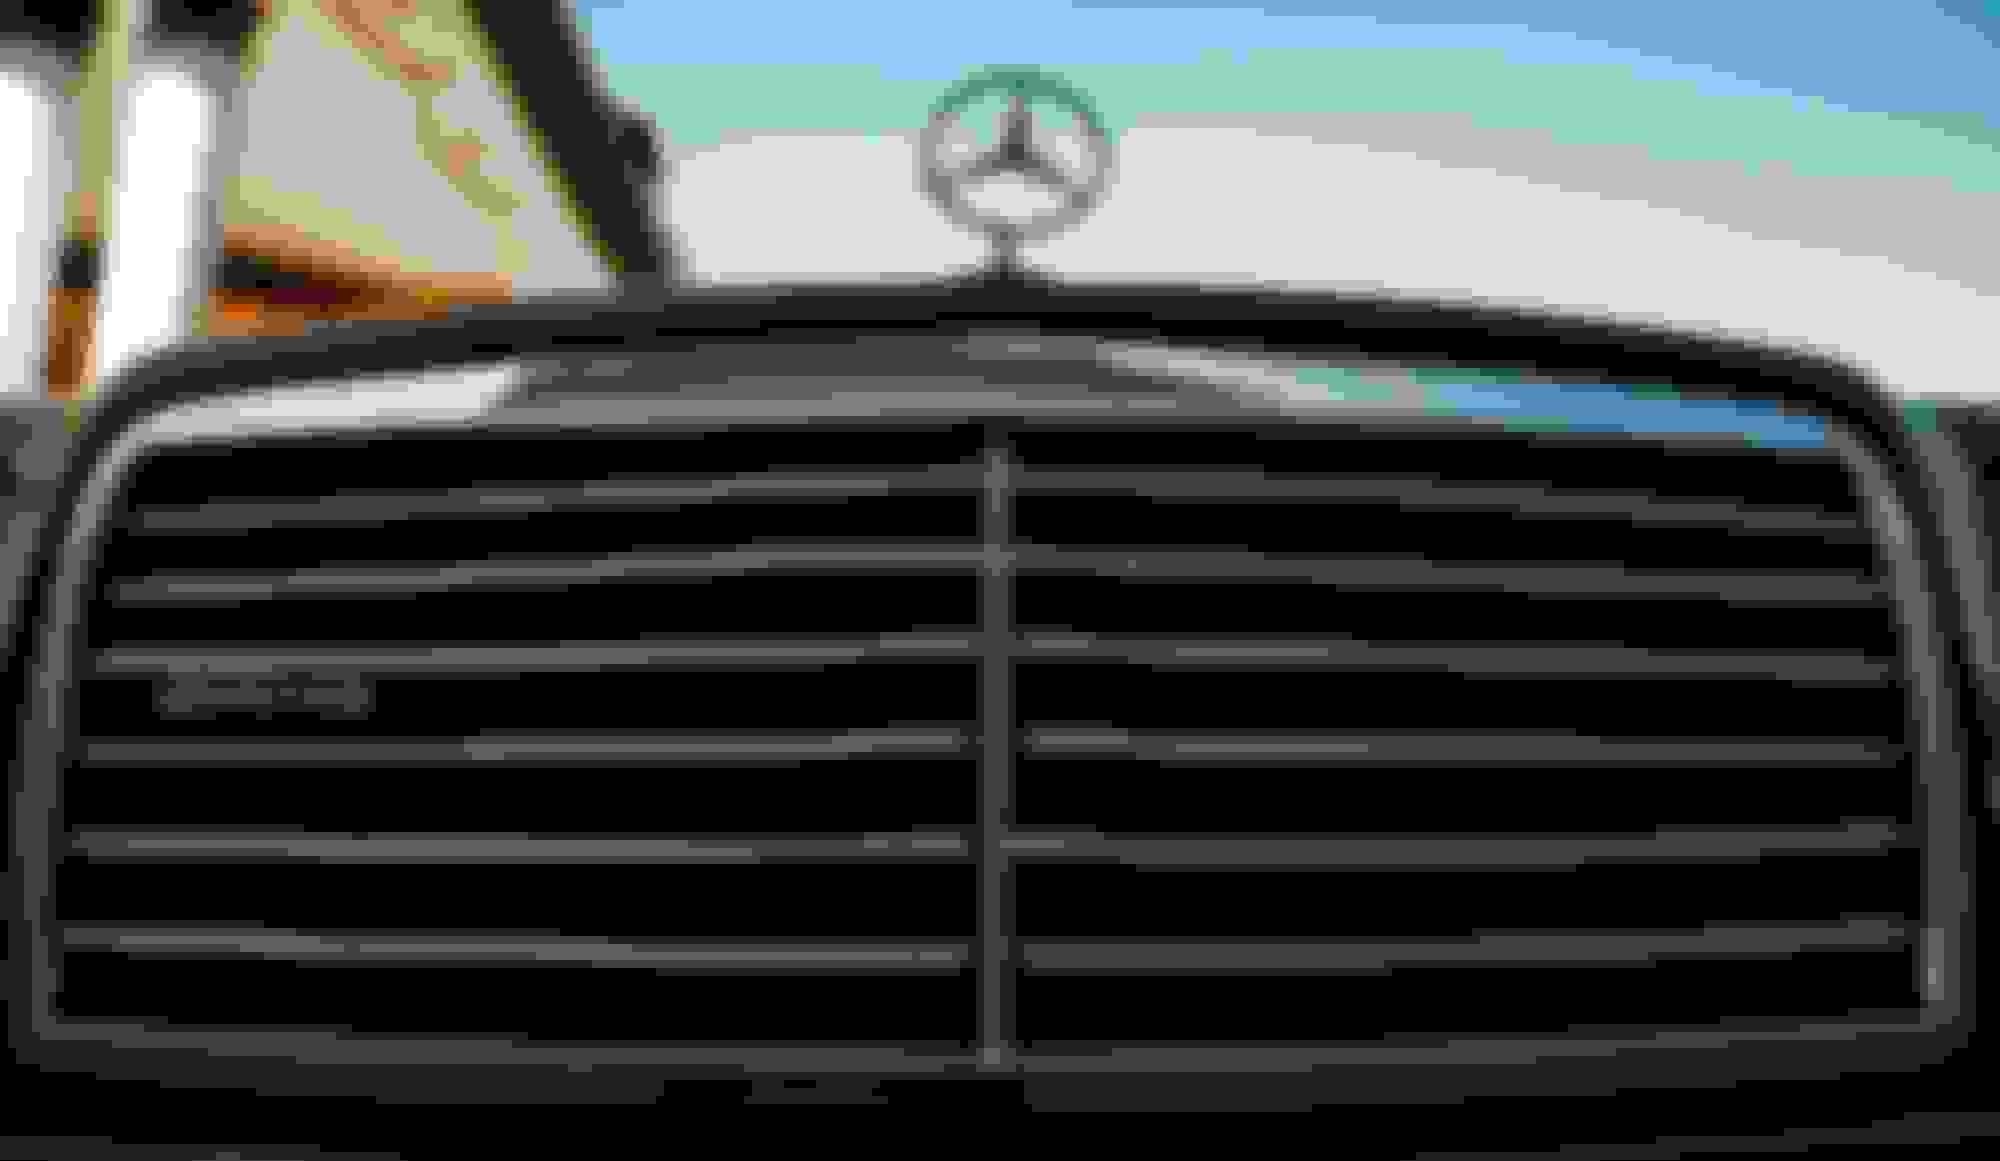
as mentioned above the car wasn't involved in any major accident. so frame and chassis were in perfect condition .car was very roughly painted, bumpers, grille,side mirrors , side panels and kits , head lights and tail lights ,emblem and badges , chrome linings were broken and need changed.
Interior condition
many parts were missing in interior and damaged .all seats were custom made.every single thing need replaced. and there was kind a weird smell inside the car. so i was definitely going to throw out that interior .
preparations before beginning of the project
i was in England before starting the project which was major advantage to grab parts from Europe .so did market survey in Pakistan to find out of market parts. i bought as many parts i could from online stores such as ebay and amazon etc from different locations such as Germany, Italy, England Thailand,Japan, and China, also grabbed some parts from scrap yards. and managed to get the remaining parts in Pakistan from imported halfcut of w124 from England in immaculate condition ,that half cut was like winning a jackpot .
list of some items i bought were :
all emblems and badges,
amg logos,
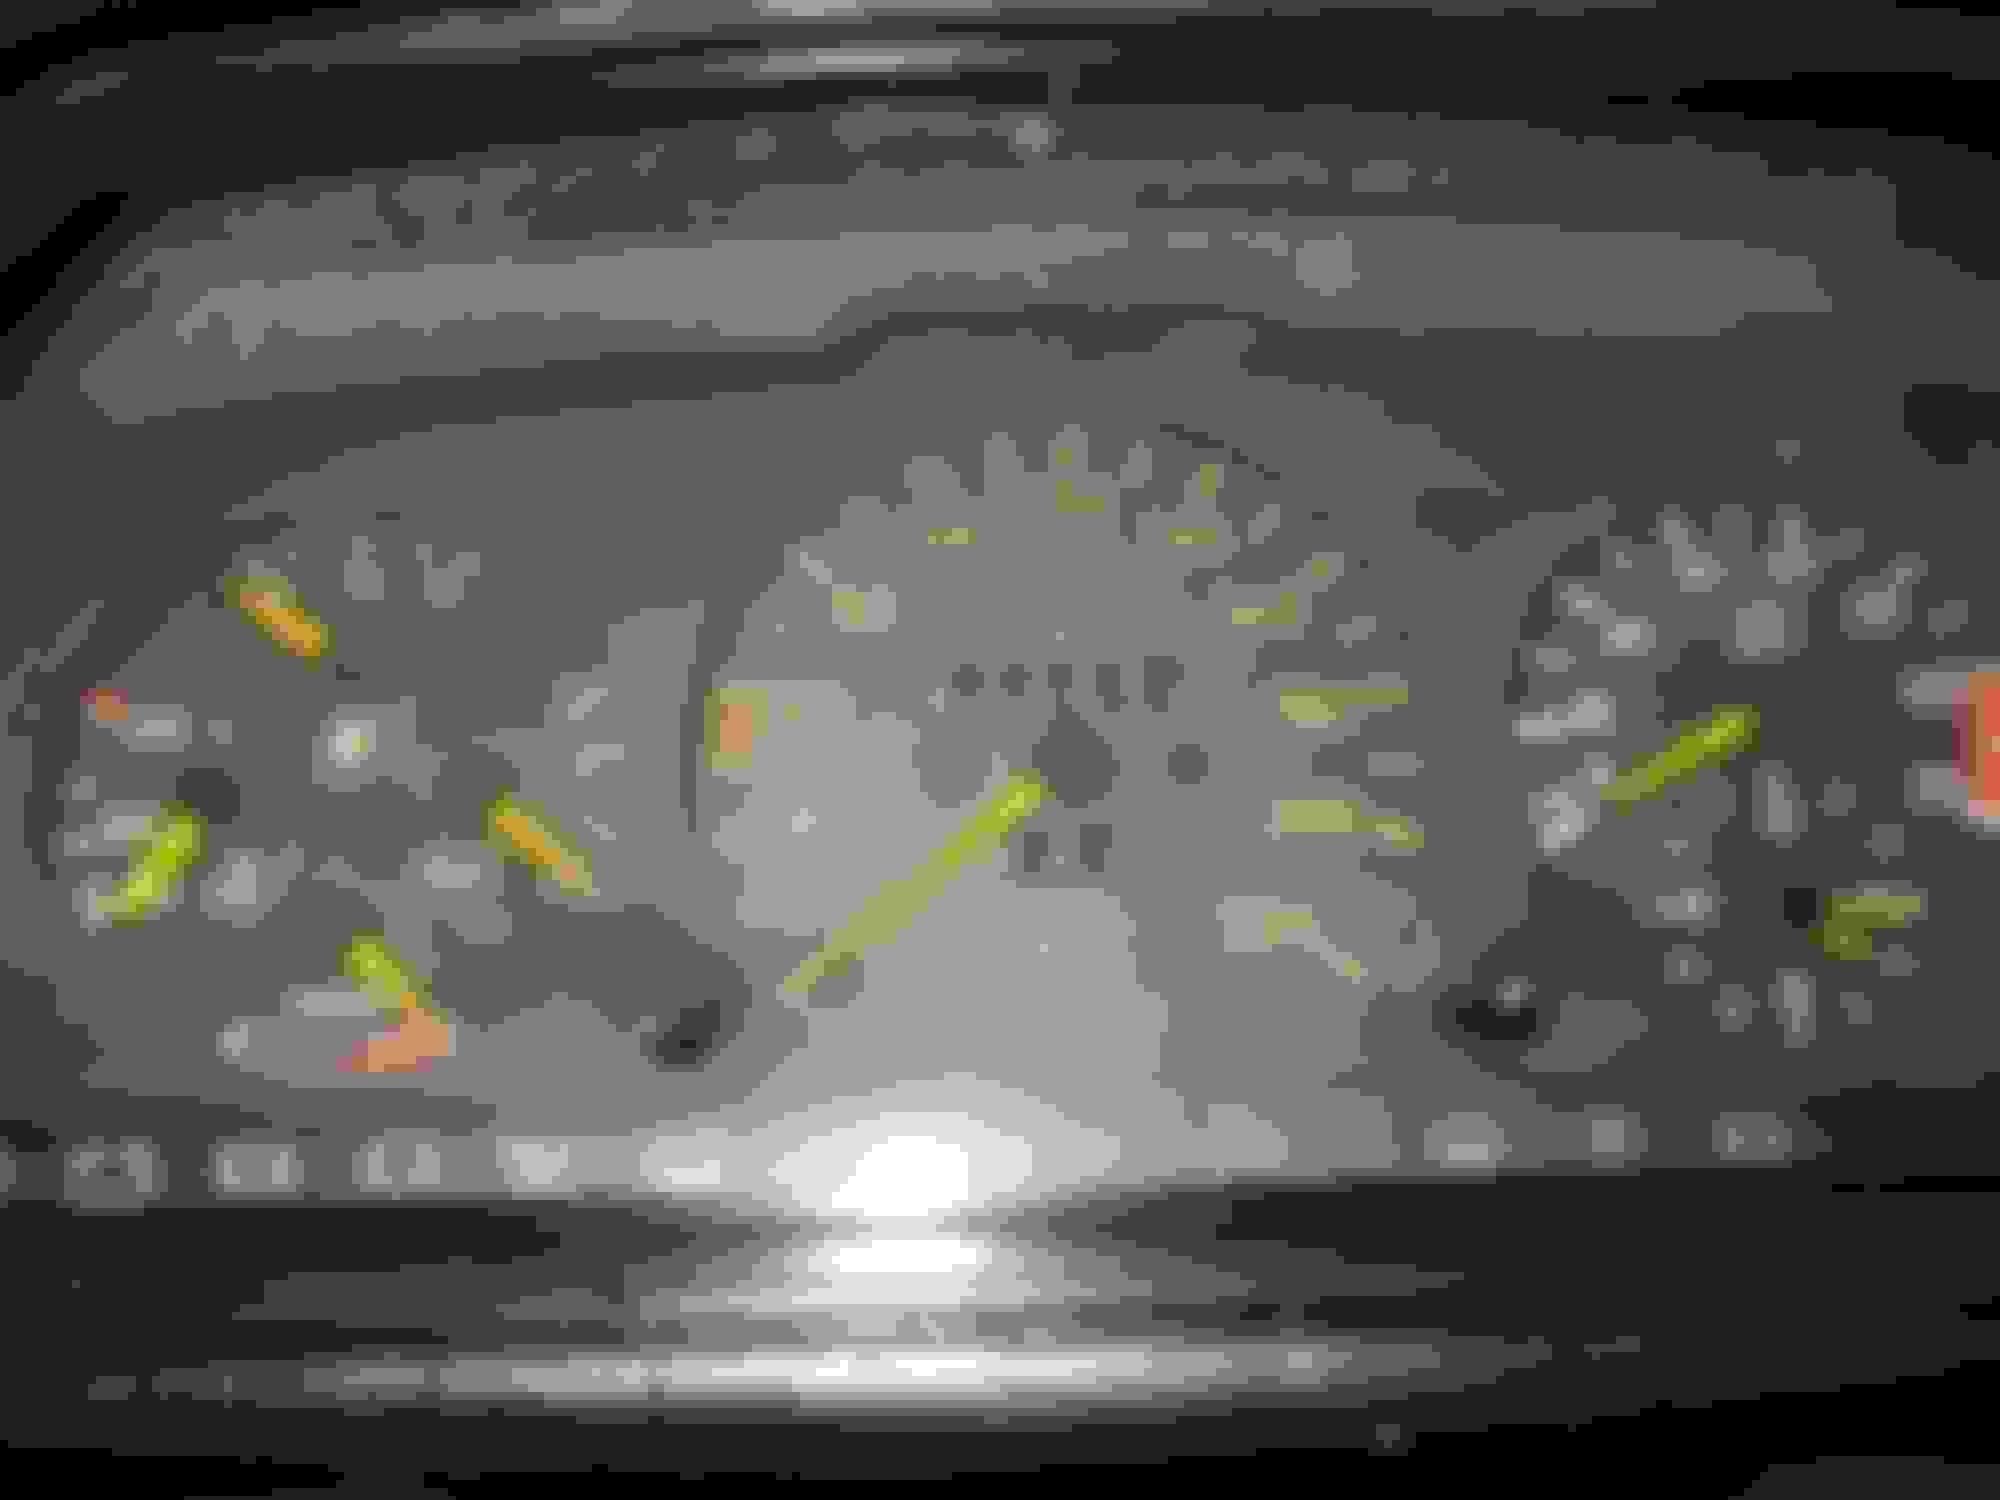
custom made amg speedo cluster,
interior switches and buttons,
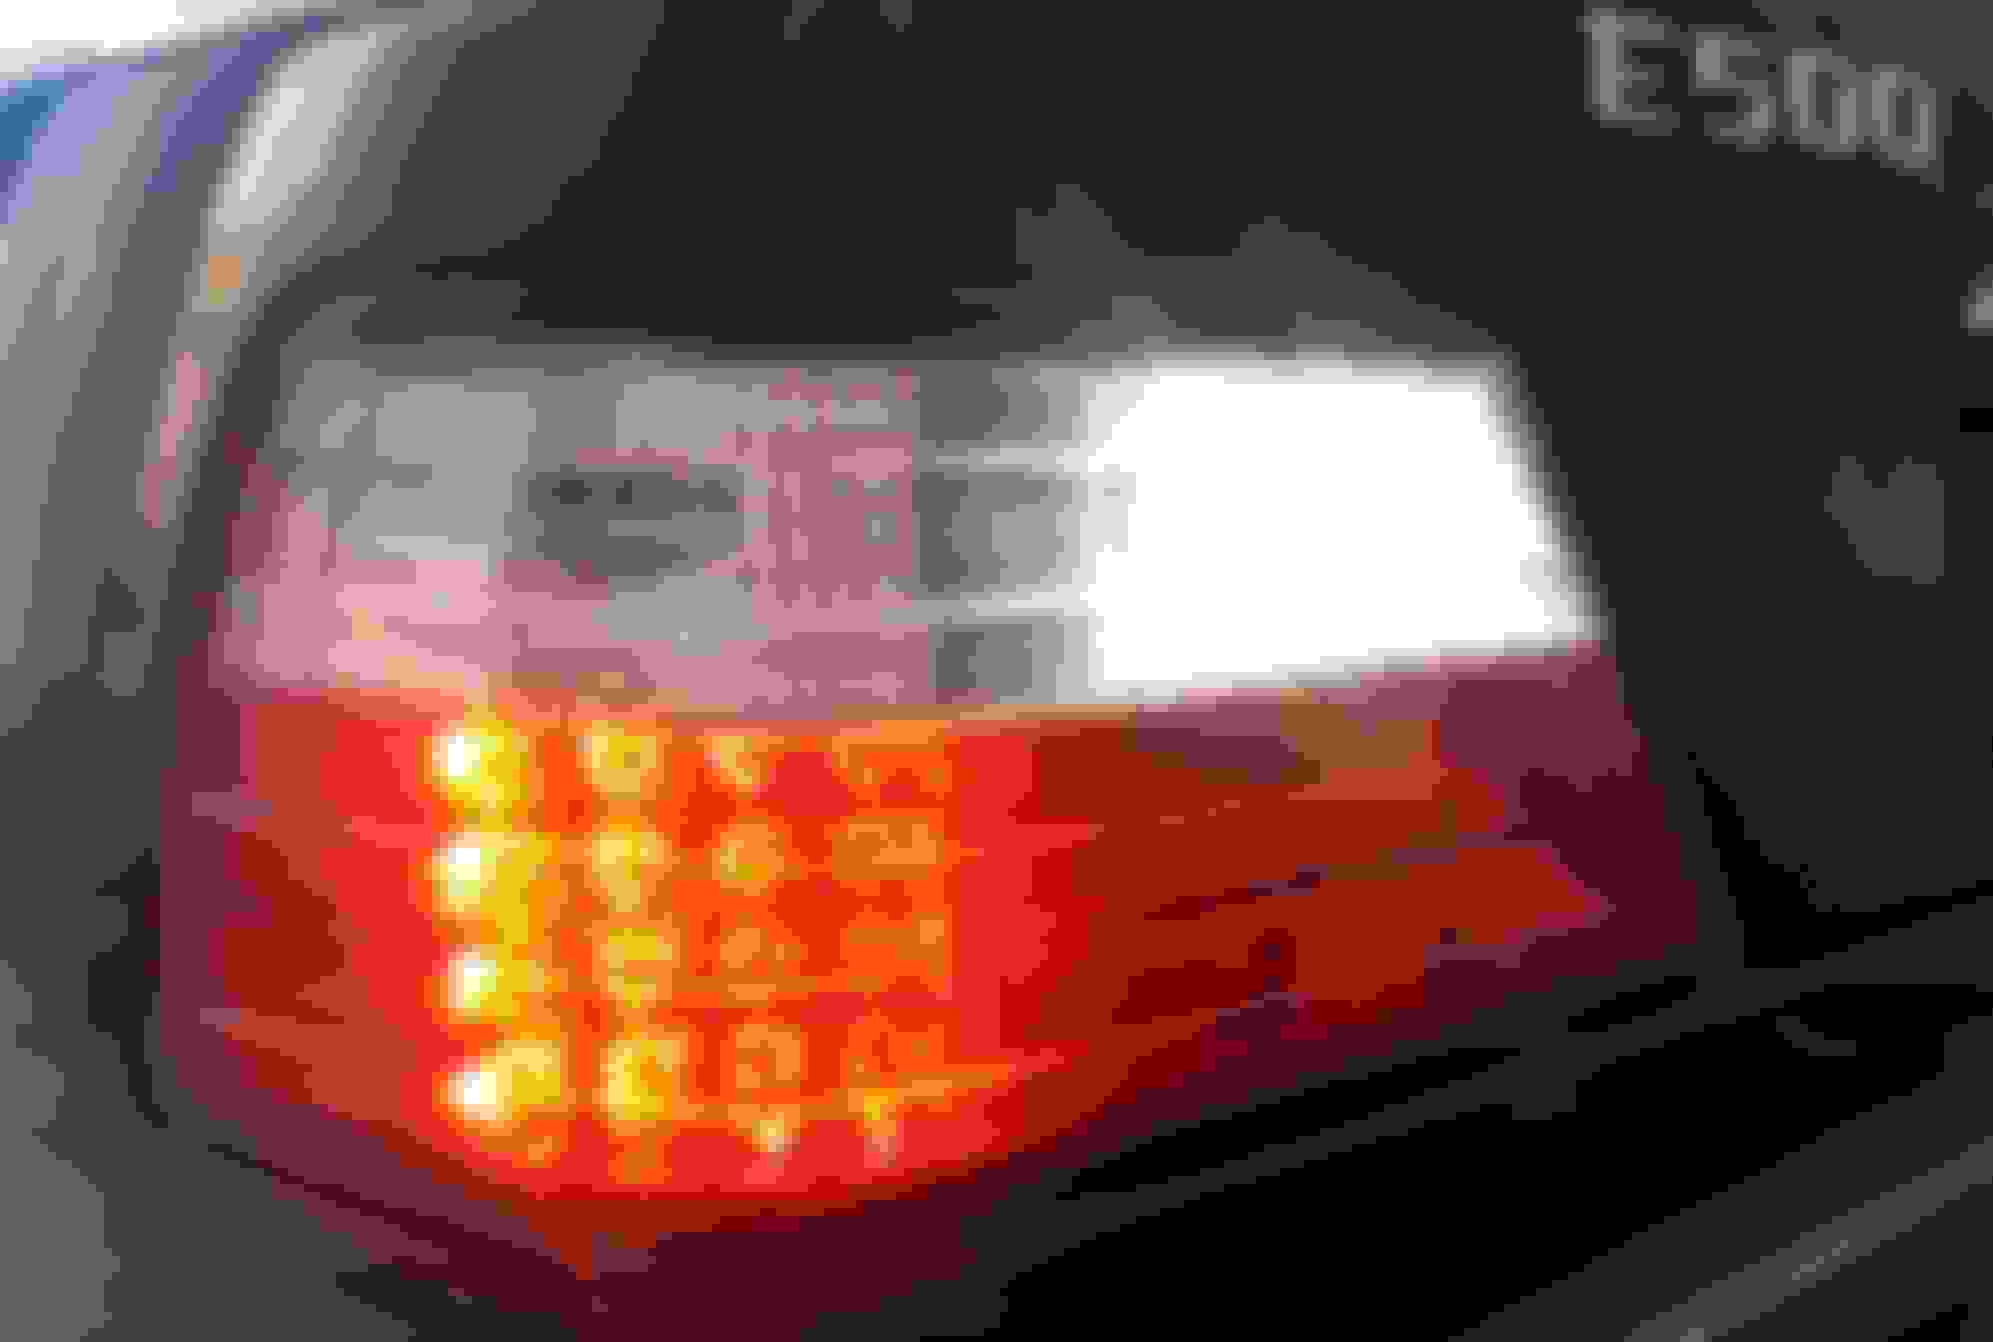
crystal led tail lights,
USA style parking lights and indicators,
parking sensors
rear view mirror with built in lcd screen and rear view camera,
amg chrome panel set for interior,
new zebrano wood panels,
mercedes tyre valve caps and wheel centr caps,
cree bulbs,
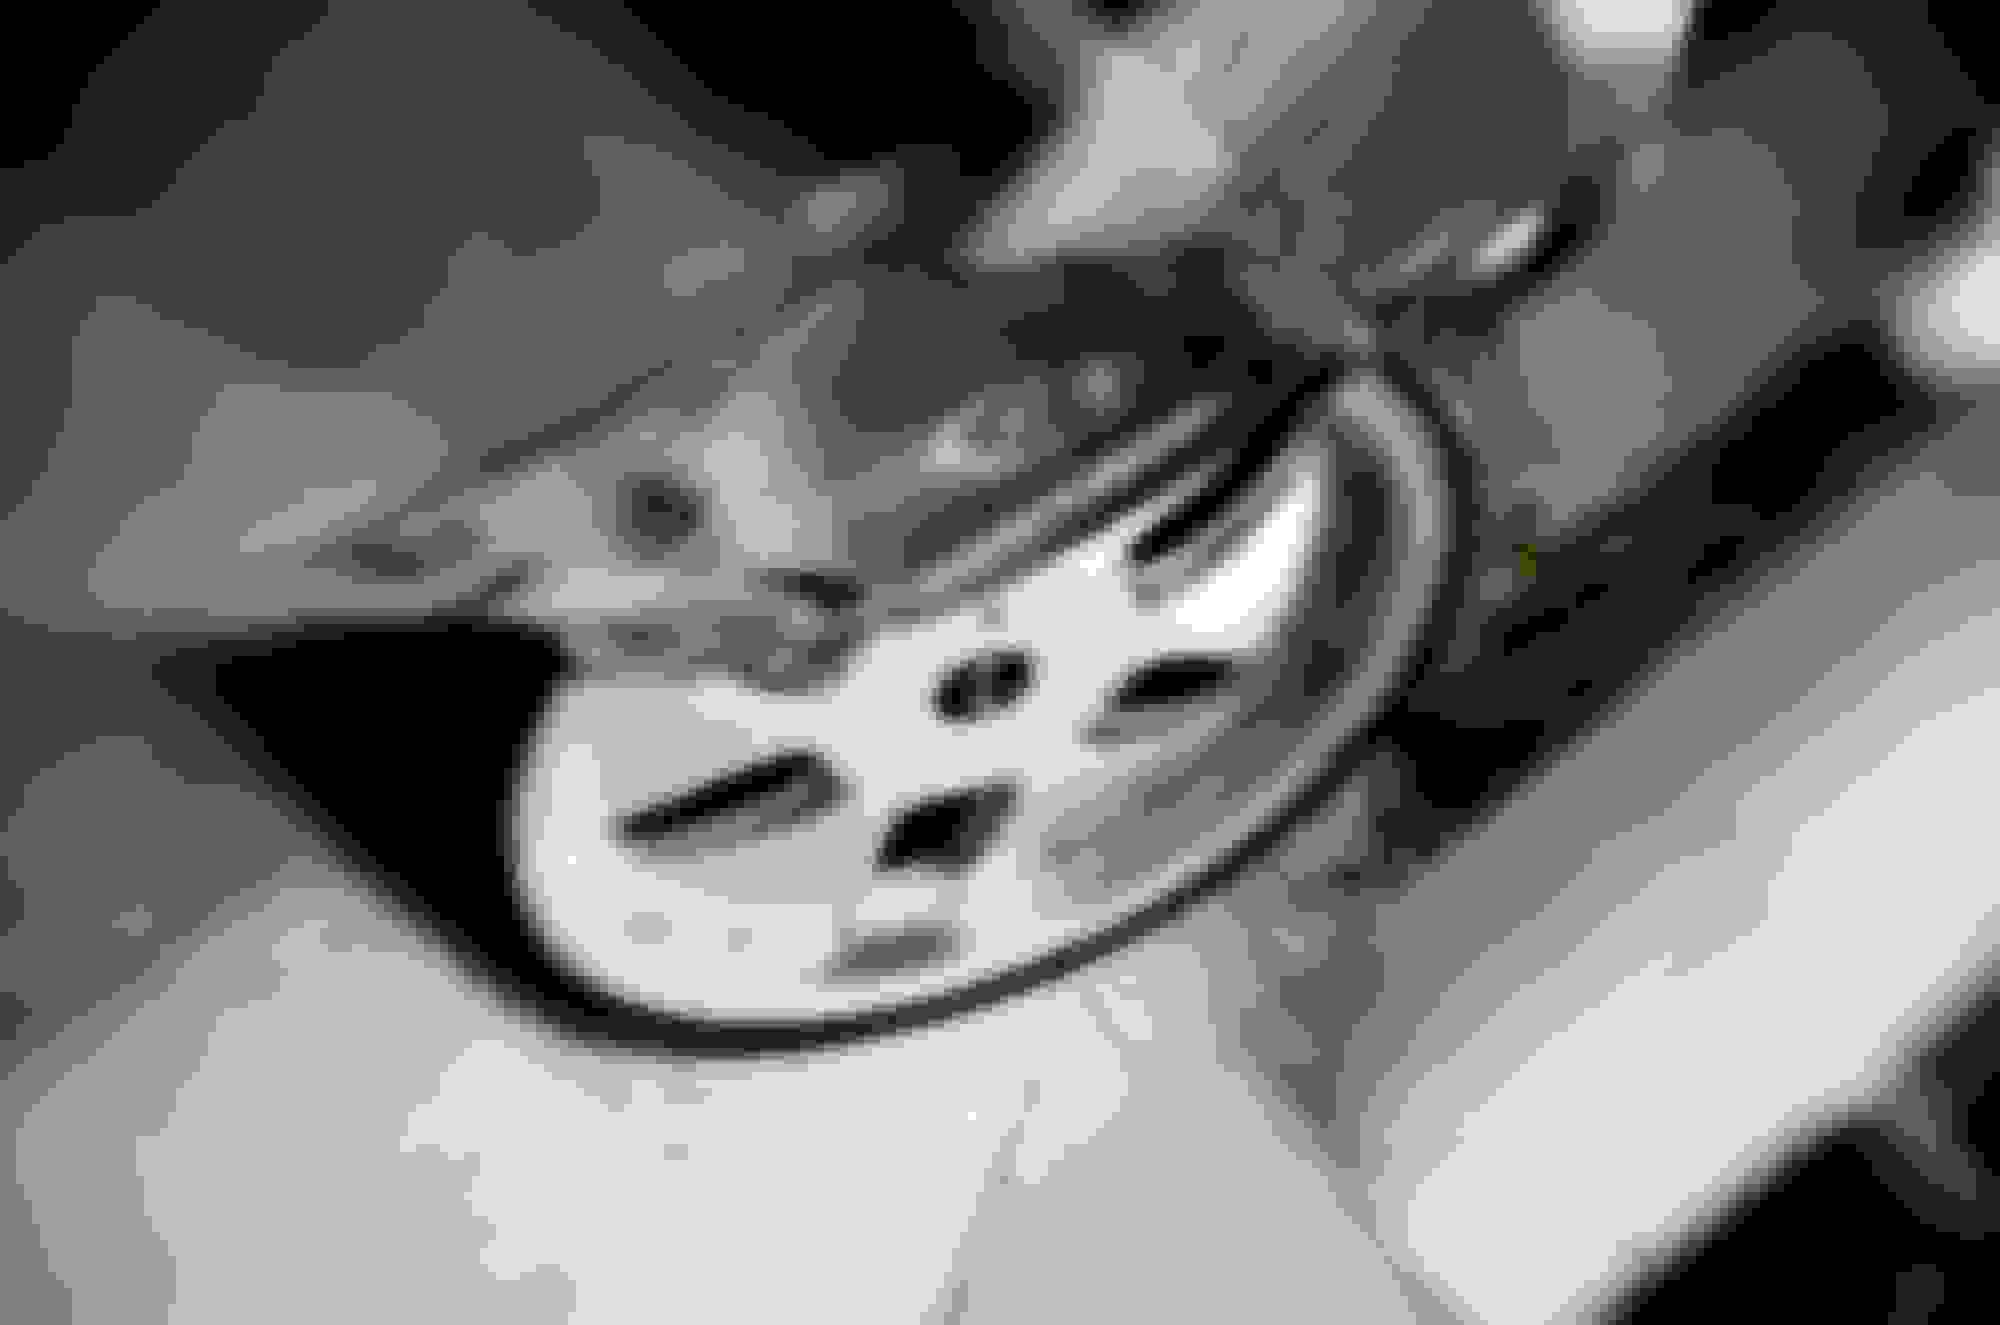
mae crown jewel 18" wheels,
sony xpload sound system with hands free phone option,
complete interior including carpet,
euro headlights,
front and rear bumpers ,
complete four doors with power windows and central locking system,
complete car wiring , computers and fuse boxes etc,
climate control system,
facelifted trunk and hood,
and all mechanical parts such as complete front and rear suspension , axle assemblies ,braking system,feul supply system, exhaust system,steering system,differential, drive shaft, bearings , hoses and other miscellaneous parts.mostly were new. there were many many more items which i could not remember them all....
Project begins
before taking it to garage i decided to give it a thorough wash , which helped the mechanics finding faulty parts and replacing them.it actually looked much better than how it was after a wash .
so first new bumpers were installed.
in photo below as you can see the new doors were installed , i could have used the old ones but they were not powered, and removing all power windows and locks from old ones to these new ones would be very time consuming and it wont be as perfect and functional.
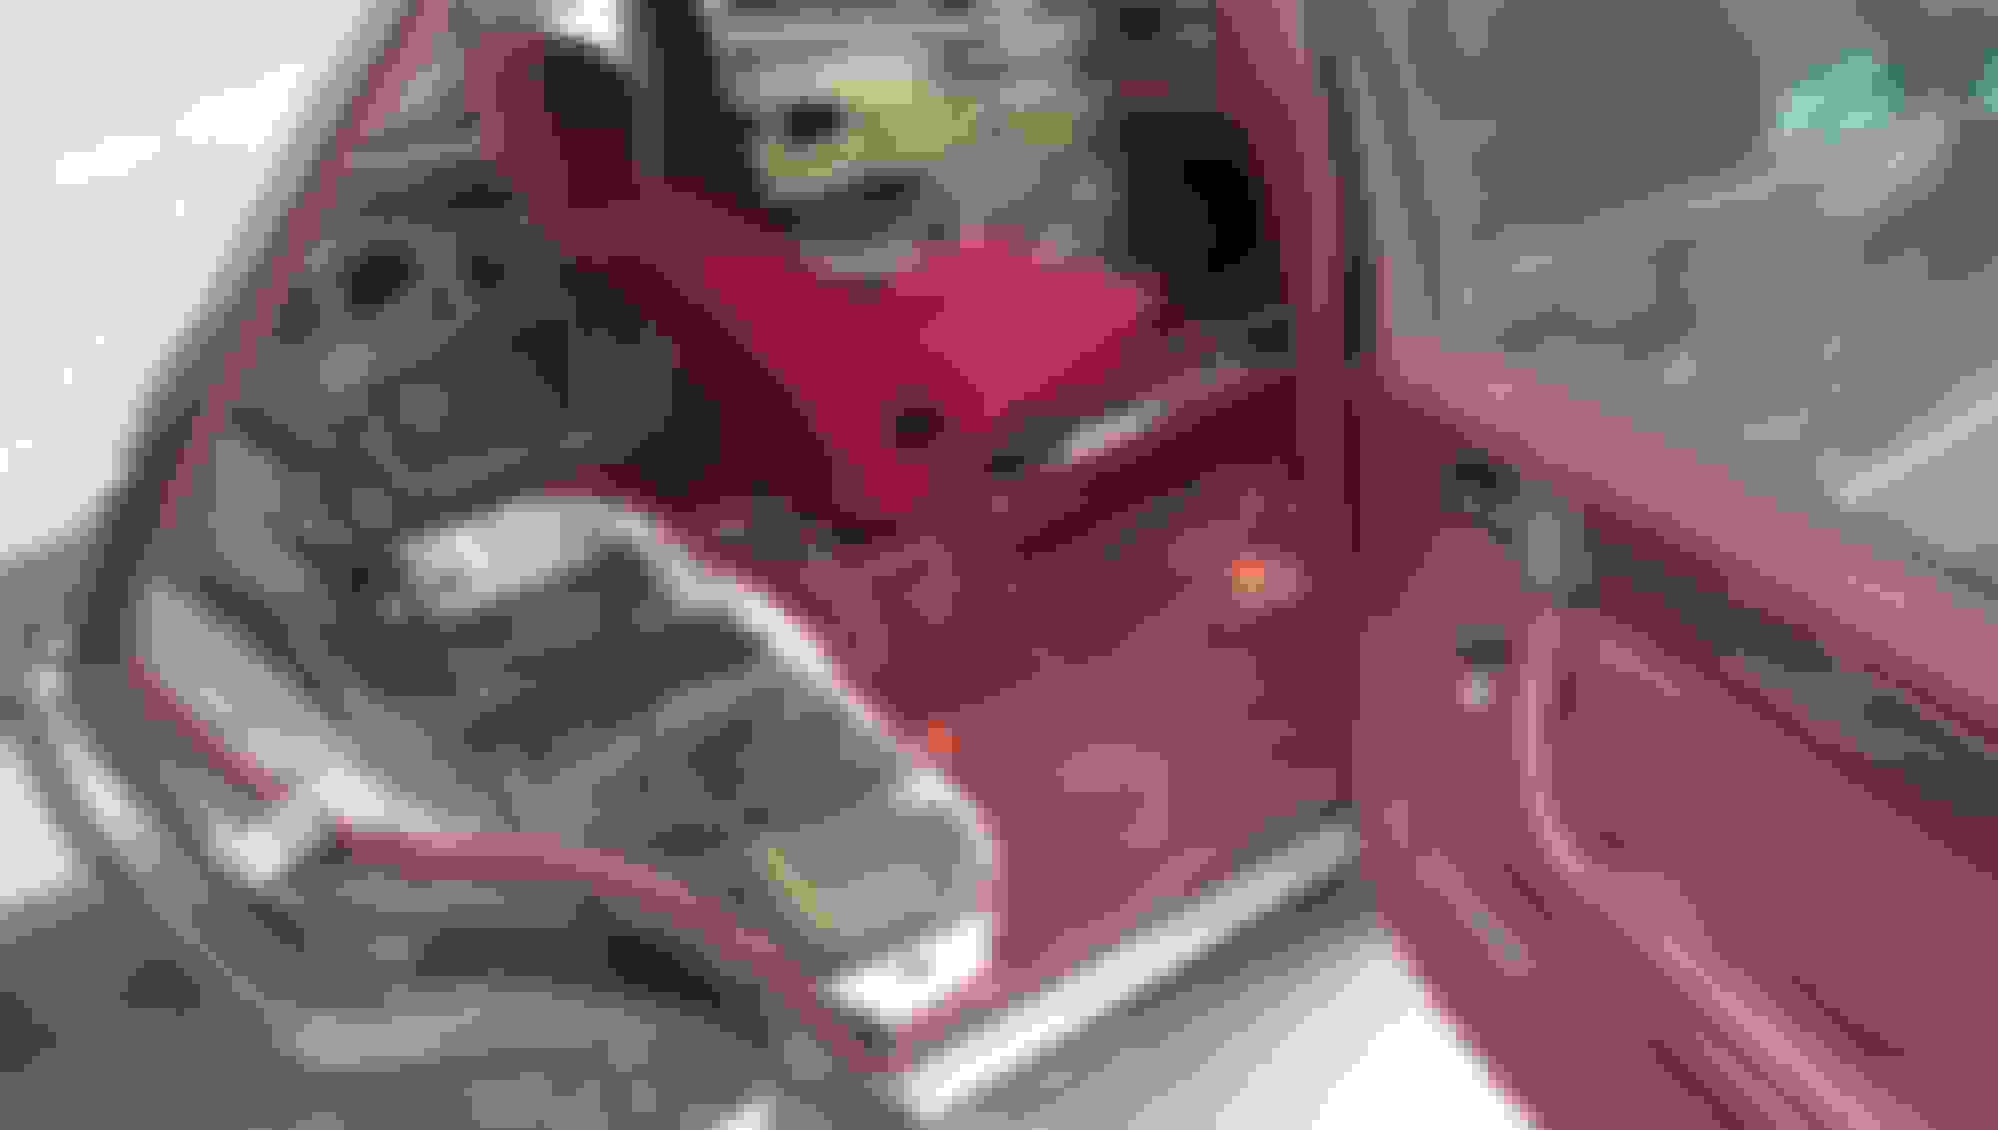
next step was stripping the interior .
they removed everything from interior .this was the best moment , i finally got rid of that mysterious weird smell
then they started installing all new wiring same as oem fitment
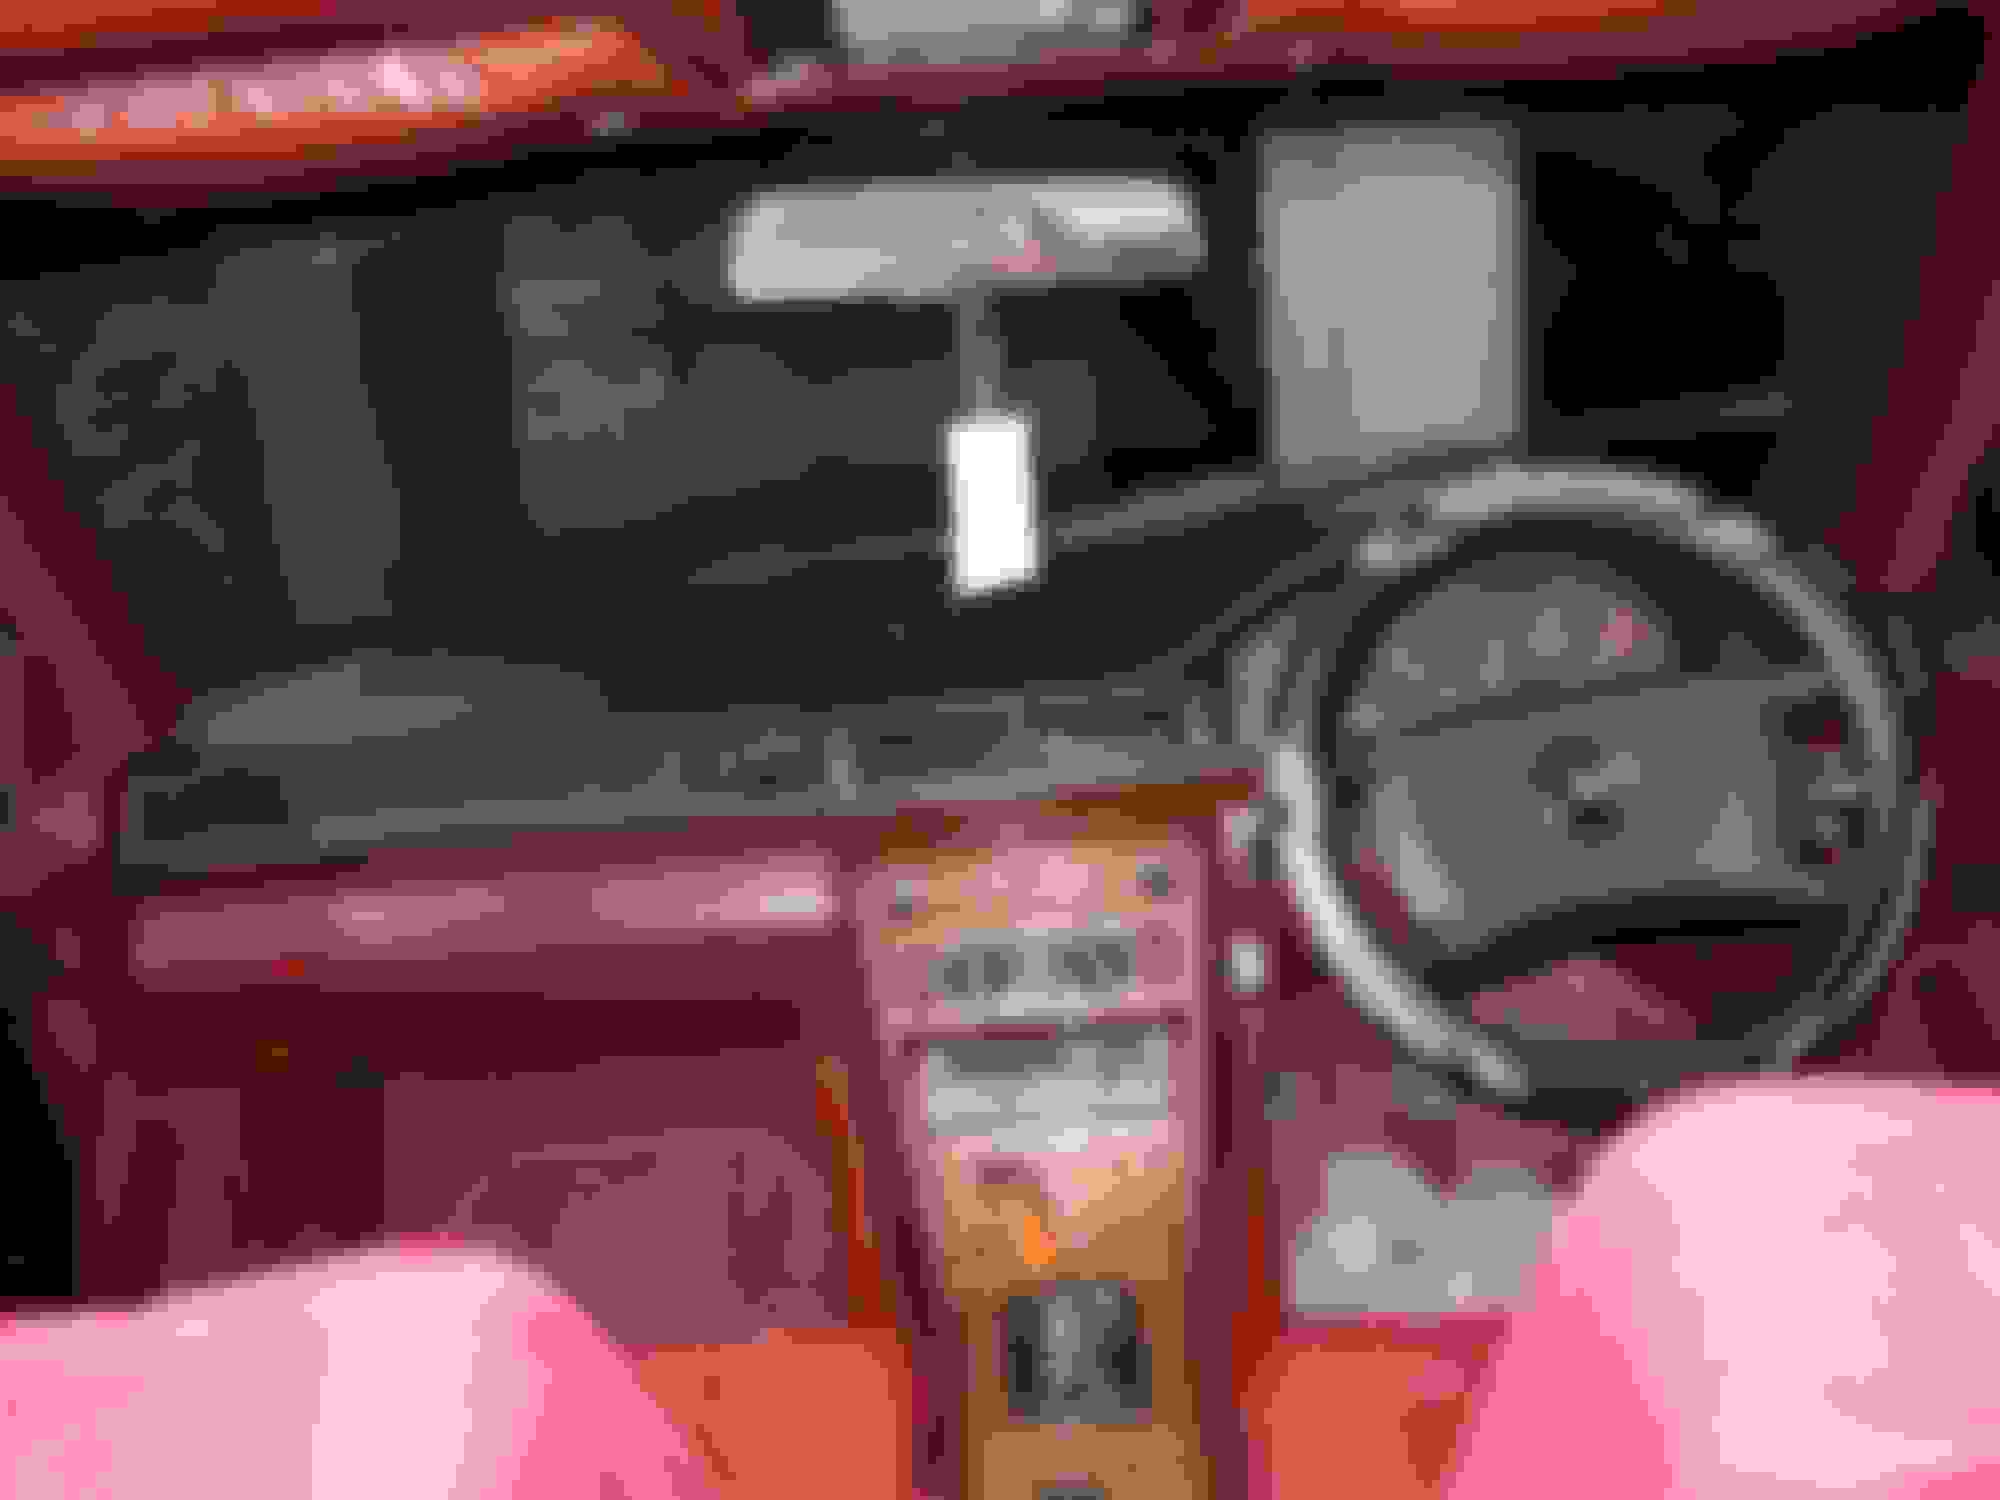
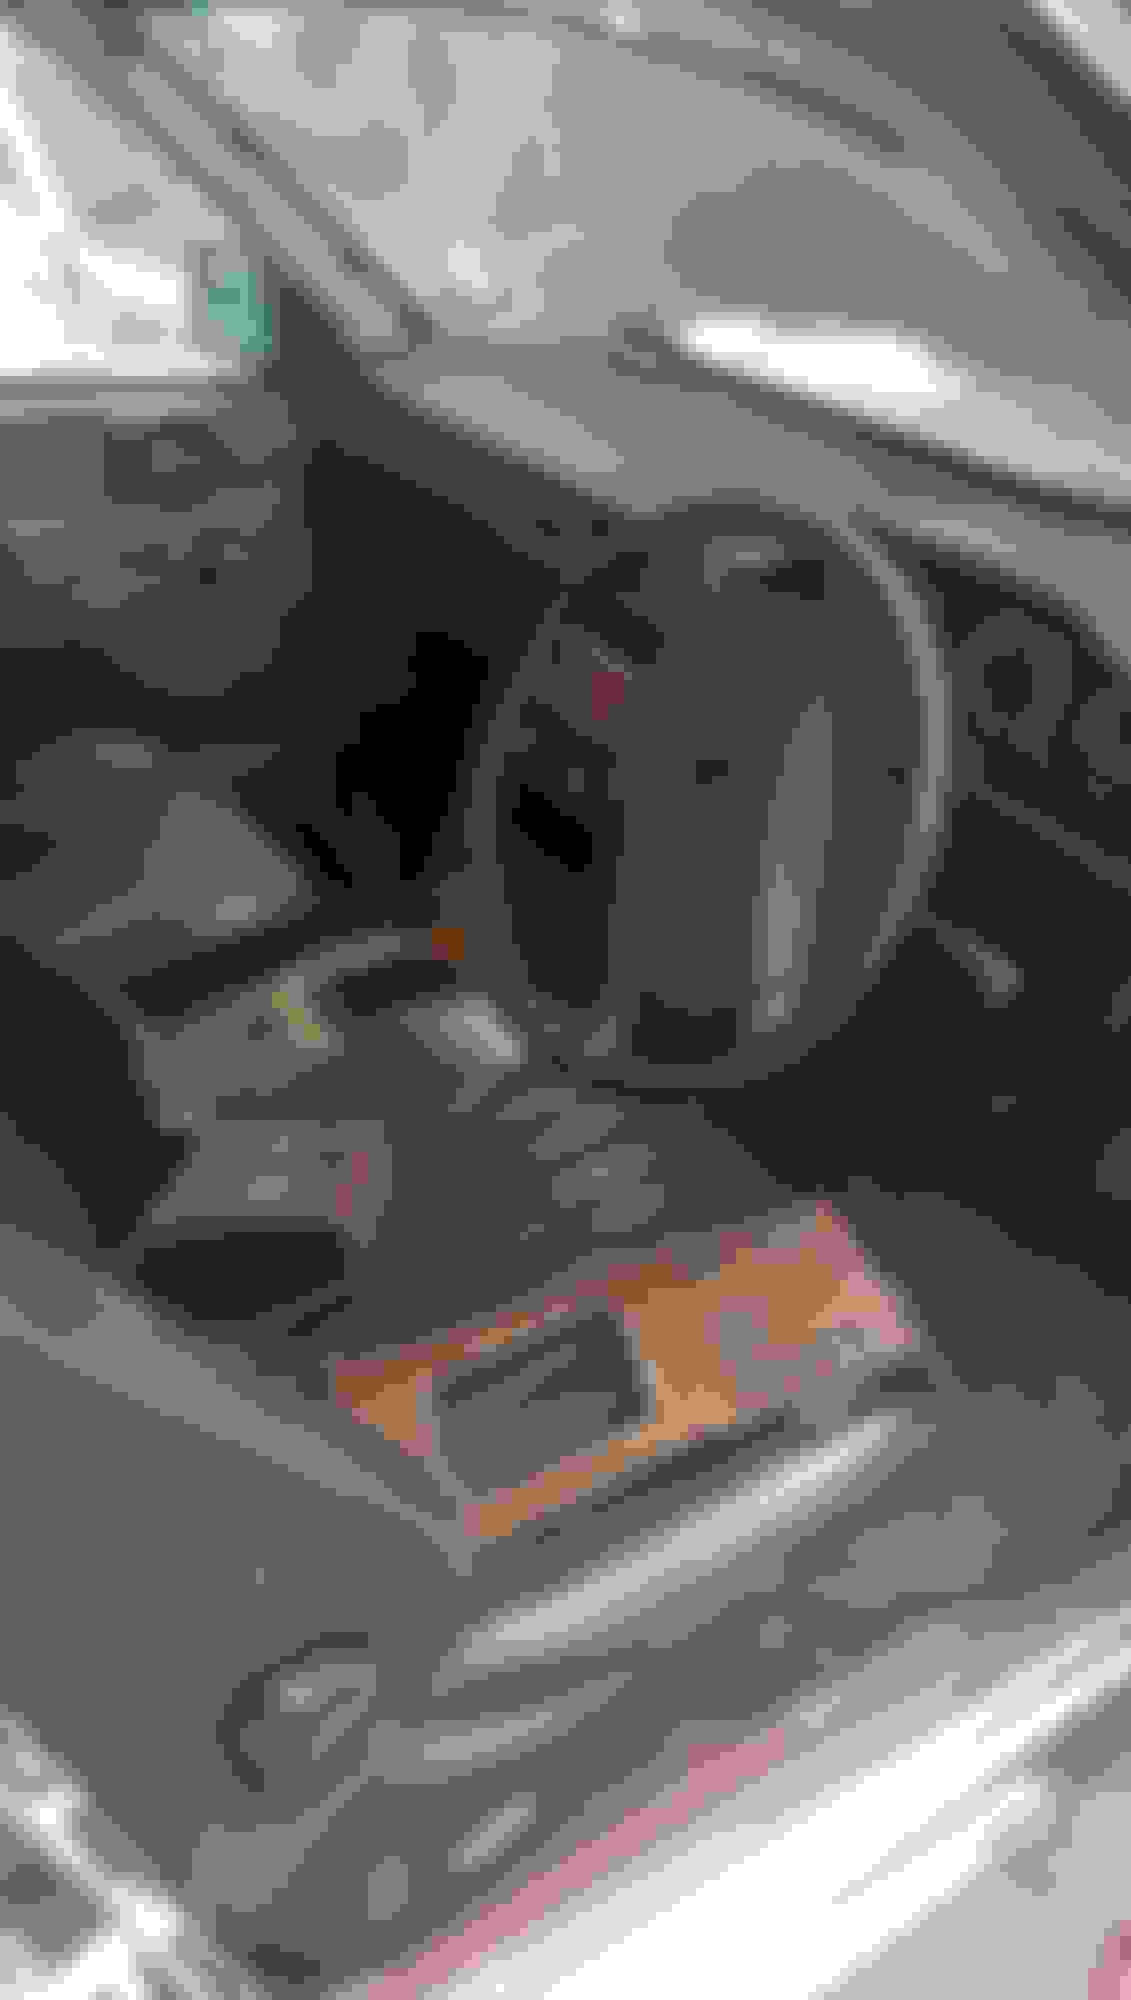
here comes the new shiny dash and cluster installed
then the leather seats were installed , the car really started that factory smell of a new car . unfortunately we had to remove them all again for paint job.
all engine wiring and interior /exterior wiring completed
these previous steps took only a week, things were going very smoothly but i wasn't aware of the actual time consuming period of project is going to begin now. the body shop guys started their job to remove all layers paint and remove dents if found. to make the surface of car smooth for paint job. this process took more than 3 weeks .because of their busy garage it was hard for them to work on projected car and avoid their daily customers visting for small jobs.
paint job
finally after 3-4 weeks we had to take the car for paint works.i always planned for black colour. so we had to get the diamond pearl black colour for extra shine.
on first day and paint garage, they washed the car with kind of acid to remove all layers of paint , it came out kind of chrome
thin layers of body filler were used to smothered the outer surface of the car.
here come the base coat of paint.looks good in grey as well
next step changed the car completely , i started loving it. 3 coats of paint and finally clear coat for extra shine.
bumpers, mirrors , side kits, door panels were painted separately and installed afterwards. we had to leave the compound polish and waxing for later on.. because ,we had to take it back to the garage to finish installation of interior, mechanical/engine parts and all mechanical works
after spending a more than two months visiting the workshop daily to supervise and e the project, i almost lost my patience but something kept me going on. finally the interior fitting and mechanical parts installation began.
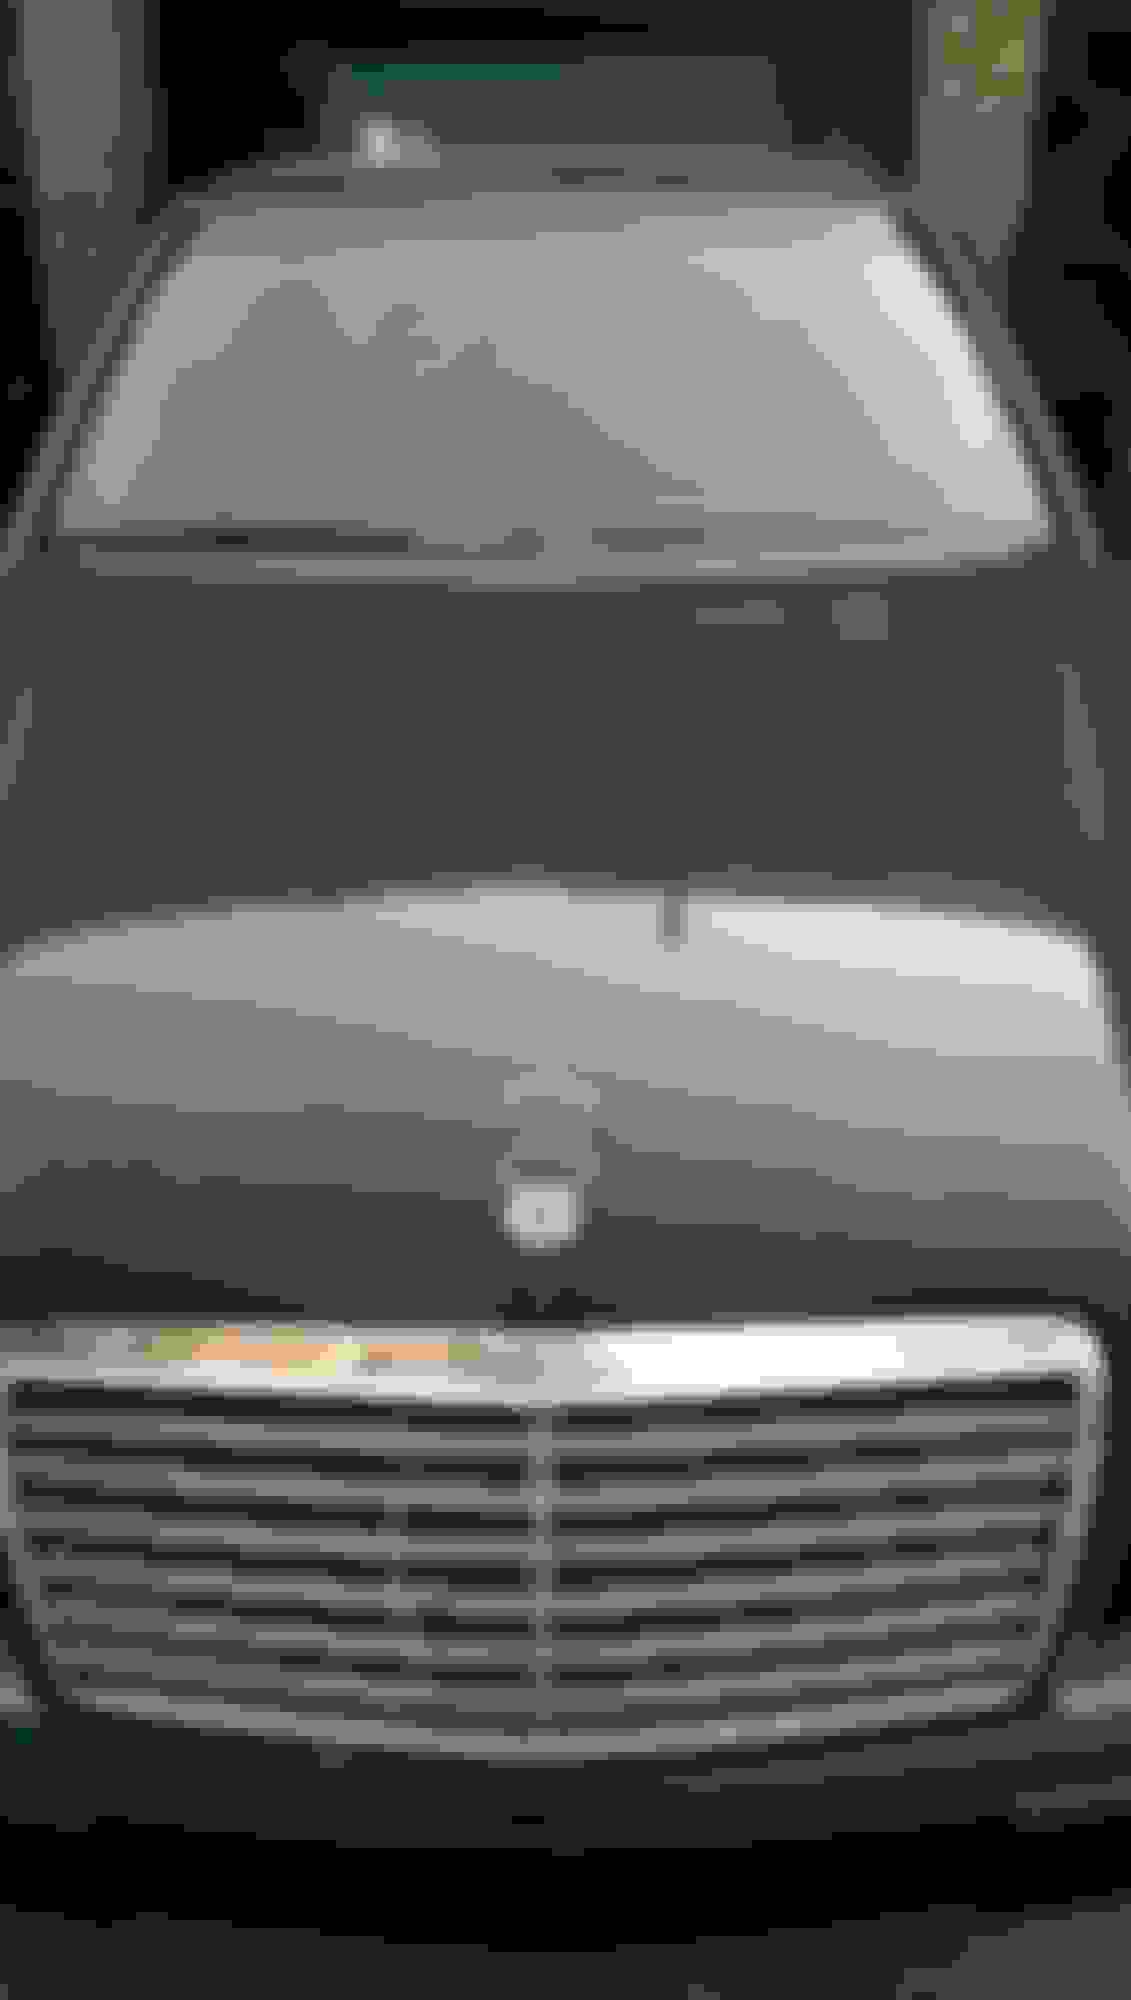
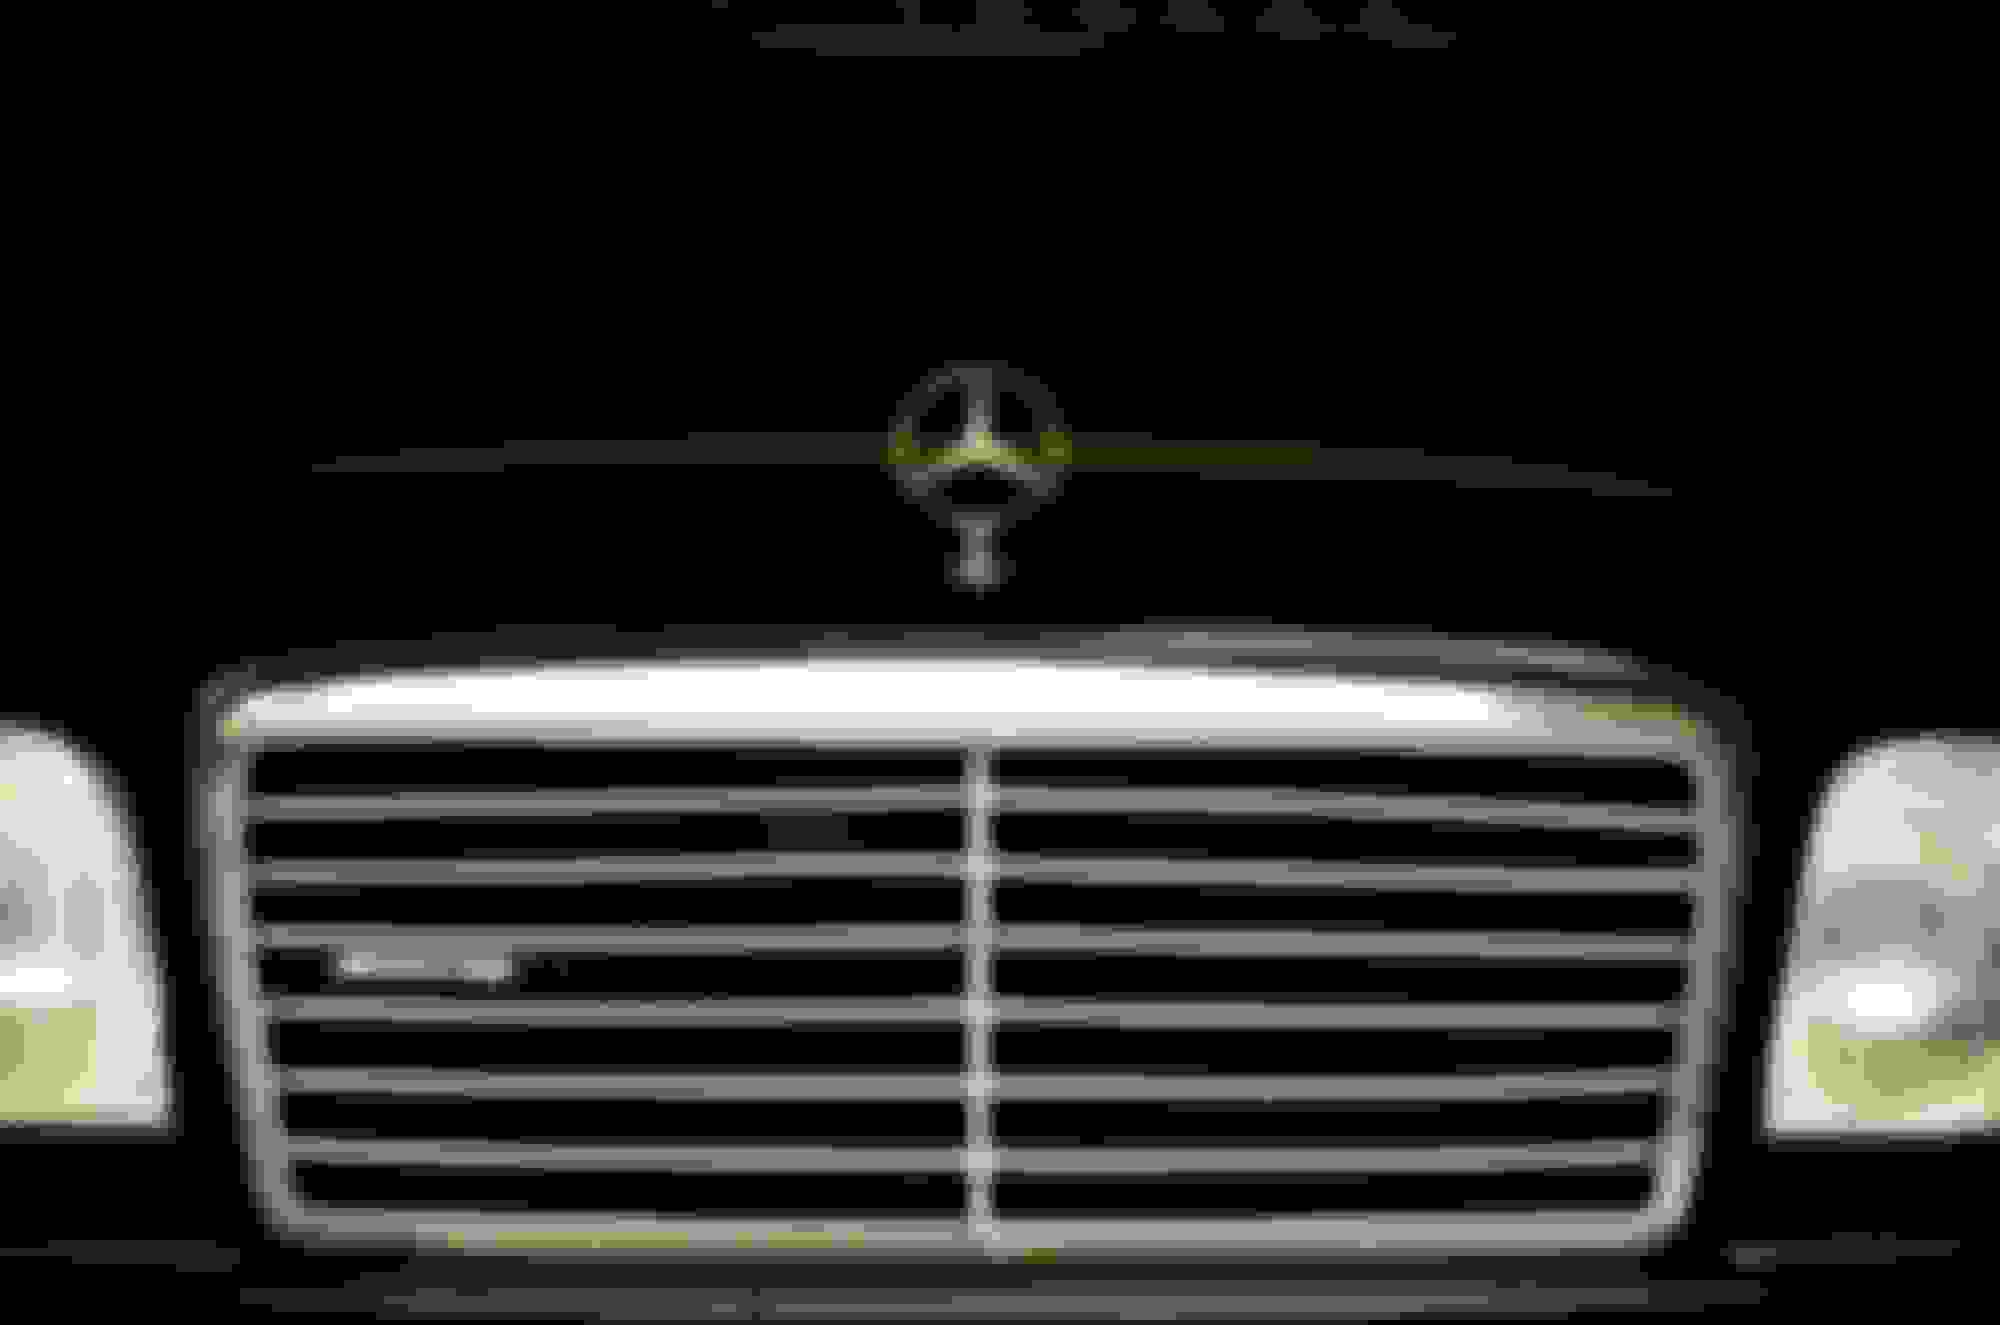
the euro headlights, parking sensors,rear view mirror , other gadgets and accessories , led tail lights,grille and hood emblem were installed.
finally all parts were installed including wheels.
and in last step we took it back to paint workshop for complete compound polish and waxing. front bumper and fender paint got damaged in installation of parts so had to re spray them. all badges and emblems were installed ,on fenders, trunk engine bay and interior.
Final detailing
after almost 3 months of hard work, finally the car came to life ,installed the sound system, xenon high intensity discharge low beams and high beams, tinted the windows , floor mats, seat covers , cree and led interior /exterior bulbs and some other accessories.
completely restored and brought it home .it it was the time for complete wash and detailing.
first we cleaned and detailed the interior.
the next day was for engine bay. washed waxed and cleaned.
the best wax i ever used is this one"turtle black box" . its bit time consuming but the results were amazing.in a package it had 3 different products, surface cleaner, wax, and detailer spray.
forgot to mention that i managed to find user manual ,all brochures and pouch use to come with buying new w124.
FINAL RESULTS
hard work pays off..I want expecting this result from the project. allahamulillah project was a success and car felt like brand new .screw to screw was replaced . you can see the results yourself below.
Wow...congratulations on the successful and very impressive restoration! How hard was it to find parts for this car? Guess you have to recalibrate the speedometer. Hope the engine runs well, and the air filter still does its job - the first picture was very frightening. Very smart looking inside-out, but a later version of the W124 steering wheel might match even better.
Wow...congratulations on the successful and very impressive restoration! How hard was it to find parts for this car? Guess you have to recalibrate the speedometer. Hope the engine runs well, and the air filter still does its job - the first picture was very frightening. Very smart looking inside-out, but a later version of the W124 steering wheel might match even better.
thanks.. it was very hard to find parts but somehow managed it , some of the items were from online stores and some from scrap yards...haha many times i lost my patience and wanted to stop the project but somehow it got completed. no modes were done to speedometer and it was working accurate , because the transmission was mb 4 speed manual and plate was made for tranny to connect the japanese engine. the engine wasnt too powerfull so we swapped it for 2jz later ... i sold it to my friend and he is going to complete the pending works , new modes done are amg steering wheel with wood trim, monoblock amg 17" wheels, amg dual exhausts, noise deadner sheets installed , and he is planning to find m119 v8 engine, amg e500 bumpers and kits, with wide fenders..
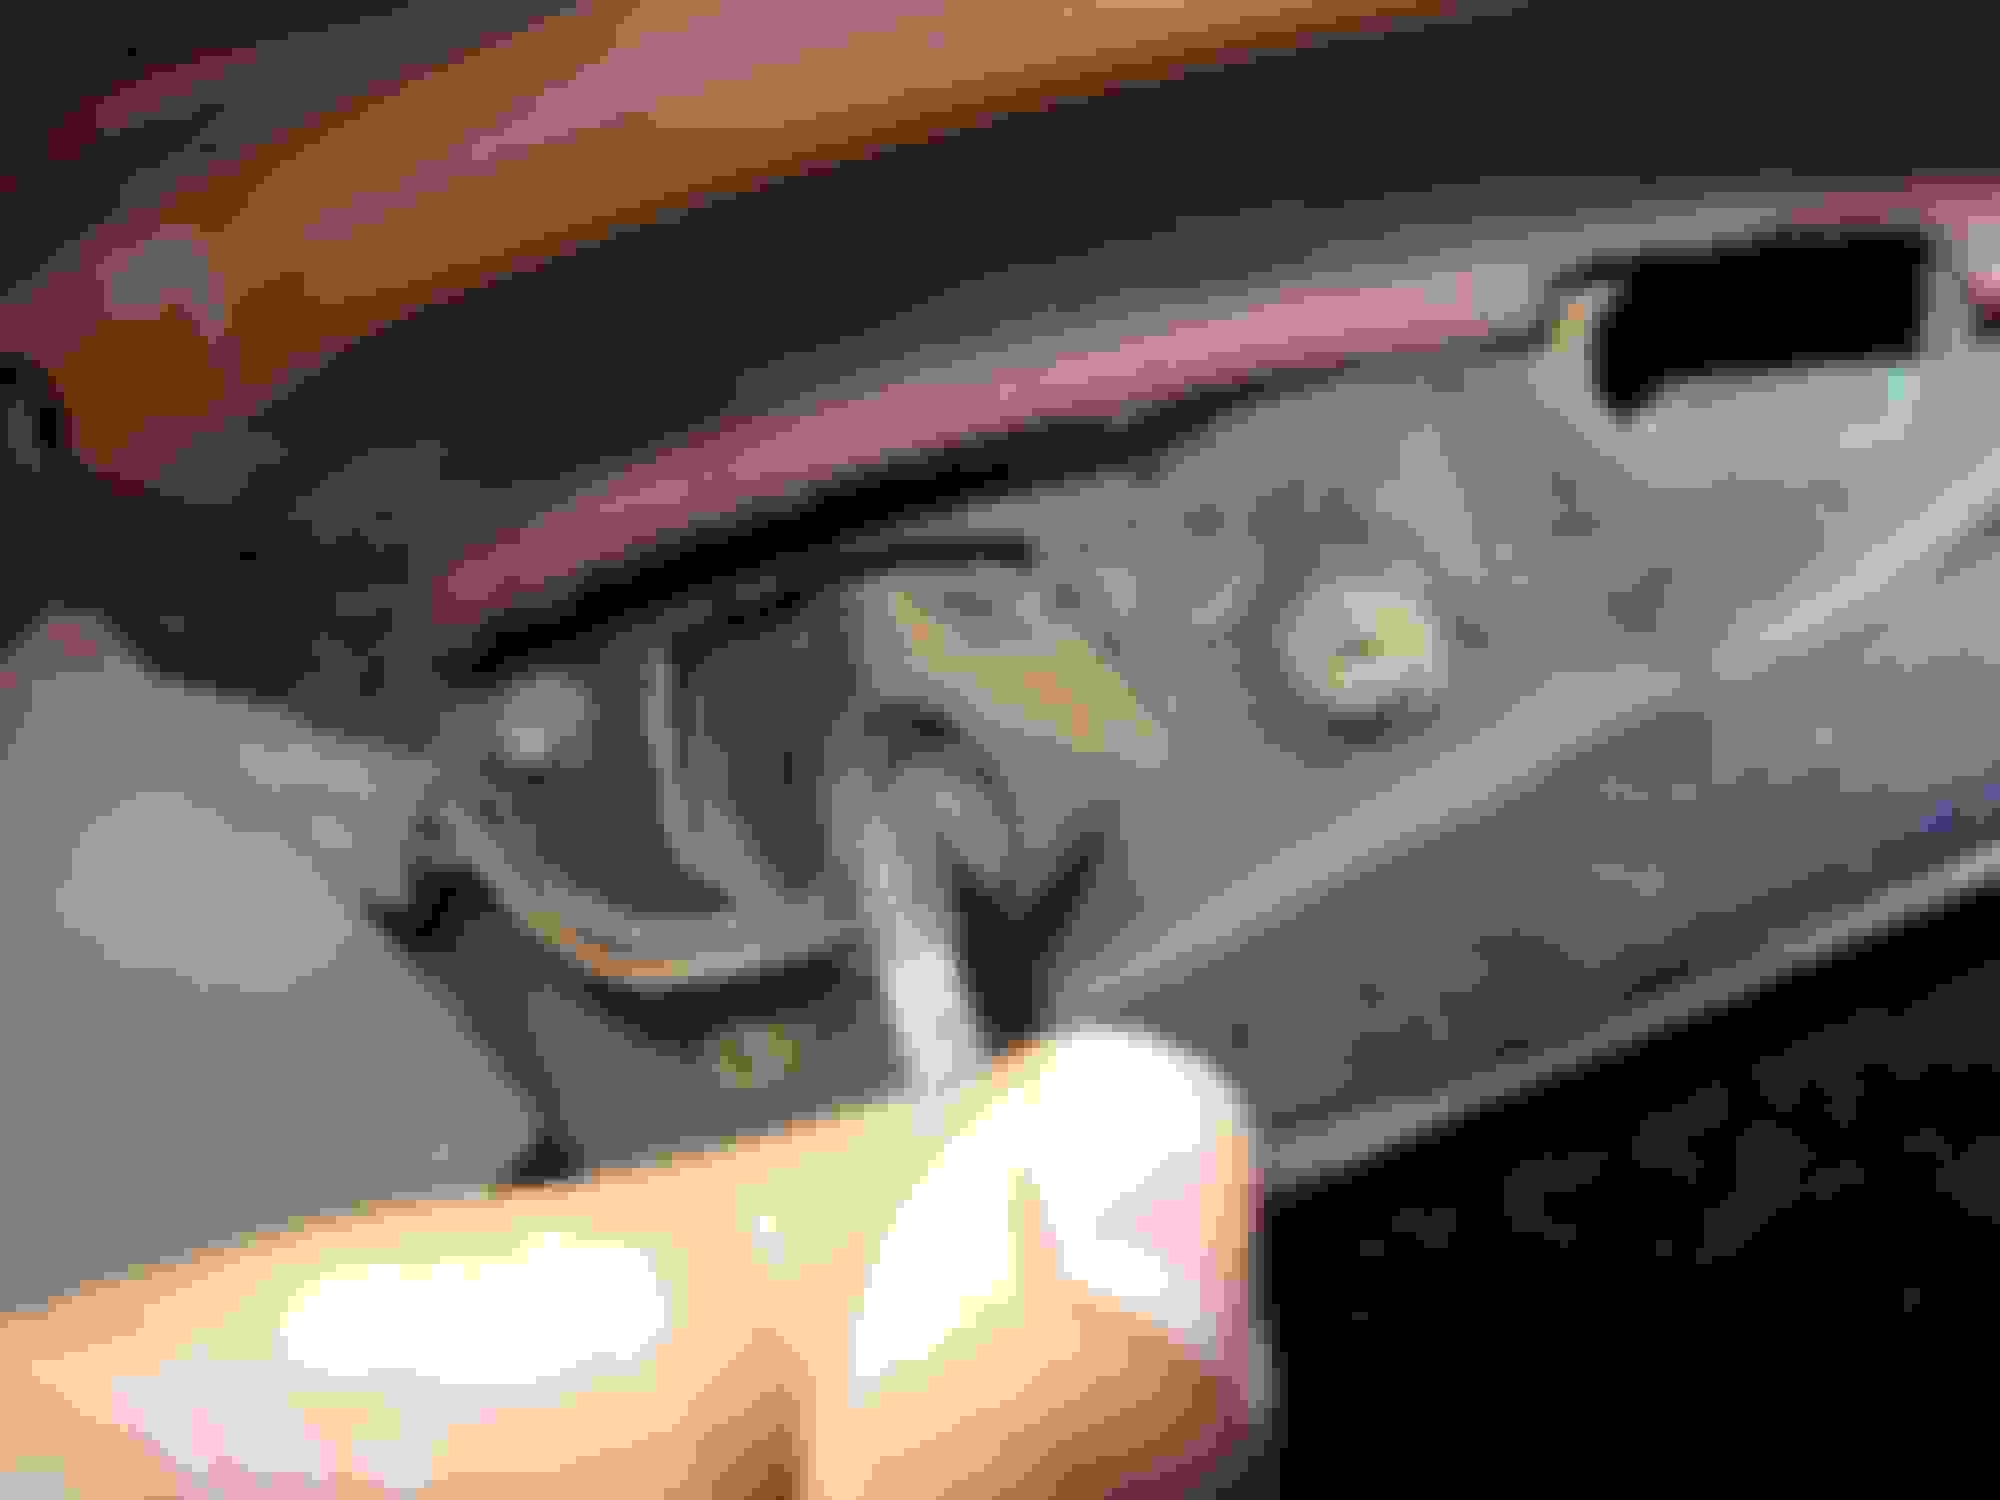
Wow, what a save! Great job. Who makes the gauge faces? What is that thing beside the gas filler?
thanks, gauge faces were from ebay. they few different designs , the amg logo and chrome rings were purchased separately. the thing besides the gas filler is for secondary gas filler [ cng- compressed natural gas],when i purchased the car there was a separate gas tank in trunk for it, they are cheaper than gasoline ang gives good mileage , but its a dry gas and not good for engine health and car feels like 50hp on cng so i removed it.
Mercedes SLR McLaren 722 S Is Extremely Rare Example Modified by McLaren
Slideshow: A one-of-one U.S.-spec Mercedes-Benz SLR McLaren Roadster became even rarer after a factory-backed transformation at McLaren's headquarters.