When you click on links to various merchants on this site and make a purchase, this can result in this site earning a commission. Affiliate programs and affiliations include, but are not limited to, the eBay Partner Network.
FINALLY!!
And not possible without the help from a few members on the board!!
I will put details and pictures up, also with part numbers for installation on the 4matic in a new thread.
Thanks
CMRIV!!!
ZAYED!!!
With out these guys I would have spent a lot more time and money. The help I received is beyond a simple thank you as NO ONE agreed these would work on a 4matic
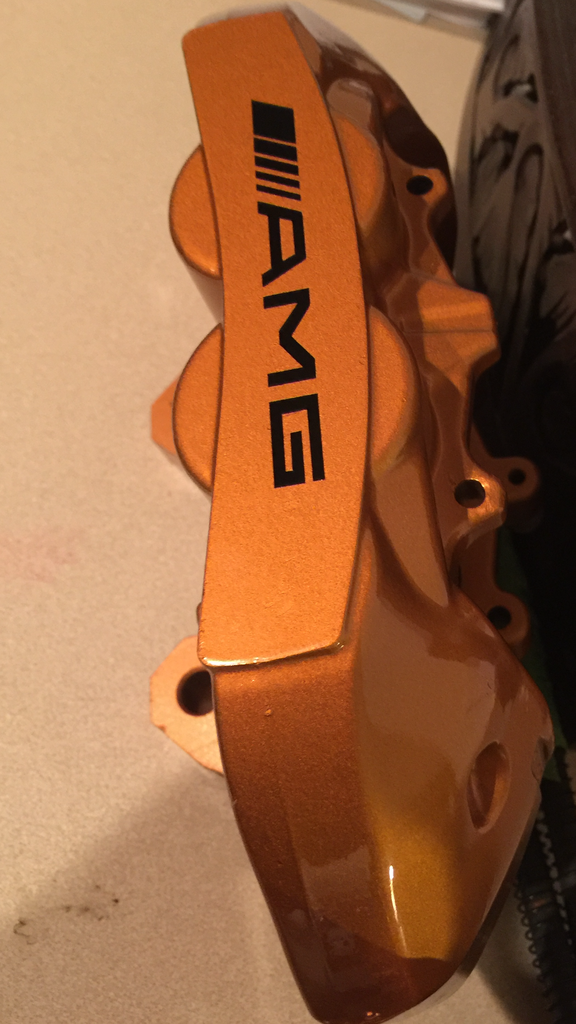
TEASER
2016 E350 Sport; Mom Wrecked the 2008 E350; sold the 2002 C320
OEM, new. I originally had the silver ones, but I changed to the aluminum finish.
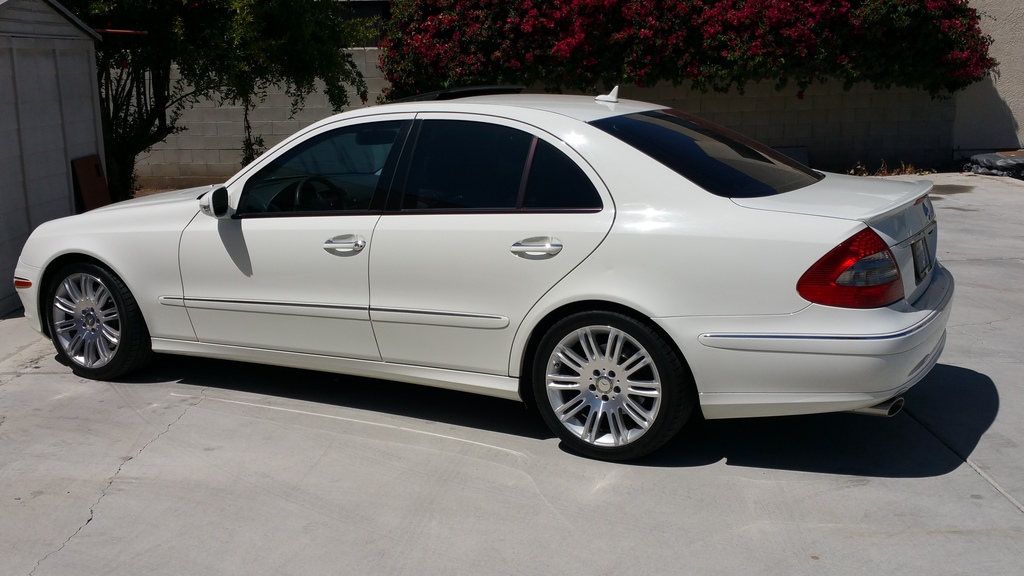
While I was at it, I went from 265/35/18 rear tires to 275/35/18. They are much closer in diameter size as the front tires. It looks dramatically better that the stretched, smaller 265/35's and the car rides much smoother and handles better (although that could be mostly just because the tires are new). Regardless, I'm very happy with the change.
Next is touching up that scrape on the front lower bumper - my paint came in recently, now just have to find the time to do it.
Last edited by EuroDriverSD; 03-25-2016 at 11:07 AM.
FINALLY!!
And not possible without the help from a few members on the board!!
I will put details and pictures up, also with part numbers for installation on the 4matic in a new thread.
Thanks
CMRIV!!!
ZAYED!!!
With out these guys I would have spent a lot more time and money. The help I received is beyond a simple thank you as NO ONE agreed these would work on a 4matic
TEASER
Had no idea these would work on a 4-Matic, that's badass and I love the burnt copper color on those AMG calipers. I asked a long time ago about the upgrade possibility and it was pretty unanimous opinion that they wouldn't work. Right on
Thinking about her!!! She's under arrest, getting striped searched!!! Being held hostage for a king's ransom, amount is unknown. I've filed a missing car report , but i have to wait 48 hrs for action.
Just kidding. She's been at my indie since Monday. Hopefully I'll have her back this week, but i really miss her! So for everyone who complaints about their car be glad your in a class all by your lonesome! !
Two things recently: (1) Fixed the Airmatic system, which was intermittently giving me the white "Malfunction" warning. STAR wasn't much help in identifying the actual problem. Last time I got this warning, after a few days I got the red "STOP CAR!!!!" warning and parted with a kazillion dollars to the dealer to replace two front struts and a compressor. This time, my Indy did some diagnostics and discovered some frayed wires and a broken wire. Fixed. (2) Redid the front brakes. Akebono front pads were squealing BAD after about 200 miles. Replaced. No squeal. Until now. I'm thinking I should go back to the Textar pads, but my Indy says he has them on his car and no squeal. I know he can do a brake job, so I'm at a loss.
Two things recently: (1) Fixed the Airmatic system, which was intermittently giving me the white "Malfunction" warning. STAR wasn't much help in identifying the actual problem. Last time I got this warning, after a few days I got the red "STOP CAR!!!!" warning and parted with a kazillion dollars to the dealer to replace two front struts and a compressor. This time, my Indy did some diagnostics and discovered some frayed wires and a broken wire. Fixed. (2) Redid the front brakes. Akebono front pads were squealing BAD after about 200 miles. Replaced. No squeal. Until now. I'm thinking I should go back to the Textar pads, but my Indy says he has them on his car and no squeal. I know he can do a brake job, so I'm at a loss.
Just passed 135,000 original-owner miles!
did you replace the rotors as well? If not, that's most likely your cause.
2016 E350 Sport; Mom Wrecked the 2008 E350; sold the 2002 C320
Originally Posted by Pinoi Ryder
any pics after installation?
Here's some quick pics I shot today with my phone camera.
Spoiler:
I like the bit of pizzaz the spoiler adds, since I always thought the rounded edge of the trunk was a bit boring - if not unflattering.
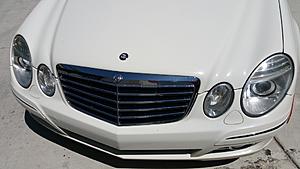
Badge:
I always thought of the upright MBZ emblem as an old-man thing. I had previously installed an OEM flat badge, that although nice, it looked a bit silly with another MBZ badge right below it on the grill. This adds a little variety and looks nice. I installed this same badge on my wife's W203 about 6 or 8 months ago. The background color has discolored a little bit (turned a bit darker) but it still looks good overall. I'll see how this one holds up.
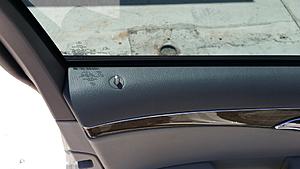
Door Pins:
Pin is shown with the door open but when locked, they sit flush. I was pretty scared about installing the rears because just about everything I read said they are not threaded and the door panels have to be removed to install them. But I found 1 thread that said they screw on & off, so I tried it and sure enough, they are threaded just like the fronts. The original pins were tight - especially the rears. However, I managed with a rag over them. Anyone who is going to attempt this, I'd recommend having a rag and a pair of pliers handy.
In order to have them sit flush when locked and to properly position the AMG logo, the pins will not be turned until tightened (they will still be loose) so a dab of locktite is in order to they don't move around or end up coming off.
Last edited by EuroDriverSD; 04-17-2016 at 08:18 PM.
Pin is shown with the door open but when locked, they sit flush. I was pretty scared about installing the rears because just about everything I read said they are not threaded and the door panels have to be removed to install them. But I found 1 thread that said they screw on & off, so I tried it and sure enough, they are threaded just like the fronts. The original pins were tight - especially the rears. However, I managed with a rag over them. Anyone who is going to attempt this, I'd recommend having a rag and a pair of pliers handy.
I had that same experience, they screwed off just fine for me. I think it might have been a pre-facelift/post-facelift thing as I had no issues. You'll learn to love those pins especially if you rest your arm there a lot, that was the best thing I ever did to my car besides exhaust when I had it.

 03-22-2016, 08:15 AM