When you click on links to various merchants on this site and make a purchase, this can result in this site earning a commission. Affiliate programs and affiliations include, but are not limited to, the eBay Partner Network.
Anybody playing any NES/SEGA/SNES Emulators on their After Market devices? I plan on getting one, but I kinda want to play games on there as well. A video would be great.
Great write up...still having some questions on this product.
1. Is this set really "Plug & Play"...will there be any error code/red warning appearing on the dashboard after removing the original NTG1 and Navigation DVD changer?
2. Do I need to get workshop Star Program to re-program the car ?
3. If the android seller is providing a "W211 Can-Bus box" with the set, is there any requirement to connect/splice the harness brown Key1 and Key2 wires?
(Can be used for other models around the same era as the W211)
Table of contents:
explaining the concept of upgrading the system
Head unit info
Parts required for installation
Installation info
The COMAND Units in the W211 are ancient now and do not offer much digital essence in the car. (it�s not 2002 anymore) also Navigation portion are beginning to show their age, From DVD drives beginning to fail to CD stacker door motors failing.
The head unit comes with: 1x Canbus box (deals with steering wheel communications with the car, as well as switching of and on the unit and finally lets the unit go into reverse camera mode when you place the shifter in R)
GPS modem with 3M cable (enough to run it under the kick panel and stick it on the passenger side of the windshield.
8GB Micro SD card with IGO MAPS for your country (brilliant OFFLINE navigation software)
1x External microphone, (the unit has a built in mic, but should you want to run a second one closer to you, you can)
**note, no head unit can work well with the built in Optical Fiber amp. Once you go after market, you need to be prepared to remove the optical fiber amp and either run another amp OR power all your speakers from the new head unit**
Extras that you must order (Ask the seller for them)
IF your car has Harman Kardon logic 7 Stereo (COMAND NTG1), OR if you have amp in the boot and insert your navigation CD in the boot
*6M long speaker / power cable (AkA amplifier Bypass cable) (this will bypass your original amplifier, and provide power to the new head unit and power the amplifier for your radio antenna). **note this cable will not power the subwoofer, nor the front centre speaker, nor the 2 parcel shelf speakers, just the 4 door speakers and the small tweeters**
*6M long Antenna cable (because the factory amp had the antenna connected to it, now you must run this connection to the new unit at the front).
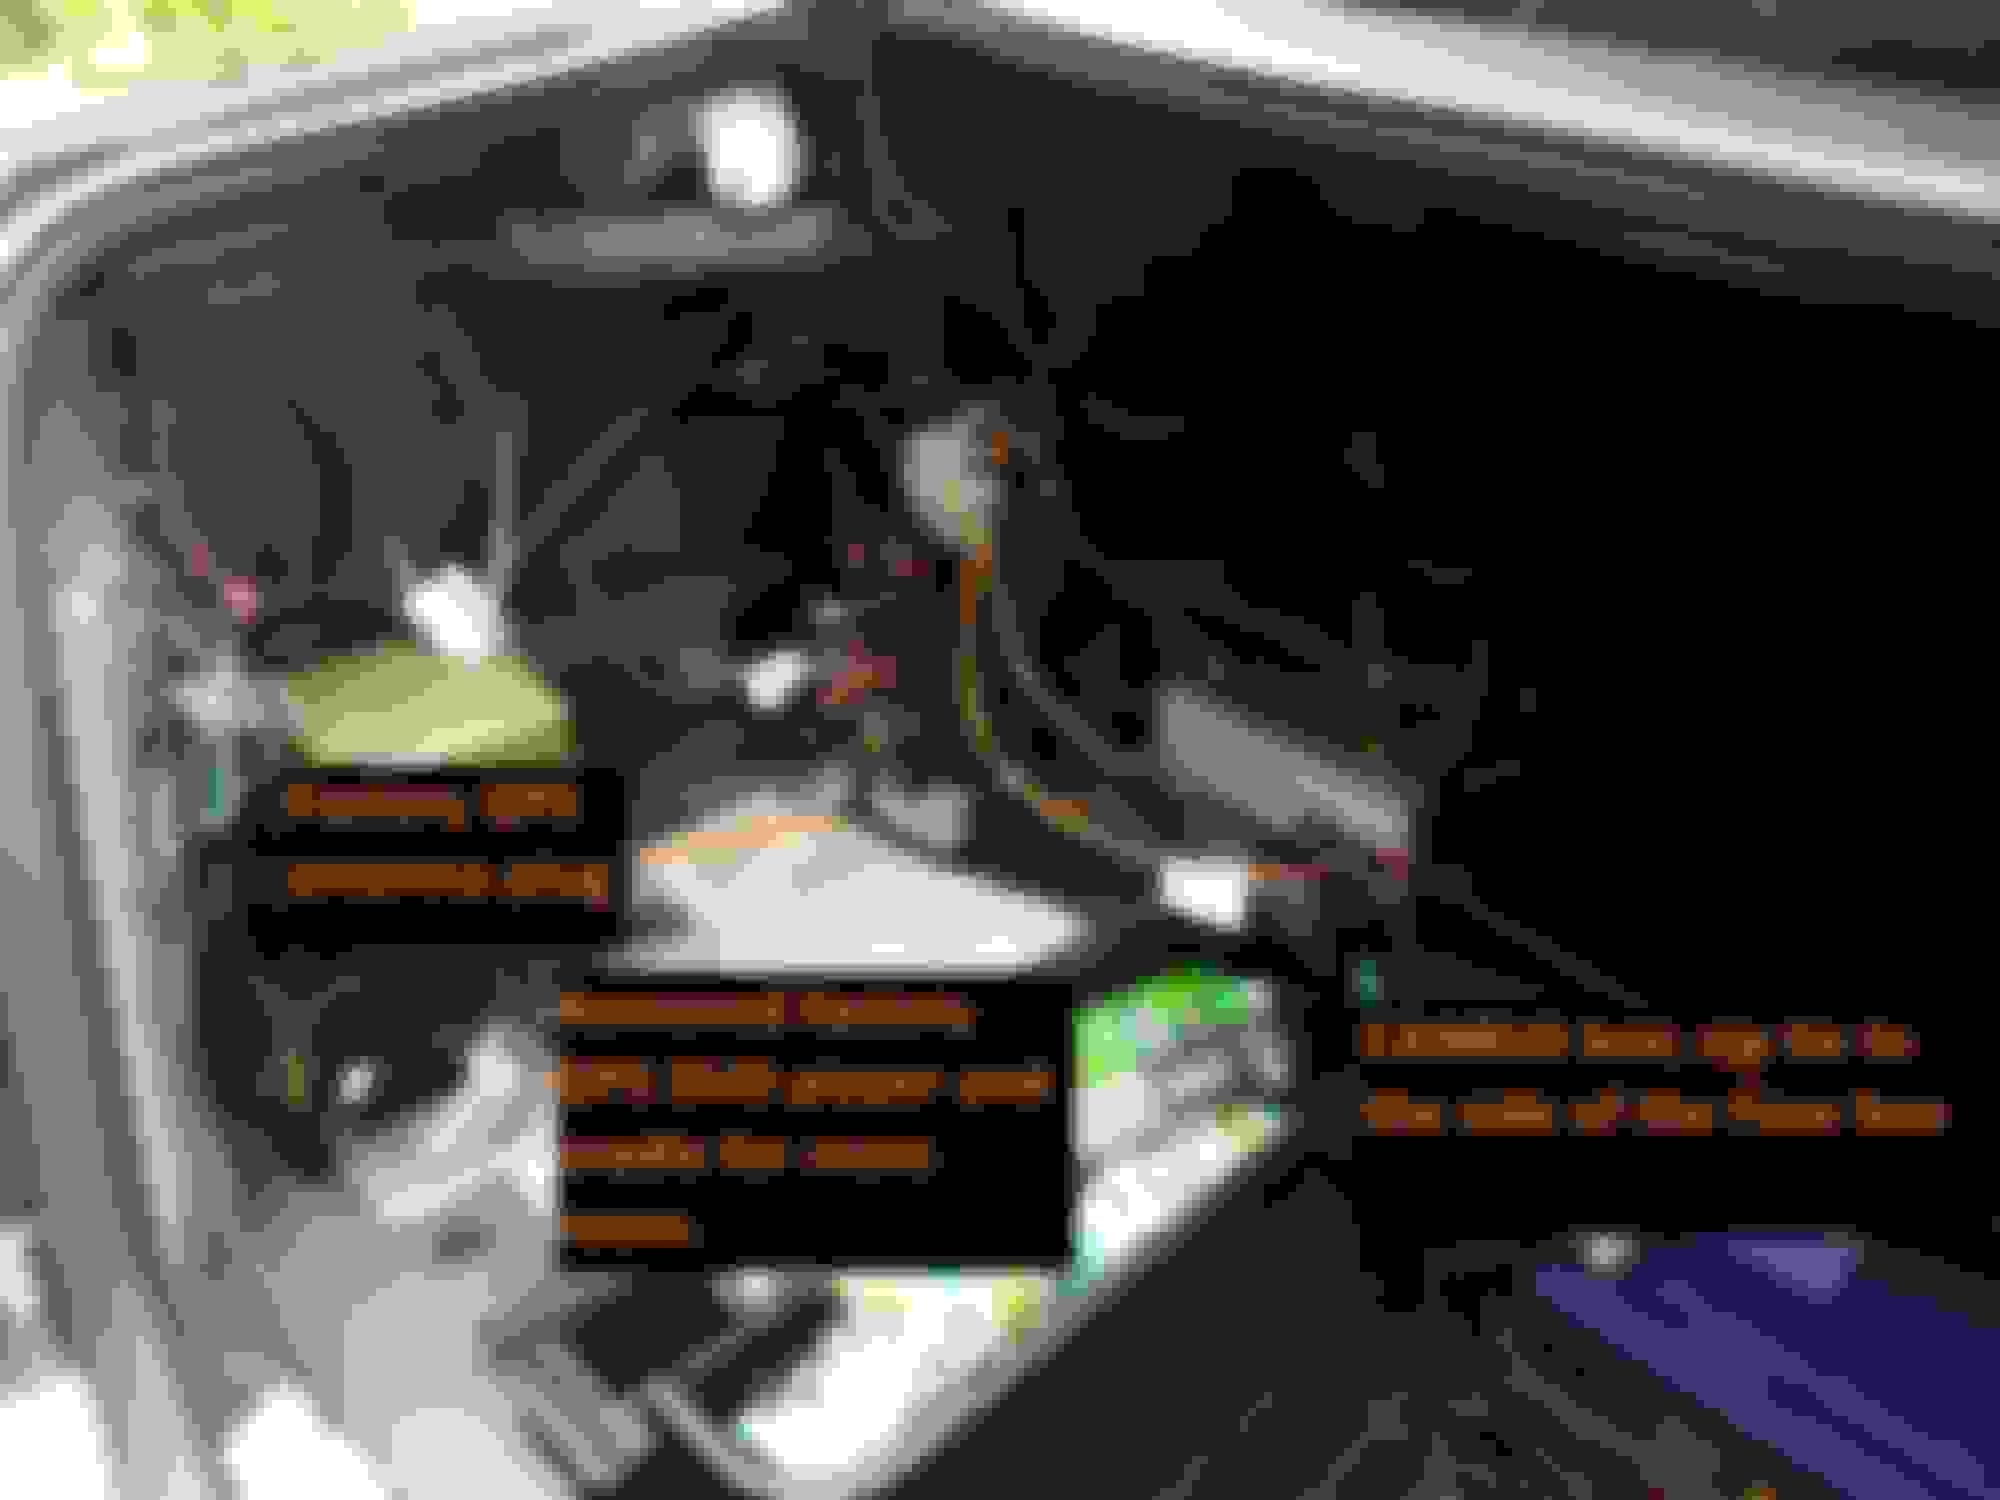
in order to remove the stock AMP, you need to remove the cradle for the GPS DVD Player and undo the fuse box mounts. (This will give you bit more room to work with in order to remove the amp.
The amp is held in by 3 10mm bolts, 2 on the side and one between the quarter panel and boot cavity.
Completely unplug the old amp and connect the corresponding plugs from the 6m cables.
Those extras are all plug and play and will have the unit fully operating in your car. END
EXTRAS (options for the unit you can buy)
DVR camera (front facing USB camera that allows you to record as you drive)
3G USB Modem (place a sim card in it and have internet all the time)
Digital / HD TV (for watching digital / HD TV)
OBD2 Bluetooth module (allows the view of car diagnostics /info on the head unit via (app Torque)
Reverse Camera (need I explain?) END
This section here is for the audiophiles / radio heads
The HK stereo has 12 speakers all up.
4 Door speakers, 6.5�
4 Door tweeters 1.5� (They are automatically powered by the 6.5�on the same door)
1 Front centre speaker 4� maybe less?
2 Rear parcel shelf speakers 4�
1 Dual voice coil subwoofer 10�
Running the unit as is (with just the 6m amp bypass cable) will give you adequate sound levels, however because the car had Harman Kardon stereo in it, the speakers require more juice to operate efficiently and give that nice sound you previously had with the original amp, ALSO, there are a few speakers still not being powered by the head unit. Why? Because the unit simply cannot supply that much power, the old AMP�s IC alone was 10 times the size of the new units combined amp + processor IC. (Integrated Circuit)
To resolve this, we need to install a new amp(s) in the boot:
At this point, you have 2 options.
#1 Run 2 AMPS, one for the Subwoofer (mono block AMP), and one for the remaining 7 speakers in the car. (Surround sound)
#2 Run one high powered 4 channel AMP (200+WATTS per channel) and run 2 channels to the subwoofer, 1 channel to power all LEFT speakers of the car and 1 channel to power all RIGHT speakers of the car. (Stereo sound)
**note, unless you�ll be watching DVD movies on your new head unit, you won�t otherwise be experiencing any surround sound from the MP3�s you download / music you stream on Bluetooth, because they are all based on 2 channel Stereo output**
From this point I will be showing / explaining my setup which is based on option #2 as mentioned above.
* AMP: 4 channel, 4x300W = 1200W TOTAL. ~600WRMS
* 2x High to low converters (converting all 4 channels from the unit to RCA outputs)
* 1x Splitter box, (provides signal for tweeters and mid-range speakers) will be used for front centre and rear parcel shelf speakers.
* 1X automotive Amp fuse
* Appropriate gauge wires for powering the AMP etc.
LETS BEGIN:
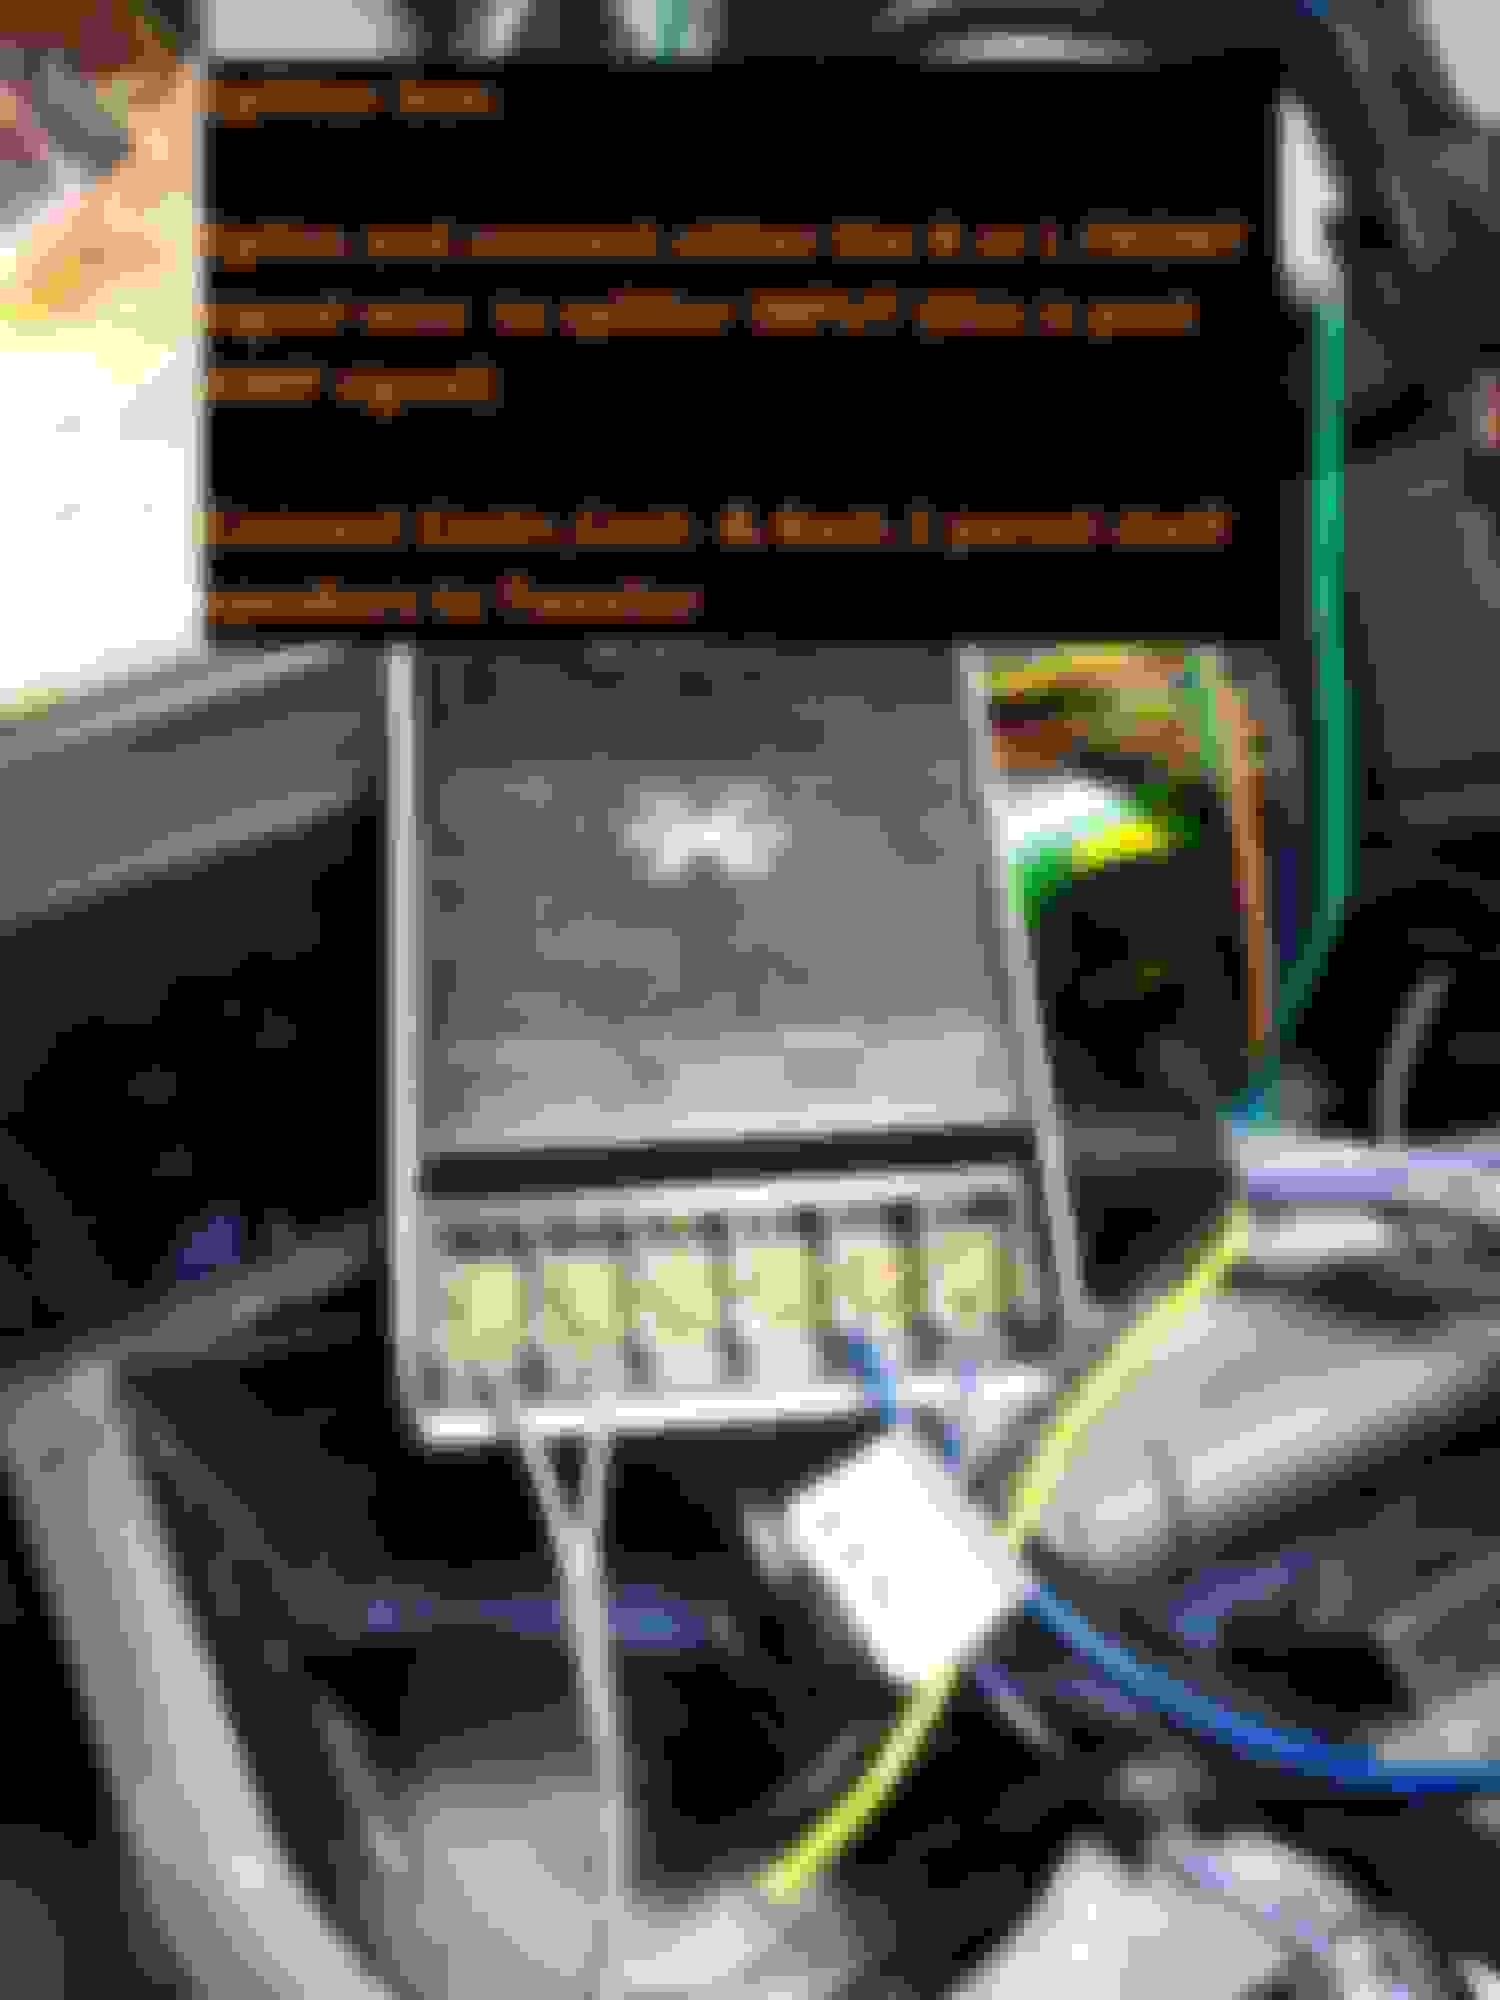
Since the battery is in the boot, powering the amp will be easy.
Make sure you use an inline fuse for the + and DO NOT connect the ground to the battery! Follow the lead from the negative terminal and you will see a black box! That box filters out electrical noise, so make sure you connect the ground for the amp on the part of the black box that is connected to the body.
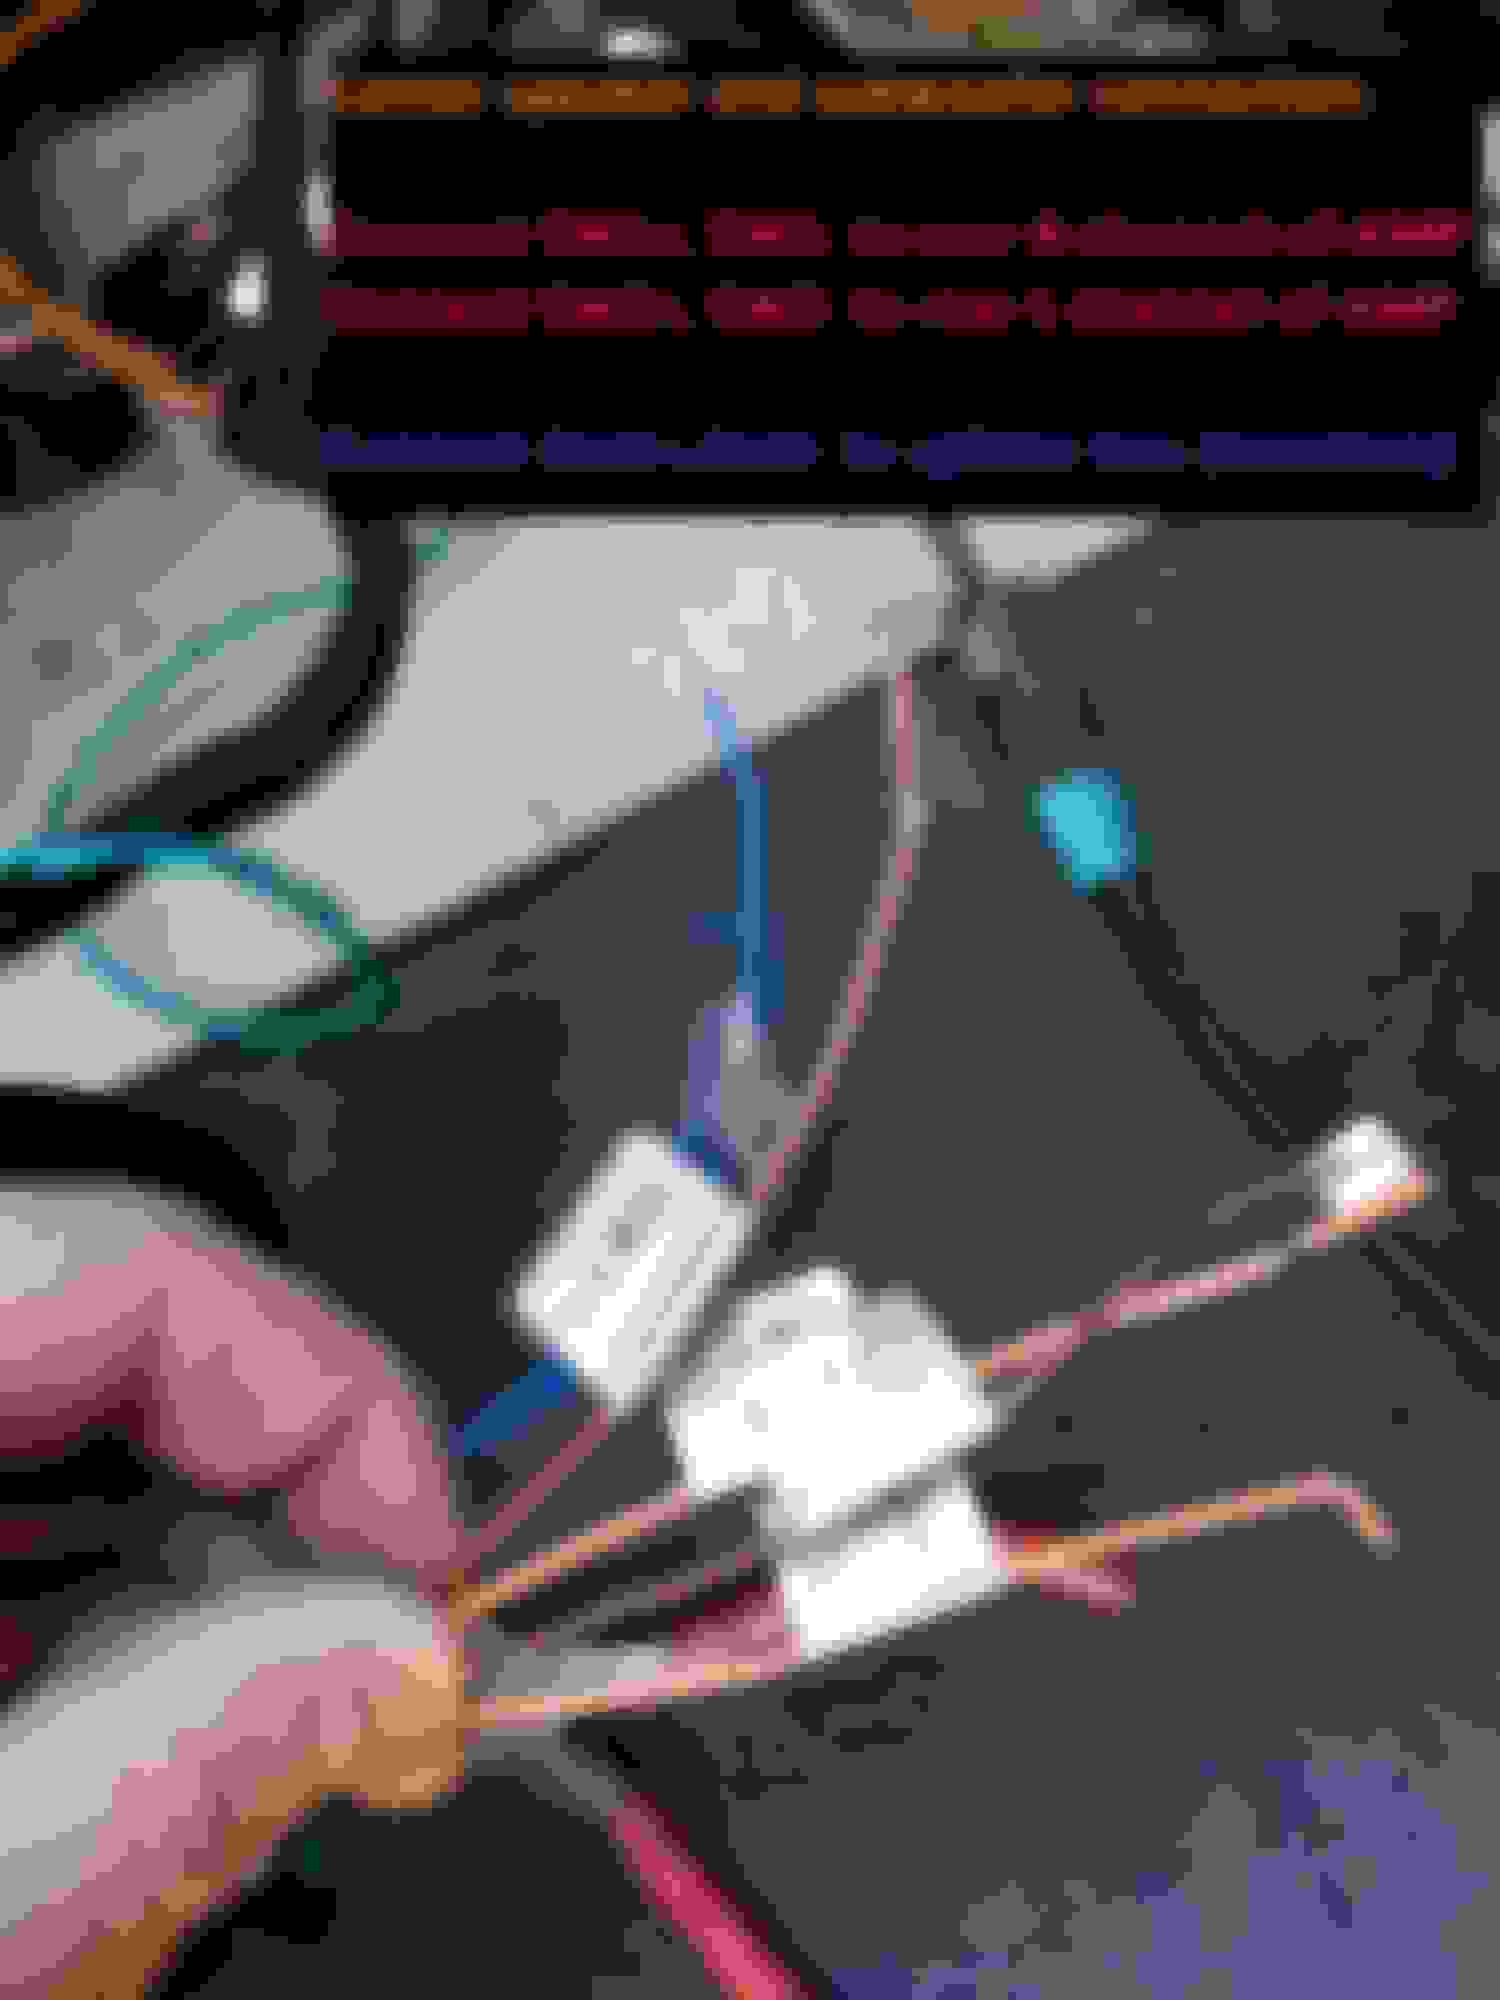
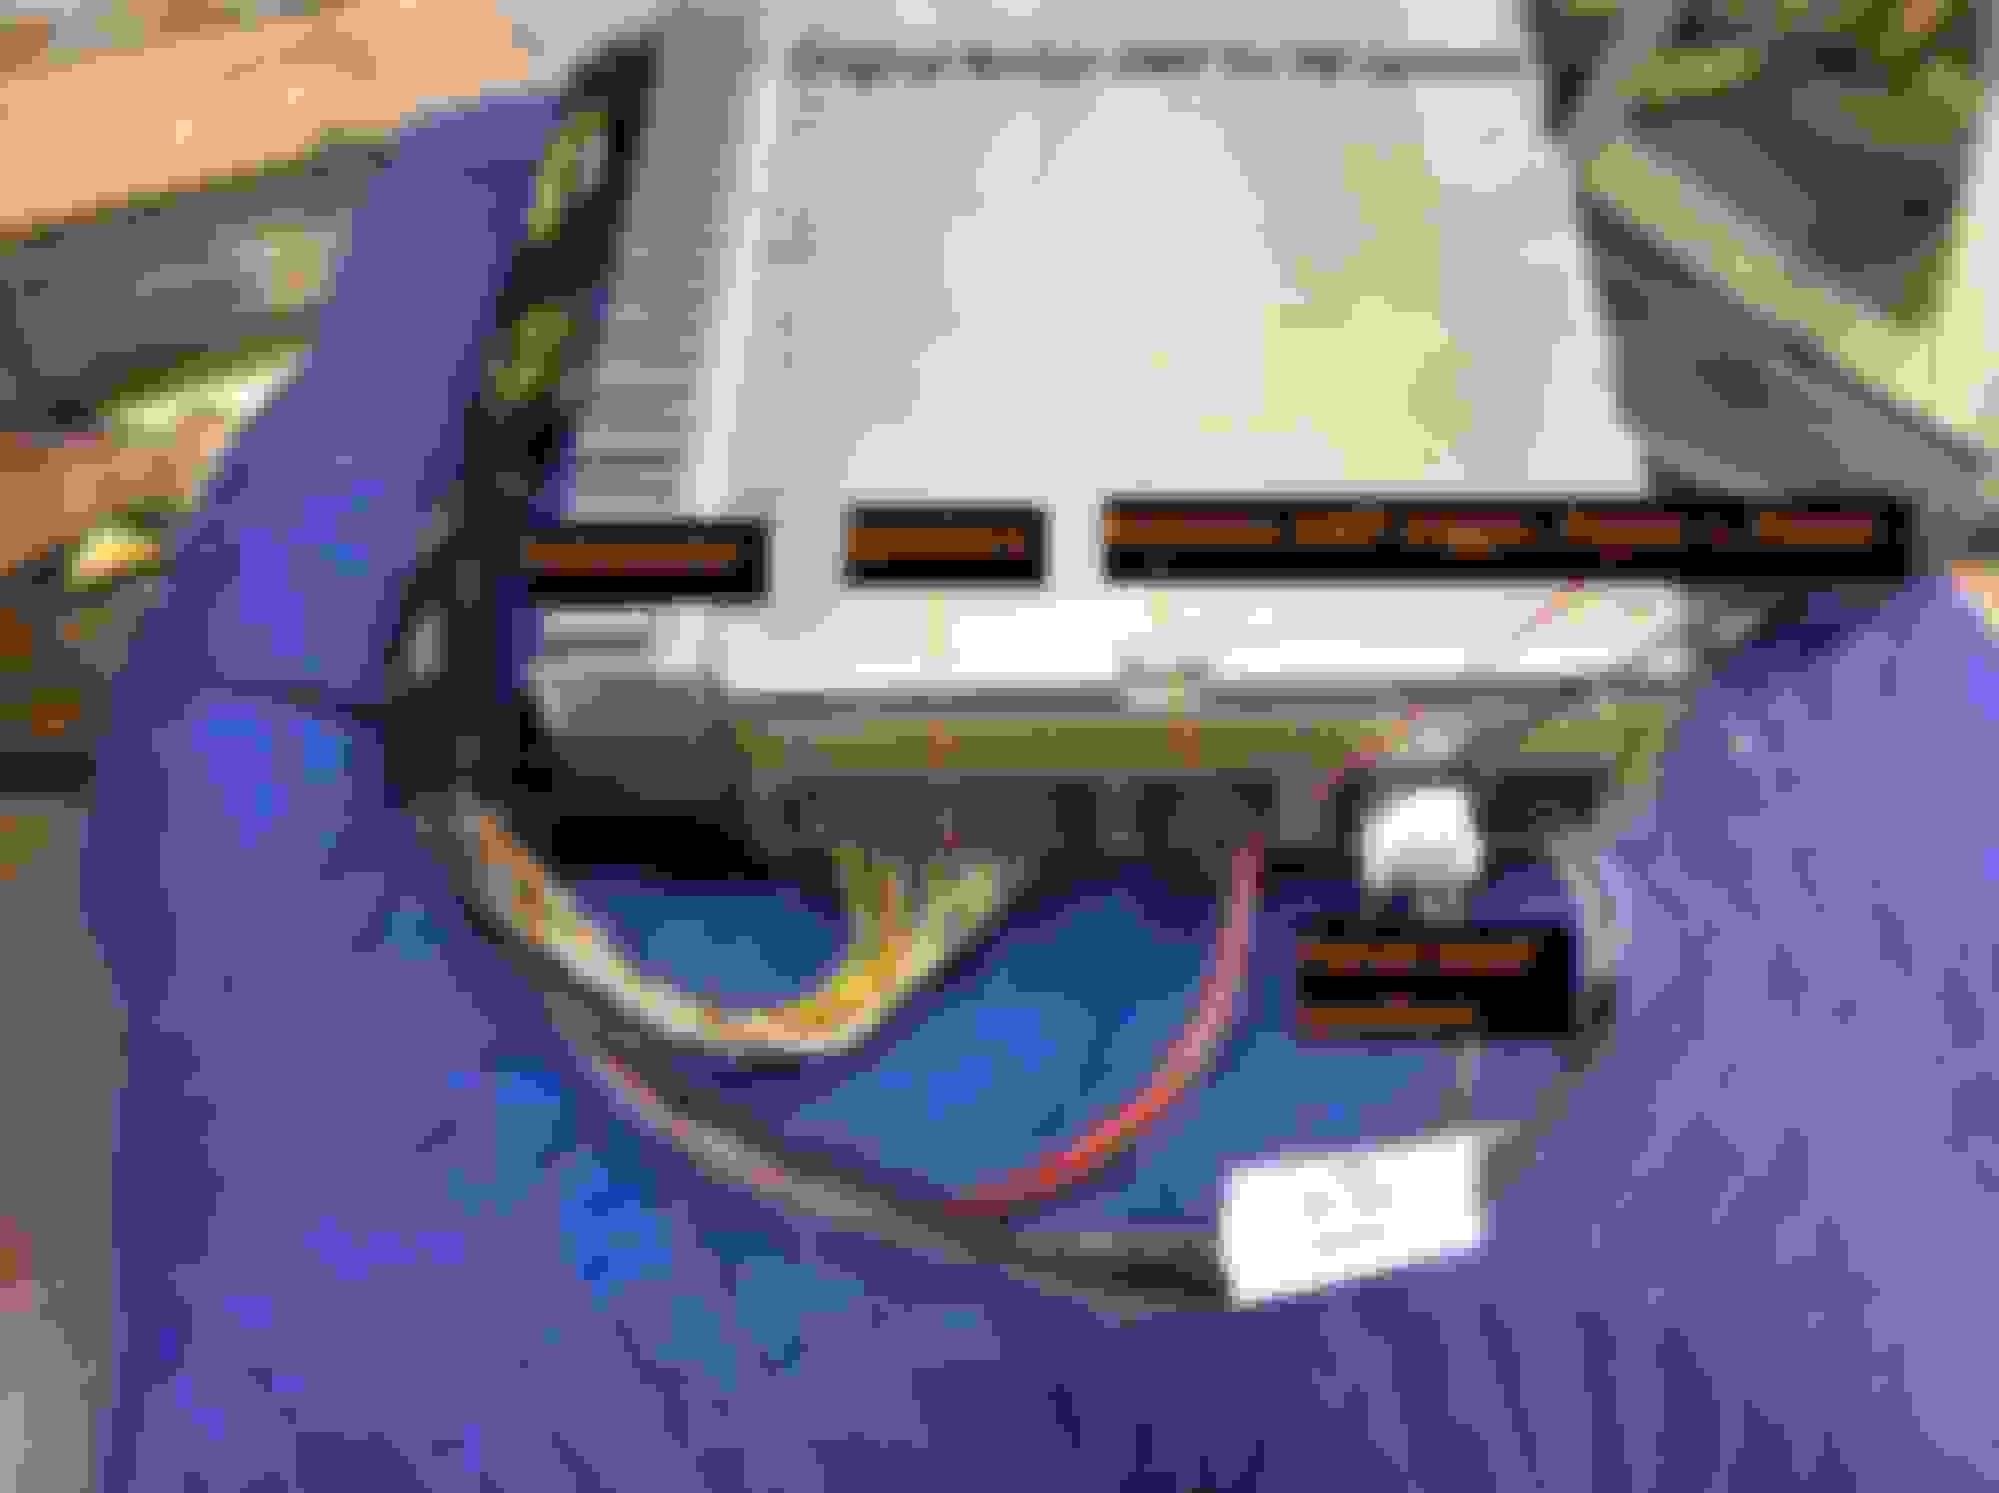
If you look at the 6M speaker / power cable. You will see a black 4 pin plug with thick RED, BROWN and a thin blue wire. (That blue wire is a positive remote trigger for the antenna amp. Splice into that to trigger the new amplifier into powering on. OR run a 5m long trigger cable from the new head unit as it has an amp trigger output.
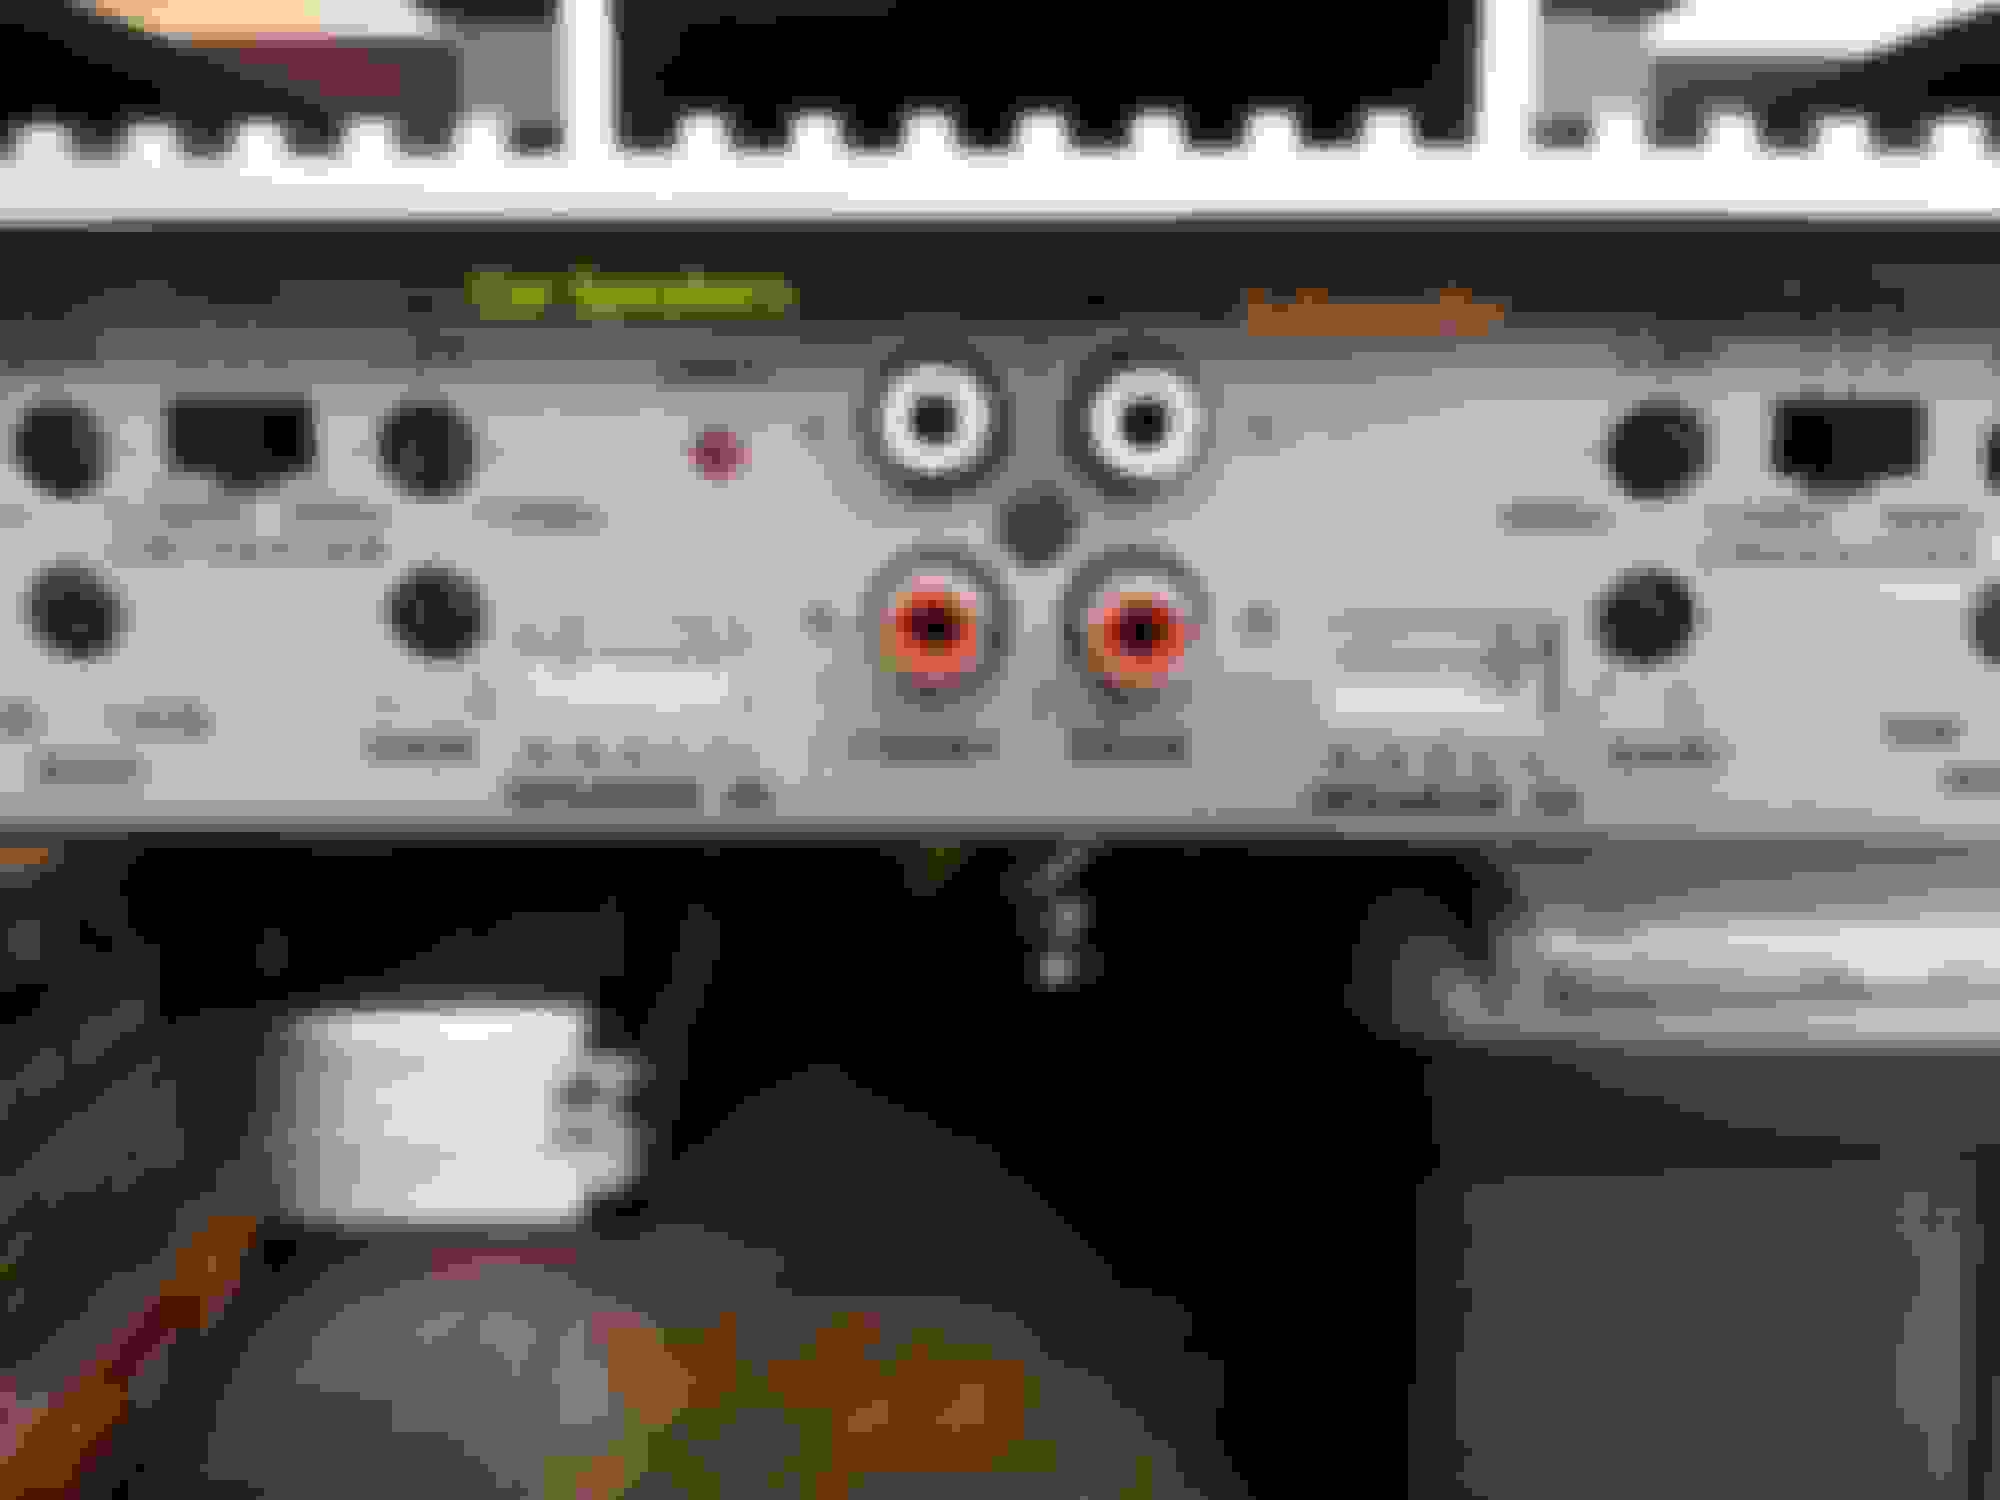
Connect all 4 channels to the Converters so you have 4 RCA outputs in total, 2 for the FRONT, and 2 for the REAR. (Make sure you adjust the gain on the converters) (Don�t set them too high or else you will experience signal clipping which sounds like distortion)
Connect them to the AMP accordingly.
Connect the 2 REAR outputs of your AMP to the 2 inputs of your subwoofer (adjust the amp accordingly (set it to Low pass filter and set the Hz limit at 80-100Hz) anything higher and this will cause the subwoofer to play vocals (BIG no no!)
Connect the 2 FRONT outputs to the corresponding side of the car.
Front right channel connected to all the right speakers of the car (excluding the parcel shelf and front centre).
Front LEFT channel connected to all the LEFT speakers of the car.
from the LEFT output, run a new wire to the splitter box, and from the splitter box distribute the power to the FRONT centre speaker on the (Tweeter output) and REAR parcel shelf speakers on the (woofer output). (FYI, woofer on the splitter box just means mid range/ vocals and not thumping bass)
the reason why I set the front centre speaker to tweeter and not woofer is because I began to hear it crackling. And I have a feeling it�s smaller than the back 2.
That�s it!,
Set the gain and bass on the subwoofer high on the amp. Then go on the head unit and adjust the FADE effect so you have most of the sound FRONT bias, this means the sub won�t be as loud. If you wish to increase the sub level, change the FADE so it�s more REAR bias.
Extras#2 this is if you wish to retain your factory GPS module. This will result in a cleaner looking interior as you won�t have an ugly black GPS antenna stuck to your front windshield.
You need the following 3 cables to make the appropriate cable which will run from the boot to the new head unit. It�s self-explanatory as the plugs require simple common scenes.
Thanks to your detailed explanation. I finally upgraded my early 2006 W211- NTG1 to Medeke Android 7.1 head unit with the 6m bypass harness, 6m radio antenna (all from Aliexpress).
There are a couple of issues I hope you can help me.
1. How can I connect the front-center-speaker to the headunit? The bunch of preamp RCA(Red/White) from the android unit is not powerful enough for direct connection to speaker.
2. It seem that the FM station with channel freq >100mhz having static noises. (FM station with freq < 100mhz is ok) Is this the radio tuner problem?
Guys, has there been any way to update the firmware on the W211/219 AVIN Avant-2 unit?
Also, how do you install apps on it. Anything I want to download from Google Play says "not compatible with your version"
It is also extremely sluggish and slow!
I have an S Class aftermarket installation with the most fiber link
Most Aux Conversion
system and have no radio signal due to the antenna still not connected. I cannot seem to find how. Please help. What additional information do you need to assist.
This Android Head Unit 4.4.4 has been good. Using it for 3 years now. Though it cannot be updated to a newer OS, lately the perfomance has been lagging do to no Disk Space from all the Google System updates.
If your like me...I'm not interested in purchasing another one of these head units, so I tried this program called LINK2SD Plus. This APK was able to bring my Android Head Unit back to life with way more disk space to work with.
Just would like to share this information for anyone interested.
1. Root your Head Unit by going to Factory Settings then enter *#hct#root#
2. Purchase LINK2SD Plus from the Google Play Store.
3. Download PartitionMagic to your PC.
4. Do a YouTube search on how to partition an SD Card with Partition Magic for use with LINK2SD or use this video that helped me ====> https://youtu.be/t3bAdOHrsHQ
Last edited by Gangrene3075; Sep 25, 2018 at 10:33 PM.
You just pull up on the front by using your finger to �hook� into the front part of the leather boot and you�ll feel the slot that the gear lever slides for and aft. A quick pull up and it should pop out. When it does, you�ll see where it mounts towards the rear (ie-closer to you) as it mounts into two horizontal slots that you must insert it into when you go to put it back in place.
Its this unit: (http://www.ebay.com/itm/Android-5-1-...8AAOSwGYVXBMyW)
XTRONS has been pretty nice to deal with (at least so far.) Extremely fast responses to any questions i have, and shipping only took 3 days from Hong Kong.
I'm not sure if its running TRUE 5.1 or if its skinned 4.4.4, but I'm very impressed with it so far. The unit says its running 5.1.1 when you go into "about" in the settings menu. Very good sound quality, and the level of integration on the CAN-B network is incredible. Steering wheel controls, track names on instrument cluster, Night time dimming, reversing camera, and ACC are all controlled from the CAN connections. (I tapped into the can bridge in the driver side raceway.) The unit seems to be put together very well. CD player doesn't even skip when you hit massive Michigan potholes.
The AVIN MOST interface i used is very impressive as well. Allowed me to use the factory Amp and fiberoptics. Basically it allows you to install ANY aftermarket radio in your MOST equipped Benz and still retain the factory amp and fiber optic loop. Priced at $250, its a very attractive alternative to completely rewiring your audio system and installing a new amp.
I'm going to be doing a complete write up including a DIY install along with a few videos sometime this week. (I'm more active at Benzworld, so ill be doing that there.) ill post a link here once i'm done.
3/15/21. I�ve read this post up to this comment, so I was wondering if this unit, whilst allowing you to �retain the factory amp and fiber optic loop�, allows one to maintain use of the factory multi-CD Player located underneath the Factory unit, or must one remove the factory multi-CD Player as I had previously understood? I am getting ready to install 9 channels of Amplification (5x4 Gladen Amps) along with an Audison Bit Nove Digital Processor. The plan is to divert the signal from the the speaker wires from the HK Amp into the DSP>Gladen AMPs> Into OEM Speaker for front and rear Bass speakers and run additional speaker wire to connect to the 3� mods in pods and Tweeters in the Sails. I really would like to tap into the MOST directly with MoBridge or Other, but pretty sure that can�t be done with my 2007 E63 as it has the early MOST Head unit. However, if I installed this Unit, the question is could I then get the MoBridge or Audison DA-1? using one of those 3 way MOST adaptors thereby nixing the step of diverting signal from the OEM Gateway HK Amp speaker wires>DSP>Gladen Amps>Speakers and instead getting MOST signal direct via Toslink>DSP>Gladen Amps>Speakers??? This way I could retain use of the gateway amp to drive Center and Rear Surrounds and have full 3 way fronts, rear full 2way in rear doors and subwoofer driven from the Gladen Amps!!
hi xpression I know this post is old now but I�m hoping for a response, I�m looking to do this upgrade and I�m not sure if my car is the same process, I don�t have navigation or anything fancy like that so my upgrade should be a little more simple. Now I�ve had the e-class w211 with the hk system and it was great however in the clk it�s terrible so im ditching the whole system so what I want to do is, install a new head unit and run 2 aftermarket amps 1- 5 channel, and 1-mono amp for a aftermarket sub. I will soon upgrade all door speakers in the future once I get the whole thing working. Only thing I�m concerned about is getting the head unit to work, and the harnesses I need. I know you covered mostly everything but I�m still having trouble understand the power source and a few other things, if you have a Instagram or Facebook let me know that way I can text you directly if you don�t mind
For anyone interested. There is an app called Headunit Reloaded that adds Android Auto to any model of these units. All upgraded Google Maps, Pandora and iHeart Radio.
Hi. I know this is an old thread, but did you manage to get this system going. I have the Harmon Kardon system. I wanted to update the system to a more modern one. I have the Xtrons system. The sound using the MOST module didn't sound to good, so I'm removing all the components and putting my own AMP or AMPs in.
There are 12 speakers in this system. I have connected all 4 door speakers to the unit. I need to connect the parcel shelf mid speakers (surround) and sub to an AMP. Did yo do a detailed diagram of the best way to do this?
You not have the vehicle now, so just wanted to know what the system was like and did it sound good.
Mercedes SLR McLaren 722 S Is Extremely Rare Example Modified by McLaren
Slideshow: A one-of-one U.S.-spec Mercedes-Benz SLR McLaren Roadster became even rarer after a factory-backed transformation at McLaren's headquarters.