When you click on links to various merchants on this site and make a purchase, this can result in this site earning a commission. Affiliate programs and affiliations include, but are not limited to, the eBay Partner Network.
New to the forum, searched and could find little (nothing actually) about changing the spark plugs in the 3l biturbo. If it is posted elsewhere, my apologies for not looking more carefully.
I have a wholesale account at a local Carquest, the NGK plugs were only $2 less so I purchased the plugs from the Mercedes dealer, $21.73 Cdn. I was interested to see if the original plugs were "indexed" properly after reading all the scary notes about melting pistons etc. I noted the final location of the electrodes when I removed the original plugs and they were all over the quadrant, it appears that MB has addressed an issue perhaps as there was no consistency with the original plug electrode locations. The new plugs however did all end up indexed in the proper location after torquing.
Only special tool I needed to buy was a "Clic R" plier to remove the clamp on the intake. I guess I could have removed the bolt securing the elbow but it gave me an excuse to buy another tool for the box. The plugs require a 6 or 12 point thin walled socket, 14mm.
Very easy job once you remove all the covers and sound insulation. I warmed the engine and used the cable tie method to pull off the stubborn coil boots.
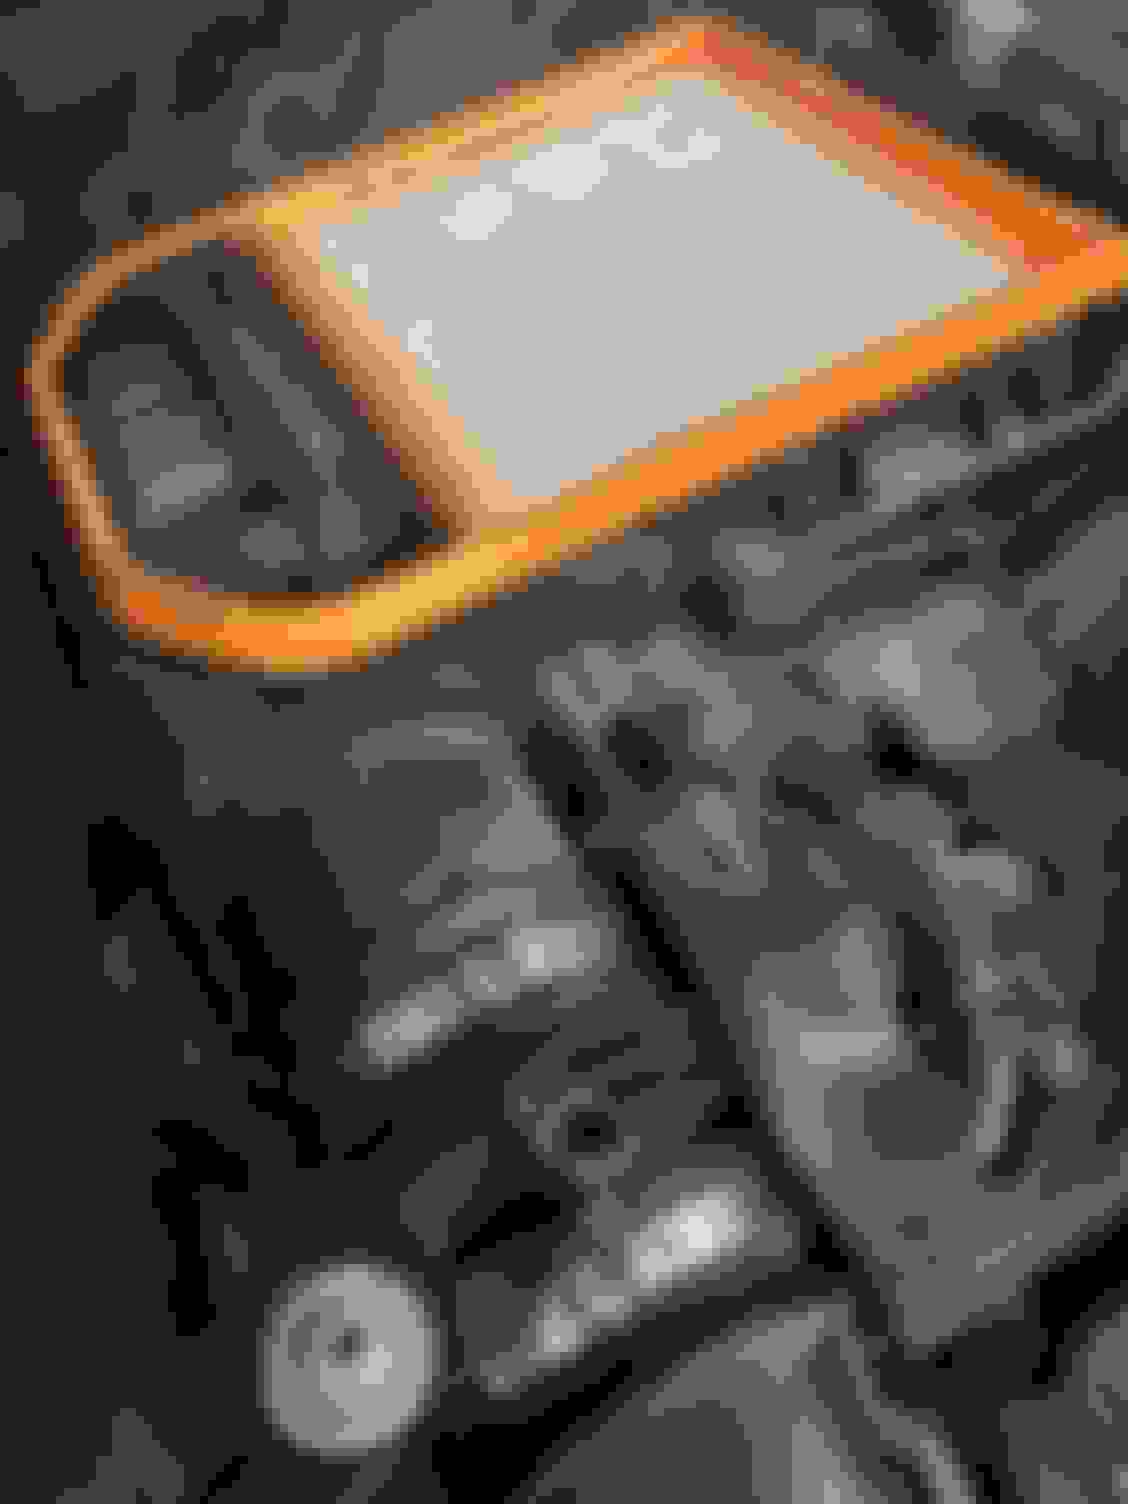
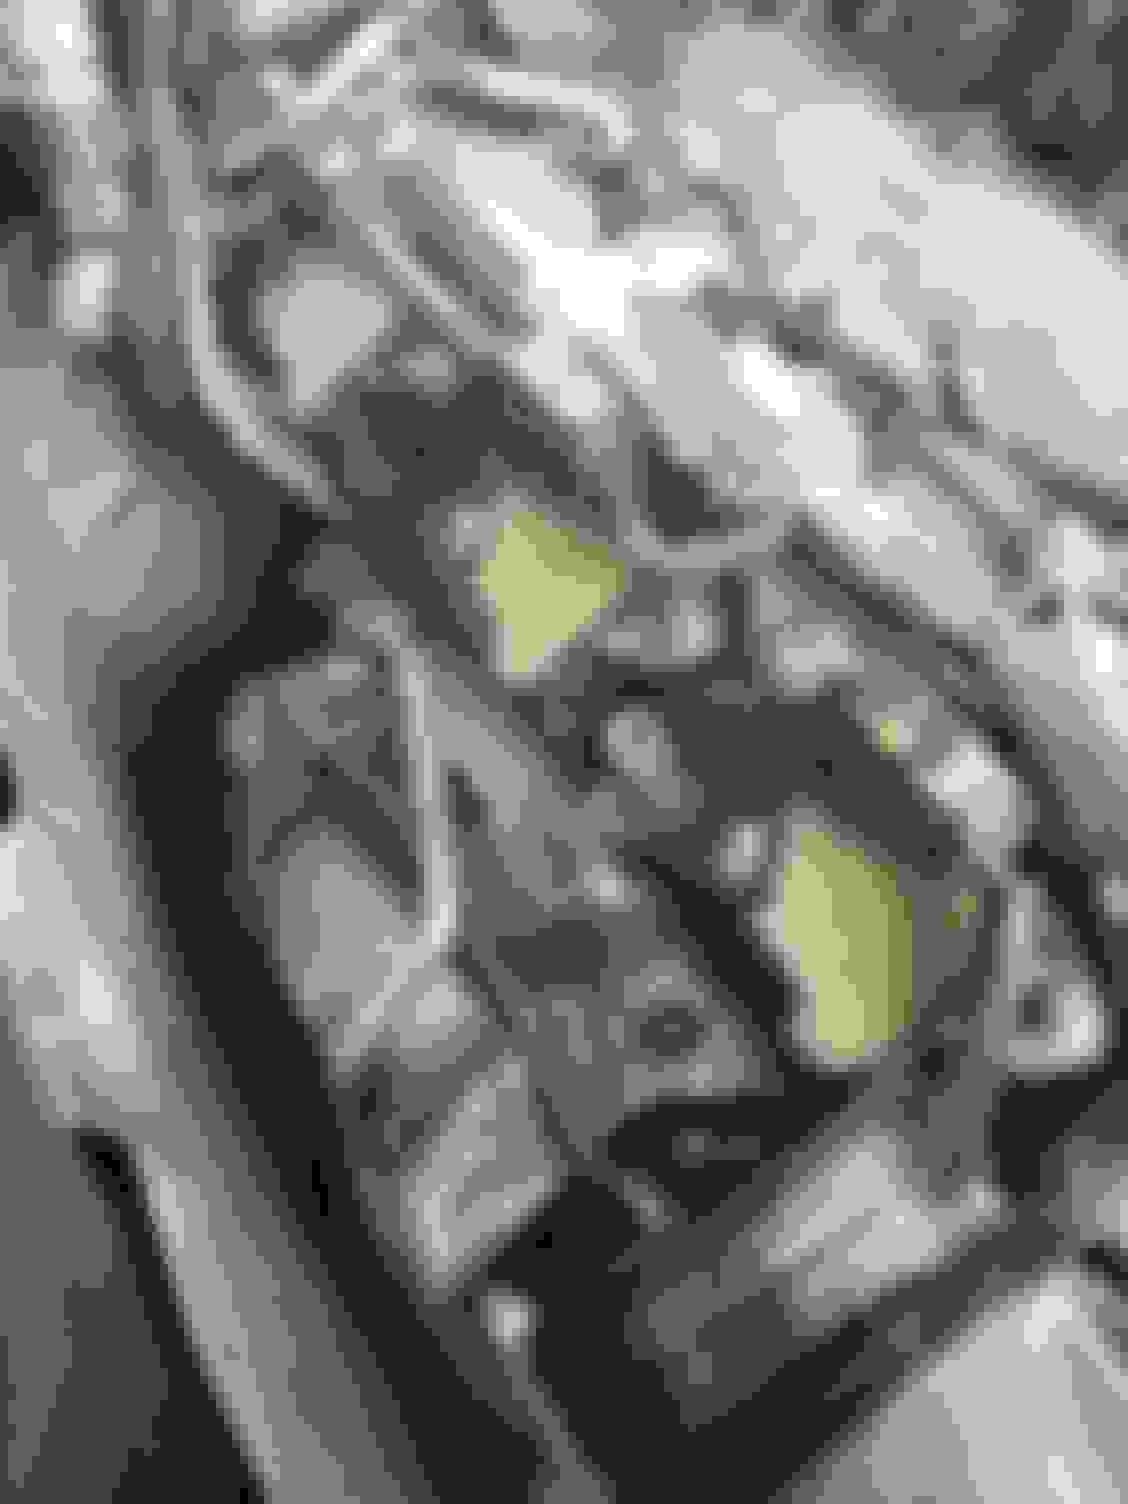
Center engine cover removed, it simply pops off. The two snorkels on each bank pop off easily too. Clic R pliers required to remove and replace the boot clamps. The clamps are reusable. Once one clamp is removed the lower portion of the air filter housing pops up. It is held down with the same type of rubber ball and socket as the covers. You need a 25 Torx to remove the upper cover screws. Once the filter base and plumbing is out of the way, this rubber needs to be carefully prised away from the head. It has two plastic clips on the right side and three on the left as seen in the next pictures. The clips either come off with the rubber, stay attached to the cylinder head and hopefully don't fall into the plastic void below. Underside of insulation I warmed the engine and used a cable tie around the hard plastic portion of the coil wire to assist with removal. Damage to the wire will undoubtedly occur if you yank up on the coil pack alone. It still requires a good deal of strength and twisting to get the sticky rubber off of the old plug. Syl Glide plug boot grease on the new plugs when they go back in! Accessibility is excellent, 6" extension will remove the plugs after blowing all the dust and crud away.
Nice write up, will look into changing my plugs in a couple months. Sitting at 40k miles right now so I�m pretty much good. Also good to know more w212 e400 owners on here
I noted the final location of the electrodes when I removed the original plugs and they were all over the quadrant, it appears that MB has addressed an issue perhaps as there was no consistency with the original plug electrode locations. The new plugs however did all end up indexed in the proper location after torquing.
Hmm ... the old plugs weren't indexed? That's interesting.
Hmm ... the old plugs weren't indexed? That's interesting.
No consistent indexing whatsoever. They were the original MB plugs with the MB logo, I was very careful to check the electrode location upon removal and the old plugs were all over the map, The new plugs did all index in the correct range as noted in the MB June 2014 technical update PDF. I used a torque wrench, the washer under the plug is a flat copper washer (like a drain plug) which is unlike most older style washers that allowed for quite a bit of "crush" when approaching final torque. These plugs bottom out and when torqued to 23 Nm, there is very little "extra" twist.
I agree, pics were all I could manage with one hand! Once the unique airbox plumbing is removed, the coil and plug removal appears similar to non-turbo 276 engines as far as accessibility and tool requirements. Pulling the coils off is the challenge, the boots were well stuck to the plugs and I am absolutely sure I would have damaged some of the coil wire boots had I not warmed the engine and used the cable tie method to pull and twist the plastic portion of the wiring. Unlike other COP coils which use a solid plastic connection, these have a rubber connection between the coil and the hard plastic portion near the plug.
I'm new to MB, I just bought a 2016 CPO E400, but I think this might be an explanation to the spark plug indexing question.
The M276 has two versions for combustion modes. There's a DEH series that the US gets and a DES for the rest of the world.
The DEH variant burns a homogeneous 14.7:1 air/fuel mixture that's uniform throughout the combustion chamber.
The DES versions burn a stratified charge where the mixture is generally about 14.7:1 near the spark plug and much leaner further from the spark plug. The DES versions have two operating modes HOS - homogenous stratified and HSP - homogenous split. HOS is a combination of lean burn and stratified combustion. Operating under HOS, the plug and the richest mixture have to be exactly, spot-on positioned in relation to each other. Thus indexing for DES running under HOS is pretty important to avoid the ignition system from trying to light a very lean mixture, which, if it does ignite, will be extremely hot.
DEH engines have a uniform fuel mixture. Since it's uniform, it doesn't matter how the plug is orientated. That's very different than combustion in the DES engines.
I've not found a definitive answer as to which M276s have that technology but believe it common to the DE30, DE30AL, DE35, and DE35AL. Not sure of the nomenclature on those, either. Some say the twin turbo 3.5 is the DELA35 and others show the 3.0 twin turbo is a DE30AL. Same? Different? I'm still learning the taxonomy, which is complicated by the multiplicity of markets.
On the other hand, the lean and stratified combustion makes sense for indexing. The puzzle pieces fit, but does that mean they go together?
Sorry, can't remember but the screws are "e-torx" so you will need to have a set of those sockets on hand. I think they use an "E8 ETorx" but don't quote me.
Last edited by OntarioDave; Dec 12, 2020 at 08:01 PM.
Reason: .
So to those in the know does this imply that it is easier to replace plugs on the 3.0 liter biturbo than the naturally aspirated direct injected 3.5 liter engines? It sounded like you had to remove the intake manifold on that engine.
Not always a fan of YouTube "experts" but check this out: https://en.leighsr.com/spark-plugs-replace-m276
Seems very concise, shows removal of plugs on an NA 3.5 276 motor without plenum removal.
Changing my M276 DE 30 3l biturbo plugs was much easier to perform regarding access....
Last edited by OntarioDave; Dec 14, 2020 at 11:38 AM.
Reason: .
One thing I found helpful was to leave the coil pack attached to the harness at the connector. I had a very difficult time detaching the connector and broke one and lost a part to another. The result was just leaving it attached. There is enough room to do this on all 8 plugs. .Do be careful though. This is not tough stuff. I would suggest you start at the passenger front, the work to the back. A longer extension will fit in the front than in the back. Then go to the driver's side, removing the ECM and other brackets, etc that are in your way. Might want to take a picture of the areas before you start just to make sure everything goes back the same way it came out.
@OntarioDave@OntarioDave this post was extremely helpful, thank you! I have a handful of thoughts and questions. I'm halfway through the plug change in my 2016 E400 Cabrio right now, your post is what gave me the confidence.
1. Why isn't this posted in the C207/A207 forum instead of W212? I keep an eye on both forums since a lot of things in the W212 forum apply to the A207, but really the W212 is the 4-door segment right? Maybe I'm misunderstanding. Either way, made this post tougher to re-find later.
2. I'm making a video of doing the changeout per the request above. My son is helping some with the video...my bet is it will require a lot of editing but hopefully it'll be useful.
3. Do you have a pdf of the MB paper that gives the torque specs? I could've sworn I saw a conflicting torque level in another posting and want to be sure on this one.
I hope to get the video posted soon. Will let you know how that editing goes. If anyone can recommend a great video editor I'm all ears.
My car is an E Class W212, thus the location of my post. I often check other forums for shared issues as you've found.
Good luck with a video, beyond my "scope" of patience or abilities.
I can post the PDF but I think you've confirmed it is 23Nm or 17 ft/lbs. Google service operation BA15.10-P-1001-01C.
Dave
Intake manifold removal is not required to change spark plugs on the 3.5L naturally aspirated M276. I changed my W166 M276 3.5L plugs last summer.
ECU placement is different on on the 3.5 vs 3.0. The drivers side bank of plugs is a real bear of a job because of the ECU bracket, harness cabling, PCV and vacuum lines. Doable but a challenge.
Removing the intake manifold is likely faster, which is consistent with it being the WIS specified procedure. But it requires changing some intake manifold seals. Faster time in the shop which benefits the dealer and the customer pays for the gasket replacement so in the end the dealer benefits. As usual.
Next time I replace plugs I will remove the ECU bracket, which itself is a chore, but it opens up some space on that side.
Passenger side plugs on the 3.5 are a piece of cake.
My car is an E Class W212, thus the location of my post. I often check other forums for shared issues as you've found.
Good luck with a video, beyond my "scope" of patience or abilities.
I can post the PDF but I think you've confirmed it is 23Nm or 17 ft/lbs. Google service operation BA15.10-P-1001-01C.
Dave
Aah, that explains a lot! Thanks Dave. Again your post was a life saver. 23Nm was an incredibly light amount of torque, had to double check that I had it set right.
Mercedes SLR McLaren 722 S Is Extremely Rare Example Modified by McLaren
Slideshow: A one-of-one U.S.-spec Mercedes-Benz SLR McLaren Roadster became even rarer after a factory-backed transformation at McLaren's headquarters.