When you click on links to various merchants on this site and make a purchase, this can result in this site earning a commission. Affiliate programs and affiliations include, but are not limited to, the eBay Partner Network.
I'm going to be replacing the two front control arms (torque strut and cross strut) in the next few months and wanted to see if anyone here had done it before. Specifically, which ball joint tool did you use to pop the ball joints loose from the steering knuckle? I have the instructions from WIS and it says to use tool 221 589 00 33 00 which I don't have something similar to yet. I know there's a lot of different sizes out there, and it'd be nice to get one that I know works for this.
Also, any thoughts or input on the procedure is appreciated! It looks pretty straightforward, but you never know till it's done.
You are in luck.
To note : my car is not a 4-Matic.
I just completed something similar for Caster & Camber correction bolts, but not up to the ball joint of on the torque strut. Torque Strut = Strut Rod = Caster Arm, watch out for these names in green, MB address the same item with these 2 different names in EPC and WIS. In red its the function it does for correction bolts.
I did replace the follower ball joint ( stand alone ) of the CROSS STRUT = CROSS MEMBER =Camber Arm
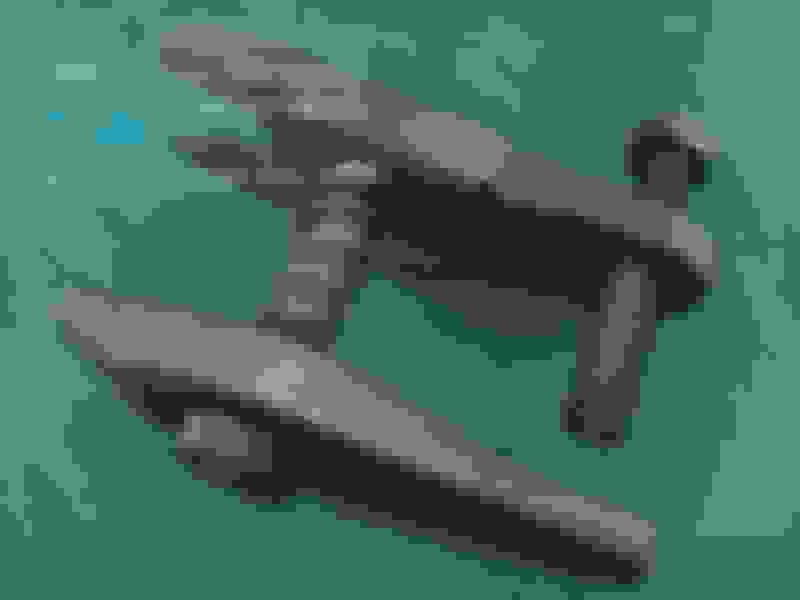
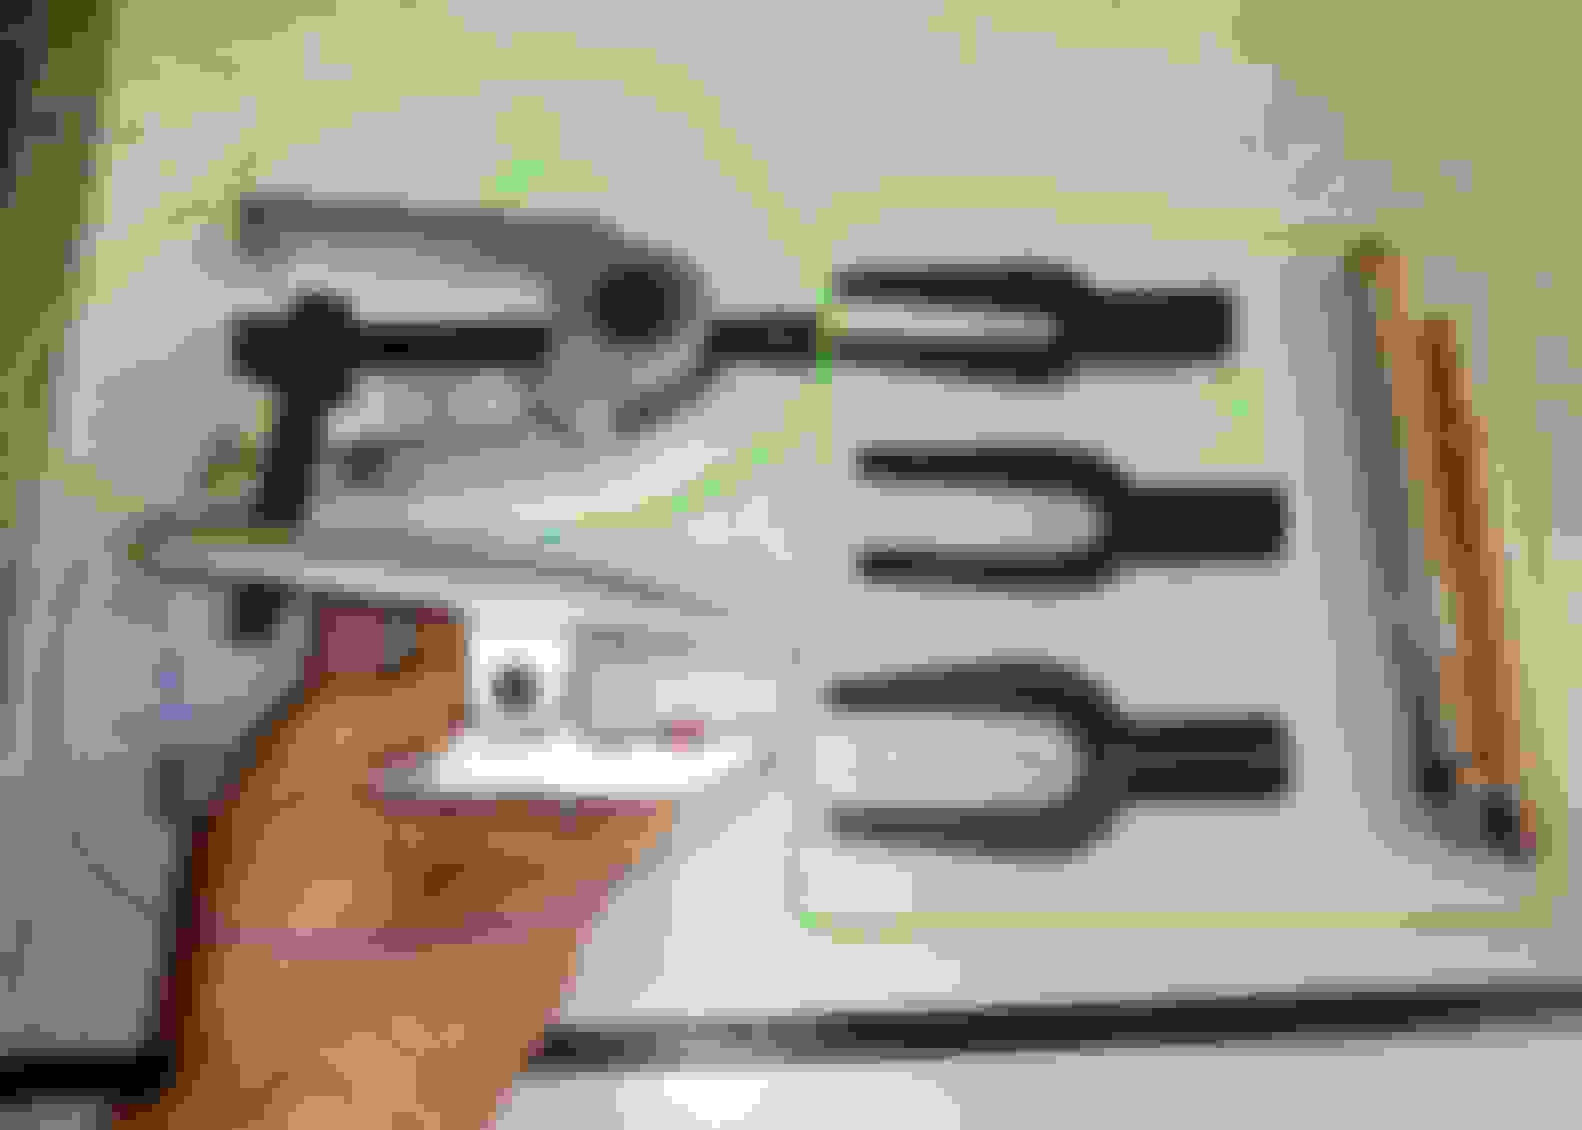
For item A, FOLLOWER BALL JOINT, I use tool 2 and 3.
Tool 2 to remove the ball joint side facing the bottom, tool 3 for ball joint side facing forward.
Video to watch for item A - FOLLOWER BALL JOINT. Poster uses tool 1 for ball joint end facing down and also tool 3 for ball joint end facing forward.
Why I do not use my tool 1 for ball joint end facing down is because it is easier/safer using tool 2. Tool 2 will not damage the ball joint boot, which is a possibility with tool 2.
Tool 2 , two of its fingers grip camber arm from 180 degrees apart without touching Follower Ball Joint boot.
Tool 1 fork side is kinda brute-push-force when first inserted between ball joint and arm.
When you tightened tool 1 bolt, the fork fights with the rubber boot of the ball joint actually, so it is the fork which pushes up the ball joint and not the single finger pushing ball joint end up.
I do not like that because I was initially inspecting my follower ball joint and will only change when I see fit. So risk of damaging rubber boot of ball joint is not something I want to do.
My tool no 2, pushes purely on the ball joint end while using the arm as footing, so it is more proper for follower ball joint situation.
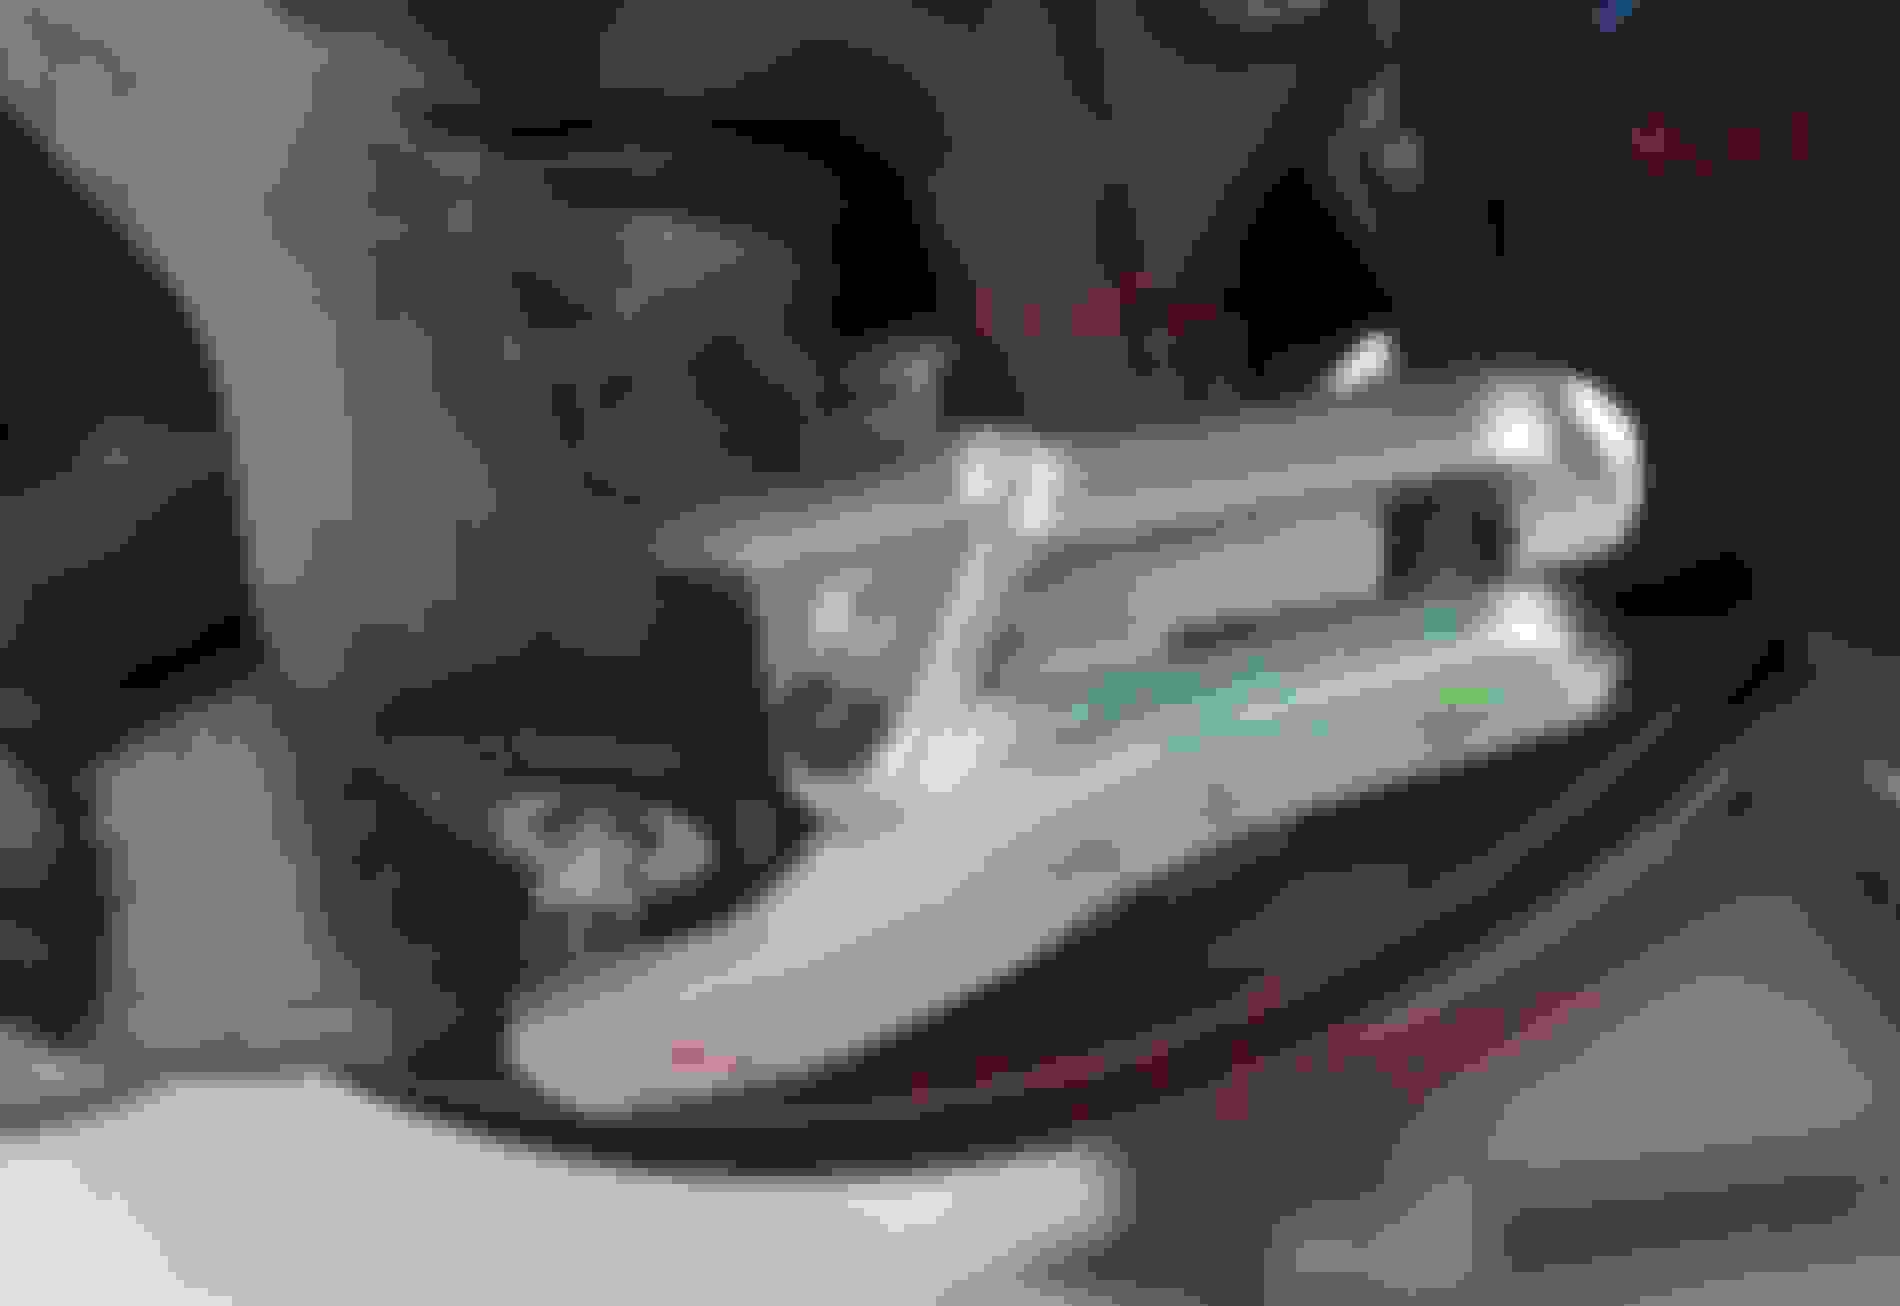
Removing completely the Torque Strut = Strut Rod = Caster Arm
You need to first UNDO the front strut assembly ( non 4-matic ), this is where the a lot of other collateral work will occur. I did not go there yet....
Need to warn you, if your two front axle arms in question is 100% like mine in its lay out , torquing it properly will need special tools, due to obstruction. Torque Strut = Strut Rod = Caster Arm bolt is the pain in the azz
See here : https://mbworld.org/forums/e-class-w...ml#post8140986
Get spare nut size 21, to use it to help you to do the 180 degrees stage 2 torque-ing , read here : https://mbworld.org/forums/e-class-w...ml#post8150476
Get a suitable type of torque wrench with removeable head box insert ( 14mm x 18mm ) like this :
Get these full ring inserts :
For bolts of camber arm and follower ball joint side facing forward ( no space for common socket type torque wrench )
Size 21 , 120NM + 180 degrees :
That is all I can help, based on personal experience. Some works on my car are done at my friend's workshop, like all 4 shock absorbers replacement.
If you IGNORE the need to torque everything down to proper spec, things will be easier and cheaper tools wise, but I hope you do not go that route , as this insults us the DIY dudes who does DIY for pleasure and perfection ...LOL.
belarus27, do you have the manufacturer/model of the tool you used? Is there another style of tool that you feel works better?
S-Prihadi, thanks for all the pointers and breakdown for what you did! Excellent food for thought. Mine is the 4matic so even the orientation of the ball joints is different. Maybe it'll be the one thing that's easier on a 4matic You made me realize I should pull a wheel off and do a dry fit of all of the wrenches that I'll be using to make sure it all works the way I expect it to since it's all pretty much right there. I have quite the assortment of tools after the Volvo I worked on last (like a quality set of crow's feet), but you never know. I have a tool similar to your Tool 2, but it's not adjustable. I really like that! I'm really reluctant to use pickle forks because they've always destroyed the boot and popped the ball out of the joint for me which makes for a bigger mess.
I think this is good enough , as it is easy to use and it does the job , the only thing with it , is that sometimes you put it on in an awkward position where its hard to put the wrench on to turn it.
i got it at harbor freight for under 20 bucks.
For anyone looking to do the same thing, I ended up getting and using the GearWrench 3916D on one arm and a puller similar to the OTC 7314A on the other. And now I can't recall, but I think I used one of the two for the tie rod end. Overall the procedure wasn't too bad except for trying to torque the arms to the frame. You can't fit a torque wrench and socket on the nut end of the large control arm, and you're not supposed to tighten the bolt head. The other arm was accessible after dropping the sway bar. I ended up just using the torque spec of "gutentight". I did the wheel bearings too which ended up forcing me to buy a HF shop press.
I have a mechanic friend who swears by ball joint hammer nuts. Need to have an air hammer, too. Saves the boot so you can reuse the joint if, say, you are replacing the spindle.
Mercedes SLR McLaren 722 S Is Extremely Rare Example Modified by McLaren
Slideshow: A one-of-one U.S.-spec Mercedes-Benz SLR McLaren Roadster became even rarer after a factory-backed transformation at McLaren's headquarters.


 You made me realize I should pull a wheel off and do a dry fit of all of the wrenches that I'll be using to make sure it all works the way I expect it to since it's all pretty much right there. I have quite the assortment of tools after the Volvo I worked on last (like a quality set of crow's feet), but you never know. I have a tool similar to your Tool 2, but it's not adjustable. I really like that! I'm really reluctant to use pickle forks because they've always destroyed the boot and popped the ball out of the joint for me which makes for a bigger mess.


