When you click on links to various merchants on this site and make a purchase, this can result in this site earning a commission. Affiliate programs and affiliations include, but are not limited to, the eBay Partner Network.
Wow Cali, you are enjoying life. I am happy to see that
I am still looking for suitable sealant for those plastic to not vibrate. I do not want full blown stiff glue, but rather flexible one.
I decided for Sika 252 but locally I can't get it https://industry.sika.com/content/da...aflex_-252.pdf
They are indeed different part numbers for the distance sensors front facing ones vs side facing ones.
It does make sense though because I believe the side ones are wide angle version and the front ones less wide angle but can detect further.
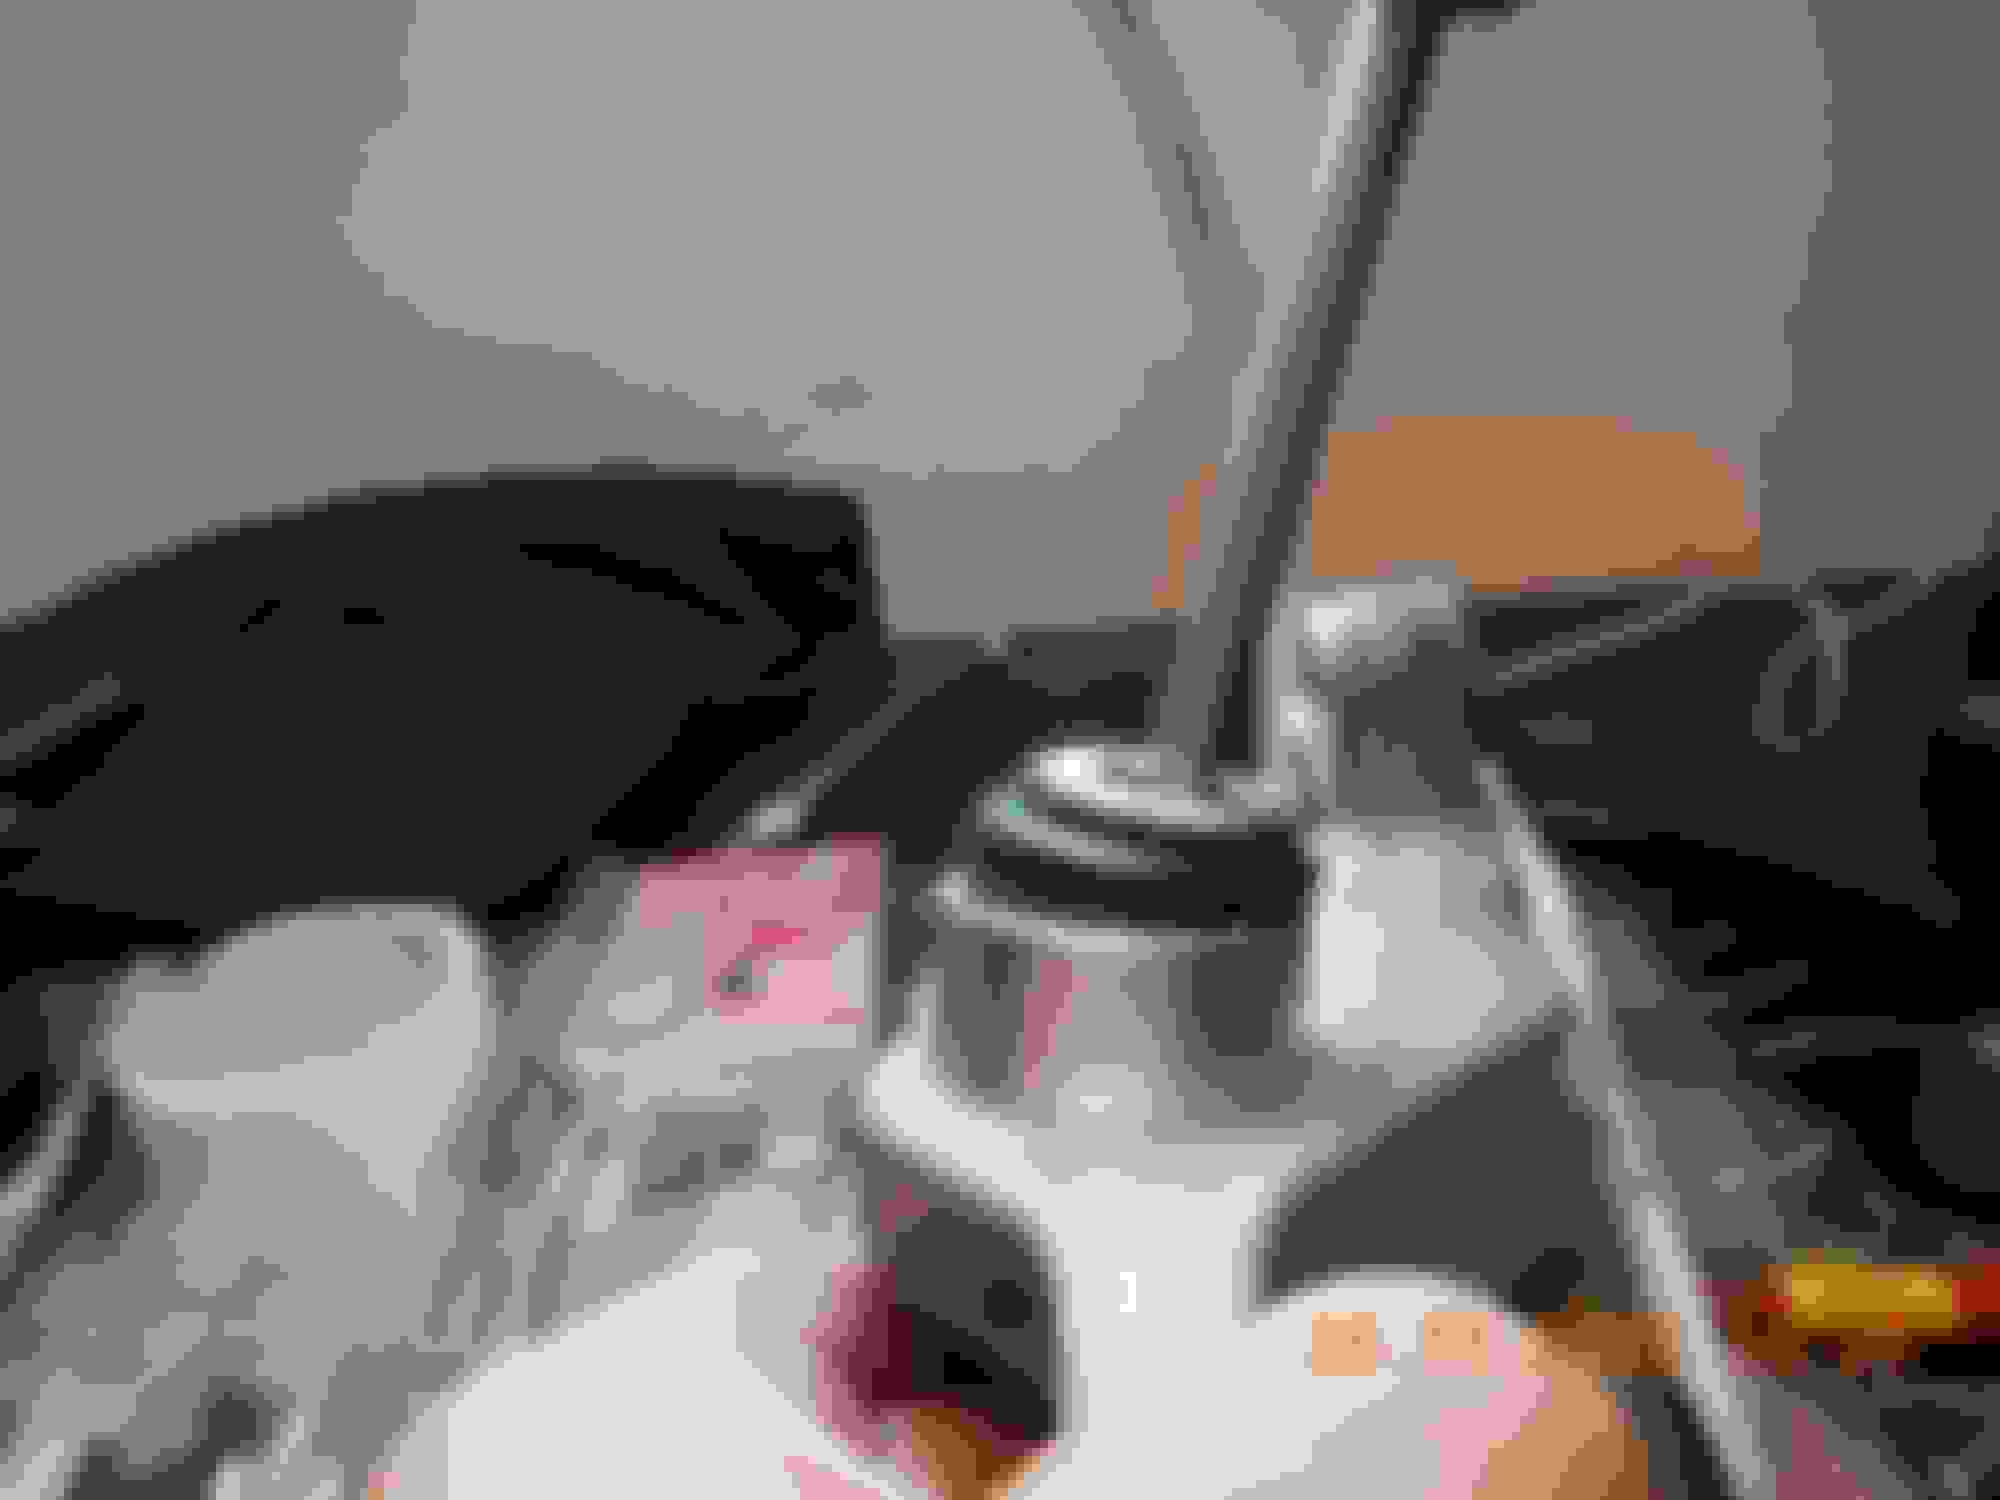
Cut the rivet and used screw and nut instead loctite-ded them and I use 3M VHB double side tape to make sure this plastic part is no more loose and make noise.
Here is another surprise for you guys.
The rear LED light like mine, inside it there are lots of wires running around, also the PCB boards where the mini LEDS are placed at, they are secured using friction method.
So inside my light its like a LEGO hahaha.
Hear this resonance I created by using my fist on bumper crash-bar, sending vibration to the car rear metal, and then amplified just nice by the of the LEGO-ness LED internals...
Inspect all parking sensors connectors, clean with CRC contact cleaner
No sealing failure yet. Nice
Cable-tie the start-to-peel-off Tessa tape. The end of any tape, will catch dirt and slowly the tape will un-wind itself.
Each and every end the Tessa tape at the sensor or at wiring harness still intact, I cable tie them for longevity. I do not plan to remove this bumper again anytime soon.
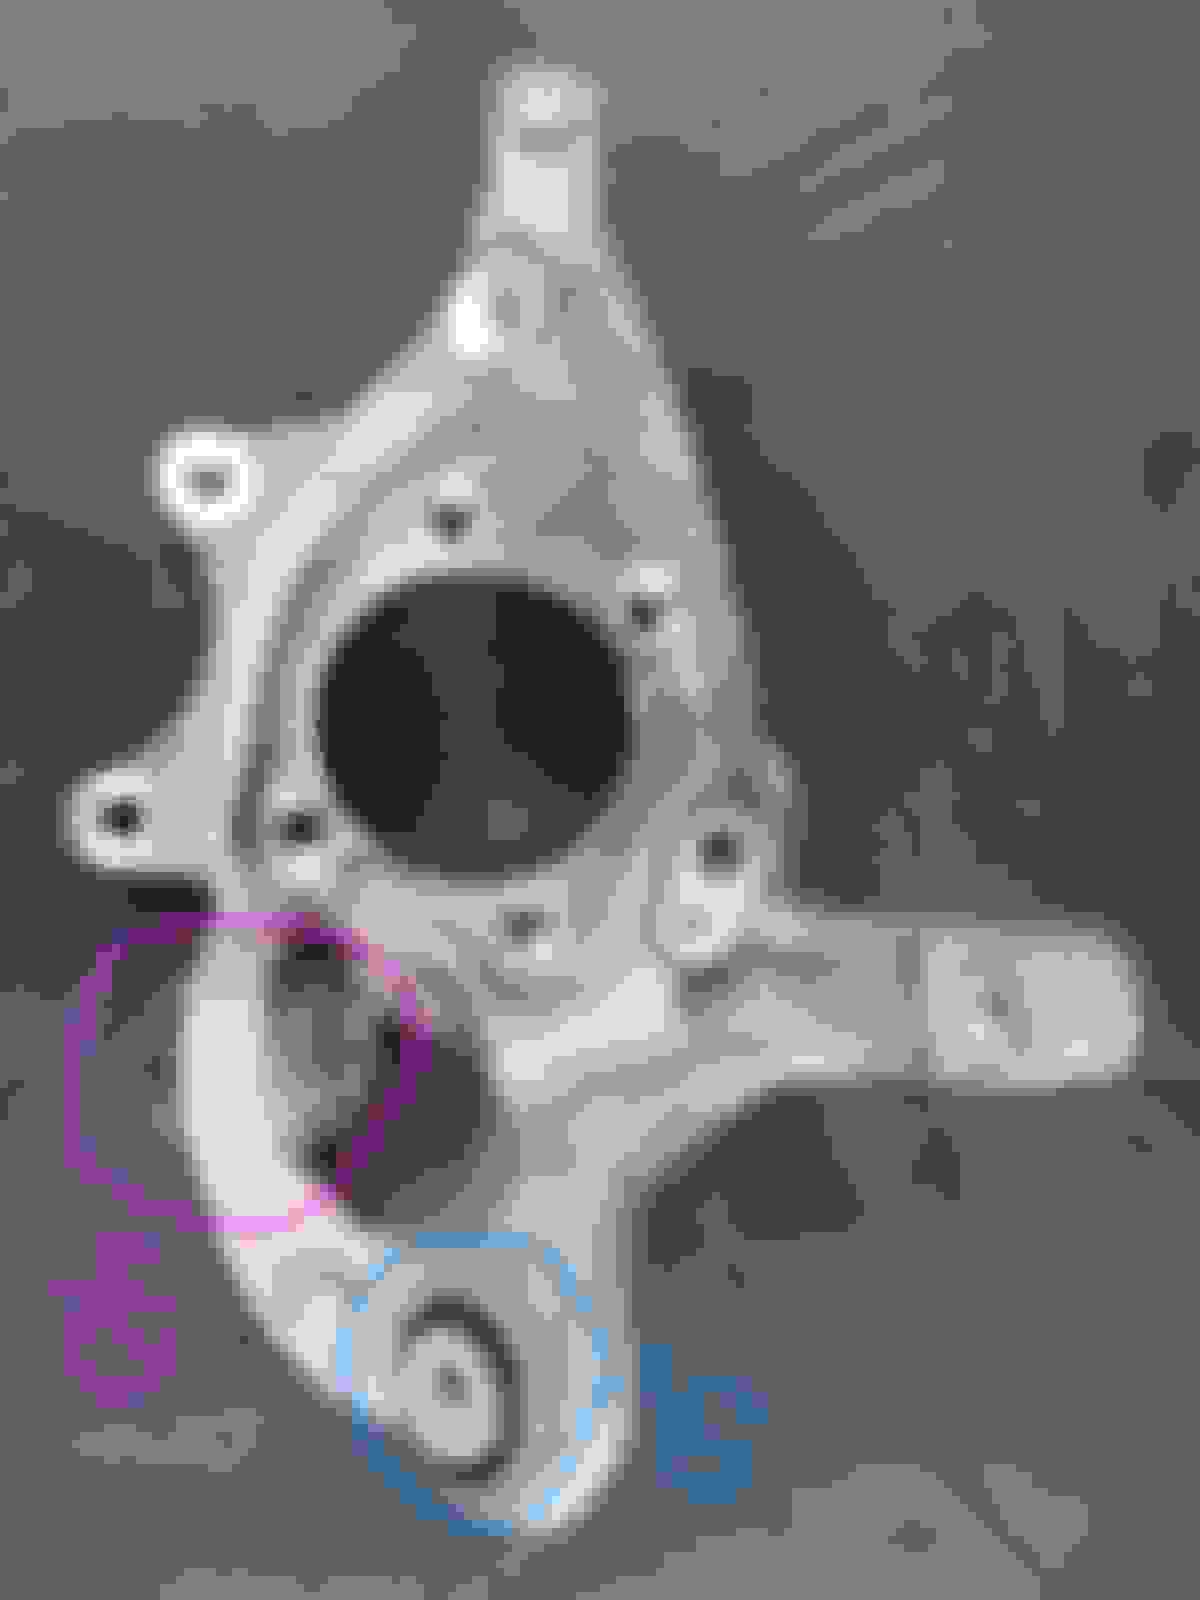
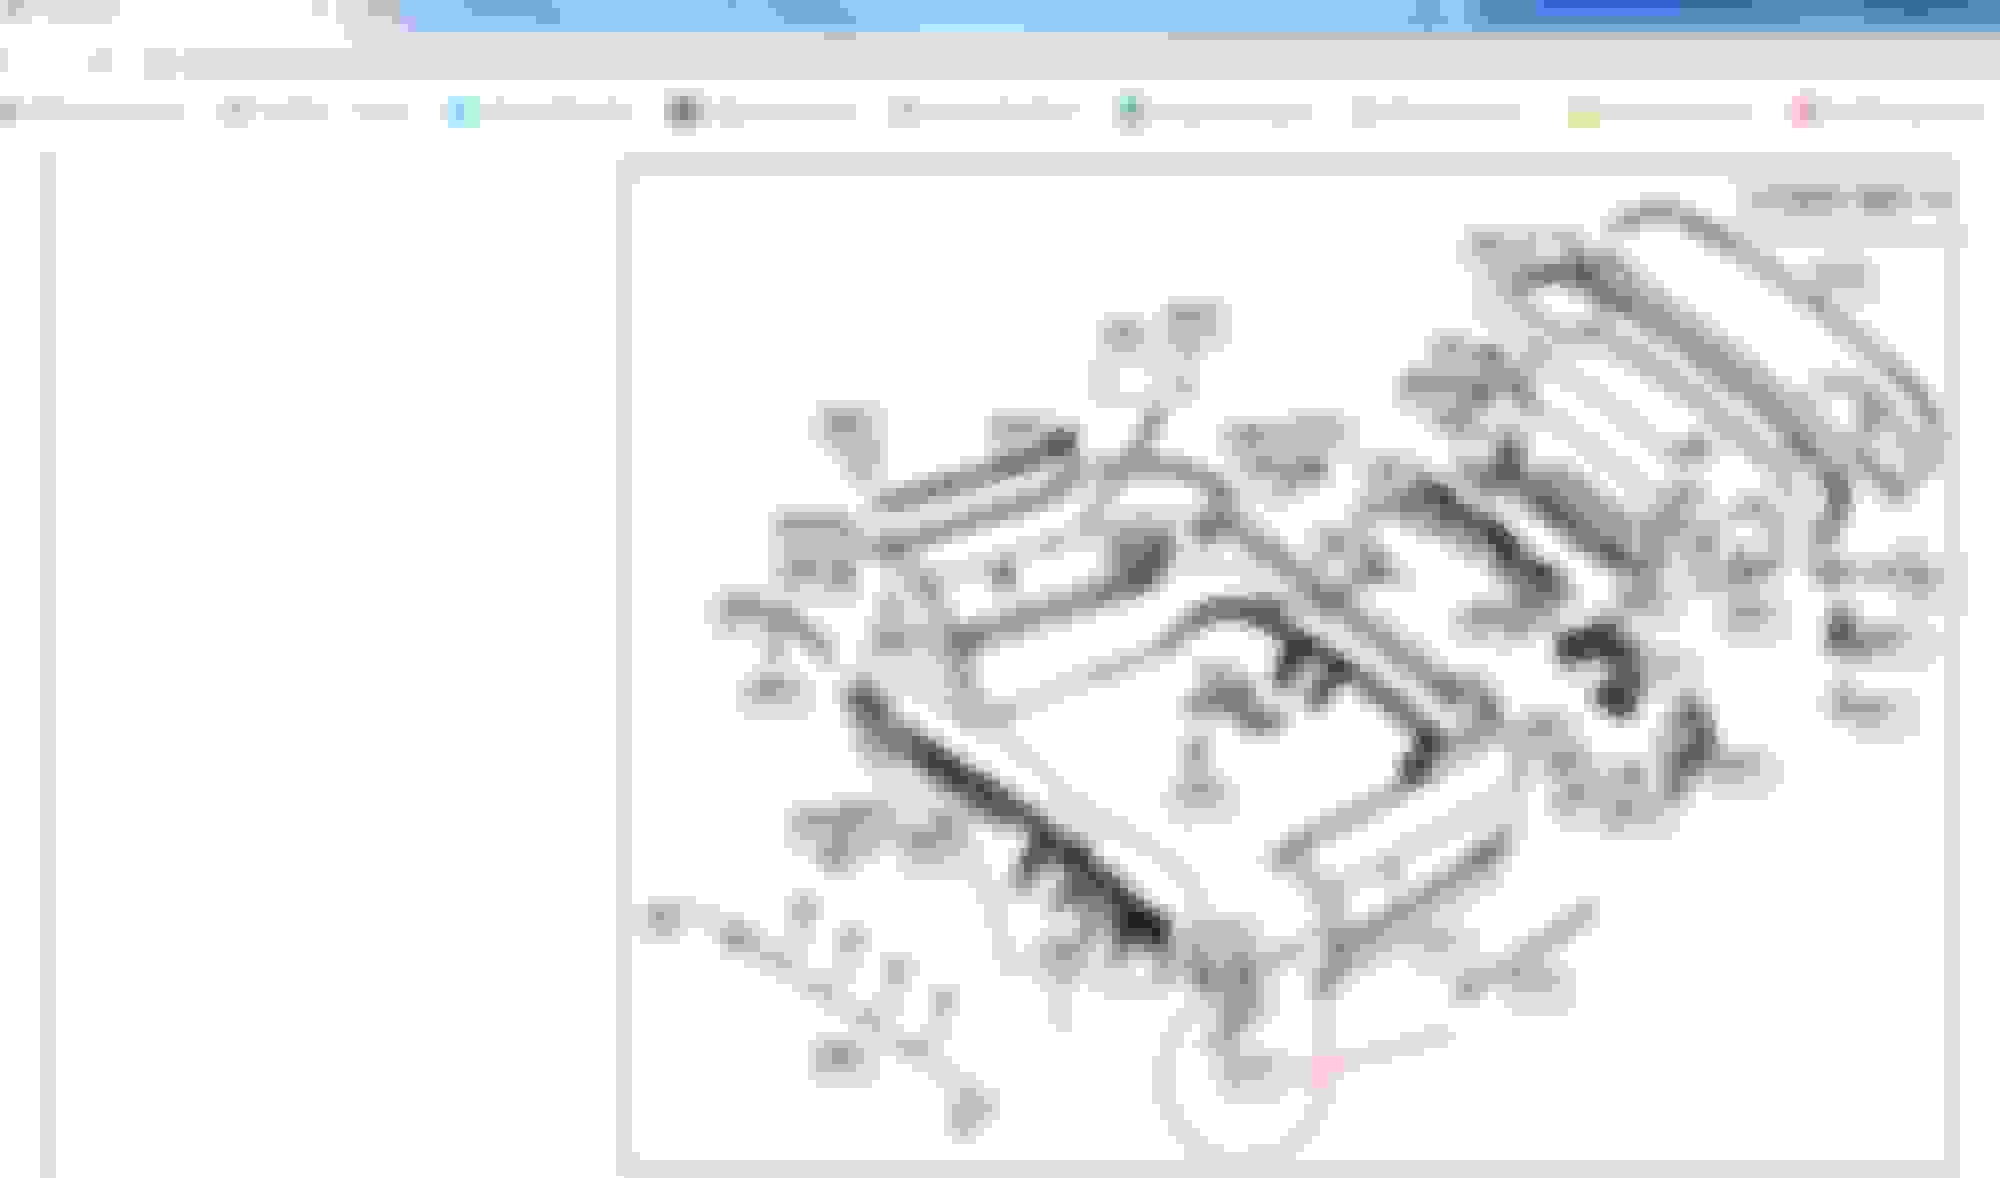
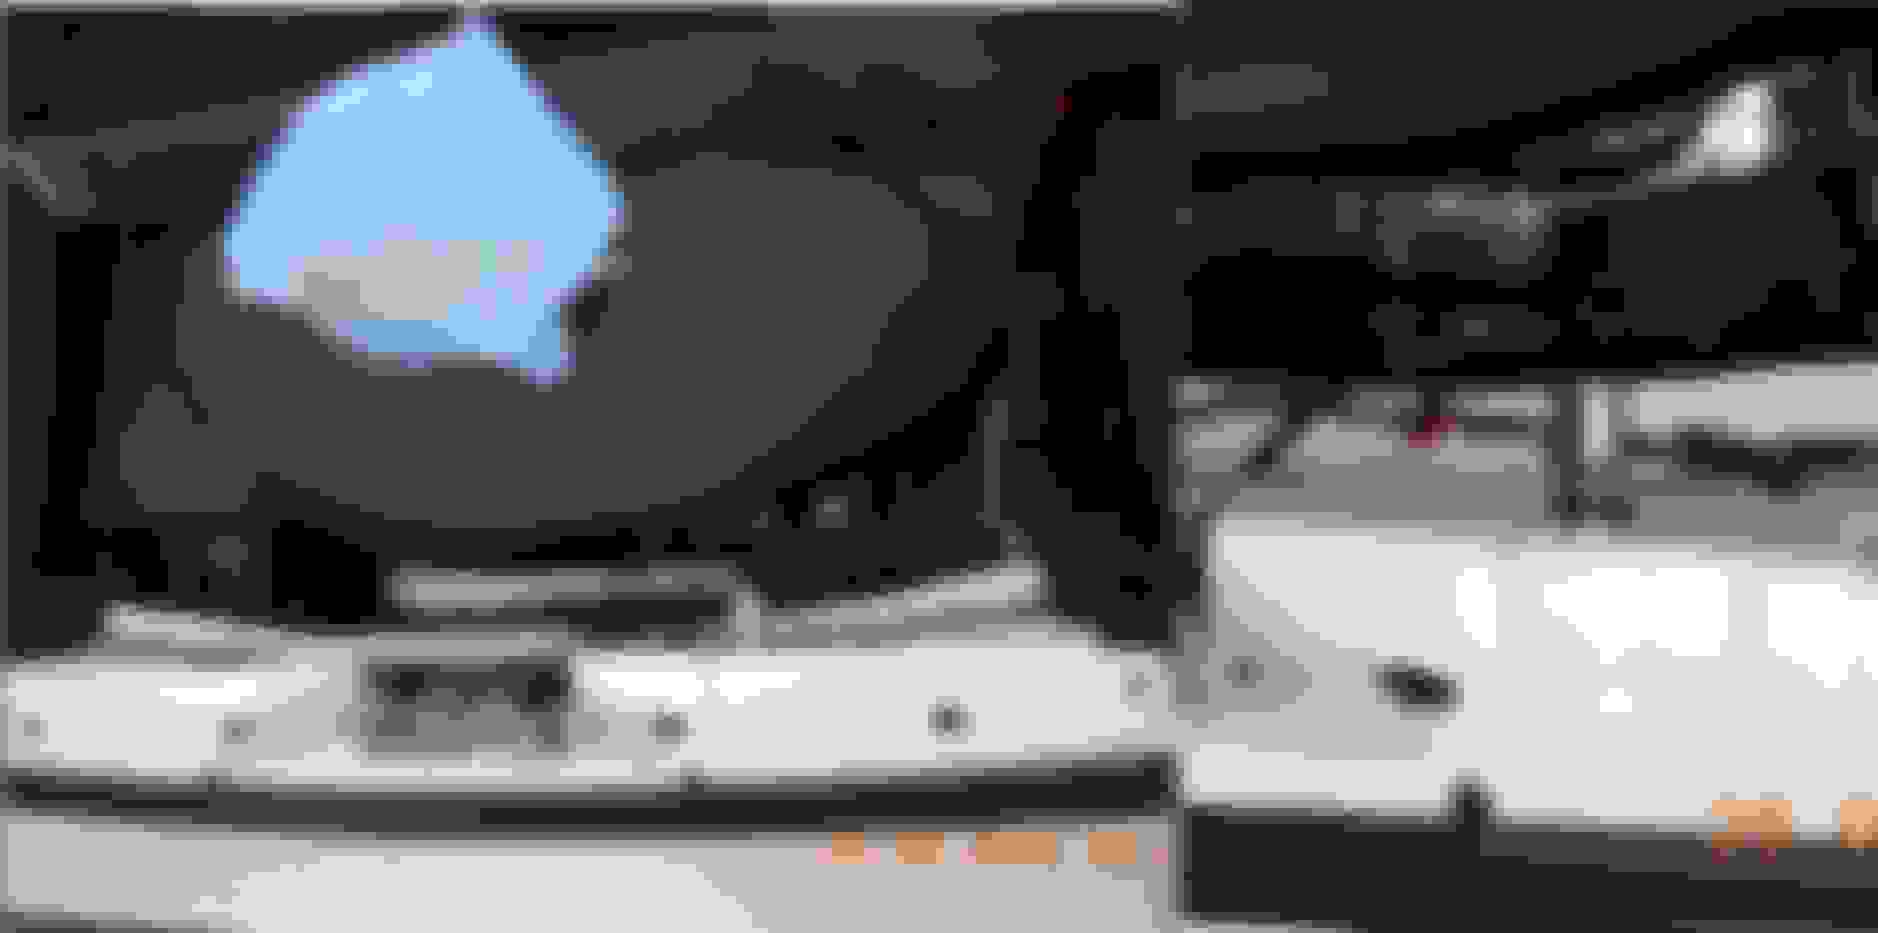
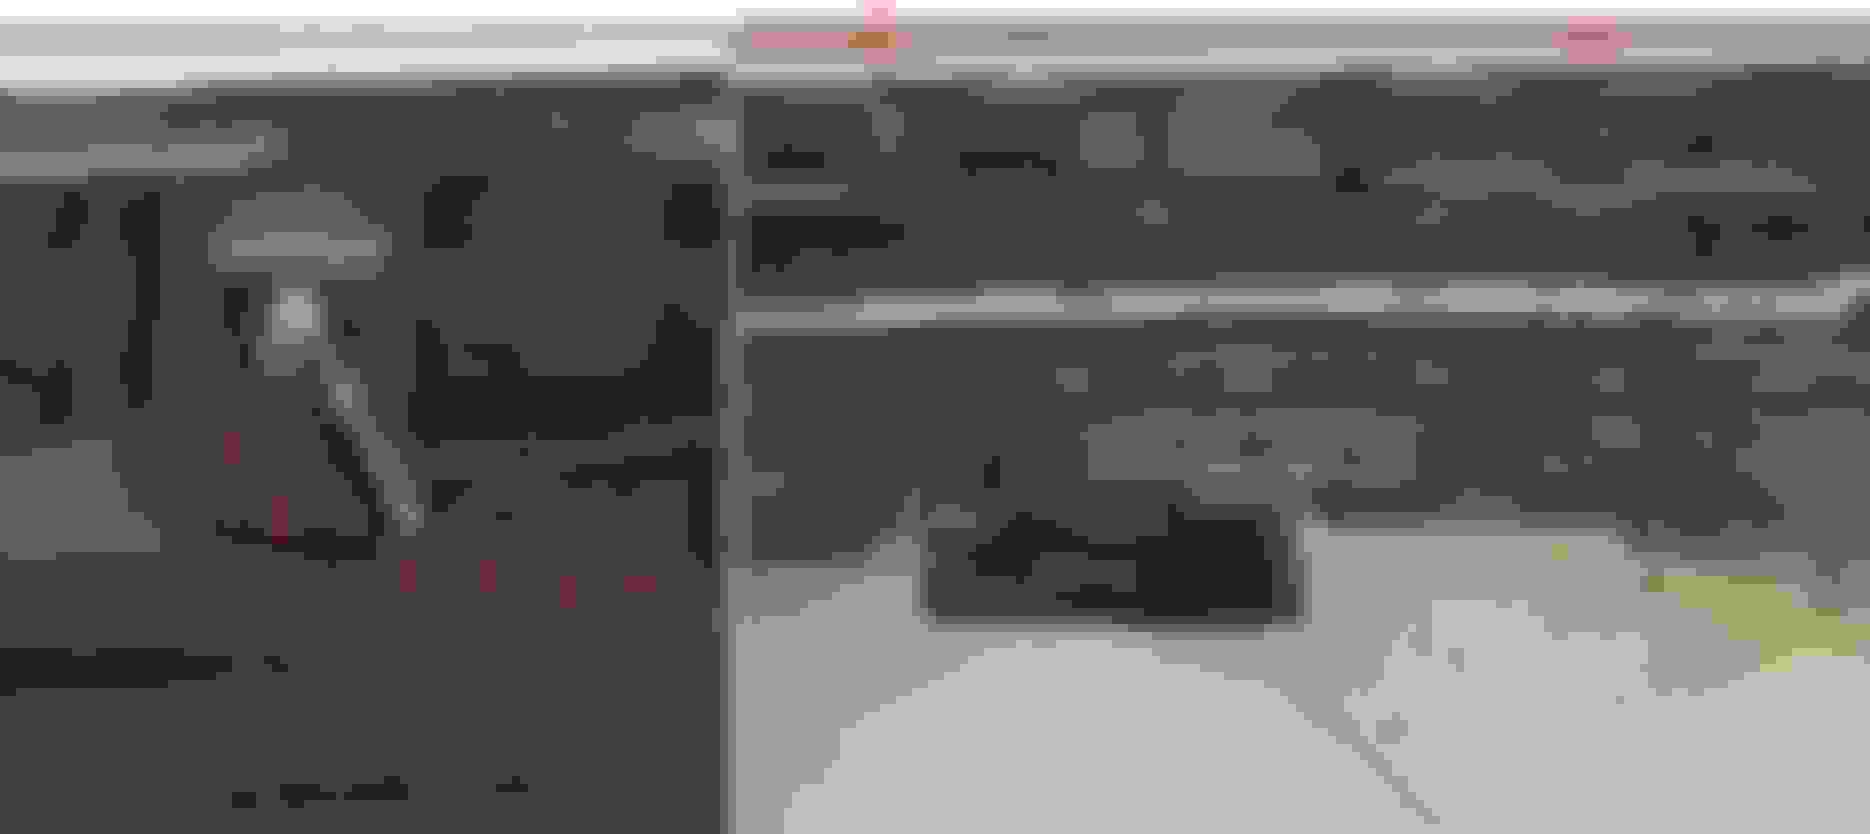
These are where you need to remove nuts, screws or the plastic push pin of fender fleece liner.
The one in green circle are those plastic push pin of fender fleece liner
DO NOT LOOSE THESE ROUND RUBBER WATER SEALS/RING Shape at 6, 7, 9, 10, 12 and 13
Someone been at this bumper before.
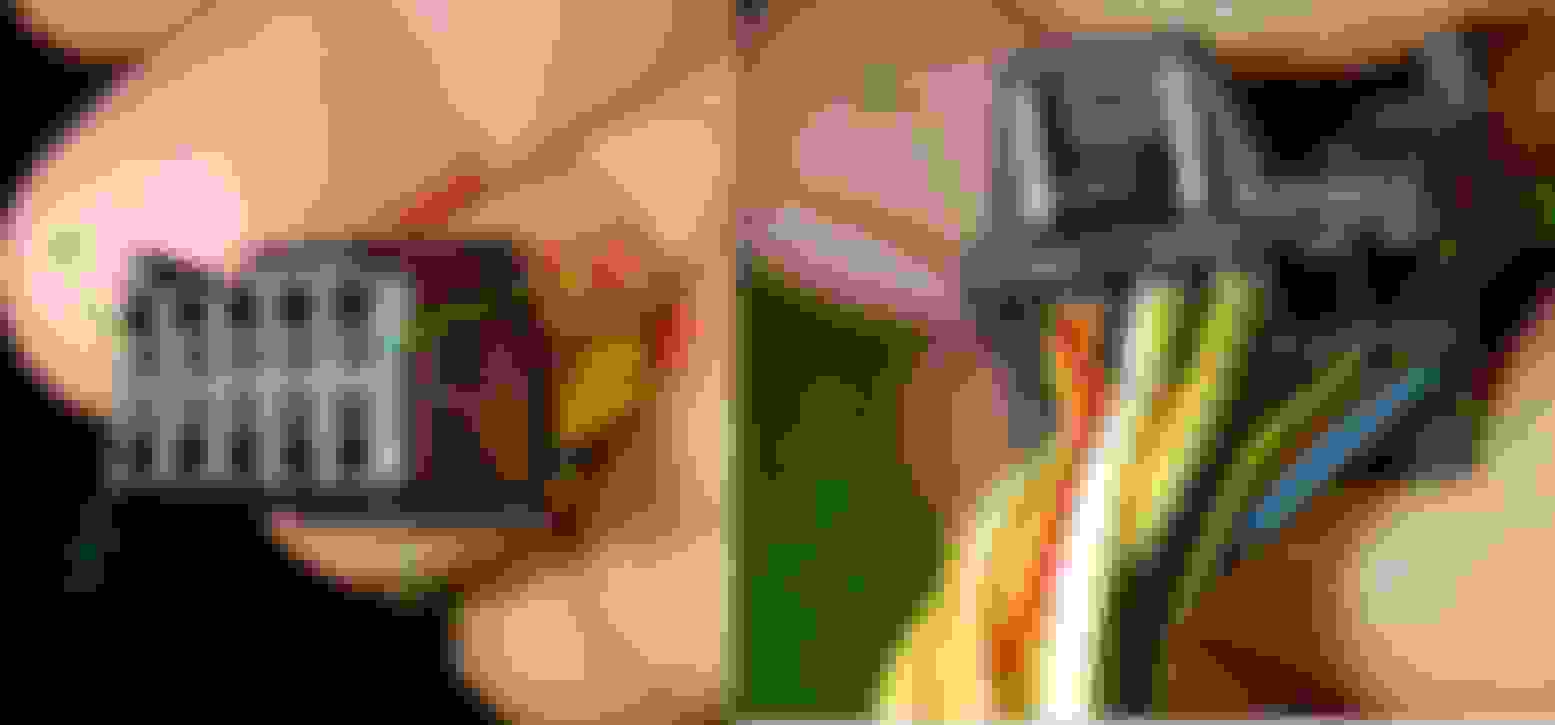
When I first bought the car in 2018, the wire assy connector, to these sensors array was disconnected and Xentry was sending the DTC.
I reconnected it and all good.
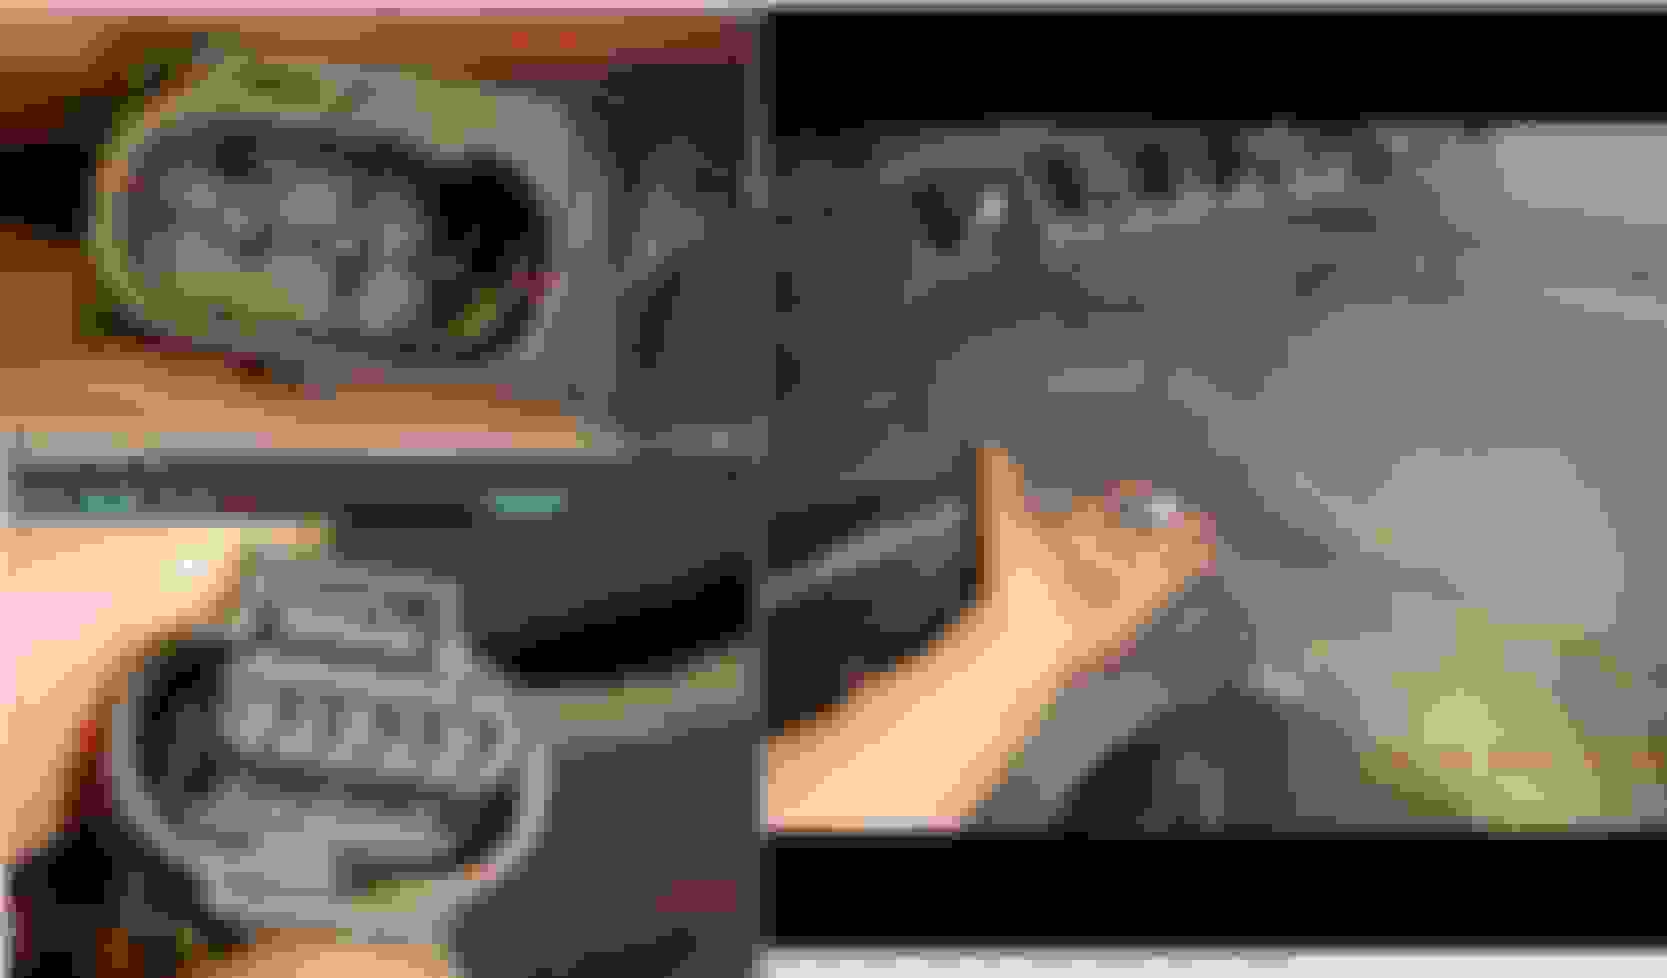
This is the one : FEMALE as in the connector body is a female type, but its pins are male.
MALE side, the bumper wire assy
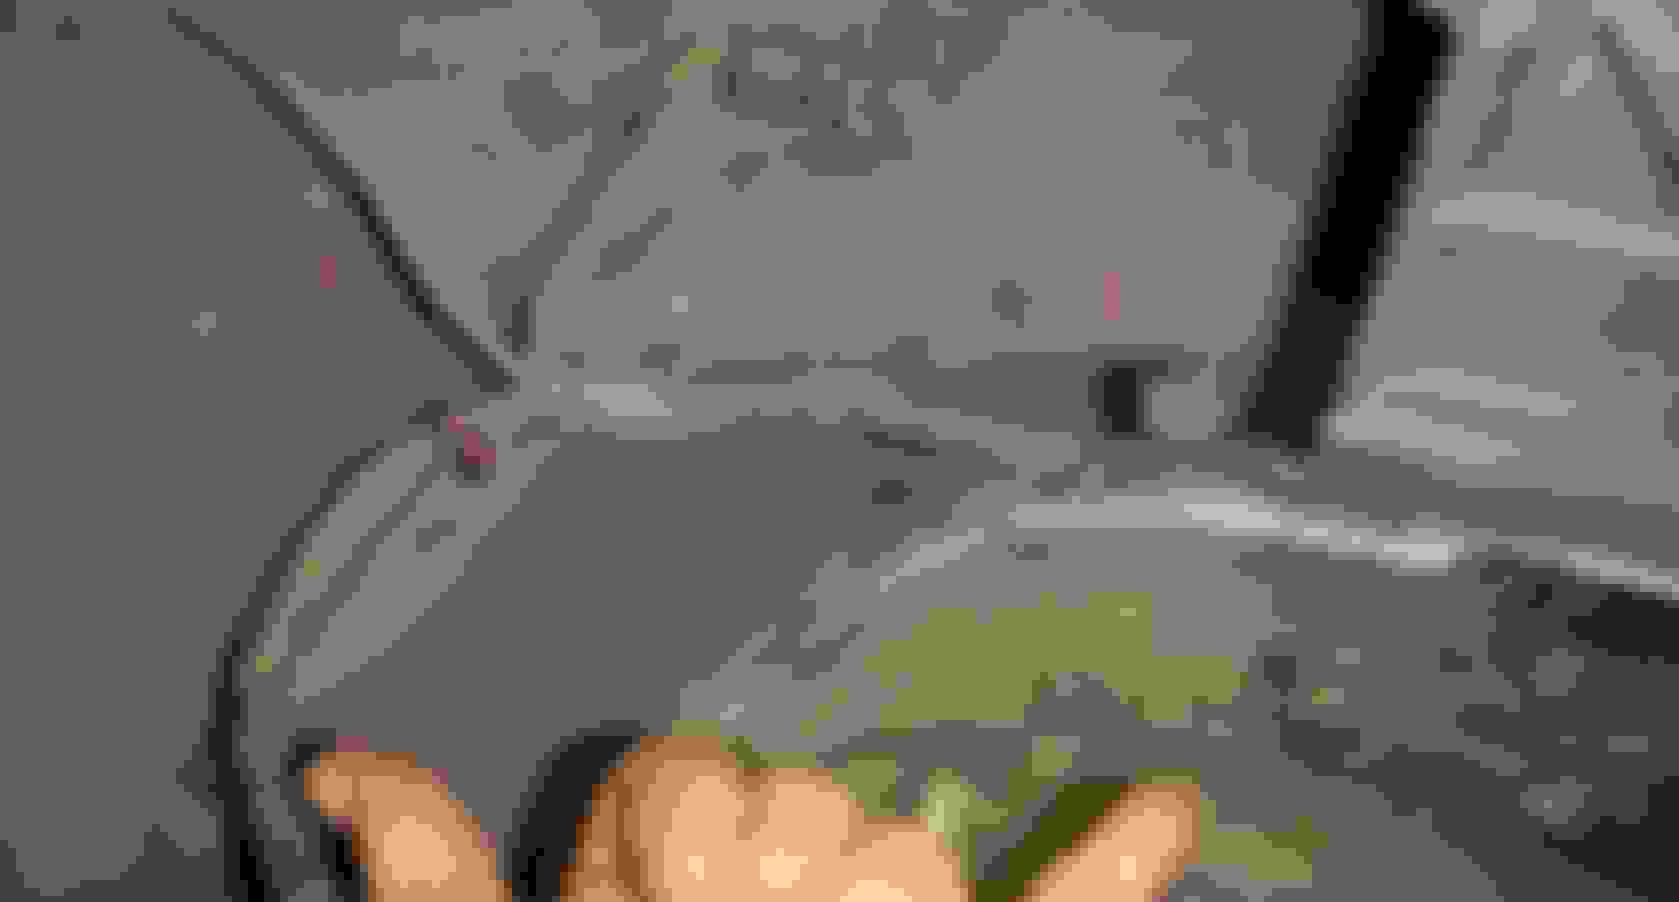
Use silicone grease assist to re-insert this cable gland rubber to its hole at car body. Otherwise it is tough.
Someone who been at my bumper, have lost 1 of the round rubber seal of bolt number 9. I thought I dropped it but when I see the dirt accumulation pattern, its been gone at least
for 1 or 2 years before May 2018 when I bought the car. I searched my entire garage floor.... Duggh!!!!
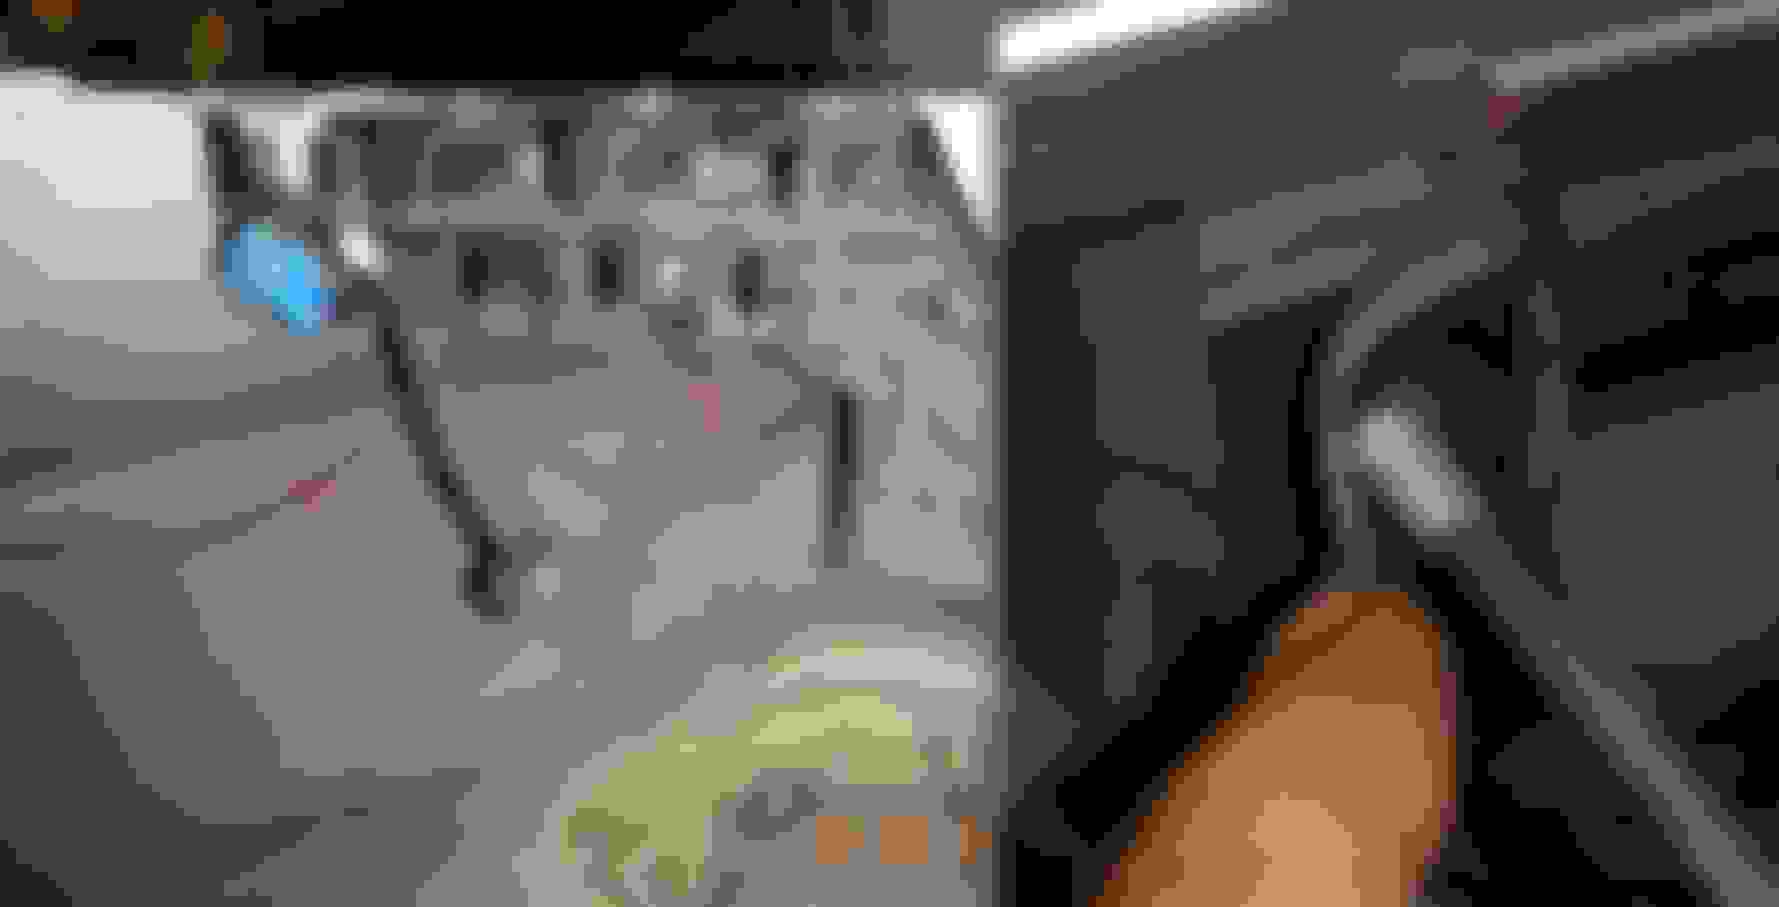
Dirt/stain tracking.
I think I mentioned everything I done for anyone who would want to do the same for the bumper noise maker or simply need to remove the bumper.
Now that we know there are 6 rubber washer on those6 long bolts/studs and 1 of sensor wire assy cable gland for the bumper, those are possible water leak entry point in the future when
seal not there or the rubber got damage.
I use HVAC 4mm foam to replace the lost rubber round seal.
NOTE : If the rear tail lights are still installed, re-installing the bumper is more troublesome. Removing the bumper is no issue with tail lights still installed.
This is a 2 man job as the bumper is so SOFT and goes out of shape easy....so aligning 6 bolts on your own is not possible unless you want to ruin your car paint finish.
The 6 pointy bolts all should have the protection plastic tip as to not damage car paintwork, but mine some are already gone.
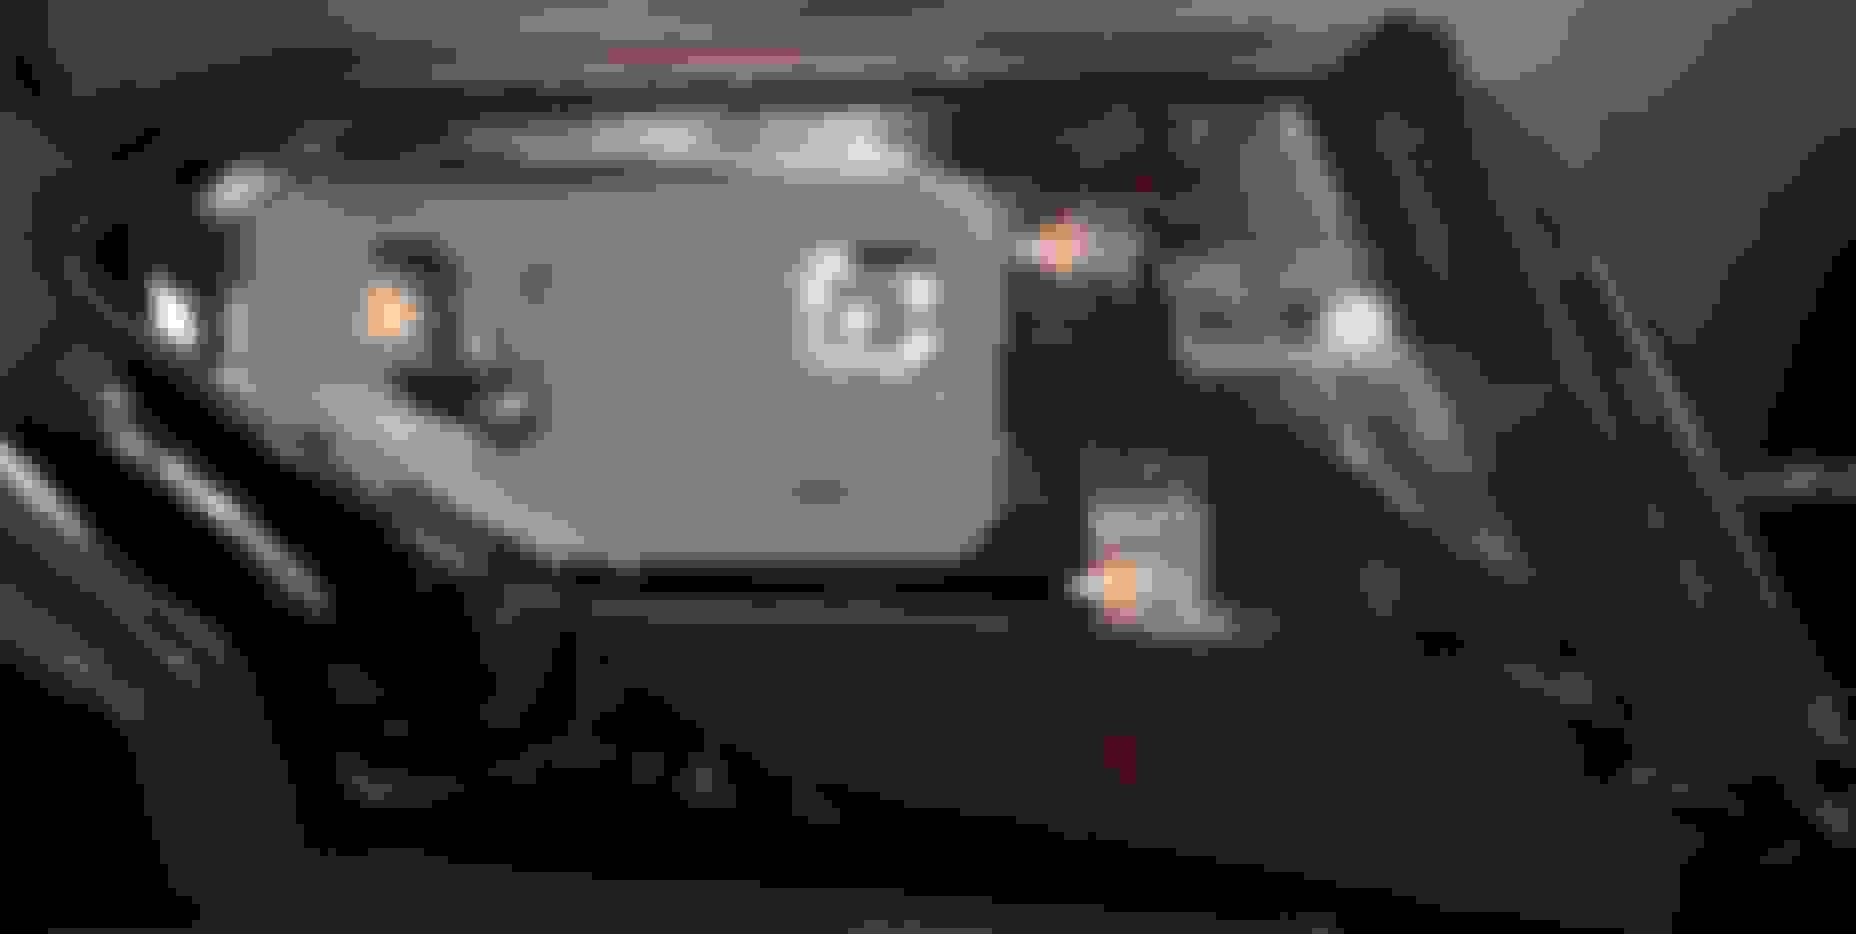
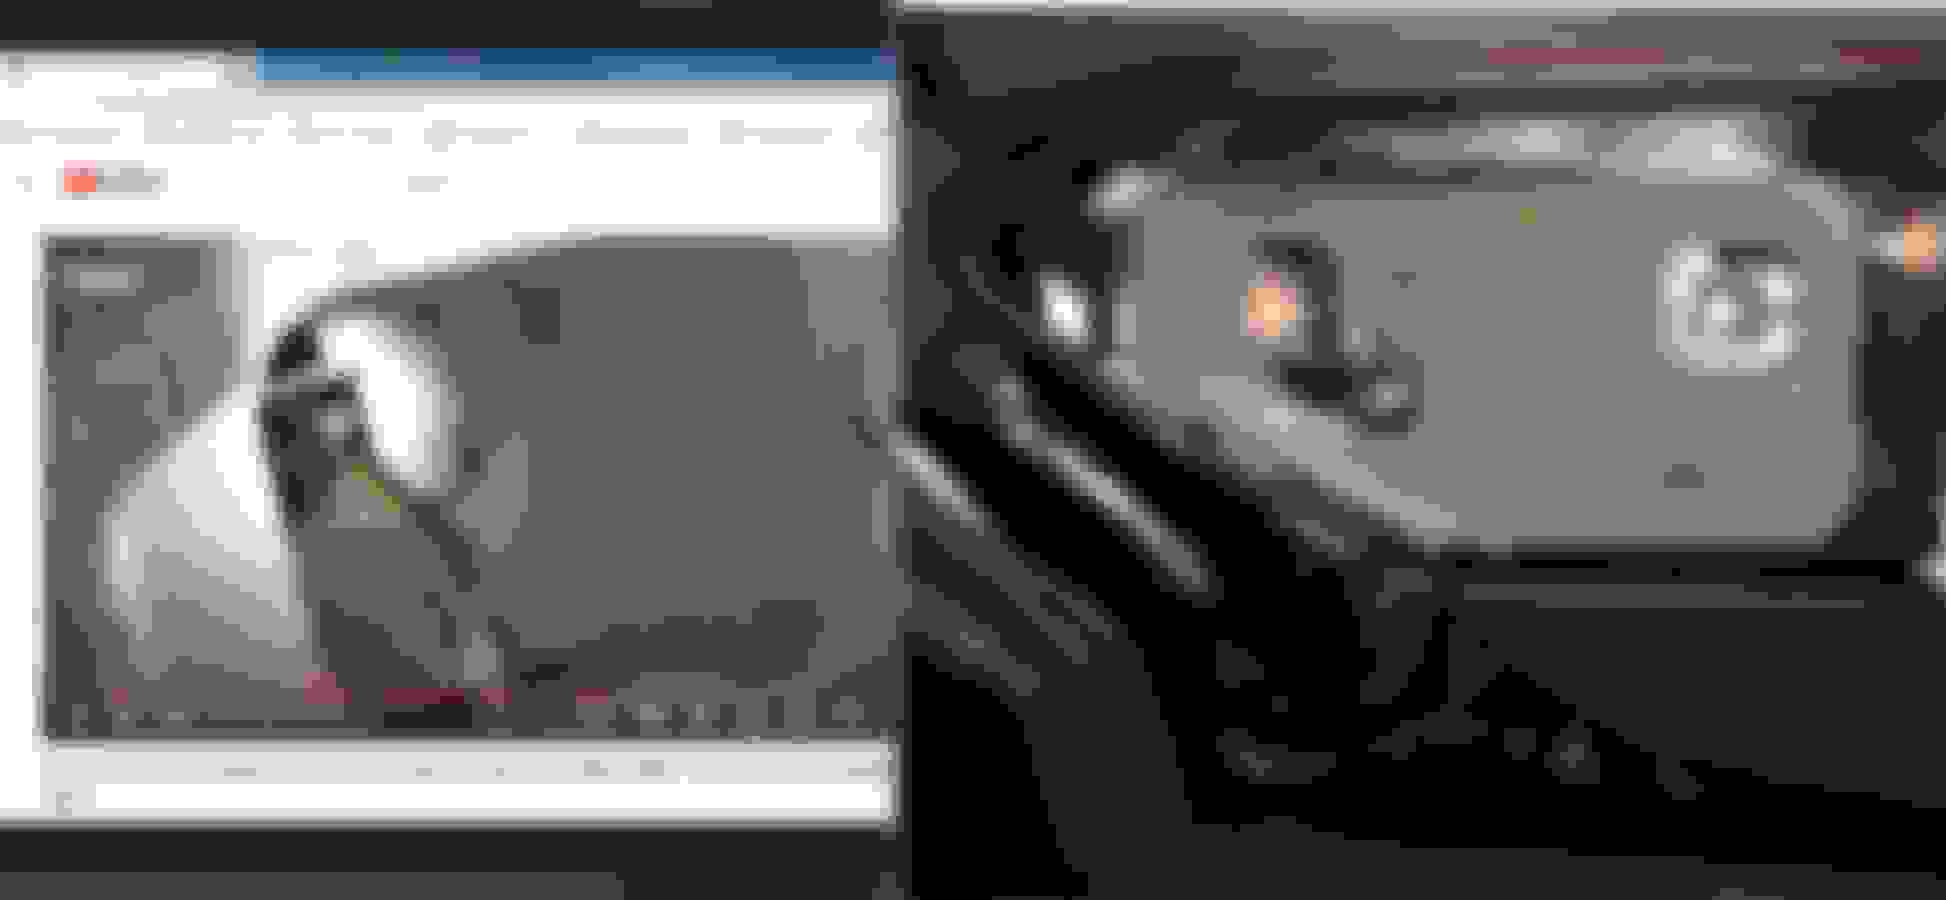
The other potential future leak points are these rather high density foam which makes the waterproof sealing of the tail light to car body and the seal at the 3 stud base, the red seal.
The number 1 , I worry the most, that foam. Dang, I did not take photo of the car body with the tail light removed. Its opening is big, easy 12cm x 12cm square.
By year 12th Birthday of the car or 3 more years, I will need to re-visit this tail light foam condition.
The leak into the car is 1 issue, but the leak of water into the light will be the main $$ issue.
Other noise makers are the rear axle subframe mounts, one on each corner of the frame.
The hydraulic mounts A2043510842 (front) and A2043500275 (rear)
They leak (the same as the engine mounts do) and then the rear end of the car makes noise over potholes and partly filled trenches on the road.
I will report more shortly
I have all these and more........... next year probably I will do it. I done some already, item 1, 2, 3 ad 5 + 6 last year.
All of my components are still good, but it will be 11-12th year next year.
These are prices by MB Indonesia which included VAT 10% and 10% what my Indie made as mark-up.
I believe it is rubber and not hydro/liquid type.
They are cheap.
The 4 main bolts and 2+2 small ones must be renewed whenever we loosened them.
This is what a 93,000 KM of 14 years old W204 ( same bushings as W212 ) year 2010 looks like.
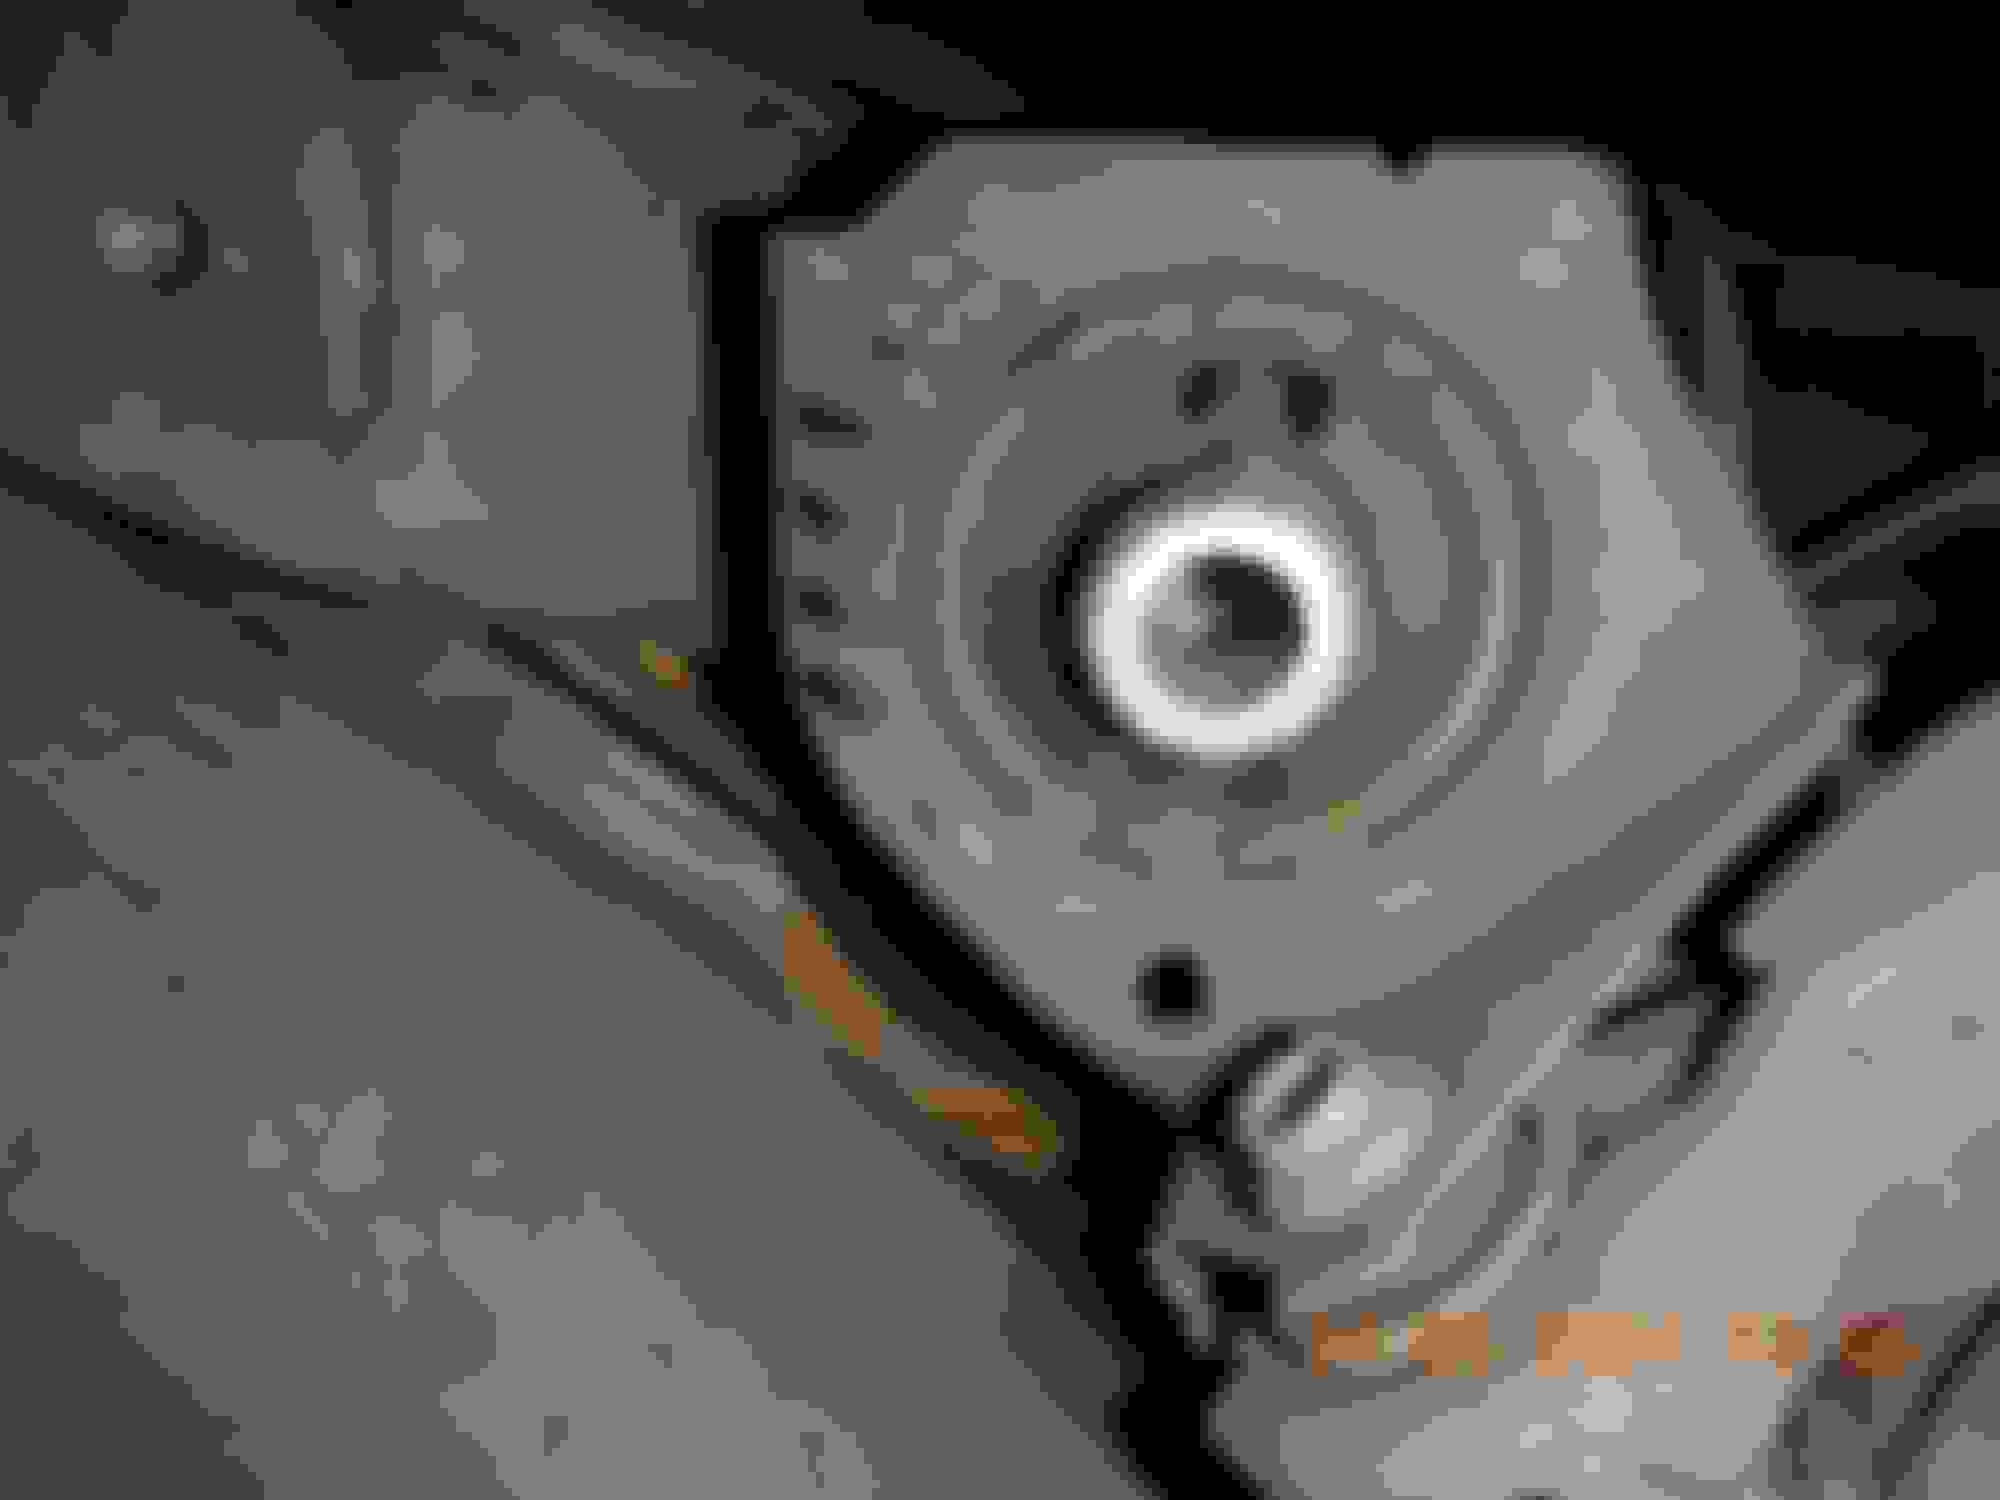
A2043510842 Front bushings of Rear Subframe . This one has a steel plate cover and hence 2 small bolts for the cover plate.
I open this up because replacing thrust arm , the bolts CAN NOT be pulled out, unless we remove the steel cover/plate of front bushing.
Front bushing of rear subframe .... with the steel plate/cover in-tact
The female thread at chassis, for the main bolt of subframe rear bushing .
On this W204.048 sedan, replacing the camber arm, ALSO NEEDED the rear subframe mount to be lowered by 5mm, otherwise the bolt also CAN NOT be removed because it get stuck
at the luggage/boot metal body, On my W212 I can remove camber arm bolt without needing to lower subframe at all.
.
Can't really inspect rear bushing A2043500275.
What can also make noise are :
01 - Stabilizer Bar/Sway Bar link and its bushing center hole get ovalized. A member here got such experienced, ovalized bolt hole.
02 - The unique bushing like ball joint at wheel carrier.
Item #40 in EPC and number 3 on my list.
Of course once you replace item #40 above, item #50 must be replaced too.
Item 40 is for spring arm, item 50 is for thrust arm.
So item 40 works harder and in fact it has the highest tightening torque at 80Nm + 90 degrees, compared to all others at 50Nm + 90 degrees.
Item 40 works also in "side-twisting" mode, not only the usual up down twist like a regular bushing.
.
In W210 also being used, this unique bushing. I believe this bushing been used by MB for much longer than even W210 model.
I'm not so sure if they are solid rubber or contain some fluid
I had a pool of fluid on the garage floor and it seemed to be leaking from one on the passenger side forward of the wheel arch
I took the vehicle to a genuine Mercedes Dealership (big one) and they inspected it on the hoist and they couldn't see a split in the rubber mount and nothing else is leaking
I can't find any information that says whether the rear axle subframe uses solid rubber or hydraulic mounts
Whoever manufactures the mounts must know, perhaps Lemforder would. The factory must know what they are made of
I am very sure they are NOT hydro type.
The duty is too simple and not twisting type like suspension arm bushing.
Also price too cheap at that size to be hydro bushing and I am using MB Indonesia price, the ridiculous one
For the rear axle subframe mounts
The front ones, forward of the wheel arch are hydro mounts (one of which was leaking fluid on my car)
From ZF Service Desk:
Dear Bruce Hubbard,
the following solution has been found for your request:
Hi Bruce,
They are known as hydro mount;
Mounting Type: Hydro Mount
Fitting Position: Rear Axle, both sides, Front
per axle: 2
Article number of recommended accessories: 38012 01
If you wish to purchase these, you will need to contact our dealer network / Euro car parts ASV or HSY
Your question to us:
Hello
Mercedes E class uses A2043510342 and A204350075, your part number could be 3329301, for the rear axle subframe mounts
Can you tell me please are these hydraulic mounts or solid rubber
Thank you
Last edited by Bruce Hubbard; May 29, 2024 at 07:17 PM.
On this W204.048 sedan, replacing the camber arm, ALSO NEEDED the rear subframe mount to be lowered by 5mm, otherwise the bolt also CAN NOT be removed because it get stuck
at the luggage/boot metal body, On my W212 I can remove camber arm bolt without needing to lower subframe at all.
.
Have fun..............
Seems from the pic in that case you could replace the bolt in the opposite direction and not have that issue in the future. Makes ya wonder if person assembling it did that part first and as such wasnt mindful to installation drawings or instruction. Maybe even in cahoots with dealers to charge even more for replacement due to dropping subframe.
Quint, the working space because of the spring is impossible to place a socket.
Only L shape internal Torx tool can fit in there and it can't spin, it remains static using extension pipe. T55 size if I recall.
So if a nut is located there instead, no can't do.
In fact the shape of the subframe curve, the current nut location can't use ordinary torque wrench, no space too.
Must use this type head of torque wrench : Open end type https://www.protorquetools.com/seeko...ngeable%20Head
For the rear axle subframe mounts
The front ones, forward of the wheel arch are hydro mounts (one of which was leaking fluid on my car)
From ZF Service Desk:
Dear Bruce Hubbard,
the following solution has been found for your request:
Hi Bruce,
They are known as hydro mount;
Mounting Type: Hydro Mount
Fitting Position: Rear Axle, both sides, Front
per axle: 2
Article number of recommended accessories: 38012 01
If you wish to purchase these, you will need to contact our dealer network / Euro car parts ASV or HSY
Your question to us:
Hello
Mercedes E class uses A2043510342 and A204350075, your part number could be 3329301, for the rear axle subframe mounts
Can you tell me please are these hydraulic mounts or solid rubber
Thank you
Good info thanks.
When you remove your bushing, can you please cut it open ...how much is the fluid void in there ?
I know the front suspension camber/caster arm, some model get hydro bushing
Last edited by S-Prihadi; May 30, 2024 at 12:15 AM.
Mercedes Dealer service technician who inspected my car on the hoist told me it was a small amount of fluid used in the mounts
He couldn't see a split on the outside of it so it must be split on the ends or bolt hole or where you can't see it
The small amount of fluid puddle on the garage floor was about 150mm diameter when it had all run out
It stopped leaking after that, so it had all leaked out
How is the rear wheel alignment carried out after the subframe is removed and then replaced
Or is it just the front wheel alignment that is done ?
S-Prihadi ?
Sorry I was out at sea for 8 days. Enjoying life.
The only adjustment we can do for rear suspension is the TOE, that is all. No correction bolts whatsoever available, unlike front Camber and Caster arms.
If one has a Romess inclinometer which MB uses as way to measure suspension arms level in degrees, we then can tell if the overall suspension is proper or not in terms of
its overall geometry.
FYI: W212 E class rear axle subframe was modified for vehicles released after 1 June 2014 The front mounts are larger after that date Will be the same part number as C Class W205 Mercedes Part Number is A2053510042 (part number 2 below)
Mercedes SLR McLaren 722 S Is Extremely Rare Example Modified by McLaren
Slideshow: A one-of-one U.S.-spec Mercedes-Benz SLR McLaren Roadster became even rarer after a factory-backed transformation at McLaren's headquarters.


 On my W212 I can remove camber arm bolt without needing to lower subframe at all.