When you click on links to various merchants on this site and make a purchase, this can result in this site earning a commission. Affiliate programs and affiliations include, but are not limited to, the eBay Partner Network.
How-to Rebuild Mercedes ITC Transfer Case: Part 3 of 3
How-to Rebuild Mercedes ITC Transfer Case: Part 3 of 3
This is Part 3 of the multi-part article. This post covers ITC assembly and installation. The previous Part 1 covers introduction, what you need for the job, and ITC removal. Part 2 covers ITC disassembly and cleanup.
ITC Assembly
ITC assembly is a relatively quick and easy process. Make sure your work space is clean. You will need wood blocks.
Prepare ITC Top Half
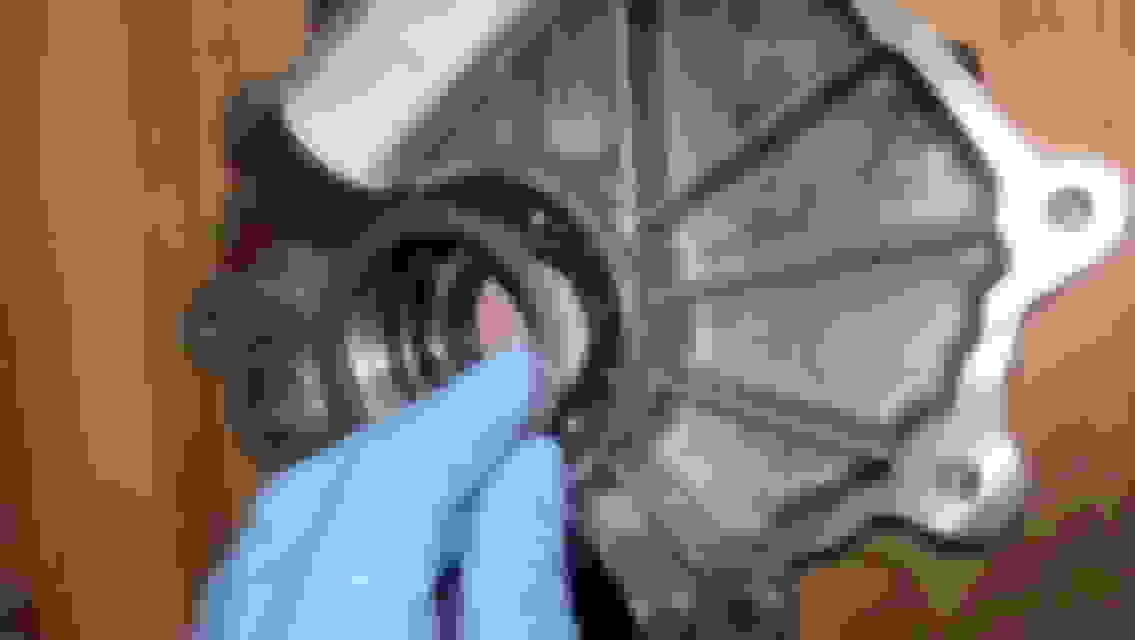
Start with the top half. Lube the rear output seal with ATF. Use bearing drivers or suitable tools to tap the seal in place. Make sure it is evenly seated just barely below the housing edge. The rubber sleeve shall stick out 3/64-2/16" to come in contact with the underside of the driveshaft coupling. It is there to repel environmental elements from entering ITC. See the photo for how it shall protrude. If you accidentally pressed the seal too far, carefully pry it out somewhat with a wide flat screwdriver blade by rotating it at the wall, never the inner rubber edge with spring (too fragile).
Lube the rear output shaft underside where it comes in contact with the seal and polished surfaces with ATF. Lube inner bearing race with ATF. Insert the shaft and hand-press it in the housing. You need to press seriously. It will click in place.
Turn the top half over. Check the shaft needle bearing and pack more bearing grease if needed.
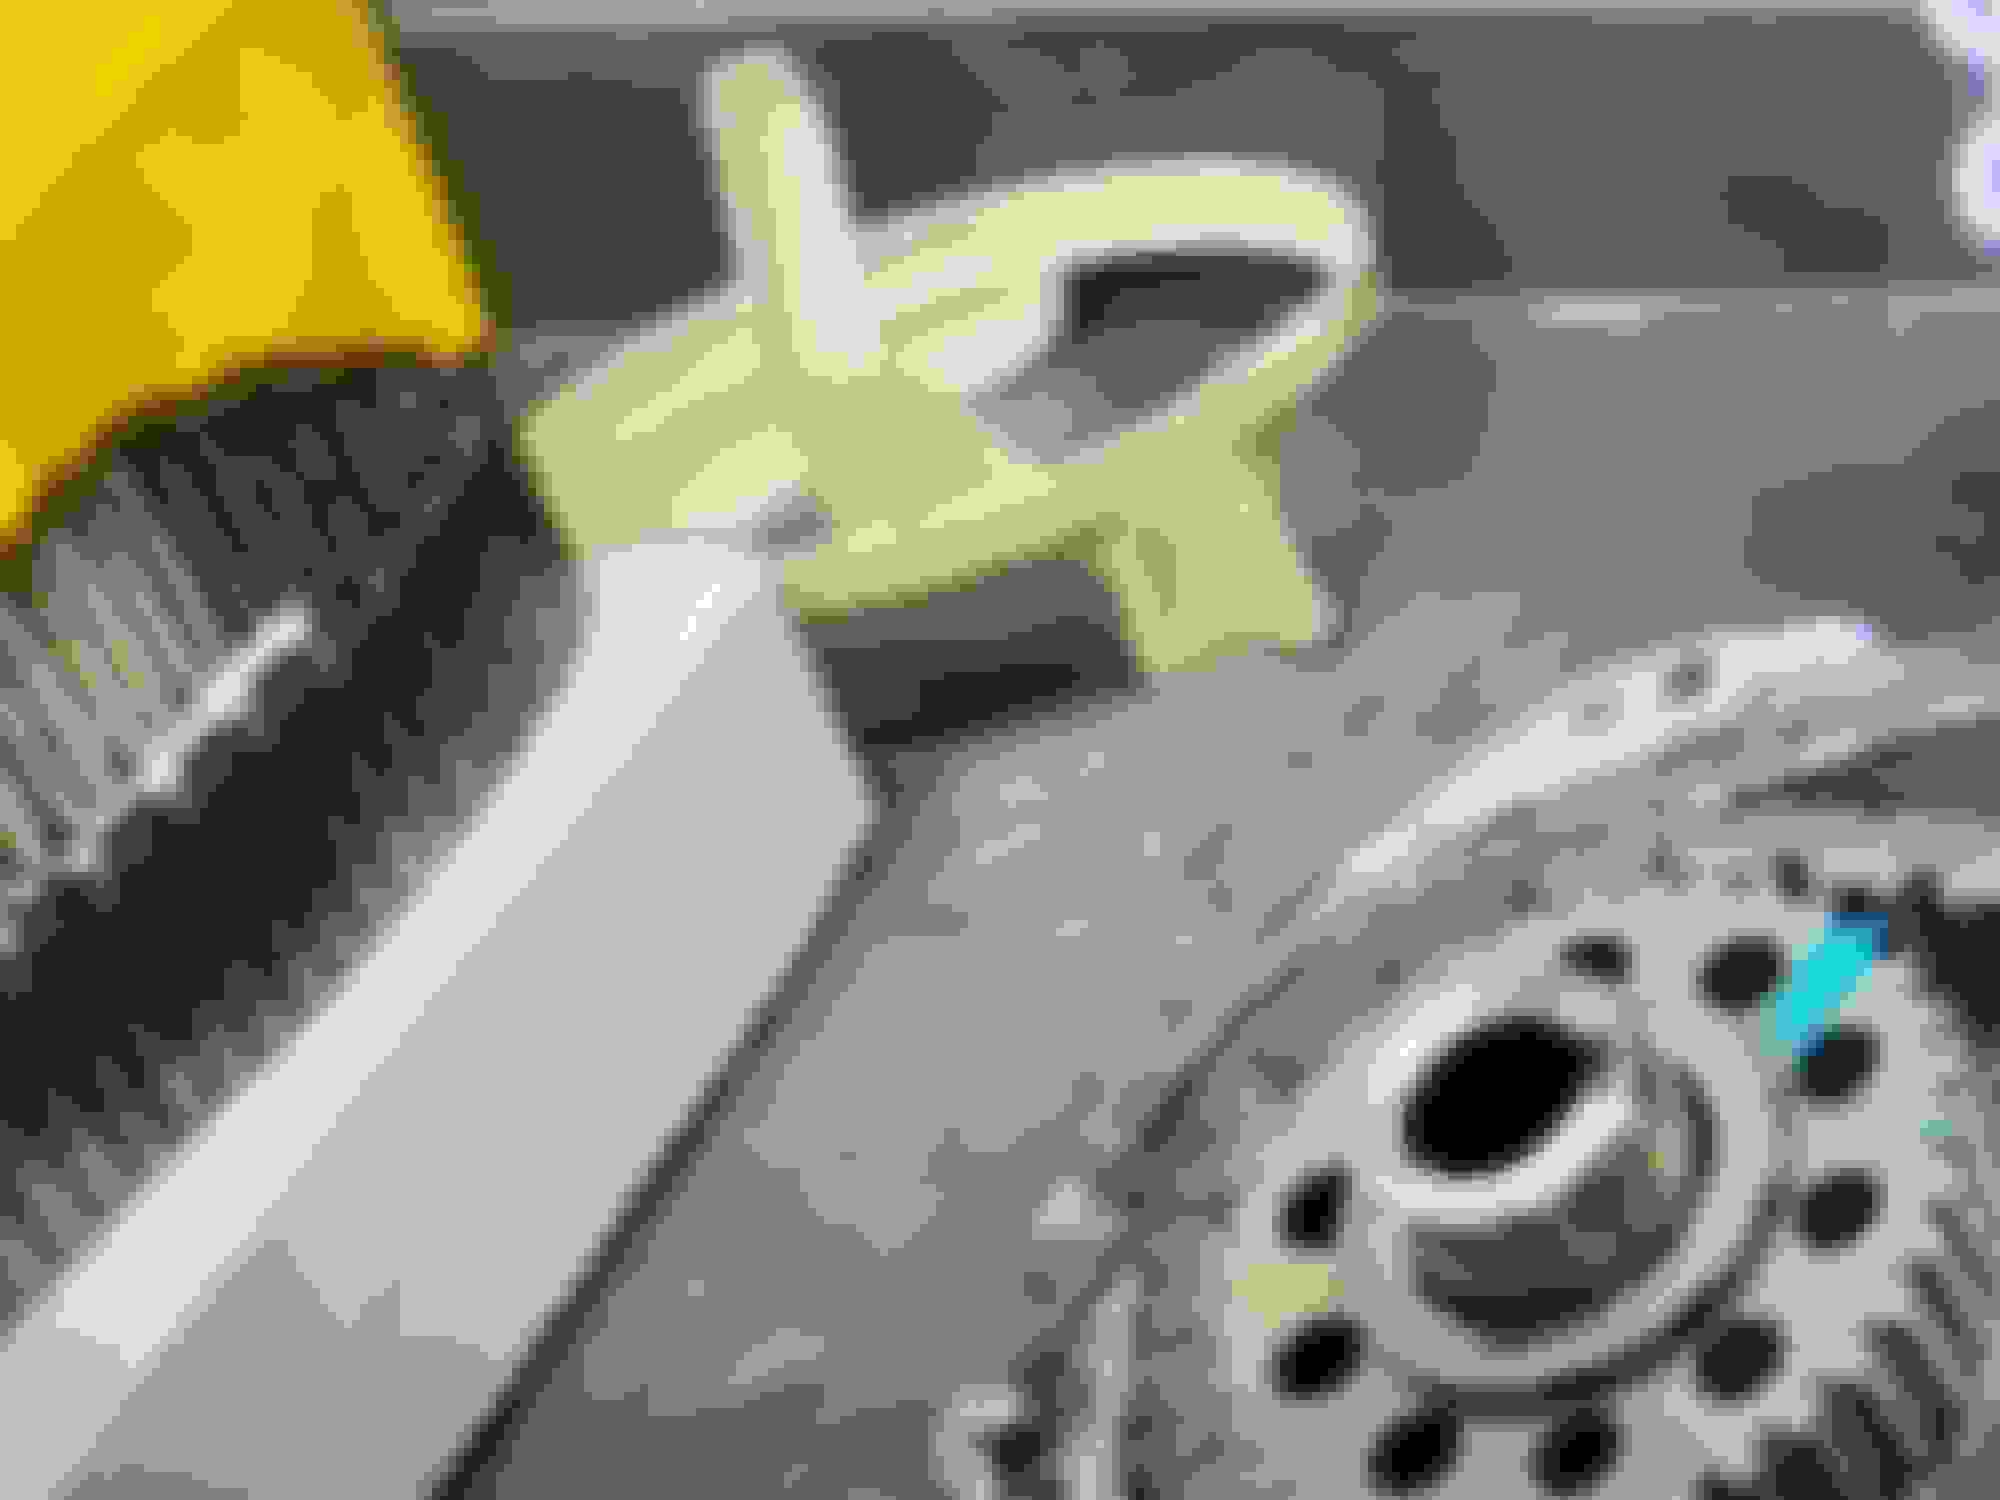
Insert plastic shroud.
Examine the differential gear assembly. Check needle bearings and pack more bearing grease if needed. Insert the gear assembly with lettering facing you. See the photo.
Lube inner bearing race of the other bearing with ATF.
Apply a small drop of RTV silicone to the magnet and place it flush in its slot.
You are done with this ITC half. Set it aside in a clean place to cure magnet.
Prepare ITC Base Half
Continue with the base half. Make sure to use wood blocks under the base half to protect/relieve pressure on the chain guide. Do not place it on flat surface because the chain guide protrudes beyond the edge. Tapping seals and shafts may damage the chain guide.
Lube the front output seal with ATF. Use bearing drivers or suitable tools to tap the seal in place. Make sure it is evenly seated just barely below the housing edge. The rubber sleeve shall stick out 3/64-2/16" to come in contact with the underside of the driveshaft coupling.
Lube the front output shaft underside where it comes in contact with the seal and polished surfaces with ATF. Lube inner bearing race with ATF. Insert the shaft and hand-press it in the housing. Be prepared to apply serious weight. It will click in place.
Lube the input shaft washer in ATF and place it on the input bearing.
Lube the input seal with ATF. Use bearing drivers or suitable tools to tap the seal in place. Make sure it is evenly seated just barely past the snap ring grove. The seal will cover the washer, which will be loose - it's okay.
Lube the input shaft polished surfaces with ATF. Lube inner bearing race with ATF. Insert the shaft and tap it in the bearing.
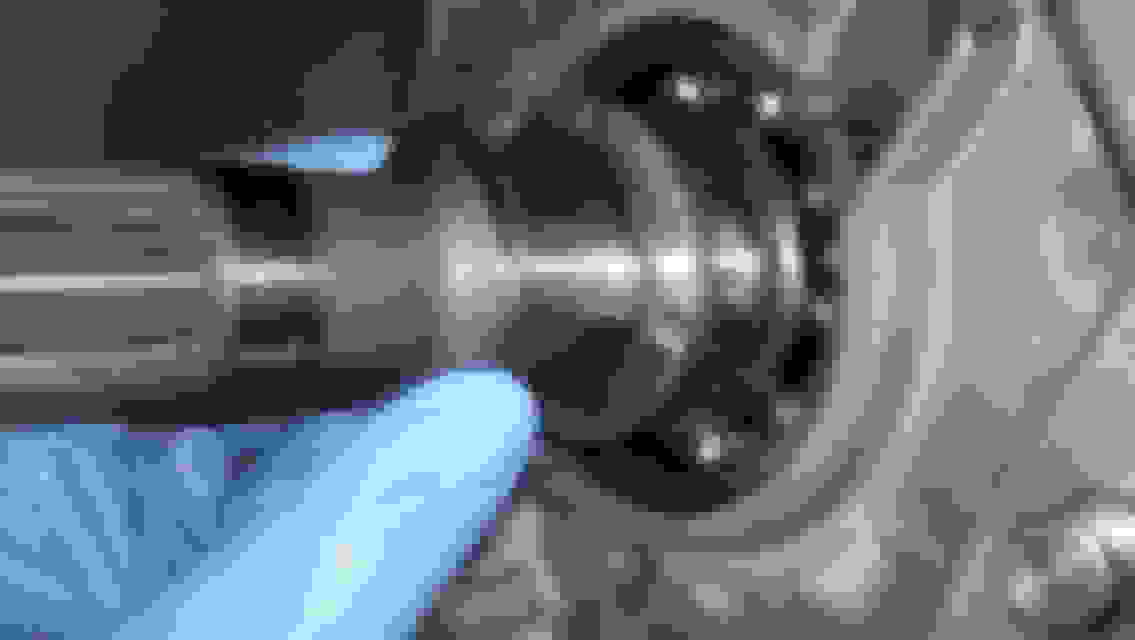
Turn the base half over. Install the snap ring.
Examine the bearing/shaft position. The bearing shall be recessed about 1/4" inside the housing. My bearing moved out when I tapped the input shaft, and so I had to press it back in place. I used a Charlotte PVC pipe of 3" diameter to tap it back in place. You will sense/know when it comes to a stop. See the photo for how it shall seat.
Lube the washer in ATF and install making sure the groves face up and notches are seated.
Install the retention spring.
Examine the sprockets. Check needle bearings and pack more bearing grease if needed.
Put the chain over the sprockets and carefully and evenly insert the combo over the shafts. Wiggle the sprockets to be fully seated.
Make sure the outer edge is clean of lubricants and dry. Give it another acetone treatment.
Apply RTV silicone and follow brand's instructions. (Often need to wait for the film to form.)
You are done with the base half.
Final ITC Assembly
Bring both ITC case halves together and carefully clamp them in place. You may need to wiggle until all parts engage and case is shut closed.
Progressively tighten E10 case bolts in a cross pattern to 22 ft-lbs (30 Nm).
Clean excess RTV silicone. Allow silicone to cure. Follow your brand instructions.
Pour 0.5 qt (475 ml) of ATF 134 fluid of your choosing. I used Pentosin 1088107-C ATF 134 236.14, which is approved by Mercedes. I used a large syringe to measure and inject.
Install drain plugs with new crush washers. Tighten to 22 ft-lbs (30 Nm).
You are done.
ITC Installation
Please refer to Part 1 for installation steps in reverse order. I used Loctite 242 on all bolts, and torque up to 30 ft-lbs (40 Nm).
Hope this article helps. Let me know what you think.
I like yourself find a lot of satisfaction and enjoyment working on my own stuff. Great to see others enjoying the same working on their own cars. Great writeup and sure to be a help for many others years to come. I luckily have not had any transfer case issues but knock on wood if i did this would definately be something within the realm of my undertaking.
C230 Sport Coup + 2006 W164 ML350 + 99 Ford Escort RIP
Wow! Just amazing, all 3 parts.
Just wondering, I found 2 of the 3 seals but one of them they want to sell you the shaft to
get the seal. Did you run onto this? Or did you source some aftermarket seals?
Also some interesting trivia- ITC is part of Magna Steyer, of Austria, The biggest automotive manufacturer you never heard of.
They build the G Wagon, and the Mini up until recently, and I think they are building Jaguars too for the new owner
Tata as well as many other vehicles. They are a contract car manufacturer. Build cars for other companies, to be sold by the brand contracting the build.
Crazy huh? MGA- Currently valued at $23 B
Last edited by C230 Sport Coup; May 14, 2018 at 06:01 PM.
I bought seals from 2 places: dealer and Cobra. I posted in another thread that both the genuine Mercedes-Benz seals from the dealer are identical to the ones sold by Cobra. I examined them side-by-side--material, color, lettering, grease--all the same. The only difference is packaging (and price). Cobra is a safe source for the seals, which I installed. I still have genuine M-B input seal p/n A 016 997 36 46 laying around. If this is the one you need, PM me. Hope this helps.
I rebuilt my transfer case for the 2012 GL450 and inside, around the differential gear was a plastic ring that had a piece that went down inside. It snapped off during disassembly and I was wondering if that piece was vital for its operation or oiling? I've disassembled/rebuilt many transfer cases throughout the years, but haven't seen something like this before. I cannot seem to find it anywhere to purchase. Any insights?
Last edited by Saint0560; Nov 29, 2021 at 12:39 PM.
Mercedes SLR McLaren 722 S Is Extremely Rare Example Modified by McLaren
Slideshow: A one-of-one U.S.-spec Mercedes-Benz SLR McLaren Roadster became even rarer after a factory-backed transformation at McLaren's headquarters.