When you click on links to various merchants on this site and make a purchase, this can result in this site earning a commission. Affiliate programs and affiliations include, but are not limited to, the eBay Partner Network.
So I have a 2012 GL350 with 130K Miles, and have been plagued with all the DPF issues all seem to eventually face.
After many months and dollars spent trying to resolve the issue without spending $3-4K, I have decided to do the DPF delete.
I have just ordered a BuzzKen delete pipe and ordered a KTAG programmer to (hopefully) reprogram the ECU myself to delete the DPF/EGR/ADBLUE/SWIRL FLAPS/???
My hopes are to document the process to help pave the way for others who are interested in the process.
Current condition: Currently my GL350 is failing to regenerate on its own. Using Xentry I am able to force a regeneration and it seems to complete OK, but I am unable to get the load state of the DPF filter down to an acceptable level (indicating clogging in the DPF filter that a regen can't clear). About 10K miles ago I began experiencing severe oil consumption (1-2 quarts every tank fill). This is not leaking out, so its likely getting sucked through the turbo due to excess exhaust pressure. I did try replacing the turbo cartridge but did not see much improvement. As I did not correct the clogged DPF it is likely still blowing past the turbo seals, and/or it may be blowby (which seems to be an issue with these engines).
I have attempted to clean the DPF using commercial additives to fuel, as well as the LubriMoly DPF cleaning directly into the DPF filter. These appear to reduce the load state on the DPF filter (as observed in Xentry), but seems very temporary. I am also getting some EGR issues (positioner not working as intended), and suspect this is due to clogging as actuating in Xentry shows it is responding.
From what I have learned on my intended process, I plan to install a delete pipe to remove the DPF filter. I am told I need to delete the DPF from the ECU before installing the pipe, otherwise it would enter limp mode. My searching has turned up pricing from $600-1200 for hiring someone to do the ECU programming, which also requires removing and sending the ECU to them (meaning downtime).
While I am not an experiences "tuner", I have chosen to attempt this myself for the following reasons:
- I can purchase the equipment to do the programming myself for under $200
- I can avoid sending my ECU off in the mail to someone I don't know
- I can save my original ECU programming, which would allow me to revert to stock without paying a programmer to reverse the process
- If I can't figure out how to program properly myself, I can send my stock ECU file to a programmer for tuning and assistance (without sending the ECU off)
I will post photos of the parts and equipment, and detail my process as I work my way through this.
I welcome and encourage questions and comments from those who have done this (or want to do this) so that this may become a proper start to finish guide to demystify what a DPF delete is, why one would do it, and how one accomplishes it.
A delete tune is $350 from them and includes flashing by one of their dealers. If you want to be able to flash it yourself, they have a flashtool you can buy for $185.
Do you plan on making the custom tune to delete the DPF?
I looked into this and think I'd approach it by getting an AdBlue emulator to take care of that system, then getting a tune/delete pipe to eliminate the DPF/swirl flaps/EGR. The whole thing could be done for under $1k.
I plan on sending my file off to be re-mapped, I will gladly send you both my original and remapped so you can compare, but I also plan on doing the power gains.
I plan on sending my file off to be re-mapped, I will gladly send you both my original and remapped so you can compare, but I also plan on doing the power gains.
A delete tune is $350 from them and includes flashing by one of their dealers. If you want to be able to flash it yourself, they have a flashtool you can buy for $185.
Unfortunately that price is the older models. They want $649 for my 2012.
I'd love to see them if you are able to send them. May help others down the road as well.
What year/model is yours?
2010 GL350 x164.825
I like tuned2race as the credit system is 1 credit per 1 euro. Whereas the others charge 85-120 euros per credit and the tune w options would require say 2.6 credits, so you'd have to buy 3 credits and not use them all. They are also in South Africa so no VAT. All the tuners offer the exact same power gains, minus the stage 2 at pure tuning, so likely the exact same remap. The stage 2 at pure tuning offers more power, but after asking they did not recommend it for my higher mileage motor. (130k mi)
OK, the BDM frame arrived last night, so I removed the ECU to read my file to start the tuning process.
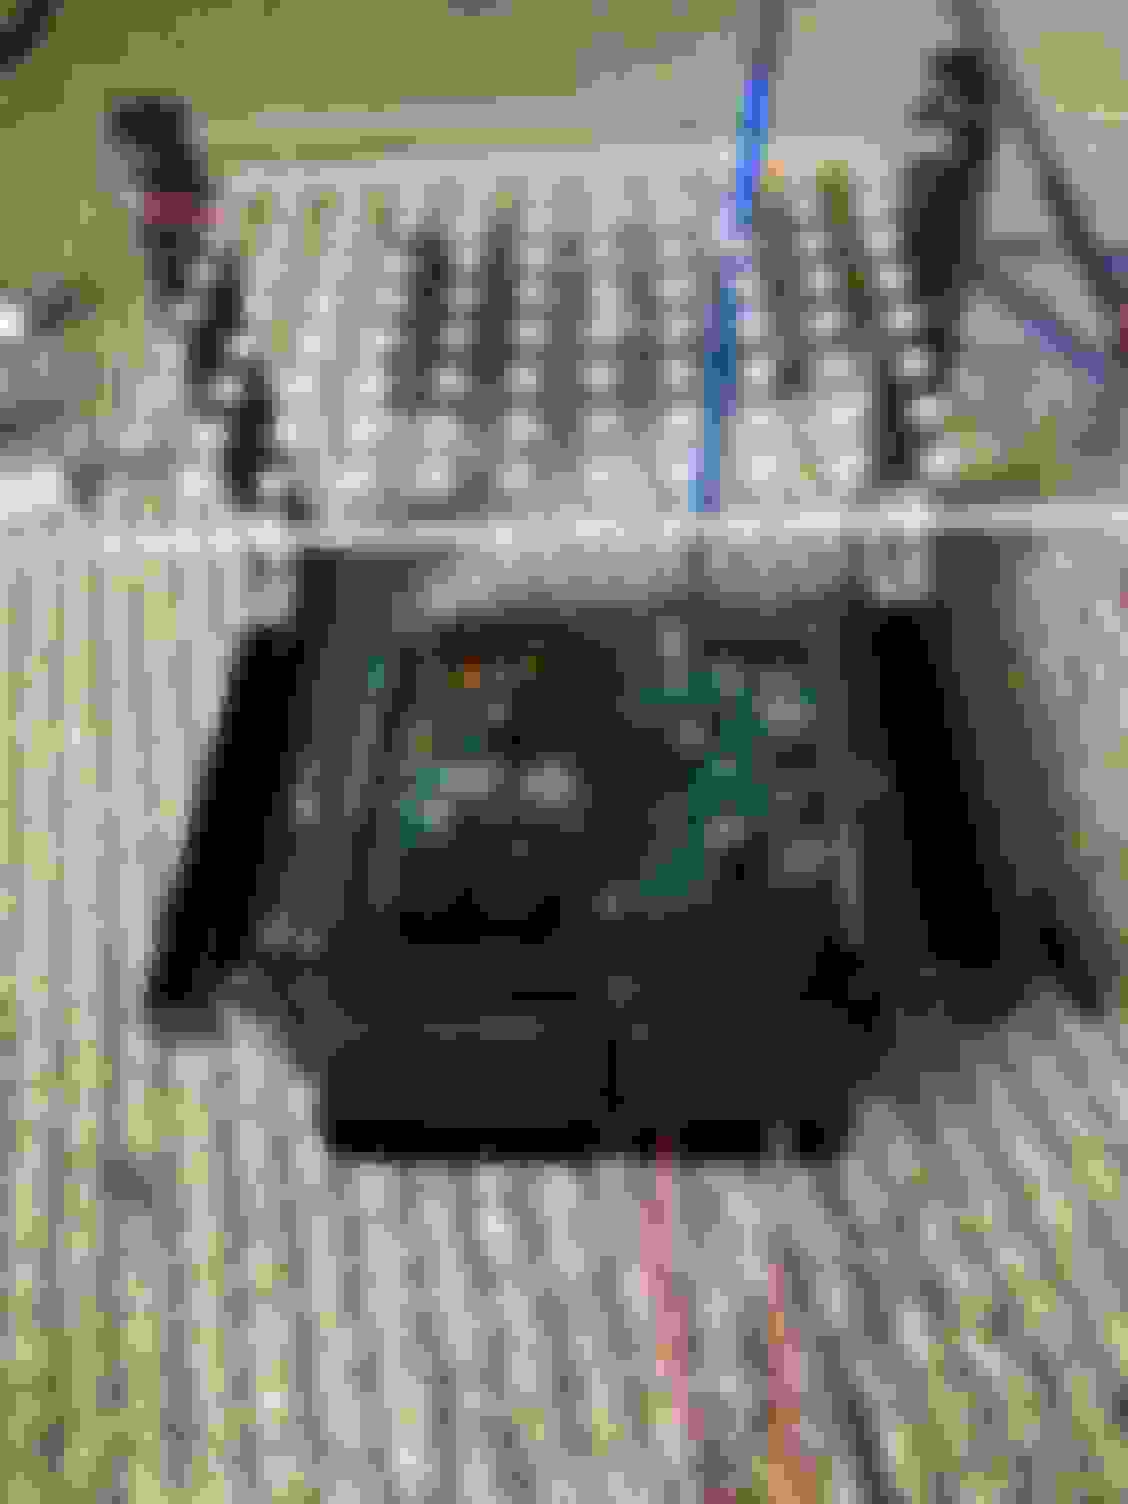
My ECU is located behind the wheel well on the passenger side. The wheel well cover is held in with several 10MM bolts, nuts, and 2 push pins. Once those were removed I was able to fold the cover down which revealed the ECU mounted on a frame. See attached photos.
It took me a little while to figure out how the ECU was secured to the frame. The frame is attached to the vehicle by 2 bolts on the right side of the ECU. I removed those and had to really maneuver the works around to get the ECU where I could access it. Once it was hanging out where I could look at it, I discovered that there is 1 screw holding the ECU to the frame. I likely could have removed that and left the frame in place (which would have made the removal much easier). I will verify this when I put the ECU back in place and update the posting.
Once removed from the vehicle, opening the ECU took about an hour. There are about 6 screws holding the cover on, but it is also sealed with a black silicone or similar adhesive. I used a heat gun to soften the adhesive, and several screwdrivers to pry the cover off. I definitely buggered up the edges a bit prying the cover off, but it should be fine when I re-seal and replace the screws. I see they sell ECU cover removal tools (which appear to be devices you just screw into the bolt holes to pry the cover off). If you have the time, order these. It will undoubtedly save you from mangling the cover as I did. I did not order these as I could not find a seller with them that did not have a month or more lead time. If you can plan ahead you should be able to order them for about $15.
Once the cover was off, reading my file was easy. The KTAG cable required about 5 leads to be connected to the pins on the ECU plug, and 1 connection was needed for the actual board inside the ECU, My BDM frame came with 4 boards and several spring loaded pins. It was designed to be soldered for use. Actually none of the boards was really proper for my ECU, but since I only needed 1 connection to the ECU board I just soldered 1 of the spring loaded pins into a board and used that to make the connection (see attached photo). It worked great. Once connected I loaded the KTAG software, selected my vehicle type, and was prompted to select a plugin. I was not sure which to use, so I guessed #155 from the list of about 6 plugins and tried to read. The software tried to read the ECU, identified it, and indicated it should be plugin #222. I backed out and started again using plugin #222 and the unit read all 3 areas of the ECU (took about 4 minutes). I saved the entire file when done, then it prompted me to also save the files individually (which saved 3 additional files - 1 for each of the 3 areas of the ECU read).
Rather than trying to modify the file myself I uploaded the readouts to a forum I joined specifically for ECU programmers. PM me for information on that. It cost $15 to join, but has been very helpful to learn about this stuff! When I woke up this morning I had already had 3 people contact me to offer the file modifications I requested. The costs ranged from $50 to $100 to modify the file for DPF/EGR/SCR/Flaps delete plus Stage 1 tuning. I went with an offer that was 80 Euros (about $90 US) based upon the users credibility on the forum. I hope to have the modified file later today to write back to the ECU.
My delete pipe is also scheduled to arrive today, so if I have time I will hopefully get that replaced tonight as well.
Perhaps tomorrow I will finally have this DPF nightmare behind me!
ECU on passenger side wheel well ECU connectors: pull on end to release clips The EDC17CP10 has 1 connection point on the board, the other connections are on the connection pins. the KTAG software shows exactly how to make the connections. My ECU sitting on the BDM frame with the KTAG connected.
So I flashed the tuned file yesterday afternoon. Once I responded to the tuner and paid 80 Euros (about $90 US) via PayPal I had the tuned file back within an hour.
Note: When I made the backup of my original ECU file it saved 4 files. One of those files has MPC file extension. This is the file the tuner needs to modify. When I received the modified file back I just had to write the 1 file back to my ECU. IT was a bit confusing at first as the KTAG software does not prompt which selection is to write back the MPC file. The correct selection is "MICROTC1796 (Maps)".
Writing the file back took a good 5-6 minutes.I was a bit nervous as it seemed nothing was happening for a while, but after a few minutes the progress bar appeared and started moving.
I cleared the DTCs using DAS and took the vehicle for a drive to see if the tune file did anything (I had not yet removed the DPF or SCR). It felt a bit snappier, but otherwise drove well. It did go into limp mode on me once and the turbo underboost DTC returned, but nothing about the DPF or regeneration. I presume the underboost issue was still related to my clogged DPF.
Last night I removed the DPF and SCR and installed the BuzzKen delete pipe. Unfortunately I failed to get photos of the pipes before I installed them (DOH!). The pipes were bent perfect, but I was surprised to learn that the "bolt on" pipes required me to cut the exhaust pipe on the truck to remove the old hardware. There was a flange at the front end which matched up fine, but the rear end requires cutting the exhaust pipe. One surprise was that the BuzzKen kit I received was actually 2 pipes! There was no instructions, but it appears that you have the option to just remove the DPF filter (which would require cutting off the flange that attaches to the rear of the DPF filter). The other option would be to cut the pipe rear of the SCR (just behind the NOX sensor) and use both supplied pipes. The kit then also came with (2) lap joint muffler clamps and a new gasket (to be used at the single flanged connection at the very front). You end up with a flanged connection at the very front (to connect the pipe from the turbo exhaust to the new DPF delete pipe), a lap joint located where the rear of the DPF was (to join the 2 BuzzKen delete pipes), and another lap joint located rear of where the SCR was (to connect the SCR delete pipe to the rear exhaust of the vehicle).
The entire job took me about 5 hours (though I had about 1 hour dealing with the rear stock DPF clamp that stripped out on me and would not loosen, requiring me to eventually cut it off with a grinder).
Some tips for those who want to do this: use some penetrating oil each day for a dew days in a row before doing the job. Spray it on the sensor connections you will need to remove (most importantly the NOX sensors). My front NOX sensor was so seized I ended up just cutting the wires for that one, so if I ever decide to replace the DPF I will need to replace that sensor as well.
When it was all done I took a 5 minute drive, and wow things are different. Definitely wayyyyy more power. Runs smooth at idle, but when I got on it it really seems to growl over 3000 RPMs. Also gets really loud at those higher RPMs, but I sounds like the flanged connection (front of where DPF used to be) may be leaking at those higher pressures.Perhaps my flange clamp is not tight enough or that new flange seal is not seated properly? I'll report back after some more driving. I have a few short drives earlier in the day, and a 120 mile drive this evening to make so I should have some good updates after the weekend.
good job man! I have been procrastinating to do the same. I have the programmer , have backed up my ecm file and found a tuner to sell me the modified map file, but I have not purchased the dpf delete pipe yet. Quick question: does your dpf delete pipe have the holes for the now unused dpf pressure sensors. or the sensors are just dangling on the side, maybe zip tied to something? thx
good job man! I have been procrastinating to do the same. I have the programmer , have backed up my ecm file and found a tuner to sell me the modified map file, but I have not purchased the dpf delete pipe yet. Quick question: dopes your dpf delete pipe have the holes for the now unused dpf pressure sensors. or the sensors are just dangling on the side, maybe zip locked to something? thx
They be danglin' and zip tied to whatever I could find.
My pleasure. If it means anything to you, I can tell you in hindsight I wish I had not waited so long.
Just finished a 120 mile trip and averaged 32.5 MPG. So far no real negatives. A slight odor noticed while vehicle is running when standing outside, bit that is all.
Any insight on the DPF removal process? Was it difficult to do?
I described it a bit a few posts back. Took me 5 hours. Jack up the front of the vehicle, remove all sensors and lines (I believe about 8 in all), Remove the ring clamp at the front and rear of the DPF, and used a sawzall with a metal cutting blade to cut the exhaust pipe just rear of the back NOX sensor. From there it is just install the front ring clamp at the front of the delete pipe, attach the front hang bracket, and attach the rear delete pipe at the front and back using the BuzzKen provided exhaust clamps.
I will try to update with photos later to show the locations of all sensors, lines, clamps, etc. I'll also include tools and wrench sizes used. With that knowlede I would think most could do the job in about 3-4 hours.
I think the tuner mapped your MPG's sure that's not an ML?
Did you get any power gains, or just emissions delete? What forum? I found another tuner for 75 gbp, or roughly $91. Includes power gains and emissions delete. They do a lot of youtube tutorials etc, which is nice.
I was wondering about the cover, just ordered the extractor screws. Thanks! $15 for one, or about $30 for a set of 4.
Any smell in the cab e.g. at stop light w a/c (not recirculating) on or just outside? I plan on dropping the DPF and hollowing, but leaving the SCR for now. Wifes DD w 3 little ones so the exhaust is the biggest concern at this point.
Rebuilt turbo going in Thursday hopefully oil consumption will be solved. I'll get to the ECU when all the parts come in, BDM comes in today, but I also ordered a drop pin BDM and some drop pins to avoid any soldering.
Did you have to put any silicone or sealant back on it before reassembly?
Did you clear DTC's prior to mapping or have to tell the tuner what codes were present?
I finally got around to doing mine, used a drop pin frame and ecu cover extractors. Went very well, used the OBD company in the UK. I wasn�t subject to the VAT as I was an �export� being in the US. Ran me $62 for the remap, included DPF, EGR, Adblue/SCR delete. Resealed it w gasket maker.
This is the SCR module that you must unplug, it�s located under the foam that holds the jack in the trunk.
I cleared the DTCs using DAS and took the vehicle for a drive to see if the tune file did anything (I had not yet removed the DPF or SCR). It felt a bit snappier, but otherwise drove well. It did go into limp mode on me once and the turbo underboost DTC returned, but nothing about the DPF or regeneration. I presume the underboost issue was still related to my clogged DPF.
Did the delete pipe fix your Limp mode low charge air pressure code?
I started getting that towards the end, saw in DAS that a clogged exhaust may cause it, but still put all new orings on the intake side to be safe. Also hasn�t returned since remap.
My exhaust smell is fairly pronounced, only outside the cab, and that�s with the cat still in place. Seeing as the cat isn�t exactly helping cut down on the smell and will inevitably clog up itself, I plan on gutting it in the near future. I will say that the smell is a bit different than the diesel smell I�m used to, maybe due to the amount of oil I�m still burning? I had been running Amsoil cetane booster + injector cleaner, but not in the last two tanks. This is a junkyard motor, and when the Indy swapped it in, they didn�t program the new injectors in DAS. I did so last week and reset the adaptations. This may or may not help w the fuel dilution issue, but didn�t seem to really effect how the vehicle ran. Hopefully getting rid of the regeneration solved that. The next oil analysis will let me know. Hope to finish gathering catch can parts to install in the next week or so.
I'm NOT a mechanic so a lot of what you're saying in here is a foreign language. I am experiencing all the issues. @TGcville responded to my idea on replacing my GL 320 engine with a F150 Ford this am, but I having a hard time finding a mechanic who's willing. That said, I'm now really interested in deleting the DPF altogether. Since you and @ccrobin are already down this path, I think this is the right thing to try. The dealership told me that the DPF is a real problem and that they don't recommend trying to fix it. They told me the car was done. Arguh. Now I need to find someone who's willing to help me delete the DPF. Thanks for posting all your progress on this. If you have any regrets, please let me know.
I'm NOT a mechanic so a lot of what you're saying in here is a foreign language. I am experiencing all the issues. @TGcville responded to my idea on replacing my GL 320 engine with a F150 Ford this am, but I having a hard time finding a mechanic who's willing. That said, I'm now really interested in deleting the DPF altogether. Since you and @ccrobin are already down this path, I think this is the right thing to try. The dealership told me that the DPF is a real problem and that they don't recommend trying to fix it. They told me the car was done. Arguh. Now I need to find someone who's willing to help me delete the DPF. Thanks for posting all your progress on this. If you have any regrets, please let me know.
 08-08-2019, 10:12 AM


 sure that's not an ML?