When you click on links to various merchants on this site and make a purchase, this can result in this site earning a commission. Affiliate programs and affiliations include, but are not limited to, the eBay Partner Network.
First of all i would like to answer question many people been asking around - Is it possible to take engine out without dropping subframe to the floor and raising the body?
Yes it is
Initially i was looking for an opportunity to remove cylinder heads only and replace with rebuilded ones, however the construction of exhaust and heat shields gives no clearance to do it so i ended up taking engine out.
Steps needed
1) Remove both exhaust pipes
2) Remove two small exhaust heat shields installed on the engine subframe
3) Remove front driveshaft
4) Unscrew front differential mounts. No need to remove differential but It will give a little clearance you need to pull engine out
5) Unscrew both engine mounts from subframe
6) DIsconnect all the vacuum and coolant tubing going from engine to equipment installed on the body
7) Disconnect AC lines
8) Disconnect main cable for starter and alternator
9) Disconnect and remove transmission cooling lines
10) Remove plastic covers on the engine and engine ECU
11) Disconnect engine fuel line
12) Disconnect electric cable going from engine to transmission
13) Disconnect engine harness connector to car body
14) Remove front radiator
15) Remove windshield wipers, plastic cover, and wiper mechanism
16) Unscrew transmission torque converter from flywheel
17) Unscrew all transmission housing bolts but 4 lower ones
to be continued
Awesome! Looking forward to the progress of your rebuild. Looks so dark, did you have any garage lighting on while doing this, or just using that LED bar?
Is your engine affected by the cam chain tensioner clacking, and will you be installing the updated parts if it is affected? I have that clacking and the dealer/MB USA didn't want to do the fix, said it wasn't a recall, gave me the runaround while I was still in warranty. Now it's out of warranty.
Are you using any repair manual or pdf, and if so how can I get a copy of it? Please take plenty of pictures along the way, and more lighting please! Good luck along your journey!
Continuing
18) Remove two air vent pipes under engine installed on engine subframe. Didn't do it as a result broke one on the right.
19) Remove serpentine belt upper pulley (the big one by the center). I used two big bolts from it to attach lift chain to engine front cover
20) Carefully lift engine to get enough clearance under transmission. I put two pieces of 2x2 wood under transmission bell housing and subframe to rest on
21) Carefully drop down engine - enough for transmission housing to lie on wooden pieces
22) Unscrew rest 4 lower transmission housing bolts
23) Push suspended engine away from transmission
24) Take engine out from the car
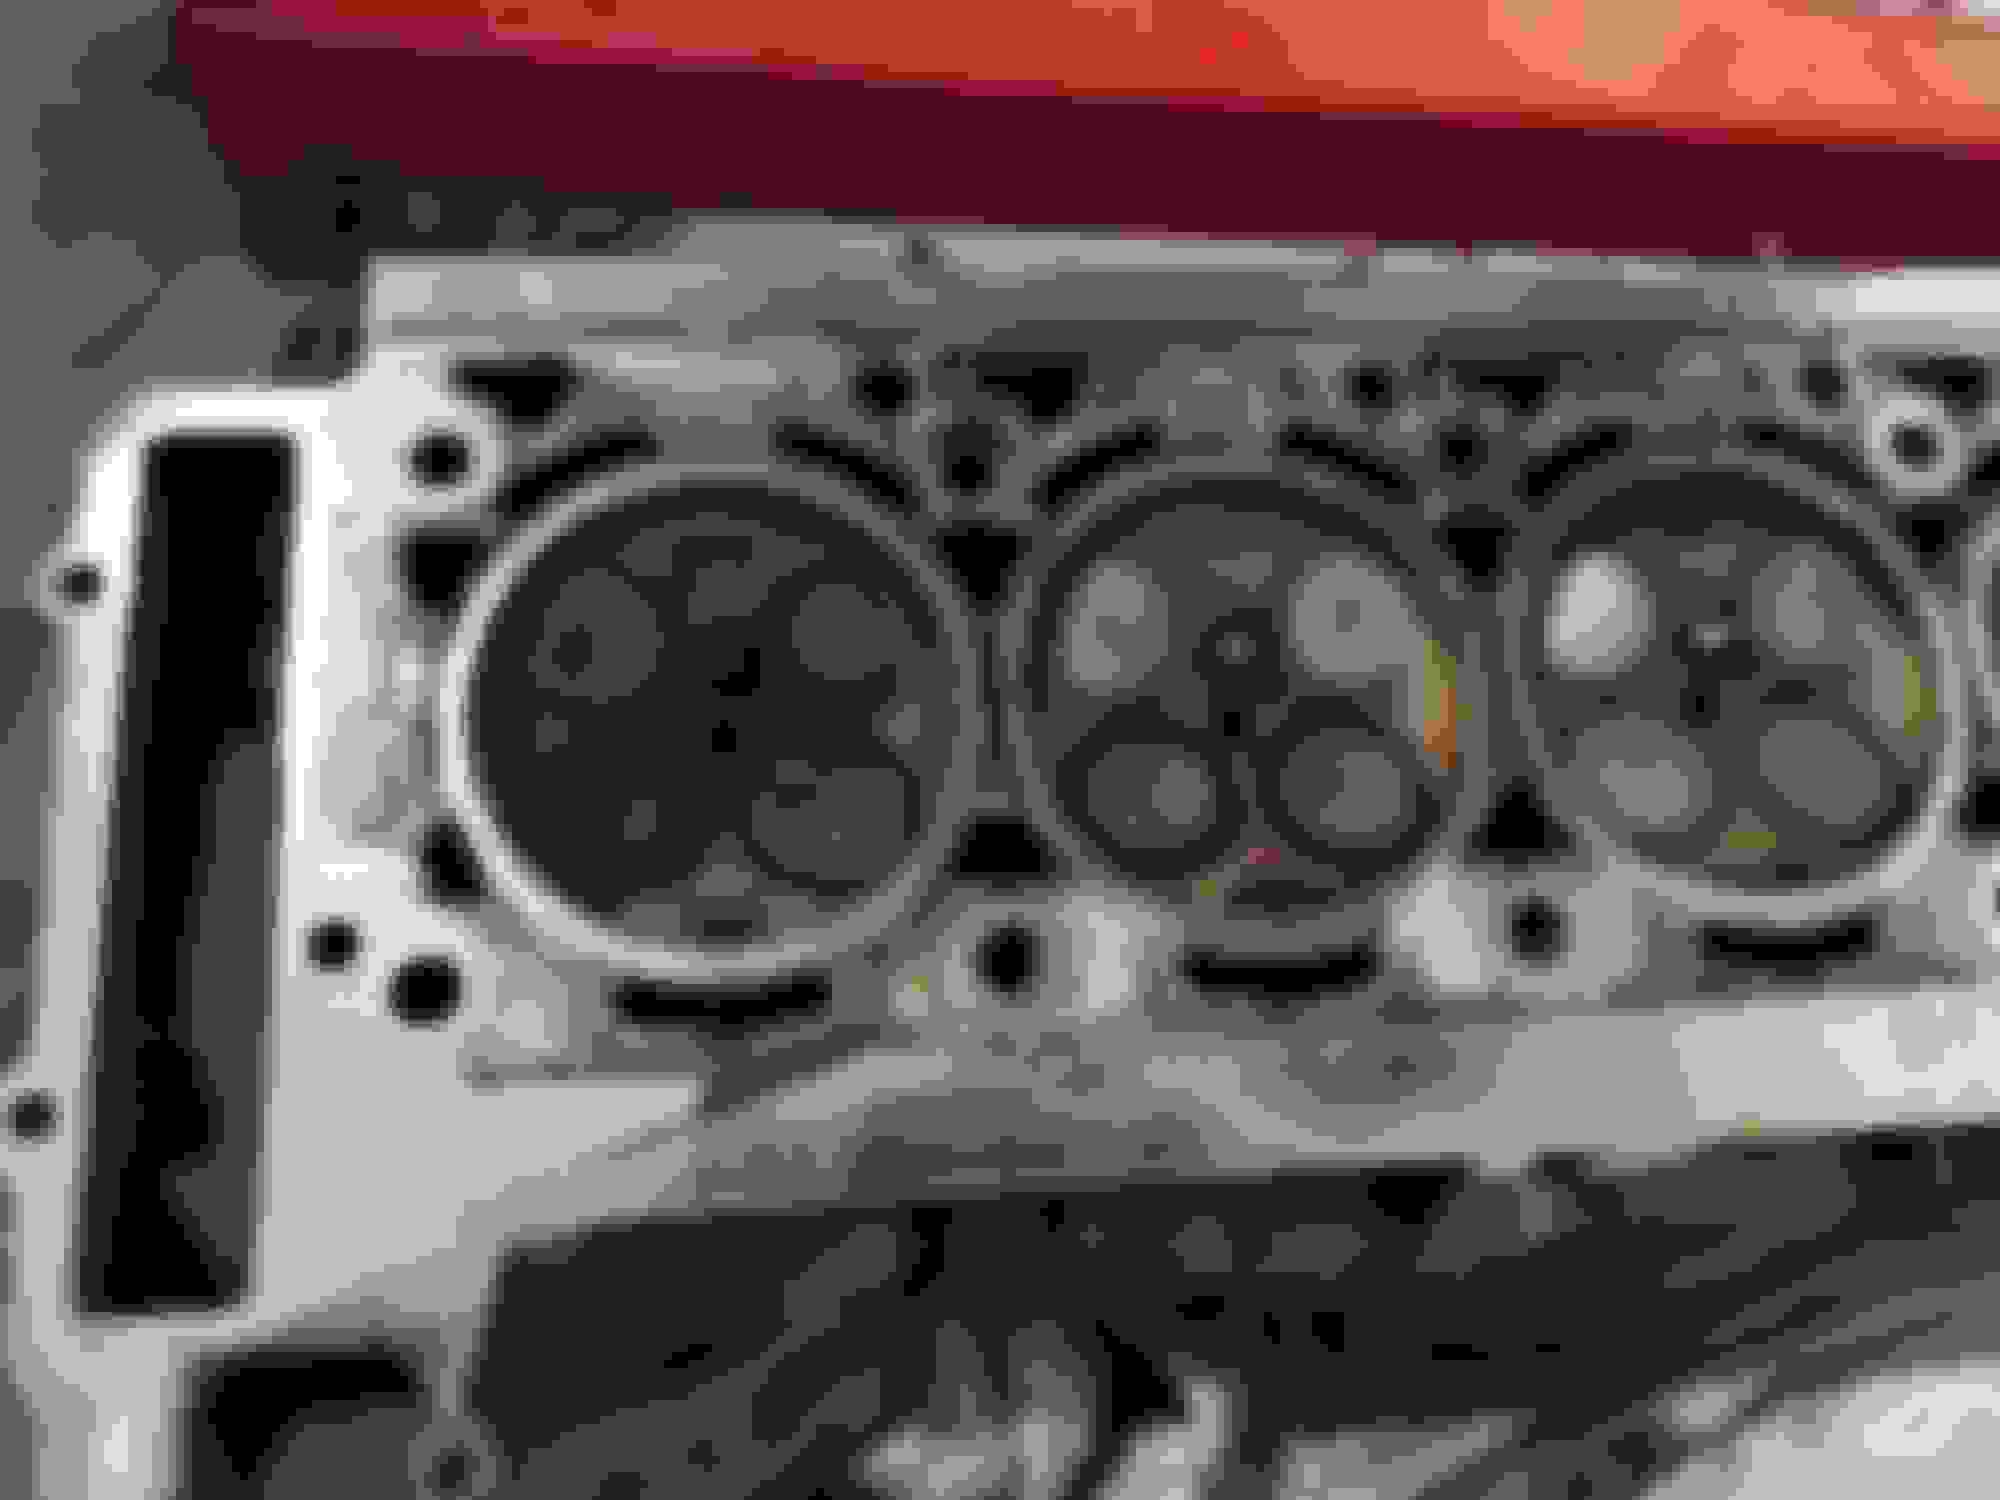
Initially i was going to replace both cylinder heads. For two reasons. First - i had almost 75% compression loss in cylinder #5. Second - expecting to have burned exhaust valve as a precaucion i decide to replace both cylinder heads.
Everything turned out to be worse than expected, which basically killed my last Sunday.
There was an issue with exhaust valve in cylinder #5 - not burned, but bent. You can see it from valve head shape. Second exhaust valve from the left on the picture.
Awesome! Looking forward to the progress of your rebuild. Looks so dark, did you have any garage lighting on while doing this, or just using that LED bar?
Is your engine affected by the cam chain tensioner clacking, and will you be installing the updated parts if it is affected? I have that clacking and the dealer/MB USA didn't want to do the fix, said it wasn't a recall, gave me the runaround while I was still in warranty. Now it's out of warranty.
Are you using any repair manual or pdf, and if so how can I get a copy of it? Please take plenty of pictures along the way, and more lighting please! Good luck along your journey!
Can you tell me about it more? If you telling about installing the check valve on the engine camshaft chain tensioner - yes i am going to install it
As a result we have two Silitec cylinders far beyond repair (honing) and one with scratch. That is pretty much explain misfire logs from scanning. Next post will be an detailed explanation of the cause.
As of today i am waiting on engine block machine work. Purchased three used pistons from ebay to replace damaged, no need to get new ones. I send all pistons to get stripped to the metal and get top and skirt clear coating, will post final results soon.
Also i purchased custom made cast iron cylinder sleeves (dry installation). Hopefully will have everything done by the end of this week. It takes about two weeks to get sleeves manufactured.
Since i have my engine completely disassembled as of now, ordered fresh set of both main and conrod bearings and the gaskets and o-rings. It sound disappointing but unfortunately you will have to replace all the plastic fitting installed on the engine because they all falling apart because of the age.
Through the process of work i discovered that engine been worked on before even there is no mentioning of it in carfax history. All the pistons had some kind of failed coating, which initially i took for carbon buildup.
As of the symptoms - i only had minor vibration on the idle then i got this car slightly used and it took about two years for check engine light to come on.
To be continued...
Now back to the subject of failure. There are many theories why Silitec liners fail. From what i've seen in my engine i concluded to the engineering failure. I will try to explain what is going on.
Silitec liner is an alloy of Aluminum with 25% of Silicon and so on. During engine block manufacturing cylinder surface bored to the necessary specs and after that acid etched. The reason for etching is to remove aluminum from the surface of cylinder walls exposing Silicon crystals matrix which is extremely hard. You can go through manufacturing process just googling it. Basically final result is ceramic "wall" made of polycrystalline Silicon.
If you will take any ceramic surface and move aluminum stick across it you will see a grey line made of grinded aluminum. Which basically raises a question - how do aluminum pistons survive within the SIlitec engine?
And the answer will be - Iron Coating. All pistons for Silitec engines has thin iron coating on the surface of piston skirts. As long as this iron coating exists - your engine is good. No issues withing cylinder walls no problems no lack of compression no misfires.
Once that thin iron coating gone - you start scratching piece of aluminum on the ceramic surface. Not only it results in wear and damage of piston skirt, also because aluminum soft metal it tear crystals of the Silicone from the cylinder walls matrix , and stuck to it on the friction surface, basically grinding everything around to the pulp. Will have pictures of damaged pistons uploaded tomorrow.
Now for those of you who still have no problems, ideally if you will rebuild your engine with fresh set of pistons every let say 70k miles and hone cylinder walls - your engine will last for a long time.
To be continued
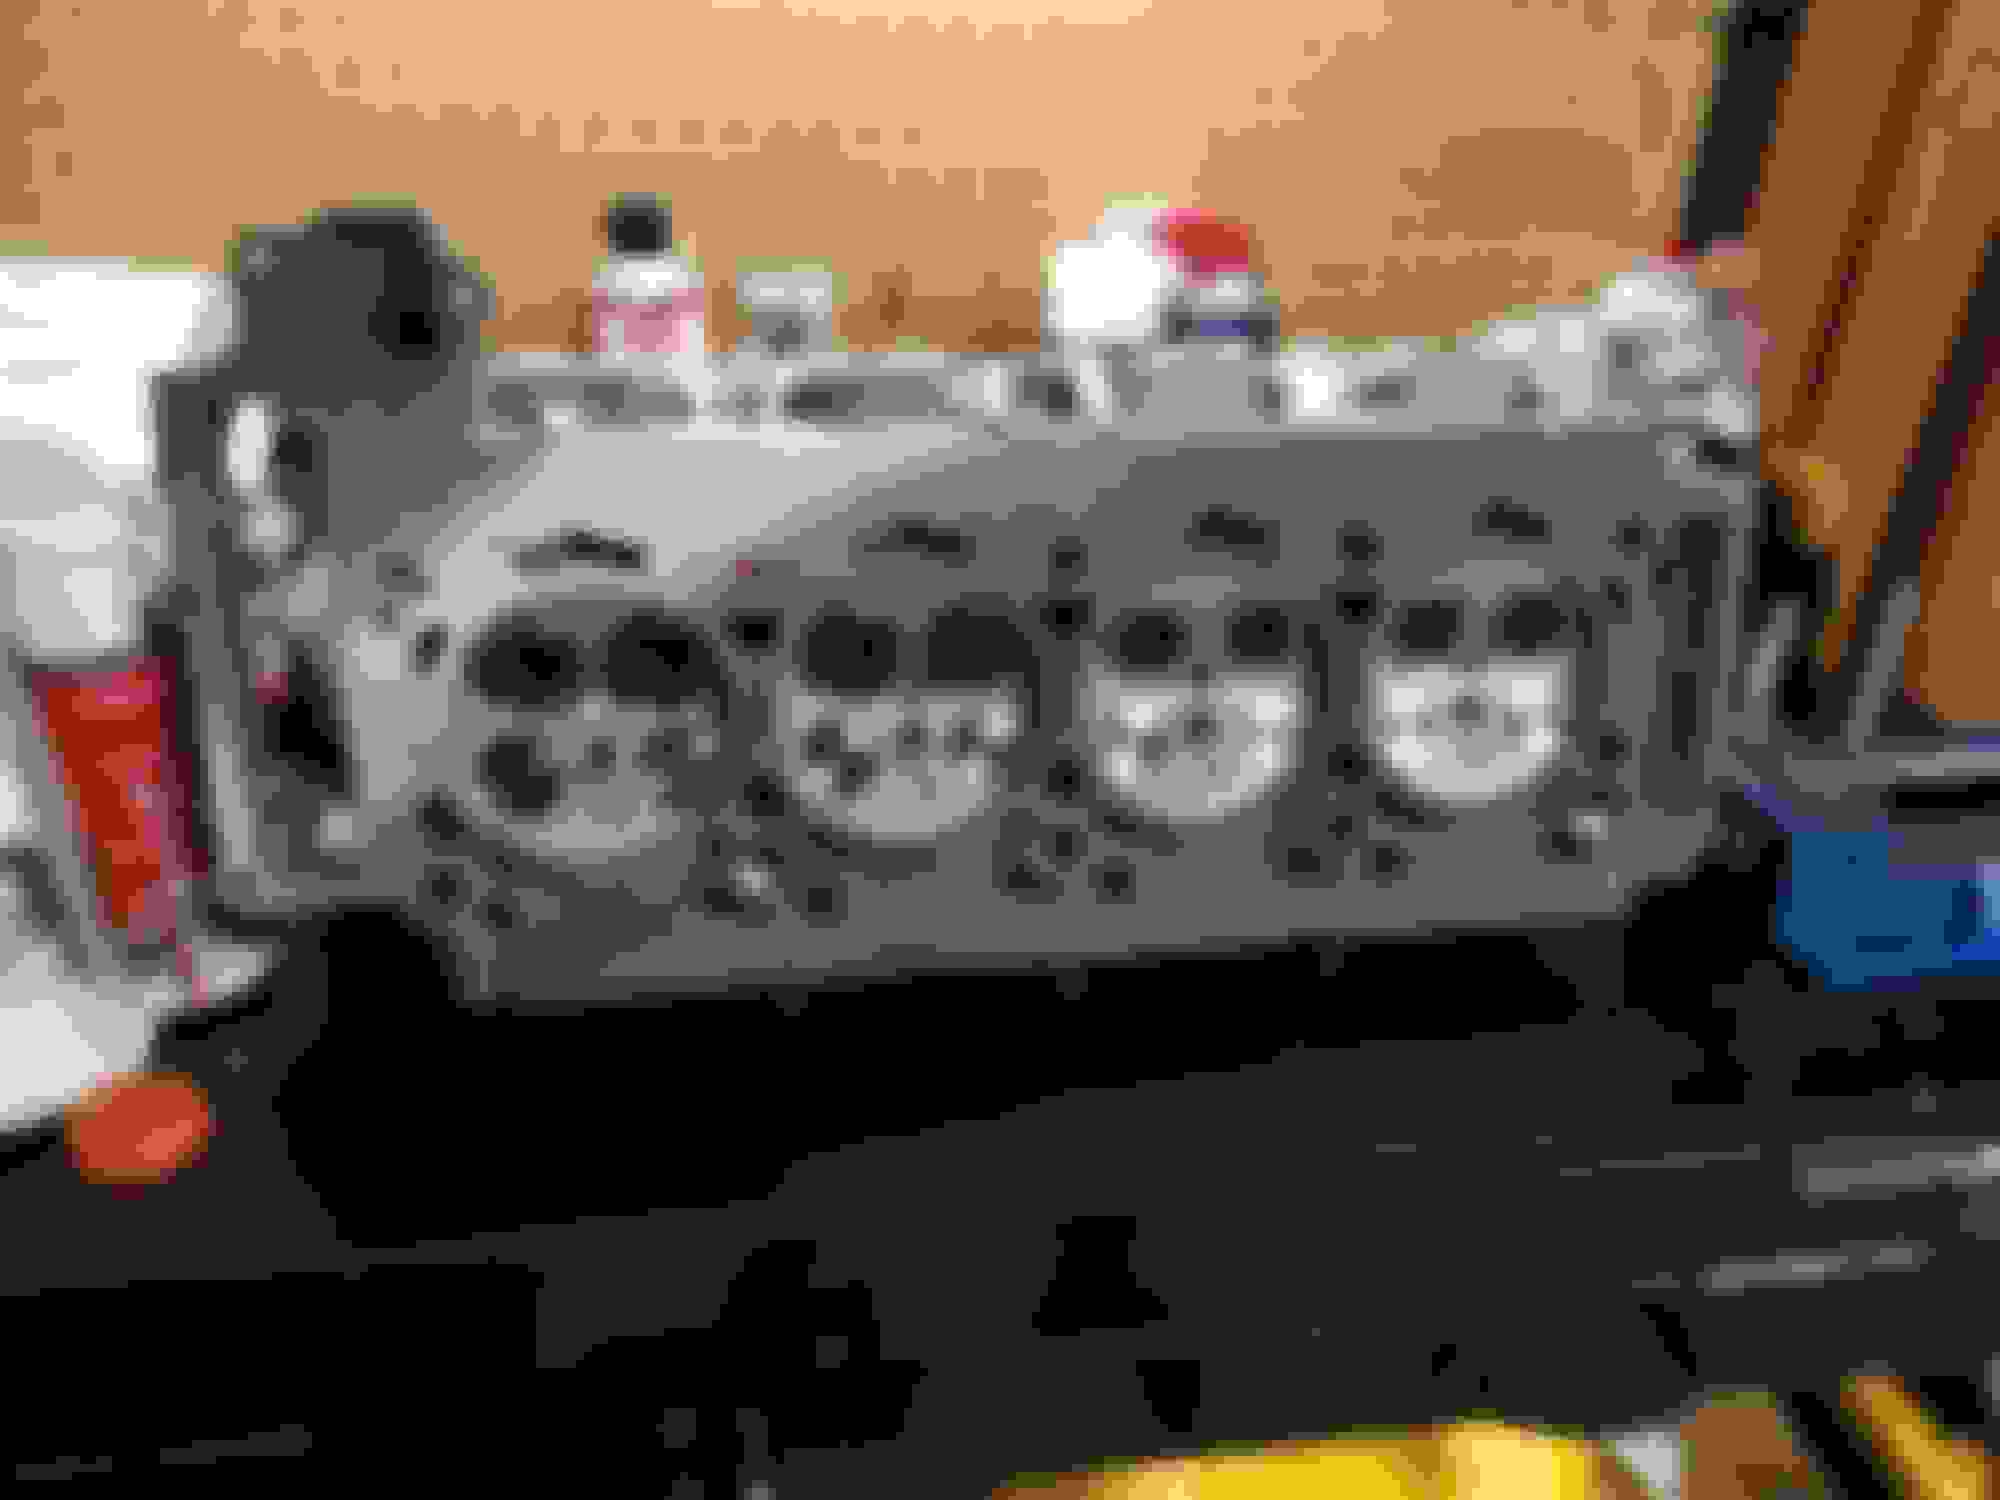
While waiting on engine block sleeving start preparation for final assembly.
Replacing both cylinder heads with rebuilded ones. For rebuild (which i did myself) i used two spare cylinder heads from S550 M278 which i picked up for a change from eBay. Both heads completely cleaned out, exhaust valves regrinded due to caving, no need for grinding intake valves, and lapped. Did fresh touch of resurface in local machine shop.
Back to the subject of installing chain tensioner check valves.
Spare heads has old style check valve, as you see in pictures. Check valve goes easily into oil channel to almost 80 percent of the length. The rest of it has to be pressed in by using special tool. I used chain tensioner body instead with piece of metal shim to press check valve in (don't forget to remove shim later). You can use piece of aluminum bar with two holes drilled to match bolts spacing.
Mercedes SLR McLaren 722 S Is Extremely Rare Example Modified by McLaren
Slideshow: A one-of-one U.S.-spec Mercedes-Benz SLR McLaren Roadster became even rarer after a factory-backed transformation at McLaren's headquarters.