


9 steps to remove/install the GLC (diamond) grille!

Thread Starter
Newbie
Joined: Nov 2017
Posts: 4
Likes: 4
GLC200 SUV
9 steps to remove/install the GLC (diamond) grille!
Greetings from sunny Singapore! Saw that a lot of you guys are interested in swapping out your grille for a diamond one, so made a video tutorial so that you guys can see in detail how its done! Hope you guys find it useful, and let me know if you have any qns! 

Super Member
Joined: Sep 2011
Posts: 714
Likes: 38
From: CANADA eh!
Very very slow
Even though I don't need to change the grill on my GLC43 but I appreciate you took the time and effort to make the video for other people who want to change their grill.
Great work.
Great work.
Thread Starter
Newbie
Joined: Nov 2017
Posts: 4
Likes: 4
GLC200 SUV


MBWorld Fanatic!

Joined: Nov 2012
Posts: 6,130
Likes: 1,117
A gaggle of MB's
Many thanks for the video - looks great !
Quick question - your "Diamond Grill" is the Asia after-market made grill - correct ?
The reason I say that - and it could be my eyes - the chrome "knobs" in the grill - MB grill those knobs are "individually space" - and from what I see of your video your grill the "chrome knobs" look more in left-right lines.
It seems to be a very well made part - correct ?
Thread Starter
Newbie
Joined: Nov 2017
Posts: 4
Likes: 4
GLC200 SUV
Many thanks for the video - looks great !
Quick question - your "Diamond Grill" is the Asia after-market made grill - correct ?
The reason I say that - and it could be my eyes - the chrome "knobs" in the grill - MB grill those knobs are "individually space" - and from what I see of your video your grill the "chrome knobs" look more in left-right lines.
It seems to be a very well made part - correct ?
Quick question - your "Diamond Grill" is the Asia after-market made grill - correct ?
The reason I say that - and it could be my eyes - the chrome "knobs" in the grill - MB grill those knobs are "individually space" - and from what I see of your video your grill the "chrome knobs" look more in left-right lines.
It seems to be a very well made part - correct ?


Senior Member
Joined: Apr 2017
Posts: 259
Likes: 44
From: Denver, Colorado
2018 GLC300 4matic SUV
This video was helpful, Thanks. Those who plan to do this project should closely study the 2:00 to 3:00 minute mark regarding the air deflectors, as well as the part at Step 7 where they are re-installed. This is quite difficult IRL, which I think is why this part of the work was edited into a fast-forward montage. There are other threads that discuss these air dams and you will want to read those before attempting.
Trending Topics
MB World Stories
The Best of Mercedes & AMG

Manual Mercedes? 6 Times Sindelfingen Let Drivers Have All The Fun
Verdad Gallardo
Mercedes SLR McLaren 722 S Is Extremely Rare Example Modified by McLaren
Verdad Gallardo
8 Classic Boxy Mercedes Designs That Have Aged Like Fine Wine
Verdad Gallardo
Flawlessly Restored Mercedes 190E Evo II Heads to Auction
Verdad Gallardo
Electric Mercedes C-Class Unveiled: 11 Things You Need to Know
Verdad Gallardo
Mercedes EQS Gets A Major Update: Everything You Need to Know
Verdad Gallardo
5 Underrated Mercedes-Benz Models That Don't Get the Love They Deserve
Verdad Gallardo
Mercedes 300D Has Pushed Well Past 1 Million Miles and It Ain't Stopping
Verdad Gallardo
10 Most Reliable Mercedes-Benz Models You Can Buy Used
Verdad Gallardo
Junior Member
Joined: Dec 2019
Posts: 18
Likes: 3
GLC 300
some helpful tips
So the video was super helpful!
Short and straight to the point but I spent around 3 hours trying to unclasp the side clips that hold the grill in (3 little clips close to each other and then another one a little more up).
So here are my notes:
Air scoops - these are actually pretty easy to remove (harder to put back).
- Start with the top clip. Insert your finger or a hard plastic stick (don't use screwdriver or you'll scratch the air scoop) in between the front grill and start pushing the air scoop inwards (towards the radiator). With your second hand wiggle out the top clip. After you unclip the top clip, you can just push the other two in from the front grill, just insert your finger/plastic stick from the front and push inwards towards the radiator, they will unclip.
- To remove the scoops after you unclip, you will have to slowly wiggle it out, take your time here.
-To put the air scoops back, you will have to play a bit and wiggle it back on. Don't forget to slide in the little notch on top. To clip them back, start with the top clip and push it in, then get a long plastic stick and insert it deep where the second clip is and apply some force towards you to clip it in. The third one can be pushed by hand.
Side clips - ok, so I actually spent like 2 hours trying to get this out. Your video just magically skips that part and has it out in no time (although you show where the clips are). I spent so much time trying to figure out if I should push, pull, a combination of both or just give up.
If you look at the grill and the video, there are 7 clips on each side and then 4 at the bottom. The most top one (#1) is for the airscoop. The next one (#2) is for the grill (that needs to be removed), the next one (#3) is again for the airscoop, the next 3 close to each other (#4,5,6) is for the grill that need to be removed and last (#7) is for the airscoop.
If this is still confusing, when you have the air scoops out, put them on top of the new grill (without clipping them in) just so you can understand which clips you need to undo. It will make a lot more sense.
- All the clips need to be pushed out not in. You are basically trying to get the clips out past the edge of the grill because each clip is covering the edge of the grill to hold it in place.
Side note: The clips that you are pushing out are actually part of the car's bumper not part of the grill. The clips you see on the grill kind of slide in from under the car's bumper clips.
-Just start with the top clip (#2) this one is actually easier than the 3 clips. Push the grill inwards towards the radiator and with your other hand push on that clip until the grill will slide on top of it. The grill will move just a little bit. While you have it unclipped, keep pushing on the grill with one hand and start pushing on the 3 clips (#4,5,6) to also push them out. These are very hard to push out, I feel like you need to play with it a bit so that the plastic warms up a bit and start to be a bit more flexible. You kind of have to undo all three at once or, if you keep pushing on the grill, each time you push on the clip it will progressively wiggle out more and more. Eventually you will get the grill to slide on top of those clips. You have to always keep pushing or else the top clip (#2) will clip itself back in. after you have one side out, remove the 4 bottom clips, it will help a bit with the other side.
- Repeat the same on the other side.
Removing the grill - Once I had all the clips out, I thought I was done. Well, the car's bumper top clip (#2) is so long that it's almost impossible to get the grill out. You will have to kind of flex the grill a little bit while pushing the corners in and get it out. Once you have it out on one side, the second side is a little easier. Those clips have a lot of flex in them, you will have to flex it a bit to get it out, take your time. I also recommend taping the bumper all around because it's easy to scratch the bumper when you work the new grill in.
A few more notes about these aftermarket grills.
- Two of the little holes that keep the top cover in place that you remove at the beginning are a little too small (at least on my aftermarket grill). I had to make the holes a little larger with a grill to make those tabs fit back in.
- The air scoops no longer feel like they are very tight in. The bottom clip feels pretty loose.
- If you have the 360 camera, these grills do not have the inserts where the cable and the cable connector slide in. You will have to DYI your own so that the cable don't just wiggle in there.
- The camera housing is also not perfect. First of all, the original grill only has 2 screws while the aftermarket has 3. I didn't feel like removing the camera from it's housing so I just reused the original braket. It doesn't look exactly like the OEM, the hole is a little bit bigger and I just now realized that the front camera is slightly miss-aligned so I will have to undo the top and adjust the way it seats in.
Overall, I wouldn't do this again and would probably go the long route and remove the front bumper like it's recommended in the manual. Don't get me wrong, I didn't damage any clip and didn't scratch anything but it took me almost close to 4 hours, a lot of scratches on my hands and my fingers are sore af.
Good luck!
Last edited by arrow mallow; Jan 4, 2020 at 10:00 PM.
Junior Member
Joined: Jan 2020
Posts: 17
Likes: 12
GLS 450 4MATIC

Newbie
Joined: Feb 2020
Posts: 11
Likes: 5
From: Denver, CO
2019 GLC 300 4Matic
You mentioned I need the radiator grille (part #1) and the protective grille (part #2). What about the grille cover (part #3)? Or any of the others?

Newbie
Joined: Mar 2020
Posts: 10
Likes: 0
From: Munich, Germany
Mercedes GLC 250d
May I give a general suggestion, after having successfully done this job.
Wherever "stubborn" plastic-parts are sliding past-, or into-each other, it is a very good idea to use a sufficient amount of silicone spray to soak the critical points.
You will notice that some parts will slide into each other "by themselves".
gravnov
Wherever "stubborn" plastic-parts are sliding past-, or into-each other, it is a very good idea to use a sufficient amount of silicone spray to soak the critical points.
You will notice that some parts will slide into each other "by themselves".
gravnov
MBWorld Fanatic!


Joined: Dec 2009
Posts: 1,464
Likes: 73
From: Midwest, US
'17 GTR, '17 GLC43, '14 Panigale 899, '20 V4
This is soooo much tougher than it looks....mostly due to the spacing available. Dropping the front bumper would make it much easier. I may have to do that.

Newbie
Joined: Dec 2019
Posts: 2
Likes: 0
GLC300
Did my diamond grille swap and added the illuminated star
Key take-aways:
- side air deflectors were pushed apart from the grille tabs AFTER detaching the top tab. Hard to do, but I could not get leverage to detach individual tabs
- side air deflectors were deformed to force them out. They returned to their original shape once out
- grille slots separated from the fascia tri-tab (1 each side) by using a sharp-ended flat pry bar pushing all 3 tabs at once. Those were the hardest to detach.
- Know that you Push the grille to get it detached while flexing fascia tabs
- the underhood fuse box does NOT have any fuses that go live when headlights are turned on
- I tapped into a fuse that was 12V only when the ignition was in the Run state. I have faith the emblem LED will outlast my ownership of the car, so an illuminated star during the day doesn�t concern me.
- i used a fuse jumper that plugs into the fuse port to get power.
- i grounded the harness near the fuse box hole I drilled in the side. It�s a factory ground stud on the inner fender.
- i would NEVER consider splicing into a factory harness. That�s asking for electrical gremlins down the road.
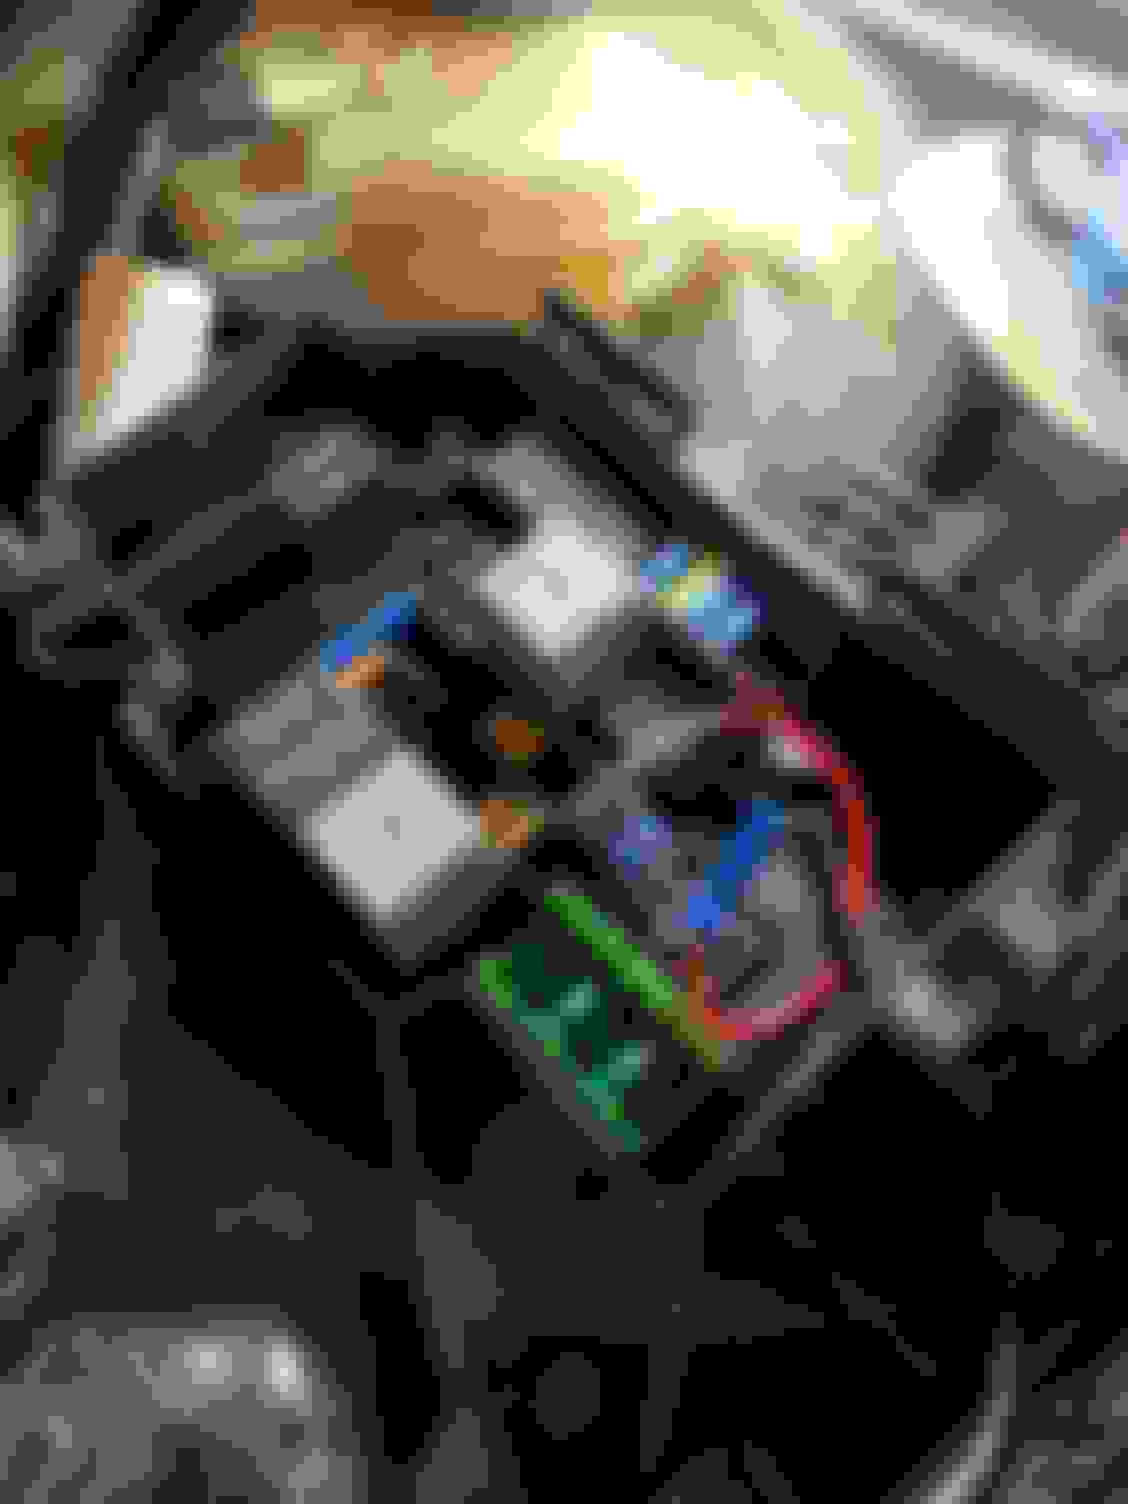
Fuse tap/jumper and tight hole drilled in the fuse box. Notice the 5A fuse circuit I leveraged. The ground stud is just out of the picture to the right.

In a lit garage. Aftermarket $91+s/h grille and an Amazon $59 lit star. Both appear to be high quality aftermarket pieces.
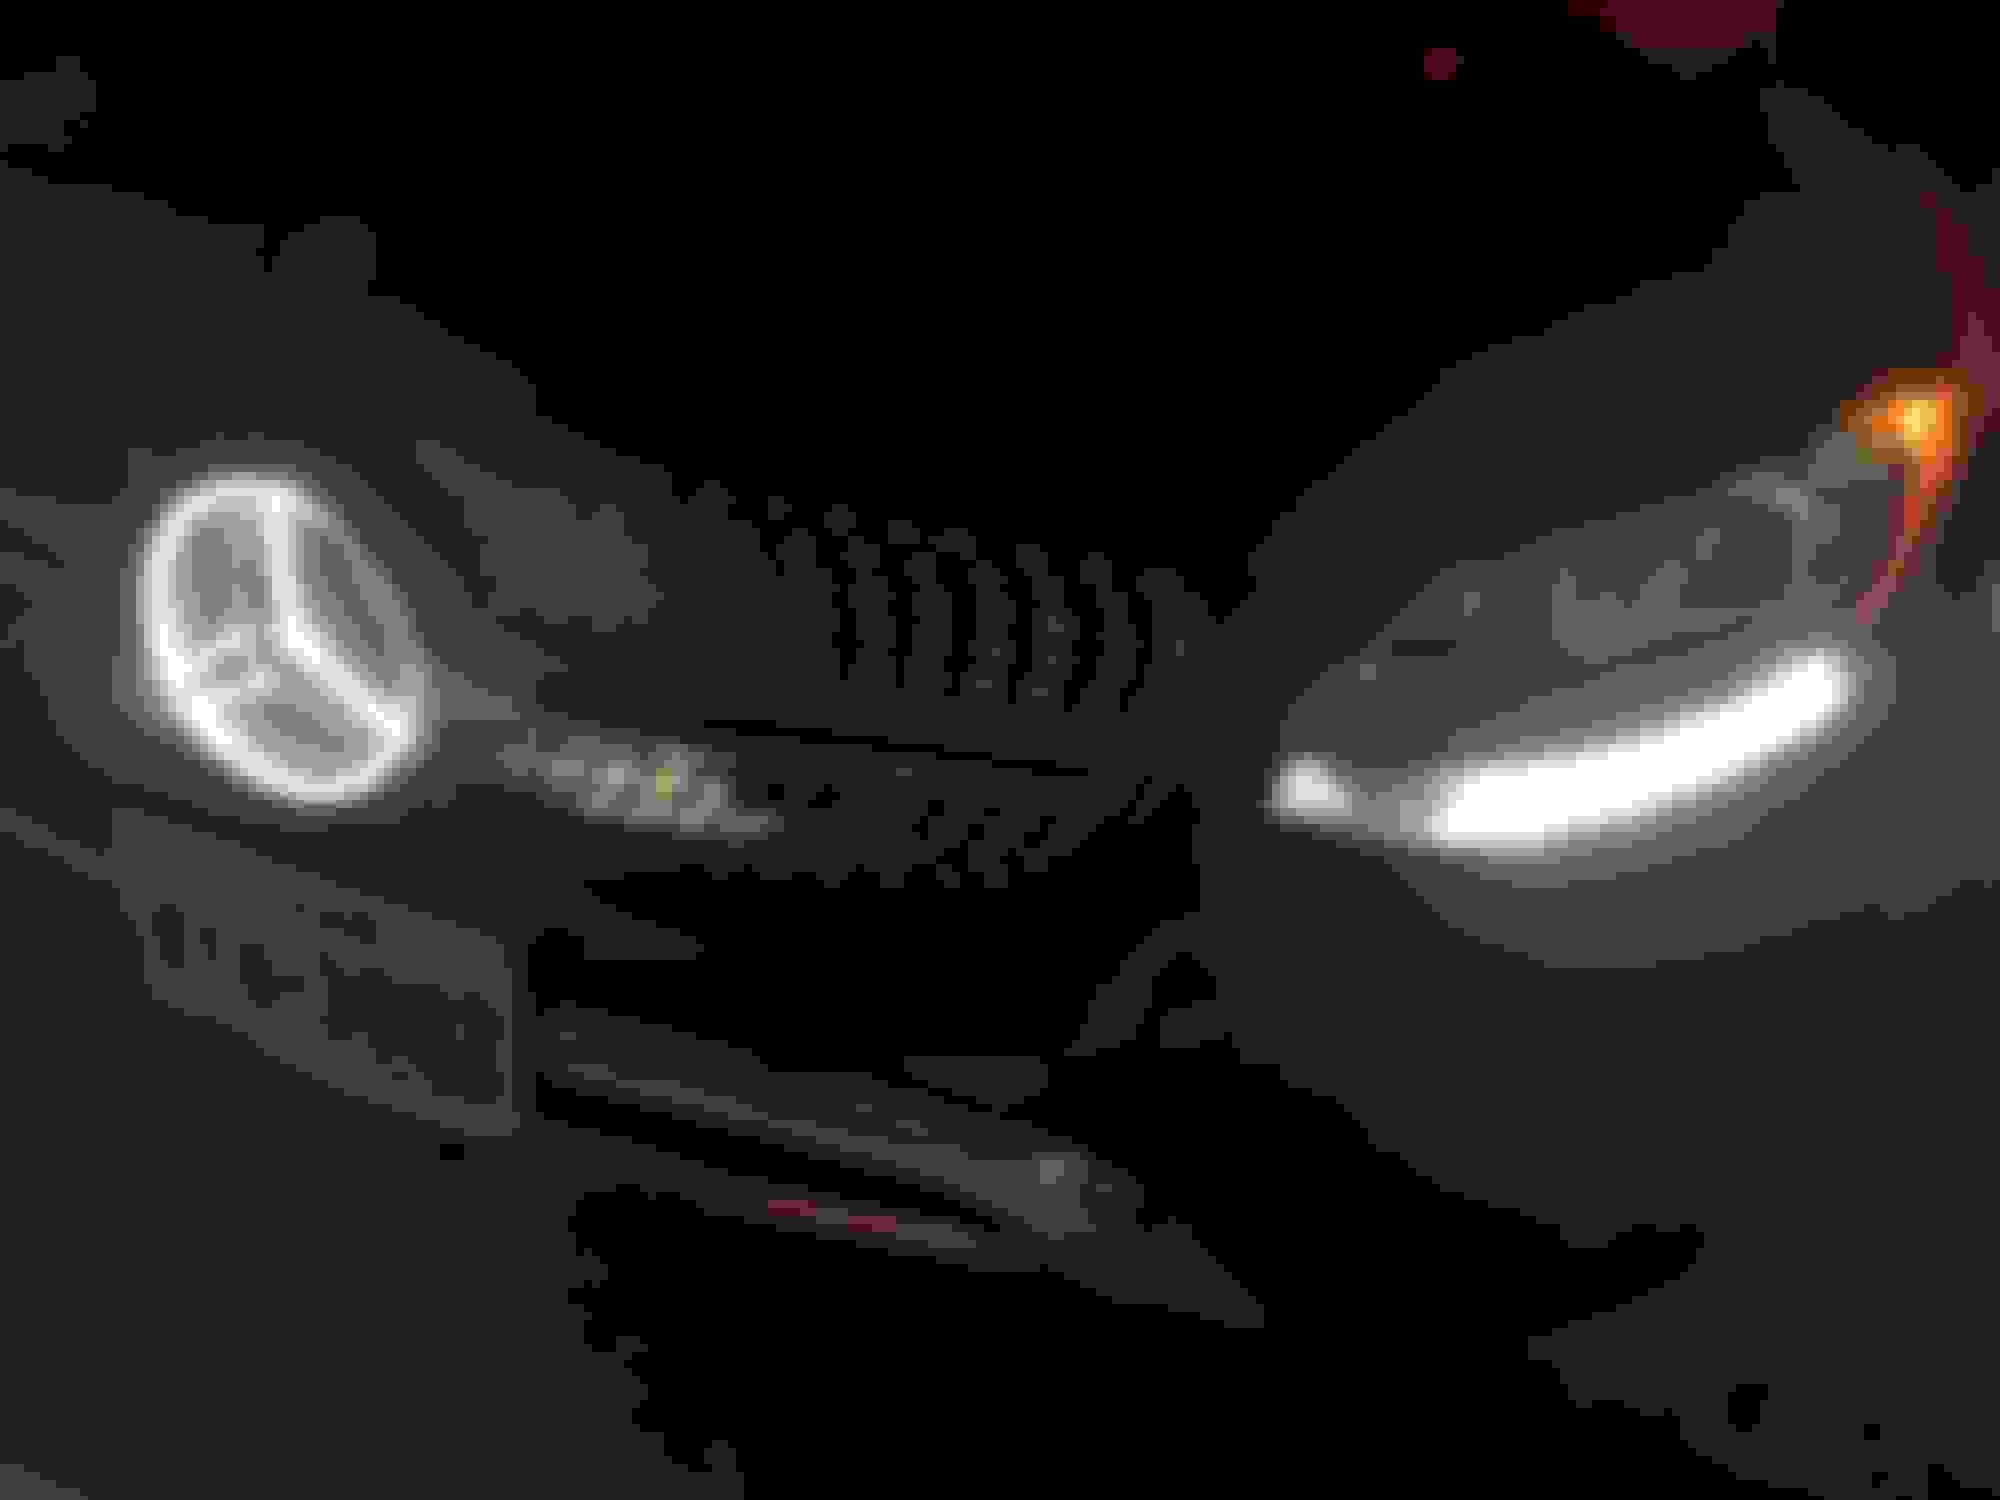

To help you decide which grille looks best


Last edited by Adam Windeler; Apr 21, 2020 at 12:56 AM.
Newbie
Joined: Dec 2019
Posts: 2
Likes: 0
GLC300


Newbie
Joined: Nov 2021
Posts: 1
Likes: 0
Glc250d
So the video was super helpful!
Short and straight to the point but I spent around 3 hours trying to unclasp the side clips that hold the grill in (3 little clips close to each other and then another one a little more up).
So here are my notes:
Air scoops - these are actually pretty easy to remove (harder to put back).
- Start with the top clip. Insert your finger or a hard plastic stick (don't use screwdriver or you'll scratch the air scoop) in between the front grill and start pushing the air scoop inwards (towards the radiator). With your second hand wiggle out the top clip. After you unclip the top clip, you can just push the other two in from the front grill, just insert your finger/plastic stick from the front and push inwards towards the radiator, they will unclip.
- To remove the scoops after you unclip, you will have to slowly wiggle it out, take your time here.
-To put the air scoops back, you will have to play a bit and wiggle it back on. Don't forget to slide in the little notch on top. To clip them back, start with the top clip and push it in, then get a long plastic stick and insert it deep where the second clip is and apply some force towards you to clip it in. The third one can be pushed by hand.
Side clips - ok, so I actually spent like 2 hours trying to get this out. Your video just magically skips that part and has it out in no time (although you show where the clips are). I spent so much time trying to figure out if I should push, pull, a combination of both or just give up.
If you look at the grill and the video, there are 7 clips on each side and then 4 at the bottom. The most top one (#1) is for the airscoop. The next one (#2) is for the grill (that needs to be removed), the next one (#3) is again for the airscoop, the next 3 close to each other (#4,5,6) is for the grill that need to be removed and last (#7) is for the airscoop.
If this is still confusing, when you have the air scoops out, put them on top of the new grill (without clipping them in) just so you can understand which clips you need to undo. It will make a lot more sense.
- All the clips need to be pushed out not in. You are basically trying to get the clips out past the edge of the grill because each clip is covering the edge of the grill to hold it in place.
Side note: The clips that you are pushing out are actually part of the car's bumper not part of the grill. The clips you see on the grill kind of slide in from under the car's bumper clips.
-Just start with the top clip (#2) this one is actually easier than the 3 clips. Push the grill inwards towards the radiator and with your other hand push on that clip until the grill will slide on top of it. The grill will move just a little bit. While you have it unclipped, keep pushing on the grill with one hand and start pushing on the 3 clips (#4,5,6) to also push them out. These are very hard to push out, I feel like you need to play with it a bit so that the plastic warms up a bit and start to be a bit more flexible. You kind of have to undo all three at once or, if you keep pushing on the grill, each time you push on the clip it will progressively wiggle out more and more. Eventually you will get the grill to slide on top of those clips. You have to always keep pushing or else the top clip (#2) will clip itself back in. after you have one side out, remove the 4 bottom clips, it will help a bit with the other side.
- Repeat the same on the other side.
Removing the grill - Once I had all the clips out, I thought I was done. Well, the car's bumper top clip (#2) is so long that it's almost impossible to get the grill out. You will have to kind of flex the grill a little bit while pushing the corners in and get it out. Once you have it out on one side, the second side is a little easier. Those clips have a lot of flex in them, you will have to flex it a bit to get it out, take your time. I also recommend taping the bumper all around because it's easy to scratch the bumper when you work the new grill in.
A few more notes about these aftermarket grills.
- Two of the little holes that keep the top cover in place that you remove at the beginning are a little too small (at least on my aftermarket grill). I had to make the holes a little larger with a grill to make those tabs fit back in.
- The air scoops no longer feel like they are very tight in. The bottom clip feels pretty loose.
- If you have the 360 camera, these grills do not have the inserts where the cable and the cable connector slide in. You will have to DYI your own so that the cable don't just wiggle in there.
- The camera housing is also not perfect. First of all, the original grill only has 2 screws while the aftermarket has 3. I didn't feel like removing the camera from it's housing so I just reused the original braket. It doesn't look exactly like the OEM, the hole is a little bit bigger and I just now realized that the front camera is slightly miss-aligned so I will have to undo the top and adjust the way it seats in.
Overall, I wouldn't do this again and would probably go the long route and remove the front bumper like it's recommended in the manual. Don't get me wrong, I didn't damage any clip and didn't scratch anything but it took me almost close to 4 hours, a lot of scratches on my hands and my fingers are sore af.
Good luck!
Short and straight to the point but I spent around 3 hours trying to unclasp the side clips that hold the grill in (3 little clips close to each other and then another one a little more up).
So here are my notes:
Air scoops - these are actually pretty easy to remove (harder to put back).
- Start with the top clip. Insert your finger or a hard plastic stick (don't use screwdriver or you'll scratch the air scoop) in between the front grill and start pushing the air scoop inwards (towards the radiator). With your second hand wiggle out the top clip. After you unclip the top clip, you can just push the other two in from the front grill, just insert your finger/plastic stick from the front and push inwards towards the radiator, they will unclip.
- To remove the scoops after you unclip, you will have to slowly wiggle it out, take your time here.
-To put the air scoops back, you will have to play a bit and wiggle it back on. Don't forget to slide in the little notch on top. To clip them back, start with the top clip and push it in, then get a long plastic stick and insert it deep where the second clip is and apply some force towards you to clip it in. The third one can be pushed by hand.
Side clips - ok, so I actually spent like 2 hours trying to get this out. Your video just magically skips that part and has it out in no time (although you show where the clips are). I spent so much time trying to figure out if I should push, pull, a combination of both or just give up.
If you look at the grill and the video, there are 7 clips on each side and then 4 at the bottom. The most top one (#1) is for the airscoop. The next one (#2) is for the grill (that needs to be removed), the next one (#3) is again for the airscoop, the next 3 close to each other (#4,5,6) is for the grill that need to be removed and last (#7) is for the airscoop.
If this is still confusing, when you have the air scoops out, put them on top of the new grill (without clipping them in) just so you can understand which clips you need to undo. It will make a lot more sense.
- All the clips need to be pushed out not in. You are basically trying to get the clips out past the edge of the grill because each clip is covering the edge of the grill to hold it in place.
Side note: The clips that you are pushing out are actually part of the car's bumper not part of the grill. The clips you see on the grill kind of slide in from under the car's bumper clips.
-Just start with the top clip (#2) this one is actually easier than the 3 clips. Push the grill inwards towards the radiator and with your other hand push on that clip until the grill will slide on top of it. The grill will move just a little bit. While you have it unclipped, keep pushing on the grill with one hand and start pushing on the 3 clips (#4,5,6) to also push them out. These are very hard to push out, I feel like you need to play with it a bit so that the plastic warms up a bit and start to be a bit more flexible. You kind of have to undo all three at once or, if you keep pushing on the grill, each time you push on the clip it will progressively wiggle out more and more. Eventually you will get the grill to slide on top of those clips. You have to always keep pushing or else the top clip (#2) will clip itself back in. after you have one side out, remove the 4 bottom clips, it will help a bit with the other side.
- Repeat the same on the other side.
Removing the grill - Once I had all the clips out, I thought I was done. Well, the car's bumper top clip (#2) is so long that it's almost impossible to get the grill out. You will have to kind of flex the grill a little bit while pushing the corners in and get it out. Once you have it out on one side, the second side is a little easier. Those clips have a lot of flex in them, you will have to flex it a bit to get it out, take your time. I also recommend taping the bumper all around because it's easy to scratch the bumper when you work the new grill in.
A few more notes about these aftermarket grills.
- Two of the little holes that keep the top cover in place that you remove at the beginning are a little too small (at least on my aftermarket grill). I had to make the holes a little larger with a grill to make those tabs fit back in.
- The air scoops no longer feel like they are very tight in. The bottom clip feels pretty loose.
- If you have the 360 camera, these grills do not have the inserts where the cable and the cable connector slide in. You will have to DYI your own so that the cable don't just wiggle in there.
- The camera housing is also not perfect. First of all, the original grill only has 2 screws while the aftermarket has 3. I didn't feel like removing the camera from it's housing so I just reused the original braket. It doesn't look exactly like the OEM, the hole is a little bit bigger and I just now realized that the front camera is slightly miss-aligned so I will have to undo the top and adjust the way it seats in.
Overall, I wouldn't do this again and would probably go the long route and remove the front bumper like it's recommended in the manual. Don't get me wrong, I didn't damage any clip and didn't scratch anything but it took me almost close to 4 hours, a lot of scratches on my hands and my fingers are sore af.
Good luck!
Tips: use wd40 to loosen parts
Push inwards and move the clips at the same time

Member

Joined: May 2022
Posts: 162
Likes: 15
From: Limerick, Pa
GLC300
Currently Active Users Viewing This Thread: 1 (0 members and 1 guests)


