When you click on links to various merchants on this site and make a purchase, this can result in this site earning a commission. Affiliate programs and affiliations include, but are not limited to, the eBay Partner Network.
My dealership actually told me (and they've been pretty good in my experience) that the HVAC settlement requires me to pay them $275 for the cleaning service and then to get reimbursement. He had a print out showing the steps, but I waved it off. My car actually doesn't have the issue. I did find it odd that they are not directly paying the dealer? My SA said it was because MB would not admit fault.
A little backstory - I have had several cars have this issue, including the E350 for a minute. I have managed to solve it on each one by keeping the temperature set at 72. It seems that this setting causes it to cycle fresh air regularly, which keeps everything dry. That and a bio-functional cabin filter from FCPEuro has eliminated any hint of odor from my W212.
Last edited by LILBENZ230; Aug 28, 2020 at 09:12 AM.
One thumb’s worth of clearance between rear of bike rack and liftgate spoiler.
Clearance between bike rack and liftgate.
Racks installed and ready to receive the bike. Grab the bike low on the center post and the fork. Step in and up on the rear door sill and land the bike on the rack.
Clearance between moonroof in tilted open position and the wind deflector. The moonroof slide function occurs inside the roof and does not come outside the vehicle or near the bike rack system.
3.5 fingers’ worth of clearance between rear tire and liftgate spoiler.
Bikes installed with liftgate in fully open position.
@Roni07 Have you attempted a TCU reset or had another dealer that's actually franchised by MBUSA check for a software update? The issue you describe is certainly not acceptable, but is one that is very common amongst Mercedes. It's not technically an issue, because usually it's from the TCU being confused as to your driving style. This is why it's needed to be reset. Specially if there are multiple daily drivers of the vehicle or if you're the new owner. Here is a video I posted earlier that help explains this and will also show you the procedure so you can do it yourself. Once done, the Mercedes will reset it's learning algorithm, and your shifts will also change accordingly.
And you're certainly correct that you have a choice to switch to a different brand. I'm sorry you feel your experience has been sub-par, but Mercedes ownership isn't for everyone. If you're more prone to Toyota, there's nothing wrong with that. I have a very good friend who is a 4Runner fanatic, and has an amazing vehicle. The difference is he wants a rugged vehicle, while I prefer a more refined vehicle.
- thank you for the info. Haven�t tried to reset the TCU. When I picked up my car from brake, engine filter, spark plugs replacement and Navi update, I noticed it drove very responsive. I had to check and make sure it�s not on Sports Mode. It was on Comfort. So don�t know what exactly happened but drives differently.
@Roni07 Yes, that�s the card. Take it to your dealer or text the SA a photo of it when you schedule your appointment.
I brought it up to my service advisor but she said No MB won�t cover or pay for it. She said it�s a law suit settlement that MB doesn�t agree or admit to I guess I can always pay the $350 and have the dealer clean it then submit the claim to the law firm for reimbursement. Our SLK has that smell and our 2016 GLE350 4Matic jd that smell too, even our kids smelled the rotten fumes. Of course the Dealer said it�s not a problem, it�s normal due to summer heat etc (the usual MB BS). The interesting thing is , with time and driving, the rotten smell went away, Not a ure if the dealer cleaned it but didn�t tell us OR the problem corrected itself with extensive use of the AC. In TX our AC is on 99% of the time. Very rare I would turn on the heat. Keep the temp in Summer at 60 and winter at 70.
This is the issue. Is it necessary to keep the temp at 60 in the summer?
If it's 100 degrees outside and 140 in the car, there will be no A/C temp difference when you get in between 60 degrees and 72 degrees set point. However, if you set it at 72, once it cools down it will cycle between fresh air and recirculated air. This will prevent the mold buildup.
Also that's a second dealer to confirm that Benz won't pay the dealer for this.
This is the issue. Is it necessary to keep the temp at 60 in the
If it's 100 degrees outside and 140 in the car, there will be no A/C temp difference when you get in between 60 degrees and 72 degrees set point. However, if you set it at 72, once it cools down it will cycle between fresh air and recirculated air. This will prevent the mold buildup.
Also that's a second dealer to confirm that Benz won't pay the dealer for this.
- it certainly doesn�t help when you have a panorama glass roof. Actually regardless of temperature set - 60 or 70, there was a distinct mildew smell before, when the vehicle was turned on. I can�t confirm if the dealer did something or it cleared up on its own. Unlike some other vehicles, ours blows very cold 🥶 air not just cool air. We know the difference living in a hot place. Now , regardless of what the temp is set at, no smell. 60-70 doesn�t matter. I like it at 70 my wife likes it cold.
My wife and I completed a nearly 3,000 mile round trip to Colorado and back in the GLE. We hiked two 14ers, a very good trip it was. The GLE performed well. We had two bikes on the roof, and two adults plus luggage inside the vehicle.
Fuel economy was 17mpg - 18mpg with the bikes on top. Speed was 75mph - 80mph nearly the entire distance, on interstate and US highways. Traffic was light, because we traveled a week prior to the Labor Day holiday, and many public school systems had started classes.
Sport mode in the Colorado mountains is preferable for me, because the throttle response and transmission shifts are more authoritative and immediate. This is needed on ascents, descents and windy turns. Comfort mode is far too lazy for these types of roads, in my view.
Off road mode was excellent on the very poor road leading to the Grays Peak trailhead. There is alot written about how bad this road is, with large loose rocks, gullies, potholes and steep grade. 4MATIC and 4ETS did very well. Average speed on the ascent was 5mph, and 7mph on the descent. With careful choice of line, and low speed, the GLE handled the road well.
The GLE at the Grays Peak trailhead, after a challenging 2.6 mile drive up a difficult road.
My wife and I at the Grays Peak summit, our first 14er.
Evening before departure back home. The �other� southern German carmaker in the adjacent condo!
Warning: working on the braking system can result in property damage, injury or death, affecting yourself and others. Brake fluid is poisonous, corrosive and harmful to people, property, plants and animals. Do not read the following information if you object to the preceding sentences.
I replaced the brake fluid yesterday, on schedule for the two year change interval. The vehicle now has 50k miles.
Pretty straightforward. It took me 2.5 hours including a test drive. I was going slowly and methodically. About 1/3 of the work was gathering tools and materials, and jacking each corner of the vehicle. The actual fluid replacement and tool gathering will be faster next time. I don't have a lift in the garage, so jacking takes me a while, using a floor jack under the lower control arm with piece of wood for protection.
There are no real gotchas in this. Just use the right fluid (dealer purchased) and torque specs, see WIS docs. Ask questions if you have them, I'm happy to help.
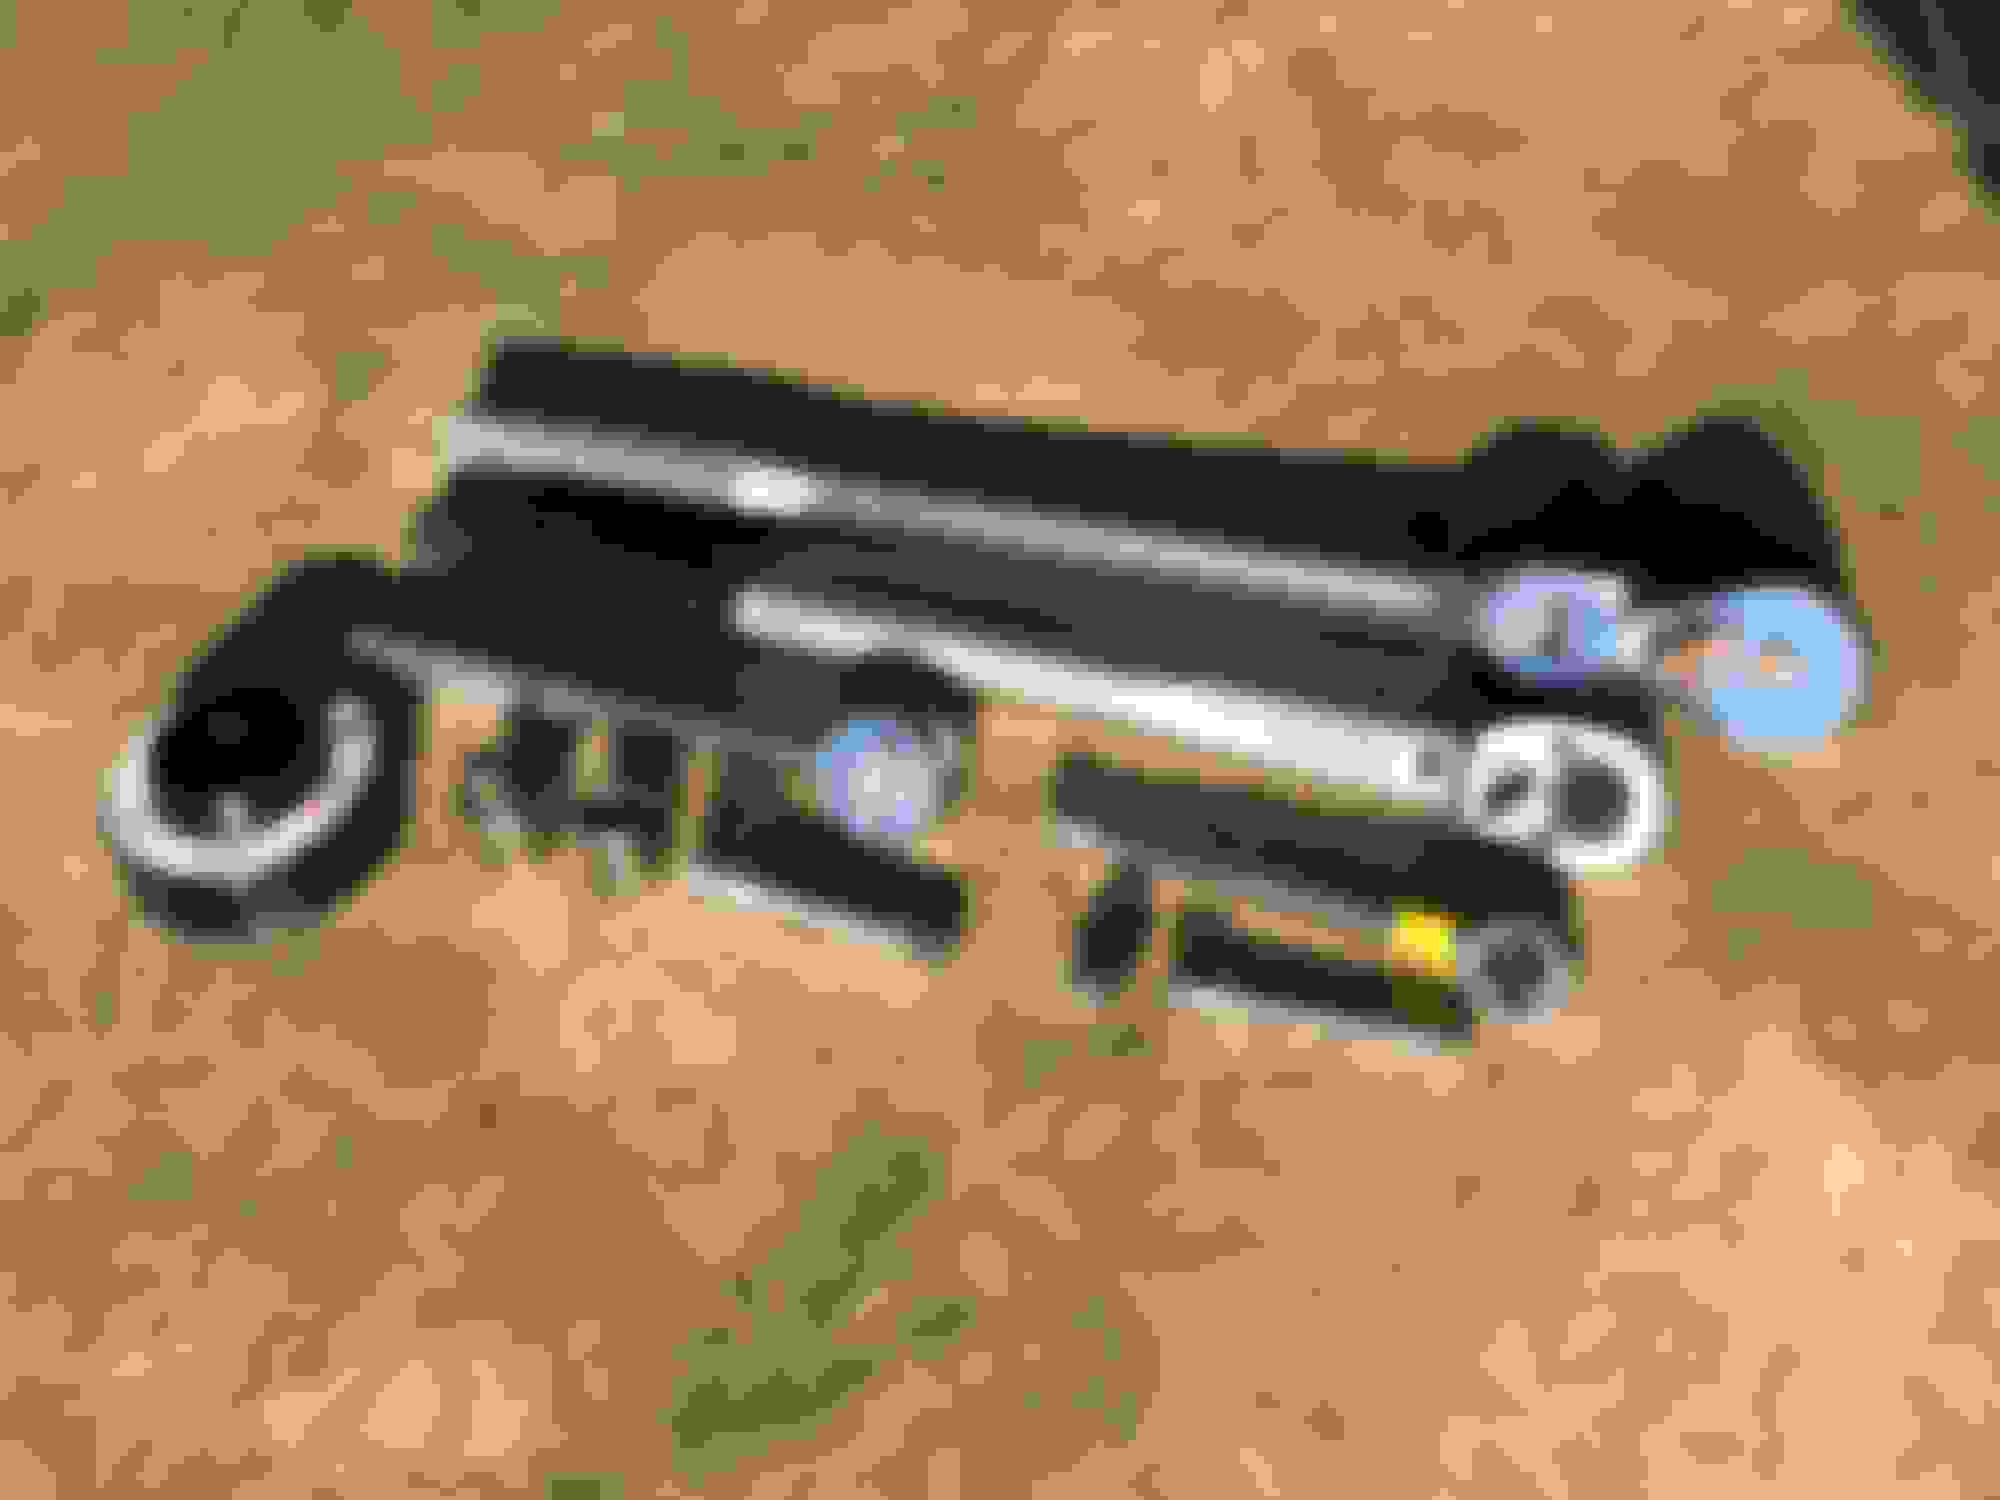
Tools not shown in the photo:
- impact gun to remove wheel bolts
- air compressor for impact gun
- floor jack
- towels and rags
- 1/2� ratchet to start the wheel lock
Senior Leigh's video on YouTube. He gives a list of tools. The comments on the video are helpful.
Motive bleeder connected to the fluid reservoir. The plastic cover (engine paneling) needs to be removed. Pull the large rubber hood seal off as the first step.
Aston Martin Vantage, GLE 43 AMG, Volvo XC60, BMW X1 35i, Ram 1500, BMW Z4 35i
Originally Posted by chassis
Warning: working on the braking system can result in property damage, injury or death, affecting yourself and others. Brake fluid is poisonous, corrosive and harmful to people, property, plants and animals. Do not read the following information if you object to the preceding sentences.
I replaced the brake fluid yesterday, on schedule for the two year change interval. The vehicle now has 50k miles.
Pretty straightforward. It took me 2.5 hours including a test drive. I was going slowly and methodically. About 1/3 of the work was gathering tools and materials, and jacking each corner of the vehicle. The actual fluid replacement and tool gathering will be faster next time. I don't have a lift in the garage, so jacking takes me a while, using a floor jack under the lower control arm with piece of wood for protection.
There are no real gotchas in this. Just use the right fluid (dealer purchased) and torque specs, see WIS docs. Ask questions if you have them, I'm happy to help.
Tools not shown in the photo:
- impact gun to remove wheel bolts
- air compressor for impact gun
- floor jack
- towels and rags
- 1/2� ratchet to start the wheel lock
Senior Leigh's video on YouTube. He gives a list of tools. The comments on the video are helpful.
Motive bleeder connected to the fluid reservoir. The plastic cover (engine paneling) needs to be removed. Pull the large rubber hood steel off as the first step.
@whitewagon $100 seems a good price. I have seen posts on this site that dealers charge $300 or more. My dealer did it once when I had prepaid maintenance. Now I'm beyond the warranty period and am in a DIY mode for the foreseeable future. Plus, I will do my wife's BMW brake fluid, which is essentially the identical procedure as M-B, so time and money saved with the bimmer also.
Aston Martin Vantage, GLE 43 AMG, Volvo XC60, BMW X1 35i, Ram 1500, BMW Z4 35i
Originally Posted by chassis
@whitewagon $100 seems a good price. I have seen posts on this site that dealers charge $300 or more. My dealer did it once when I had prepaid maintenance. Now I'm beyond the warranty period and am in a DIY mode for the foreseeable future. Plus, I will do my wife's BMW brake fluid, which is essentially the identical procedure as M-B, so time and money saved with the bimmer also.
brake fluid flush doesn't have to be done at dealer... it's a simple process but messy...
I think the last one I did was $90+tax for my BMW. even my Aston Martin Dealer charged only $200 for a complete brake and clutch fluid flush... definitely shop around!
Getting ready for rear brake service, so posting the instructions for others who may be in a similar situation. Pretty simple. The main unique step is retraction of the electric parking brake.
Note that the brake system is safety critical, and errors in your work can cause fatalities to yourself or others. Do not do this work unless you accept full responsibility for the consequences of your errors, and indemnify and hold harmless this site and all its participants. Viewing any of the attachments constitutes agreement with the preceding sentence.
This is good information and will come in useful in the near future when I will change my rear brakes for my first Mercedes brake job.
I found a good prices at www.rockauto.com and went with Powerstop Z36 heavy duty brakes (available front only) for $208.79 and Z23 Premium brake pads and rotors for the rear ($158 with the pad substitution for the Powerstop kit). I went with the recommended ceramic brake pads. Powerstop has a $15 rebate through October 31st on kits that include pads and rotors. I had to break the kit since they were out of Powerstop ceramic pads, but ordered the front brake kit now to take advantage of the rebate.
For some reason the kits come with one brake pad wear sensor, but at $3.57 from Rock Auto it was cheap to add an additional one to the order. The Akebono 1630A pads come with 2 sensors, so with what I ordered there will be premium heavy duty countersunk drilled and slotted brakes (for the front) for $418.14 with delivery and state taxes. At area quotes of $700-$1000+ per axle, this will be a significant savings. Drilled and slotted rotors are only listed for the front position.
It could be a drawback for some ordering from a company that is online only and does not have a number to call, but even a wholesale company I could have ordered through said their total price would have been close to $300 more and also said Rock Auto prices were very good.
I'll post some picks of the part when I get them and when they are installed.
Last edited by SUV John; Oct 20, 2020 at 02:43 AM.
Had the dealer do the 60k mile transmission fluid drain and refill, plus transmission filter. It was a cost/benefit thing for me. The fill-to-overflow-when-hot procedure felt like a bigger pain than I wanted to deal with.
I paid $600 for the service, more than what I have seen posted on this site. I called around to other dealers, and they were $100-$150 cheaper, but they were an hour or two away from me. I am in a small-medium size city with one MB dealer, so there is no competition. No loaner vehicles from my dealer, the excuse they are using is the pandemic. Is anyone getting loaners these days? Is anyone getting a loaner if their vehicle is beyond factory warranty coverage?
The service manager didn't know if the procedure called for torque converter drain. Typical and no surprise to me. Another service advisor said the TC is drained if a drain plug is present, but didn't know if my vehicle had a drain plug. Better answer. Turns out the service advisor said there was a drain plug, and the TC was drained.
The transmission shifts pretty well. I put it through some good paces in Sport and Comfort, at WOT and part throttle. It seems to shift more smoothly and decisively, but that could be psychosomatic on my behalf. Anyway, job done!
I have all of the materials for an engine oil and filter change, that will happen this week. Later this spring I will change the oil in the front and rear axles, and transfer case. That should be everything until next winter when I put on an annual set of wiper blades.
I changed the oil today, it wasn't too much drama. The vehicle has 62,000 miles. Next projects are front axle oil change, rear axle oil change and transfer case oil change.
It took me two hours including cleanup and putting tools away. Two reasons for the time - I took my time and gave the underbody and running gear a thorough inspection, and it was the first time for me changing oil on this vehicle. Next time I will do it in less than one hour, including cleanup.
Observations:
- I drained 6.5 qts, and poured in 7 qts per WIS. I conclude that the engine burns very little oil, or burns no oil, under the assumption I didn't drain every last drop of oil. Pretty happy about this.
- Underbody paneling remove/install is the biggest pain in the neck part of this job. I don't have a top extractor, and don't plan to get one. My dealer drains oil from below, despite what WIS says. If you have a top extractor, this is probably more efficient.
- Advance Auto sold "12mm oil seal rings" made of a copper-like material. I measured the Advance auto seal ring and the Mercedes crush washer, and the two were different in each dimension. I am not 100% convinced the Advance Auto part would work and seal correctly. I advise against generic sealing rings.
- I checked 3 or 4 of the 8 connectors (cam solenoids and cam position sensors) known to leak oil into the engine harness. All were dry and had no residue. The connectors I did not check required removal of either the air filter housing, or the intake manifold.
Materials:
Mobil 1 Full Synthetic 0W-40, purchased at Advance Auto Parts in stock - I poured in 7 quarts, and the dipstick indicated slightly below max full
Mann oil filter Mercedes A0209975445 / Mann HU7025Z, included filter and o-ring, purchased at Advance Auto Parts in stock
Crush washer Mercedes N007603012102, purchased from my MB dealer in stock.
Shop towels and rags
Tools:
1/2" ratchet handle
3/8" ratchet handle
1/4" ratchet handle
1/2" to 3/8" adapter
3/8" extension
1/4" extension
3/8" torque wrench capable of achieving 25Nm
74mm / 14 flute oil filter housing wrench, purchased at Advance Auto Parts in stock
13mm socket
8mm socket
oil drain pan (not in photo)
thin flat screwdriver (not in photo)
Basic procedure (refer to attached WIS docs)
- Mise en place: assemble all tools and materials and prepare workspace/garage
- Warm engine to operating temperature
- Turn off engine, wait 2-3 minutes, check oil level on dipstick if present, note level
- Remove plastic engine cover
- Crack open oil fill cap
- Partially loosen oil filter housing - 74mm oil filter housing wrench
- Remove rear underbody panel - 8mm socket
- Remove center underbody panel - 8mm socket
- Remove drain plug, drain oil - 14mm socket. Discard crush washer. Allow oil to thoroughly drain. I waited 15 minutes.
- Install new crush washer, install drain plug. Torque to 30Nm.
- Pour in new oil. I poured in 6.5 quarts and checked the dipstick, it was just even with the min level. I poured in another 0.5 quarts and the dipstick read near the max fill level.
- Clean the oil fill cap thoroughly, and replace it. Clean the area surrounding the fill cap.
- Remove filter housing (74mm filter wrench), remove old filter and o-ring. Clean the filter housing exterior.
- Install new o-ring on filter housing, install new filter in filter housing, and install filter housing+filter. Torque to 25Nm per MB specs. Clean the area surrounding the filter housing.
- Replace engine cover. Clean the engine cover.
- Close hood.
- Replace underbody paneling.
- Clear service indicator message from MFD.
I noted in my manual after weeding through models for 7.4 quarts of oil and I'll have to note how much came out as I'm curious too.
Question Chassis, do you like the Mann filters? I've gone with MB for the 1st couple of oil changes but realize OEM filters like Mann are okay.
The Mann filter is fine. Decent price, available in stock at Advance Auto, fits perfectly, no complaints.
There are documents that mention both 7 liters and 7.4 liters oil capacity. I drained 6.5 quarts, and I assume some oil was sticking to the side of my drain pan, a bit left in the engine, a bit absorbed into the old filter. So my guess is that the dealer filled about 7 quarts, or a bit more. I filled 7 quarts, and will check it again this weekend, to see if the dry filter absorbed oil that would no longer be measured on the dipstick.
Great summary of your oil change!! Thanks for doing that! How much was the darn drain plug crush washer. Seems you can buy a lot of another part number on-line but the one you spec'd is hard to find - about $5 on amazon. Seems crazy high.
@thammel The crush washer was about $4 in stock at the dealer. It�s available for between $2 and $3 online but shipping will add to the cost. If you are ordering a collection of parts it might be OK but if not, just get it from the dealer.
I turned 35K on my '18 GLE350 today. I did mount 20" AMG wheels and H&R springs that lowered it about 2 inches. I've changed the oil more frequently and have it serviced every 5,000 miles. Virtually no problems, just regular maintenance and a map update. It had the **** halogens and I replaced them with LED's.
Mercedes SLR McLaren 722 S Is Extremely Rare Example Modified by McLaren
Slideshow: A one-of-one U.S.-spec Mercedes-Benz SLR McLaren Roadster became even rarer after a factory-backed transformation at McLaren's headquarters.