When you click on links to various merchants on this site and make a purchase, this can result in this site earning a commission. Affiliate programs and affiliations include, but are not limited to, the eBay Partner Network.
Well 2010 350 4matic with 106k miles...developed a noise that comes above 20mph and gets louder with speed. Seems to be coming from the center console. Whether in gear or N, accel or decel doesn't make a difference, only speed makes a difference. Not terribly loud but it's there.
Hoping for failing front diff but probably tranny is going. Anybody bought rebuilt tranny?
EDIT: it was transfer case, which I was able to repair. More pics and updates are below in the thread.
Well 2010 350 4matic with 106k miles...developed a noise that comes above 20mph and gets louder with speed. Seems to be coming from the center console. Whether in gear or N, accel or decel doesn't make a difference, only speed makes a difference. Not terribly loud but it's there.
Hoping for failing front diff but probably tranny is going. Anybody bought rebuilt tranny?
Wheel bearing? Sometimes its pretty hard to locate exactly where sound is coming from inside the car. Might not hurt to jack and spin each wheel. Lots cheaper than tranny or differential.
+1 for the front drive shaft and U-joint possible being the culprit. The transmission should be ok at just 106k miles. I'd have it lifted and looked at closely where the front shaft enters the front diff. If that U-joint is lose at all, you'll get noises and eventually it can snap off, tearing the transfer case and other parts along with it.
If you were low on transmission fluid, you'd feel it through the gears (clunky, rough, etc.)
When I said tranny I really meant the transfer case, which is a known weak point and is kinda part of the tranny. After doing some research (aka watching youtube) I learned that TC is neither stand along unit but not really part of the transmission either. It shares fluid and attaches to the bell housing. In side of the TC, there are 4 bearings on two shafts/gears that wear out due to weak lubrication. The U join that feeds power to the front shaft can also develop play and probably should be replaced. When the bearings had early failure, MB used to just replace the whole transmission. However, now that these benzes are in hands of people who paid for the car less than what dealer will charge to replace the tranny, there are plenty of rebuild videos and 4 bearings are 150 bucks.
Ok back to the noise. I drove the car a bit more getting upto 60mph. The noise doesn't get louder but rather becomes a faint whine with speed. If you turn radio on, you would not know it's there. So I put the car on 4 jacks put in gear and had wife spin the wheels upto 50mph. It was still a bit hard to hear outside among other noises, but the most noise and the most pronounced buzzing was at the back of the tranny (i.e. the transfer case as I suspected). Funny that inside of the car you can hear it much better and it comes at the center console which where the end of the tranny is.
Next steps: order the bearing kit, drop the tranny and see if that's it. Might discover that that it's something else, but right now I'm 90 percent certain it's the transfer case.
Got the car on the lift this weekend. Did another spin...the noise seemed to be coming on the front shaft side. Very faint, I'm sure many would ignore.
Got the transfer case off. I decided to try ii with tranny inside. Very doable...you just have to make sure you take all bolts out.
Second housing was not a big deal.
Both gears slide out.
The one that connects to the front shaft is a bit tougher to pull it out of the shaft but if you get a big pry bar or a wrench you can keep prying it off against housing but has to be done carefully..housing is soft and you don't want to mess up any sealing surfaces.
So what do we have?
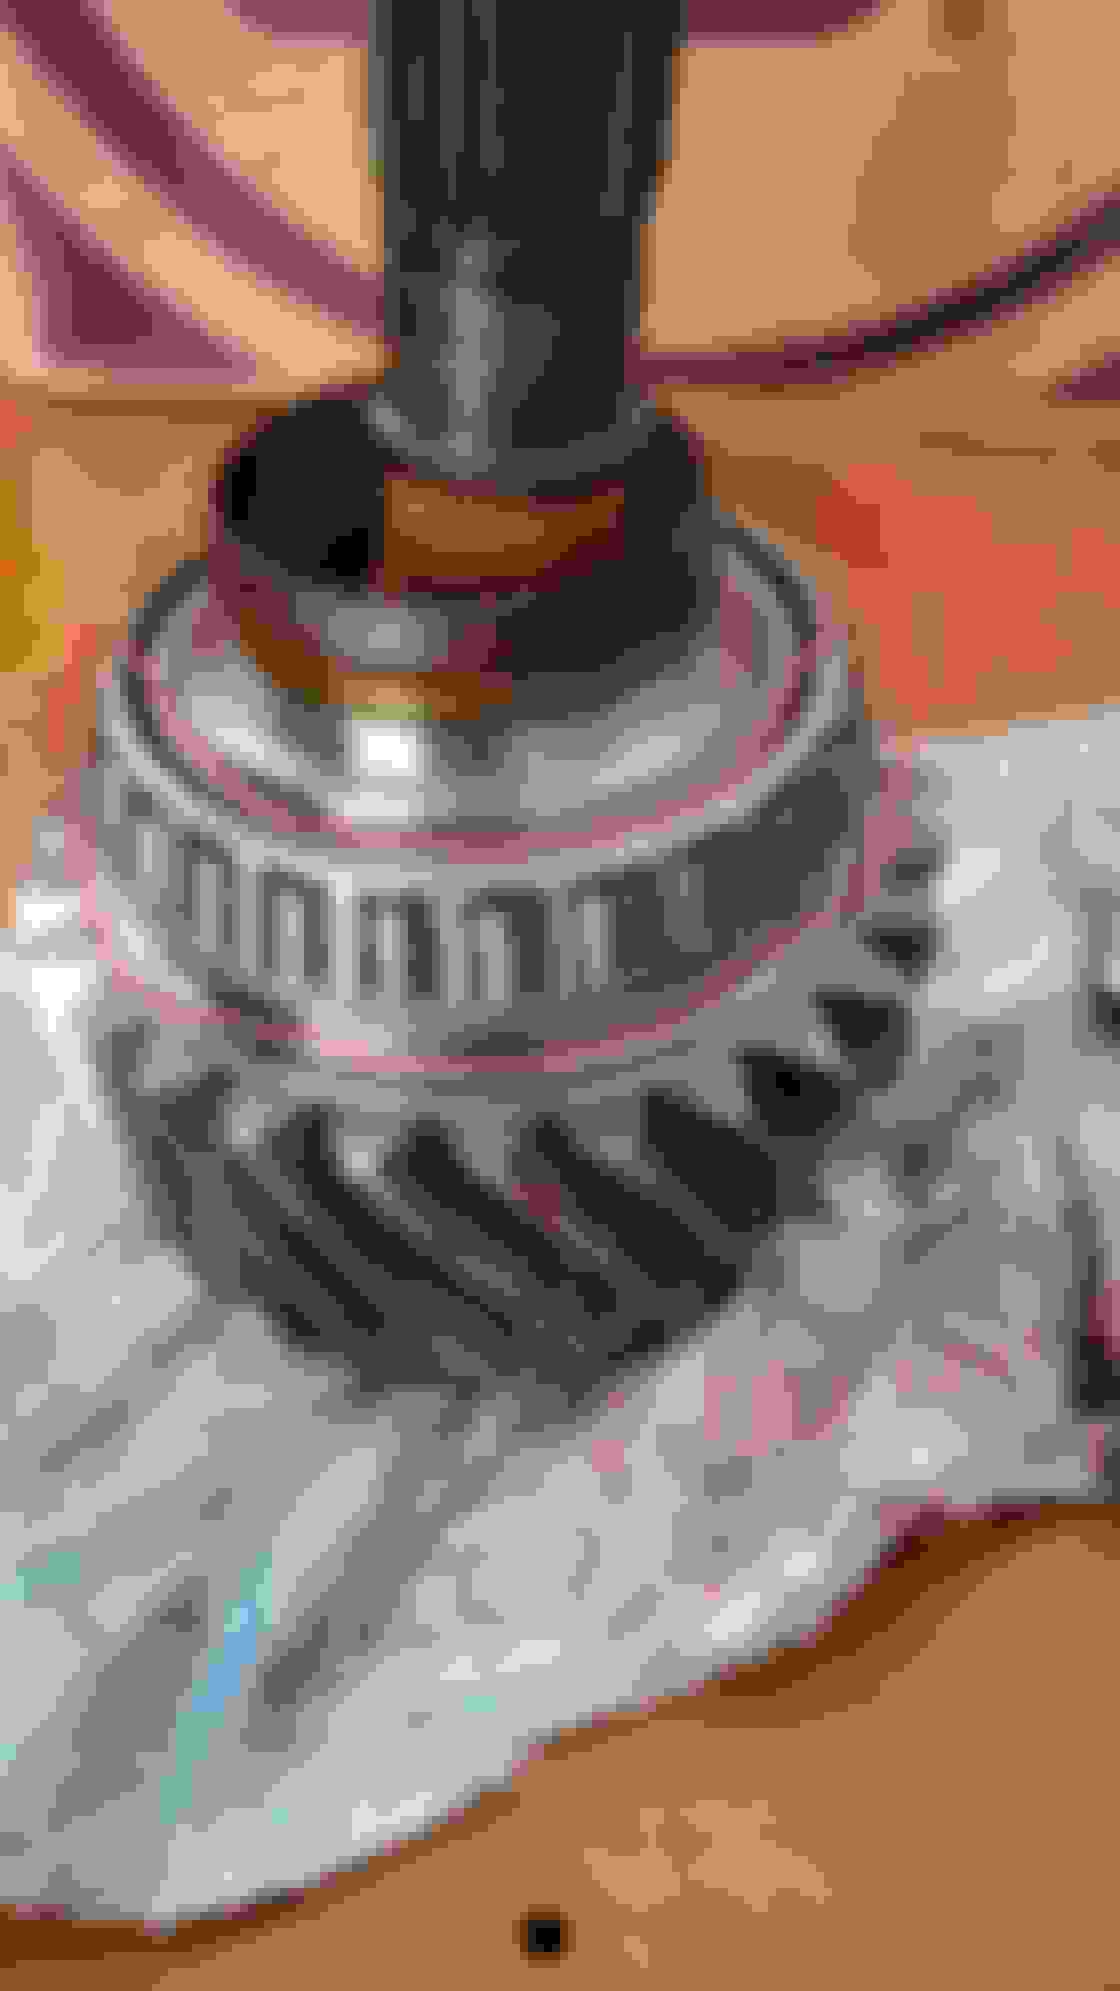
Badly pitted outter race of the roller bearing for the front shaft. The roller bearing itself look totally fine which is amazing given the state of the outter race. The actual u-joint has no play and seems fine too. There was some metal shavings when I drained the fluid from TC and a bit more remaining on the housing. So hopefully not much made their way into the transmission.
Transfer case apart...not that much to it.
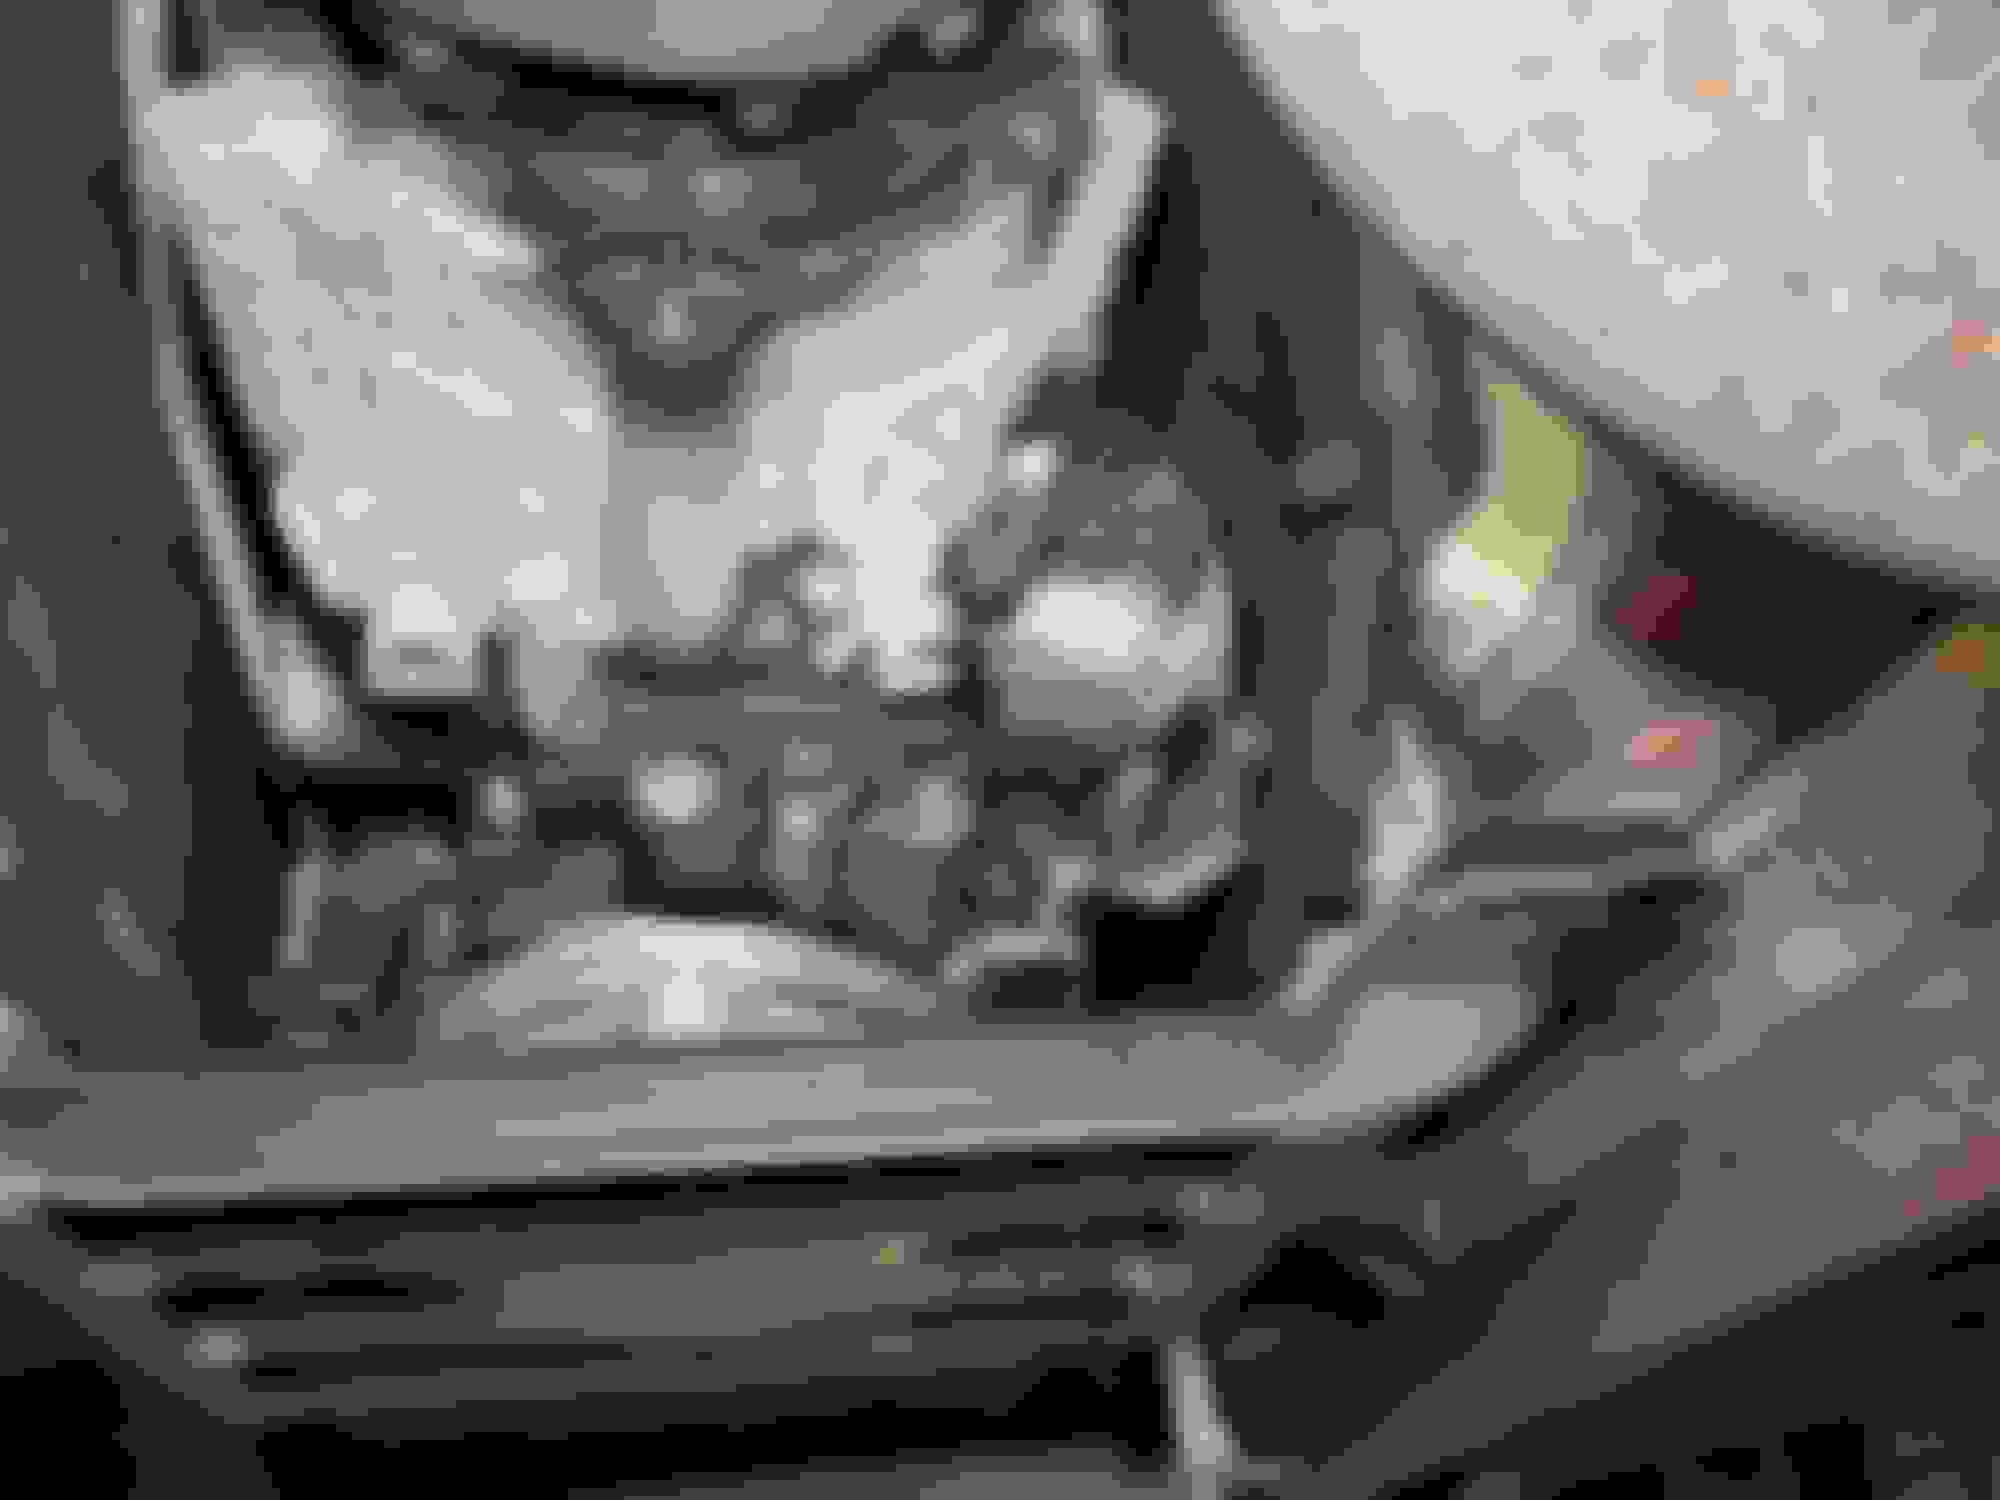
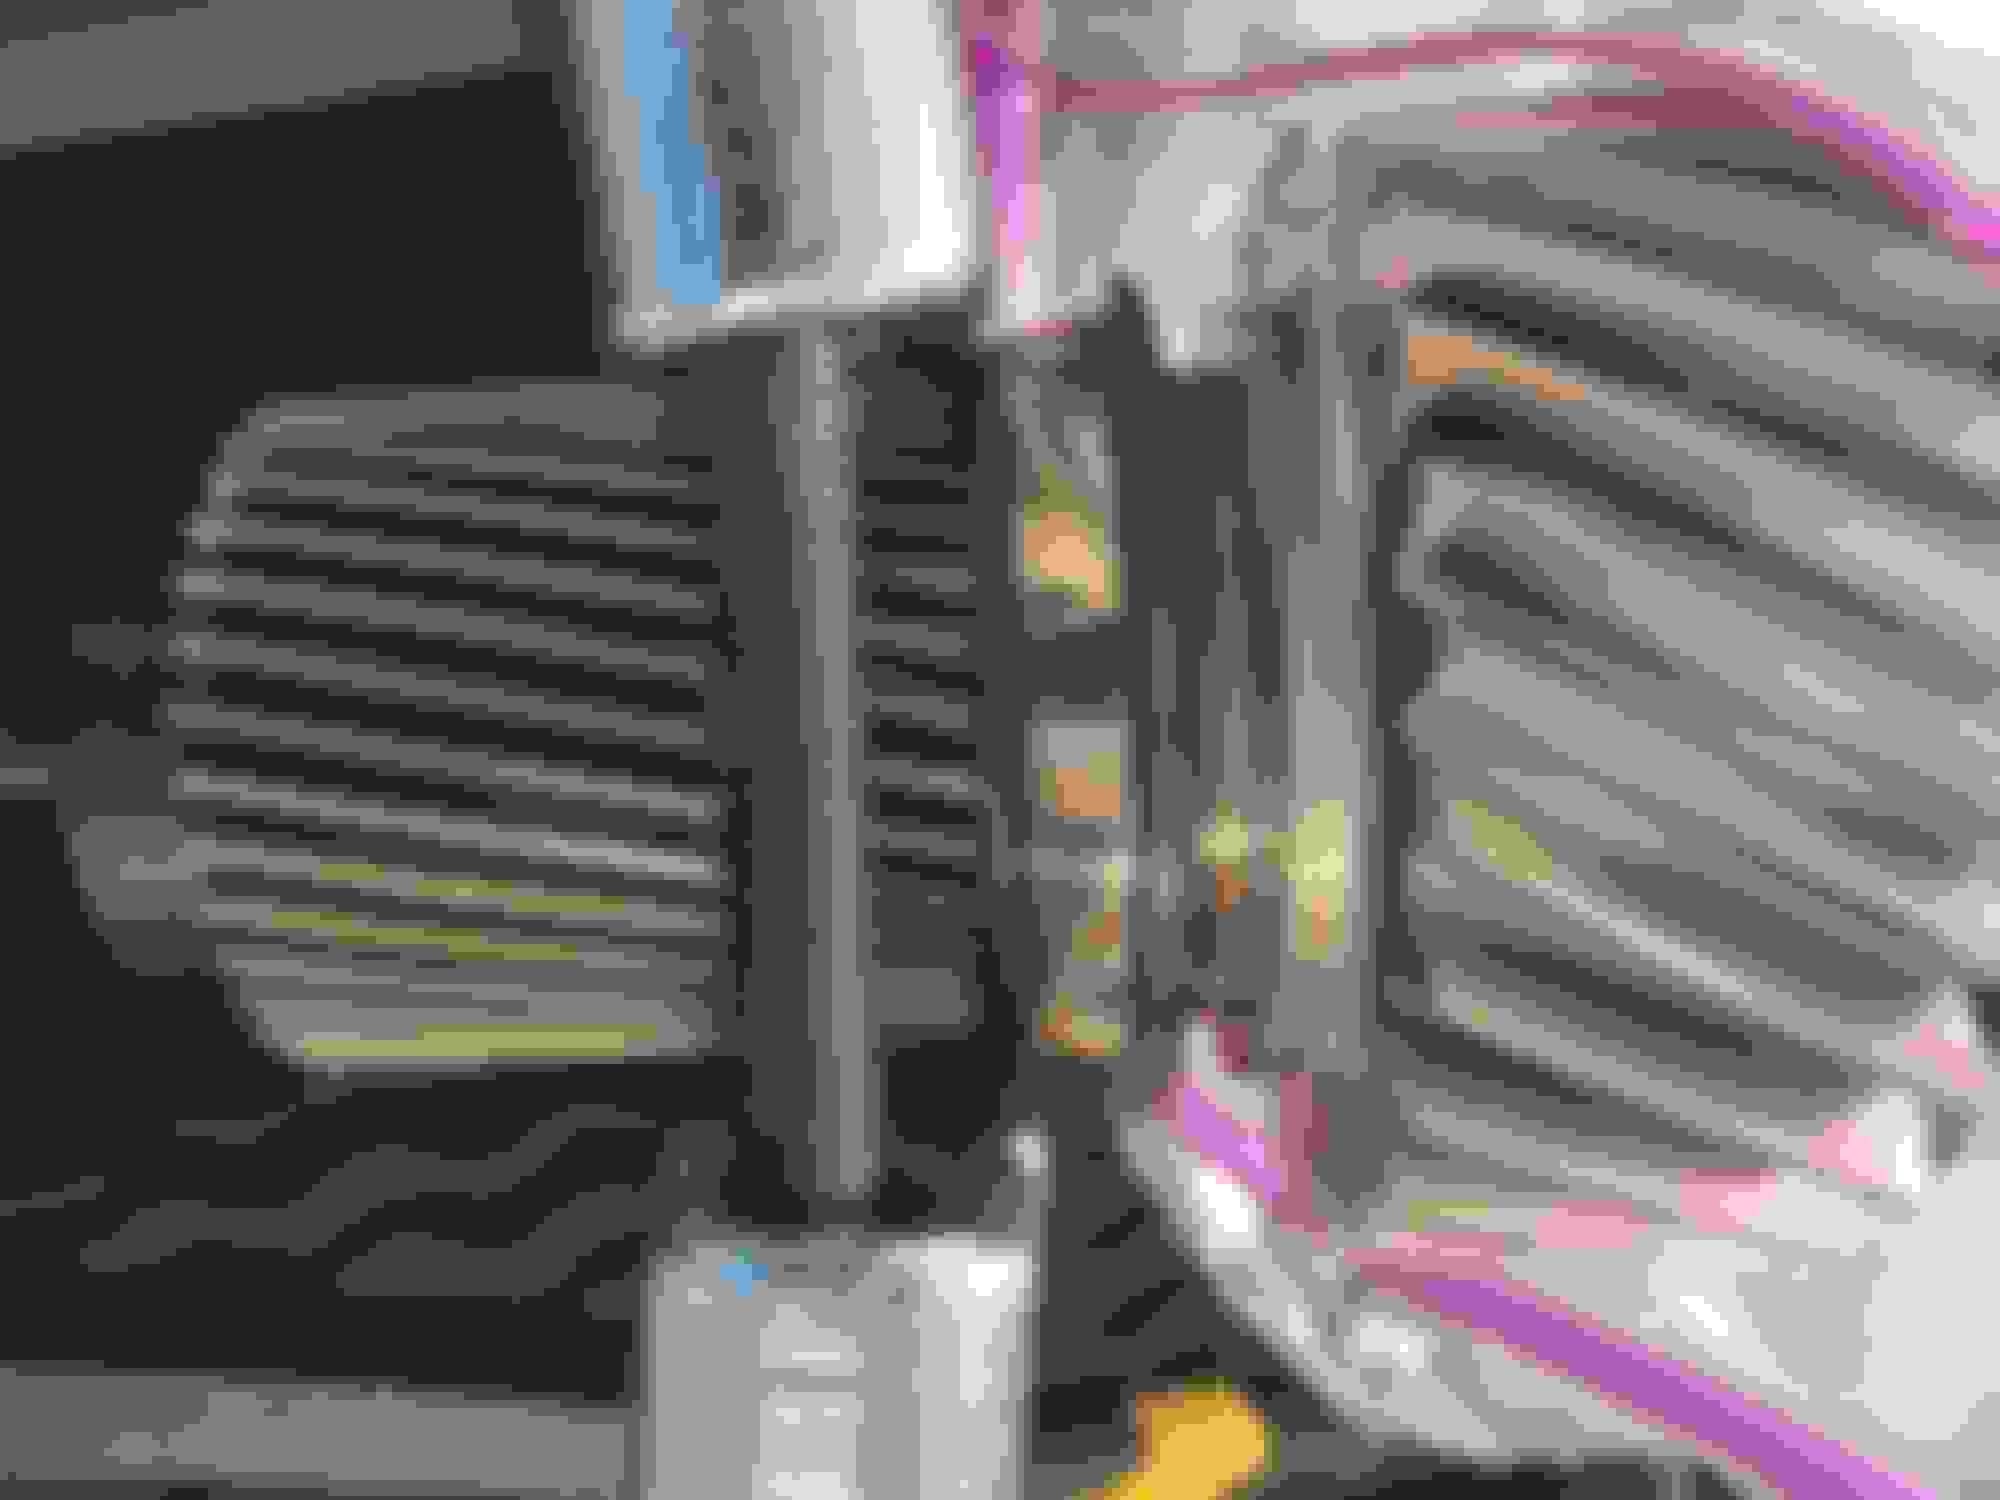
Full pic of the transfer case at the start. Bunch of sweating due to poor seal job. But totally normal, it's been like this for years without any dripping. Dealer wanted $800 6 years ago to re-seal it. No thanks.
Car is on the lift. I'm going to try to see the best way to get the bearings off and see which ones to replace. I would prefer not messing with other bearings if they have no signs of wear (discoloration, pitting etc.) In meantime, I emailed TIMKEN about tolerances. There is a lot of info and I don't what to worry most about. But not like I have extra shims to get outter race at certain depth. So I have some thinking to do this week and come back to is next weekend.
Mini update:
Managed to get two outter races today from the intermediate housing. The other two are back on the transmission side One I was concerned about as there was no tabs. With that out another one was a piece of case as there was enough lip to use drift and mini hammer.
So these are the "good" races that I was considering leaving in. At the first glance they look ok. Actually pictures reveal a lot and then you start looking and realize they are not as good as you thought. Again this is after 11+ years and 105k miles.
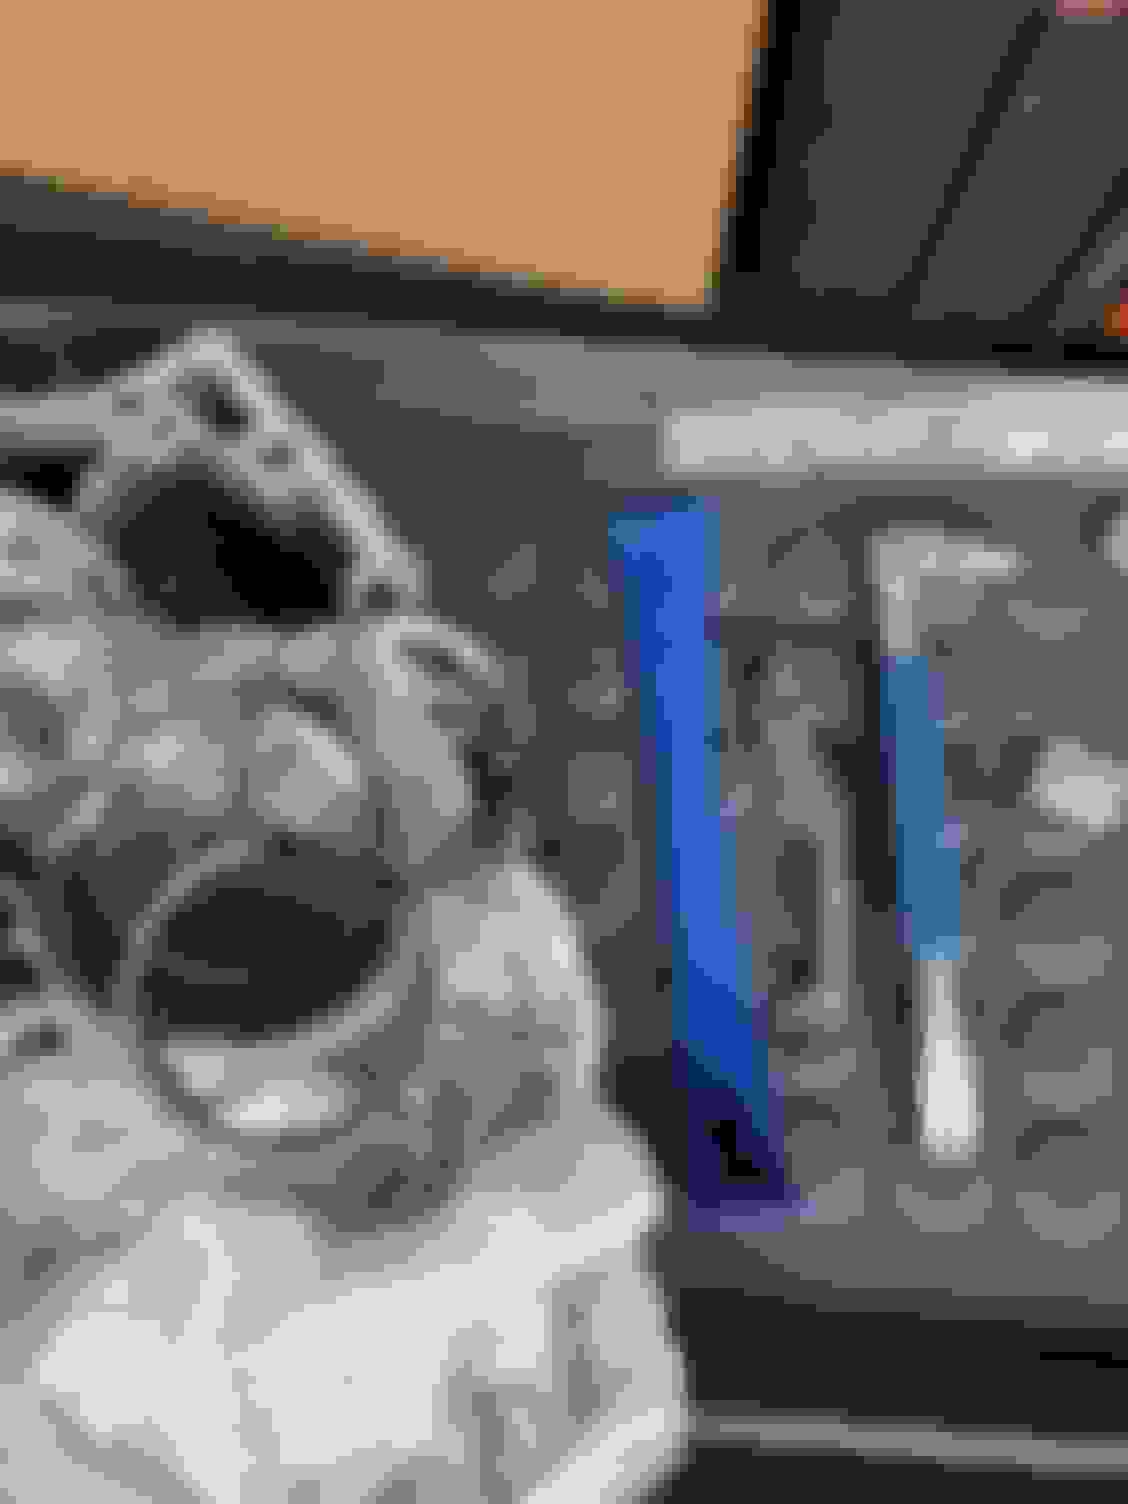
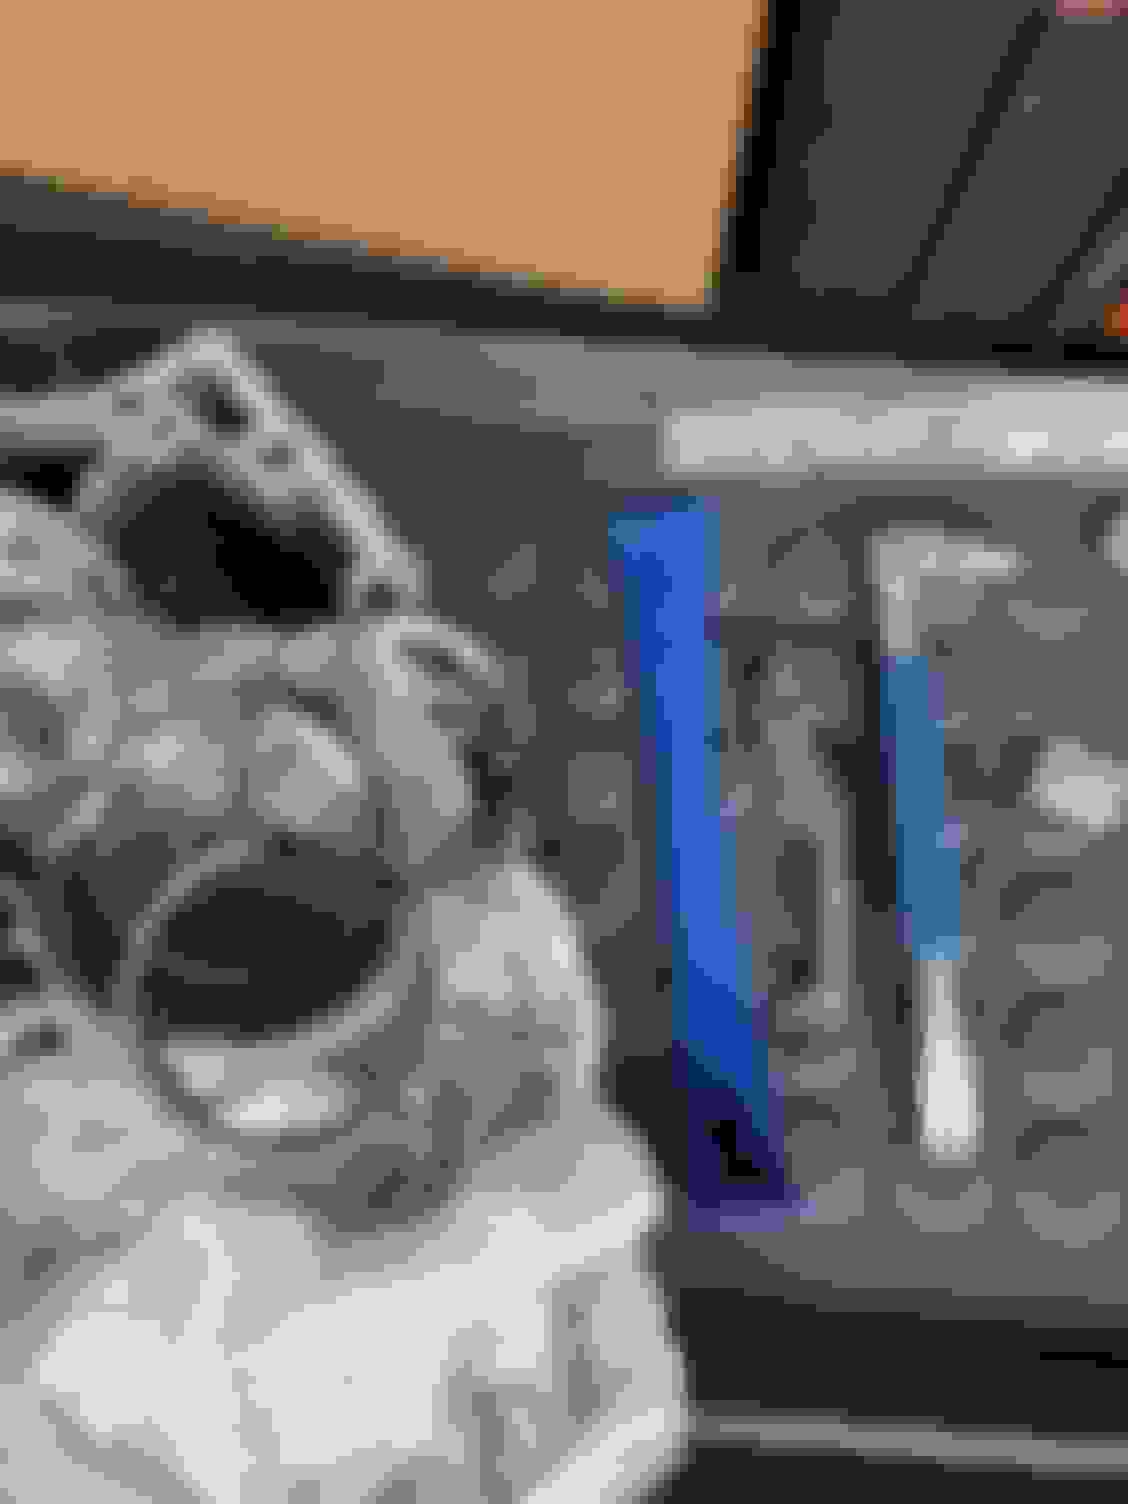
My buddy had sliding hammer tool and the little grabber was just perfect to get it stared on the opposite sides where there is indent in the housing. After that the blue mini pry bar worked making your way around. I will file any scratches on the shim.
Also got the bearing puller so will try to get the actual bearing of the shaft tomorrow.
The middle is the grabber I used to get started. The bigger race on the left side can just be knocked out with drift and hammer. The blue pry bar on the left did most of the work. The shim under is very hard and free to move. Only the race is pressed.
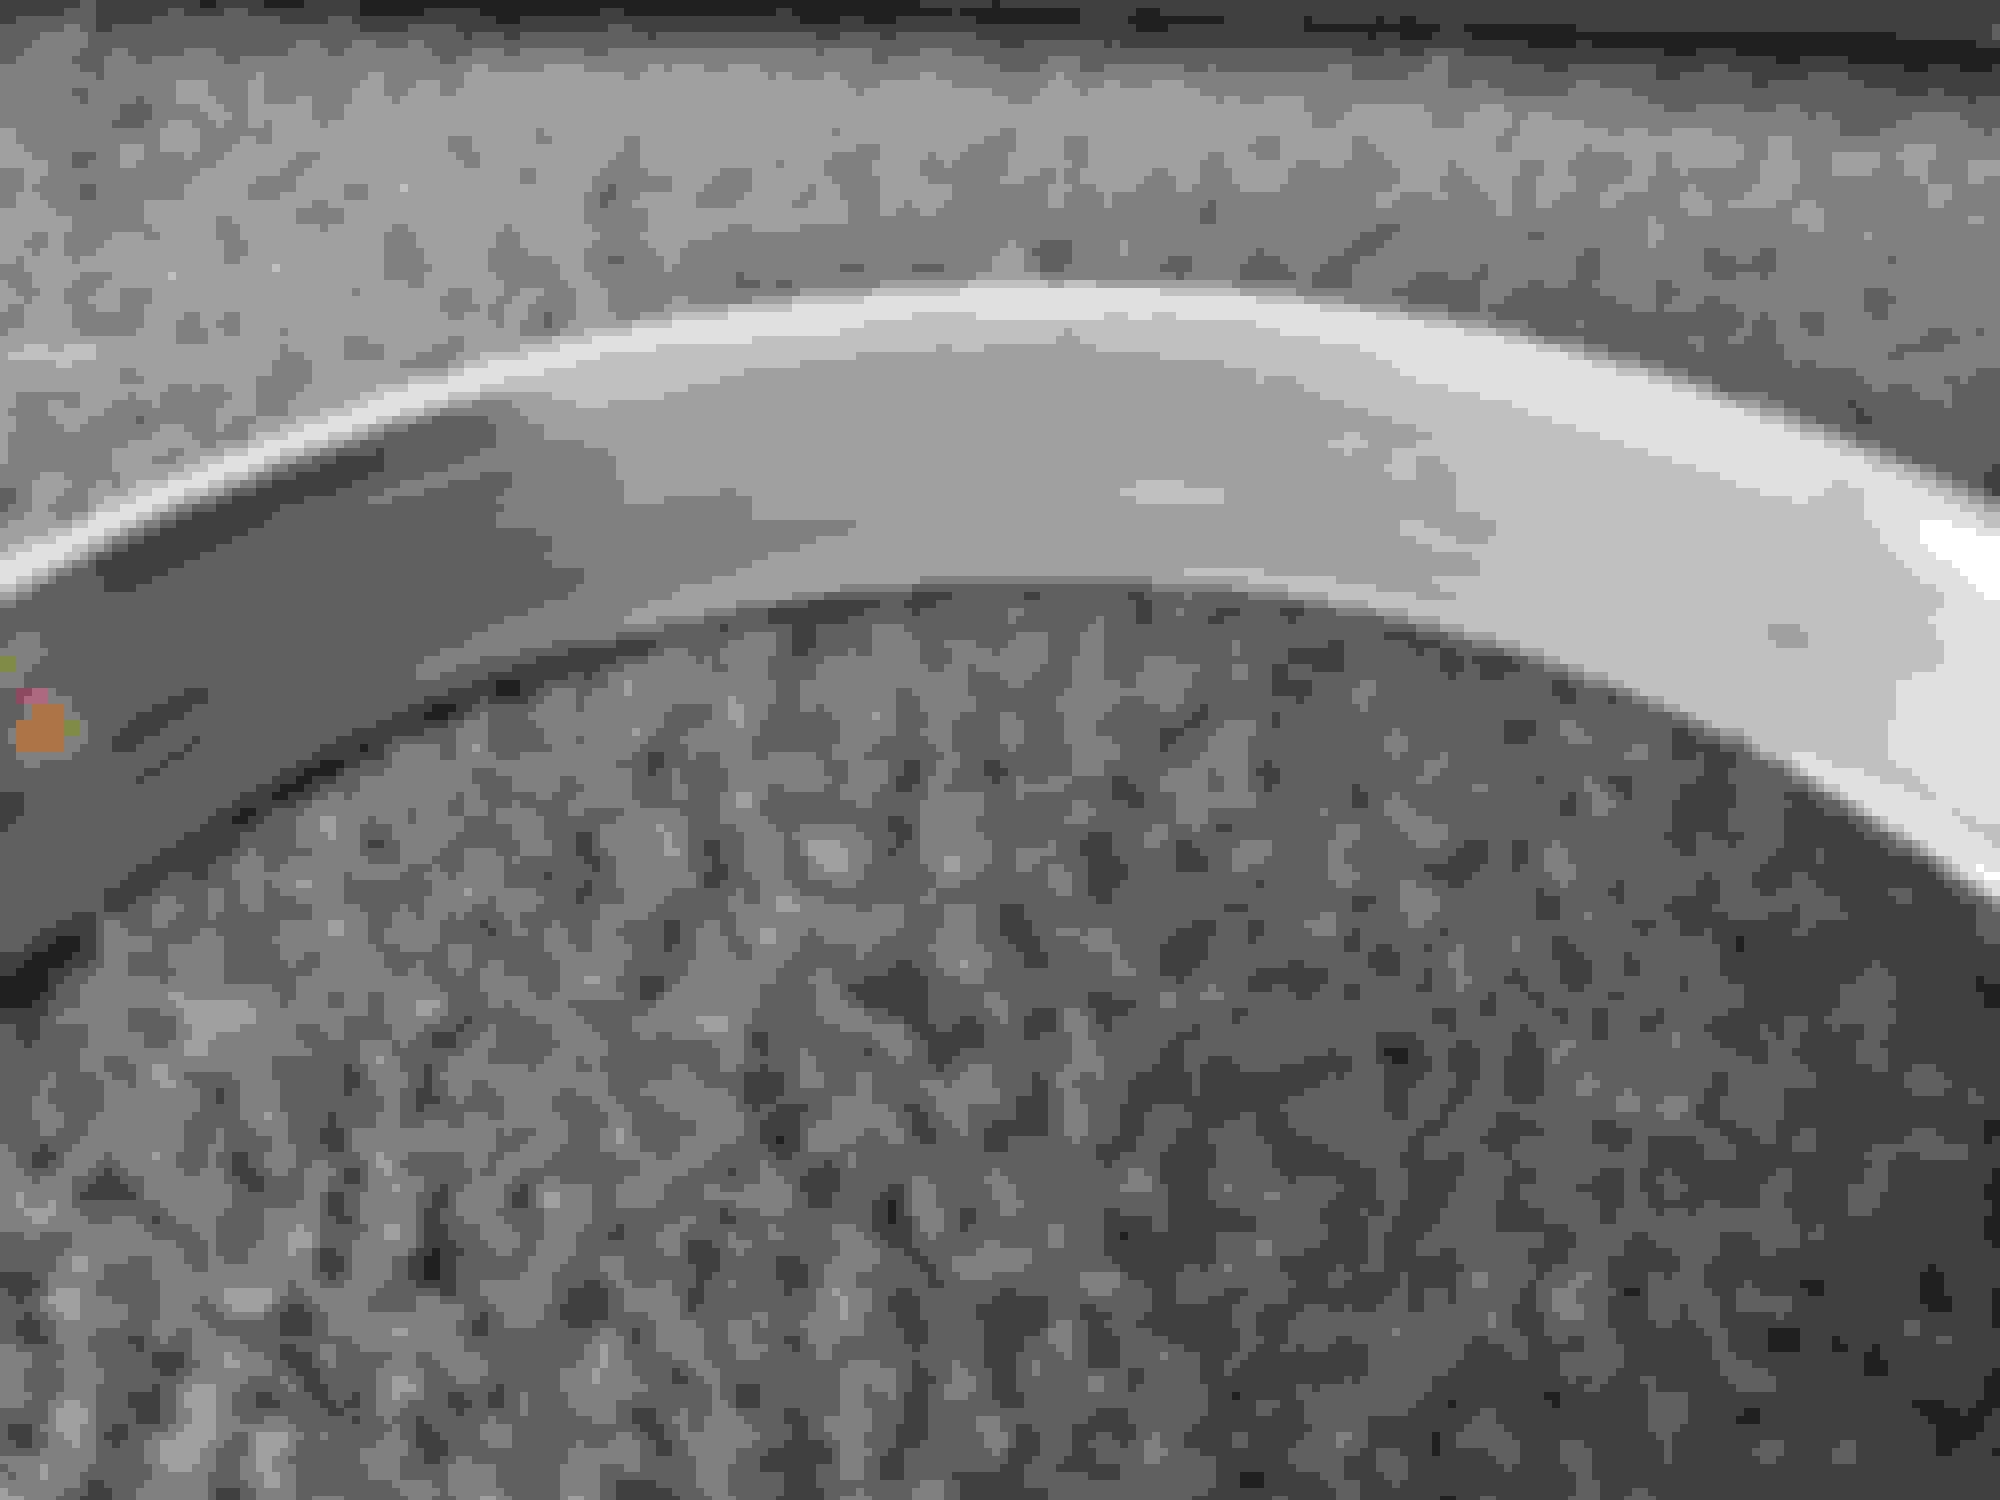
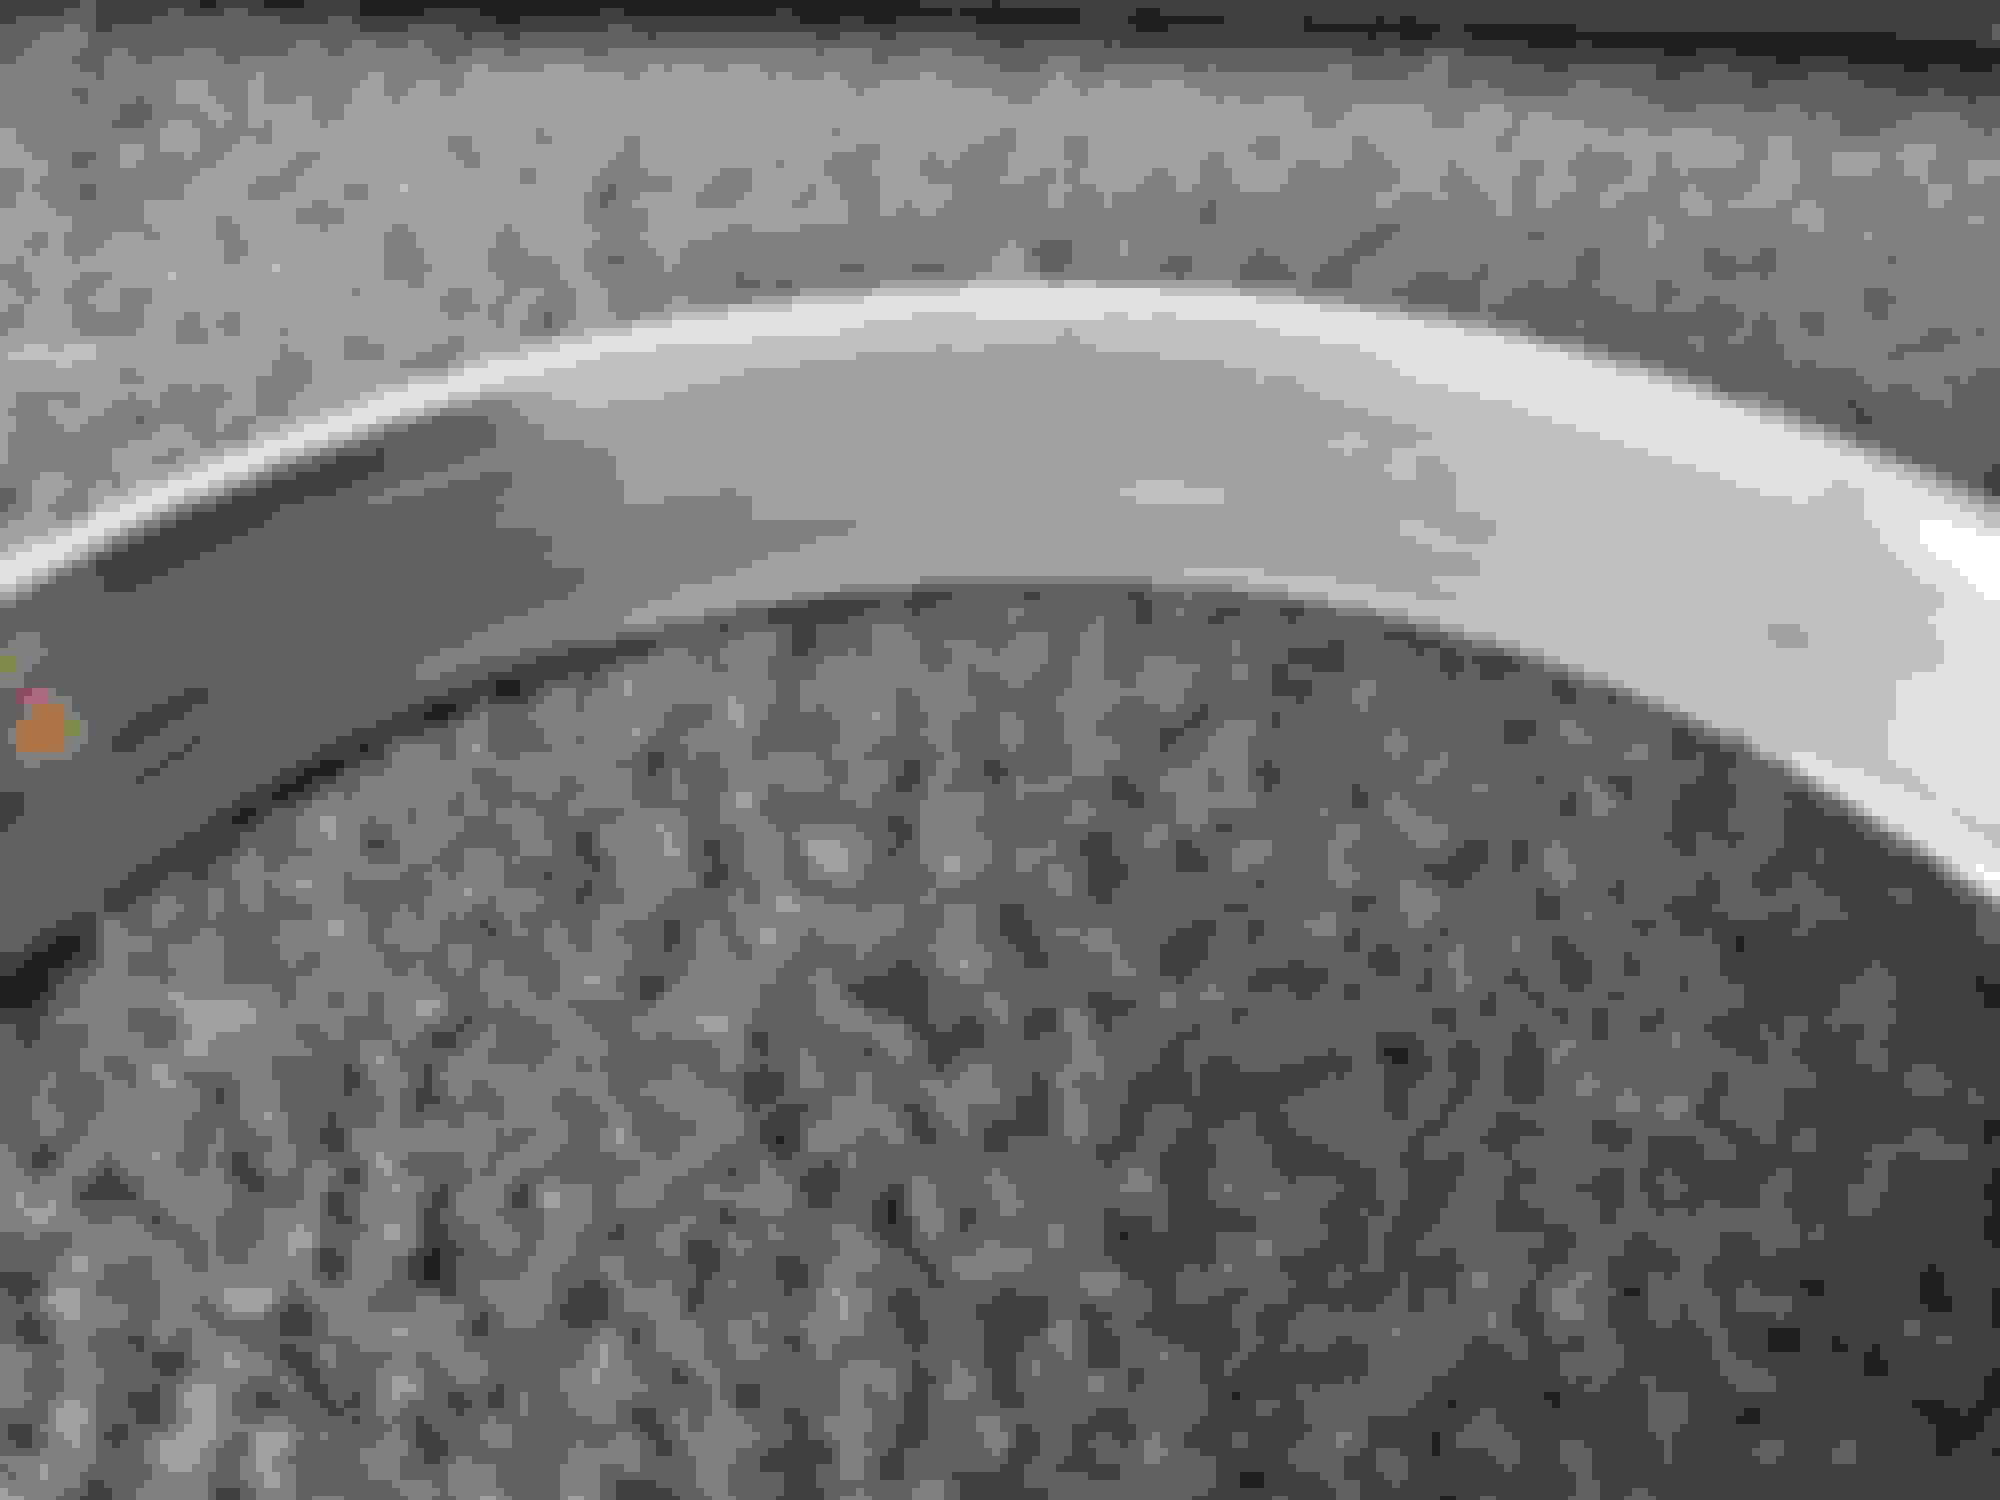
Here is the comparison of the old and new outter races.
New vs old. Discoloration usually indicates high heat. Same story with the other race. old...look at that small pitting. New vs old thickness. Looks pretty even, but there is 1-2/1000s of an inch difference according to a crappy caliper. More measurements to come with higher quality tools. old on the right, new on the left. You can see the same NP577617 part numbers and some other codes.
Got the car on the lift this weekend. Did another spin...the noise seemed to be coming on the front shaft side. Very faint, I'm sure many would ignore.
Got the transfer case off. I decided to try ii with tranny inside. Very doable...you just have to make sure you take all bolts out.
Second housing was not a big deal.
Both gears slide out.
The one that connects to the front shaft is a bit tougher to pull it out of the shaft but if you get a big pry bar or a wrench you can keep prying it off against housing but has to be done carefully..housing is soft and you don't want to mess up any sealing surfaces.
So what do we have?
Badly pitted outter race of the roller bearing for the front shaft. The roller bearing itself look totally fine which is amazing given the state of the outter race. The actual u-joint has no play and seems fine too. There was some metal shavings when I drained the fluid from TC and a bit more remaining on the housing. So hopefully not much made their way into the transmission.
Transfer case apart...not that much to it.
Full pic of the transfer case at the start. Bunch of sweating due to poor seal job. But totally normal, it's been like this for years without any dripping. Dealer wanted $800 6 years ago to re-seal it. No thanks.
Mine had the same seepage and got the same input from the dealer. $1000 to reseal it which I declined as well. My indy said it was did not contribute to the failure.
Can you provide pictures of the lubrication path between the transmission and the TC. My indy indicated that there was a hole that provided the fluid and returned the fluid that exceeded a certain level over some kind of dam. This discussion was all centered around whether debris from a failing transfer case could contaminate the transmission. He claimed not because the TC in effect acted like a sump which would collect the contaminates prior to returning the fluid to the transmission. Though if that is the case you have to wonder if that would accelerate wear in the TC.
Mine had the same seepage and got the same input from the dealer. $1000 to reseal it which I declined as well. My indy said it was did not contribute to the failure.
Can you provide pictures of the lubrication path between the transmission and the TC. My indy indicated that there was a hole that provided the fluid and returned the fluid that exceeded a certain level over some kind of dam. This discussion was all centered around whether debris from a failing transfer case could contaminate the transmission. He claimed not because the TC in effect acted like a sump which would collect the contaminates prior to returning the fluid to the transmission. Though if that is the case you have to wonder if that would accelerate wear in the TC.
Yea I will post move pics and a better write up. It's a bit of as I go and I'm not by the car.
I think he is right. There is a feed hole and what I think a return hole. You can see what I think is a return hole by the failing race. So can the debrie get into tranny?...Obsolutely. But hopefully the return hole goes into the pan then there are magnets and filter.
I think it's true that there is a mini sump where the drain plug is on TC. My TC had lots of shavings so it seemed as most of them stayed in the TC. I haven't taken tranny pan off yet.
More pics to come but quick update.
All four bearings came off pretty easy with HF bearing puller. You need to off the roller cage (it's pretty soft) and then pull the inner race off.
Outter races are tricky to get out. I bought a number of pry bars. The hardest one was around the output put shaft since it's in the way. I used 2.5lbs slider hammer from HF with one 90 degree "grabber" on the lift of the **** that's under it.
Pressing new bearings was a bit tricky as they don't always want to go straight down (I don't have press and used the same puller tool). You can use old inner race as a spacer to push new new bearing now. Need to be very careful and watch what you are doing.
Now as far as tolerances go:
I measured everything! The inner races are +/- .0005. The outer race had +/- .001 variation. Loose/tight clearance per Timken is .003. New races were on the thinner side so should be looser. All shims seemed the same as well.
There are plenty of ways to screw things up. It's easy not to press the outter race all the way. I noticed that shim was spinning because one race wasn't pressed in all the way.
When installing the gear that drives front shaft, I messed up the front seal (good idea is to just order extra seals. From my experience they are too easy to mess up).
I will go over the TC design in pics, but it's true that there is a little sump to catch stuff. It has all the metal. The tanny pan was pretty clean and magnets had minimal mental on them, but some. Nothing worrying.
This is taking longer as I'm only doing some work on the weekends and taking my time. Some MB parts are taking way longer to arrive. Local dealer sucks as always.
Well my son pushed me to fix it myself and frankly even if I had the wherewithal to get it disassembled I can pretty much guarantee I would have screwed something up so I'm glad I didn't try taking it on.
Well my son pushed me to fix it myself and frankly even if I had the wherewithal to get it disassembled I can pretty much guarantee I would have screwed something up so I'm glad I didn't try taking it on.
It's actually pretty simple design and in the end it's just 4 roller bearings and 2 seals. Right tools make all the difference. We have a variety of bearing tools, slide hammers, pry bars etc. Plus doing something like this first time is always a challenge. Second time it's easy, third time it's boring.
Picture time: Two races from intermediate housing. The big one is easy as it can be knocked out with drift. The little one has barely new lip to grab on tow. The little grabber from a slider hammer tool (in the middle) was perfect to get get started. After that the blue left pry bar did most of the work. So this is a good used race. Pictures actually make it look worse than it was, but the heat discoloring is obvious here. Side by side old vs. new. old on the right, new on the left. The same part numbers, still made in France. Close shot...look at the pitting (and this is not the problematic race).
old vs new outer race. Looks the same. I did 4 measurements per race (90 degrees) to make sure. All 4 were the same. measuring inner races. I did the same with outer races as well measuring another inner race. That's 5/10,000 of inch difference between the two. Pretty good.
here is the closer pic of the rollers on the failing bearing...they are not looking great upclose. You can see marks and pitting. Not terrible compared to the chewed up race, but still the splines or the front shaft an surface rust. I've seen youtube vid with the slpline part broken off. Also the U joint inside can have play. It was all good. Sucky part, this thing doesn't come apart (except for bearings). So if the U joint fails, the whole thing needs to be replaced the other side...looks better but you can see the wear.
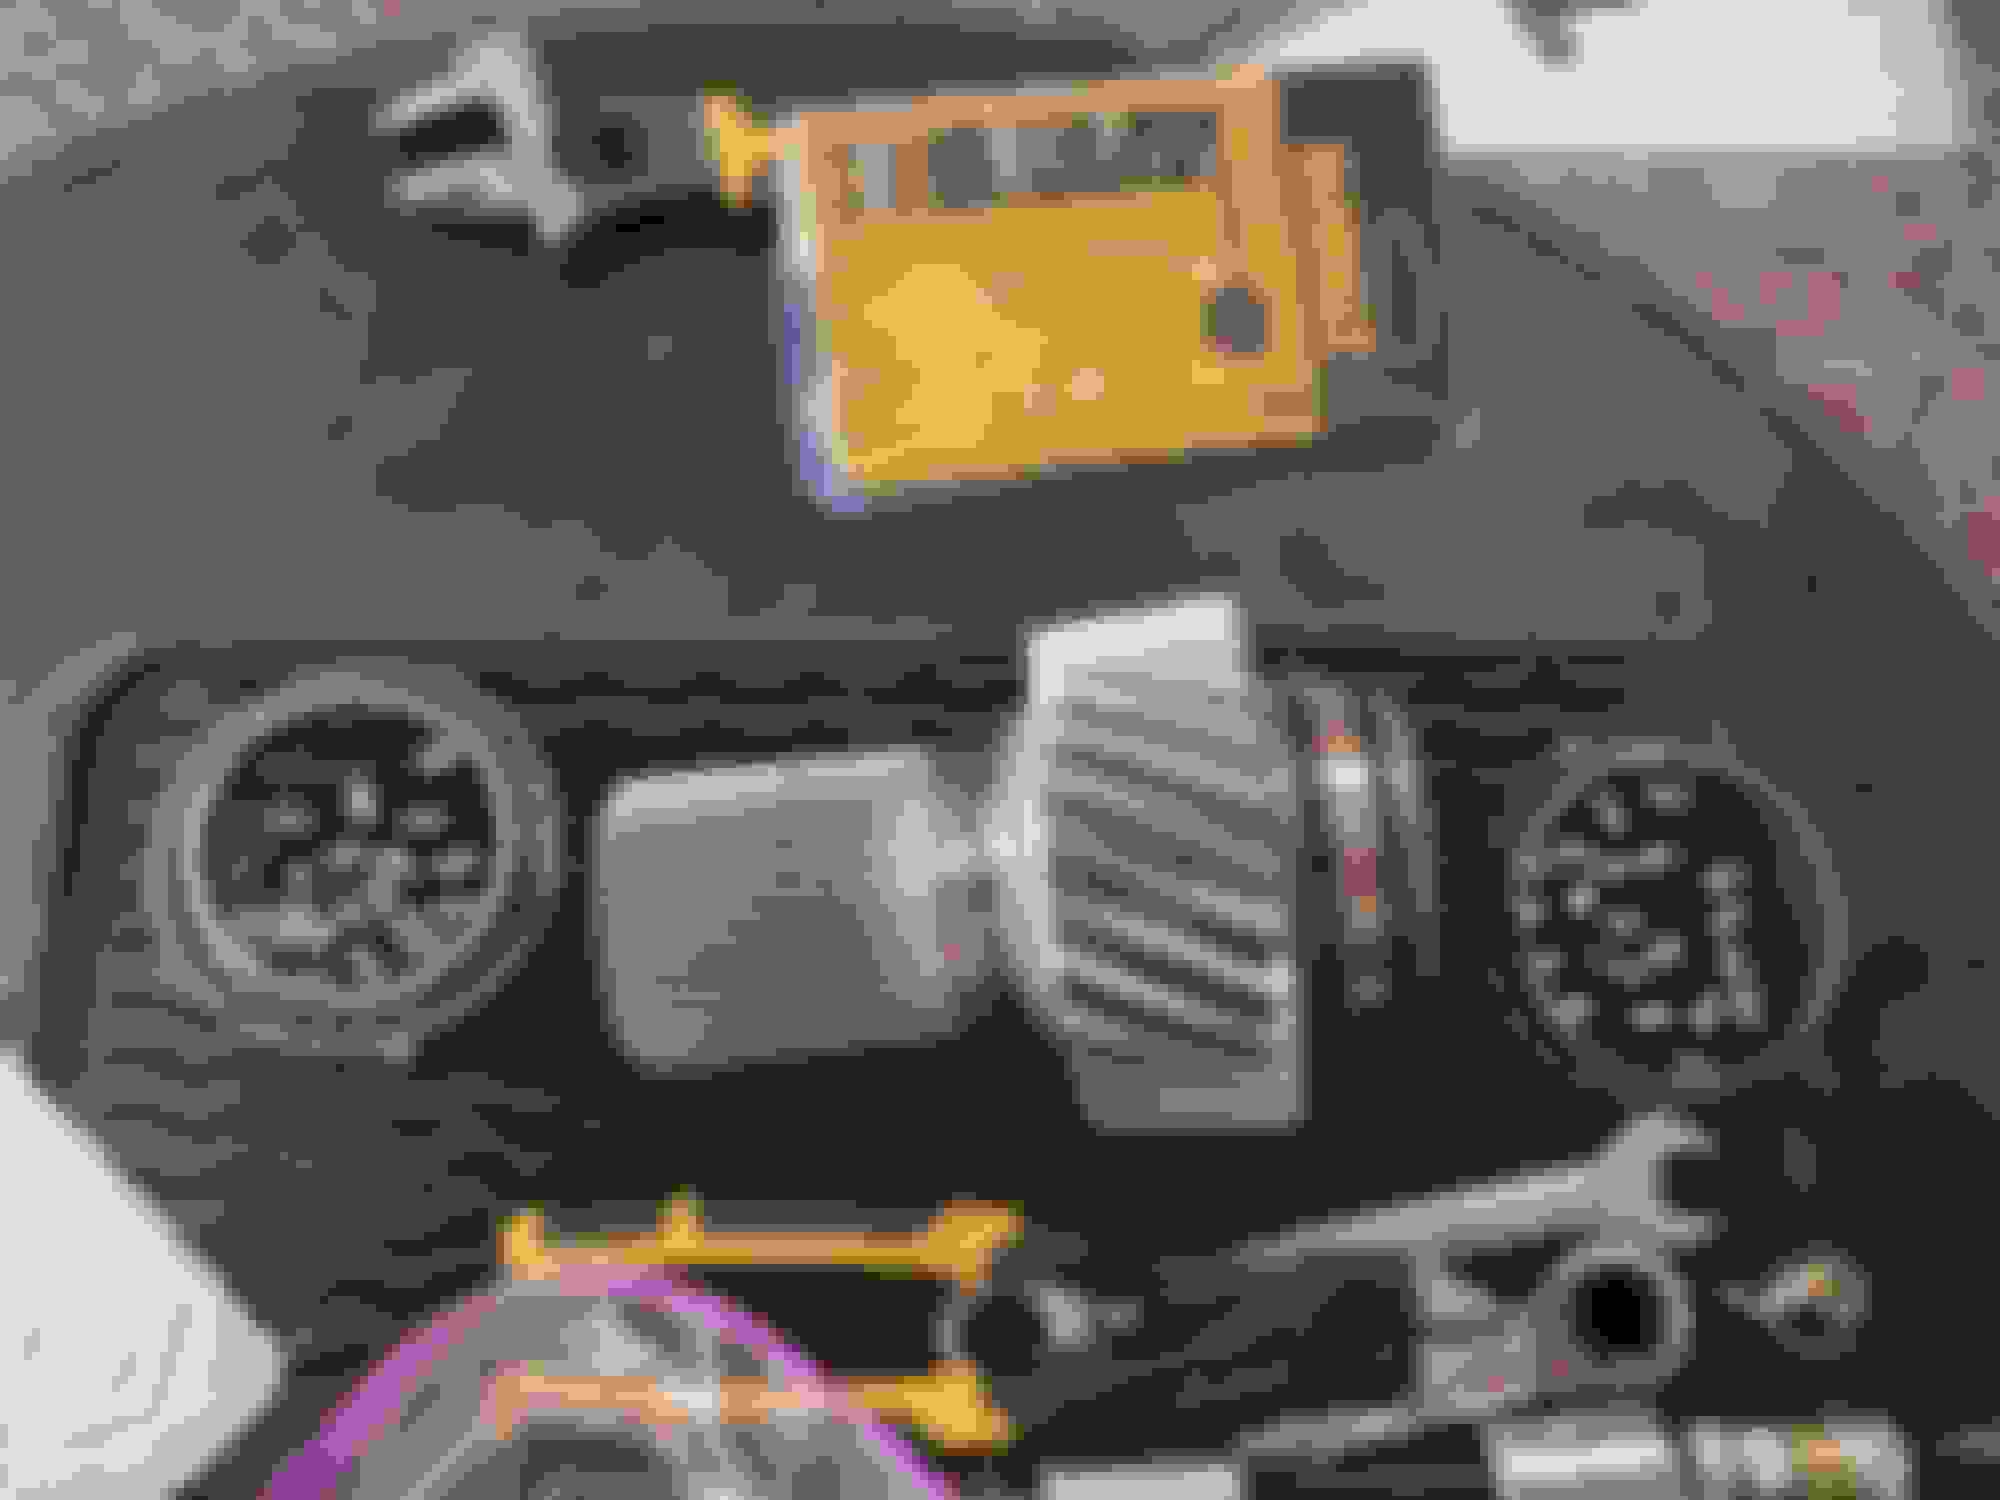
first cut the race attach bearing puller. The problem I had was that the stock rods for the tho halves were too short. I used old head bolts with some botls/spacer/washers that you can see. The tool is grabbing unto the upper part of the inner race. the other side 50% there. It doesn't take too much effort to pull those off. This part was tricky as you have shaft sticking out on the other side and I didn't want to press against the top of the shaft (it's unstable and u join is easy to damage). I used the spacers from the puller tool to create surface to press against. Unfortunately it was late and frustrating so I didn't snap a pic. Here is just the end result. You can also see the cutter to cut the roller cage. This was piece of cake.
new bearings pressed on new race pushed in. I tried the oven/freezer trick. They didn't just fall in. So hammer with some bearing circle tools was it. On the transmission side I just used the old race as a spacer not to damage the new one (races are very strong). Don't forget the shims and make sure inner races are set all the way in.
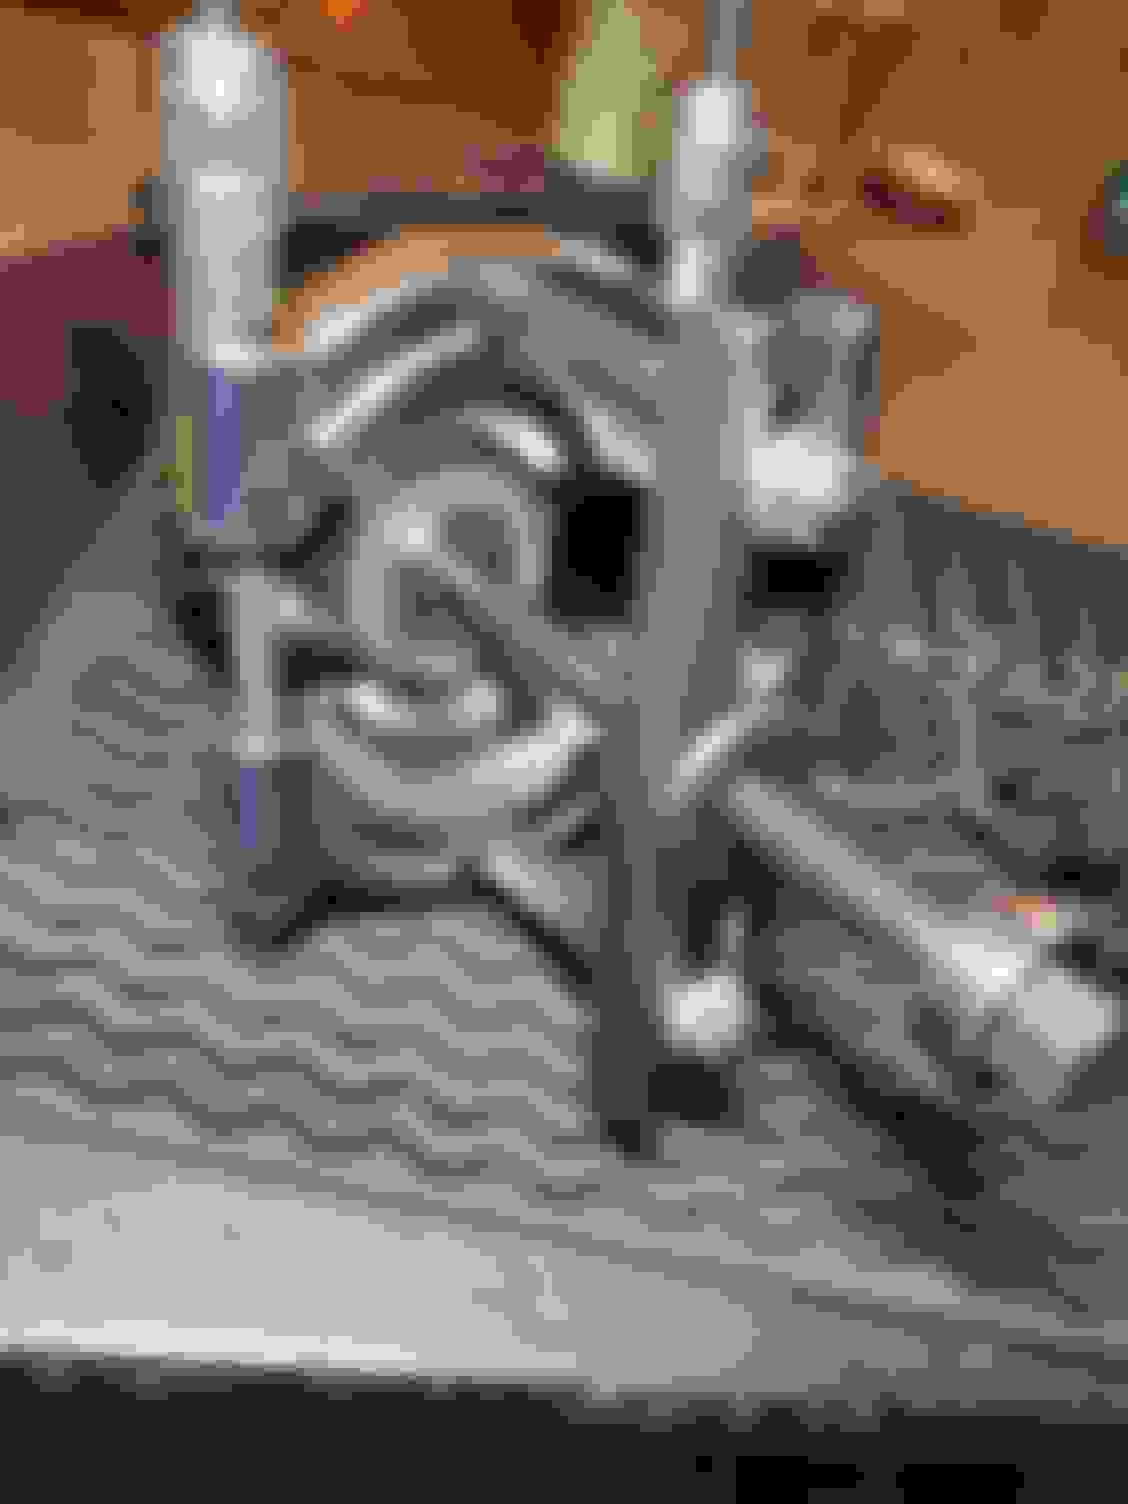
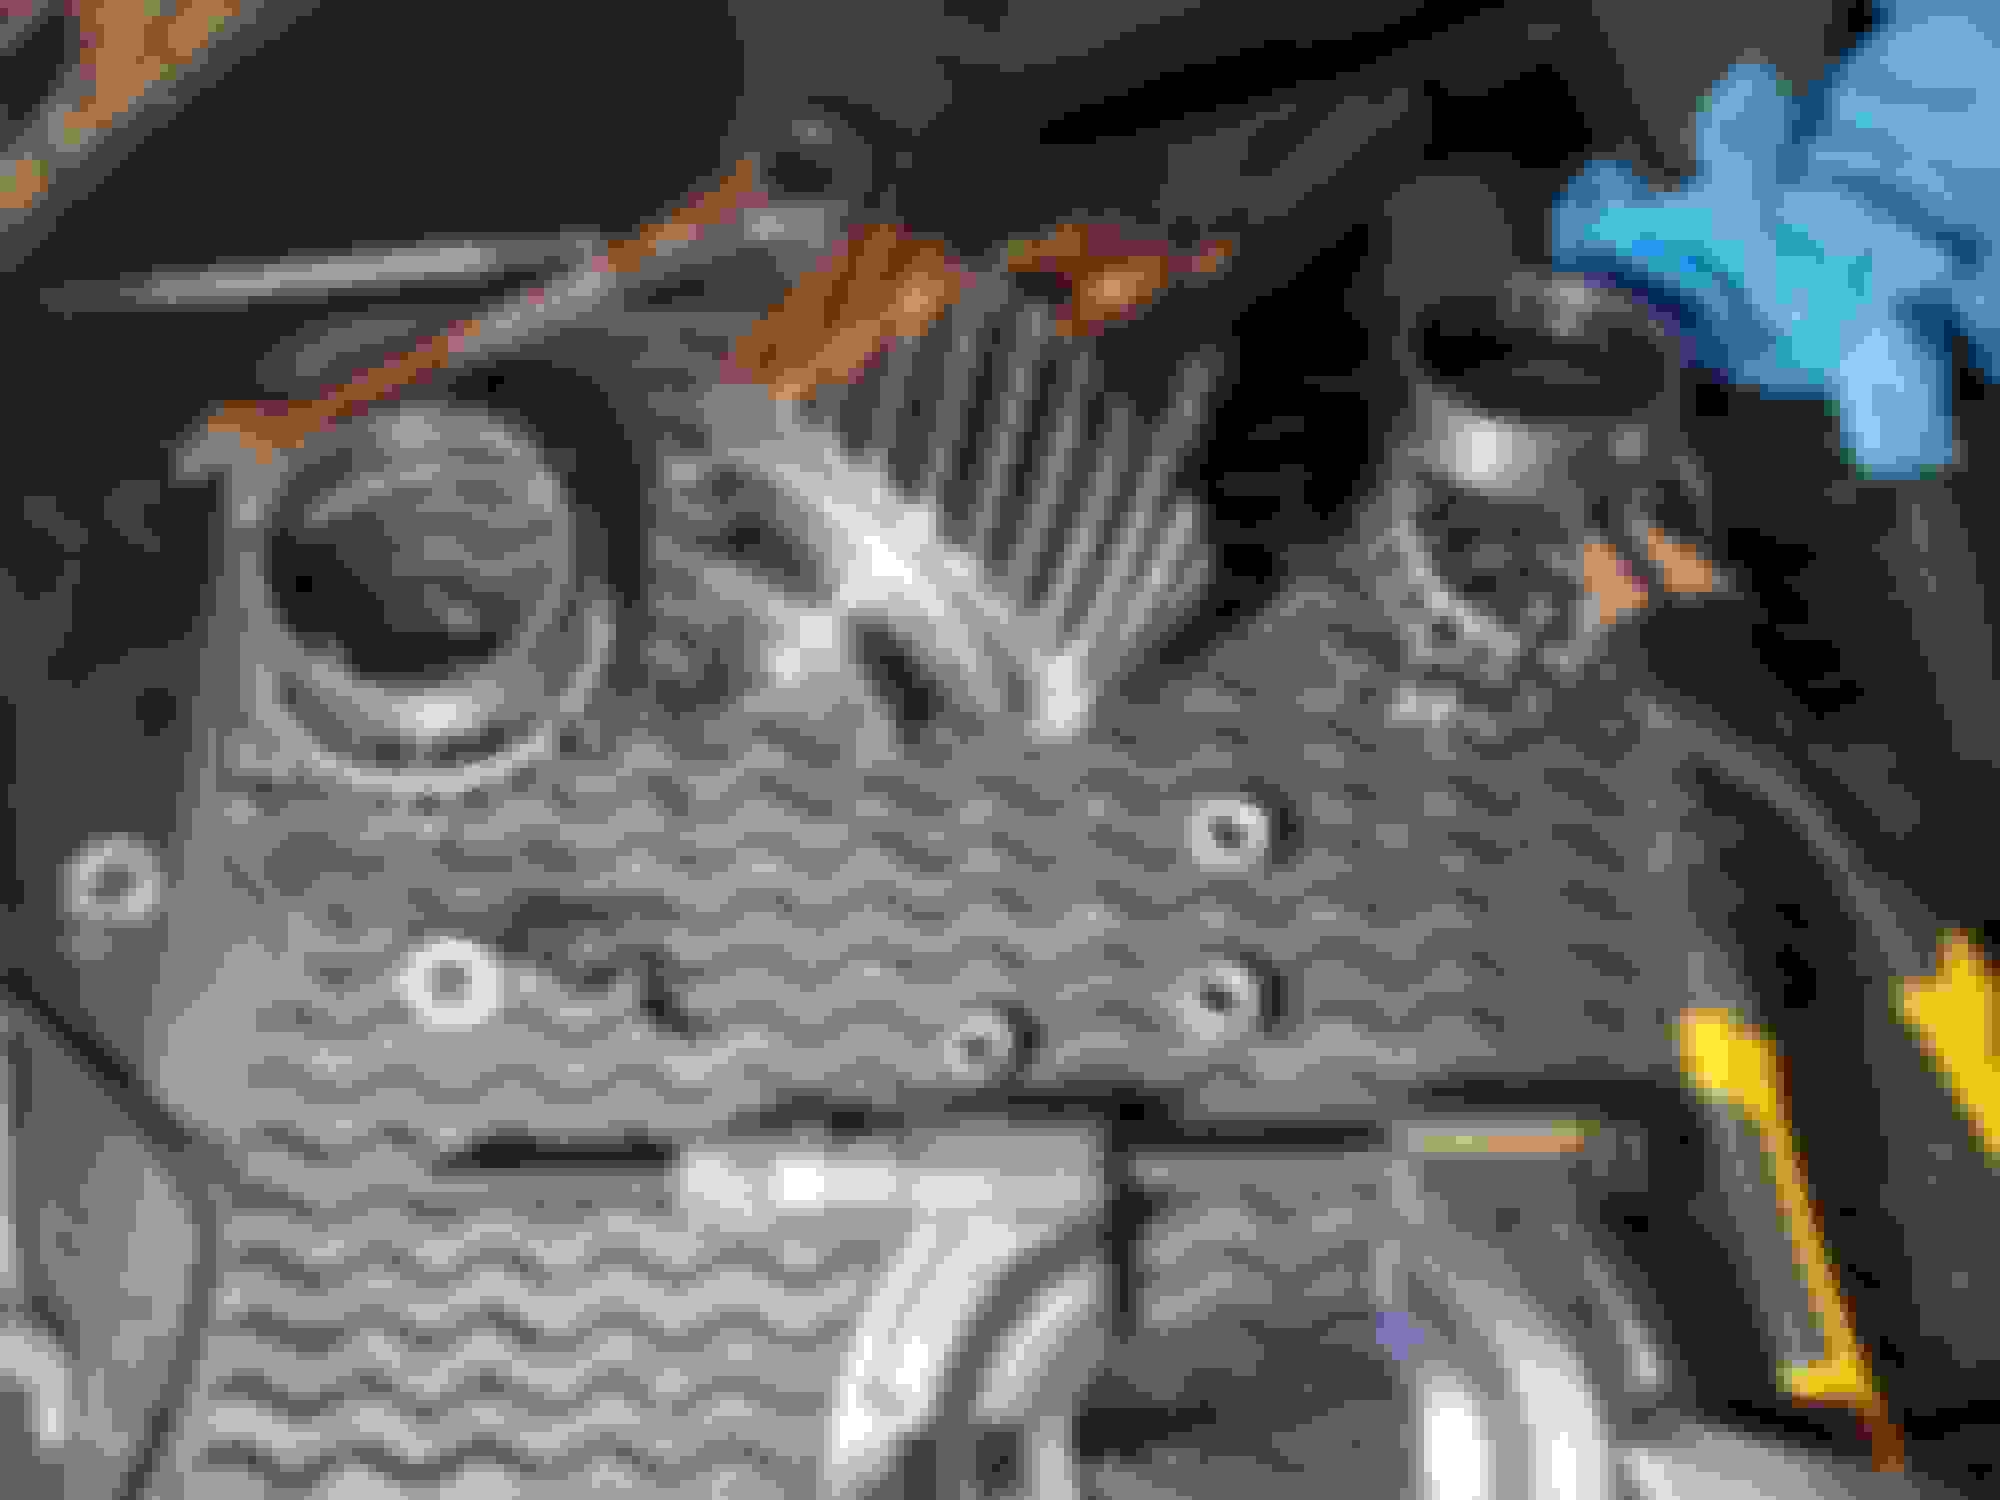
this is the view from outside. You cane see small hold on the left that would feed fluid onto the gears. Notice the opening on the top left that feed fluid over the planetary gear housing. Two holes on the buttom are return (higher right) and drain (center bottom). The other side. You can see the two feed holes on the right. One is hard to see. You can see the return hole on the left. You can also see very small cut out in the wall by the smaller circle so any debri can float into the sump (bottom center area). The fluid can't really excame from there until it gets drained (which is not part of service). I didn't even now there is a drain and fill plugs. With two gears in place (loosely).
Thank you for the well document process.. I hope I never have to experience this repair, but definitely appreciate the level of detail in your process, as someone else I am sure will benefit from it on this forum.
Yes as others have said this thread is invaluable as I am sure you won't be the last person on the board to take this on. Honestly I was of the mind to never buy another 4matic but given the path that you laid out for rebuilding the transfer case I may reconsider.
When you are done would you mind tallying up your total time and cost of the rebuild?
Thanks
By the way my indie charged me $2362.47 for this whole job, $1907.40 in labor and $455.07 in parts. This where my son was saying he took me to the cleaners and I should have rebuilt it myself.
What do you think about the idea of taking it off and having a transmission shop rebuild it with the owner supplying the parts given I don't have all of the tools?
It's actually pretty simple design and in the end it's just 4 roller bearings and 2 seals. Right tools make all the difference. We have a variety of bearing tools, slide hammers, pry bars etc. Plus doing something like this first time is always a challenge. Second time it's easy, third time it's boring.
Mercedes SLR McLaren 722 S Is Extremely Rare Example Modified by McLaren
Slideshow: A one-of-one U.S.-spec Mercedes-Benz SLR McLaren Roadster became even rarer after a factory-backed transformation at McLaren's headquarters.