When you click on links to various merchants on this site and make a purchase, this can result in this site earning a commission. Affiliate programs and affiliations include, but are not limited to, the eBay Partner Network.
Here's my TR on installing HIDs on a 2017 GLS 450. We all know the
halogens are terrible on this model. LED H7s may be an option, but
think that the fit would be TIGHT and may have to change out the dust
cap for an elongated one. Some question as to the LED quality in a
projector setup as well. Long and short, the HIDs are MUCH better
than the halogens and worth the $150. Takes about an hour, bit
fiddly getting bulbs in tight space, but worth it.
THE KIT:
Used Aznoptics' Morimoto/Hylux 35W 5500K kit. 55W may be 10%
brighter, but a bit worried about overheating in the projector
housing. 5500K best IMHO, but no longer available. 5000k or
6000k, latter hint of blue tint, former hint of yellow. Get the H7A
which has the large return wire on the bottom, opposite the flat
portion on top of adapter ring NOT the H7B with the return wire
on same side as the flat portion of adapter ring (casts shadow)
Use OEM bulb adapter rings, NOT NOT aftermarket (see below)
For overview, the rubber boot will go in the hole you drill in the dust covers.
The spade connections go inside into the car's harness. POLARITY
matters for these; if lights don't work, switch these first. Won't hurt
anything with wrong polarity. Everything to the left of the rubber boot
needs to be hidden above the wheel well. Didn't need the blue ground BTW
and just cut off.
PREPARATION:
You'll need mini screwdriver to pop halogen light off its tabs, A step drill bit to cut
into dust cover, Xacto knife to open up the rubber boot nipples, and gloves/alcohol
pads to keep the bulb clean. Velcro tape to secure the parts.
LED light that sits on tire nice to have as well.
REUSE your bulb adapters or go to the dealership and get OEM bulb adapters. They're rectangular, fit the
Morimoto base just fine, but most importantly have dimpled flanges that lock into the headlight ring.
Also, solid ring that won't allow play. All aftermarket seem to be flimsy and ill fitting.
EXPOSURE and APPROACH
Really don't need to take off the tires; just get a little extra clearance by turning
tire towards opposite side and hitting the "raise" button on the car for that 4" Can
even put cheap carjack under lift point behind tire and get a few more inches of
elbow room. Just make sure parking brake is on.
Start with the passenger side; clearance in the housing a bit easier.
WHEEL WELL ACCESS
Pull the center out of the fastener below, and pull out ribbed "bolt". Then grab
the finger holds and slide panel. Easy peasy.
REMOVING BULB HARNESS
Simple counter clockwise twist and it'll pop out. The tabs holding the
bulb adapter to the bulb are bit tricky-- I used a mini screwdriver to pry off.
NOTE the dimples on the stock bulb adapter. These lock into
the headlight socket. WON'T find these on Euro adapters on Ebay,
etc. Their flanges that don't lock so well and make fitment loose.
RESUSE yours, or GET OEM from the dealership. After buying a $70k car,
they should give you a free pair and a cup of coffee when you swing by to ask.
Pull the bulb spade connectors out of the harness. The harness is below,
where you plug in the spade connectors on the kit. 50/50 getting polarity
right the first time. It'll stay inside the headlight housing at the end,
sealed off by the dust cover.
AFTERMARKET or OEM BULB ADAPTER?
Aftermarket Euro adapter on left, OEM on right. Both work, but without the
dimples the aftermarket toggles in the housing. Yes, aftermarket is "cutout"
allowing direct fitment to bulb, but this gap also makes it weak when twisting
it onto the housing. This and lack of bumps make fit loose. With bit of filing
(see below), can thread wires through the OEM adapter no problem, and have
rigid adapter with bumps for good positive lock. (If you look closely below, I cut
access through the OEM to get the wires through. Lost all rigidity, don't to this!
File connectors and push through. Explained later)
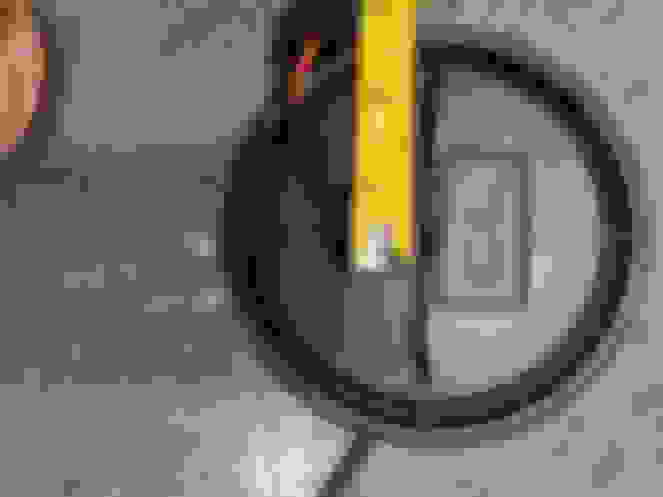
DRILLING DUST COVER
Use a stepped drill bit to cut around 1" hole for wires/rubber boot. Measure boot that comes with your Morimotos. Start small, can always cut more
ADAPTING CONNECTORS TO GO THROUGH THE OEM BULB ADAPTER
The HID bulb's two wires with connectors need to go through the bulb adapter. One
goes easily, the other needs just a bit filed off each side to get through:
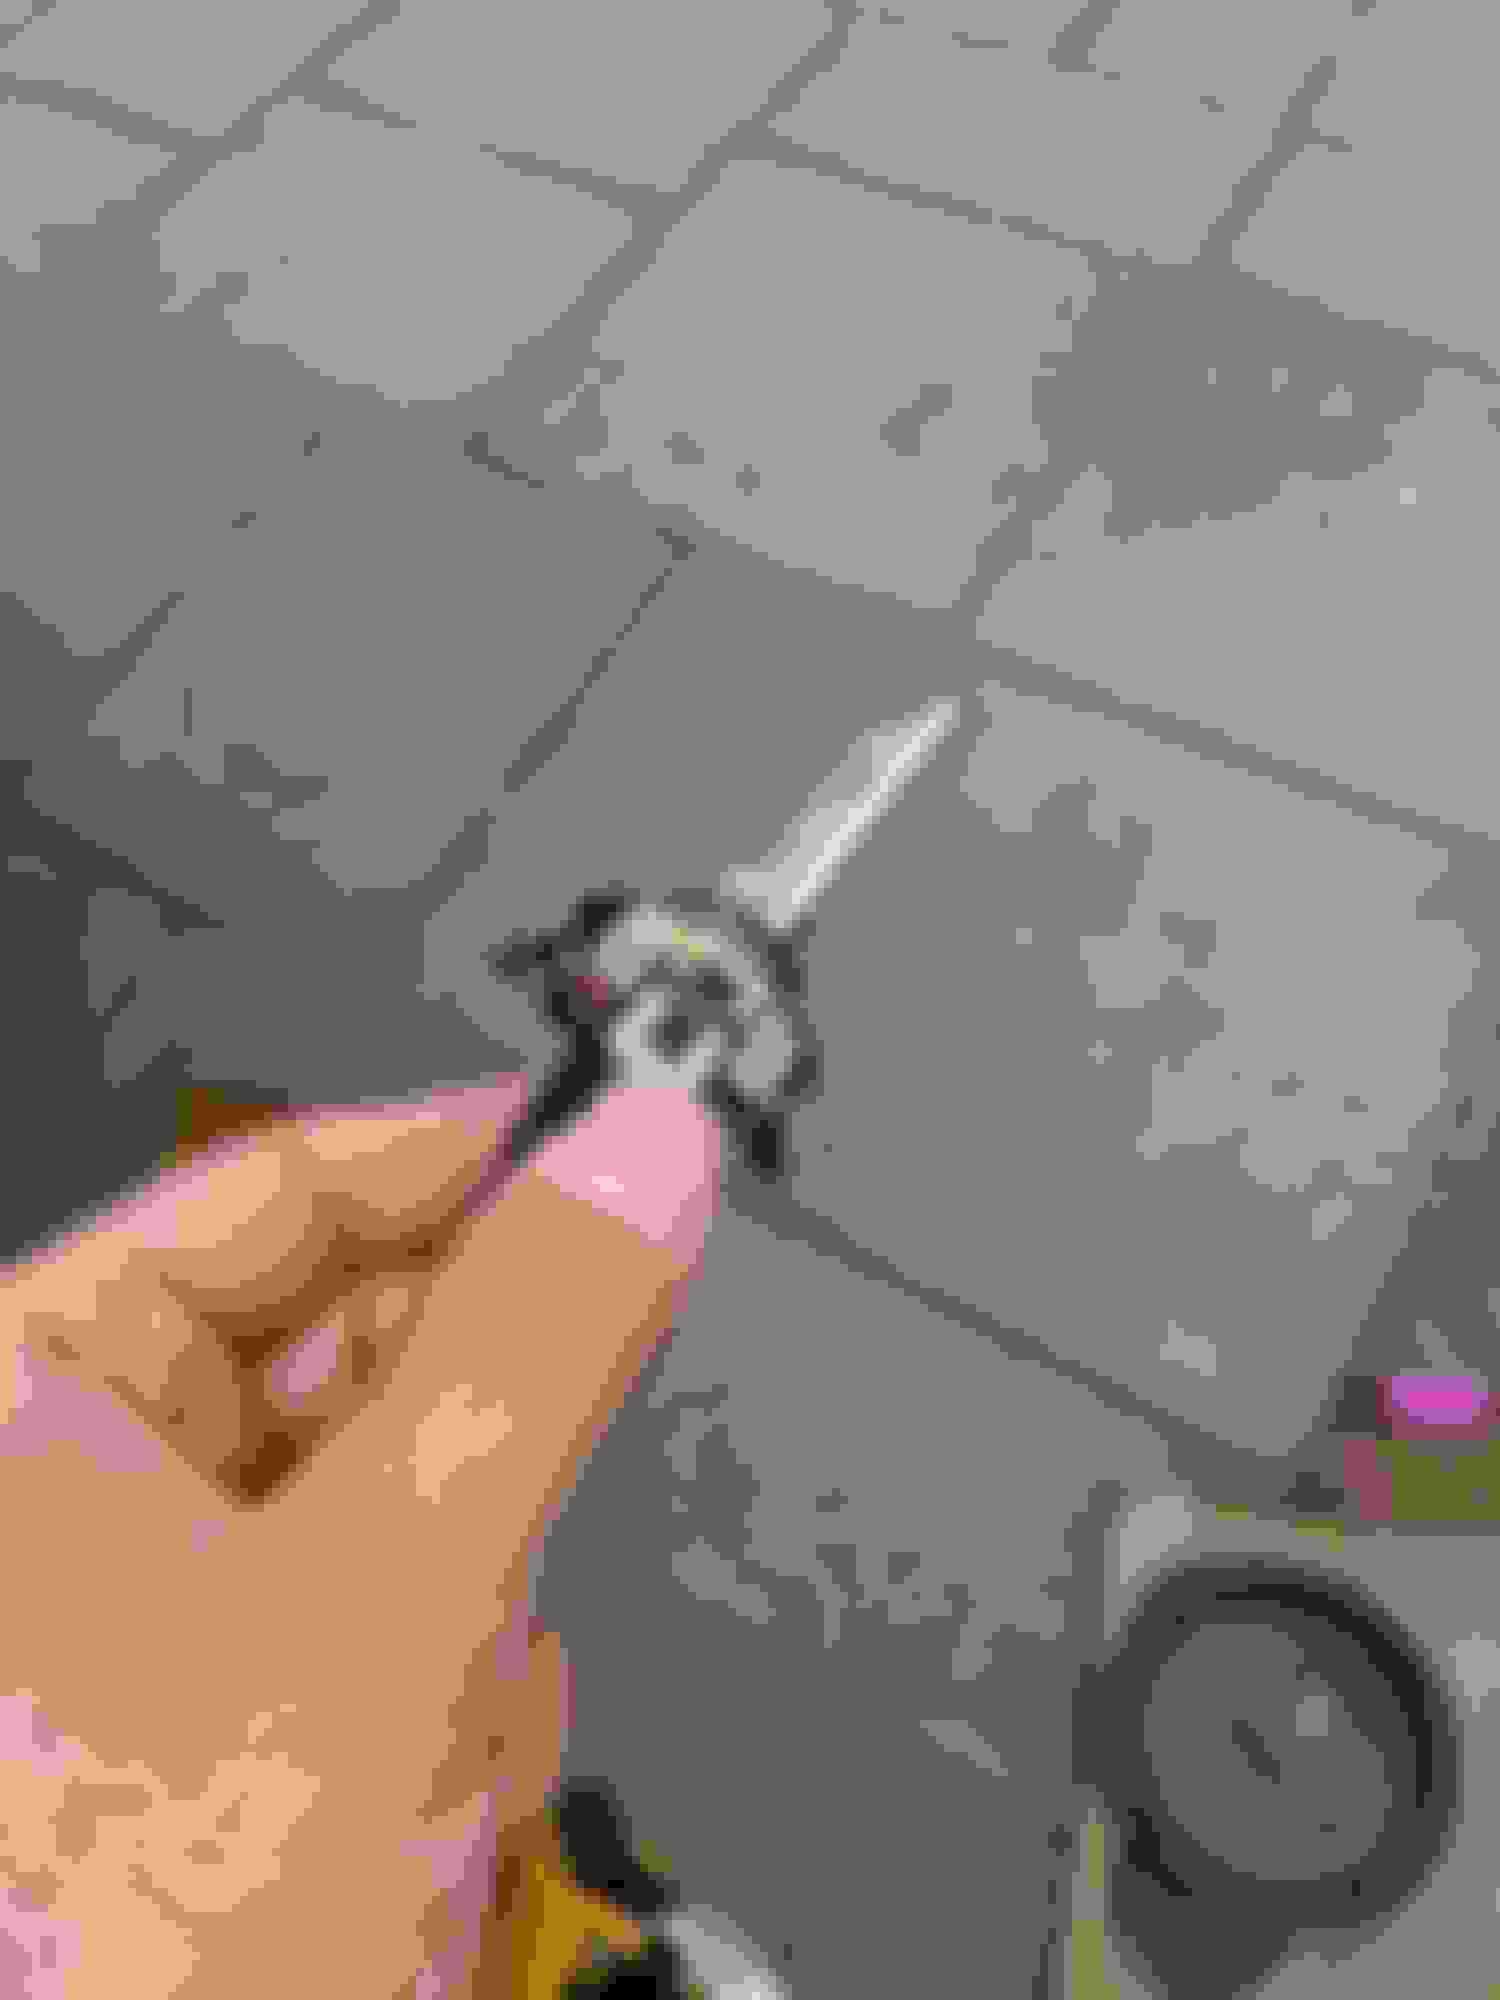
REMOVING THE RUBBER BOOT
Now that you've filed the connectors, you've got to get the rubber boot
off to be able to slide the adapter up to the bulb. Use an exacto knife to bridge the
two nipples, and pull the connectors out . Cut away from the wires. Like an episiotomy for
delivering a baby.. You'll see what I mean.
With the rubber boot off, slide the adapter up to the bulb. Really goes
on only one way. PUSH the connectors back through the boot, and make
sure the spade connectors in a good spot. See below. Put on the
gloves and clean the bulb. The return wire on the H7A is on same side as
rounded part of ring. Flat part of adapter ring opposite side.
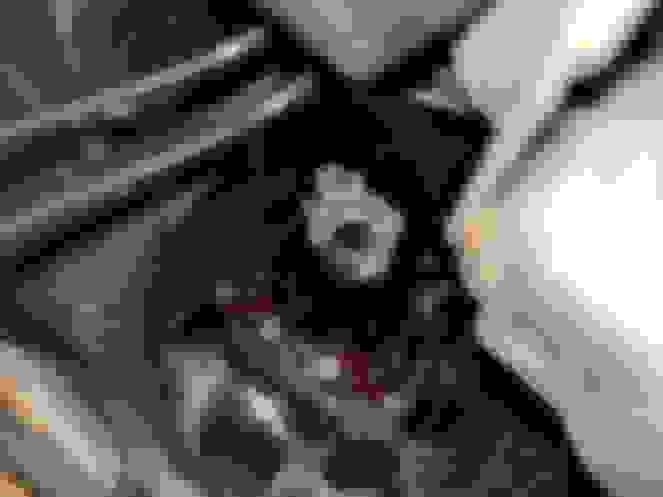
KNOW YOUR ENEMY
Now the fun part. Below is what the headlight ring looks like-- tabs at 180 degrees
are where the bumped flanges on the adapter lock in. Start with flat portion of adapter ring
on top, rounded part below and rotate clockwise. Can only go in one
way, so with patience (and wheels turned away) push in and turn clockwise. Reference
picture(s) below to see the locking tabs you're trying to rotate the adapter rings dimpled
flanges into.
For reference below, this was the OEM adapter I cut to try to get connectors through without filing. Note
the lower flange isn't engaging as ring is bending. This also happened with the aftermarket adapters that have a gap. Use
OEM, don't cut, and you'll have a good rigid click. Also, DON'T put the dust cover on until AFTER the bulb is on,
spades connected, and bulb tested. It gets in your way during bulb installation.
DUST COVER AND WRAP UP
Once bulb clicked in, confirm visually tabs are engaged and bulb should be very secure. Take a guess
and connect the spades to the bulb harness inside the housing. Test. If doesn't work, reverse them.
Once got it right, thread the dust cover over the big connector and two smaller connectors and get the
rubber boot in the hole nicely. Make sure the spade/bulb harness is inside the light housing, and twist the
cover on clockwise. TEST AGAIN as sometimes spade connectors will come loose!
Now simple matter of connecting the big connector and two smaller ones to the rest of the kit. Used velcro
tape to secure the parts on top of the plastic wheel wells. Just enough flat space to work.
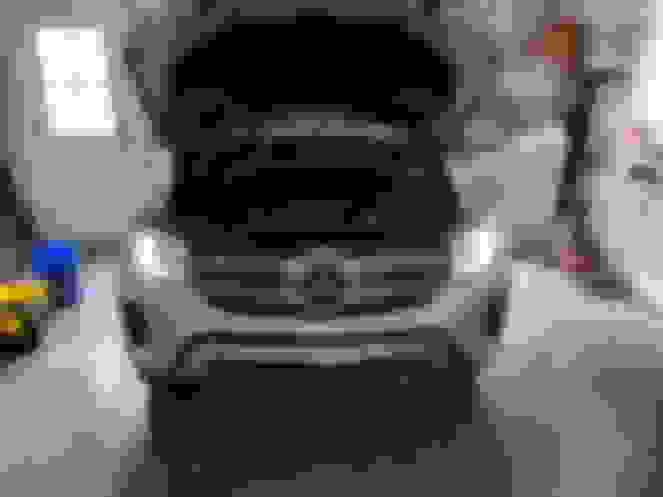
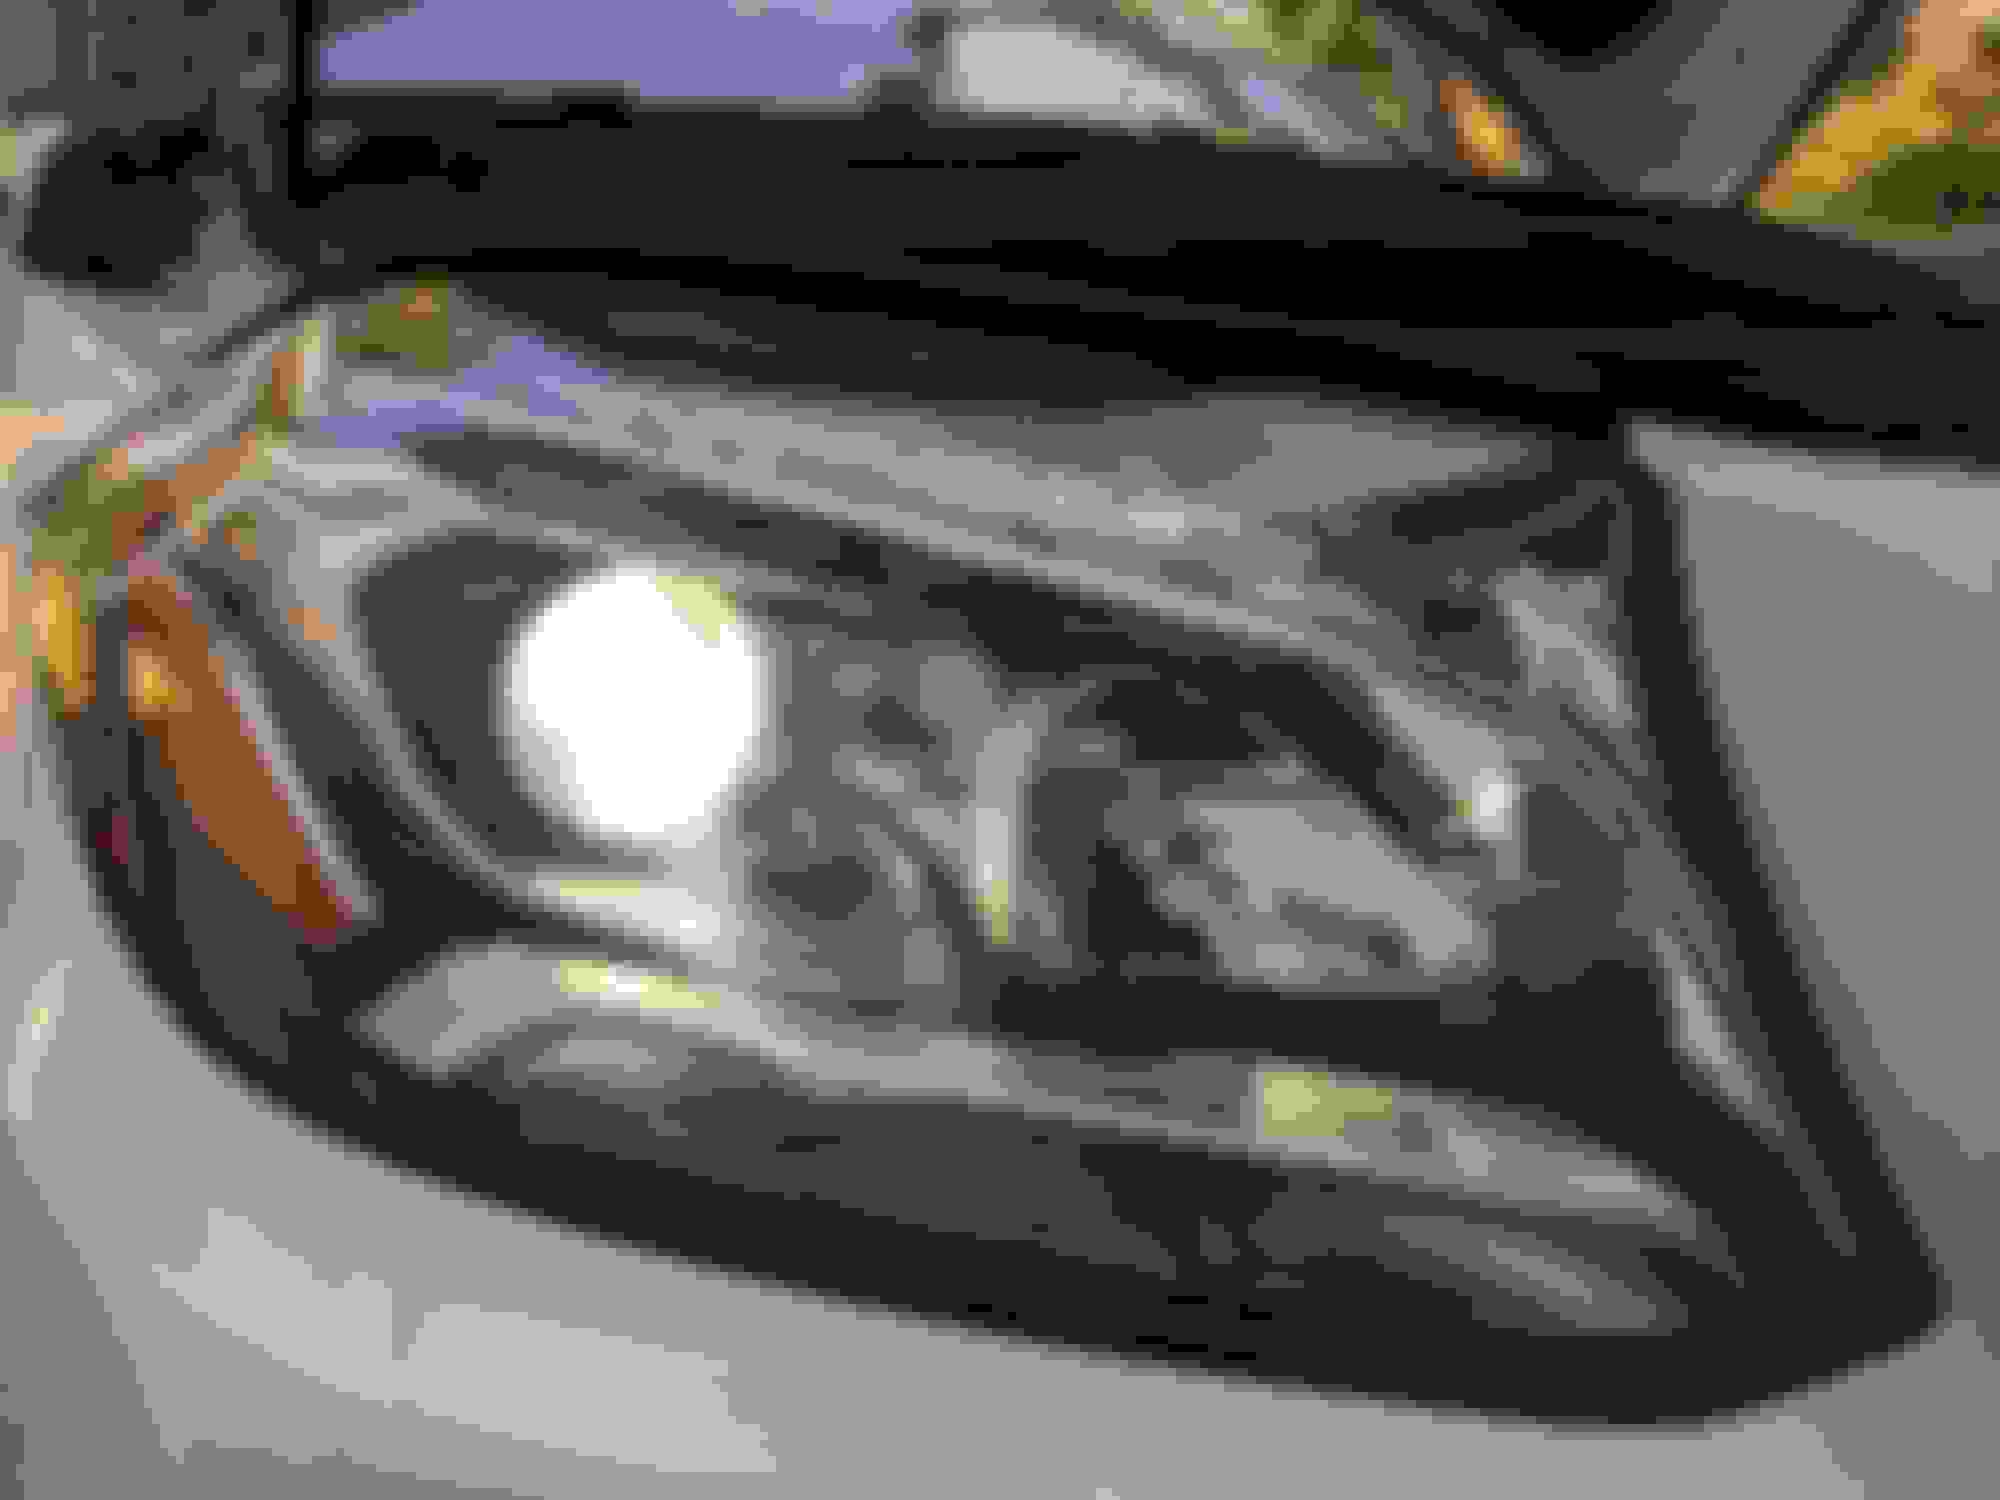
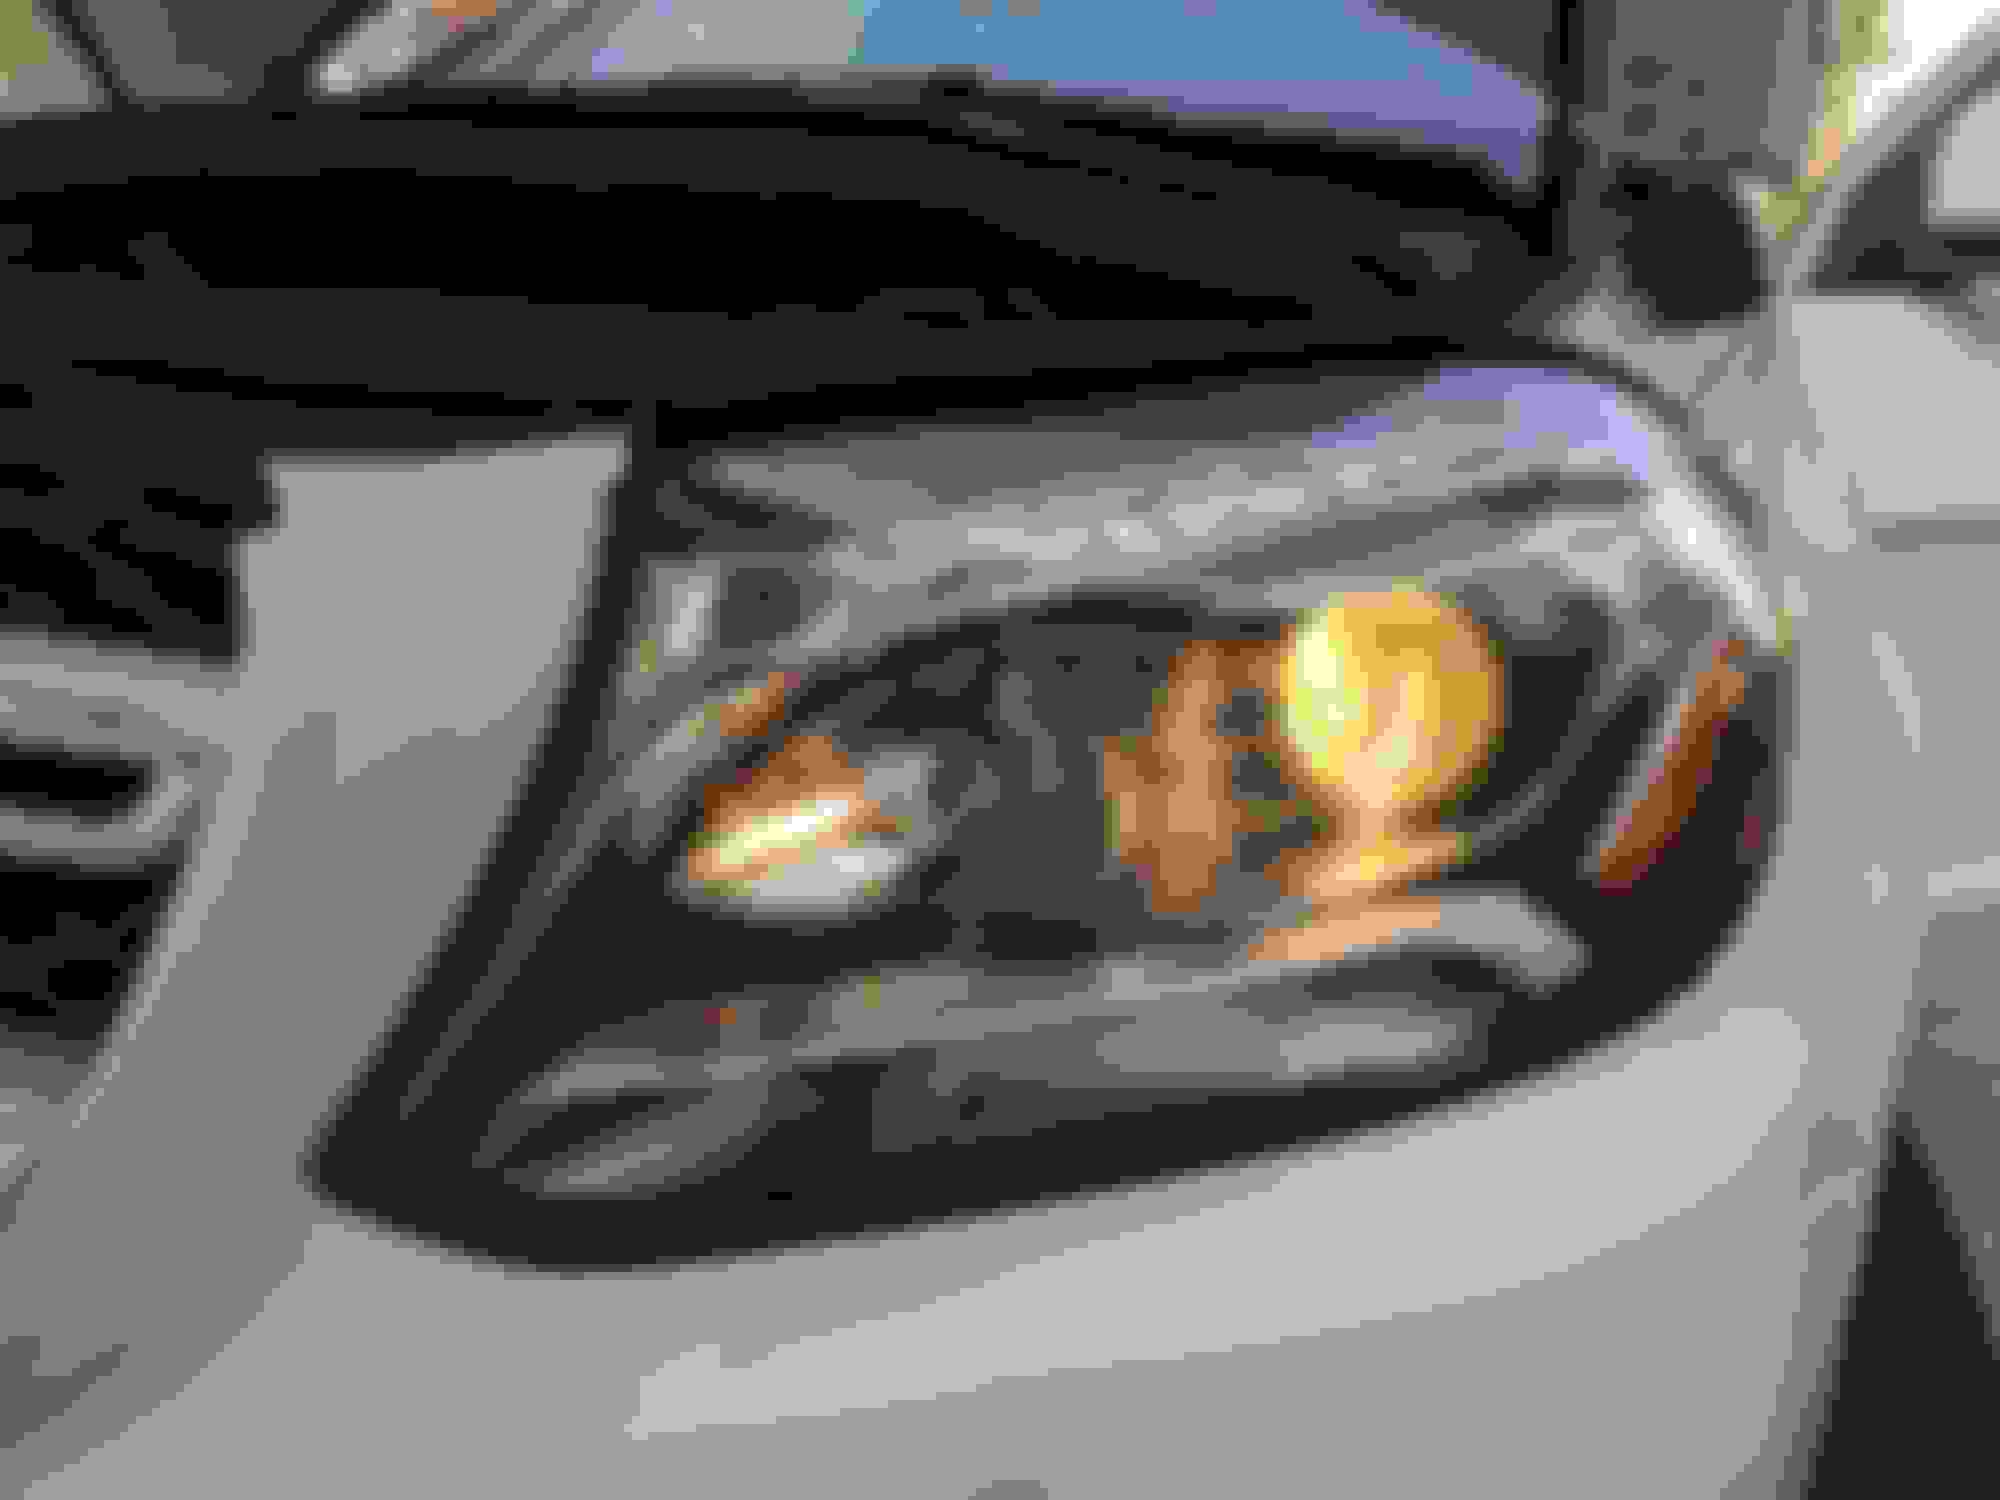
Below is sample of before/after. Feel free to offer any other tips or advice!
Last edited by fastback174; Dec 12, 2021 at 08:07 PM.
Guessing light is 30% improved, particularly the spread. No problems with other drivers flashing their brights driving by. As for the high beams, left stock for now. Much tighter space there... perhaps down the road
Guys in shop pulled a couple for me, didn't get the number. Just bring in some doughnuts and ask em for a pair. Much better fitment than any of the aftermarket adapters available. Honestly, could just reuse the ones on you halogens.
Thank you for this. I used this and a tip from aznoptics for my install yesterday. I reused the stock clips after trying the aftermarket ones first and realized that one side failed last night. The bulb backed out and thankfully I noticed and swapped in the stock ones this morning. Takes a little bit more work, but now they're secure.
Did you or anyone else swap out the high beams? I'd like to swap them out for LED H7's but haven't heard or seen anyone try yet.
This is a very useful guide.
I used this step-by-step guide to install the HID headlight ony 2017 GLS 450 back in Dec, absolutely love it, the difference is night and day! Thank you!
Notes:
1. Make sure you have all the tools ready.
2. When drilling the dusk cover, make it as small as possible
3. Use your original bulb holder, not the one shipped in aftermarket package
It's beyond me that a company that markets safety would put halogen bulbs in their vehicles when there are much better products on the market. The first time I drove my GL450 with the stock halogen bulbs at night I did not think I was going to make it home. The aiming and the light output was the worst I've ever experienced and to put it in an $80k car was down right wrong. I'm guessing they do the halogens to drive their margins up on the upgraded lights. It's a shame that a base Hyundai has better lights from the factory.
Has anyone done high beam HID replacements on a 2017 GLS 450 ? Just curious how access is?
To do it right, you have to install a bi-xenon projector. When you hit the high beam, the shield moves out of the way so you get a flood of high and low light. You don't want to put a HID light in a high beam location since it takes time for the bulb to respond to full brightness. A LED bulb in a standard reflector does not work well since LED has a bright but short throw. Your best bet is a really nice halogen bulb in the high beam location and or add the bi-xenon projector.
To do it right, you have to install a bi-xenon projector. When you hit the high beam, the shield moves out of the way so you get a flood of high and low light. You don't want to put a HID light in a high beam location since it takes time for the bulb to respond to full brightness. A LED bulb in a standard reflector does not work well since LED has a bright but short throw. Your best bet is a really nice halogen bulb in the high beam location and or add the bi-xenon projector.
Thanks for taking time to reply
The bi xenon projector install doesn't seem so clear when looking online .... You do mean for the high beam correct?? And is it possible in my 2017 Mercedes GLS 450 to install that??
Also any suggestion on a "good halogen bulb"??
Sorry to raise the dead with this post, but I just completed this install with the kit from aznoptics. Great write up btw. I just went on a drive now that it�s dark and I�m having an issue with the aim of the light beam. They were way to low and I was able to fix this with the adjustment screw, however, it seems that the light needs to be more focused to the middle of the vehicle and I cannot find a way to adjust the horizontal axis. Is there a way to adjust the horizontal axis or is this just how it is? 2017 gls450 with factory halogens.
Mercedes SLR McLaren 722 S Is Extremely Rare Example Modified by McLaren
Slideshow: A one-of-one U.S.-spec Mercedes-Benz SLR McLaren Roadster became even rarer after a factory-backed transformation at McLaren's headquarters.