When you click on links to various merchants on this site and make a purchase, this can result in this site earning a commission. Affiliate programs and affiliations include, but are not limited to, the eBay Partner Network.
Anyone actually had an OEM trailer hitch + wiring installed?
So, I've scoured the forum, especially the X166 forum, for information about installing the OEM trailer hitch and wiring harness on a GLS if it was not factory ordered - I've read anecdotes relating quotes of $1700-$5000, estimates of 8-16 hours shop labor, and advice to just find a GLS with the tow hitch already installed - but have yet to determine if anyone has actually had this install done. Anyone...? Bueller...?
I ask because I've found the perfect CPO with all the features I'm looking for at a good price, but no tow hitch, and I need a fully integrated tow hitch for my horse trailer (a lightweight European-style trailer). We successfully got an OEM hitch installed on our 2018 Vovlo XC90 for about $2k, and I'd be happy to pay that or more to install an OEM hitch on this particular GLS. However, the couple of dealers I've queried are telling me it's simply not possible because it's not an available accessory option for a 2018 GLS 450, and I admit that in my own search for OEM parts, I'm not seeing OEM trailer hitch components available to buy like I see for the Volvo. However, if someone could point me towards other information I could arm myself with, I would truly appreciate it.
1. Search for Stealth Hitch - for a 2018 GLS they "should" have a hitch available
2. Search for a Local Hitch Installer in your area - they can connect a electronic relay/module and connect up the hitch wiring harness for basic running/brake light connections thru the rear electrical (best if they ground the relay module to the battery).
3. You will NOT be connected to the same trailer safety systems as the factory installed hitch - but you will have a very well built Class III hitch and basic electrics.
3. You will NOT be connected to the same trailer safety systems as the factory installed hitch - but you will have a very well built Class III hitch and basic electrics.
Thanks, but I really need to be connected to the vehicle's safety systems, towing precious live cargo. So if there is truly no way to install an OEM hitch+harness, I'll give up other desired features - but first I want to see if I can have it all
Thanks - I had seen that 16-hour install but then I had also seen the comment that the hitch for the GL63 (in that post) was subsequently discontinued as an option for dealer install. Still, I queried Kfehling for any insights he can share that could help. So far, though, it seems that the OEM hitch parts are not available from MB for a 2018 GLS 450 and cannot be installed by the dealer - c'mon and prove me wrong, MBWorld!
And you could probably find a shop to splice in a wiring harness for you.
Thanks - based on research and feedback I'll plan to hold out for a factory hitch plus all my desired options.
Now, another question: does Mercedes actually manufacture/sell a 2" hitch ball to go with their factory receiver? I ask because Volvo's 2" hitch ball came with the factory tow package - but I'm not seeing similar parts for Mercedes. Does everyone using a MB factory hitch receiver use a third party hitch ball? If so, recommendations that are within the specs for towing (i.e. the 7.5" from the pin)?
Welp, answered my own questions so posting here for posterity:
On a 7.5" length drawbar/ball mount:
Originally Posted by Beemie
I was having the same trouble finding a 7.5" length when most drawbars are longer than that. Here's e-trailer's response to my question with a recommendation that is relevant to any model requiring these specs: https://www.etrailer.com/question-537457.html?fb=yes
Our 450 has a factory hitch installed. It's pretty slick having it integrated into the vehicle; no worries about the back up alarm, etc. I've towed near the limit (7500 lbs) (car carrier and another Benz) and it works great. As far as the draw bar goes, I used the same one I had on my old Duramax, flipped it over and got about a 4 " rise instead of a drop. I think it's a little high, but works just fine. (I know, this doesn't really address your question, but it sounds like it might be worth the wait for you to find one.) OTOH, I got a hitch and basic wiring adapter from etrailers.com for the X204 and it's just fine for me. Being connected to the vehicle's safety systems is a convenience but is no substitute for defensive driving. (I use the "Sport" powertrain setting when I'm pulling that heavy and not on the highway.) I had an etrailers setup on my Volvo XC90 and other than the back up alarm issue, it worked fine, too.
Adding a factory hitch to a non-factory tow hitch purchased GLS x166 is absolutely possible.
It helps if you have a friendly dealer who is willing to work with you to either install the parts you bring or simply code the modules after you bring it in.
There are a few retrofit documents for the process to add a trailer hitch: 'retrofit mechanical detachable parts', 'retrofit trailer hitch wiring harness', 'removing and installing rear seat', 'remove/install rear bumper',
The one issue that will likely occur is that Xentry will not allow all of the modules to be updated because 'towing' was not coded when the vehicle was rolled off the assembly line.
Each programming option has an SA code that has to be on the VMI option list so the correct coding/programming of other modules can be set for the vehicle. If you don't have those then programming won't work.
This can be resolved by opening a ticket with the MB technical support and hopefully a visit from your friendly Field Technical Specialist who can change the SA codes. Once the SA codes are updated then the Xentry will update all the modules.
I was able to acquire all of the factory parts [longitudinal member reinforcement, trailer hitch crossmember, nuts, cabling, harnesses], install them, and then had the modules coded.
Parts:
Elastomer bumper support: 166-315-00-65-64
Crossmember / Tow bar: 166-310-02-00
Trailer crossmember wiring: 166-440-84-34
Longitudinal members: 166-310-03-18 and 166-310-04-18
Trailer control module: 246-900-35-18
Trailer wiring harness: 166-540-14-03
Flange nut (x8): 000000-003274-64
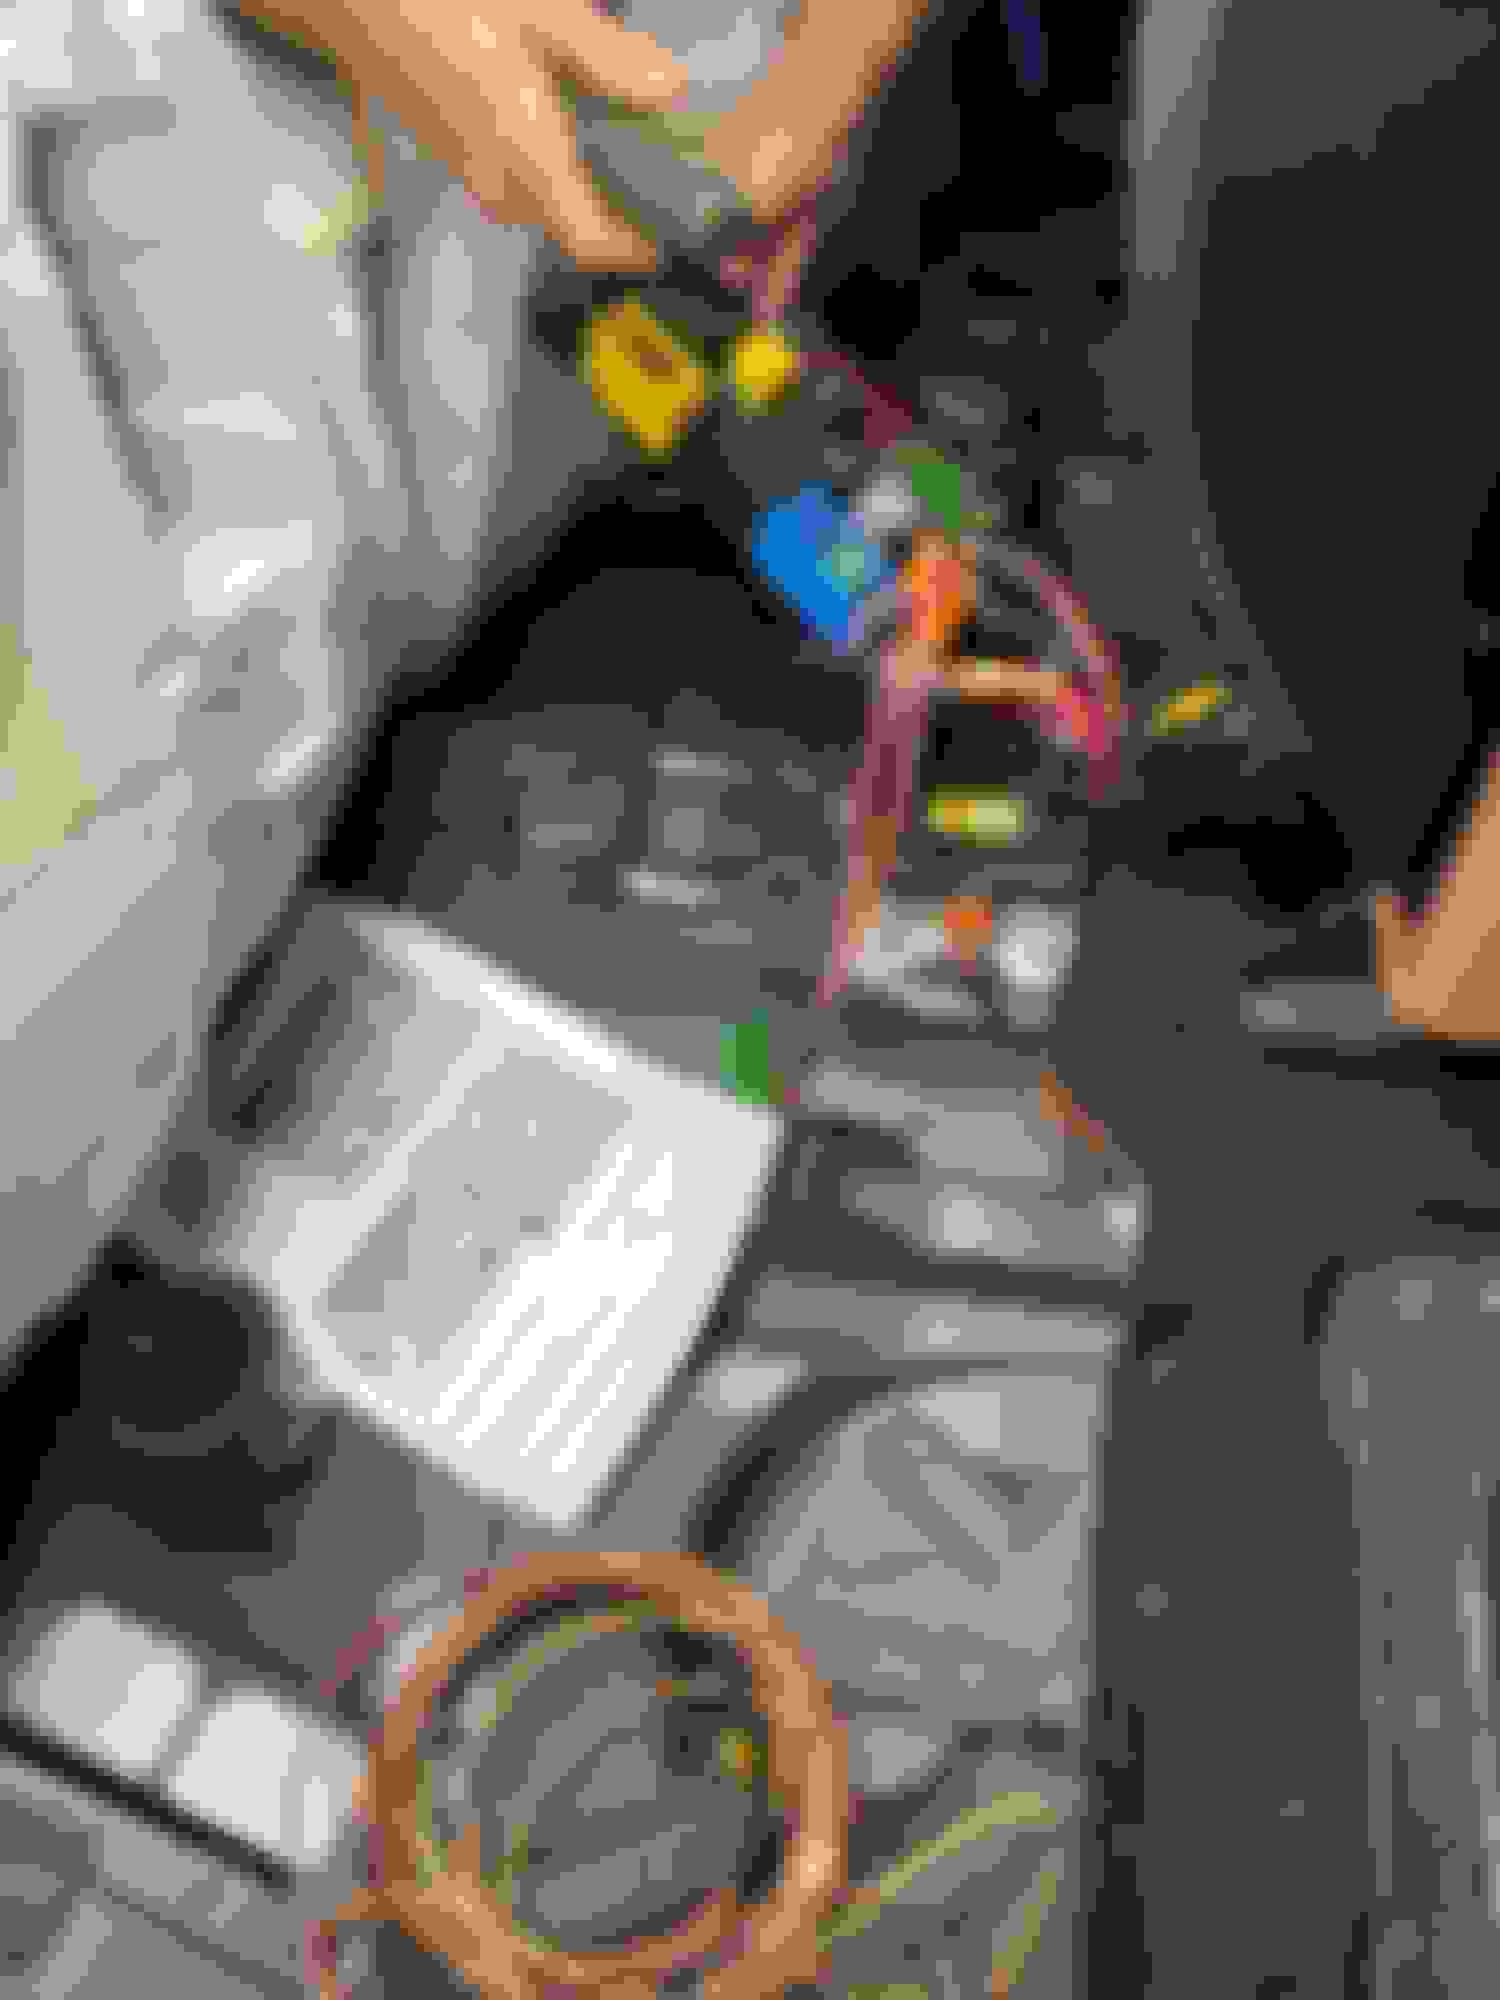
Ironically, one of the more complicated steps was moving the fuses pins for the driver and passenger seat [F127 and F129] to the new trailer fuse block which had fuses 115, 124, 125, 126, 128, and 130.
Trailer crossmember wiring: 166-440-84-34 Crossmember / Tow bar: 166-310-02-00 Rear fuse box with the new trailer block snapped in. rear fuse box Now's also a good time to run extra wires to the fuse box Old fuse block to pull the driver and passenger seat fuse pins from Awwwww yeah!
* edit I forgot to add. Complete removal of the interior is not required. You can carefully work your way from the back to the front only removing a few panels at a time. Replace as you go. The factory procedure calls to remove the interior as with the post above but it is not fully required. Running the harness wiring and bolting on the parts can be completed in half the book time.
Last edited by x166-w463; Oct 11, 2021 at 12:17 AM.
Adding a factory hitch to a non-factory tow hitch purchased GLS x166 is absolutely possible.
It helps if you have a friendly dealer who is willing to work with you to either install the parts you bring or simply code the modules after you bring it in.
There are a few retrofit documents for the process to add a trailer hitch: 'retrofit mechanical detachable parts', 'retrofit trailer hitch wiring harness', 'removing and installing rear seat', 'remove/install rear bumper',
The one issue that will likely occur is that Xentry will not allow all of the modules to be updated because 'towing' was not coded when the vehicle was rolled off the assembly line.
Each programming option has an SA code that has to be on the VMI option list so the correct coding/programming of other modules can be set for the vehicle. If you don't have those then programming won't work.
This can be resolved by opening a ticket with the MB technical support and hopefully a visit from your friendly Field Technical Specialist who can change the SA codes. Once the SA codes are updated then the Xentry will update all the modules.
I was able to acquire all of the factory parts [longitudinal member reinforcement, trailer hitch crossmember, nuts, cabling, harnesses], install them, and then had the modules coded.
Parts:
Elastomer bumper support: 166-315-00-65-64
Crossmember / Tow bar: 166-310-02-00
Trailer crossmember wiring: 166-440-84-34
Longitudinal members: 166-310-03-18 and 166-310-04-18
Trailer control module: 246-900-35-18
Trailer wiring harness: 166-540-14-03
Flange nut (x8): 000000-003274-64
Ironically, one of the more complicated steps was moving the fuses pins for the driver and passenger seat [F127 and F129] to the new trailer fuse block which had fuses 115, 124, 125, 126, 128, and 130.
Trailer crossmember wiring: 166-440-84-34 Crossmember / Tow bar: 166-310-02-00 Rear fuse box with the new trailer block snapped in. rear fuse box Now's also a good time to run extra wires to the fuse box Old fuse block to pull the driver and passenger seat fuse pins from Awwwww yeah!
* edit I forgot to add. Complete removal of the interior is not required. You can carefully work your way from the back to the front only removing a few panels at a time. Replace as you go. The factory procedure calls to remove the interior as with the post above but it is not fully required. Running the harness wiring and bolting on the parts can be completed in half the book time.
WOW! That's a bit more complicated then expected. I though they all were pre-wired for hitch install? I may just go with a CURT hitch, because all i'm planning to ever haul is a bike rack, utility trailer and possibly in a future a smaller camper. But thanks for sharing such a precious info.
Mercedes SLR McLaren 722 S Is Extremely Rare Example Modified by McLaren
Slideshow: A one-of-one U.S.-spec Mercedes-Benz SLR McLaren Roadster became even rarer after a factory-backed transformation at McLaren's headquarters.