When you click on links to various merchants on this site and make a purchase, this can result in this site earning a commission. Affiliate programs and affiliations include, but are not limited to, the eBay Partner Network.
You've spoken and we've listened. Due to the large amount of real estate the COB chip took up where space is at a premium, our V5 design had to locate the resistors at the base of the unit which made for harder installation. We've made a swap for new Samsung SMD chip while keeping the core V5 component design which allows us to move the resistor away from the base for trouble free install in our new V5.1 design:
So this is a little different to the title of the thread that mentions the city lights. Perhaps it can just be renamed to AZN Optics light upgrades or something.
I recently ordered some new D2R HID/Xenon low beam lights for my 2006 ML500. As per usual the delivery of the lights was prompt and very secure. The box provided excellent safety for the bulbs.
I'll show some pics from the install. I know many forums say that the front bumper has to come off, but that is not the case, as I will show in the install pics.
First off, the bulbs:
Here is the new Morimoto 6000K D2R bulb that was installed
*Always wear gloves or some sort of protection when dealing with sensitive electrics!*
Any contact with the glass or connectors with your bare hand can cause premature failure, as the natural body oils on the skin will cause the bulb to burn hotter than normal.
Now the install pics might require a close look to know what's happening. The area is very very tight and requires a lot of patience and feeling your way around with your hand. Emphasis on patience. The whole deal took like 30minutes and most of it was trying to fit the new bulbs back into the housing. I had a local mechanic friend of mine do the feeling, as he had replaced more of these bulbs in his lifetime than I had.
Most of the pictures showing the tight areas behind the housing are reflection shots off the mirror I placed in there. So keep that in mind when looking at the pictures.
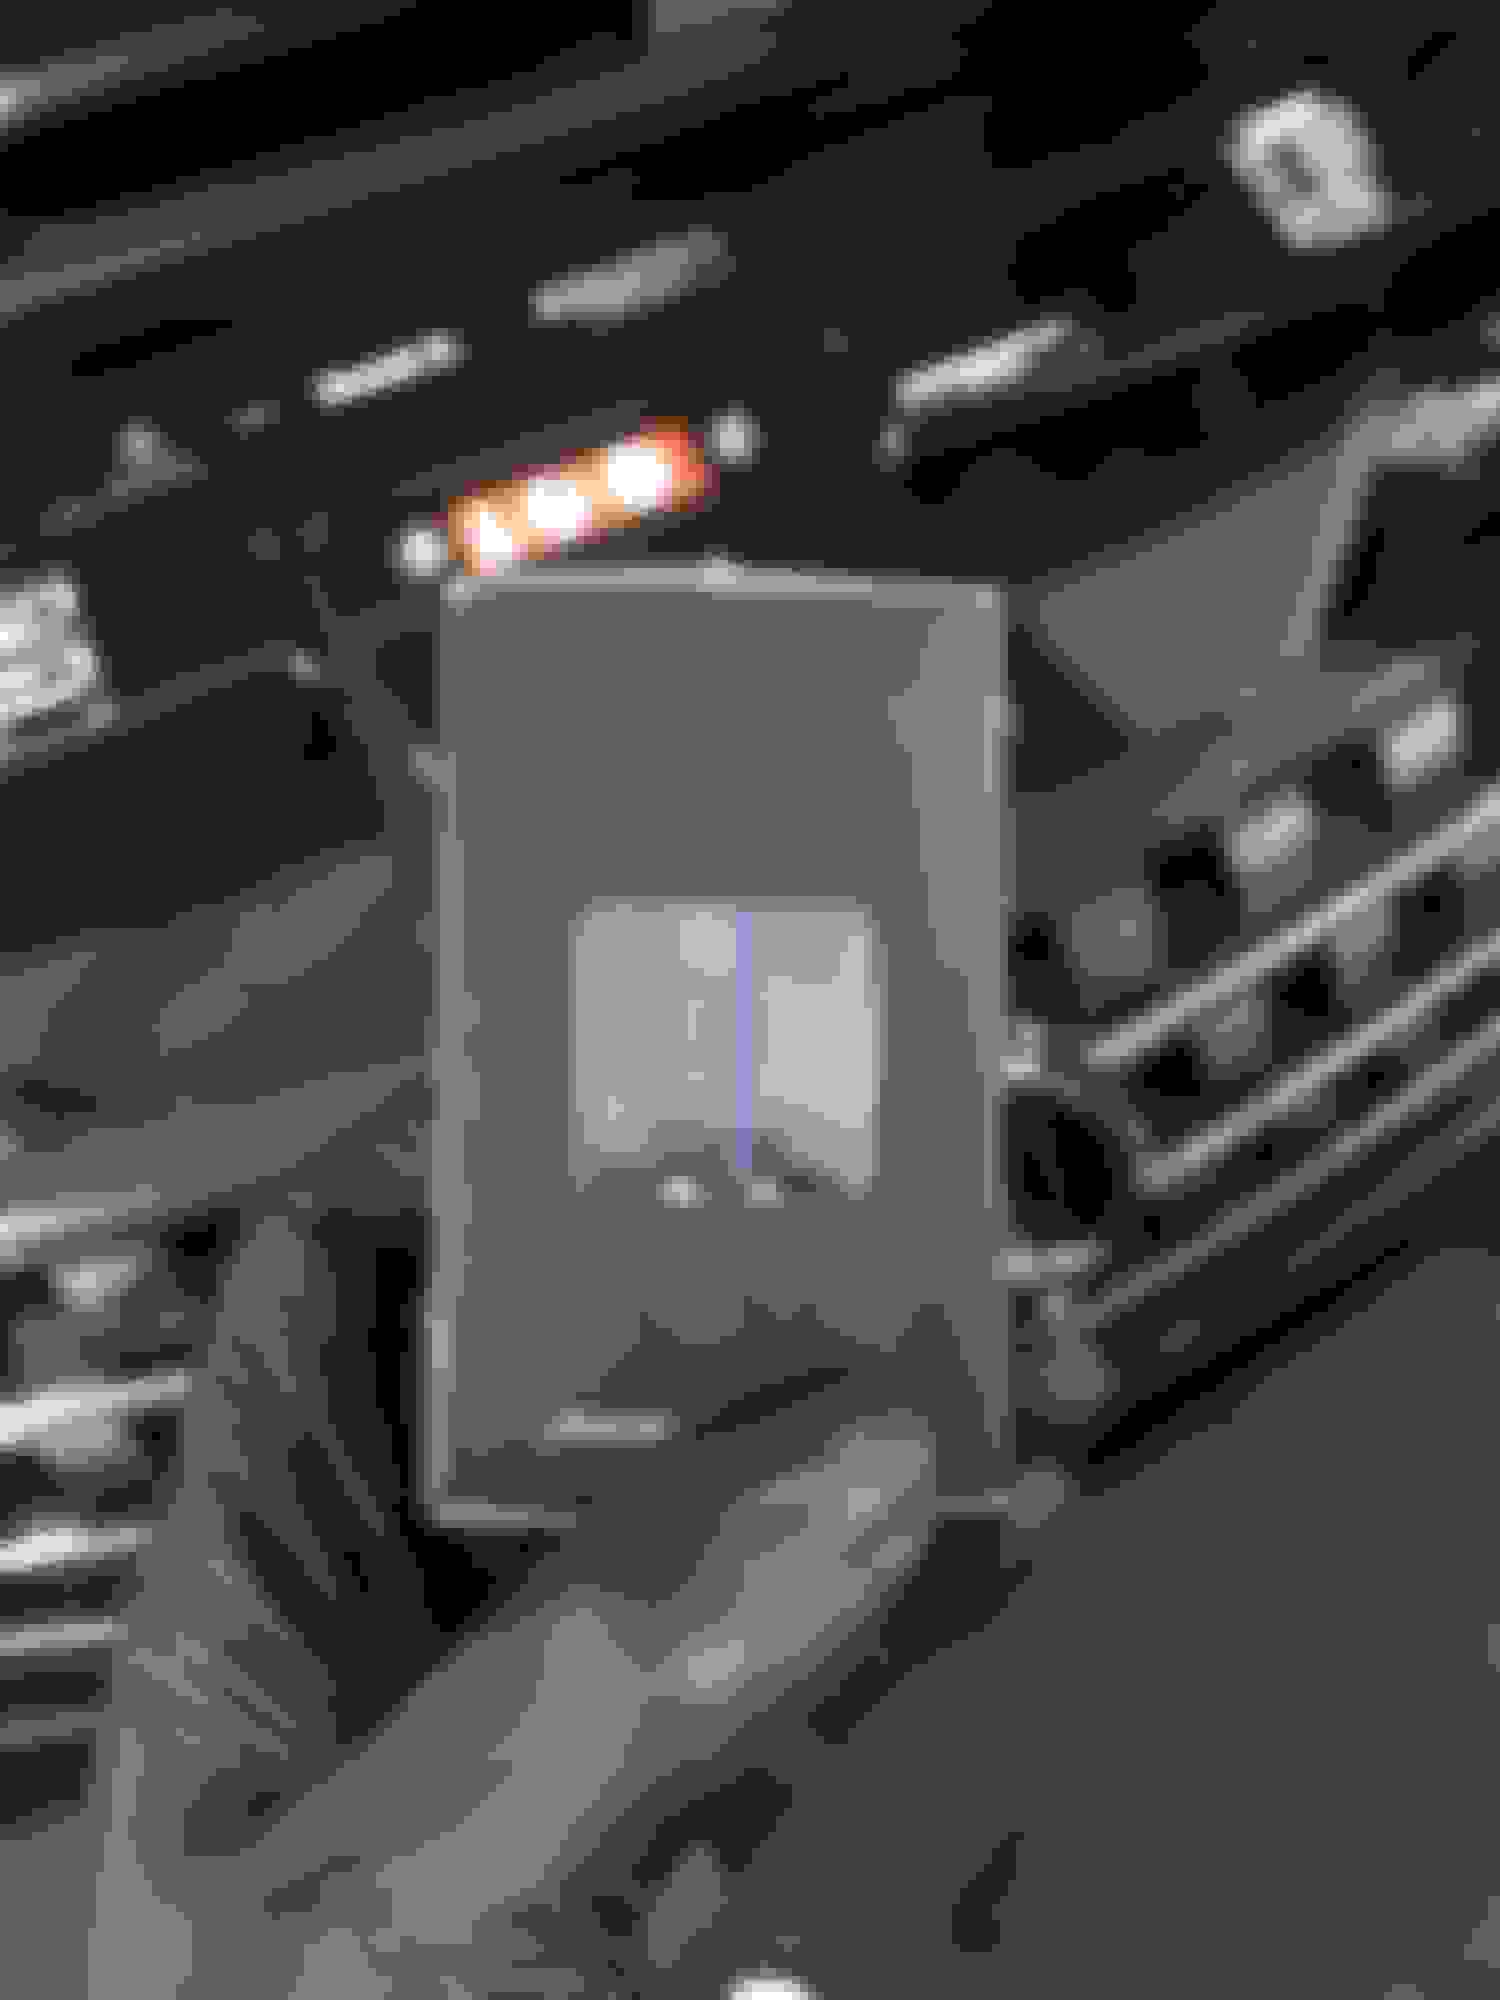
I placed a mirror on the fender well in the engine bay to get a better look at what I'm working with here. This is the housing with the ignitor and bulb out already. Taking it out was very very easy, putting it back in was a different story.
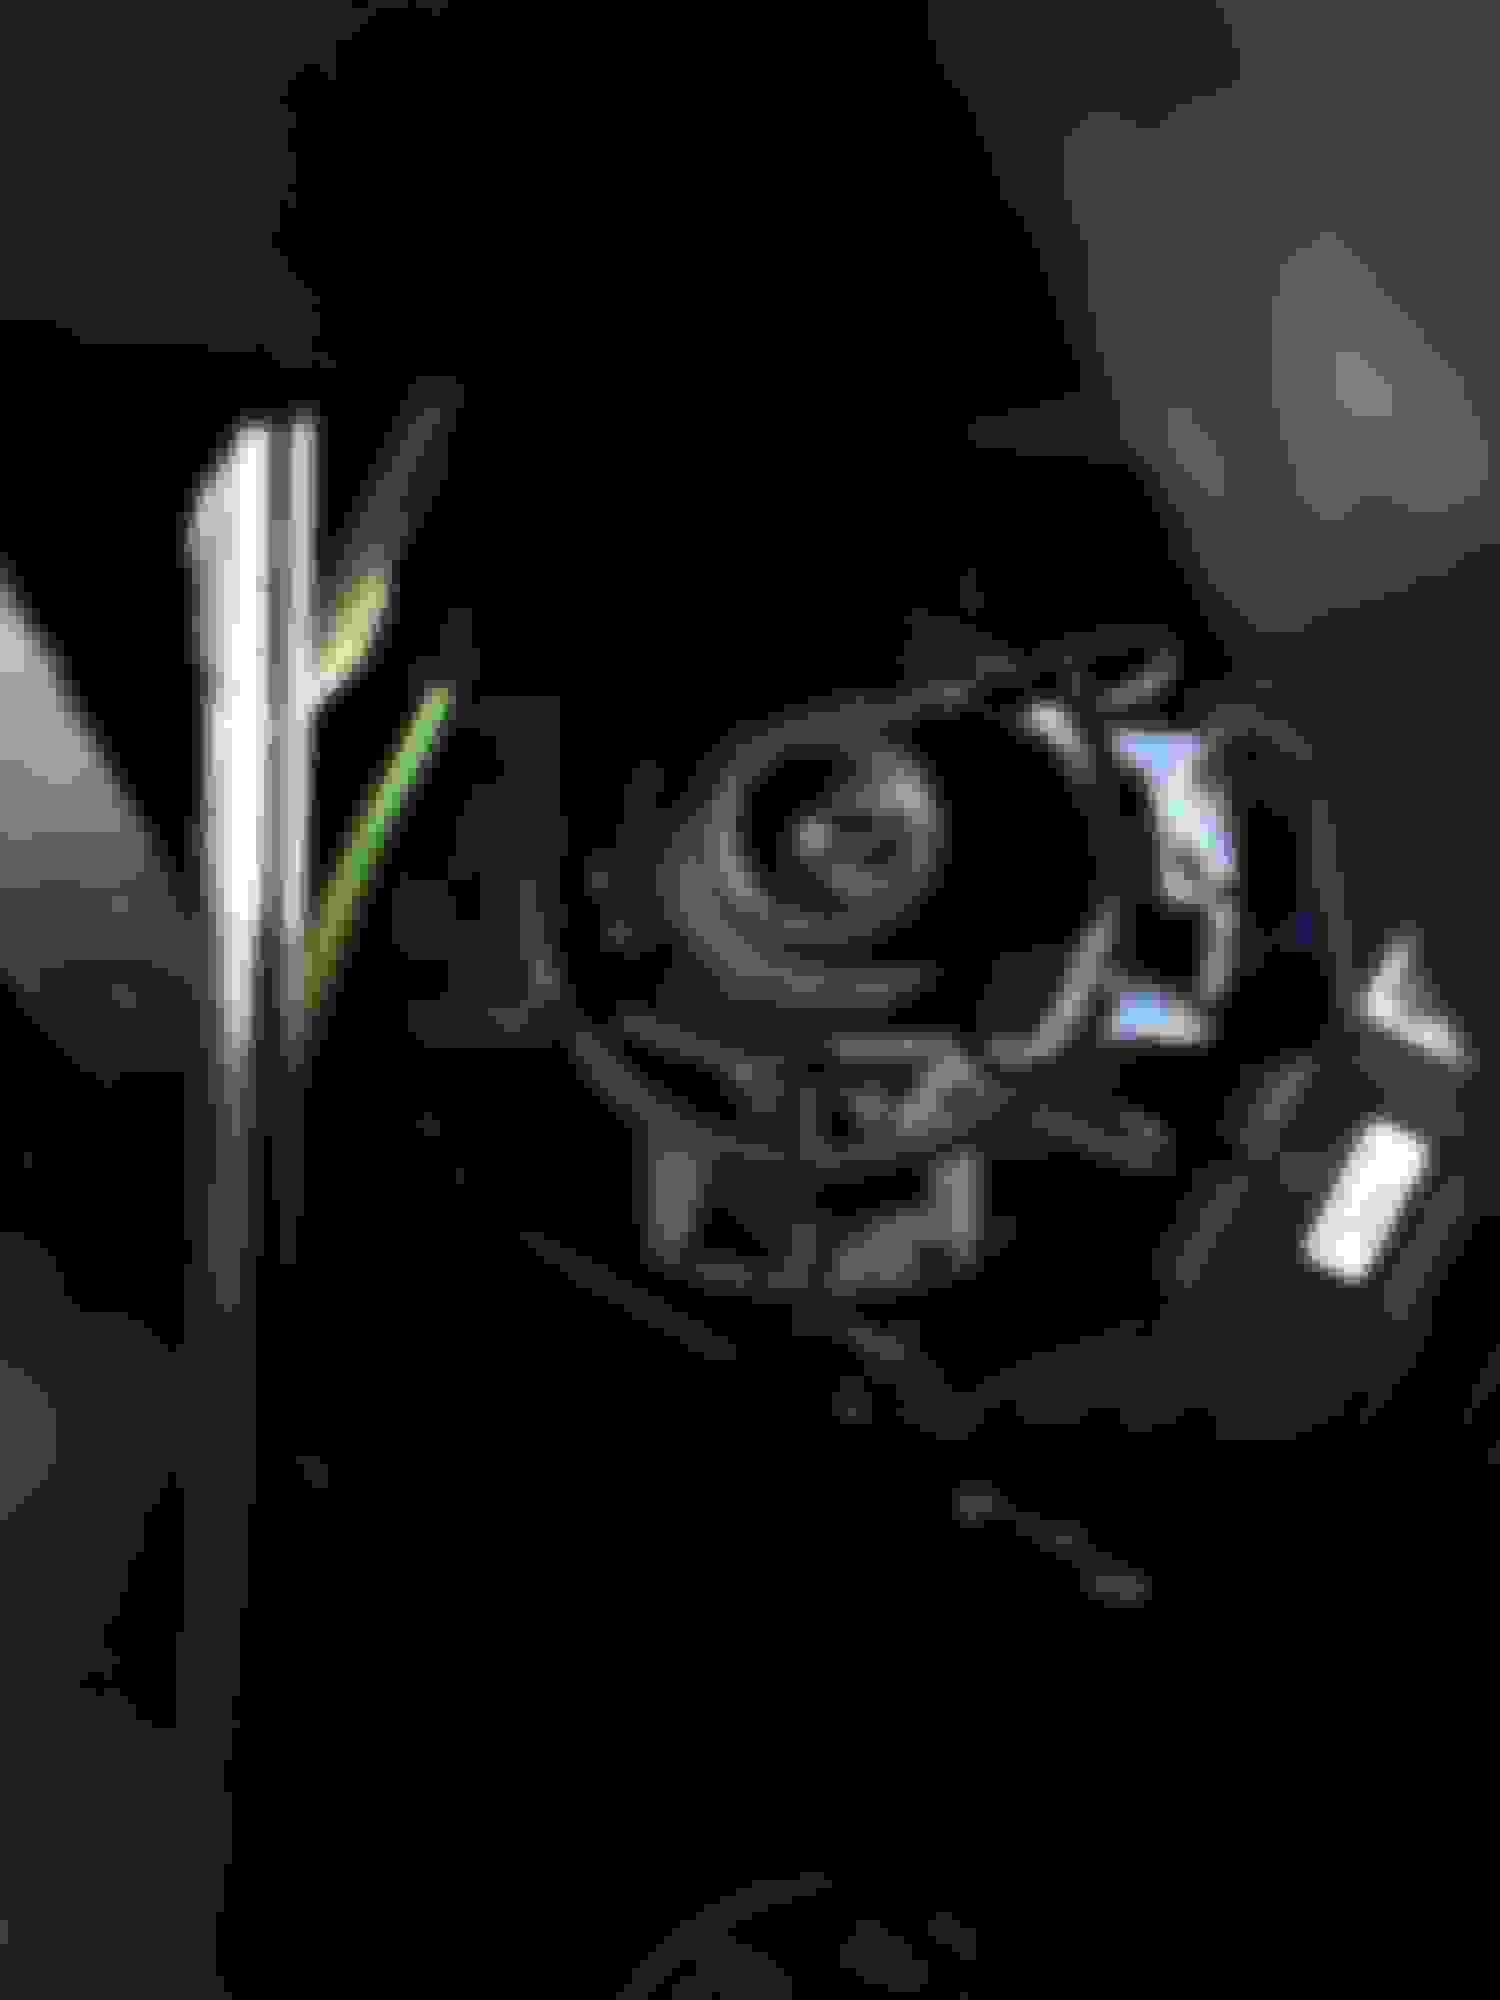
This is the new bulb already back in the housing. Take note of the clips on the sides of the bulb. They need to be undone to get the bulb out. It's a small overlooked detail as you can't see it, but it comes out and goes back in really easy. Just follow the tracks.
Here is the ignitor back on the back of the bulb. All that's missing here is the seal cap that twists over the housing.
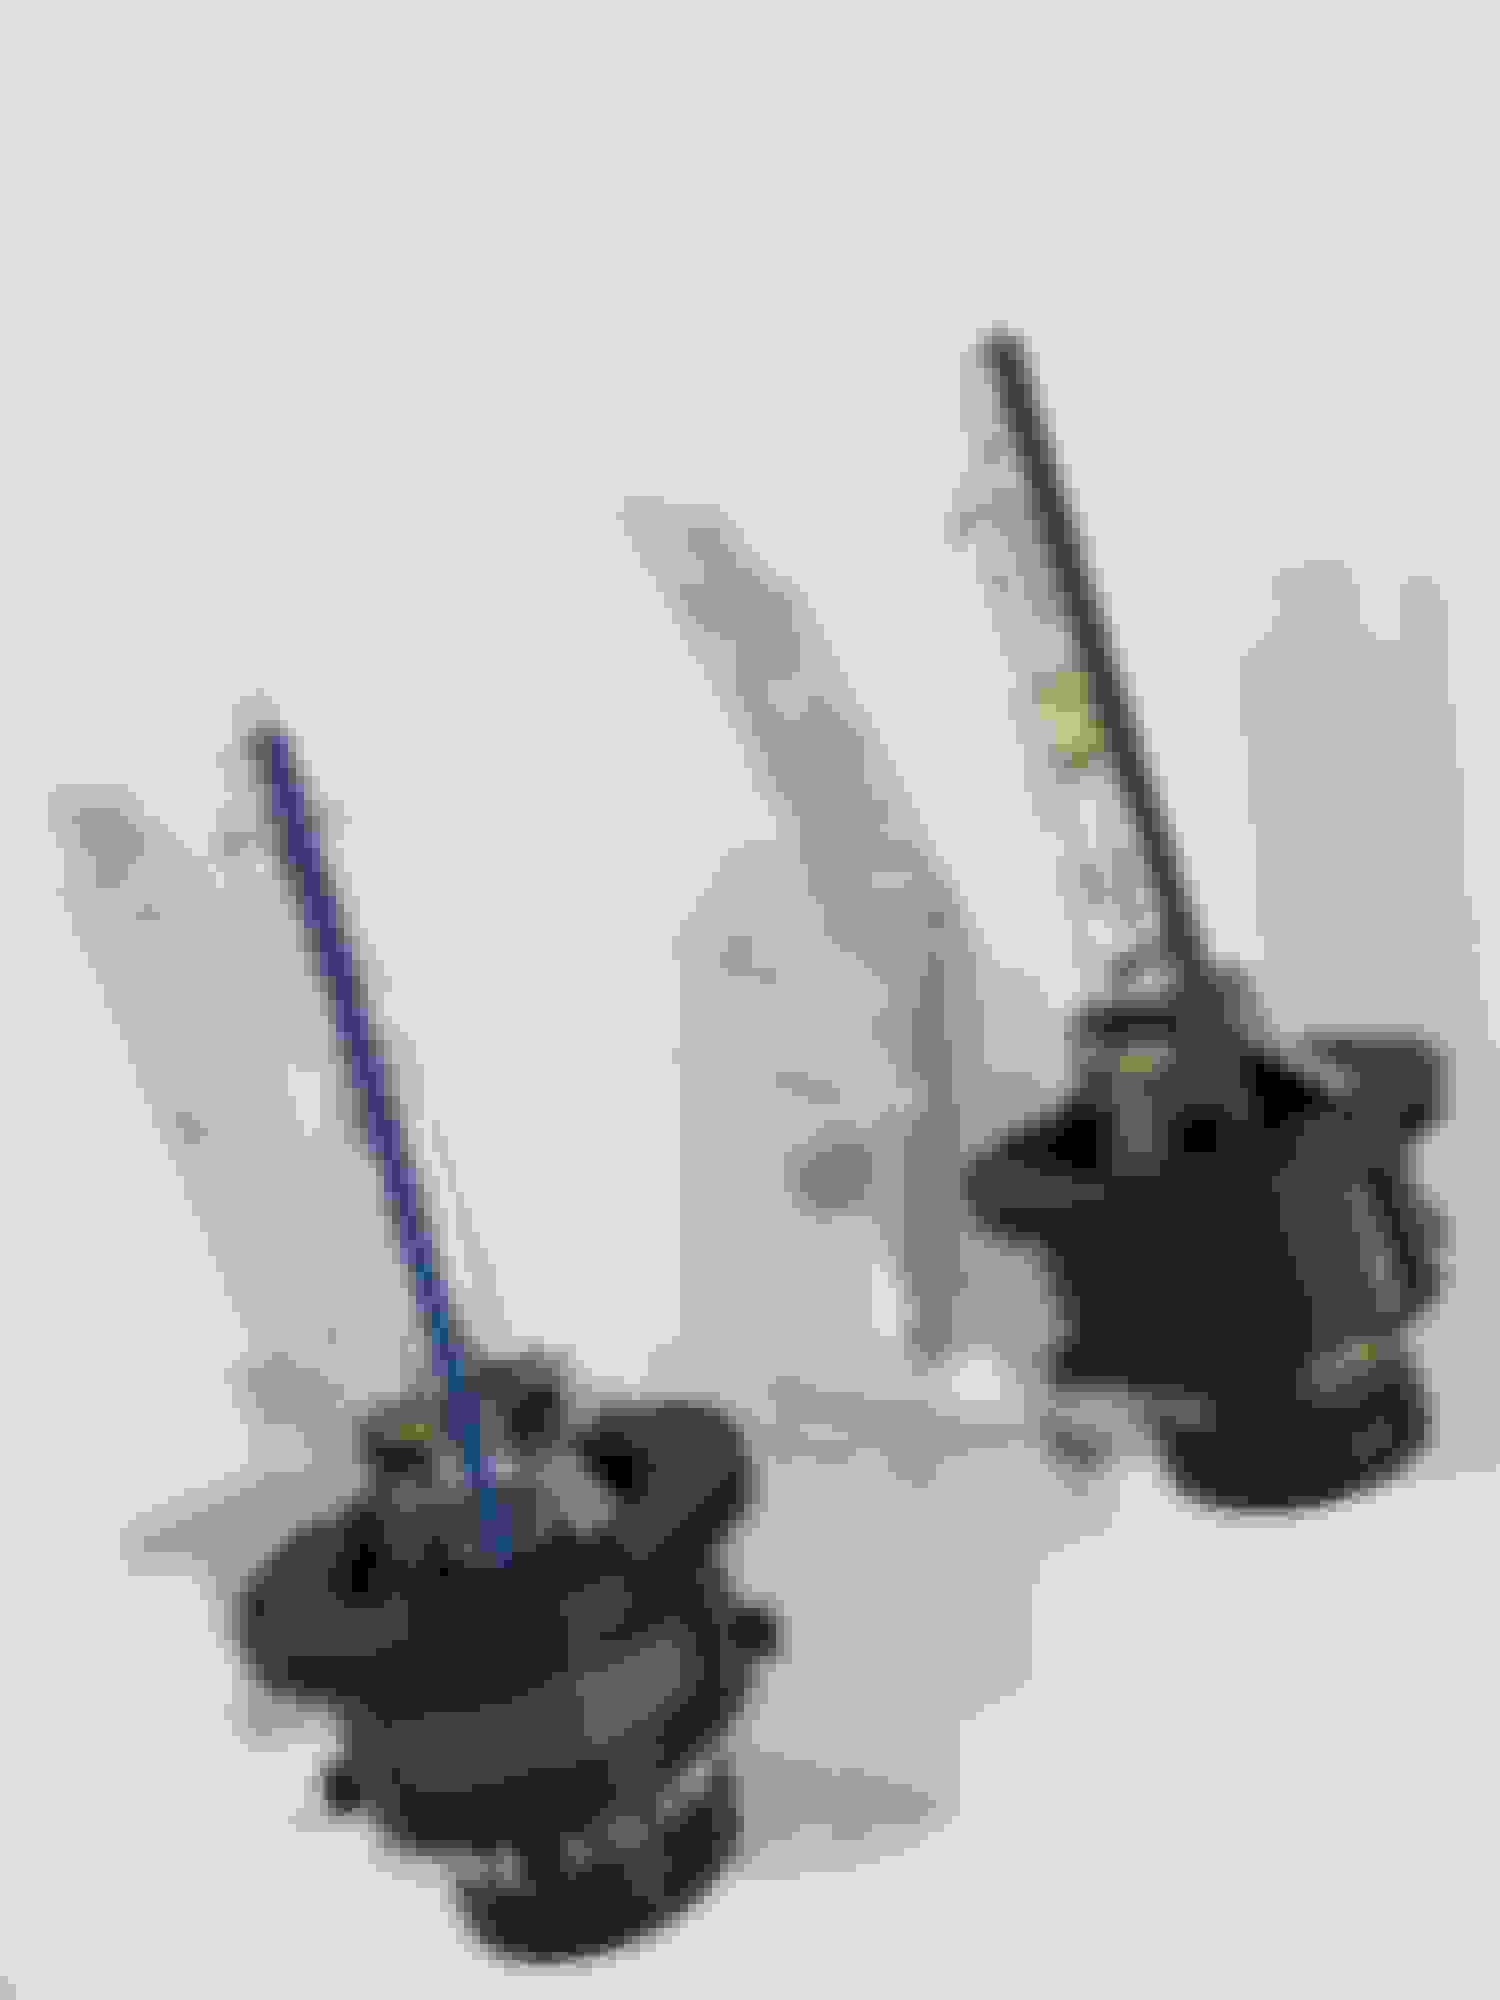
This is a comparison of the stock OEM bulb (10 years old and still working) with the new Morimoto bulb.
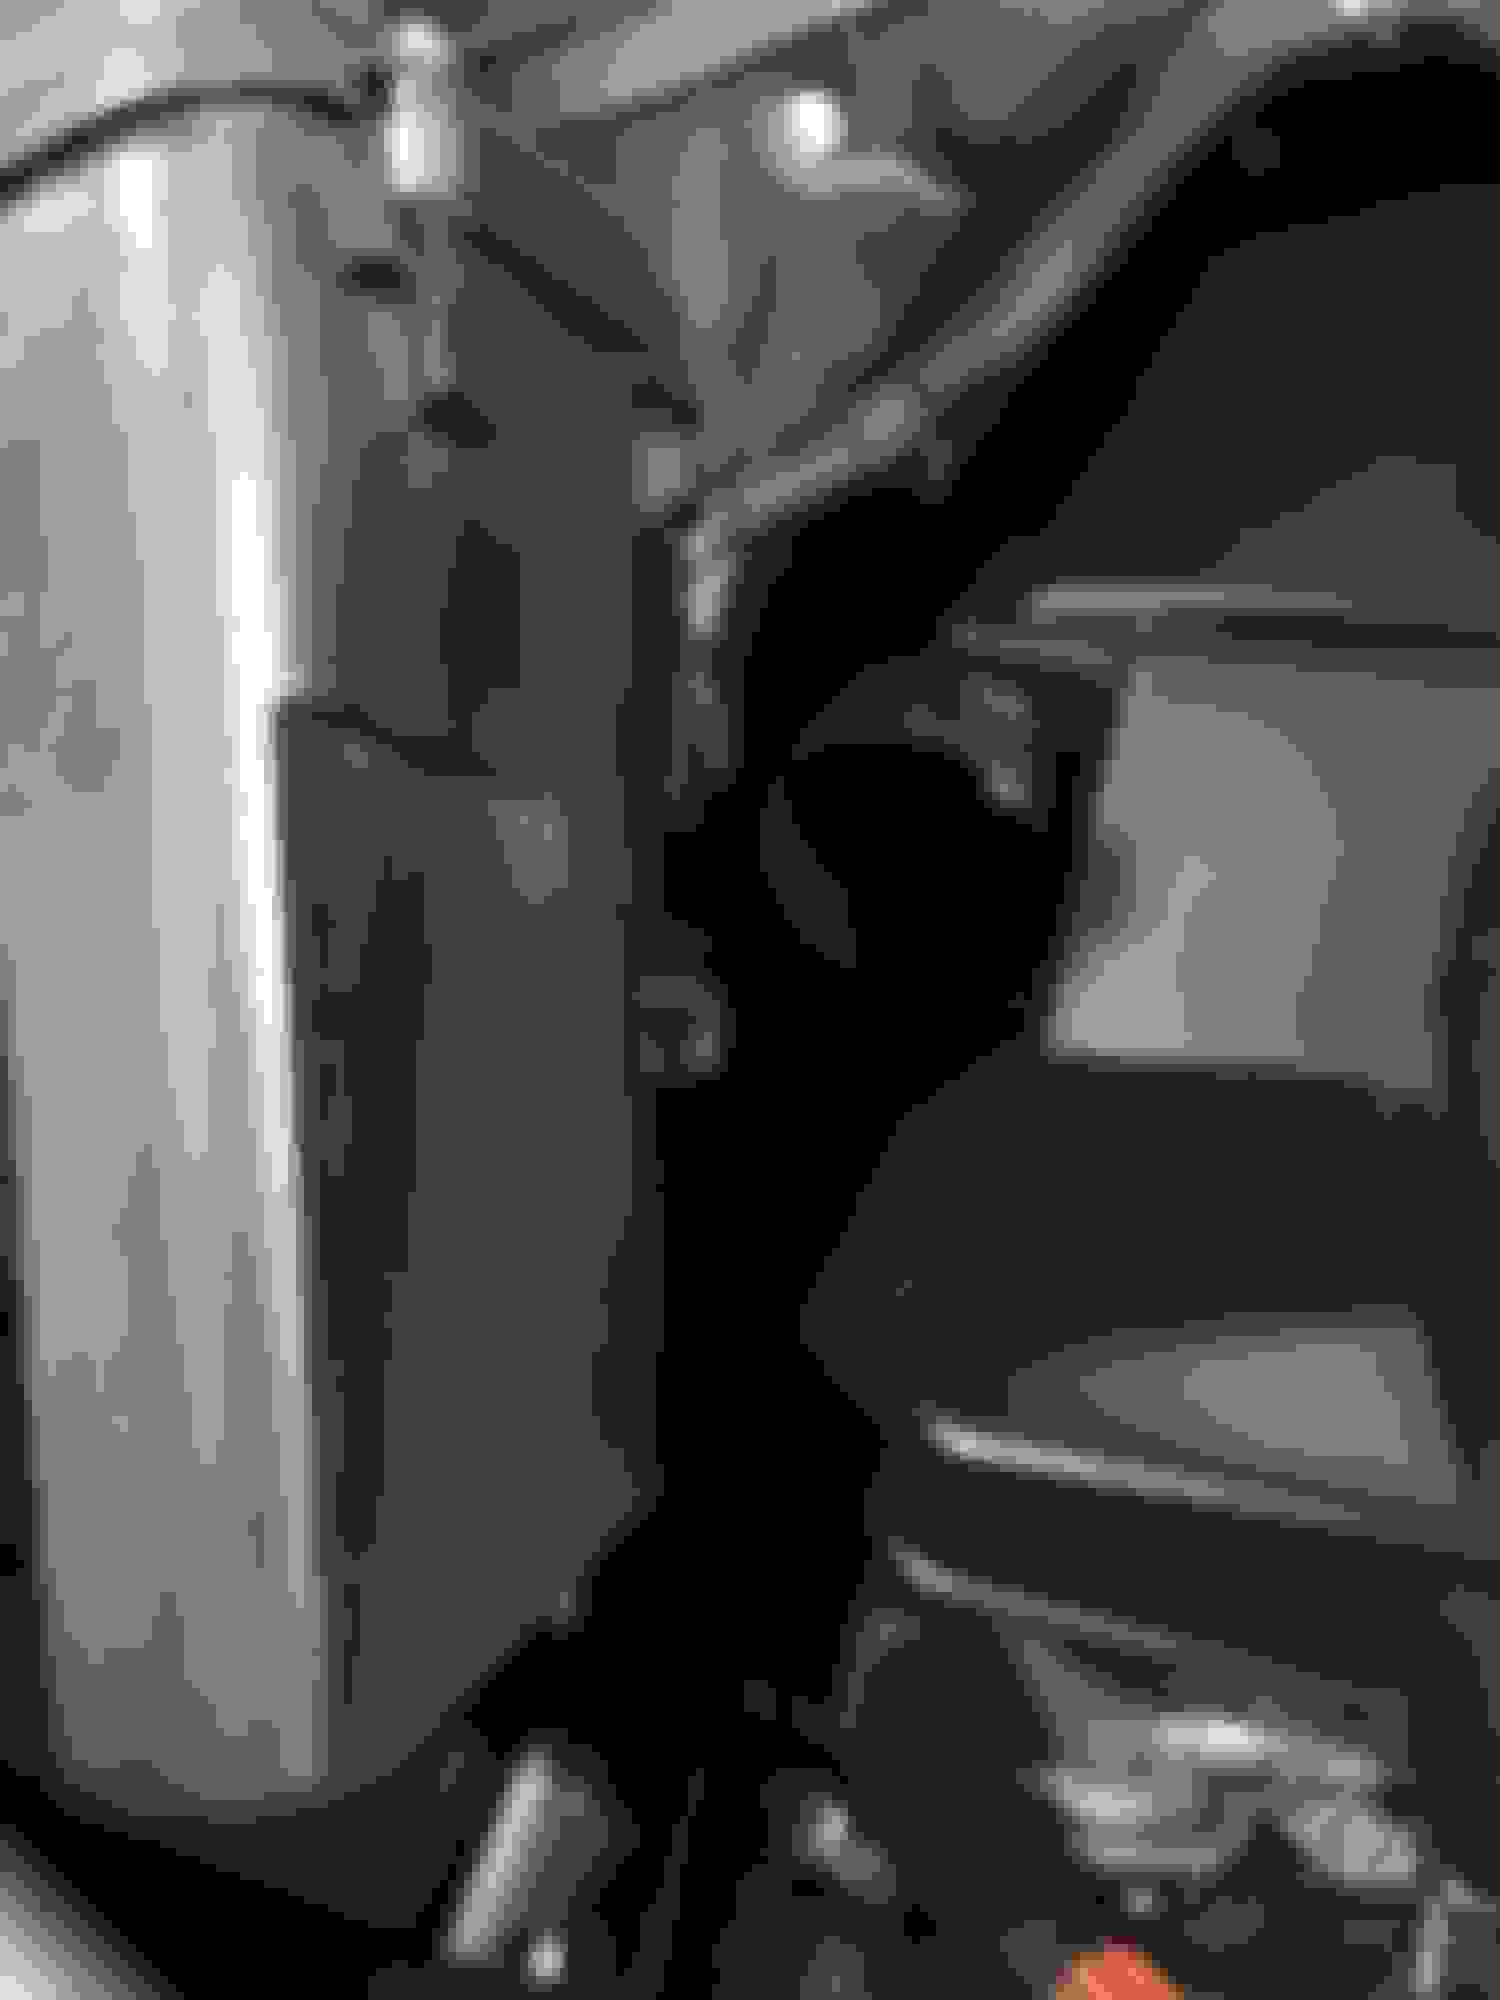
The driver side is definitely the easier side to get the bulb installed. The passenger side required the front SAM unit to be moved slightly in order to get better access without risking damage to the bulb. If you don't move the SAM unit it's almost guaranteed you'll damage the bulb, as there simply is no room on that side.
The front SAM is held in by 2 bolts. One on each side.
One bolt is holding another cable in place as well, so make sure to put the tab, attached to the chord, back after lining up the SAM, so that it all goes back into place afterwards.
The air intake tubes had to be removed, obviously, otherwise you have no room. Also, there is a tab at the bottom of the SAM that has to be aligned when reinstalling it. It's really easy, just drop the tab into the hole and you're set.
I had to split the post up. For some reason I couldn't add anymore pictures with the new uploader. (*update: The new uploader is really bad. I had to re-upload and add comments 5 times for it to work... Quite frustrating.....)
Anyway, on to the light pictures!!!
This is the stock, 10 year old, OEM bulb.
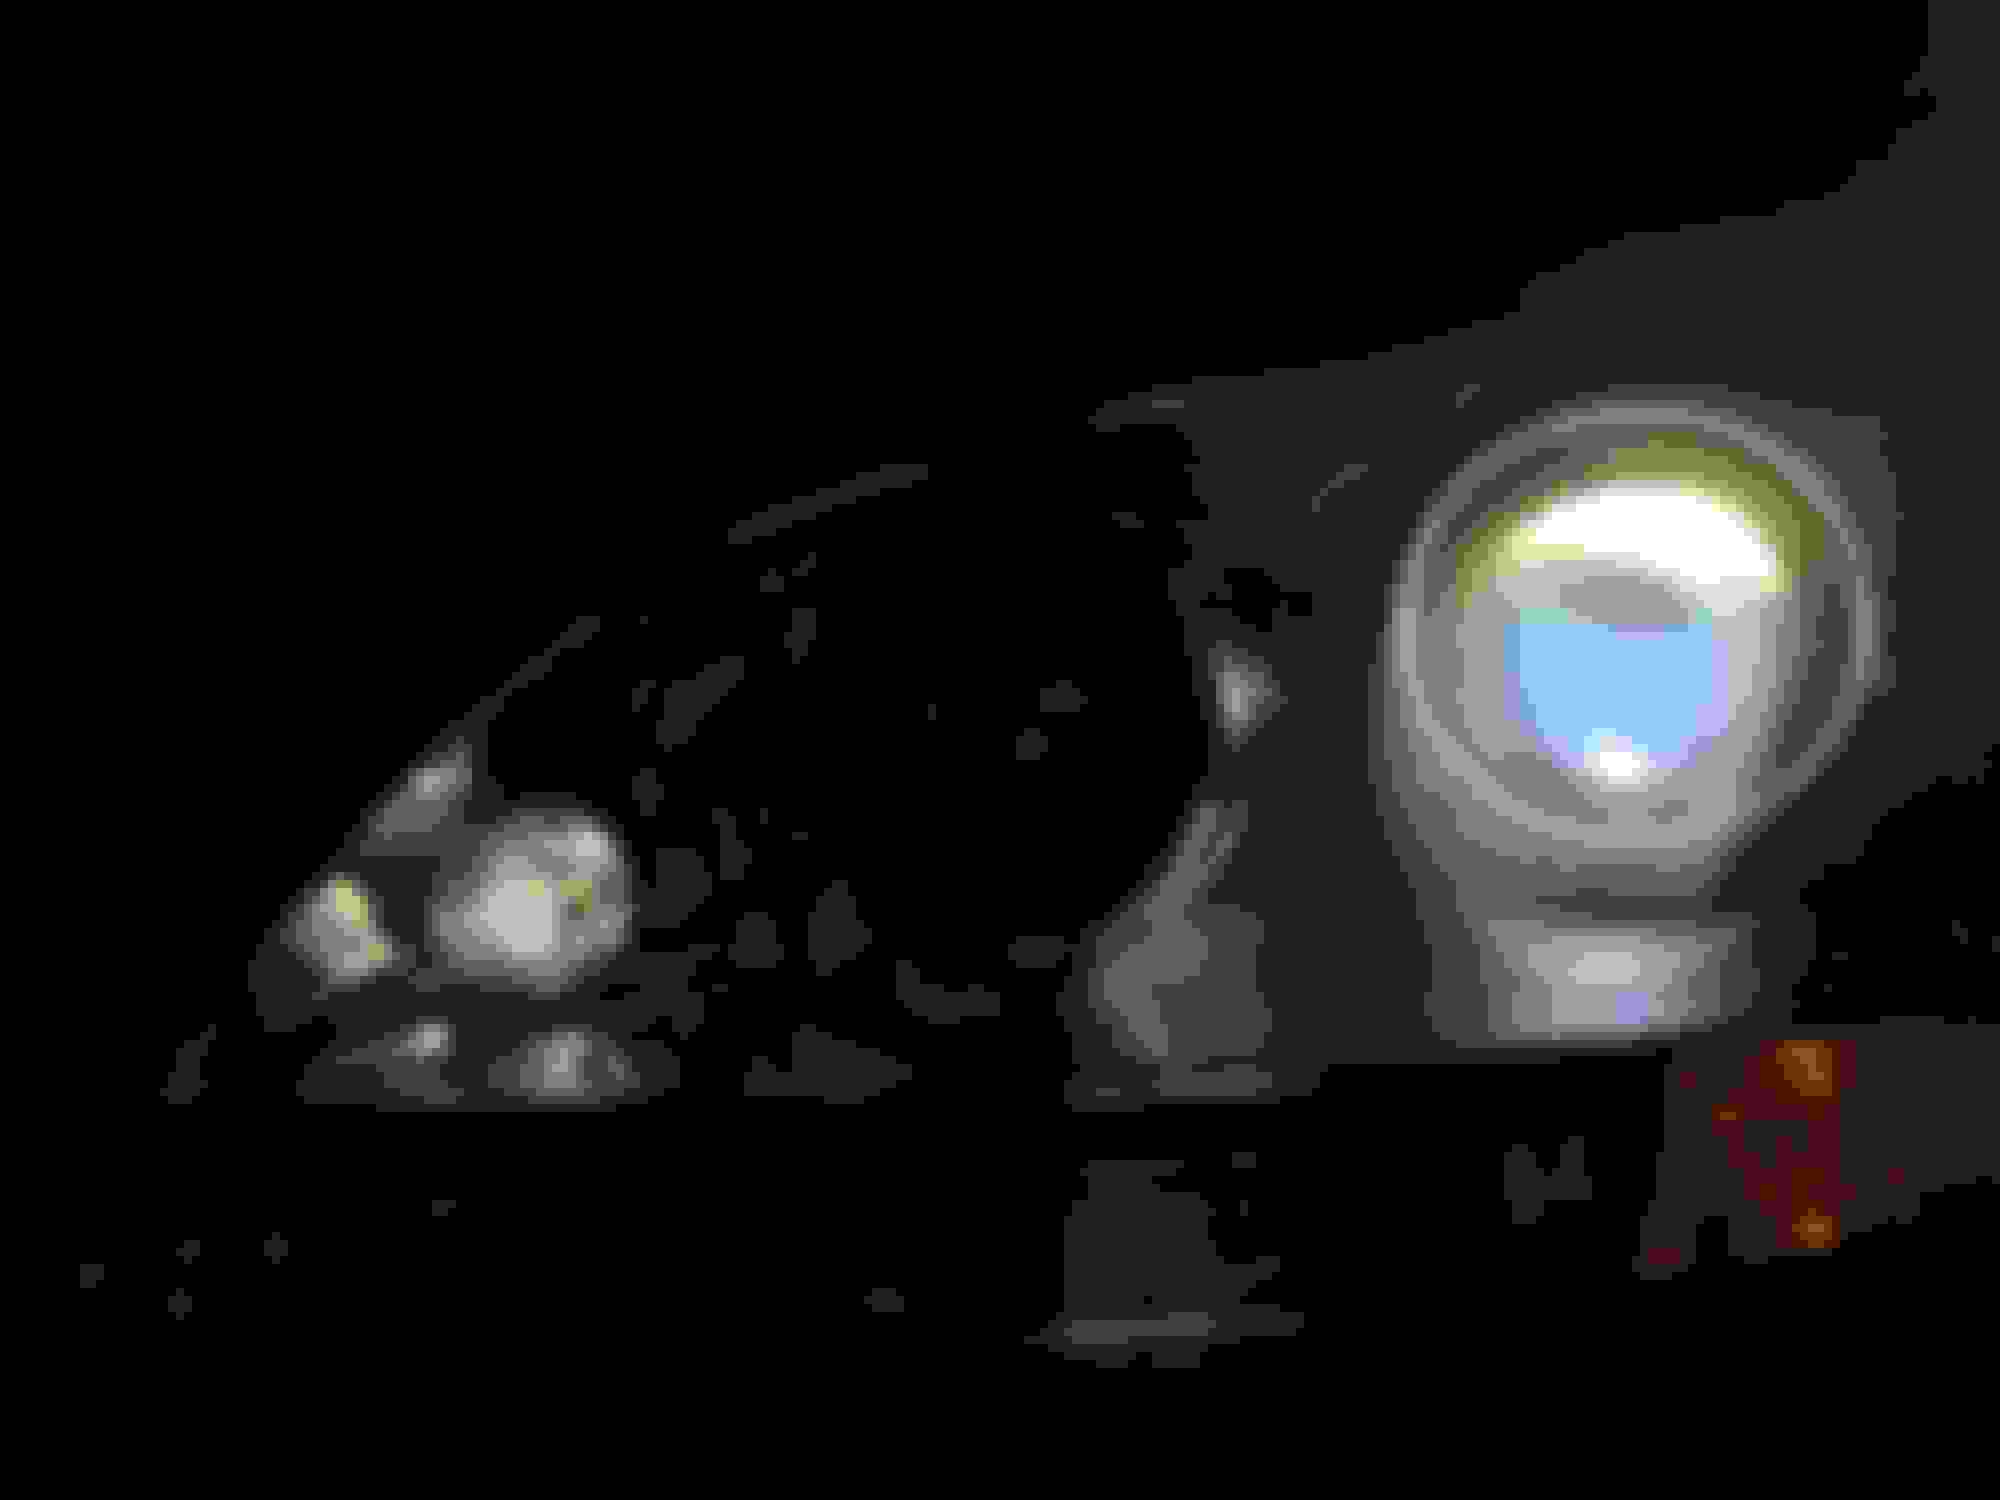
Here is the new 6000K bulb. It's still very blue because it still has to "burn in" (settle), but hopefully that'll be set after this weekend.
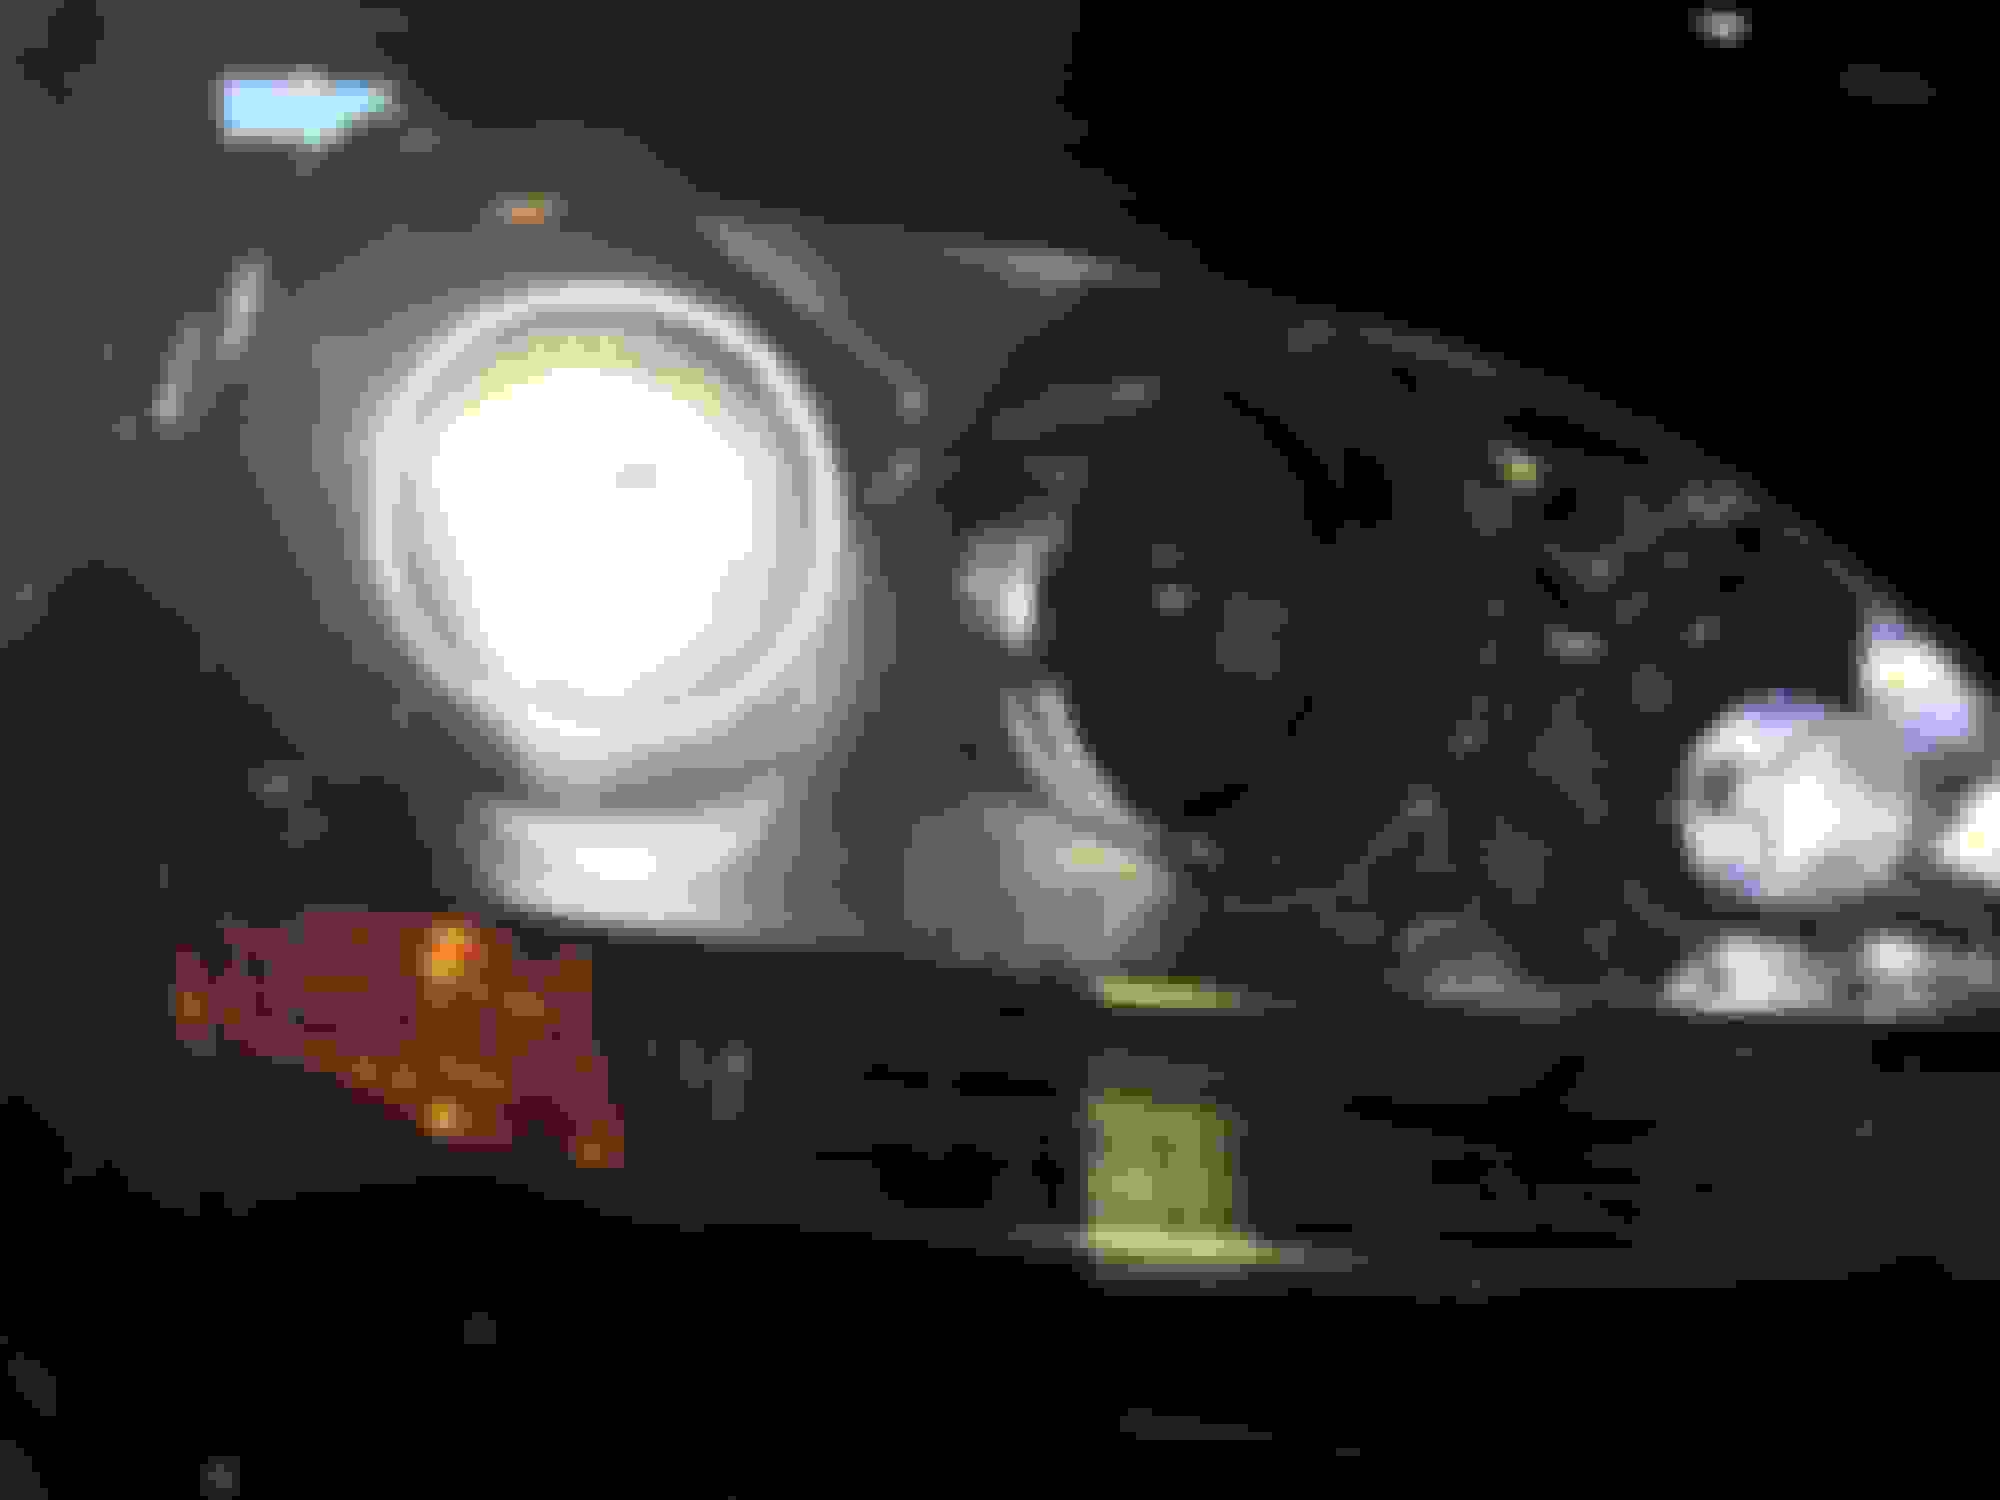
Here are both HID bulbs installed. As you can see, they match the AZN Optics 5000K V5 LEDs very well. It gave me exactly the look I was going for.
This picture shows a new 4300K OEM fog light bulb compared to the 6000K Morimoto D2R bulb. Can't wait to see them perform at night! I should be able to see a lot better now than with my 10 year old OEM bulbs.
I'll try to post some night shots later on.
Hope this helps some people who are thinking about upgrading their low beam headlights and want to do it themselves!
It was definitely a learning curve for me! I can't stress that you will need patience enough! After giving up trying to do it myself (never having done it before) I was glad my mechanic buddy could help me out by showing me how it's done WITHOUT having to remove the bumper. It was surprisingly simpler than I thought and now that I've seen how to do it, I can definitely tackle the next bulb swap myself!
And again, shout out to AZN Optics for the great and fast service! Never been disappointed by their products!
Just want to acknowledge AZN Optics awesome customer service. Got my parking led's for my '11 ML550 back in March of this year. Last week I got some flickering from the bulbs and ultimately they died. Reached out to Michael and got a response the same day. After completing some troubleshooting steps, Michael made the call to send out a set of new bulbs since mine were still under warranty that very same day.
I got the replacement bulbs at the end of last week and noticed that they didn't look like the one's that I originally purchased. The first set of leds were flat. The new ones were round. I was told that they were the new V5.2a bulbs.
Installed them and they fired up w/no issues. The first thing I noted was that the light beam is fuller/rounder than the previous version. I'm loving this version of the parking lights and highly recommend them to anyone that wants an upgrade to their parking lights. Kudos to AZN Optics for their quick and courteous customer service! When I get the funds I will seriously consider AZN Optics Morimoto kit for my low beam upgrade.
What do you have for an 09 ML550 with regards to parking lights and the "fog" lights located under the main lights. Prev owner already did HID on the main lights......
What do you have for an 09 ML550 with regards to parking lights and the "fog" lights located under the main lights. Prev owner already did HID on the main lights......
For your parking lights, you'll want our 194 wedge LEDs. Fogs use our Morimoto H7 HID conversion kit. You can order these directly from our site, or I can send you an invoice directly with your provided account info (PM or email us directly at aznoptics@gmail.com with personal info).
For your parking lights, you'll want our 194 wedge LEDs. Fogs use our Morimoto H7 HID conversion kit. You can order these directly from our site, or I can send you an invoice directly with your provided account info (PM or email us directly at aznoptics@gmail.com with personal info).
We'd actually recommend the V5.2a in 5000K pure white for you. And we do have LED fogs as well, but will want to check the clearance to make sure they can fit.
We'd actually recommend the V5.2a in 5000K pure white for you. And we do have LED fogs as well, but will want to check the clearance to make sure they can fit.
I am ordering the parking lights today. Will you check on the fogs or should I check? Remember that the ML550 has those round fog lights.........
I am ordering the parking lights today. Will you check on the fogs or should I check? Remember that the ML550 has those round fog lights.........
Thanks
We don't have a test vehicle available right now to take measurements. Can you check the clearance you have on the fogs. Fog lights generally are more shallow than headlight assembly so I just want to make sure when you plug in the LED, it doesn't hit the lens.
We don't have a test vehicle available right now to take measurements. Can you check the clearance you have on the fogs. Fog lights generally are more shallow than headlight assembly so I just want to make sure when you plug in the LED, it doesn't hit the lens.
We don't have a test vehicle available right now to take measurements. Can you check the clearance you have on the fogs. Fog lights generally are more shallow than headlight assembly so I just want to make sure when you plug in the LED, it doesn't hit the lens.
lights use a H7 bulb and there is just under 2.5 inches from the inside of the glass to the metal that holds the bulb.
also can I install the conversion kit without removing the bumper or inside liner?
thanks
Some of you know this, but for those who haven't checked, we've released a new V5.2a model that uses the latest CREE XBD chipset. Wrapped in a heat shielding shell with gel coat, these might look small, but pack a well balanced brightness while burning cooler than previous designs. Check them out!
You'll want our Morimoto H7 HID conversion kit. These are canbus kits so plug and play error free. These are offered in 5500K (pure white) and 6500K (white with a slight bluish hue). Retail price $150 for a full kit that covers both sides. Shoot us a PM or email us directly at aznoptics@gmail.com and we can get you set up!
Some of you know this, but for those who haven't checked, we've released a new V5.2a model that uses the latest CREE XBD chipset. Wrapped in a heat shielding shell with gel coat, these might look small, but pack a well balanced brightness while burning cooler than previous designs. Check them out!
Hi !
This is the right one for the parking on a 2010 ml350 ?
something new for the plate without error ?
thanks !
Yup, that's correct for parking lights. Unfortunately to built in solution for 2008+ ML rear plates due to higher power requirements to not trigger errors. Built in solution would generate too much heat.
Yup, that's correct for parking lights. Unfortunately to built in solution for 2008+ ML rear plates due to higher power requirements to not trigger errors. Built in solution would generate too much heat.
ok Thanks michael ! Will order soon and have it shipped in florida at my second home.
If I want to remplace my bulb ( I have OEM automatic Xenon light ) do you sell bulb ? ( D2S I guess ? 2010 ML 350 )
Mercedes SLR McLaren 722 S Is Extremely Rare Example Modified by McLaren
Slideshow: A one-of-one U.S.-spec Mercedes-Benz SLR McLaren Roadster became even rarer after a factory-backed transformation at McLaren's headquarters.