When you click on links to various merchants on this site and make a purchase, this can result in this site earning a commission. Affiliate programs and affiliations include, but are not limited to, the eBay Partner Network.
Hi y'all, I've been a long time W166 owner, but have a problem that I haven't been able to figure out in the past couple of days. My left LED Day Running Light was struck by some rocks that fell off a truck and the actual light was damaged. I got myself a new replacement light but am not sure how to actually replace the light. From everything I have seen online, some models (C class and similar) have 4 screws on the front that can be undone, but my ML does not. I'm sure this means I'll have to go from underneath or behind the bumper, but is there anyone that may have experience in accessing/changing the DRL for the W166?
After tinkering around a bit and looking for different access points, the easiest way I found to get into the housing and remove the LED bar was to open the access ports in the tire well for the low beam lights. After opening that panel, you can see the housing for the LED DRL. From there, there are about five clips. I used. flathead to pry open the clips, and that allowed for the entire LED housing to come forward out of the bumper. From there it's just plug and play and reattaching the clips.
After tinkering around a bit and looking for different access points, the easiest way I found to get into the housing and remove the LED bar was to open the access ports in the tire well for the low beam lights. After opening that panel, you can see the housing for the LED DRL. From there, there are about five clips. I used. flathead to pry open the clips, and that allowed for the entire LED housing to come forward out of the bumper. From there it's just plug and play and reattaching the clips.
Well done. But this is the internet, if you don't have video, did it really happen?
After tinkering around a bit and looking for different access points, the easiest way I found to get into the housing and remove the LED bar was to open the access ports in the tire well for the low beam lights. After opening that panel, you can see the housing for the LED DRL. From there, there are about five clips. I used. flathead to pry open the clips, and that allowed for the entire LED housing to come forward out of the bumper. From there it's just plug and play and reattaching the clips.
This doesn't work for the 2013 GL450. I could not see the DRL by removing the wheel access port.
I had to do the following:
lift up car by raising the airmatic.
Turn the wheel all the way towards the car.
Remove the wheel access port. (optional I believe)
Remove 3 small plastic rivets all the way on the outside of the plastic wheel lining insert. Look for them with a flashlight. I used a small screwdriver to loosen the center and pull them out.
Pull away the plastic wheel lining and tie it off to the wheel with some cord.
Remove the 4 clips by wedging gently with a screwdriver at the point closest to the DRL body.
pry out the electrical connector locking tab gently and then work the electrical connector off the DRL. It took a little force to do this.
Hello, sorry to resurrect an old post but I cannot figure this out lol. Luckily I had a spare old headlight to check but I have removed what I think to be some tabs but unsure of what to pull or still, how to get to the drl. I took a lot of pictures to show you all. And maybe you can help point out what I�m not seeing
You're working on your main headlight assembly, yes? This thread is about the LED running lights assembly below the headlights... you'd do well to start your own thread with an appropriate title if you want to get some better responses.
Hello, sorry to resurrect an old post but I cannot figure this out lol. Luckily I had a spare old headlight to check but I have removed what I think to be some tabs but unsure of what to pull or still, how to get to the drl. I took a lot of pictures to show you all. And maybe you can help point out what I’m not seeing
you're in the wrong forum; the DRL on a W166 is a strip of LEDs below the headlamp. You want to post HERE.
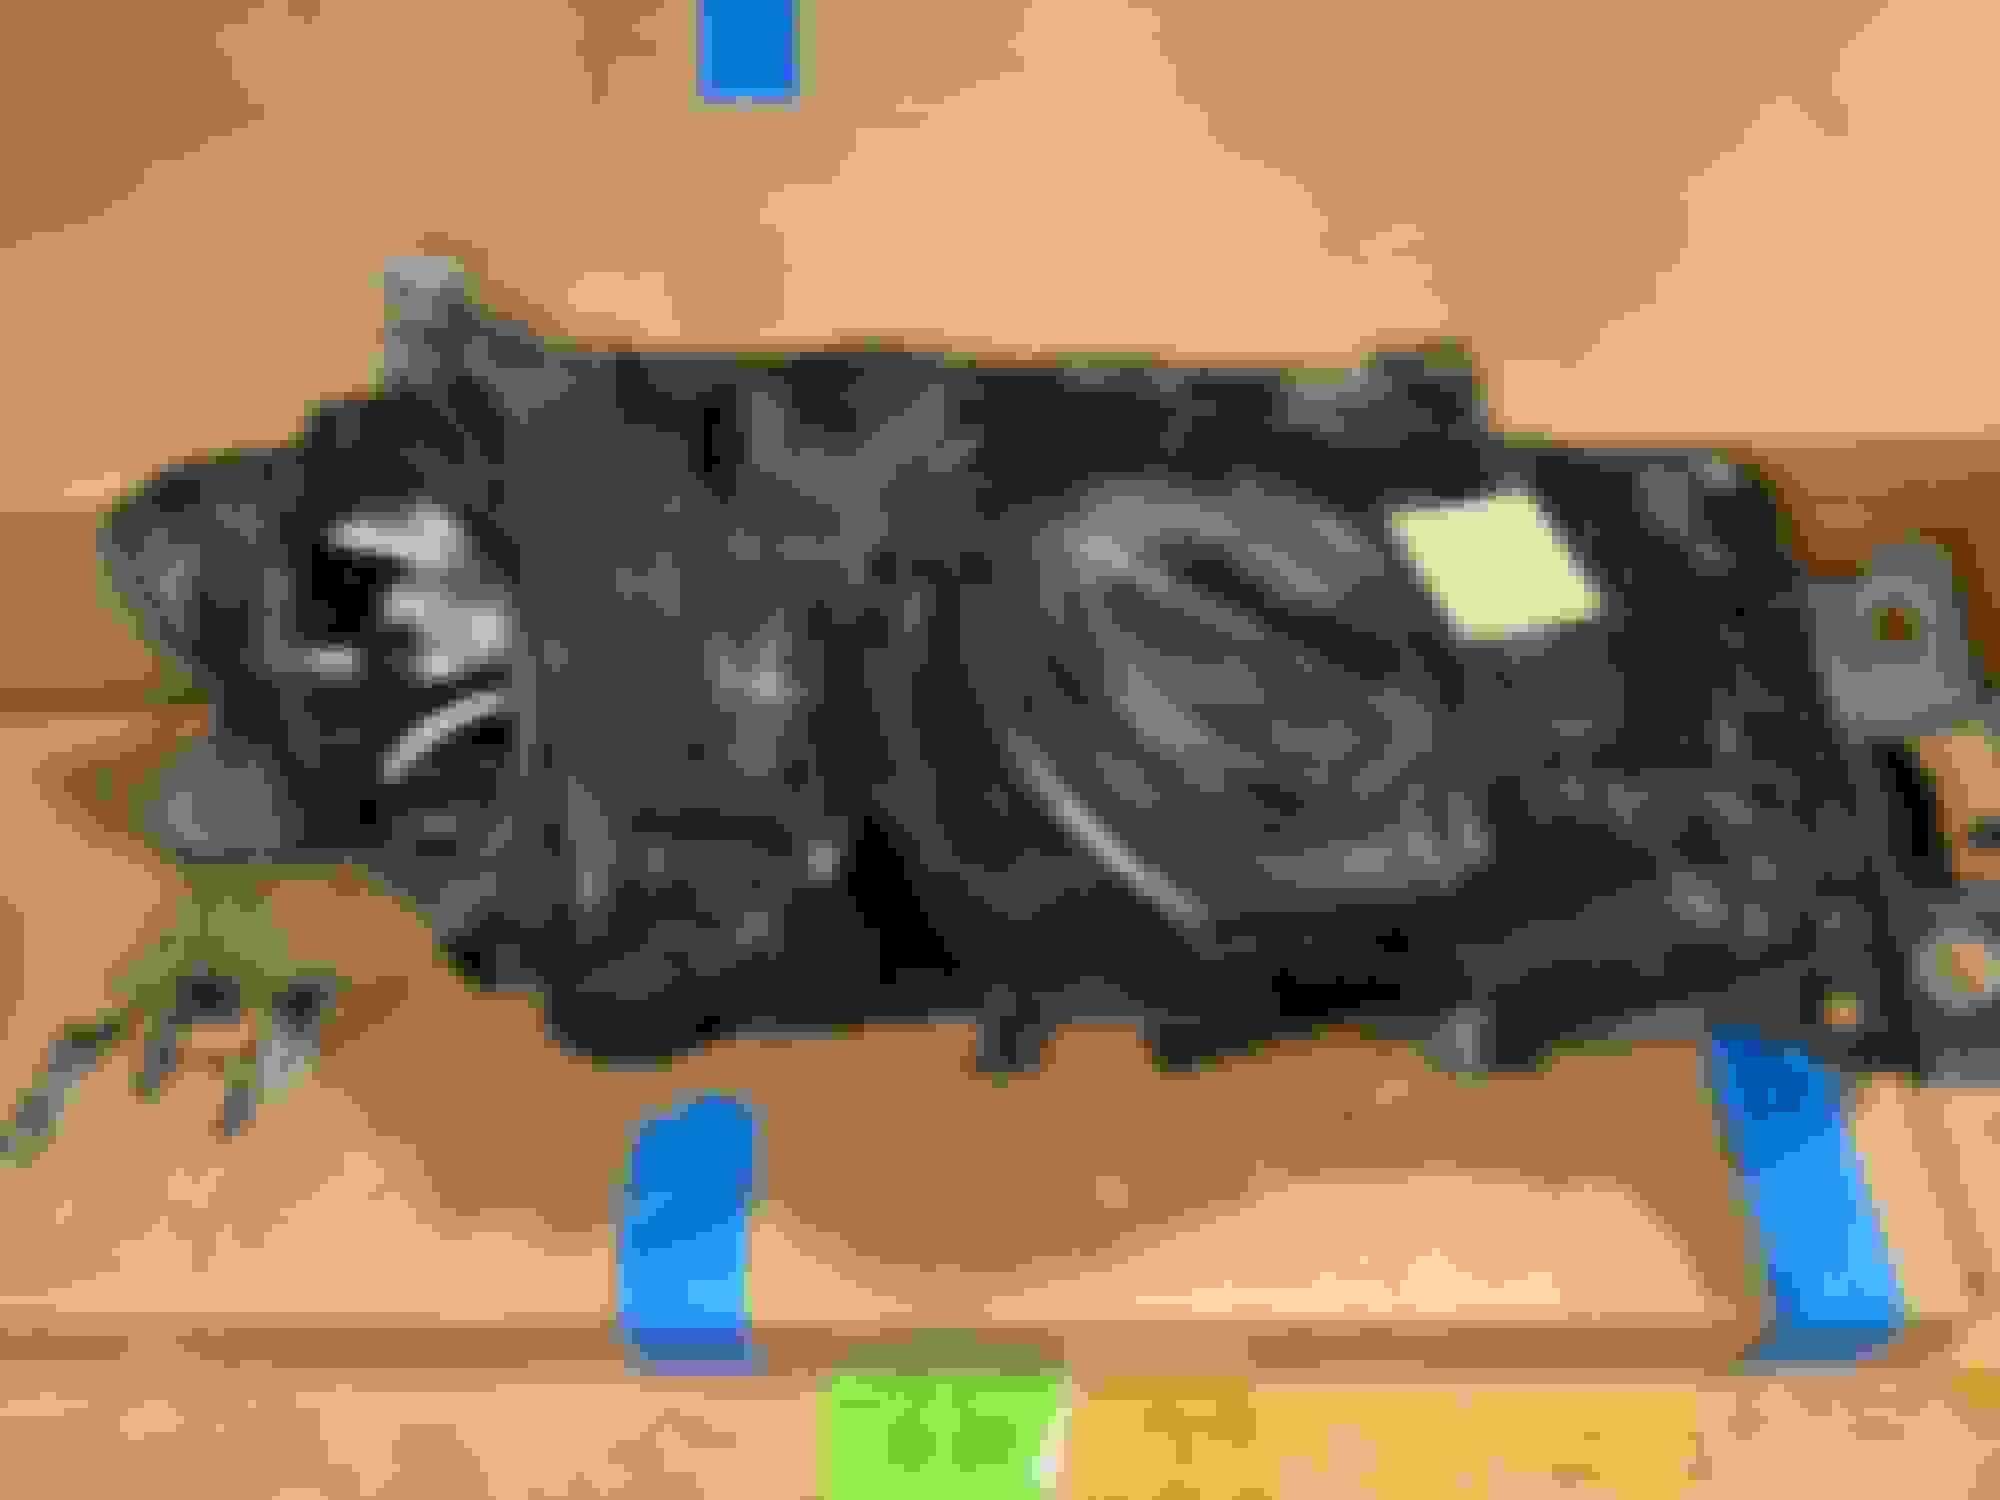
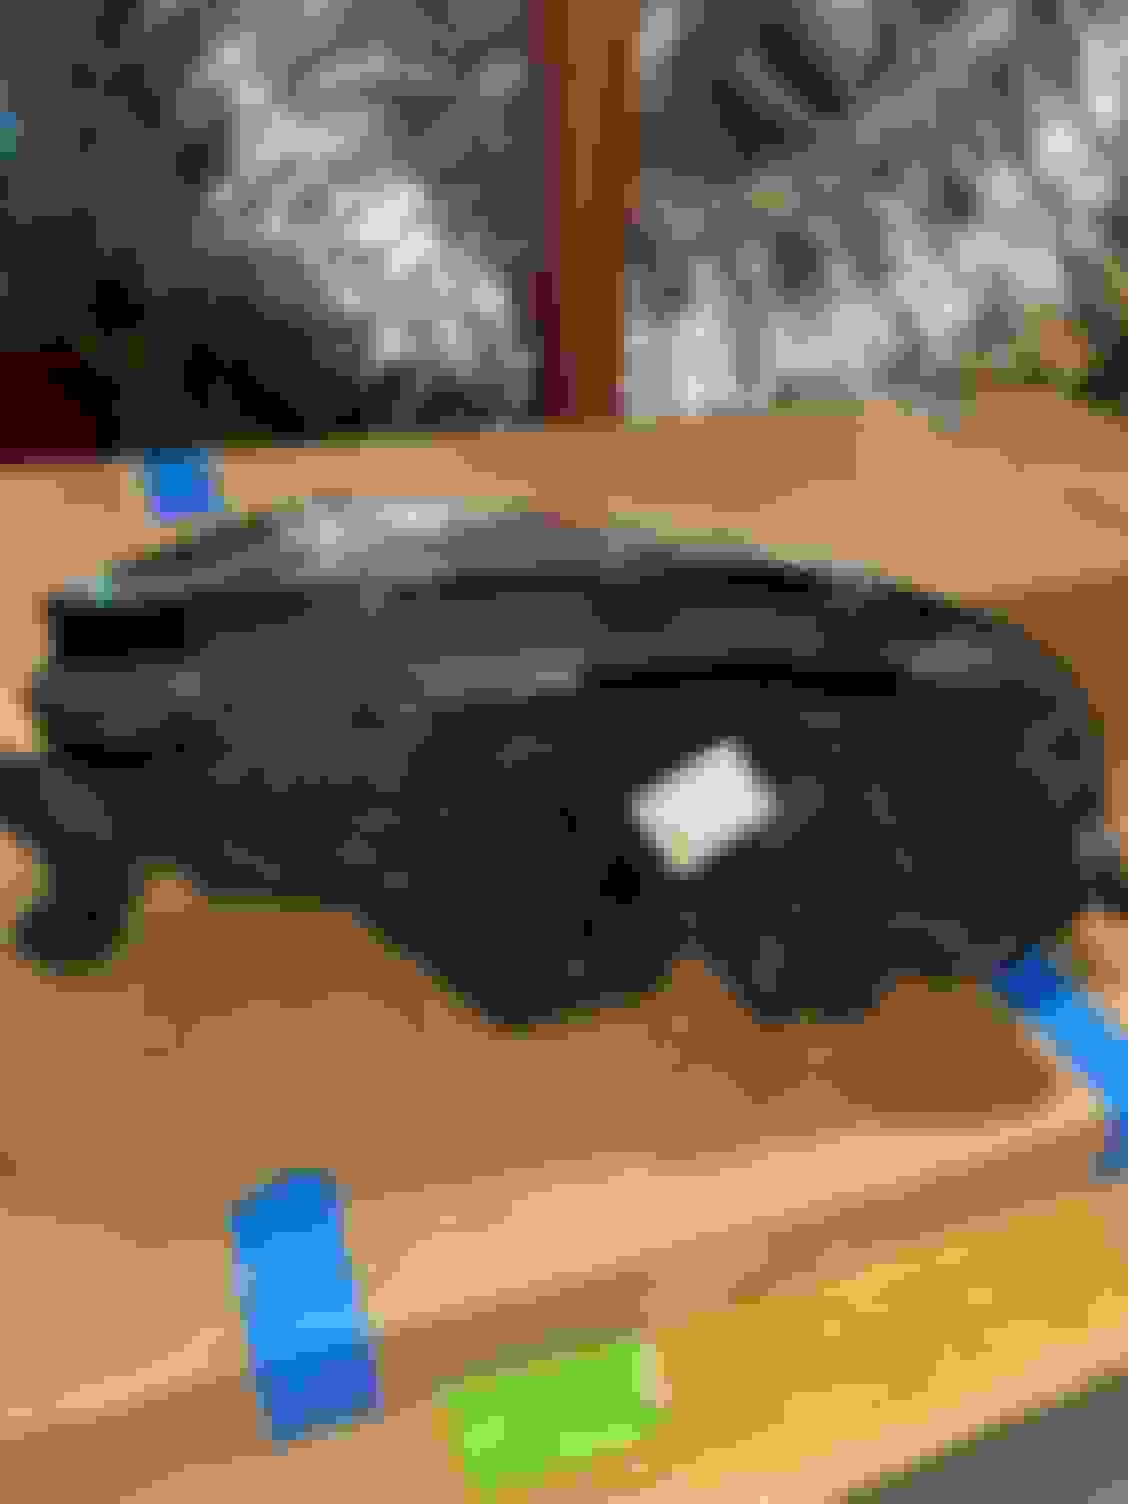
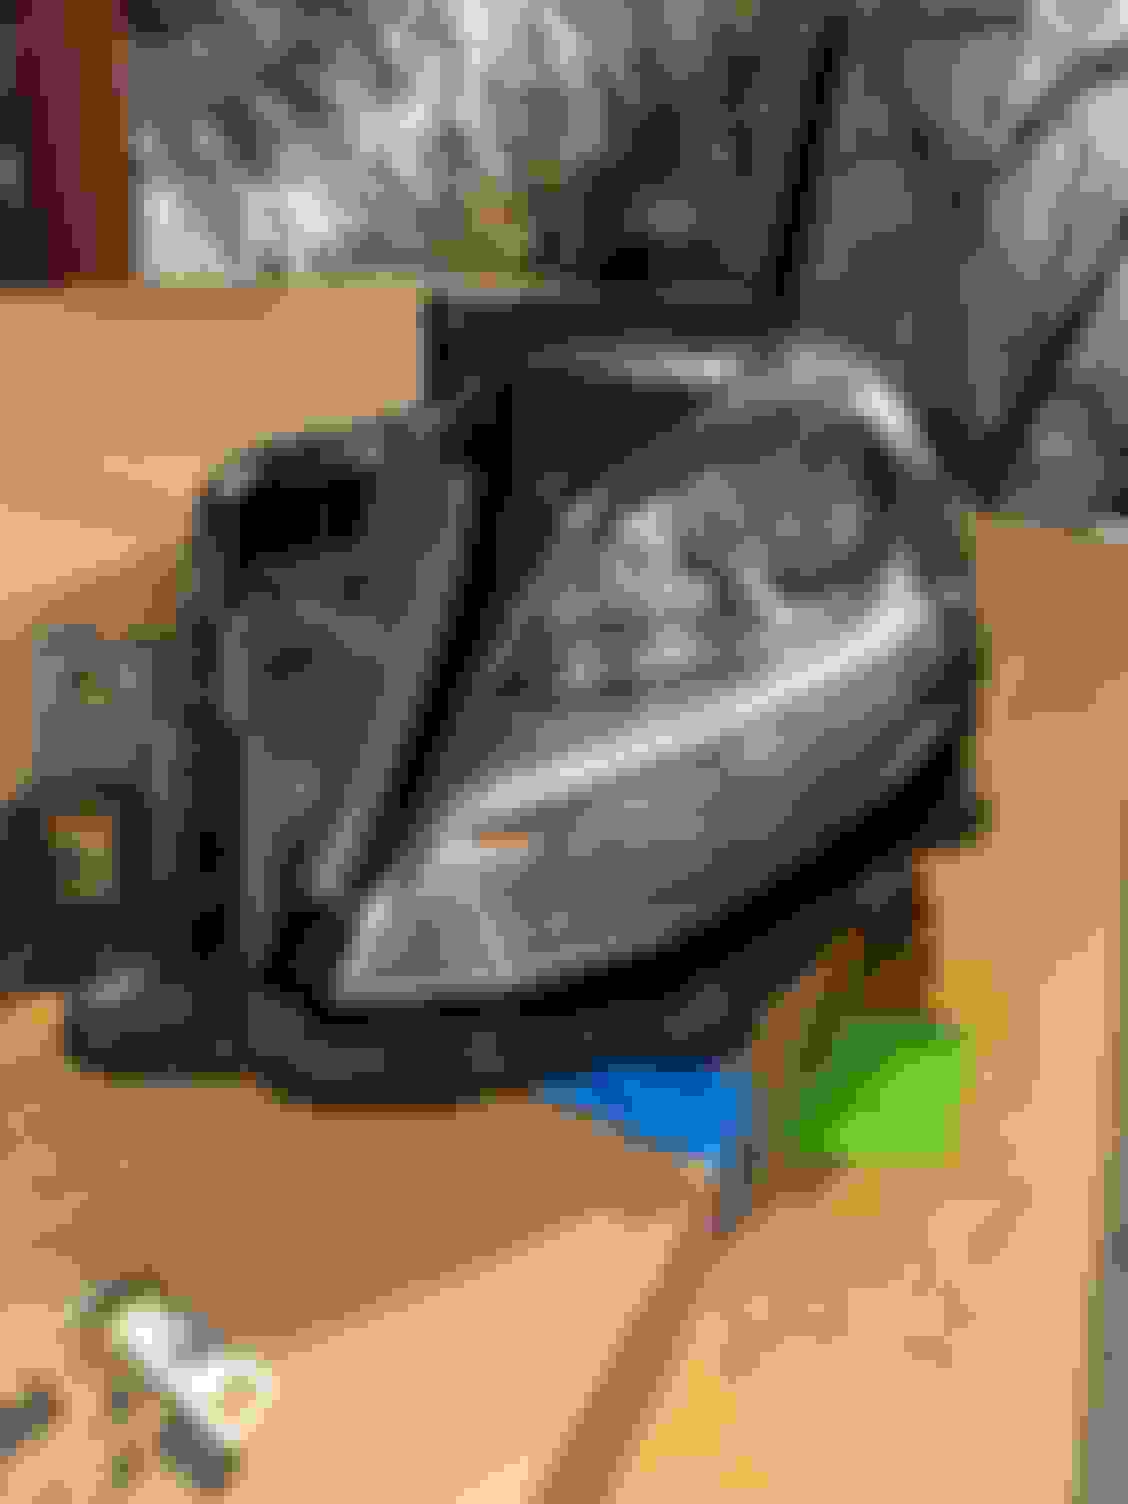
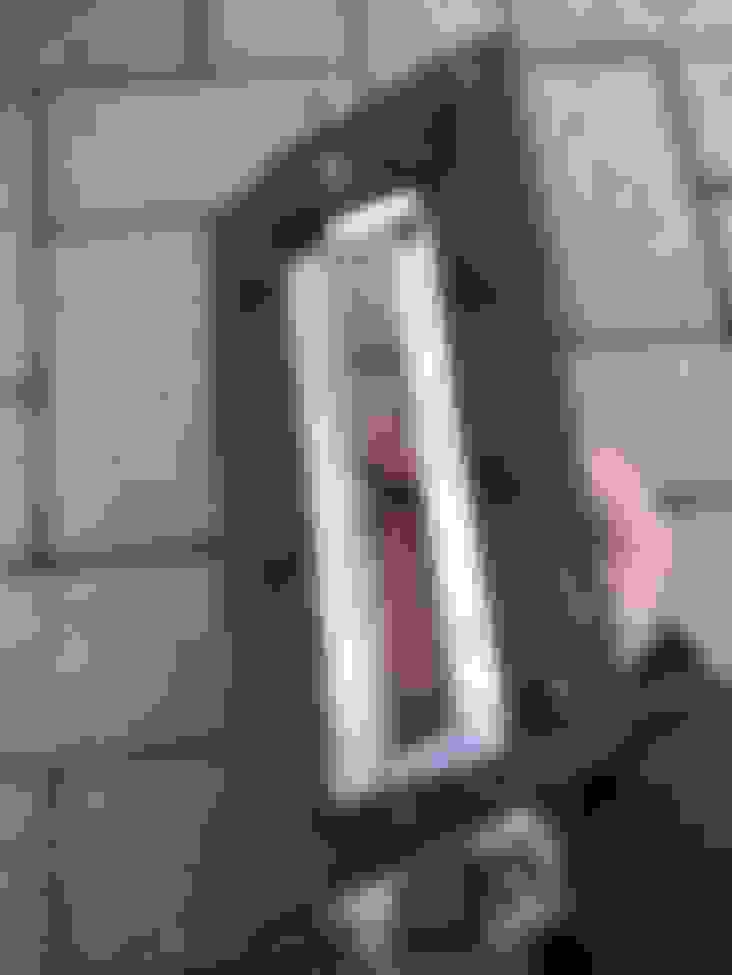
For anyone reading this thread for tips on replacing the W166 DRL I just popped out the whole thing from the front using my interior trim removal tools.If you've ever heard of the (joke) furniture store Sofa King you'll like this: it's not just easy, it's Sofa King easy!
Here's what the assembly looks like from behind:
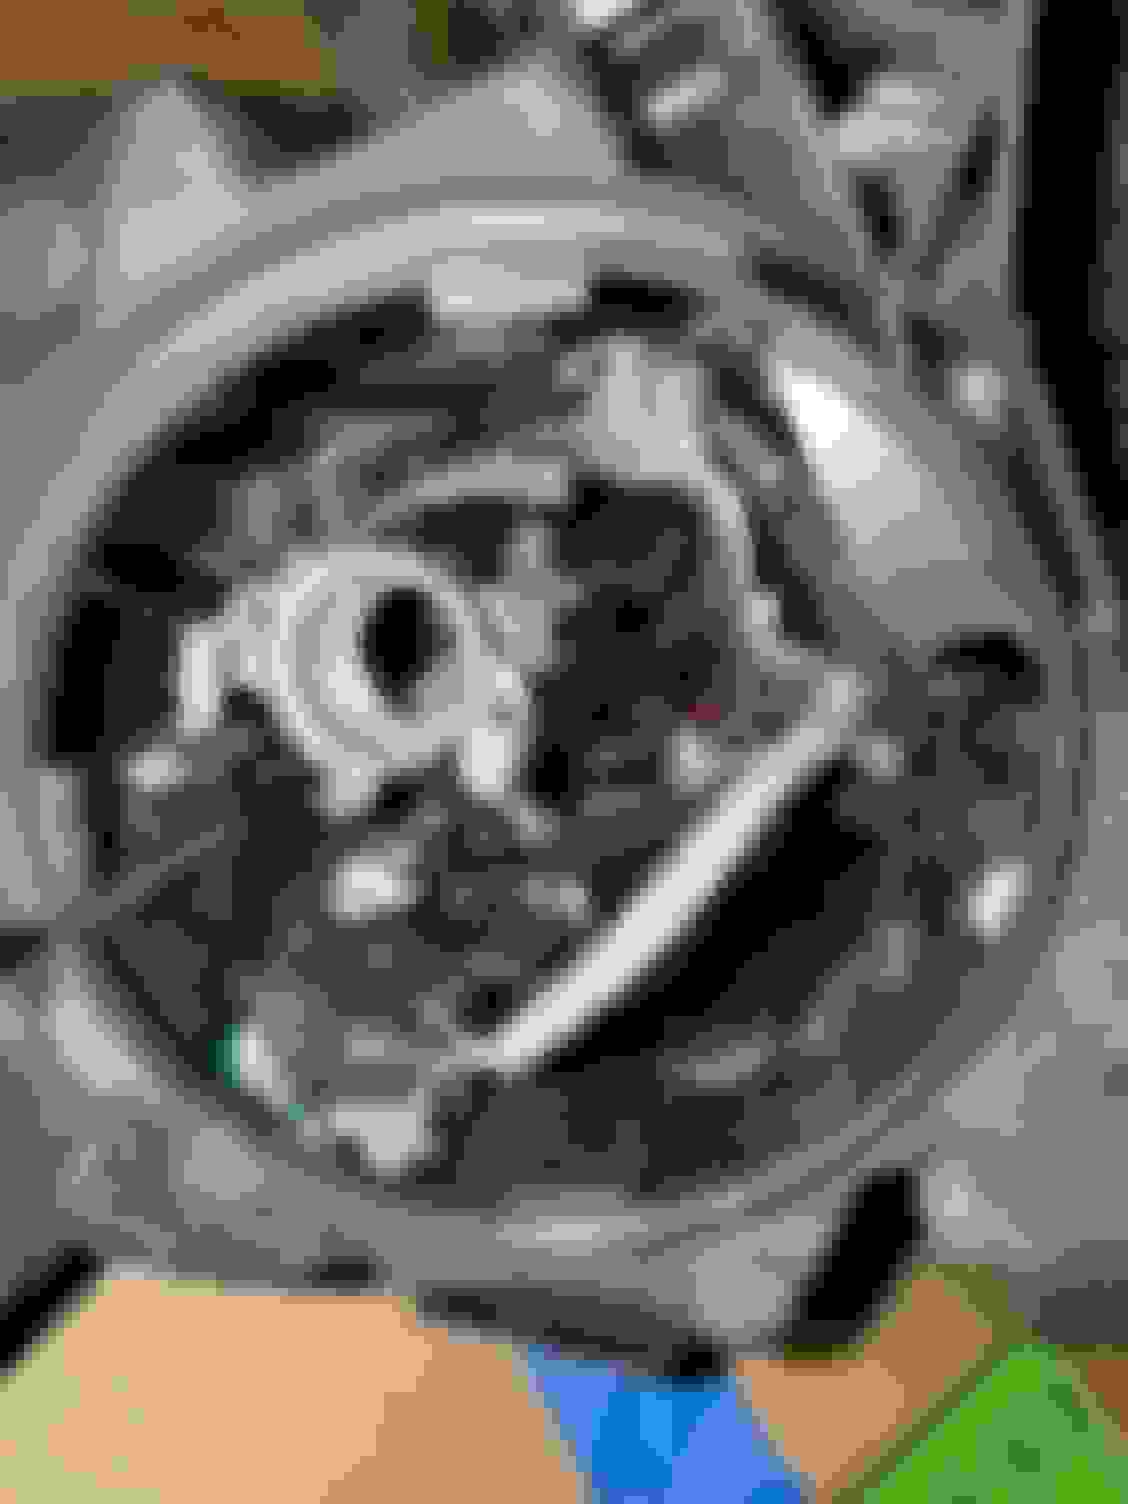
It’s easier if you remove the chrome piece first; it comes out easier. Use trim removal tools and pry carefully.
Last edited by eddieo45; Mar 12, 2024 at 09:09 AM.
Hi y'all, I've been a long time W166 owner, but have a problem that I haven't been able to figure out in the past couple of days. My left LED Day Running Light was struck by some rocks that fell off a truck and the actual light was damaged. I got myself a new replacement light but am not sure how to actually replace the light. From everything I have seen online, some models (C class and similar) have 4 screws on the front that can be undone, but my ML does not. I'm sure this means I'll have to go from underneath or behind the bumper, but is there anyone that may have experience in accessing/changing the DRL for the W166?
Thanks for any help or advice,
Rajan F
The DRL is clipped behind this trim panel, use trim tool carefully ply these 5 clips shown you can get the light out in no time ! Good luck 👍
THANKS!! This give me something to work with. Every video on youtube there are 4 screws you need to remove. i always get the oddball.
Originally Posted by eddieo45
you're in the wrong forum; the DRL on a W166 is a strip of LEDs below the headlamp. You want to post HERE.
For anyone reading this thread for tips on replacing the W166 DRL I just popped out the whole thing from the front using my interior trim removal tools.If you've ever heard of the (joke) furniture store Sofa King you'll like this: it's not just easy, it's Sofa King easy!
Here's what the assembly looks like from behind:
It�s easier if you remove the chrome piece first; it comes out easier. Use trim removal tools and pry carefully.
Mercedes SLR McLaren 722 S Is Extremely Rare Example Modified by McLaren
Slideshow: A one-of-one U.S.-spec Mercedes-Benz SLR McLaren Roadster became even rarer after a factory-backed transformation at McLaren's headquarters.