Seattle R63 Build/ Photo Thread

 10-01-2012, 11:38 PM
#126
Senior Member
[QUOTE=xxGenericSNxx;5376058]I met with benz world member "08R550" last week since he came through town. He's got a Canadian specification 08 R550 registered in the US. Apparently MB only sold the R550 in 2008 for North America (Canada only). It was certainly a treat as I've I personally have never seen an R550 until I saw "08R550's" even though I've been to British Columbia many times. This car is pretty well equipped with ventilated front seats with perforation, xenons, power tail gate, rear seat entertainment, center console, and features Anthracite wood trim (black) which isn't available on any US spec R-Class.
As you know the R550 has the 5.5 V8 found in the S550 which has 382 hp. What makes this model interesting is that they cancelled US V8s after the 2007 model year and the 550 was never introduced here. We only had the R500 and R63.
XXGenericSNXX:
Very cool to see an R550. I can't believe there is an "R-Class" that is actually rarer than your R63 - at least in the USA. While it won't hustle nearly as well as your R63, the 5.5 V8 with 382 hp should move the R550 nicely. And are those 20 inch or 19 inch rims on the R550. I am guessing 20s but they look small relative to your 21s?
Thanks for sharing your meeting.
Kind regards,
Last edited by South Ocean1; 10-01-2012 at 11:41 PM. Reason: Update
 10-02-2012, 03:49 AM
#127
MBWorld Fanatic!
Thread Starter
That R550 has 19s and that design is commonly found on US spec R Classes. After doing a search on cars.com I found those wheels on the 2006-2008 models with optional sport package (AMG bumpers and rims for 06-7) but didn't see it on the 2009 and up models.
For 2006 and 2007 these rims came as an option from the sport pack as mentioned above.
On the 2008, the AMG bumpers became standard and these 19" wheels became optional.
Yes quite odd the R550 seems even more rare than the R63. I suggested that I should trade with him and give him cash. =]
For 2006 and 2007 these rims came as an option from the sport pack as mentioned above.
On the 2008, the AMG bumpers became standard and these 19" wheels became optional.
Yes quite odd the R550 seems even more rare than the R63. I suggested that I should trade with him and give him cash. =]
Last edited by xxGenericSNxx; 10-02-2012 at 10:08 AM.
10-02-2012, 01:07 PM
#128
Super Member
Really nice build! Congrats. Just bought an '06 R350 for the wife/kids and putting together my own little project....
Can i ask where you purchased the euro rear wheel arch extensions? do you have a part number?
Also, for your Wald front bumper, did you need to buy any additional spare parts (from MBZ) that you couldn't pull off your stock bumper? In other words, between the two bumpers, you had everything you needed for the install?
Many thanks
The following users liked this post:
R3504Matic (06-22-2022)
10-02-2012, 08:38 PM
#129
MBWorld Fanatic!
Thread Starter
Thank you.
Flare part numbers with an approximate price that I paid at the stealer:
Left Fender Flare Upper 251-880-17-05 66.82
Left Fender Flare Lower 251-880-15-05 72.38
Right Fender Flare Upper 251-880-18-05 66.82
Right Fender Flare Lower 251-880-16-05 72.38
The Wald bumper had everything I need. However, they had to tear apart a lot of the stock bumper to get it to mount to my car. They had to reuse the parktronic brackets and headlamp washer brackets. They also had to remove the rivets of the bracket that holds the bumper skin in place and transfer that to the Wald. The center bumper is reused from your stock AMG bumper. The headlamp washers and parktronic sensors are reused. So if you don't have the headlamp washers or parktronic from the factory you'll have to figure something out. The body shop charged me 16 hours of labor to transfer all of that stuff over from the stock bumper to the new one.
If you do get the Wald bumper, do yourself a favor and get the European parktronic sensor covers for the corner lights as it looks a lot cleaner. If your car doensn't have parktronic, just sand and paint the orange markers body color.
Wald bumper is ordered through Jonari- just an average experience.
Those Euro Parktronic corners are also from the stealer:
Bumper Joint Cover Right (Parktronic Corner Cover) 251-885-10-23 28.45
Bumper Joint Cover Left (Parktronic Corner Cover) 251-885-09-23 28.46
Best of luck and I'd love to see pics of the process!
BTW bumper took 10 weeks to arrive from Japan and note I skipped on the rear bumper which Wald also makes.
Last edited by xxGenericSNxx; 10-03-2012 at 02:32 AM.
The following users liked this post:
R3504Matic (06-22-2022)
10-03-2012, 03:16 PM
#130
MBWorld Fanatic!
Join Date: Jan 2007
Location: Chicago
Posts: 1,257
Likes: 0
Received 5 Likes
on
5 Posts
2015.5 Volvo V60 Polestar
Awesome truck, and fantastic pictures. many props to you.
When do you plan on adding the 65 tips? Was curious to see how it looked, haha.
Any long tube/tune/exhaust work in the plans?
When do you plan on adding the 65 tips? Was curious to see how it looked, haha.
Any long tube/tune/exhaust work in the plans?
10-03-2012, 07:16 PM
#131
MBWorld Fanatic!
Thread Starter
I'm currently trying to find a shop that can build me a custom CF diffuser with three fins. I'm having some trouble with this step of the project, but I don't plan on installing the tips until after the diffuser in case we need to adjust the tips to fit the diffuser properly.
No plans for any go fast parts. The ECU tune for the M156 isn't very good, only about +10hp which is about a 2% increase in power. Not really worth it. Luckily the exhaust makes a nice sound as is and can actually be heard in the car.
No plans for any go fast parts. The ECU tune for the M156 isn't very good, only about +10hp which is about a 2% increase in power. Not really worth it. Luckily the exhaust makes a nice sound as is and can actually be heard in the car.
10-07-2012, 02:44 PM
#132
MBWorld Fanatic!
Thread Starter
Well I have one of my last big updates for you guys. The car has undergone most of the big modifications and only little things remain. The things I'd like to get done in the future but don't have any plans or shops lined up for yet are:
Red calipers
Matte black headlight housings
Carbon fiber diffuser w/ 65 tips
Alcantara headliner
Alcantara door panel inserts Brabus style
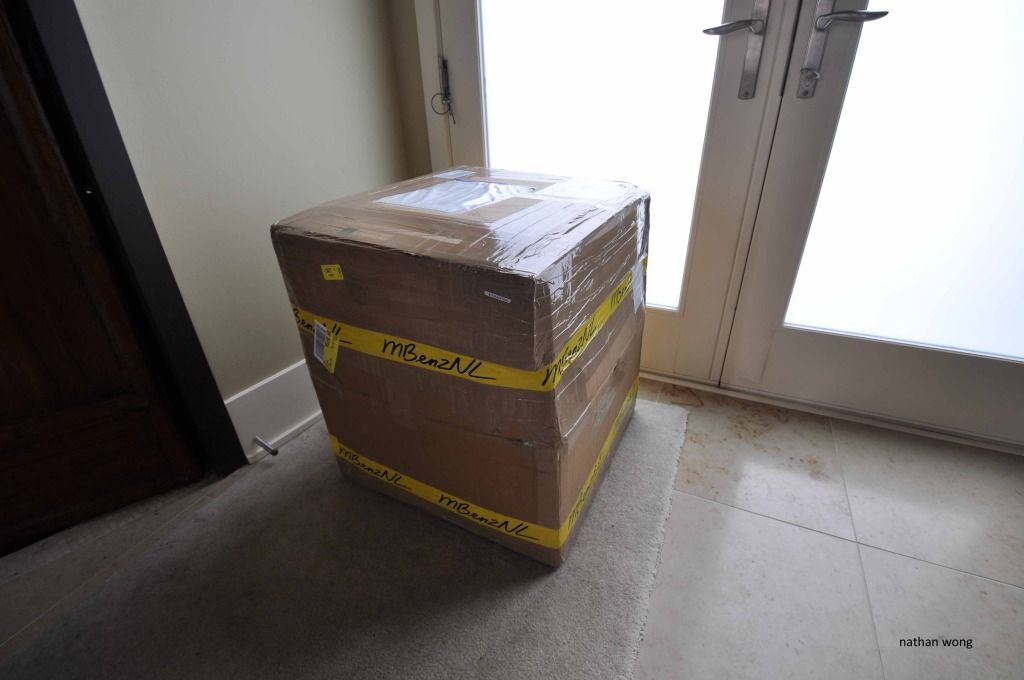
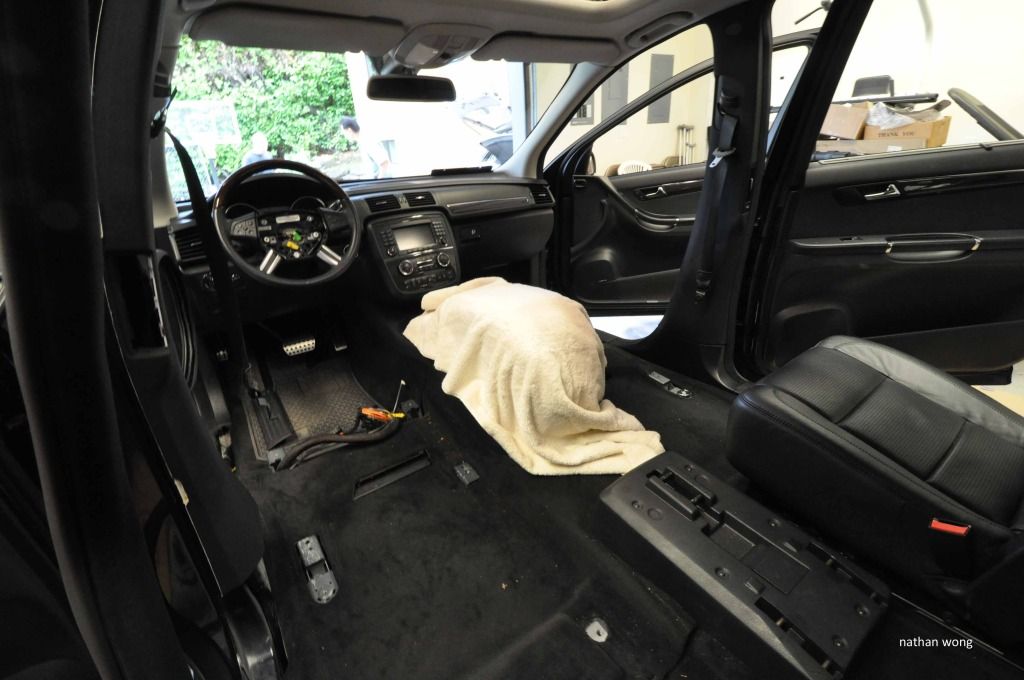
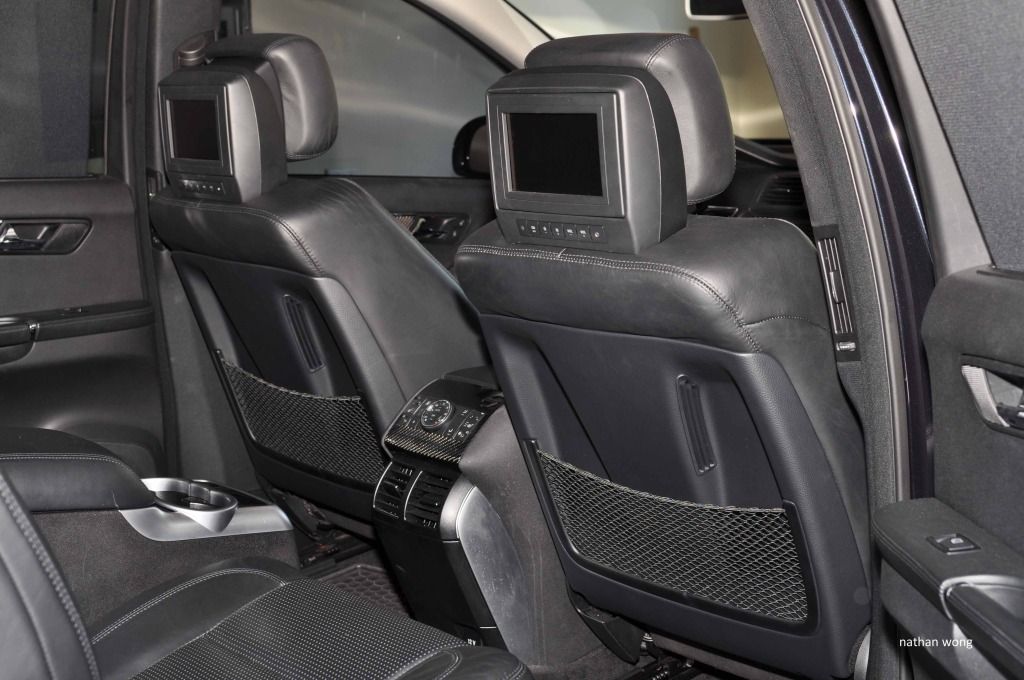
Anyways this last update is the Ventilated Seat retrofit thanks to MBenzNL who provided all of the parts and instructions the install went fairly smoothly. The whole kit is pretty much plug and play. The Ventilated Seats were a Euro only option for the R-Class the first few model years and was not available as an option on US spec R63s. I remember seeing an R63 in AMG's headquarters in Affalterbach, Germany in summer of 2006 and it had the vented seats. It's always been something I've wanted.
Here's the parts:
Huge box of goodies from the Netherlands:
Seat Cushions:

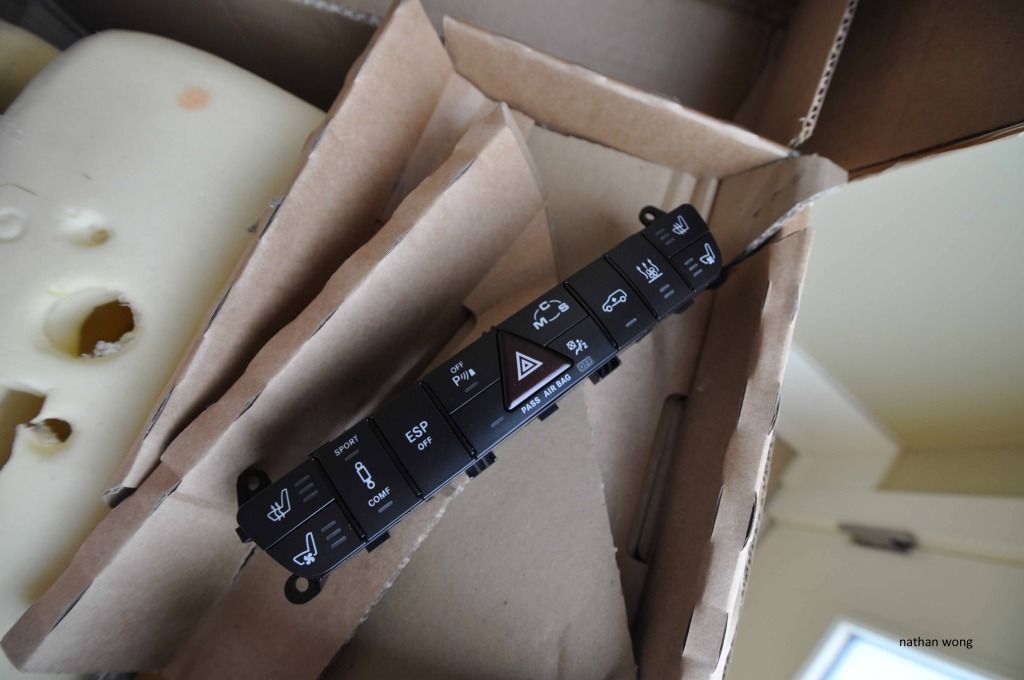
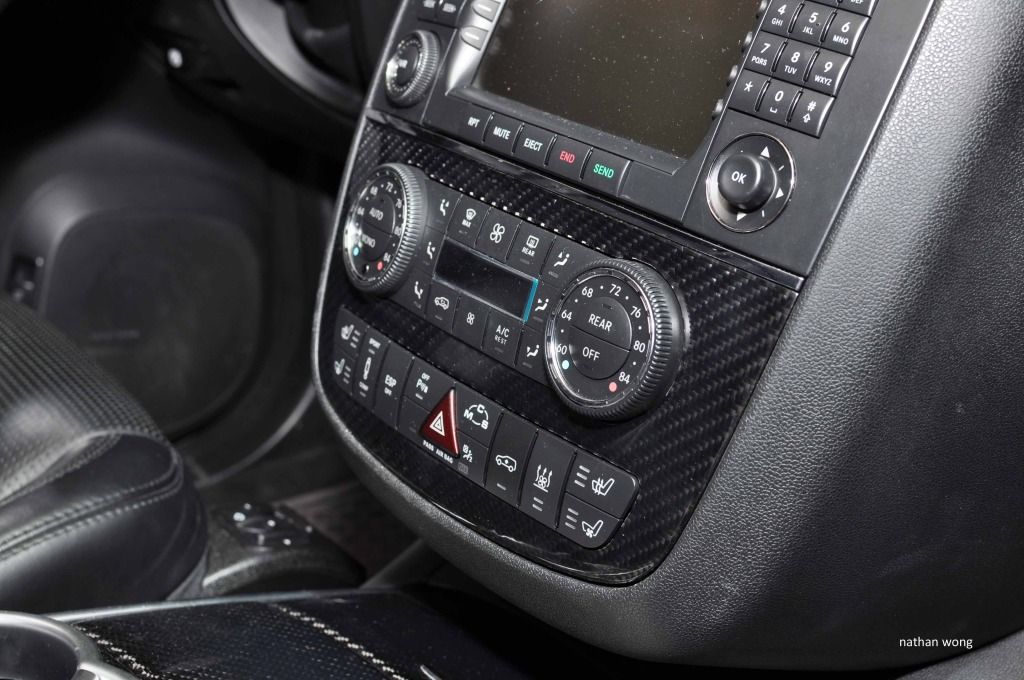
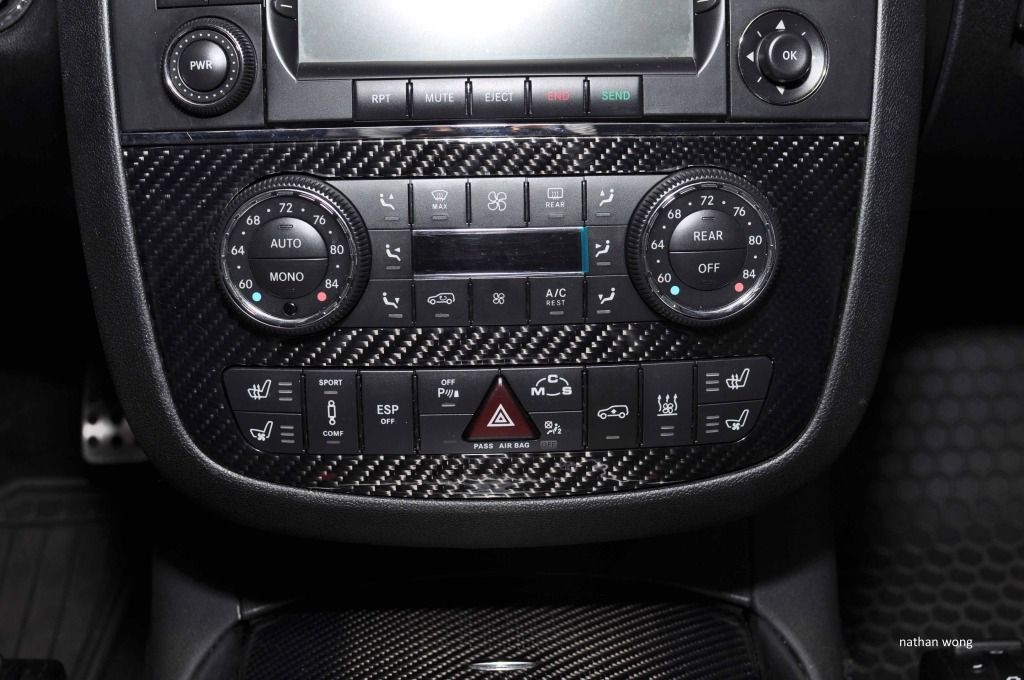
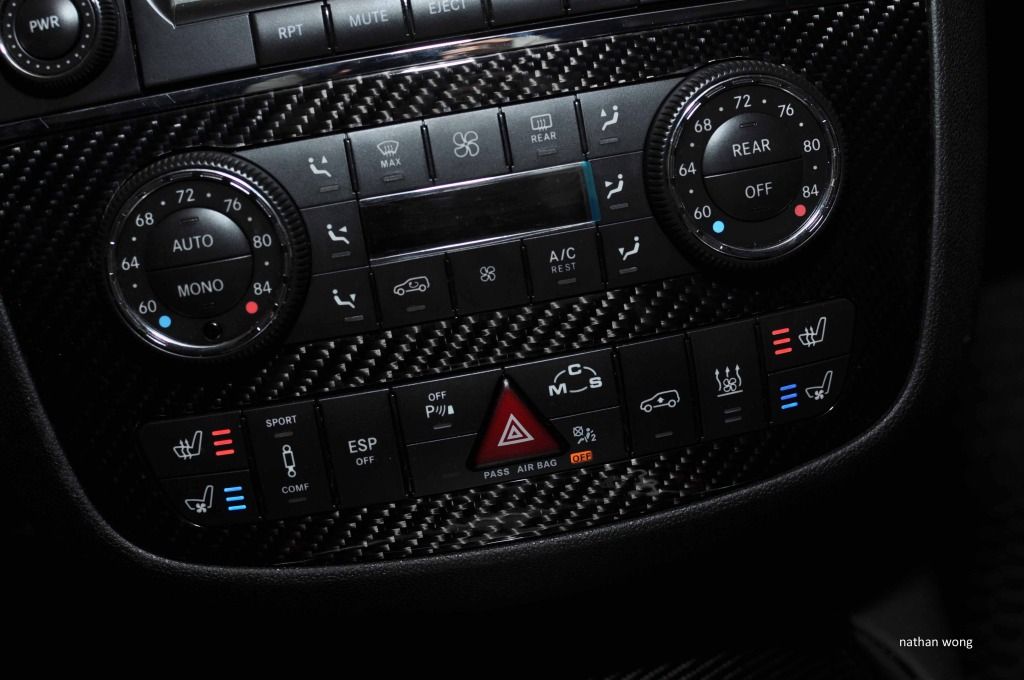
Switch Row. I had them send me a switch row with a button for the standalone heater as well. The standalone heater is a separate small gas motor that goes in the engine compartment and will heat up the interior and engine coolant (basically remote start but OEM). Don't think I'll retrofit it but it's nice having a full switch row panel instead of a dummy button.
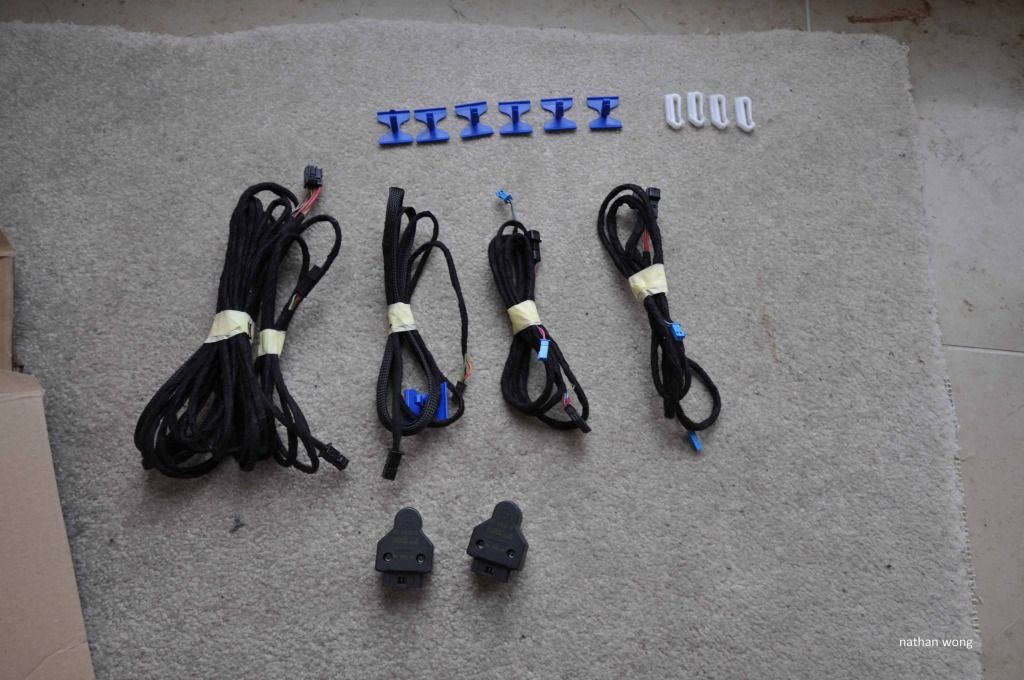
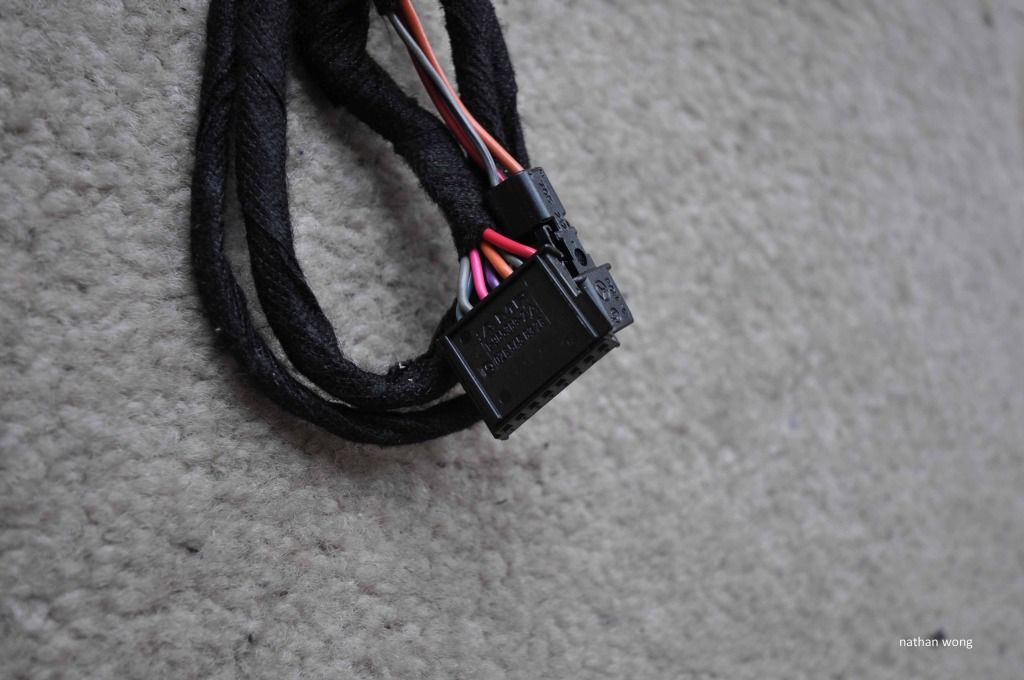
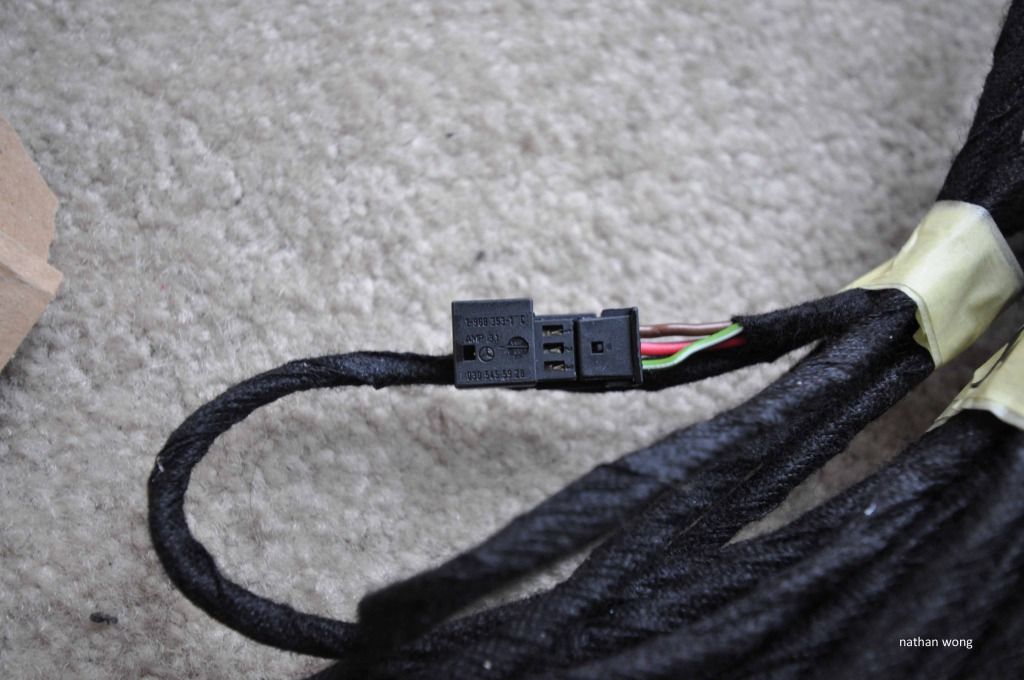
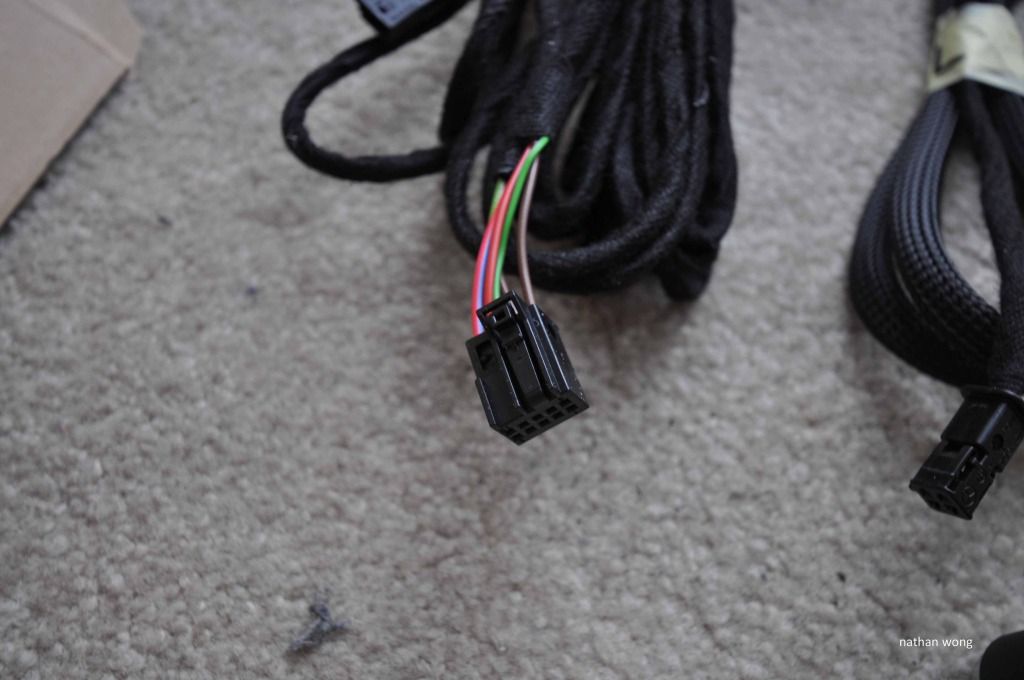
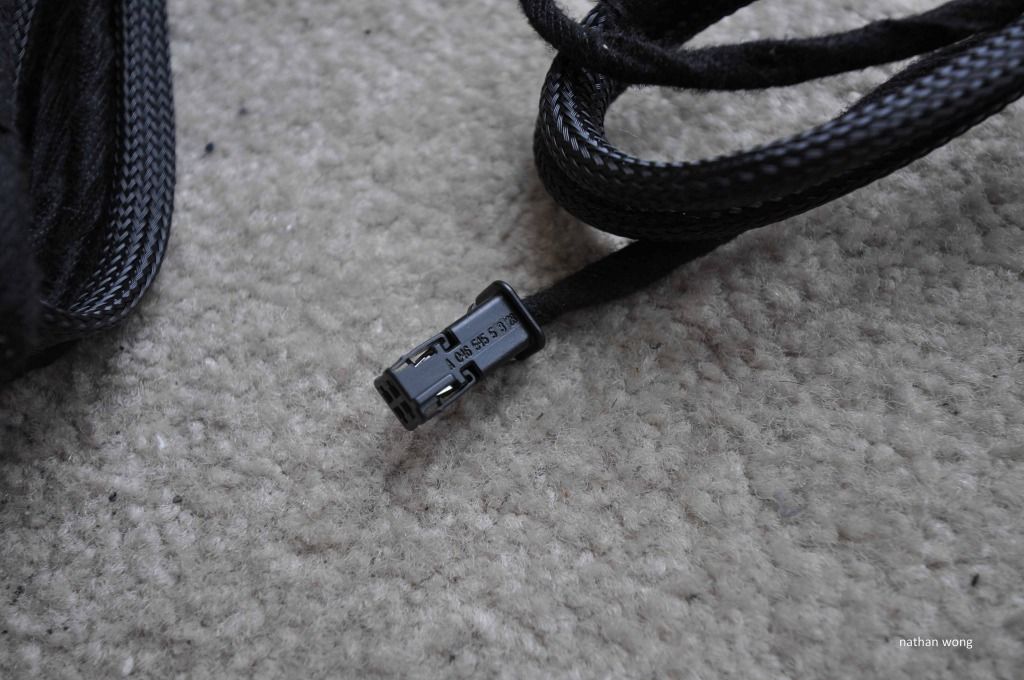
Wiring harness:
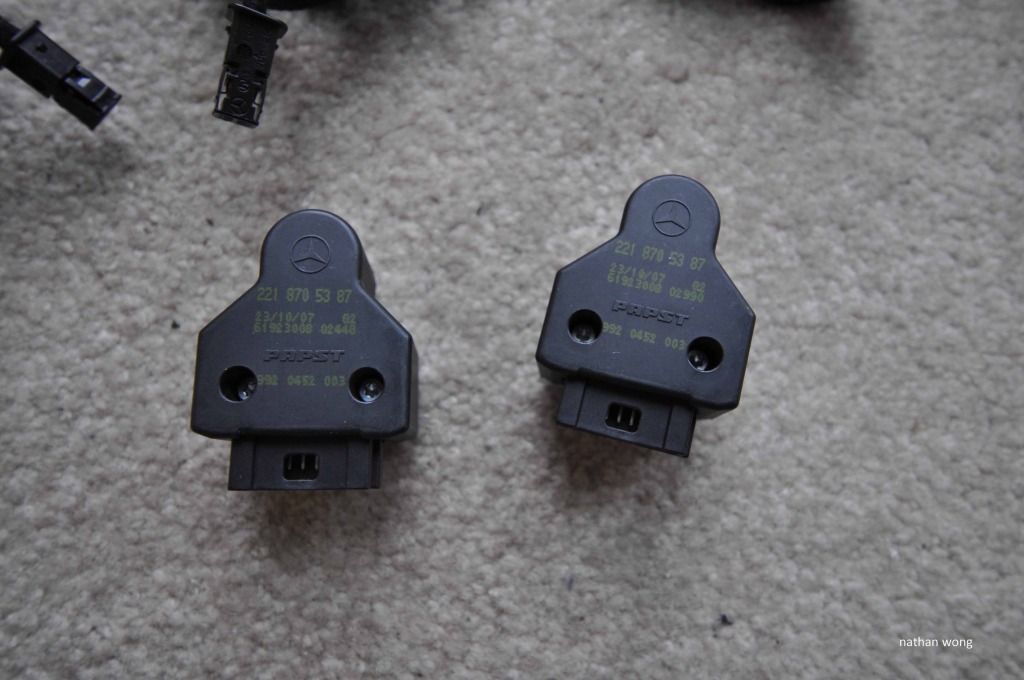
Vented Seat Modules:
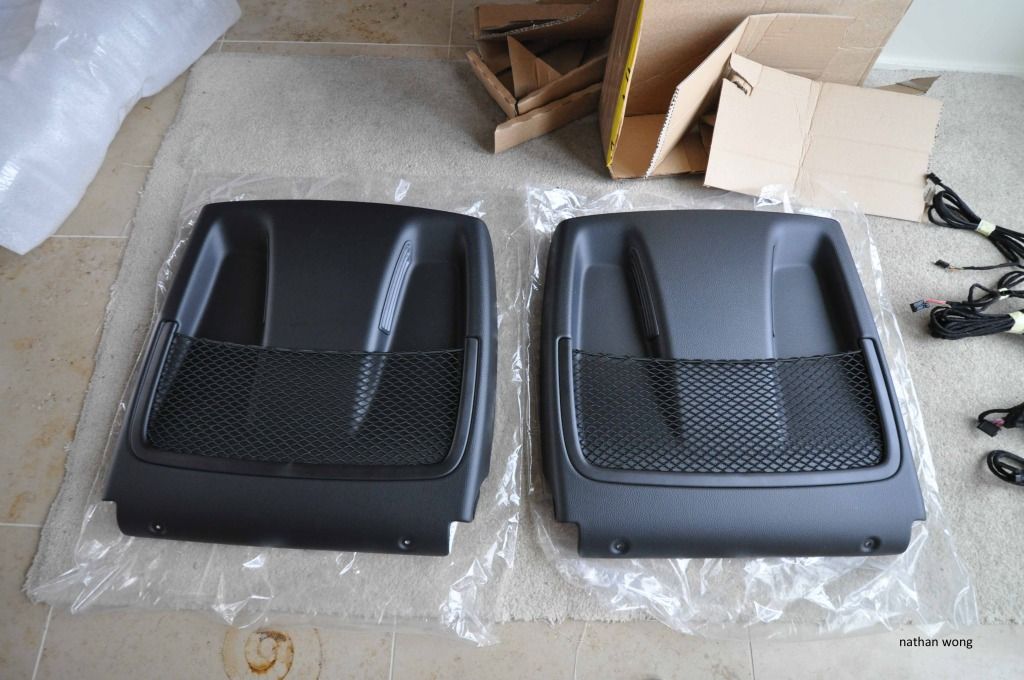
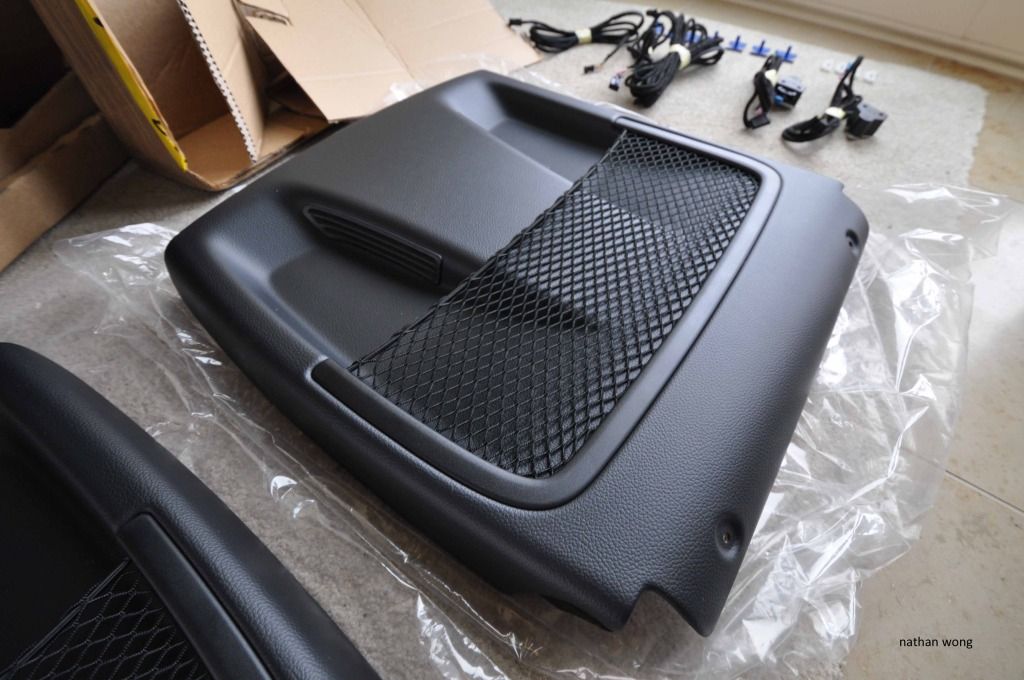
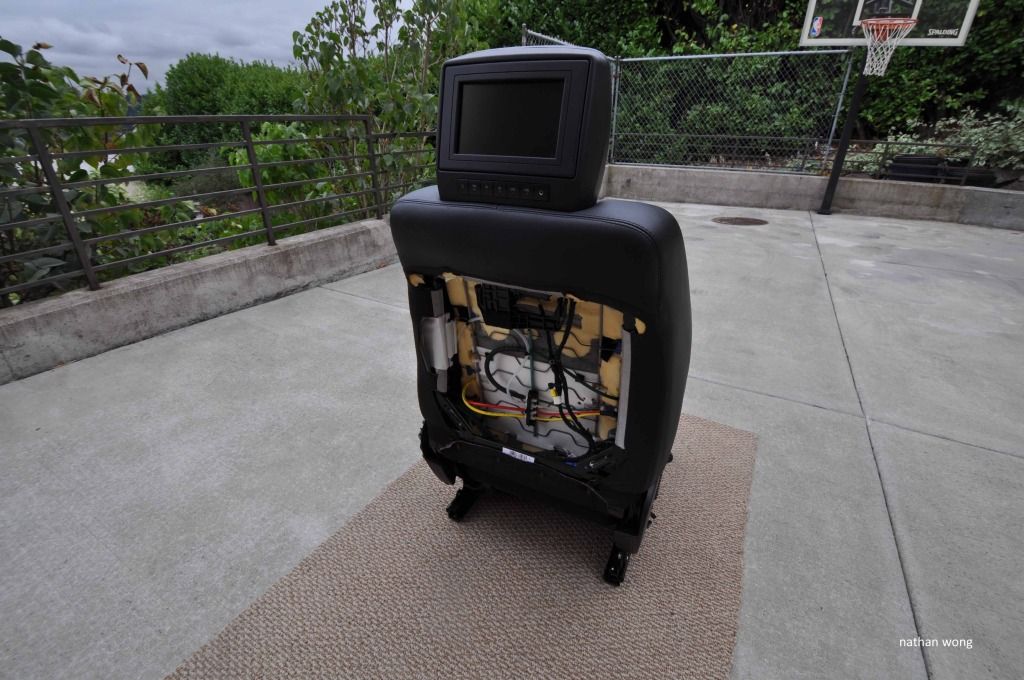
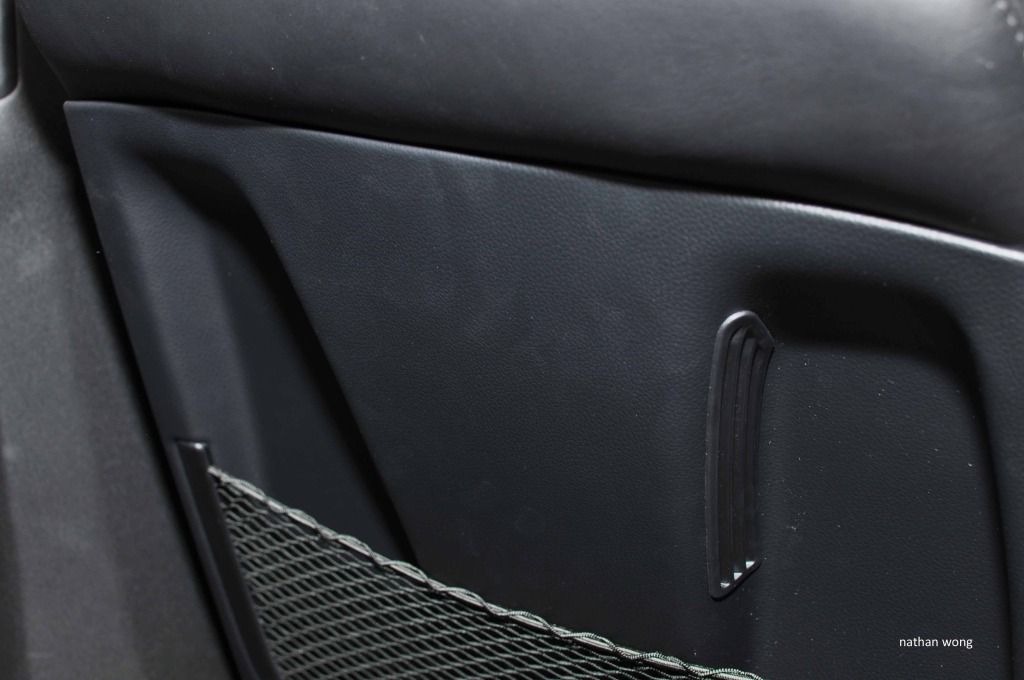
Seat back panels with the ventilation grille inserts:

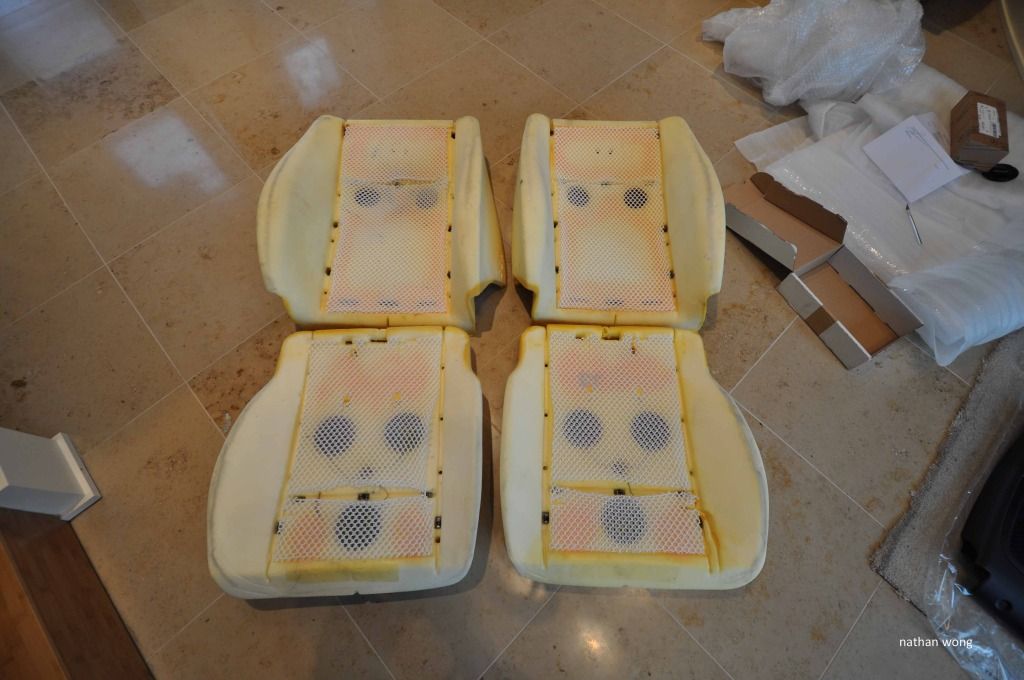
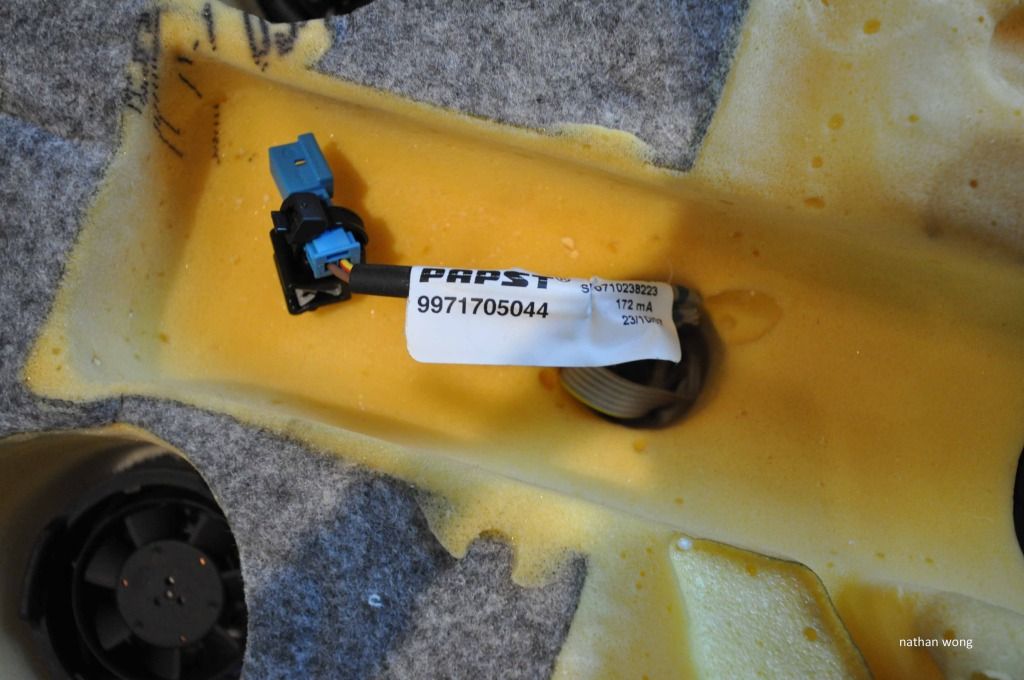
Seat cushions with the fans:

All of the parts together:

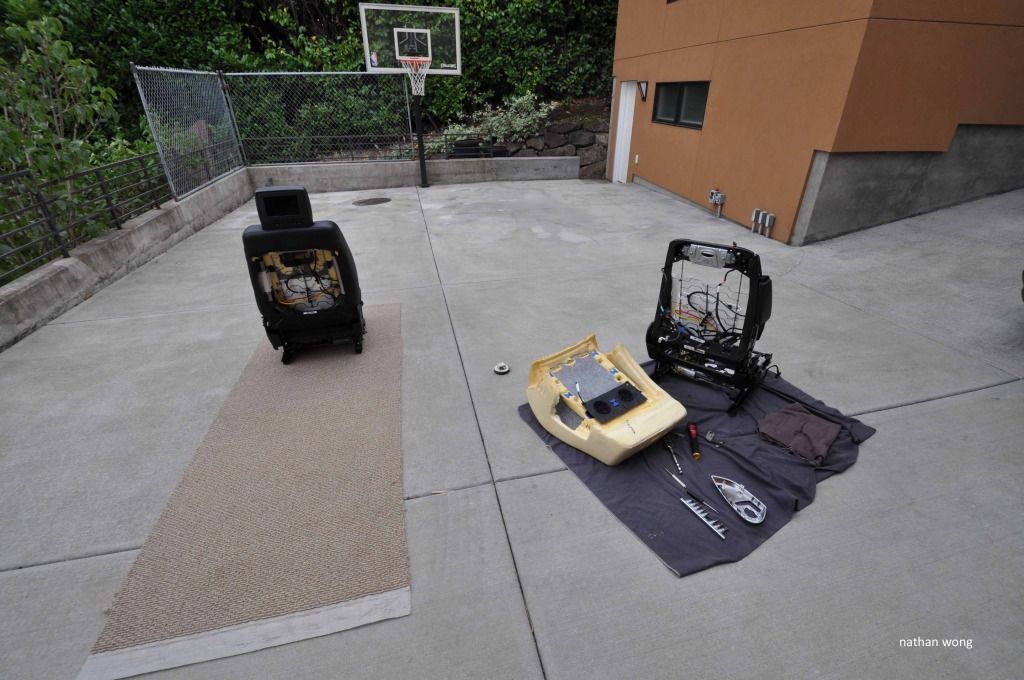
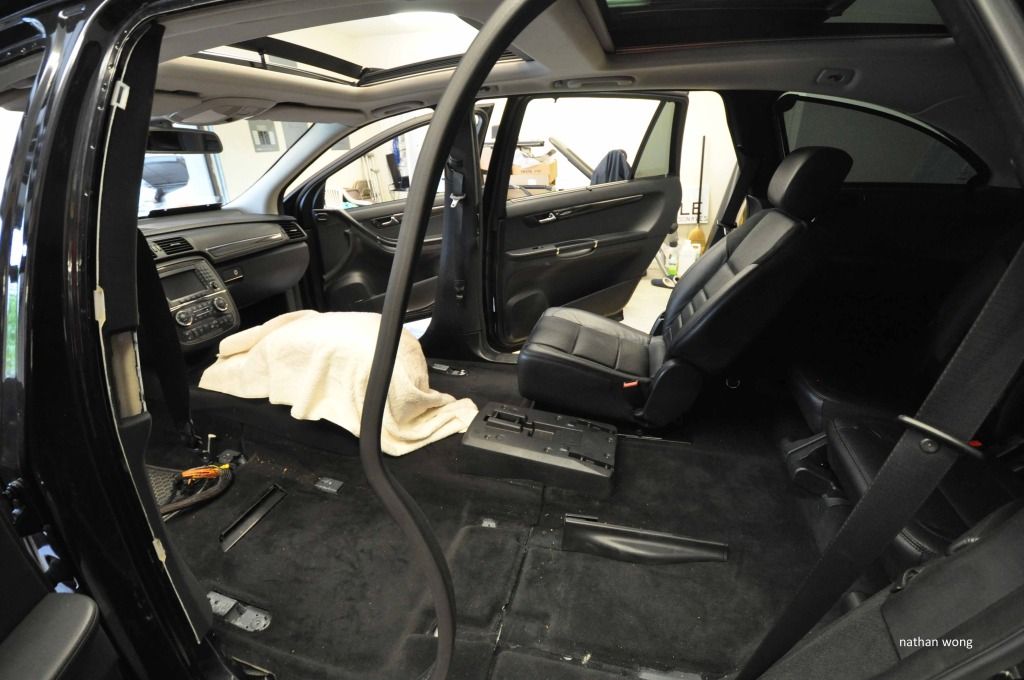
Now onto the install. Both front seats need to be removed and the seats have to be stripped to the frame so the new cushions can be installed. The second row driver seat also has to be removed in order to access the false floor which gains access to the control unit. The wiring harnesses are completely plug and play and does not require any STAR coding. The wiring harness plugs into a module under the floor and those wires run to each front seat. The car is already prewired for the vented seats so when you install the new switchrow on the dashboard, everything just works.
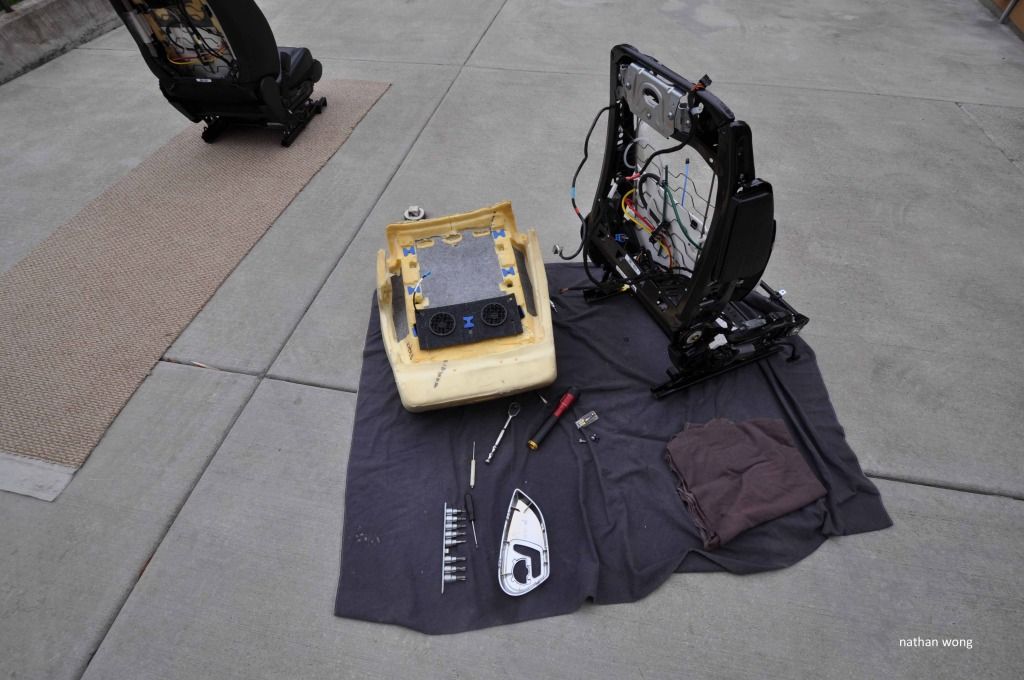
Note the multicontour seat bladders:
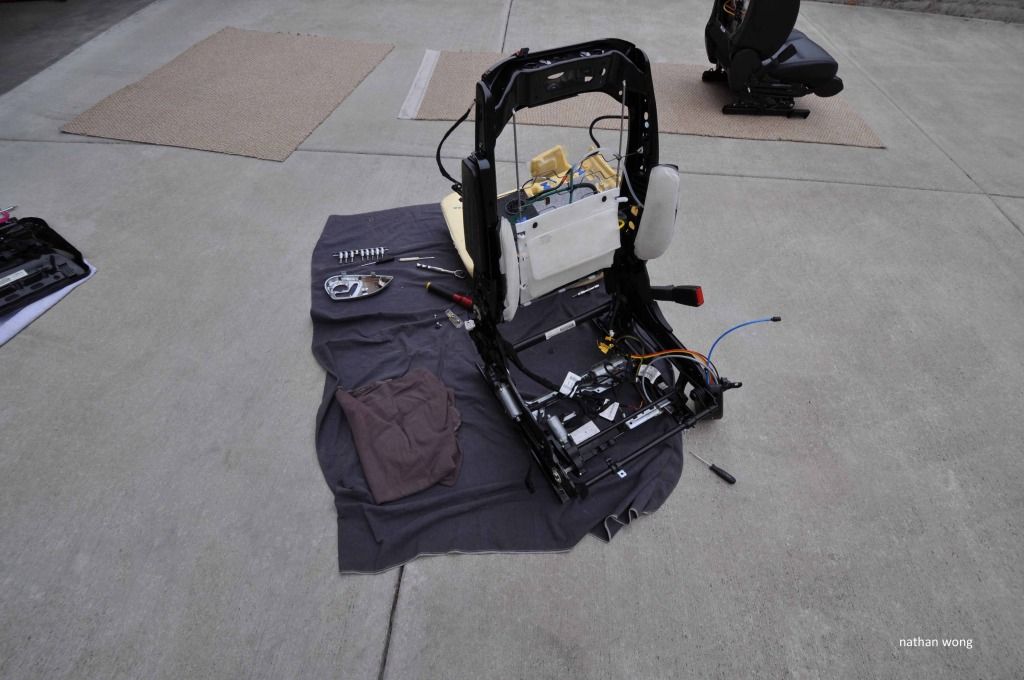
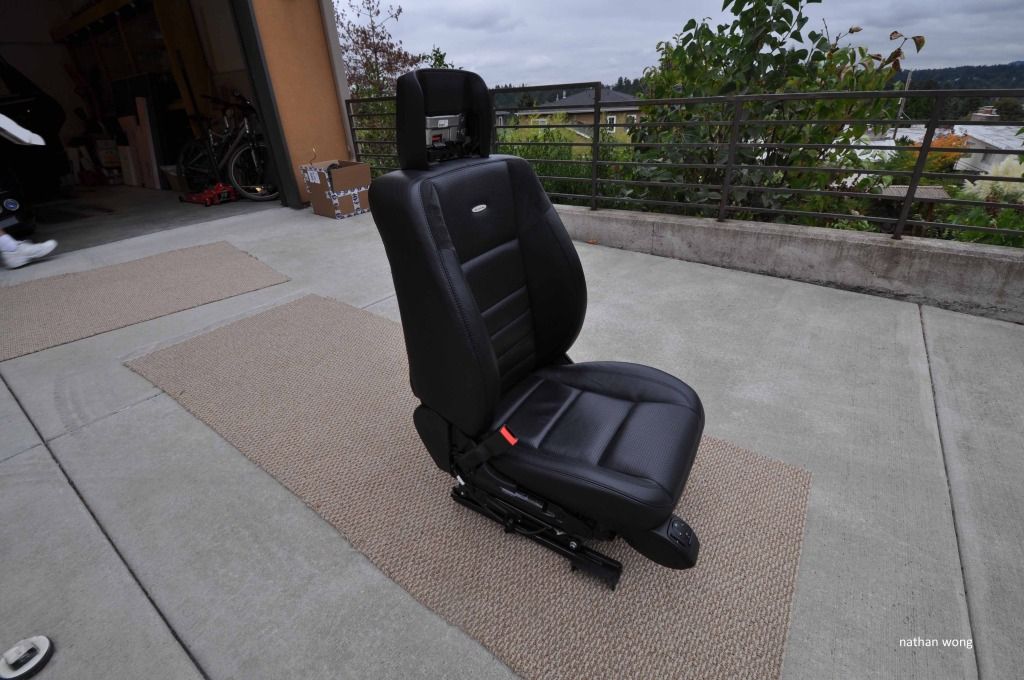
And once finished everything looks OEM because all OEM parts were used. My seat skins didn't have to be changed because luckily all AMG seats had perforation at that time.
The verdict, it works as advertised. The fans provide enough air to cool the leather around that area and I can feel a subtle breeze on my back. On the seat bottom though, I don't feel as much I think because I'm putting a lot of weight directly down. Nevertheless it's a nice feature to use in the car on warm days.
Red calipers
Matte black headlight housings
Carbon fiber diffuser w/ 65 tips
Alcantara headliner
Alcantara door panel inserts Brabus style
Anyways this last update is the Ventilated Seat retrofit thanks to MBenzNL who provided all of the parts and instructions the install went fairly smoothly. The whole kit is pretty much plug and play. The Ventilated Seats were a Euro only option for the R-Class the first few model years and was not available as an option on US spec R63s. I remember seeing an R63 in AMG's headquarters in Affalterbach, Germany in summer of 2006 and it had the vented seats. It's always been something I've wanted.
Here's the parts:
Huge box of goodies from the Netherlands:
Seat Cushions:
Switch Row. I had them send me a switch row with a button for the standalone heater as well. The standalone heater is a separate small gas motor that goes in the engine compartment and will heat up the interior and engine coolant (basically remote start but OEM). Don't think I'll retrofit it but it's nice having a full switch row panel instead of a dummy button.
Wiring harness:
Vented Seat Modules:
Seat back panels with the ventilation grille inserts:
Seat cushions with the fans:
All of the parts together:
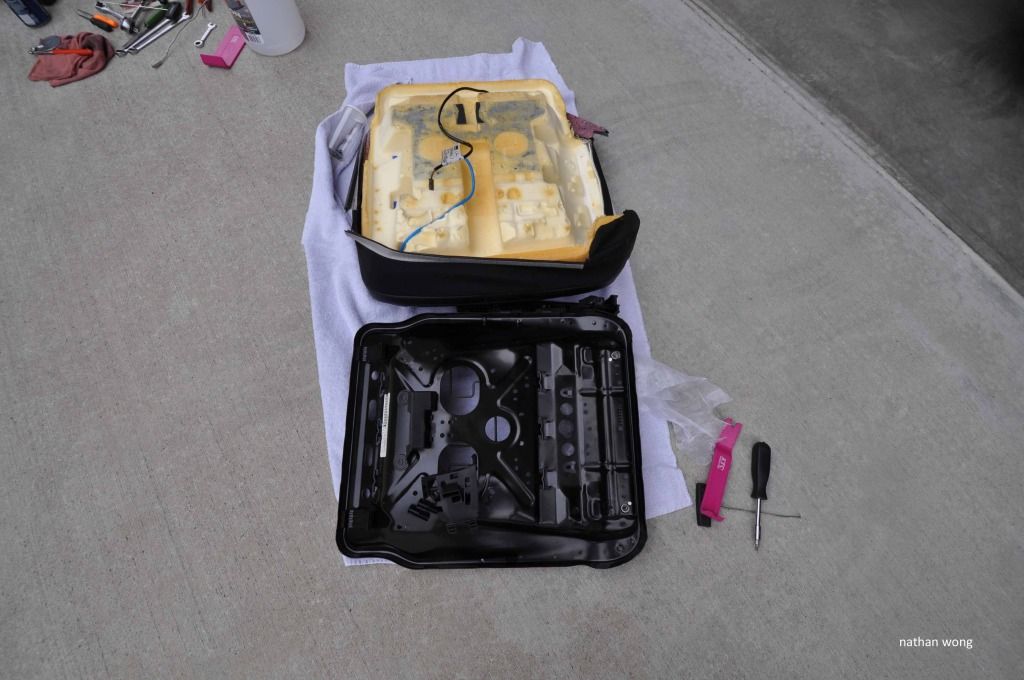
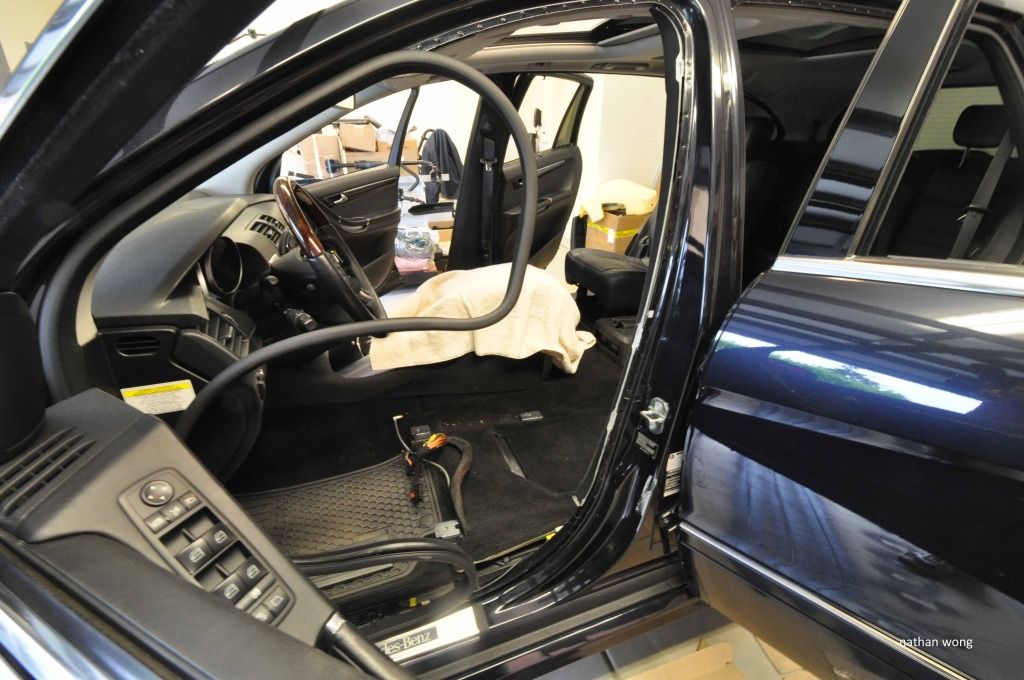
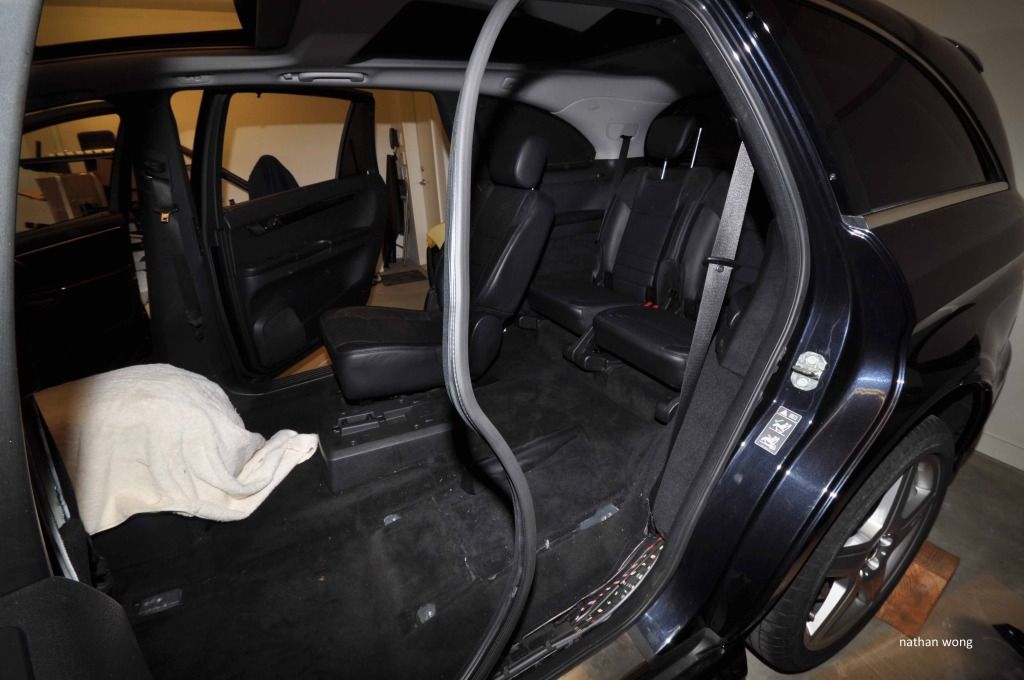
Now onto the install. Both front seats need to be removed and the seats have to be stripped to the frame so the new cushions can be installed. The second row driver seat also has to be removed in order to access the false floor which gains access to the control unit. The wiring harnesses are completely plug and play and does not require any STAR coding. The wiring harness plugs into a module under the floor and those wires run to each front seat. The car is already prewired for the vented seats so when you install the new switchrow on the dashboard, everything just works.
Note the multicontour seat bladders:
And once finished everything looks OEM because all OEM parts were used. My seat skins didn't have to be changed because luckily all AMG seats had perforation at that time.
The verdict, it works as advertised. The fans provide enough air to cool the leather around that area and I can feel a subtle breeze on my back. On the seat bottom though, I don't feel as much I think because I'm putting a lot of weight directly down. Nevertheless it's a nice feature to use in the car on warm days.
The following users liked this post:
R3504Matic (06-22-2022)
 10-07-2012, 11:45 PM
#134
Super Member
You've done a really good job with your build thread. What level of difficulty would you rate the vented seat retrofit? I've heard nothing but good things with MBenzNL... Carbon looks stunning btw.
10-08-2012, 02:29 AM
#135
MBWorld Fanatic!
Thread Starter
The most difficult thing with the vented seats is removing the upholstery off and reinstalling it. There's also lots of wire connections for the seats that you must unplug etc. I honestly wouldn't do it without professional help if you're not a regular gearhead. With these modern cars and so many computers etc., doing something wrong can really mess something up and you don't know where to begin for troubleshooting.
We did run into a snag on two of the wiring harnesses. The wires were not correctly plugged into the correct parts of the terminals. Because the kit was supposed to be plug and play but in reality when we tried it out and it wasn't, we had to reverse engineer it and test the voltages from the wires and refer to the wiring diagrams provided by the manufacturer. Without professional help we would not have figured that out.
Also we needed some codes cleared so that hte multicontour seats started working properly again (because the car had the seats removed and was started so the pump shut off for fear of overheating itself). So when we reinstalled the seats we had to clear the codes since the multicontour seats were properly put in place. It's nothing a dealer can't do, but a good independent should be able to do the job as well. You just need to give them all of the explicit instructions. Luckily I had some friends that helped me out with knowledge of the electronics of the car
Total time was like 14 hours for two guys. So the short story is get pros to help.
10-08-2012, 08:32 AM
#136
MBWorld God!

Join Date: Jul 2010
Location: on my way
Posts: 30,656
Received 3,399 Likes
on
2,844 Posts
2012 CLS63
wow man you're a modding monster!
keep up the great work
keep up the great work
10-09-2012, 12:39 AM
#137
Junior Member

Are you going to sell the original front bumper of your r63?
10-09-2012, 02:47 AM
#138
MBWorld Fanatic!
Thread Starter
No. And in its current state, it's fairly unusable. All brackets and mounting points were used for the new bumper.
If you need an AMG bumper for the R-Class they're only a few hundred dollars on eBay and have all of the brackets that you need. (R63 bumper is the same as a sport pack R350 bumper)
If you need an AMG bumper for the R-Class they're only a few hundred dollars on eBay and have all of the brackets that you need. (R63 bumper is the same as a sport pack R350 bumper)
10-11-2012, 01:02 AM
#139
MBWorld Fanatic!
Thread Starter
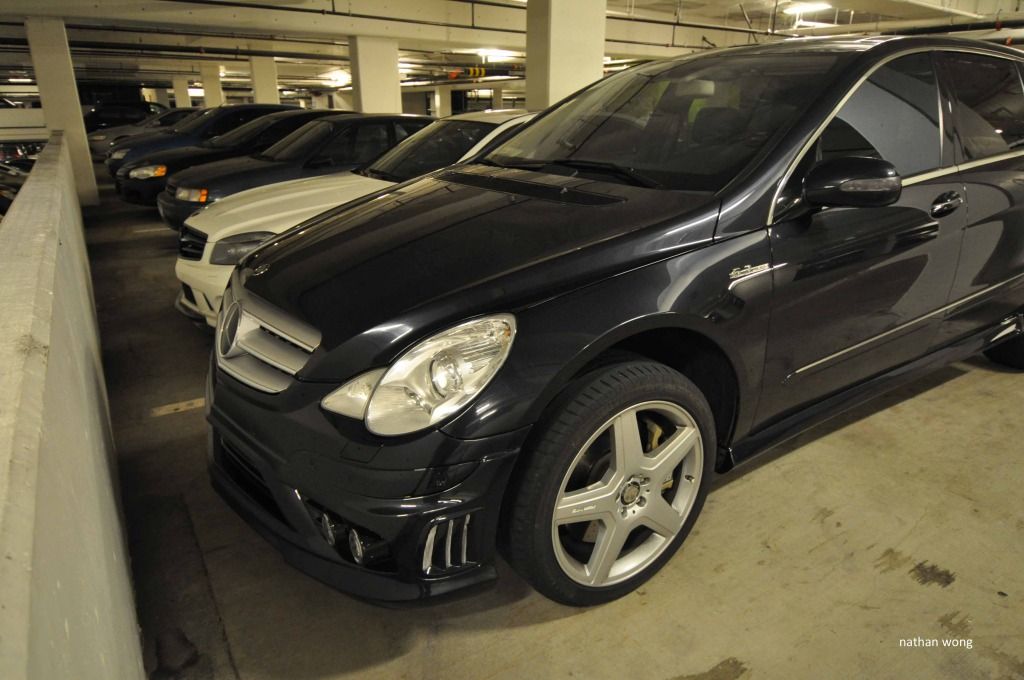
I also smoked the turn signals on the mirror with matte smoked vinyl film for fun.
Here's my car with my friend's modified C63. In the later pictures it's with a modified 135i and slightly modified XF along with the same C63.
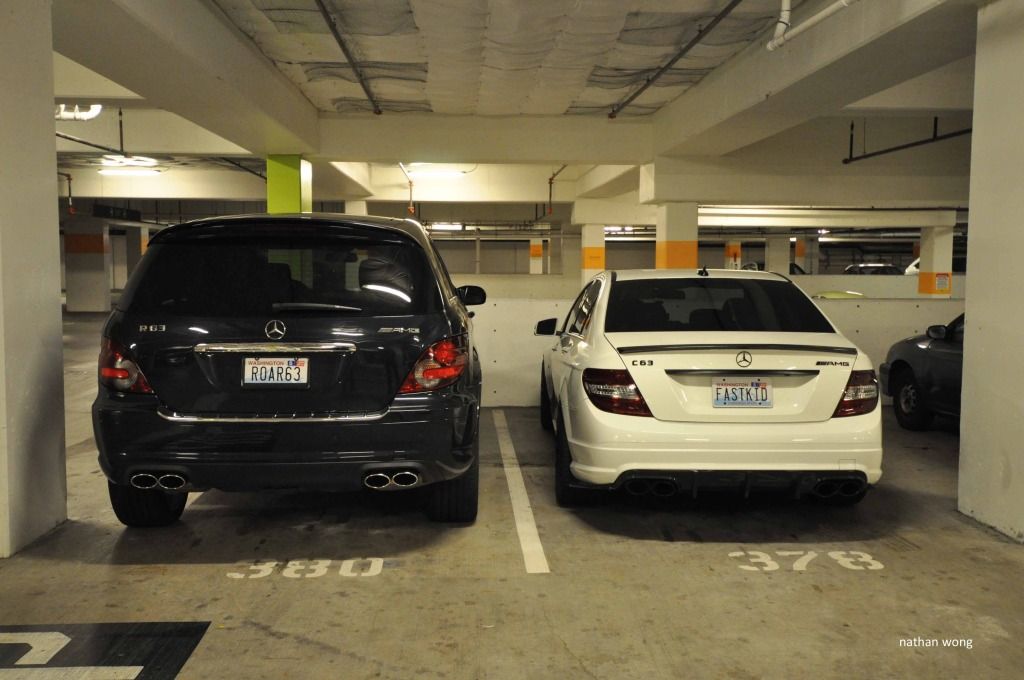
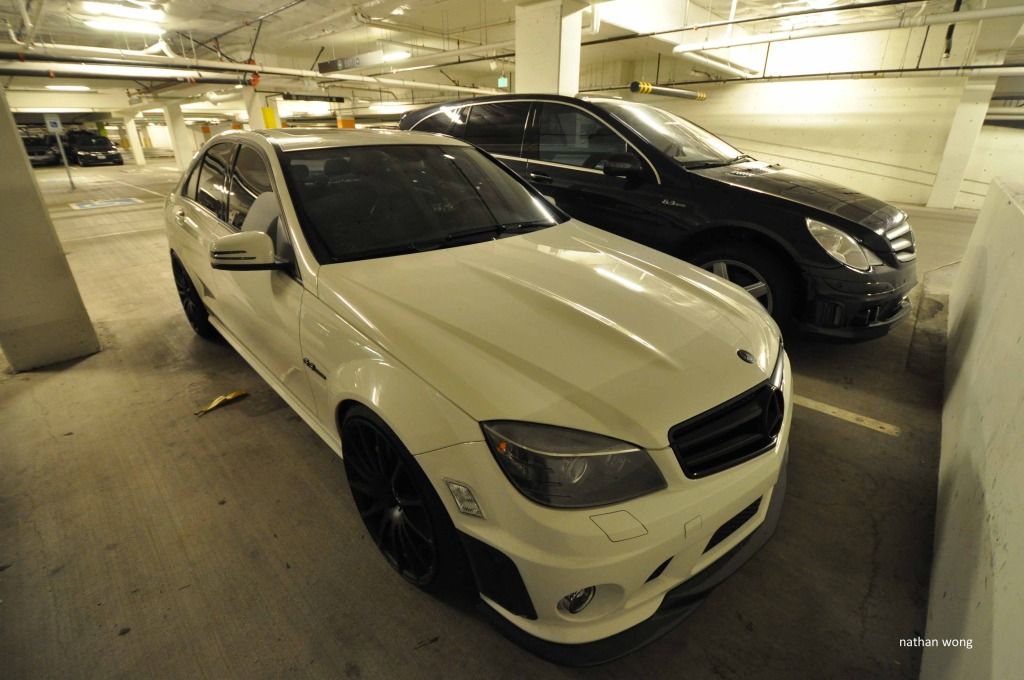
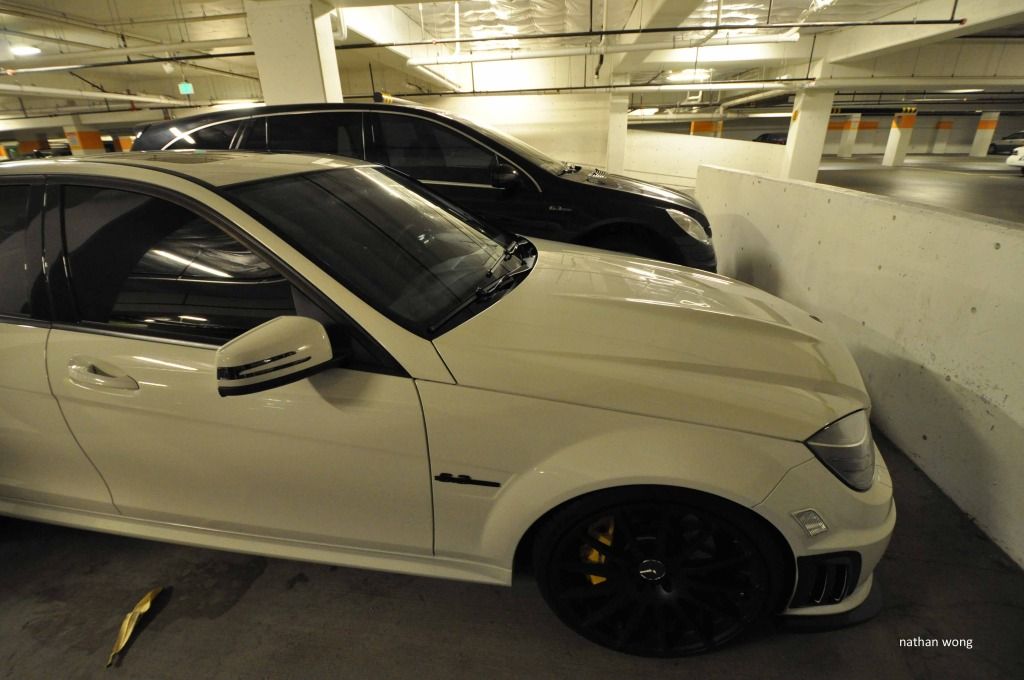
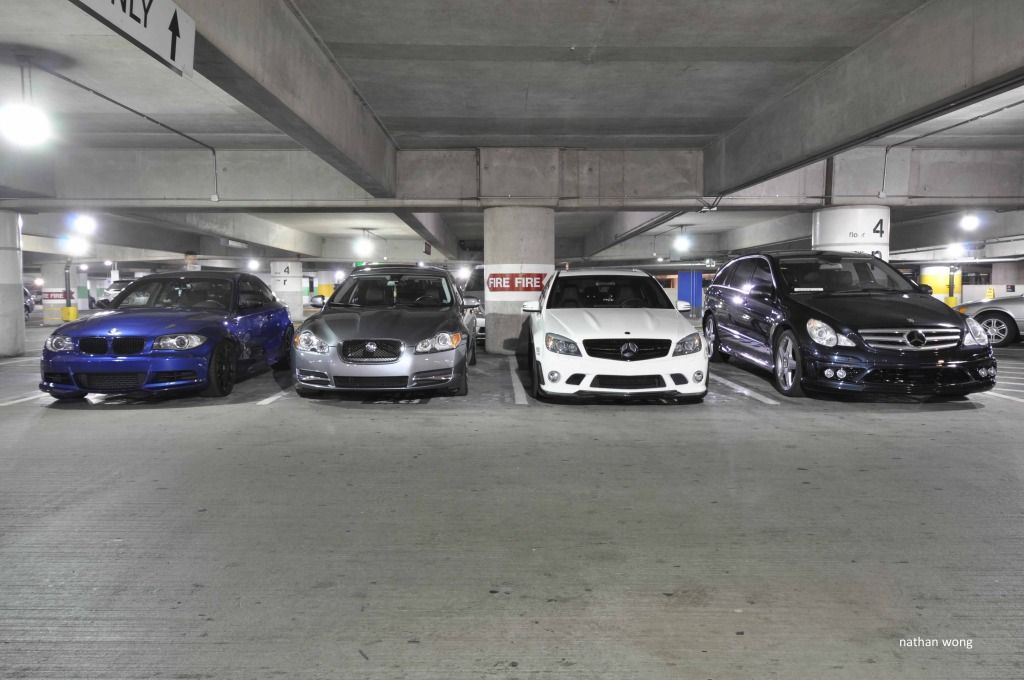
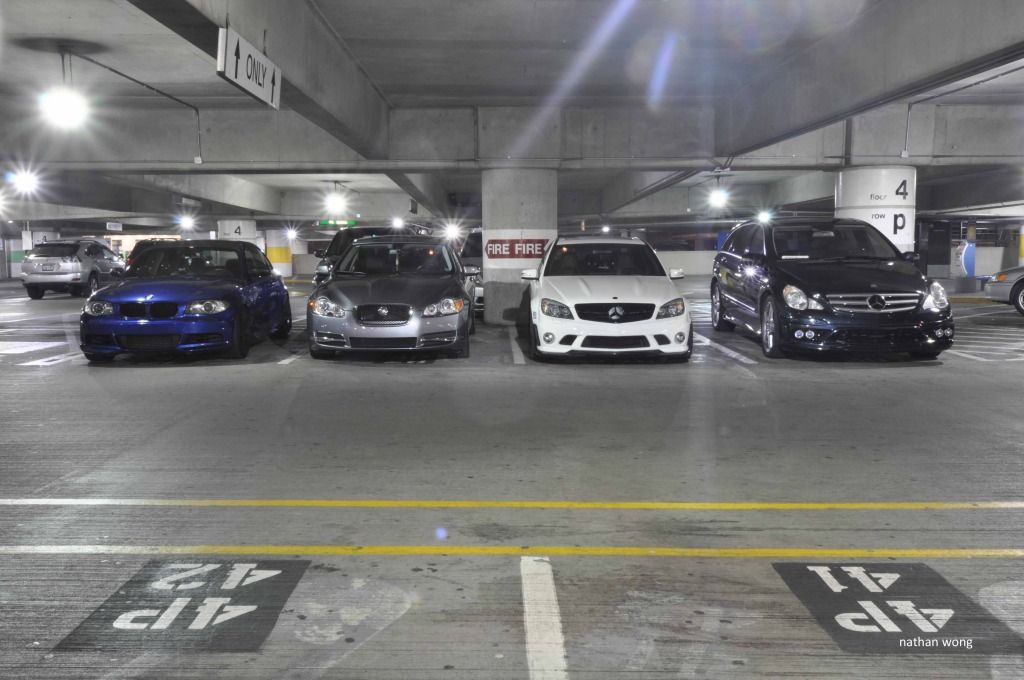
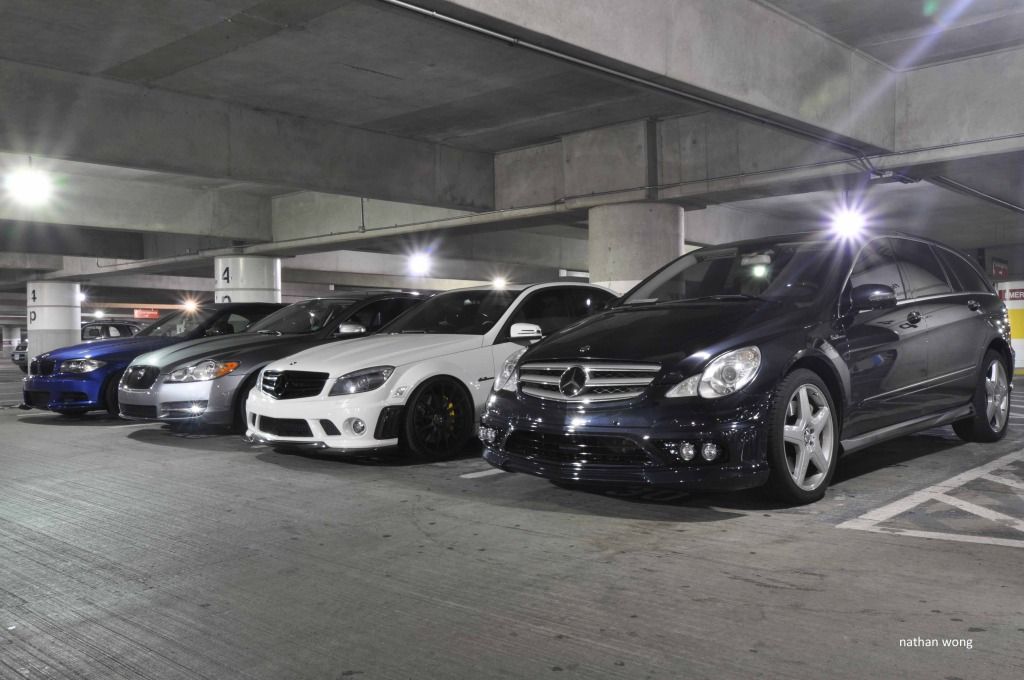
Here's my car with my friend's modified C63. In the later pictures it's with a modified 135i and slightly modified XF along with the same C63.
10-12-2012, 02:06 AM
#140
Junior Member
Very nice...are you going to make some improvement on the engine? Please advise if you do since my 2007 r350 is way too heavy...no power ...no torque.
10-12-2012, 01:01 PM
#142
Super Member
As GenericSN mentioned, there isn't a huge amount of options however, Kleemann makes a power kit that outputs ~340hp. Consists of ECU, SS tubular headers/downpipes and sport camshafts.
They claim 305 HP and 278TQ [corrected, thanks Generic] with just the ECU upgrade.
http://www.kleemann.dk/Performance/E...0V6_M272.aspx#
Last edited by 155; 10-12-2012 at 01:25 PM.


 10-29-2012, 10:57 PM
#147
MBWorld Fanatic!
Thread Starter
The R-Class isn't a car that lot of people like, and the aftermarket selection is extremely limited, but I'd like to think that I fared pretty well for what I have to work with.
11-04-2012, 09:16 AM
#149
Senior Member
XXGenericSNXX:
Love the look and the sound. I am still amazed at the scope of the modifications you have undertaken on the car, like the addition of the ventilated seats, as an example. Wow!!
I said it before but I it is worth repeating - I think it is great that the mystical R63 has found such a passionate owner as you.
Kind regards
11-09-2012, 02:25 PM
#150
Super Member

Join Date: Jun 2006
Posts: 556
Likes: 0
Received 4 Likes
on
4 Posts
2011 C300 4matic, 2015 Porsche Macan S, 2006 R500 (sold)
I really love what you have done to your car. But as a current R500 owner, I really think the pre face-lift R-class is just not a good looking car in general. It is so much harder to make it look decent.
Btw, have you considered to paint the grill black and left the star and strips chrome? I did it to mine and it looks much cleaner, especially for a black R-class.
Btw, have you considered to paint the grill black and left the star and strips chrome? I did it to mine and it looks much cleaner, especially for a black R-class.


