


M275 V12 WATER PUMP DIY WITH PICTURES

Thread Starter
Member

Joined: Jan 2010
Posts: 248
Likes: 15
From: Sacramento
W221 2013 S550 Rwd, W221 2010 S550 Rwd
MBWORLD members and enthusiast ! i have sucessfully changed the water pump on an 05 MBZ S600 V12TT with 54K miles . this water pump is commonly shared with all models with this engine , even the n/a as well as the amg engines.
* Attempt this job at your own discretion* if you do not have patients or decent automotive skills do not attempt it, that being said this job is fairly simple and not hard to do at all!!
I dont have pictures of draining radiator or cooling fan removal , i will explain everything the best as i can... fairly simple.
1. Remove all the underbody panels to remove drain on radiator to empty the cooling system
2. Remove engine cover , as well as air intake tubes.
In order to remove cooling fan follow these steps .
*Remove upper radiator hose from thermostat housing, using two 5MM hex bolts and one E10 bolt next to oil filter housing, unclip small coolant hose and move away, move upper radiator hose out of the way.
*Remove upper transmission cooler line only , using 19MM wrench , i covered the line with a latex glove and moved it aside.
*drivers side bottom of the fan , pry plastic clip for the fan wiring . very carfeully push in tabs on the electrical plug and pull the wiring out and away from the fan.
*Remove only two 10MM bolts on top of the cooling fan assembly .
*Fan is ready to come out , keep in mind its really tight and snug fit!! so be very patient with it . slowly wiggle and remove the fan up and out , you or a buddy will to have to push the intercooler hoses away a bit for it to come out . once again be patient !! that fan barely comes out lol not too too much wiggle room
3. Remove 4 T30 torx bolts from water pump pulley before removing the v- belt, next remove the belt, 17MM socket on belt tensioner.
*Pry off plastic covers on the idler pulleys and remove pulleys using T45 torx bit
*Next remove crank pulley with 27MM deep socket and breaker bar. i do not posses the special tool which is mercerdes counterholder. so i removed small cover on transmission bell housing exposing the flywheel, had my friend hold the flywheel while i broke the crank bolt loose... such a pain in the rear !!! that sucker is on there.... need some man power for that bolt. THE CRANK IS REMOVED ONLY FOR ONE WATER PUMP BOLT
4. time to remove the water pump finally !!
*Loosen all hose clamps top and bottom. The pump has 11 bolts all using the E10 socket, some bolts are longer and some short as a reference remove each one and slide it onto new pump.
*Keep in mind the hoses are stuck onto the pump , I chose not to replace any hoses as they were in great shape. use a small and thin flathead or pick to loosen hoses up. be very careful and patient with the hoses .... do not damage them unless your replacing.
*Remove old water pump and gasket from block !! clean area for new pump
5. After installing new water pump and gasket torque the bolts to 14nm=10ft/lbs. theres a special sequence and order to torque them , i will get picture from WIS and post it.
*Install water pump pulley and 4 bolts torque is 8nm=5ft/lbs....i just snugged these by hand.
Now the pump is on install everything in reverse order . the original plastic idler pulleys have a reputation of failing notoriously on the v12 engines. so i bought the redesigned metal pulleys from speedriven.
*All idler pulleys torque to 35nm=25ft/lbs.
I used all OEM Mercedes parts from the pump , new belt , coolant etc...
*keep in mind ladies and gents most shops and dealers use straight tap water..... i bought distilled water from the grocery store...very cheap and its the proper to use for the cooling system.
Shout out to Marcin at Speedriven!! excellent customer service from start to finish.
IM SO SO SORRY FOR A RIDICULOUSLY LONG POST !!
Last edited by s5benzo; Mar 1, 2015 at 12:07 PM.

MBWorld Fanatic!


Joined: Nov 2010
Posts: 2,605
Likes: 343
From: Welwyn, Herts, UK
2006 S600
Many thanks for the procedure and the pictures. I can scarcely believe that you have to remove the crank pulley, but I shouldn't be surprised anymore.
BTW, for anyone who just wants to remove the cooling fan (which gives you lots more room for everything) you don't need to remove any coolant hoses - just the upper tranny hose. Its still a frustrating job though, and you're likely to skin a few knuckles. Watch out for the tie-wraps that hold the pipes and cables clear of the rotating ancillaries.
Cheers, Nick
Last edited by Welwynnick; Mar 1, 2015 at 04:28 AM.
Thread Starter
Member
Joined: Jan 2010
Posts: 248
Likes: 15
From: Sacramento
W221 2013 S550 Rwd, W221 2010 S550 Rwd
Your welcome vmax! Not a problem .
Nick thank you for your insight ... for the record .... at first I tried to fight the fan out the shroud kept getting stuck at upper radiator housing . So after fighting with the damn thing I removed the hose out of the way and it was just what I needed lol made it a ton easier !
Nick thank you for your insight ... for the record .... at first I tried to fight the fan out the shroud kept getting stuck at upper radiator housing . So after fighting with the damn thing I removed the hose out of the way and it was just what I needed lol made it a ton easier !
Trending Topics

Junior Member
Joined: Mar 2016
Posts: 40
Likes: 1
2004 Mercedes s600
I know this post old, but im working on a 2004 Mercedes s600 v12 Bi-Turbo. Needing to replace the waterpump and I can't seem to find the tool online for the M275 engine. Every online source that sells the pulley once I enter my cars info says doesn't fit? Does the s600 TT use same carnkshaft pulley tool as the s55/s500 and rest of w220, its just odd that all websites don't have the s600 listed under the tool.
MB World Stories
The Best of Mercedes & AMG

6 Mercedes Models That Did NOT Age Well (But Are Somehow Still Cool)
Verdad Gallardo
Manual Mercedes? 6 Times Sindelfingen Let Drivers Have All The Fun
Verdad Gallardo
Mercedes SLR McLaren 722 S Is Extremely Rare Example Modified by McLaren
Verdad Gallardo
8 Classic Boxy Mercedes Designs That Have Aged Like Fine Wine
Verdad Gallardo
Flawlessly Restored Mercedes 190E Evo II Heads to Auction
Verdad Gallardo
Electric Mercedes C-Class Unveiled: 11 Things You Need to Know
Verdad Gallardo
Mercedes EQS Gets A Major Update: Everything You Need to Know
Verdad Gallardo
5 Underrated Mercedes-Benz Models That Don't Get the Love They Deserve
Verdad Gallardo
Mercedes 300D Has Pushed Well Past 1 Million Miles and It Ain't Stopping
Verdad Gallardo
Junior Member
Joined: Mar 2016
Posts: 40
Likes: 1
2004 Mercedes s600
I was looking for a crank pulley BOLT* removal tool, they call it a counterholder at mercedes. All websites have the v6 adn v8 engines listed and they say won't wit v12, but i think they are wrong. I found a picture of WIS software showing m275 engine uses part # 112 589 00 40 00. I just purchased it today on amazon for $85.
Also, the guy above never mentioned the torque spec for the Crankshaft pulley bolt. For the v12 engines ( no vibration dumper) its 275nm + 90degree. If you have a vibration damper (v6 & v8 engines) on your crankshaft pulley its 200nm + 90degree.
Also, the guy above never mentioned the torque spec for the Crankshaft pulley bolt. For the v12 engines ( no vibration dumper) its 275nm + 90degree. If you have a vibration damper (v6 & v8 engines) on your crankshaft pulley its 200nm + 90degree.

Super Member
Joined: Mar 2018
Posts: 541
Likes: 93
From: Northern VA
SL 600
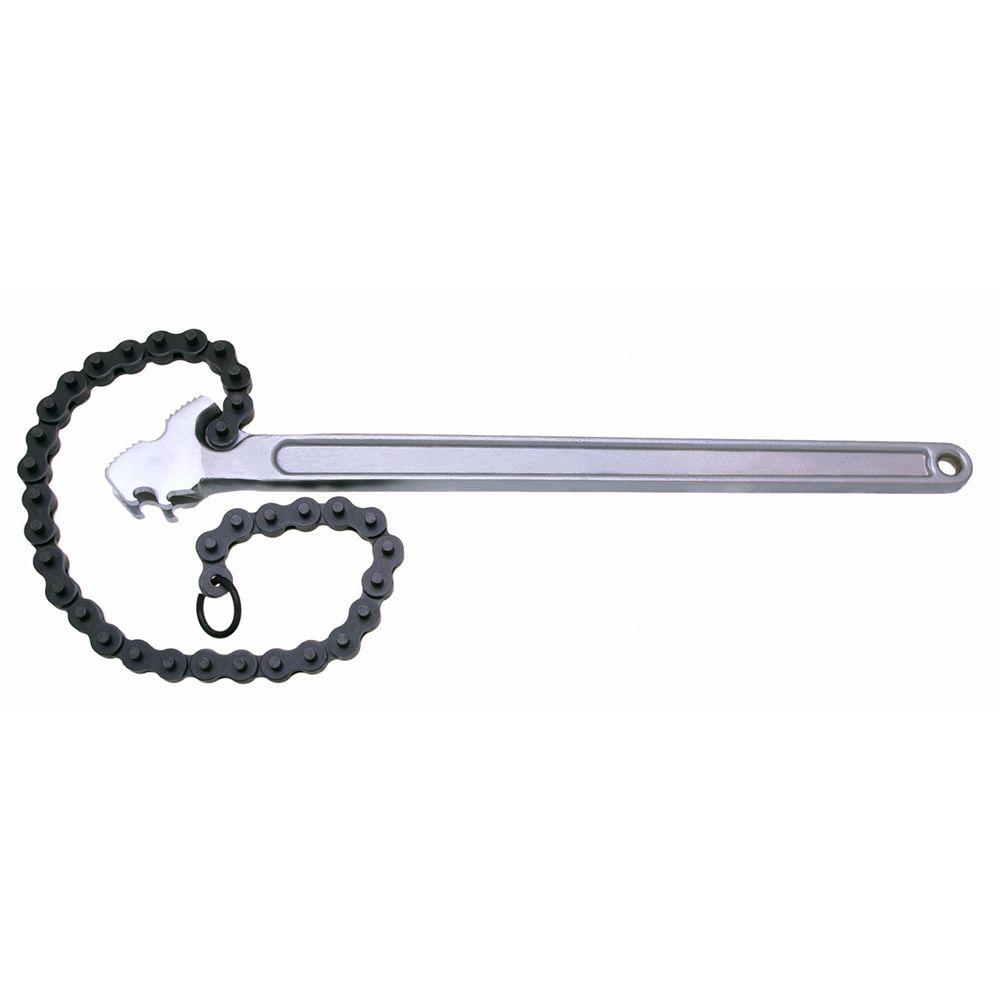
I'm doing my water pump now, after removing the crank bolt, do you need a pulley puller to remove the pulley? I need to find a way to remove the crank bolt first, someone told me to use a chain wrench to hold it.
Can't believe MB bury the last bolt behind there, there are access holes if they just made that bolt location a little lower so you can get it through the pulley.
Can't believe MB bury the last bolt behind there, there are access holes if they just made that bolt location a little lower so you can get it through the pulley.
Thread Starter
Member
Joined: Jan 2010
Posts: 248
Likes: 15
From: Sacramento
W221 2013 S550 Rwd, W221 2010 S550 Rwd
Hey fx its been a while ..but if i remember correctly i did not use a puller on the crank pully. Instead of the chain wrench ...i had borrowed a friends lift at his shop ..he grabbed a breaker bar and wedged it between flywheel teeth so it wouldnt move. Then we removed the bolt that way
Super Member
Joined: Mar 2018
Posts: 541
Likes: 93
From: Northern VA
SL 600
Hey fx its been a while ..but if i remember correctly i did not use a puller on the crank pully. Instead of the chain wrench ...i had borrowed a friends lift at his shop ..he grabbed a breaker bar and wedged it between flywheel teeth so it wouldnt move. Then we removed the bolt that way
Thank you for taking the time out to take pictures and answering questions, i have a lift at work but the car is not driveable, the WP pulley is just about to fall off at this point. I am going to try to use a chain wrench to get it off, worst case scenario i'll have someone crawl underneath and hold the flywheel while i undo the bolt. I've soaked it in PB blaster overnight so hopefully that'll seep into the head at least and free it up some. Still can't believe the way they designed this.
Thread Starter
Member
Joined: Jan 2010
Posts: 248
Likes: 15
From: Sacramento
W221 2013 S550 Rwd, W221 2010 S550 Rwd
Hey no problem! I appreciate it fx. I hpe you have a good impact gun or really good breaker bar with some muscles. ..because that crank bolt was super effin tight man! Its on there pretty good. All this work for one bolt 
Super Member
Joined: Mar 2018
Posts: 541
Likes: 93
From: Northern VA
SL 600
I have an IR 2235Timaxx which is 1500 ft lbs at my shop and a milwaukee high impact 1400 ft lbs battery powered at home, the only way to get them to fit is to remove the radiator, that'll be the last resort. I'll try the chain wrench first, maybe i'll put some heat to the bolt as well. I'll update after this weekend, hopefully all goes smoothly.
Super Member
Joined: Mar 2018
Posts: 541
Likes: 93
From: Northern VA
SL 600
They sell the tool you can buy out right on amazon for around $55, the chain wrench should do the trick, i've done to it to BMWs, if it doesn't work then i'll custom make that tool by welding some stuff together. It looks like a hollowed pipe with 3 rods sticking out, can't be hard to fabricate my own.
Junior Member
Joined: Mar 2016
Posts: 40
Likes: 1
2004 Mercedes s600
At first I purchased the tool, and it did not fit my s600, i believe it was made for the s55 and they are not the same (but had it listed to fit s600). After returning i rented it. Pay to play, not worth going through trouble of welding a piece together, if you can't afford $50 for tool, i should sell your benz.

MBWorld Fanatic!
Joined: Dec 2012
Posts: 2,474
Likes: 439
From: Ball Ground, GA (N of Atlanta)
2003 S500 2007 GL450
One of the possible problems with using the chain wrench or a similar tool is that the outer ring of the crankshaft damper is rubber-bonded to the center of the unit. If you can put enough torque on the bolt while holding the outer ring, it might be possible to break the bond and destroy the damper.
Super Member
Joined: Mar 2018
Posts: 541
Likes: 93
From: Northern VA
SL 600
Well a 30" breaker bar met its demise today, snapped right at the head...will have to get my 3/4" breaker bar from work


@s5benzo when your friend held the flywheel, how did he hold it, what/where did he wedge something in? I'm afraid my bolt will sheer off a teeth or something causing transmission damage.
@TurboSpeed can you tell me where you rented the tool? Thanks, how long did it take to get to you?
@s5benzo when your friend held the flywheel, how did he hold it, what/where did he wedge something in? I'm afraid my bolt will sheer off a teeth or something causing transmission damage.
@TurboSpeed can you tell me where you rented the tool? Thanks, how long did it take to get to you?
Thread Starter
Member
Joined: Jan 2010
Posts: 248
Likes: 15
From: Sacramento
W221 2013 S550 Rwd, W221 2010 S550 Rwd
Had a friend put a good qaulity pry bar from the access port to hold a flywheel tooth. He was able to finesse it and find a way to easily wedge it in there without causing any issues or damage. Hope this helps. Cars been running great since then btw
Super Member
Joined: Mar 2018
Posts: 541
Likes: 93
From: Northern VA
SL 600
I had to go ahead and buy the tool on Amazon, i took a gamble as some say it didn't fit, but in the end it fits like a glove.

This way of using 2 cheater bars on 2 breaker bars didn't even budge the damn bolt, i think the Hulk built this car and he tightened these bolts up with his old breaker bar.

So this is what i had to do, rest the arm on a piece of 2x4 and i put 2 cheater bars together to make 6 feet of extension, on top of 3 feet of breaker bar length from Matco...put all of my 5'7 140lbs girly built body onto it

In the end it finally cracked open, piece of **** bolt gdamn

This way of using 2 cheater bars on 2 breaker bars didn't even budge the damn bolt, i think the Hulk built this car and he tightened these bolts up with his old breaker bar.
So this is what i had to do, rest the arm on a piece of 2x4 and i put 2 cheater bars together to make 6 feet of extension, on top of 3 feet of breaker bar length from Matco...put all of my 5'7 140lbs girly built body onto it
In the end it finally cracked open, piece of **** bolt gdamn
 like i said before ..all that work and stress for one goddam bolt...haha good job! It will be a quick swap from here.
Super Member
Joined: Mar 2018
Posts: 541
Likes: 93
From: Northern VA
SL 600
Damn it, i should've changed out the crank seal too while I did this job, now i've got a weeping oil leak from the seal. Anyone have the part number for an OEM one? Can't see to find it on the parts site online.


