When you click on links to various merchants on this site and make a purchase, this can result in this site earning a commission. Affiliate programs and affiliations include, but are not limited to, the eBay Partner Network.
2009 S550 AMG sport pckg. 2014 Ford F-150 Lariat Supercrewcab
DIY transmission fluid exchange on the 722.9 transmission
Hey everyone,
I'm going to be changing my transmission fluid soon and I figured I'll post a DIY on doing it. You do need some special tools like a fluid dispenser and a special fitting made by Assenmacher but not impossible to order. Also it is said that you need Xentry/SDS to read the temp of the fluid but on my last change I was able to verify that an infrared thermometer was pretty close to within 1 degree.
Other than that its pretty typical. What I am also going to do is after dropping the pan, I will overfill the tranny by 1l and disconnect the feed hose by the radiator and bleed out 2l and then replace 2l back again until everything is out. I did a change last time and the fluid was a brownish red so it wasnt too bad but replacing just half of the fluid with new didnt sit too well with me. I'll be posting a DIY later this week
Last edited by Nickthegreek; Jun 9, 2015 at 07:58 AM.
Looking forward to your DIY post...I have wondered if the transmission cooler lines could somehow be used to completely drain, and then and refill after filter change.
2009 S550 AMG sport pckg. 2014 Ford F-150 Lariat Supercrewcab
definitely can. I'm waiting right now for my filter, fluid, gasket, and pan bolts to come in but thought I would post the materials/tools list for now.
Tools/materials neeeded:
Tools
8mm socket
E12 torx socket
6mm hex socket
Ratchet and various extensions
Mityvac ATF adapter kit (comes with the mercedes 722.9 adapter)
9l drain pan
transmission drain pan
Some type of fluid dispenser (I use a pneumatic spray paint container I bought from harbor freight. I had the mityvac but it is just very slow and leaks bad. In the end more fluid would be on the ground than in the car and it also exploded on me when I pumped it alittle too much alittle too fast lmao.)
Car Jack
Jack Stands
Screwdriver
Level
about 3-5 feet of 3/8 transmission line hosing
Torque wrench that measures in in-lbs
Mercedes Star Diagnosis or a infrared thermometer
Materials
Mercedes filter
Mercedes transmission fluid ***make sure you know if you need the blue vs the red for your year***
mercedes pan gasket
mercedes pan bolts
mercedes fill pipe
I wouldnt skimp and get aftermarket parts. Get the OEM stuff
Last edited by Nickthegreek; Jun 8, 2015 at 03:42 PM.
2009 S550 AMG sport pckg. 2014 Ford F-150 Lariat Supercrewcab
Complete success!!!!
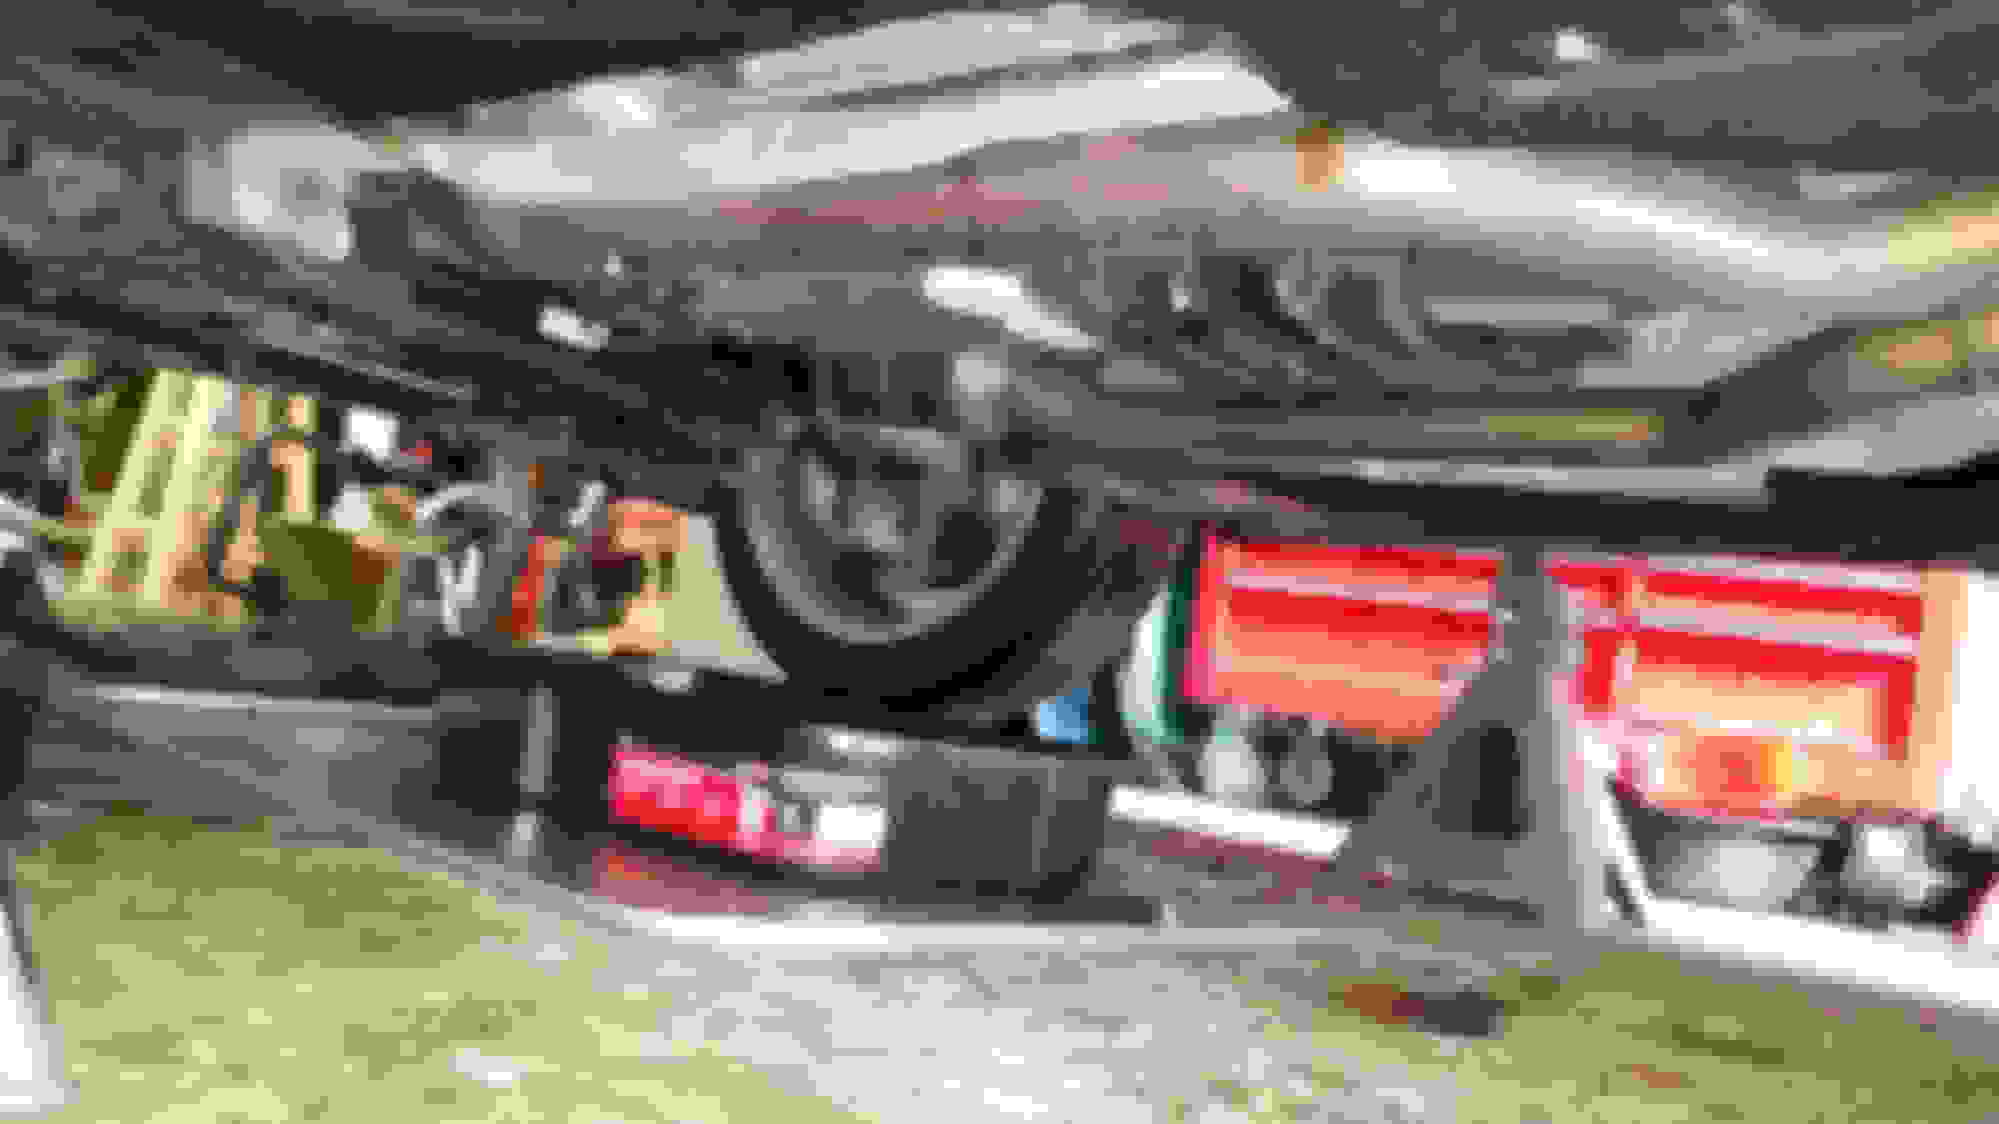
Ok so first jack the car up on 4 jackstands. They have to all be identical because the car must be level. I have 4 jackstands that I modified to fit my car. You may have to do the same or buy specially made ones for mercedes online. If you want to check if the car is level. check both lengthwise and width wise to see if the car is level. Otherwise try to shimmy the car. Next there is a boatload of 8mm bolts holding the under belly panels. remove these. I would suggest using an electric driver.
Next setup a transmission drip pan and a drain pan.
Now you will have to locate the drain plug and use a #6 hex socket and bust it open. This part is just like doing an oil change. The fluid will come out, but it wont even be close to all of it.
That large circle is an external magnet I put on my pan.
2009 S550 AMG sport pckg. 2014 Ford F-150 Lariat Supercrewcab
Next after the fluid stops coming out, take a screwdriver and stick it up into the drain plug hole. Drag it on the edge and once you feel it catch give it a little nudge with your hand and then more fluid should come gushing out. there is what is called a standoff tube which keeps the fluid at the correct level. And even after this there will still be quite a bit of fluid in the pan but it will not splash everywhere.
2009 S550 AMG sport pckg. 2014 Ford F-150 Lariat Supercrewcab
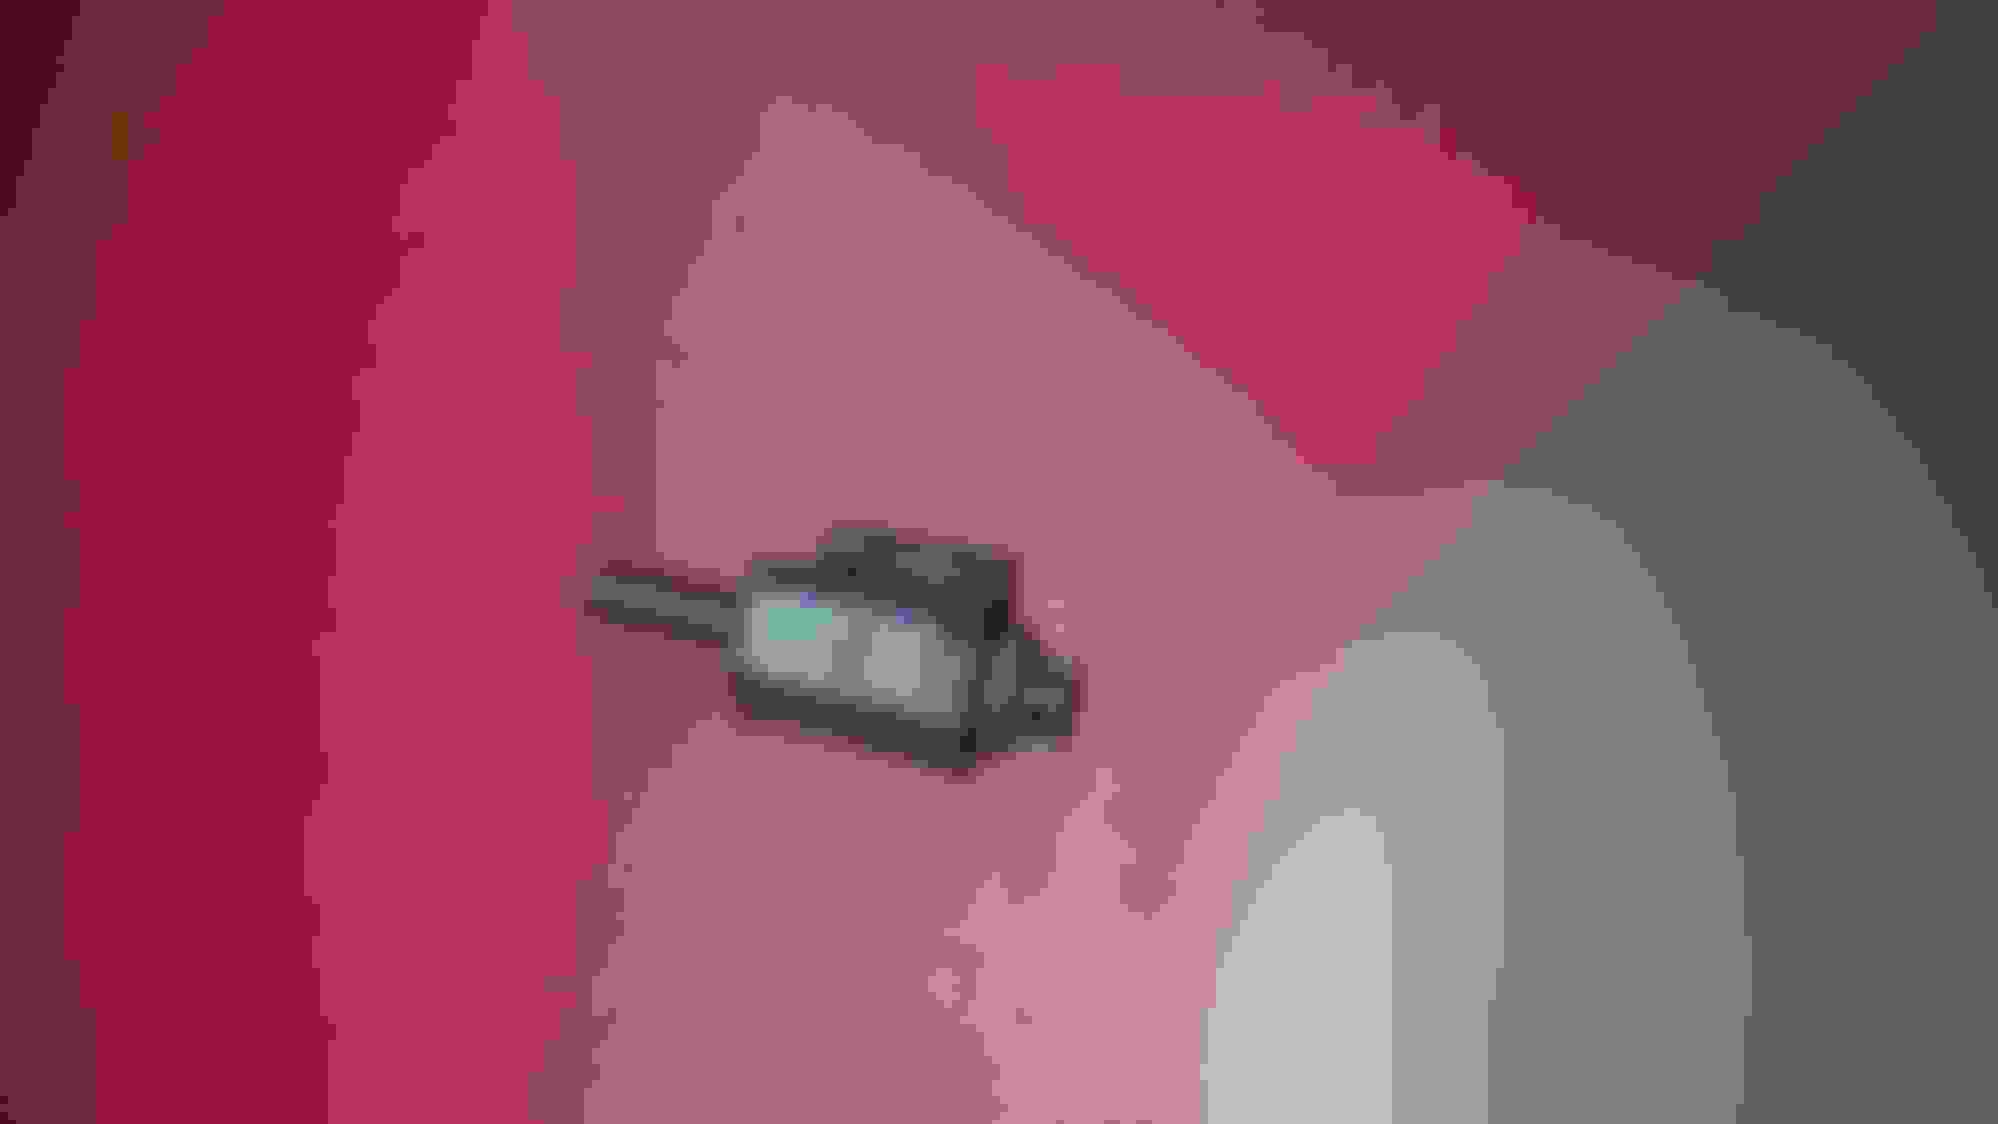
There is a bracket towards the front . On the driver side corner there is an odd shaped sprag that holds the bracket and there are 2 bolts to remove. On the passenger side there is a bolt on the bell housing that holds on the bracket. You must remove this bracket and it exposes the passenger side bolt to the transmission pan
passenger side bracket attachment. bolt is removed
the transmission pam bolt is hidden under the bracket
Remove this wire from the clip and then the bracket will come off
Last edited by Nickthegreek; Jun 8, 2015 at 11:15 PM.
2009 S550 AMG sport pckg. 2014 Ford F-150 Lariat Supercrewcab
While removing the bolts and the pan, hold the pan with one hand while backing the bolts out with the other. There is a lip on the pan that sticks out and goes over the transmission crossmember. You have to monkey it around without splashing the fluid too much and move the bracket out of the way. Otherwise the pan sits on the cross member and hangs on the bracket. Sorry i couldnt take pics of it.
2009 S550 AMG sport pckg. 2014 Ford F-150 Lariat Supercrewcab
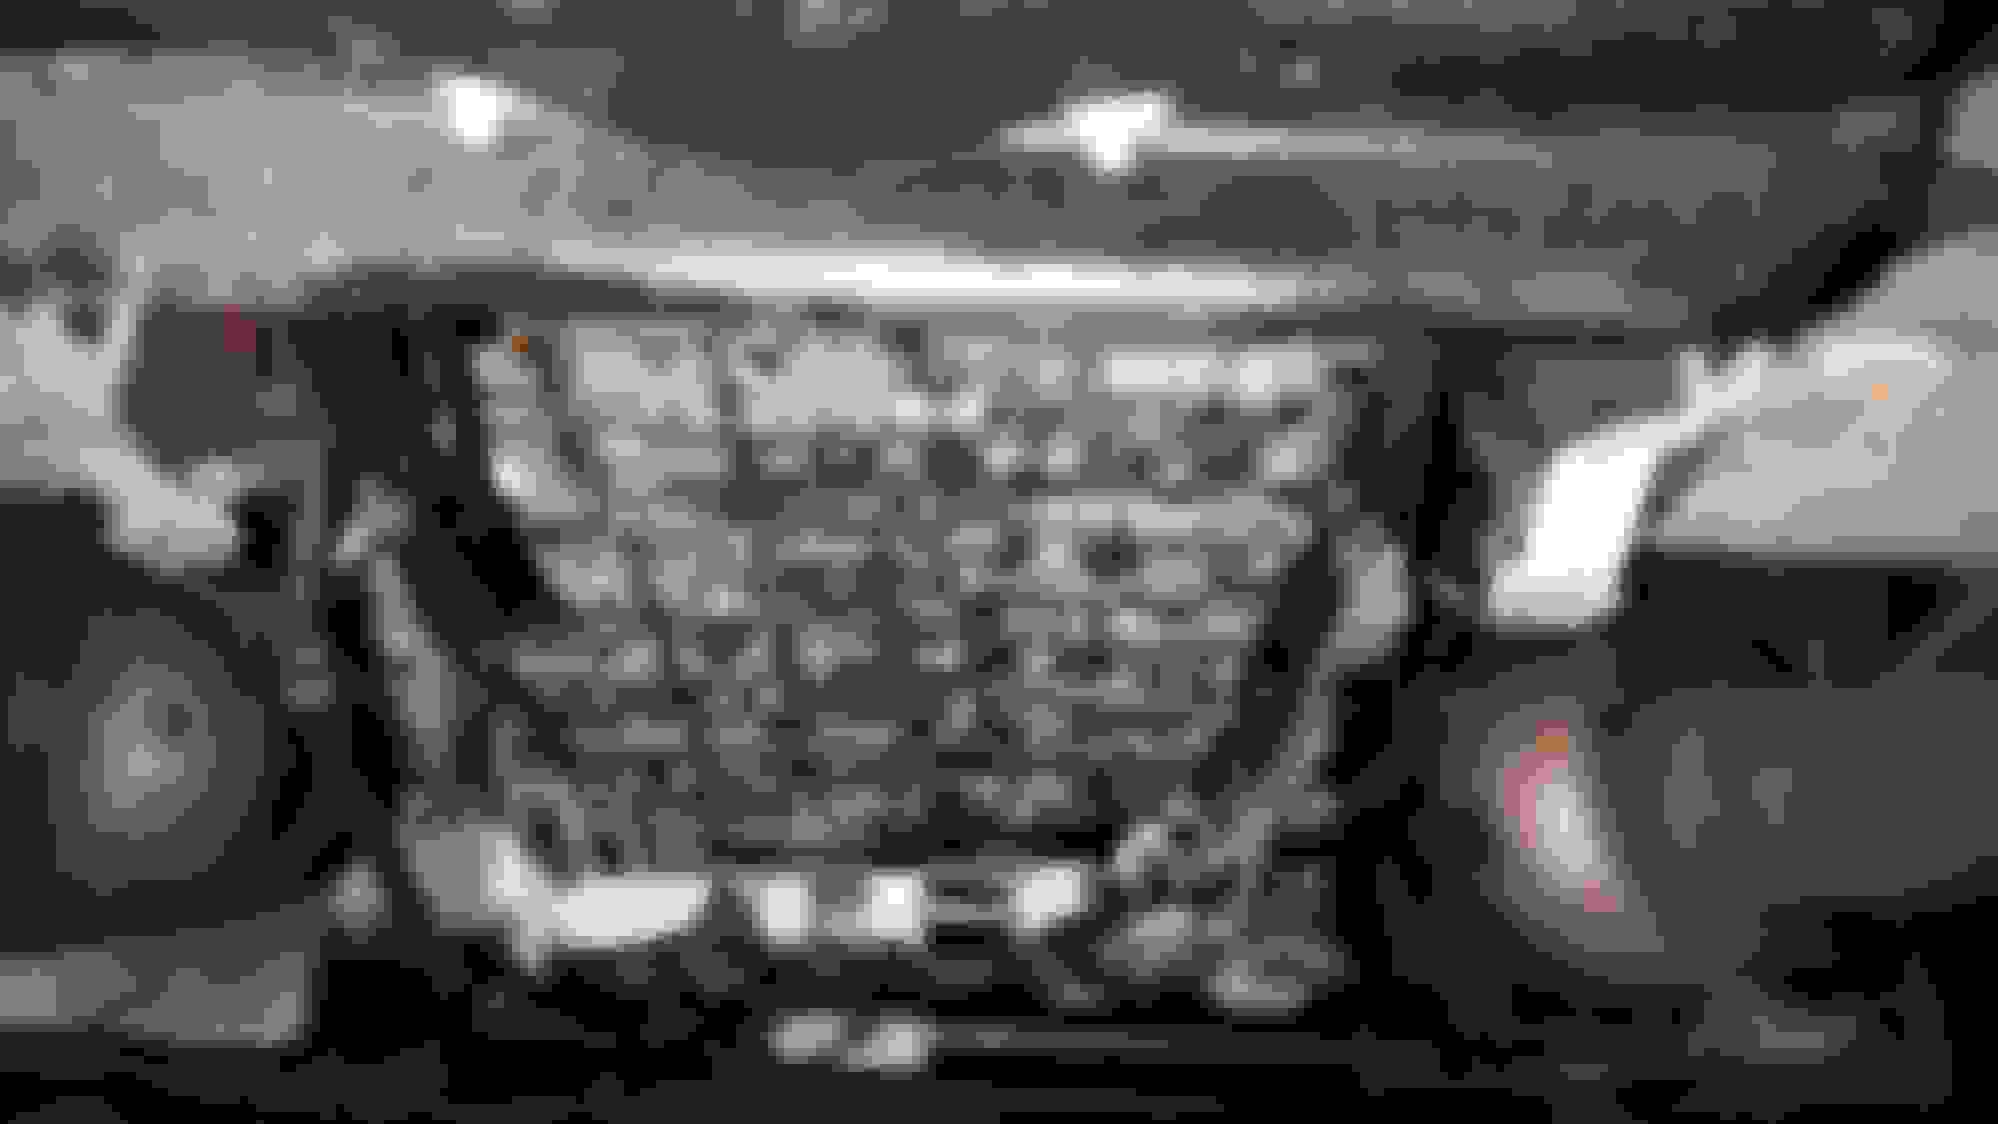
then voila you drained the fluid!!! This was much cleaner than having no drain plug. now the valve body will be exposed. This is the part that causes so many headaches and transmission problems.
Last edited by Nickthegreek; Jun 8, 2015 at 11:17 PM.
2009 S550 AMG sport pckg. 2014 Ford F-150 Lariat Supercrewcab
My transmission filter dropped out so I couldnt show how to remove it but its pretty simple just wiggle and tug it out
the filter fell into the pan while I got it out. The white thing is the standoff tube. There is still a considerable amount of fluid in the pan. luckily little to no clutch material but I also have done a pan drop on this. I put neodynium magnets into it after as an added insurance
2009 S550 AMG sport pckg. 2014 Ford F-150 Lariat Supercrewcab
Now inspect the pan. Wipe your finger on the bottom of the pan to see if a black soot is all over your hands. This is clutch material. It is normal to have a light amount but if you have black filings all over that is a sign of premature wear. Also check for brass colored filings. If you do see them then your bushings may be wearing prematurely. Mine didnt have much because i already did it once. A good sign was that when i wiped the magnets it was caked in black, so the magnets are really doing their job
2009 S550 AMG sport pckg. 2014 Ford F-150 Lariat Supercrewcab
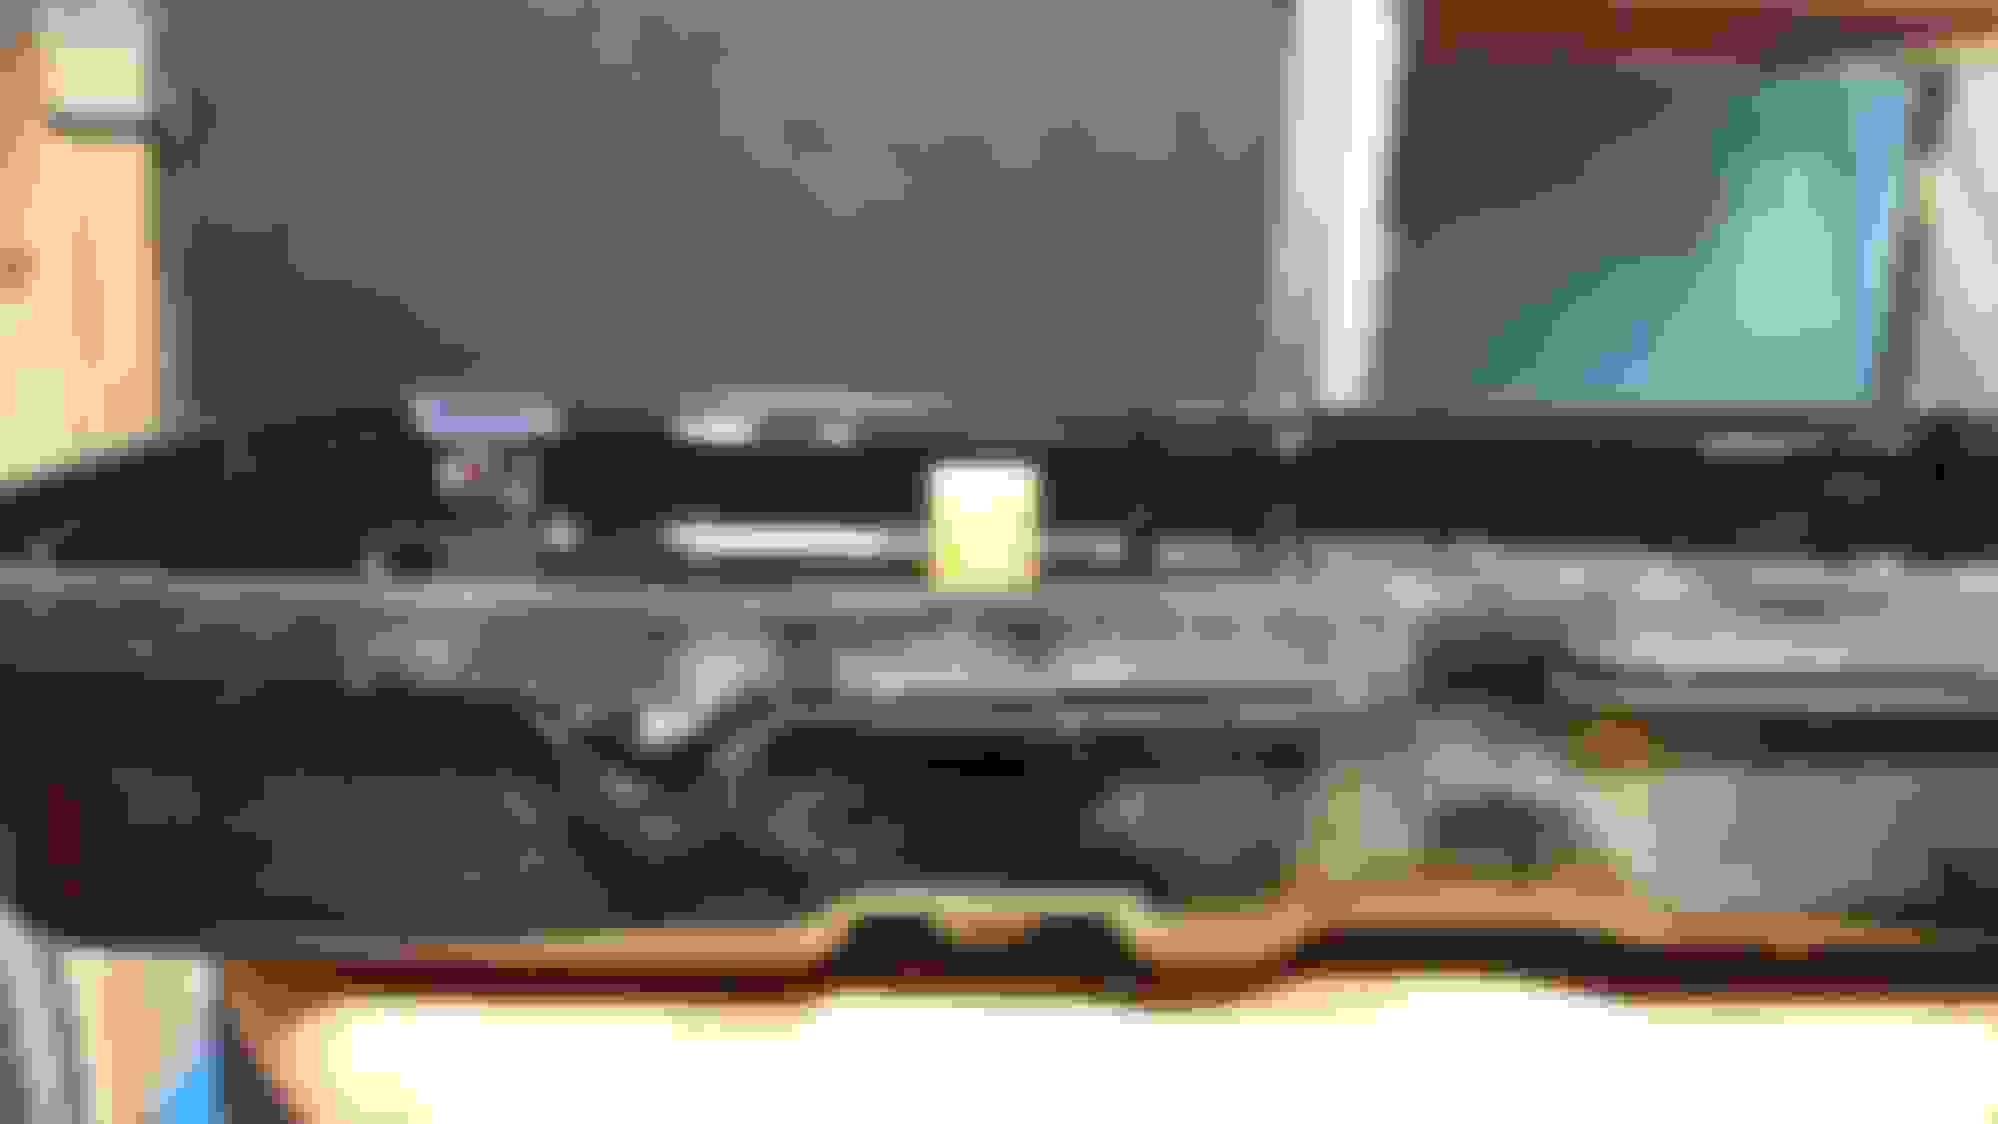
Next I cleaned the pan with brakleen and wiped it down with a lint free cloth. Then place the new gasket on the pan and place the new standoff tube. Now sometimes the standoff tube doesnt break like in my case today so i reused it. Last time it did break and i had to replace it.
Standoff tube installed
Last edited by Nickthegreek; Jun 8, 2015 at 11:19 PM.
2009 S550 AMG sport pckg. 2014 Ford F-150 Lariat Supercrewcab
Also worth mentioning is that there are 2 style transmission pans for the 722.9. Make sure to check which pan you have by the type of tube. It explains it in WIS. And some later models take the new blue ATF. Check to see if yours takes that also. Mine takes the ATF 134. Ok so now we have the new gasket on, the pan clean, and the new standoff tube in. Now clean the magnets and reinstall them. I installed some neodynium magnets for good measure so i could take those bigger ones off.
Now install the new transmission filter
Push and wiggle it in and it will snap in. It isnt all that tight but when the pan gets put on it will support it. I then sprayed the sealing surface with brakleen to get rid of any oily residue
Last edited by Nickthegreek; Jun 8, 2015 at 11:21 PM.
2009 S550 AMG sport pckg. 2014 Ford F-150 Lariat Supercrewcab
Ok next time to button up the pan and reinstall the sprags with new bolts. Torque the bolts to 4nm then give them 180 degree turn. Remember to reinstall the bracket bolts as well
2009 S550 AMG sport pckg. 2014 Ford F-150 Lariat Supercrewcab
Ok now is where detail is key and it can be a bit nerve wracking. So with everything buttoned up (i should note you do not need the drain bolt on yet), you now need to refill the transmission with fluid. You cannot fill it conventionally. You need some sort of fluid pump/dispenser. Mityvac sells a 9l fluid pump/extractor for 100 dollars but it is a piece of junk. I bought this pneumatic spray paint canister that holds 2gallons. It has a high flow and makes the job quick and less messy. It doesnt leak like the mityvac did.
Mercedes SLR McLaren 722 S Is Extremely Rare Example Modified by McLaren
Slideshow: A one-of-one U.S.-spec Mercedes-Benz SLR McLaren Roadster became even rarer after a factory-backed transformation at McLaren's headquarters.


 Make sure to post lots of pictures if you can.