When you click on links to various merchants on this site and make a purchase, this can result in this site earning a commission. Affiliate programs and affiliations include, but are not limited to, the eBay Partner Network.
Changing rear shocks in WAGON with self leveling - PROBLEM
Based on the post https://mbworld.org/forums/e-class-w...-absorber.html
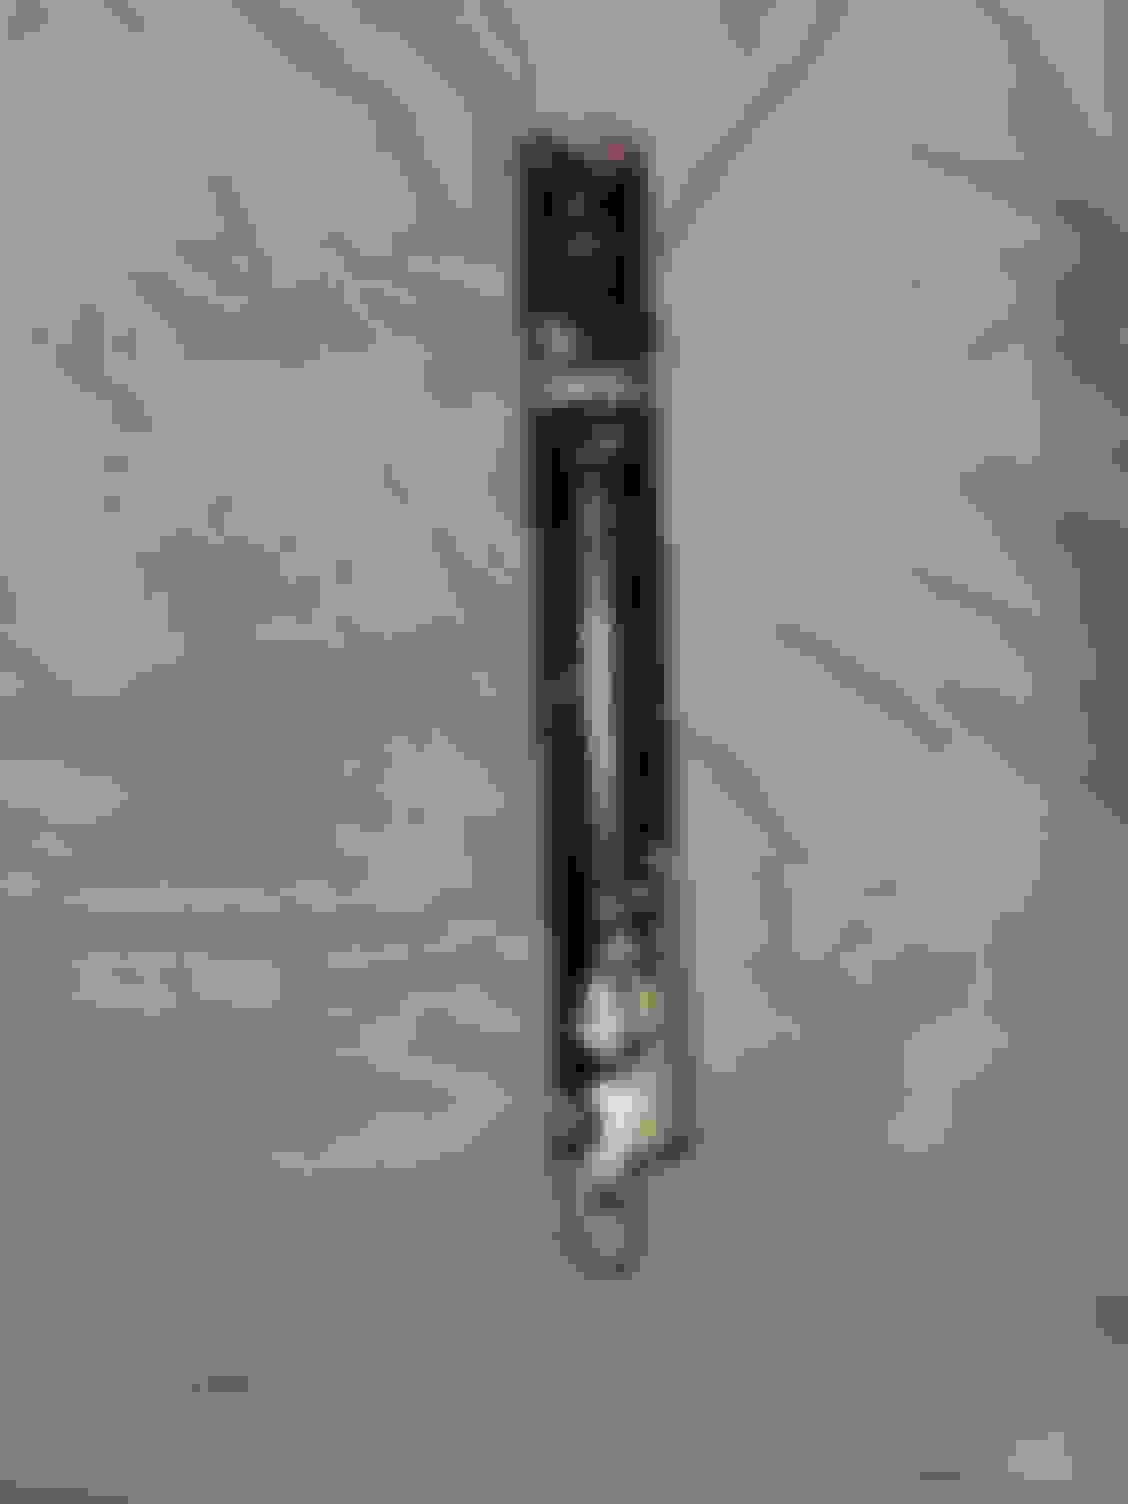
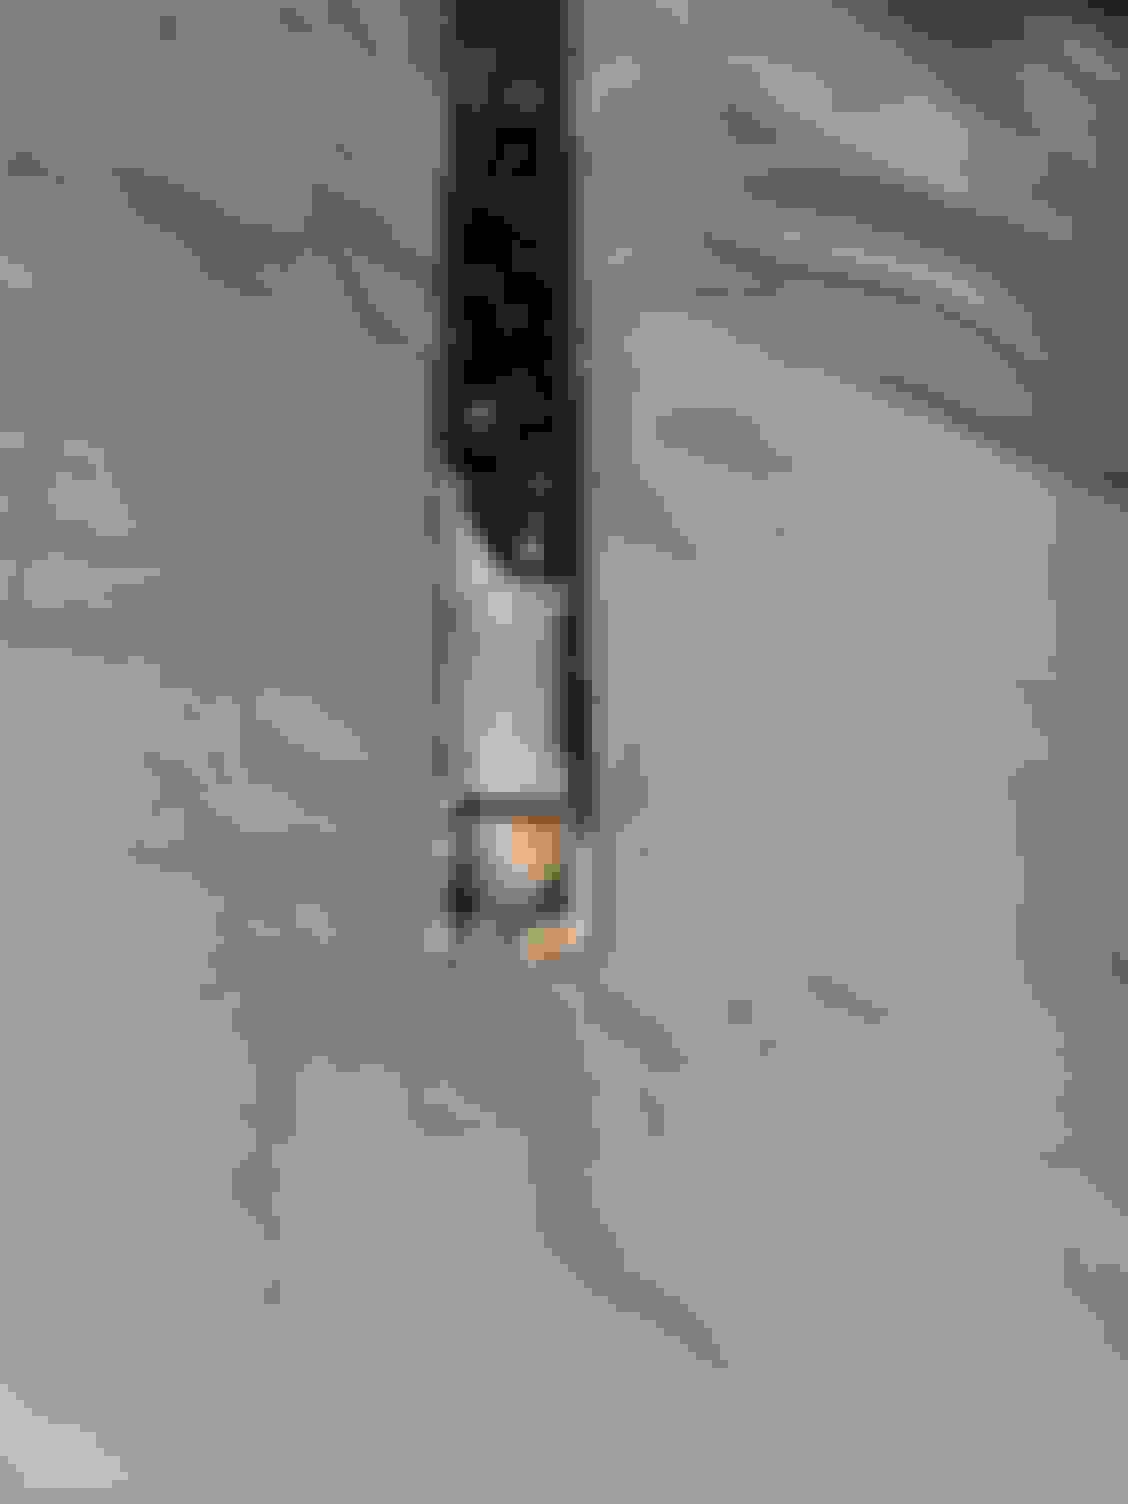
I decided to change my shocks...but I have faced the first problem with the nut that is holding the shick form the abouve. Atually there is no NUt!!
Please see pictures attached and let me know if you have any ideas how to unscrew the shock...Do I have to twist the outer white part and hold the screw that is inside (the part of the shock)? or twist the screw inside (the part of the shock) and just holding the white part...??
I think that the second way is the best and proper, but I have no idea....
It seems like the white part is a metal with the rubber under it connecgted to the body....but it's only my assumption...
I'm replacing my rear shocks now. I've replaced shocks before, but on this wagon the most difficult part appears to be getting to the top nut. Thanks for that photo showing where the top nut is located. I have a non-airmatic suspension so no need to deal with leveling. Which interior panels did you need to remove? How dificult was it to remove the panels? (I don't want break anything)Any tips?
The instructions from the manual describe removing the upper "mounting plate" disc with the special tool.
"Counterhold mounting plate (4) with puller (8) and loosen by turning the piston piston rod"
The piston rod at the top of the shock accepts a 5mm hex, and I am trying to hold the mounting plate with channel locks.
Still, that piston rod does not want to break free and rotate so that I can back the mounting plate off. I'm letting some penetrant soak in for a bit and have another go at it.
Ok - success with the right rear, it is tricky getting the pliers around the disc as it is in a slightly recessed area in the body which is why the MB special pin tool would work well.
Next - I believe I have to let some of the air out of the rear springs. My understanding is that you can just crack open one of the nuts where the white lines connect at the junction block. In the benzworld link, air is obviously already out of that system :-)
Getting the locking disc off the shock: I believe I did use a LARGE vise-grip wrench to hold the large white aluminum disc nut stationary while I turned the post with a 5mm hex inserted into the top. There is a large rubber part under the large disc so it would be difficult to overcome the friction to turn it. Much easier to turn the threaded post. There is some locktite painted on the post to keep it from turning at first. Once you get past that it is easy.
BTW Why the hell didn't MB put an access panel near the shock top so you don't have to disassemble the rear half of the interior! That took more time than the mechanical repair.
I ended up not bleeding the air out of the spring. Just supported the suspension with a jack and after unbolting the shock, lowering the assembly down. The shock came out easily and the new on went in easily too. I didn't have to compress the new shock and hold it with string or wire.
To get the plug out from the wire lead from the shock, be sure and remove the retaining wire from the plug block. Also, the plug from my shock was coupled with another and you need to pull them both before you separate the shock plug.
I'll do the other tomorrow, gotta catch up on some F1
Good afternoon all.
I was going to change my rear shocks and encountered this annoying disc shaped nut on the top mount. I tried finding this tool online but to no avail, so i called my local mercedes parts dept who said they would have to import it from Germany, at a cost of �72 inc vat! So i requested a part number (W211 589 00 05 00) and searched that. The only places i could find it were from german and russian sites, all costing the same or more than mercedes were charging.
I read on one of these pages the words "mercedes pin removal tool" so i googled that and went through the images.....
To cut a long story short.... you can buy them from here for about �15 delivered
What happens when you break the actual top of the shock rod? In my case I soaked it in WD40 and snapped an American Made Craftsman 5mm off into the hex slot. I tried again two hours later and this time the hex slot cracked in half. Do I bust out the drill and drill it out? Does anyone have a part number for the white puck that I'll eventually ruin?
I think my problem may have been putting too much torque on the top of the shock rod versus trying to spin the large nut off. This sucks because now I have no way to reliably hold it down. I think someone put it together with Loctite I would appreciate a part number if someone has it.
Just changed out the rear shocks on 2004 e500 wagon with airmatic and self-leveling. Very straightforward and I found that I could ignore most of the headaches that I read about. First of all, there is no need to remove any of the side paneling to access the top of the shock. I just removed the rear most side access panels, then removed the two forward aluminum channels on the floor of the "trunk", then loosened the rear fasteners (one torx, one plastic rivet) on the forward side panels. That done you can simply pry the panels out far enough to get to the top of the shocks. Now the hard part...you need the MBZ tool! I bought one from supplier in Germany, and anyone who wants it is free to borrow it from me for the cost of postage. With the tool you can hold the white plastic part firmly and turn the 5mm hex that makes up the top of the shock. MAKE SURE YOU TURN THE PLASTIC COLLAR CLOCKWISE! From there is is a piece-o-cake, just use a pair of jacks...one for the body and one for the suspension...to make it easy to line up everything coming and going. No need to program anything, but I would be careful not to let the weight of the suspension hang on the airbag, it probably would not like that very much, so just make sure the suspension is supported by a jack when you release the shock. Hope that helps, gbellware@gmail.com
I was successful removing the top disc after using a heat gun on low for a few minutes. I could tell thread locker was used as some evidence was left on top of the disc.
Channel lock pliers and a 5mm hex bit did the job rather easily, remembering to go clockwise on the wrench while holding the disc.
Great thread and good advice given here!
Yes Mercedes should have put an access panel here!
Now I have to figure out what else I need to remove below the car to be able to lower the shock and air spring...
What happens when you break the actual top of the shock rod? In my case I soaked it in WD40 and snapped an American Made Craftsman 5mm off into the hex slot. I tried again two hours later and this time the hex slot cracked in half. Do I bust out the drill and drill it out? Does anyone have a part number for the white puck that I'll eventually ruin?
Hi ibosley. Did you end up drilling out the top of the shock rod? I think the same thing happened as I was trying to loosen it.
No you don't, you just need channel locks and a good grip.
I created a tool if anyone is interested from a pipe that was lying around. Basically you cut out a small pipe in the shape of a C. You jam it in to whatever direction it holds (wherever you're turning) and it holds it well. I can post a pic if interested. But it will be on the weekend.
Last edited by Doctor Who; 09-24-2021 at 01:13 AM.


 06-17-2015, 07:55 PM


")


 I would appreciate a part number if someone has it.