Hello all,
I have spent a considerable amount of time studying forums, posts, you tube videos, Mercedes WIS etc on DIY rebuild of both my Sl500/R230 ABC Valves. After all I have reviewed, I still have a couple of basic questions as a DIY'er I can't seem to locate detail on.
To date I have performed a flush so I have fresh fluid, replaced the left front strutt, and now I am about to embark on the ABC Valve rebuild (and also replacing the other components around the valve also)
My question is this (as I was about to only put the left side up on jacks and leave the right side down on my garage floor), When working on the front ABC Valve, should I have BOTH front sides supported on stands, and similar when working on the rear ? Or am I OK with supporting just the left side of the vehicle and not the right side in any way ?
I know I need to reduce the pressure in the system, and was going to do this work after the car had been parked a couple of days, so don't think I need to bleed at the nipple by the strutts, unless I need to.
So, looking for any feedback on best approach to attack this job before I start pulling things apart and rebuilding would be greatly appreciated.
Many thanks in advance for the support
You need both the right and left sides raised and supported for two reasons.
First, draining the bleeder valves before disconnecting any lines from the valve block greatly helps with making it a much less messy job.
Second, if you just jack up one side, the side still on the ground will sink when you disconnect it�s line from the valve block, which doesn�t seem very safe to me.
also, get the disconnect tool from Mercedes when you do the rear valve block. It makes things much, much easier.
Thanks Sir. I have a floor jack and a couple of jackstands, so looks like I may need to either work on the front or rear first, as opposed to both at once. Also, what disconnect tool ? The WIS doesn't mention anything specific that I can see.
Review this discussion in detail! Especially post #6-7 and after. It will help you a lot with the REAR valve block. They talk about the special tool and how to use it -- https://mbworld.org/forums/sl-class-...connector.html
I did this on my SL55 about 7 months ago, in my garage. I did the front first (both front wheels in the air) and it was not difficult at all. I did remove the front bumper (easy) to make things a lot more accessible.
Second, I did the rear (both rear wheels in the air) and it was more challenging than the front. The quick disconnect pressure hose connectors can be a bit challenging even if you have the special tool. I had the tool, and one of them was still a real pain to disconnect. One thing I found out in the rear that is extremely important to make the quick disconnect work better => FULLY release any pressure in the lines (use the bleed valves in wheel wells). If there is some pressure in the lines - you will have a hard time with the quick disconnects.
Label every hose and connector properly. Use zip ties with different colors or some other system that can survive all the fluid you will spill over it. Using a Sharpie won't work since it will get washed off. Good labels on hoses, wires, connectors.... will save you lots of headaches when you start to put things back together.
Use good quality O-rings. Gets the properly assembled kits and fully replace every single O-ring.
Make sure the valves open-close properly. One of my valves was not sealing well, even after i put brand new seals. It was determined, the coil spring inside was too weak to properly seal. I had to get a "new" valve from another spare valve block. This took me days to figure out. One of the rear corners was working well with the engine running, but as soon as i turned the car off - that rear corner jumped up in the air. Drove me crazy. One of the valves was simply no fully closing with the engine turned off. It was an internal valve failure, nothing to do with the o-rings.
Keep things around and inside the valve block EXTREMELY clean. Use brake fluid cleaner or some other safe cleaner to wash off any debris. Wash/flush/blow with high-pressure air the whole area before you start disconnecting anything. This is critical!! One small debris stuck in any of the valves will force you to disassemble/clean everything again. Not fun.
You need the 230589013300 tool, NOT the larger one also shown in the pic. And yes, you MUST open the bleeders before using this tool or you won�t be able to get them apart (at least I couldn�t)
Once the hoses in the rear are disconnected there is this terrible rubber block thing that holds them in place. Remove the nut and metal piece first and then you can move the hoses out of the rubber block. CAREFULLY NOTE HOW THE HOSES WERE POSITIONED IN THE STUPID RUBBER BLOCK BEFORE TAKING THEM OUT.
You will also need a 11mm wrench and deep 11mm socket for the bleeders, a 17mm crows foot wrench and a 17mm crows foot socket attachment. These are the wrenches I used.
I would only use crows foot style because it would be a nightmare if you rounded off one
of the threaded fittings.
I used this 7mm tubing on the bleed valves to drain into a container to reduce mess.
Thanks Damnn7 and Sivikvtek. I wasn't thinking of disconnecting at the rear quick connect. I have seen posts and videos, where disconnecting directly from the valve block with the crows foot also seems to work once you slide the rear unit rearwards a bit (by disconnecting the lower bracket holding the hoses in place. I'm trying to source of of the crows feet as sure looks to make the job easier.
I think I'm also going to revisit the WIS again and re-read what it stated as I don't recall anything re the quick connects
If you don�t undo the quick disconnects, it makes it extremely difficult to maneuver the hoses in/out of position in the rubber block (did i mention how much I HATE that thing?)
I think a lot of people are leaving the lines in the rubber block and then using brute force to bend/contort the lines out of the way in order to get enough clearance to get the valve block out. I did my best to avoid this as I�ve seen cases where people blew lines in that area and I wonder if it wasn�t due to stress that occurred during a valve block removal.
This website does a decent job showing how the quick disconnects work
2003 R230 - I just rebuilt both valve blocks. As part of the package, I changed all the accumulators and the passenger side rear strut. There are lots of threads here on changing those already. If I had seen the thread stared by Tommyboy928 https://mbworld.org/forums/sl-class-...e-oil-use.html I would have tried this if leaks were the only issue but the accumulators had to be done to improve the ride.
I started with the rear Valve Block as that is where the sagging was the immediate issue. I spent days researching (like we all do) before taking the first step. I had previously ordered replacement seals as listed in older posts that were dirt cheap but then I found a better option. XBR in the UK sell kits http://x8r.co.uk/mercedes-benz-abc-h...ix-rebuild-kit at a very reasonable price complete (when you scroll down their page) with instructions for the DIY individual. I am a mechanic but that helps mostly for safe practices and procedures. I have the tools required and I have an SDS. On top of that, I am not in a hurry.
#1. All four wheels off the ground with enough working room. 2003 R230 in preparation for Brakes and ABC repairs and maintenance.
#2. I made the short wrench that has been posted elsewhere in preparation for this job. However the reality of removing the rear valve block as described made no sense to me. Upon closer inspection I recognized the quick release hydraulic couplers and how they worked. I did not want to order the MB tool for this so I took a 14mm (not Snap-On) open end wrench and using the bench grinder made it 4mm thick. I inserted the wrench and lifted up using my thumb to push down on the elbow of the steel line (so as not to bend it) and it the connector released as expected.
#3. Undo the nut at the top that secures the Valve Block mounting bracket to the rubber mount. Now the entire Valve Block complete with the attached Accumulator will slide out (two drain hoses will need to be unclipped from the bracket) and leave you looking at the empty cave.
Installation after rebuilding it was a snap.
The front Valve Block is very easy to access and to R&R. As stressed by everyone else, cleanliness is critically important. I cut the fingers off of used blue nitrile gloves to put over the disconnected lines to prevent any chance of a foreign object entering and undoing all my work.
Nice job, but my point was that the stuff rebuild your O rings, it also keep the rubber in hoses healty , and what about all other seals ,and o rings in system that you not get to change, an all other struits and rubber seals inside them ? My recipe was to eliminate the job total, and make ABC firm .refresh all rubber in the system.
Well, I'm back at it.. after work and covid delays. I've got the front inner fenders off, and had to order the little tool from mercedes to get the nuts loosened on the hydraulic lines. Neither a flare wrench nor crowsfoot would budge them. As I need to remove the entire FRONT assembly ,as I am replacing the accumulator also, does anyone have a image or diagram of what nuts/bolts to remove ? I can see the ones for the accumulator itself and that's about it. The WIS image isn't very clear either. Lots on line for the rears, I just can't find detail on the fronts one.
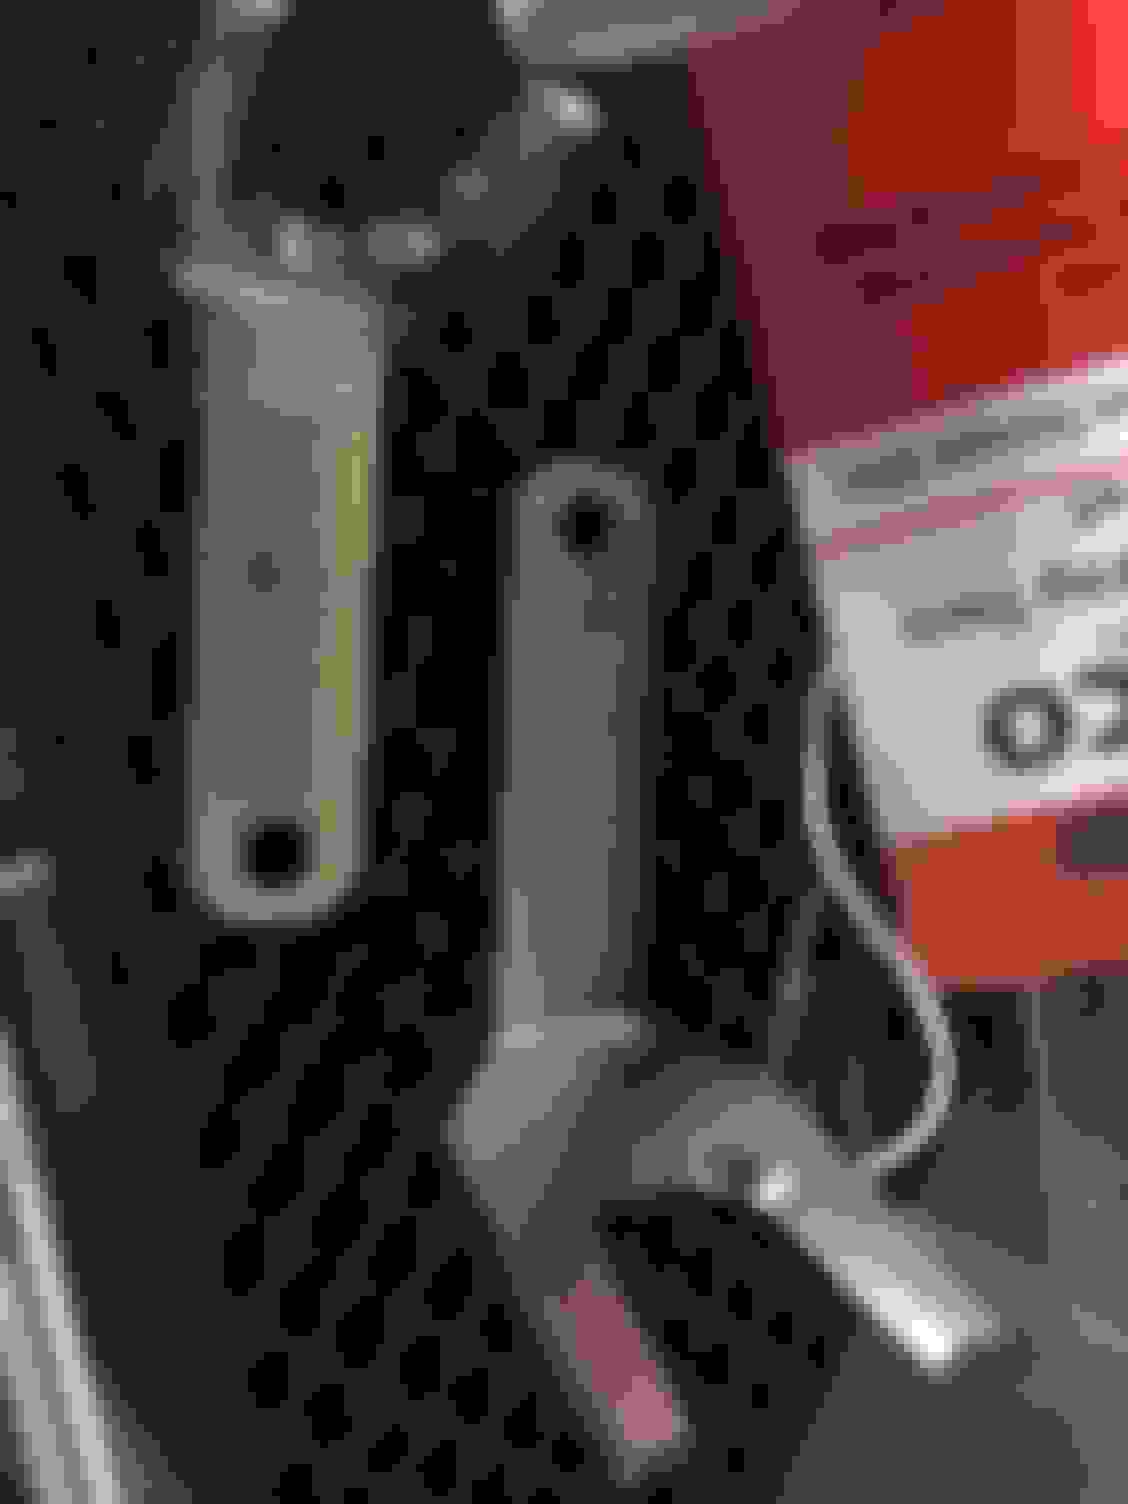
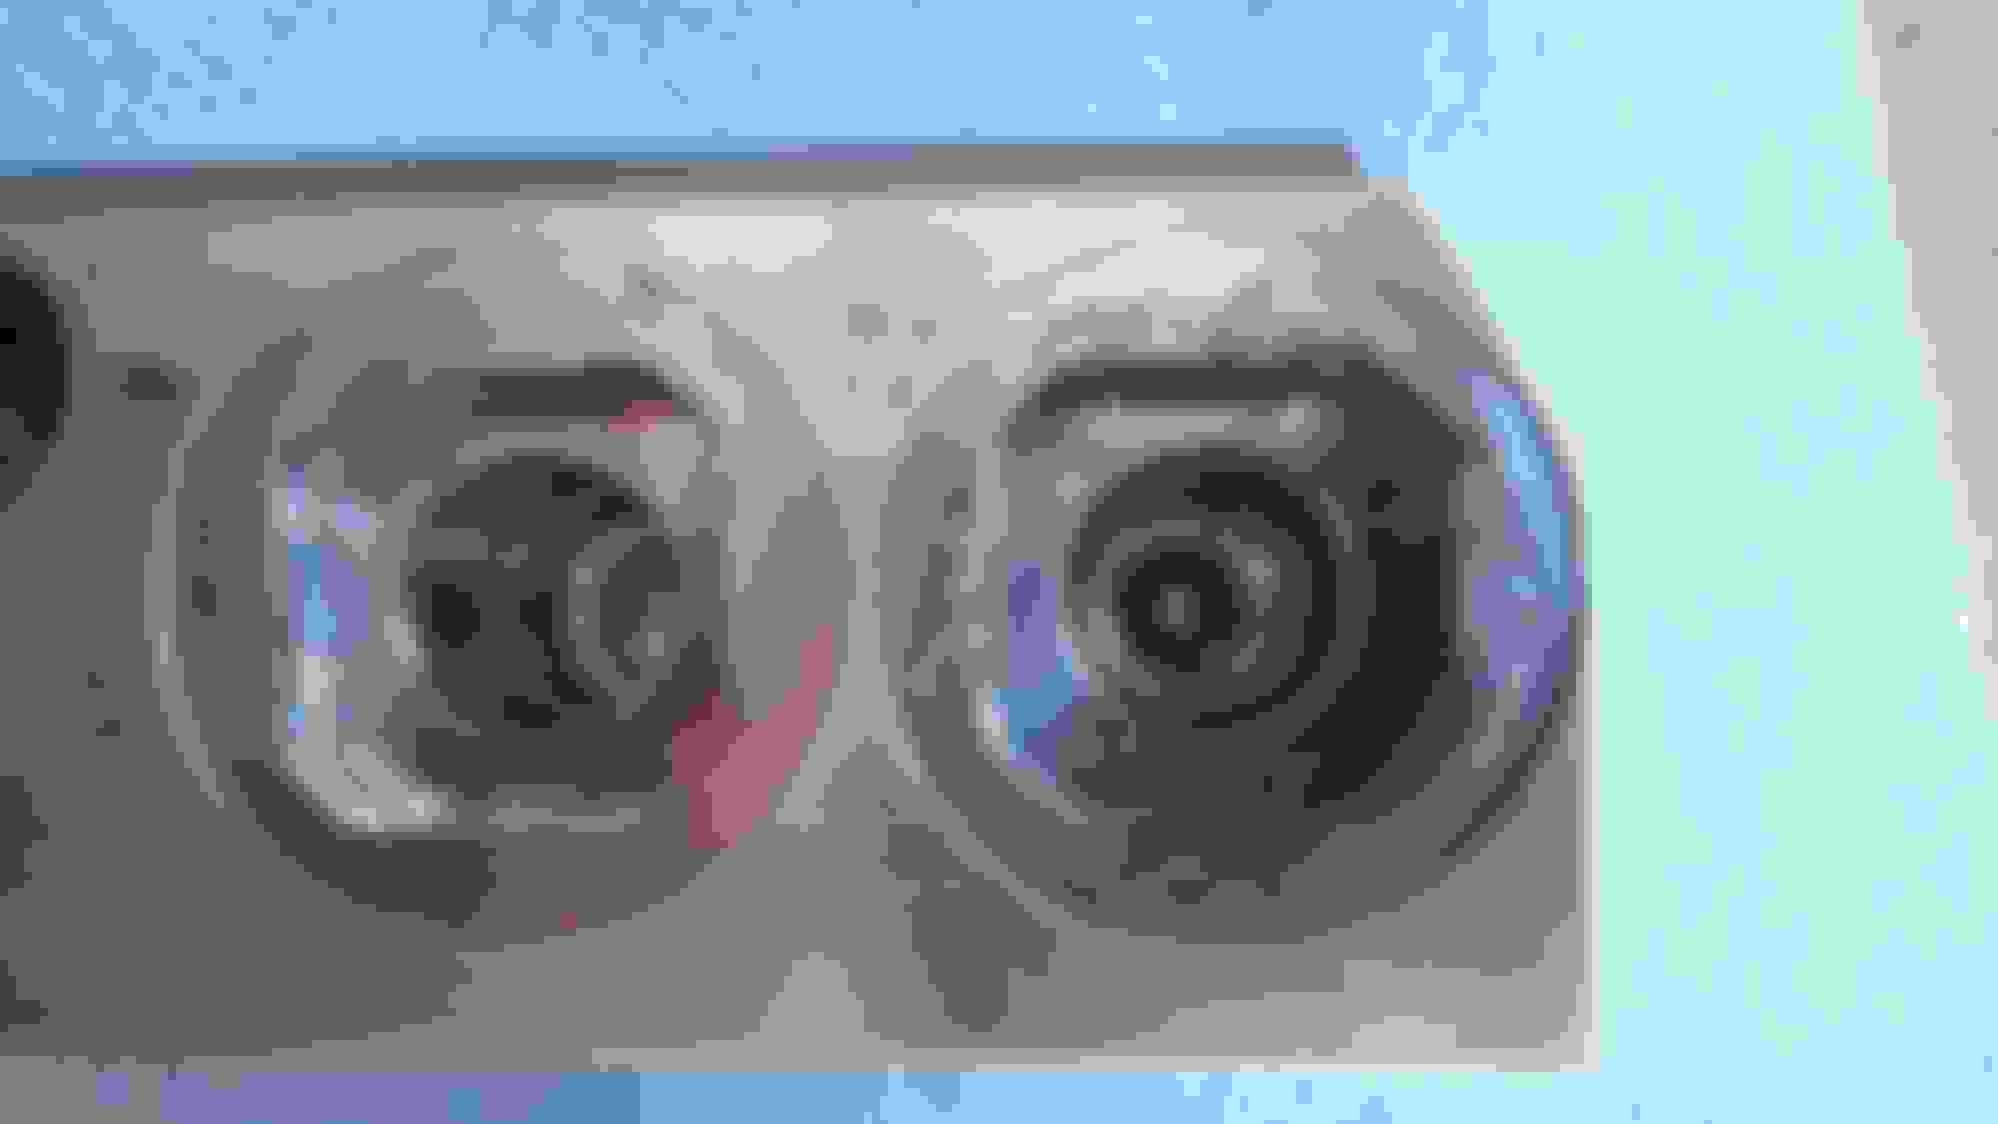
Well, I finally got the job done. Kudo's to those of you who did this in under a day. The rebuild was easy, getting the darn valve block in and out (on my garage floor with just jackstands) was the hard part !. Anyways, I think I may have found the source of the issue. The 'Red' Locking Valve looks like the bottom seal was damaged or deteriorated, allowing crud and dirt, and probably water into the system. I have attached some images of the valve and the block, where it can be seen where there is some corrosion. Not having the equipment to test out the valve, I cleaned it up best I could, did the rebuild, and reinstalled. Now time will tell, as I don't know yet if my 'fix' will take or not. If that valve itself has some water damage inside, or if it has been damaged somehow, looks like I will get to do this all over with a new and/or rebuilt block in the spring. Have any of you seen this in your rebuilds ? and if so, after, did you have any issues afterwards ?
Slideshow: A one-of-one U.S.-spec Mercedes-Benz SLR McLaren Roadster became even rarer after a factory-backed transformation at McLaren's headquarters.