When you click on links to various merchants on this site and make a purchase, this can result in this site earning a commission. Affiliate programs and affiliations include, but are not limited to, the eBay Partner Network.
It amazes me just how many car brands struggle with plastic switches and buttons. These buttons, etc. seem to wear down, chip, or scratch more often than they should. Even some very expensive exotic brands have had issues with buttons becoming sticky, or getting a melted look and feel. Anyway, my drivers side window switch was scratched/chipped up and looked bad.They do sell stickers to cover switches and buttons, but that wasn't for me. FYI I forgot to take pictures of this install, so I went back and did the steps over to grab pictures for you. That is why you do not see the damaged switch in the removal pics. I already had swaped it with the new switch.
Disclaimer - I am not a car expert and have only worked on my cars in my garage as I feel confident in doing so. I was willing to try this on MY CAR, because I am that kinda guy, but you have to make your own choices. I am not responsible for any fitment, or functionality issues. Damages, or injury that may occur to you, your car, your systems, or persons when attempting this installation. Attempt this modification at your own risk. I did and I am so happy I did. I hope this helps you!
Let's get started.....(Time to complete- 5 minutes)
Here is how the old switch looked. It started with a little white scratch and the chips/scratches progressed over the years to what you see below. Blah/Yuk.
The new unit arrived in a simple box and plastic bag, nothing special.You can get this from MB, but they are available online at multiple places for some cost savings.
First
Let's remove the door trim.
Simply grab the center area and pull it out a little.
There are tabs along the backside and on each ends of the trim, but the ones on the far left and far right ends are the only ones you have to be careful with. Next While holding the middle section you just pulled out a little you want to pull the trim towards you a little and toward the rear of the car, or door opening (if you have the door opened wide) so the front tab slides out. Take it easy so you don't break your tabs.
Once the front tab is free continue working toward the rear by pulling any remaining center tabs straight out.
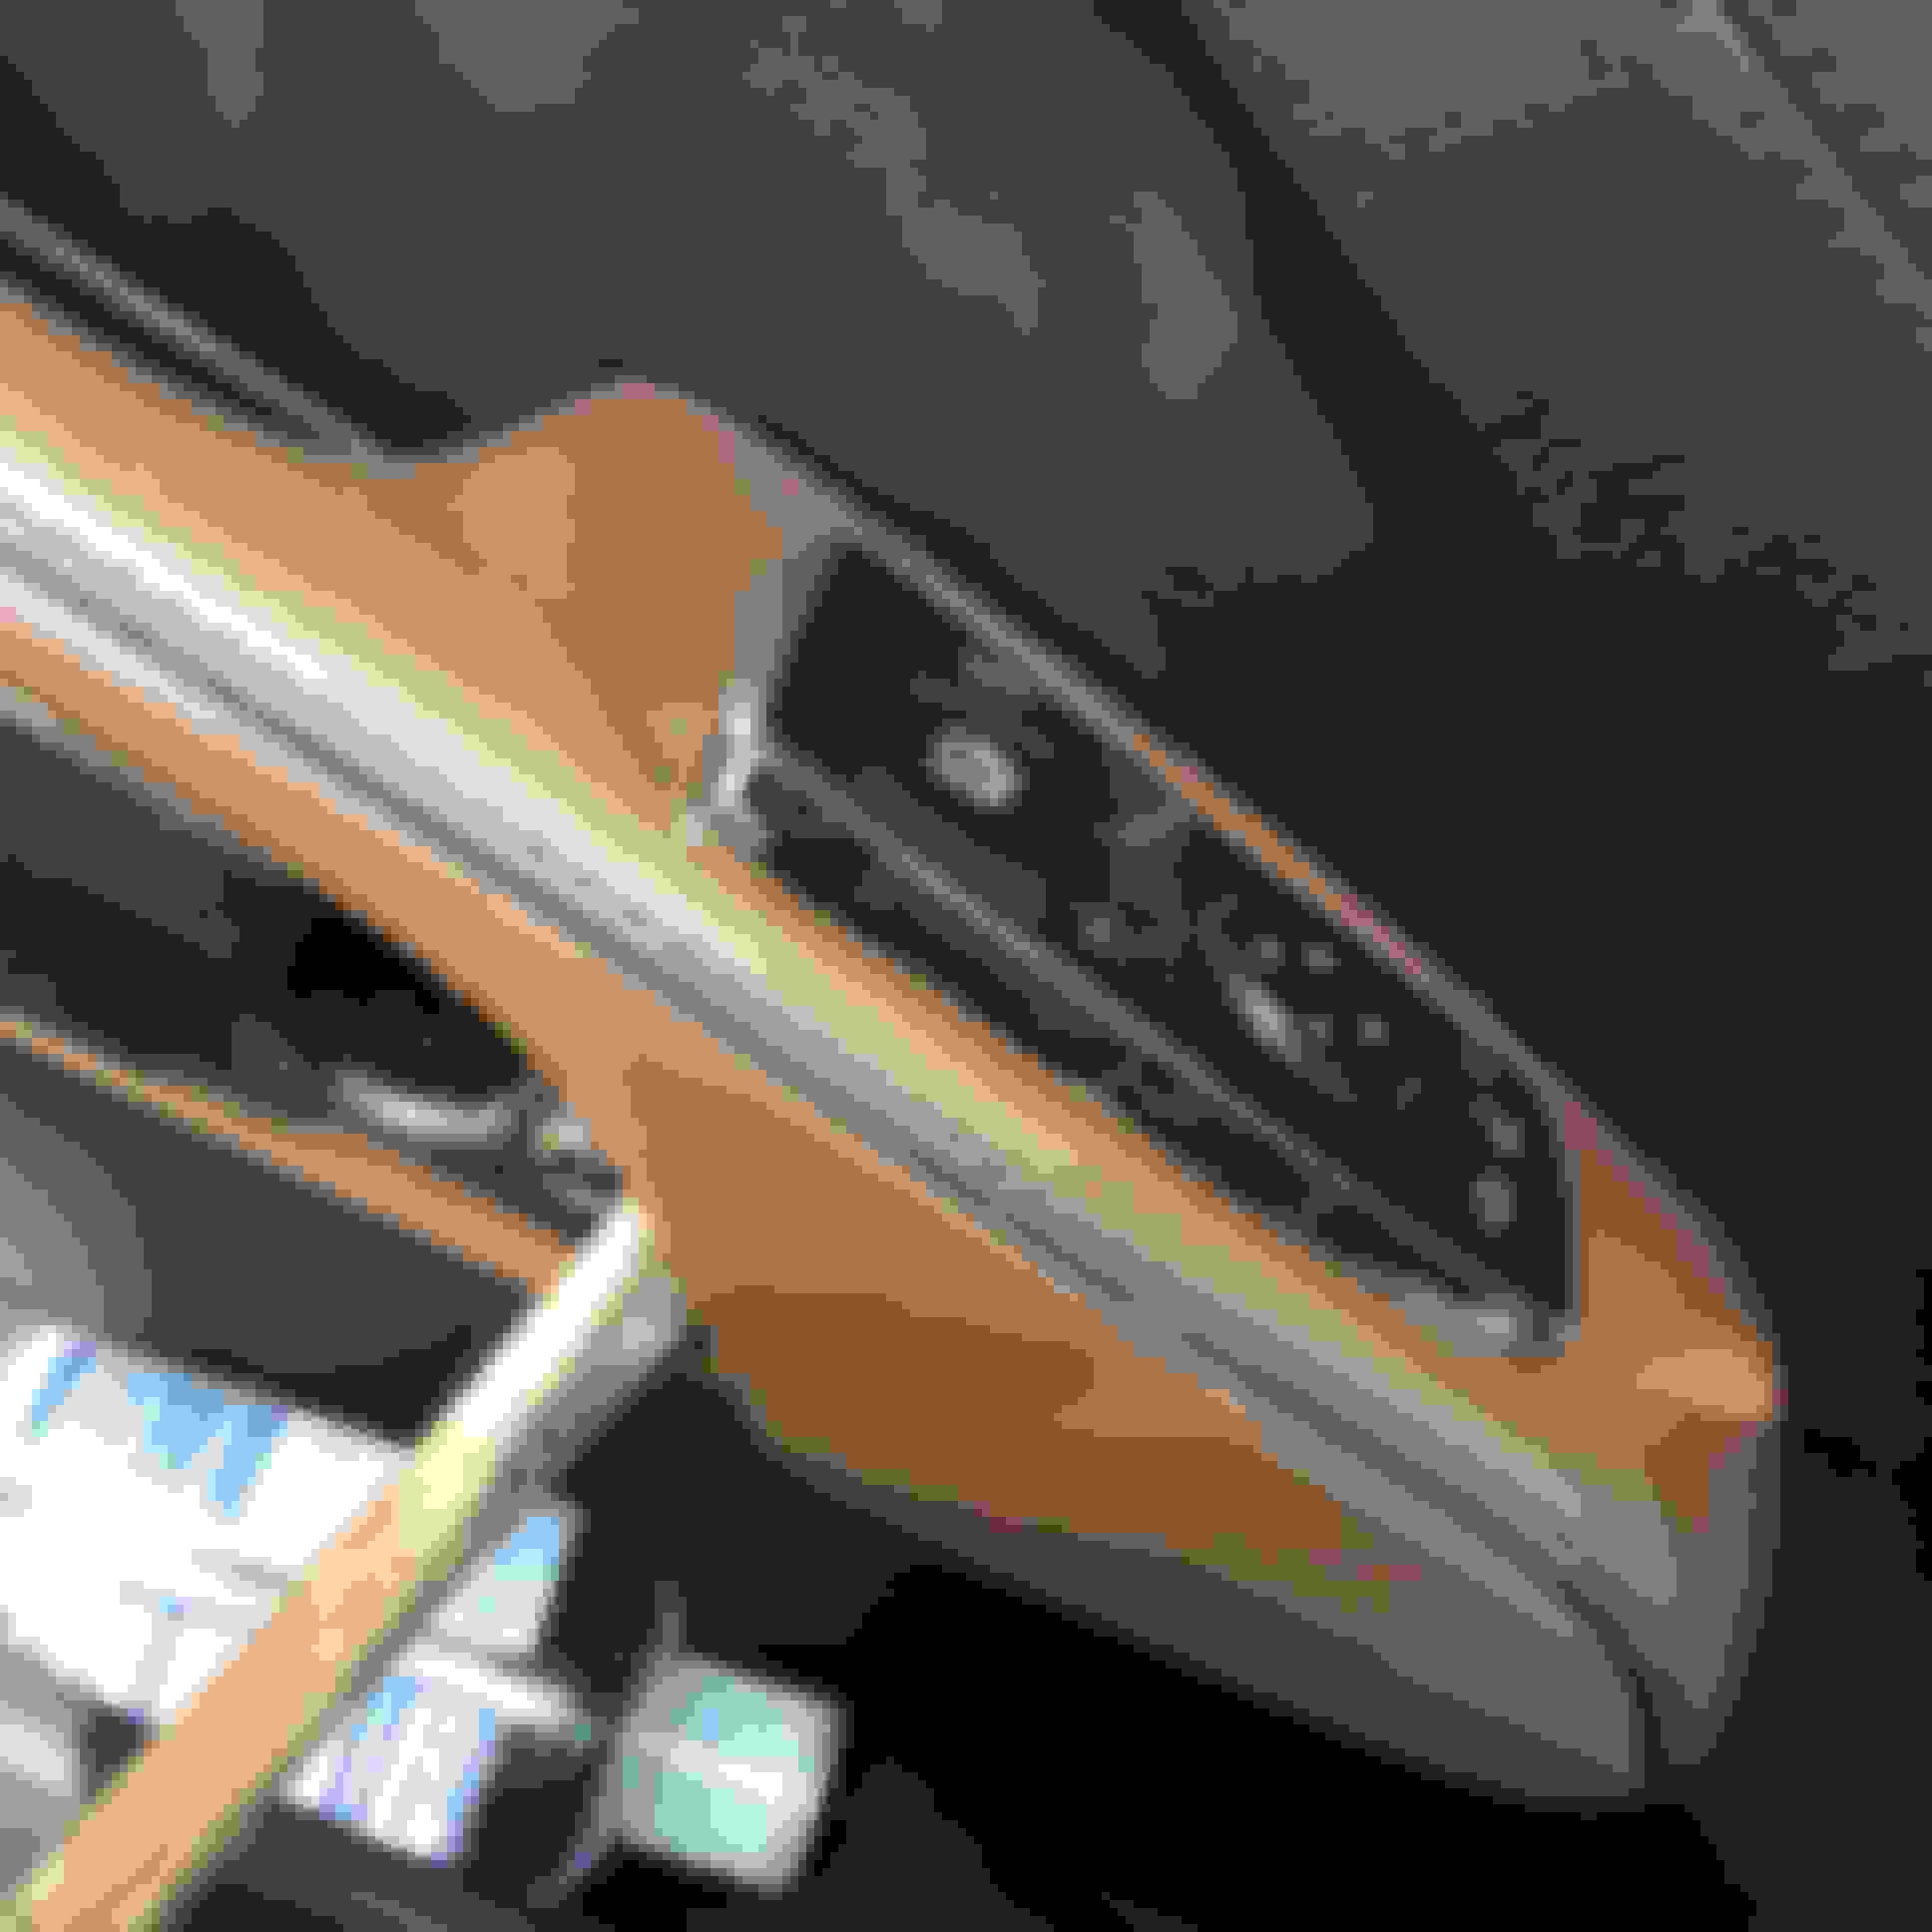
Once you get to the last rear tab on the end slide the entire trim towards the rear of the car, or toward the doors opening (if you have the door opened wide) to free the last tab. It will make sense once you see how the tab sits on the trim. (look at my picture of the end tab how it hooks)
View of the end tab right slot hole
When you get to this point stop pulling and slide the entire trim toward the opening of the door.
Next
Sit the trim over on the passenger side out the way. I avoid sitting trim on the ground, so nobody can step on it. (including me lol)
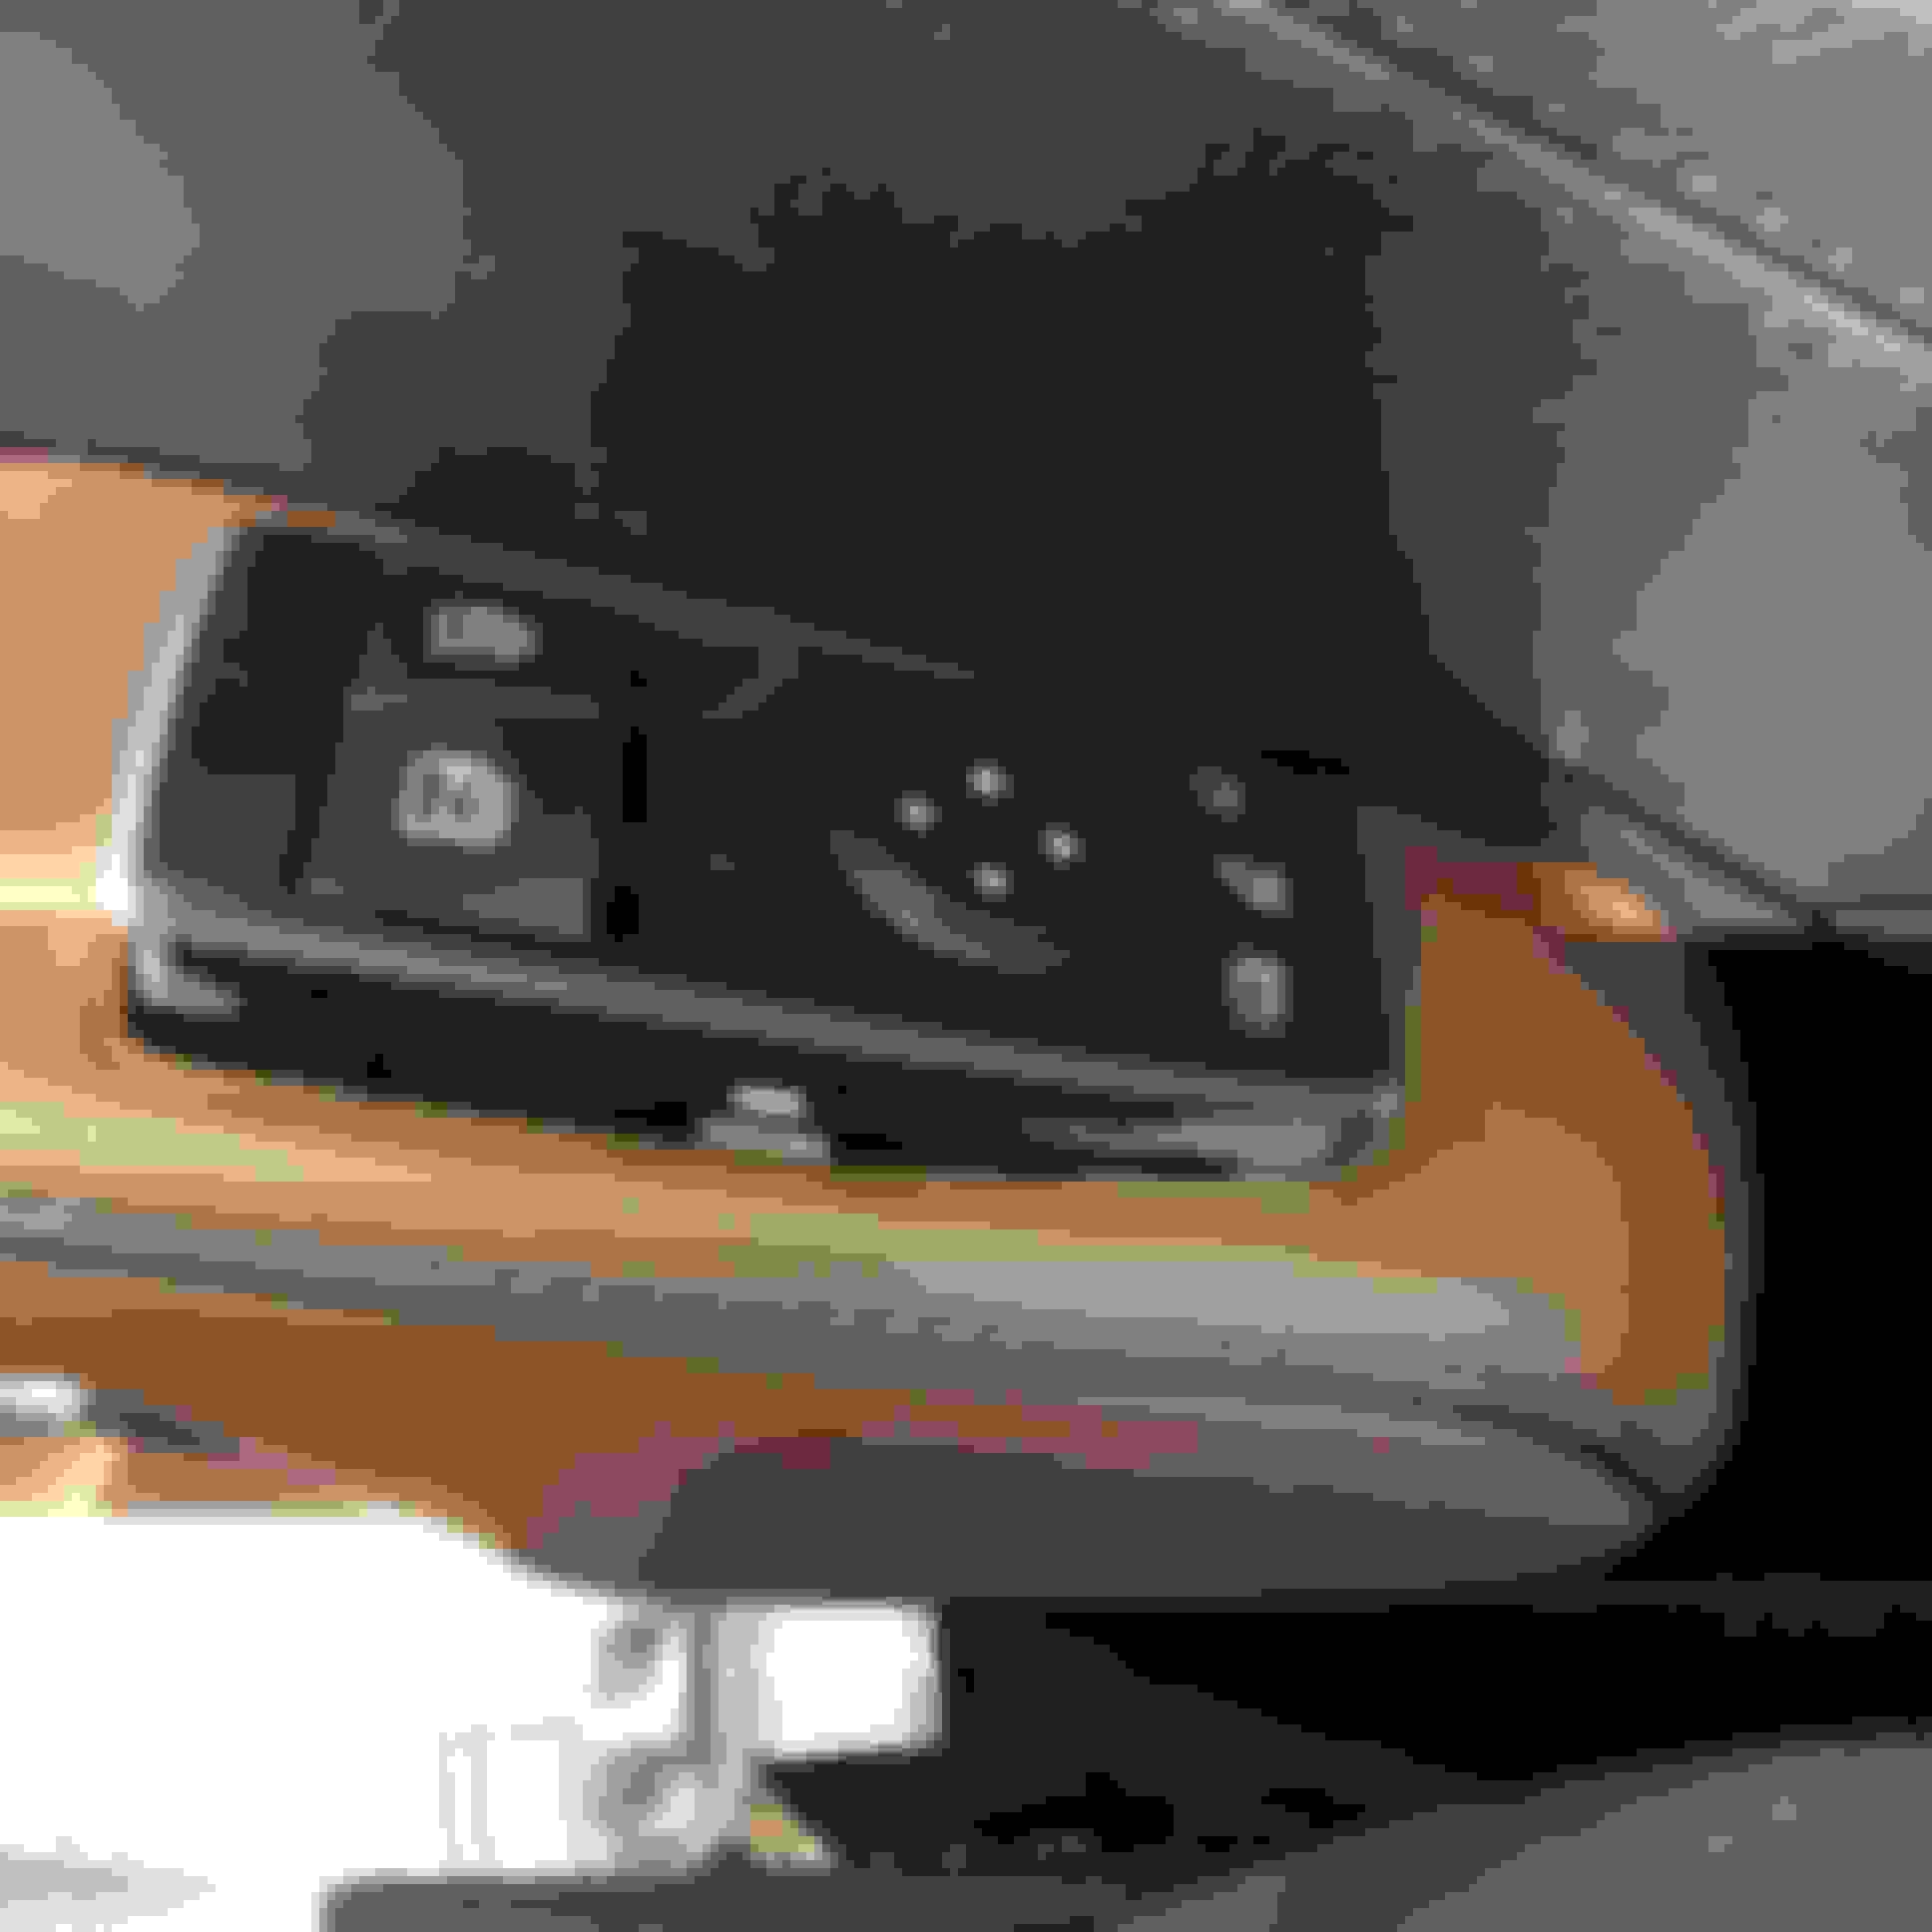
Remove the window switch by sticking a fat head screwdriver in this slot below the switch. You will simply push the trim up and free of the door. There are no screws holding the trim in place, only tabs that depress when you push the switch out.
Next
Detach the wire for the switch. A simple tab release.
Next attach the new switch and test it to ensure it is working properly before you close things back up.
Lastly
Re-install the trim starting with the far left tab on the end towards the rear first. Just hook the tab back in. Nextskip to the far right tab. You have to flex the trim by pulling it and bending the corner end in order to get the end tab in before you finish the middle tabs.
That's it.
Enjoy your new switch.
Last edited by ThatsMyDawg; May 17, 2023 at 01:54 PM.
Reason: Typo
Nice post. My switches are all in good condition but perhaps the forum manager could put this DIY and other similar posts in a sticky file that is easily accessible.
Glad yours are in good shape! You would be surprised at how many I have seen at dealerships with nicks and chips in them.
Seems like it would be an easy swap to make a car look that much cleaner by a dealer. Now the chips, etc. that I have seen we�re not as bad as mine were, but I did notice them when I sat in the cars. All the chips/scratches are always on the drivers side I guess from the amount of usage when compared to the passenger side.
My next fix is the radio on/off button, because it has wear on it in the early stages.
Originally Posted by rmorin49
Nice post. My switches are all in good condition but perhaps the forum manager could put this DIY and other similar posts in a sticky file that is easily accessible.
"Planning any more?" You never know, because as I find things that need correcting I often say to myself " I think I can fix that. "Radio on/off button will be next, but not in a rush for that one. Stay tuned for future updates as I find other things to update/improve...
Thank you for the positive feedback...
Originally Posted by Montreal300
Another helpful post! I must say you're pretty good at the mix of descriptions and photos. Are you planning any more??
Dawg, you gave me the courage to tackle the Apple CarPlay installation and I am NOT mechanically inclined by any stretch. Appreciate you sharing these. Thanks.
You the man now Rupp! You, like me now have it in us to go hands on with our SL�s. We just needed a place to start and motivation. Keep at it my friend.
Originally Posted by Ruppster
Dawg, you gave me the courage to tackle the Apple CarPlay installation and I am NOT mechanically inclined by any stretch. Appreciate you sharing these. Thanks.
You the man now Rupp! You, like me now have it in us to go hands on with our SL�s. We just needed a place to start and motivation. Keep at it my friend.
I actually repaired a black wheel rim that had curb rash. Was probably a little too proud of myself.
2015 SL400 (M276 Turbo), 2014 C350 Sport (M276 NA), 2004 SL500 (M113), 2004 Audi TT225 (BEA)
Originally Posted by ThatsMyDawg
Glad yours are in good shape! You would be surprised at how many I have seen at dealerships with nicks and chips in them.
Seems like it would be an easy swap to make a car look that much cleaner by a dealer. Now the chips, etc. that I have seen we�re not as bad as mine were, but I did notice them when I sat in the cars. All the chips/scratches are always on the drivers side I guess from the amount of usage when compared to the passenger side.
My next fix is the radio on/off button, because it has wear on it in the early stages.
Awesome DIY!
I keep my nails trimmed really short. Wonder if that makes a difference.
Found this thread using the search function. I recently purchased a new window/mirror switch on eBay (less than $25.00!). This thread is very helpful as I was thinking I’d need to remove the door panel. Thanks to OP I probably saved myself a lot of time and effort. Thank you.
Found this thread using the search function. I recently purchased a new window/mirror switch on eBay (less than $25.00!). This thread is very helpful as I was thinking I�d need to remove the door panel. Thanks to OP I probably saved myself a lot of time and effort. Thank you.
I keep my nails trimmed really short. Wonder if that makes a difference.
Originally Posted by ThatsMyDawg
I would imagine it helps with them being shorter.
I was gonna suggest a manicure Dawg, no joke. Once in a while it's a nice little treat. I broke window switches on previous cars, and bought some with worn steering wheel buttons (that I replaced); it has made me gentler with them in general.
I think you are right my friend. It has been quite a while since I had one.
Originally Posted by eddieo45
I was gonna suggest a manicure Dawg, no joke. Once in a while it's a nice little treat. I broke window switches on previous cars, and bought some with worn steering wheel buttons (that I replaced); it has made me gentler with them in general.
It�s a nice sunny day here in western NY so I thought I�d give it a shot to replace the window switch. I followed OP�s instructions and took my time. I mean I really took my time. From start to finish it took me about 12 minutes. I couldn�t believe how easy and straightforward this job is.
Many, many thanks to That�s My Dawg for sharing this with us.
Awesome!
You should have tossed up before and after pics, but so glad the post helped you!
Originally Posted by Jcrew
It�s a nice sunny day here in western NY so I thought I�d give it a shot to replace the window switch. I followed OP�s instructions and took my time. I mean I really took my time. From start to finish it took me about 12 minutes. I couldn�t believe how easy and straightforward this job is.
Many, many thanks to That�s My Dawg for sharing this with us.
I was gonna suggest a manicure Dawg, no joke. Once in a while it's a nice little treat. I broke window switches on previous cars, and bought some with worn steering wheel buttons (that I replaced); it has made me gentler with them in general.
@eddieo45 Just noticed your post about the steering wheel buttons... did you take the airbag off and replace the entire button modules or only replace specific worn buttons? I've been debating between the different options as I just noticed one button that has bubbled and wondering what the most efficient and least painful way to fix it is!
@eddieo45 Just noticed your post about the steering wheel buttons... did you take the airbag off and replace the entire button modules or only replace specific worn buttons? I've been debating between the different options as I just noticed one button that has bubbled and wondering what the most efficient and least painful way to fix it is!
I did not remove the airbag; I had the car off and the key about 30 feet away. On my 2009 CLK550 the buttons were in pairs.
Hey, when I made that video I was only replacing the satin/silver trim on the steering wheel. I would have also replace the buttons, because I had to remove them from the trim anyway, but I hadn’t purchased the replacement buttons/controls at that time. The airbag pops off (why thieves steal them so easily) so yes I removed it to get to the trim etc. I think I covered that in the tutorial, but I will go back and look to check.
The best way is to follow my instructions to the letter and you will be fine.
EDIT---I went and looked at my old thread and I did remove the airbag when replacing the trim. I covered that in the how to.
Originally Posted by asm777
@eddieo45 Just noticed your post about the steering wheel buttons... did you take the airbag off and replace the entire button modules or only replace specific worn buttons? I've been debating between the different options as I just noticed one button that has bubbled and wondering what the most efficient and least painful way to fix it is!
Last edited by ThatsMyDawg; Nov 20, 2025 at 04:31 PM.