When you click on links to various merchants on this site and make a purchase, this can result in this site earning a commission. Affiliate programs and affiliations include, but are not limited to, the eBay Partner Network.
Posting this for grins and giggles as it is most likely elsewhere on this site. While troubleshooting an intermittent CANBUS failure to communicate with the instrument cluster I disassembled, cleaned, and reassembled the X30/7 junction block on my W210. The pictures below give one an idea of what needs to be done.
-Remove outer/lower shield covering the junction block; tabs at each end need to be pressed outward, I used three miniature flat-blade screwdrivers to lift the shield up and over the tabs of the junction block.
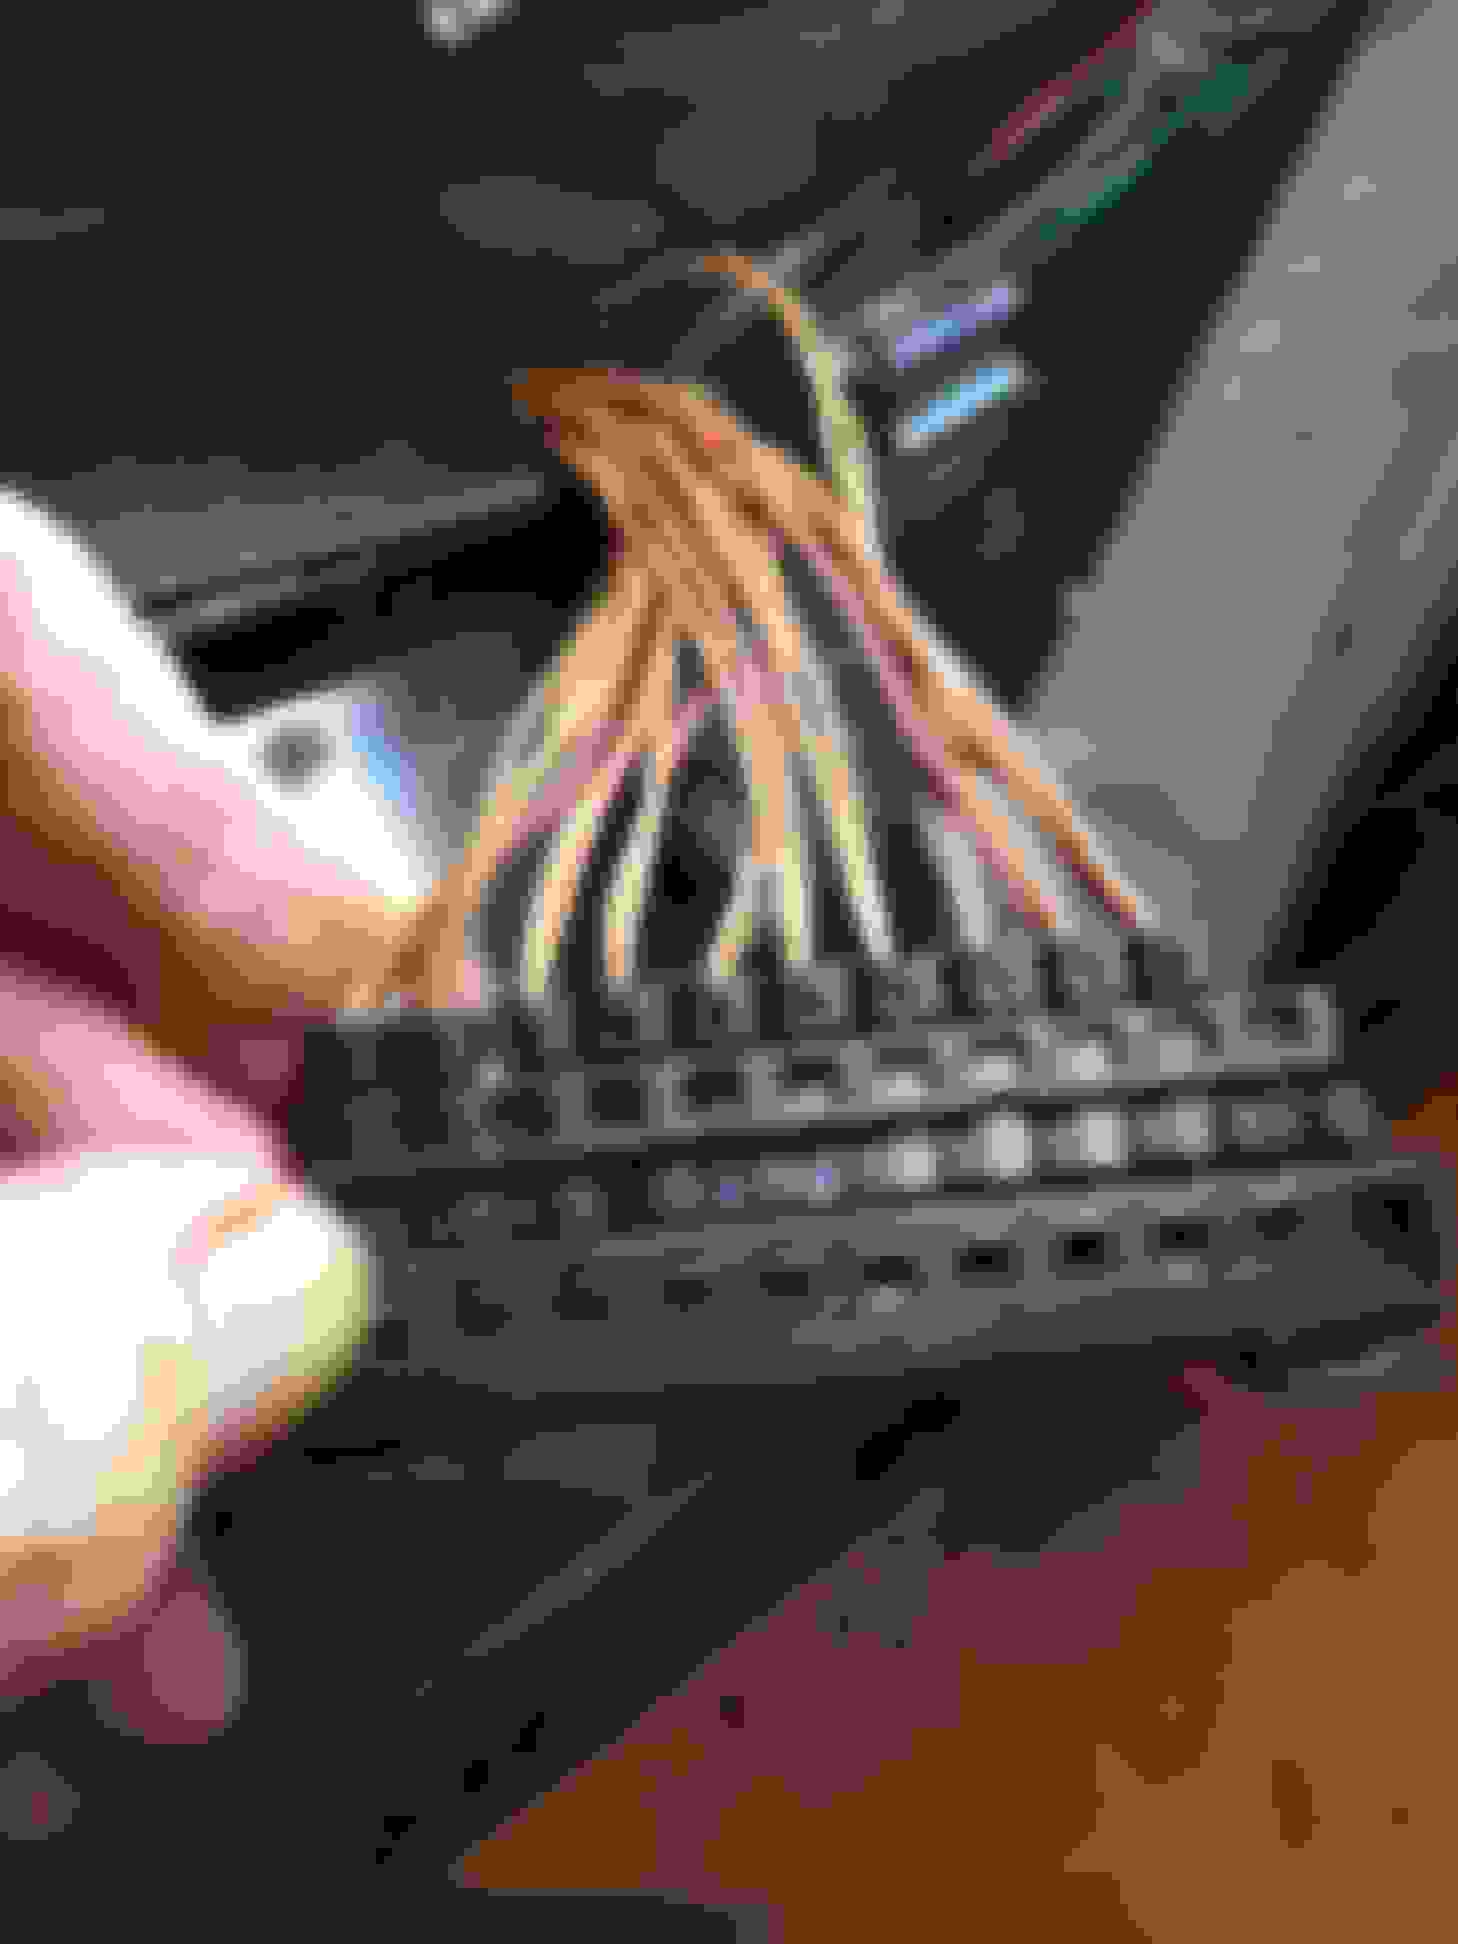
-Insert miniature screwdriver into the junction block to release tab, then lever the tip upwards to lift the socket plug off of the pins.
-To reassemble, just press the socket plugs onto the pins; tabs will snap into place to hold the sockets in place.
-Press the outer shield back over the junction block; place back into trough and reassemble interior.
EDIT 08 August 2020. These photos are from my W210 E55. I ran a "quick test" diagnostic today while chasing a small issue and learned the following. After performing this operation, the car will display multiple error codes when a diagnostic test is run and those codes will need to be cleared. In hindsight, this makes sense. The only way to work on the connector is to have the door open. With door open, the CANBUS is active. Every time a connector is removed and then reinstalled, the CGW sees this as a "failure" of the modules on that connector as they can no longer communicate with the other modules and an error code is stored. Or, in my case, multiple error codes that indicated at least half of the car's modules failed. Eye-opening until I figured out the cause.
Posting this for grins and giggles as it is most likely elsewhere on this site. While troubleshooting an intermittent CANBUS failure to communicate with the instrument cluster I disassembled, cleaned, and reassembled the X30/7 junction block on my W210. The pictures below give one an idea of what needs to be done.
-Remove outer/lower shield covering the junction block; tabs at each end need to be pressed outward, I used three miniature flat-blade screwdrivers to lift the shield up and over the tabs of the junction block.
-Insert miniature screwdriver into the junction block to release tab, then lever the tip upwards to lift the socket plug off of the pins.
-To reassemble, just press the socket plugs onto the pins; tabs will snap into place to hold the sockets in place.
-Press the outer shield back over the junction block; place back into trough and reassemble interior.
Guess they come out as a set. Good to know. I was trying to remove the individual 2 wire connectors one at a time which resulted in it coming apart in the wrong way.
Guess they come out as a set. Good to know. I was trying to remove the individual 2 wire connectors one at a time which resulted in it coming apart in the wrong way.
You can remove the connectors one at a time after the outer protective shell is removed; removing that outer shell is not much fun and in my case required a bit of juggling with multiple small screwdrivers (and IIRC, I broke one of the tabs on the end of the outer shell). Just be sure to use the small flat-bladed screwdriver to press in on the tab of each individual connector and to "lever" up the connector so it will come off of the pins (as shown in second photo).
I wish I had seen this about 2 weeks ago will I was pulling unnecessary wires out of the project CLK.
Thanks for the thread Barry. It will still help me!
It was not much fun fumbling with this connector while lying on your stomach through the door opening either. Don't suppose you have a picture of the individual connector removal? When I did mine it left the metal pins behind. On the other side of the same connector when I removed one it came off like a normal plug. Not sure what tab you are referring to? P.S. I think I broke my outer cover too. Does one of these go to the sensonic brake (not sure of the name)? Because after I messed with the connector I got a red message in the instrument cluster that a wire was open or shorted to that system.
It was not much fun fumbling with this connector while lying on your stomach through the door opening either. Don't suppose you have a picture of the individual connector removal? When I did mine it left the metal pins behind. On the other side of the same connector when I removed one it came off like a normal plug. Not sure what tab you are referring to? P.S. I think I broke my outer cover too. Does one of these go to the sensonic brake (not sure of the name)? Because after I messed with the connector I got a red message in the instrument cluster that a wire was open or shorted to that system.
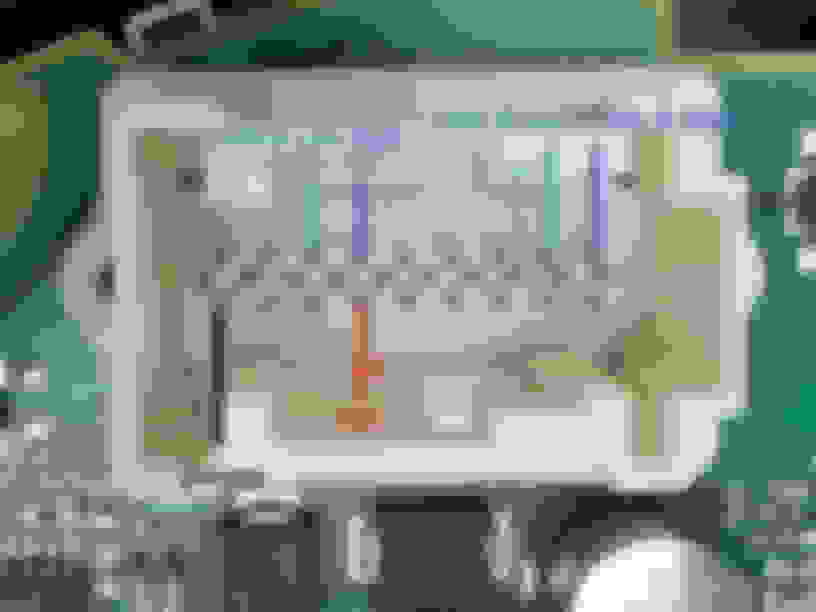
The second photo shows how to remove an individual connector; I was using the screwdriver tip to press in on the release tab of the connector. I levered the connector out using the screwdriver so I would not be pulling on the wires and damage them. The wired connectors are sockets (female) and the housing has pins (male). The lower part of the housing is a parallel metal bar with the pins on it. The system is designed to work even if one side of the bus is open or shorted but will throw a failure code. In the second photo you can see the metal bar at the bottom of the housing. The pins attached to the metal bar insert into the rounded portions of the lower level of the housing. I personally would not attempt to disassemble the housing to remove the bar/pins portion.
I uploaded photos and a response but don't see it? Does it take a while? I added them again here on this message. I was referring to the 7 sets of 2 wires at the "top". Don't those come out or do they need to come out as a set? I did remove one successfully as I said. The next time I tried to remove a single 2 wire set on the other side of the seven sets, the outer shell of it came off instead of it pulling out of the connector? I think I get it. You have to insert the screw driver way down under the plug where no one would ever think to look. And here I was trying to pull them off individually where every one in the world put the tabs, right on the plug? Silly me. Hope the plug I removed the shell from is not ruined.
Last edited by alanduq; 07-23-2020 at 06:02 PM.
Reason: missing response
Hello. Got water in my car, clock/speedo, tach died. Most everything else works. Pulled up the rug and did each CAN green wire 1 by 1 with contact spray. Fuses on end of dash and under good all good (2006 e350 sedan). Looking at the CAN / brown wires -- hard to reach and not sure to try and take each one off or pull the lot of them with the larger plug, or... so hosed them down with contact cleaner.
Pulled the console: i get 12V at one of the pins when grounding to car. Not sure where to go from here!

 03-29-2020, 12:32 PM