When you click on links to various merchants on this site and make a purchase, this can result in this site earning a commission. Affiliate programs and affiliations include, but are not limited to, the eBay Partner Network.
I figured I'd make this post since it helped some recently with replacing the pcv hard to get to unit. Seems like most don't know but the fire wall is removable, and this gives you all the space you need in order to do this job. I even heard about people being charged to remove the engine in order to replace that unit. SMH. I've spent a lot of time learning in depth about the m157 so I'd like to pass on some tips maybe some dont know.
You can remove the fire wall by removing just two 10mm bolts on each top side and anything else that's on it you can literally just slide the entire wall up and out the way exposing the entire back side of the engine. Remove the rubber seal remove the battery for more space, remove anything that is either running through or on top of the false fire wall. On the rear driver side you will need to disconnect the heater core hose. You should replace this while your doing this job as after 50-60k I've seen the get very brittle and start to crack. That crack causes your coolant to slowly leak making you think your engine is eating coolant when in reality it's just leaking slowly on top of the exhaust and transmission causing just enough smell
you think it's burning out the exhaust 🫣. Once you have all this out the way all you need to do is pull straight up. And boom full access . I'm srry i don't have pictures of actually doing it so maybe someone can update this post once they do. For now I can just show you what your gonna be lifting straight up.
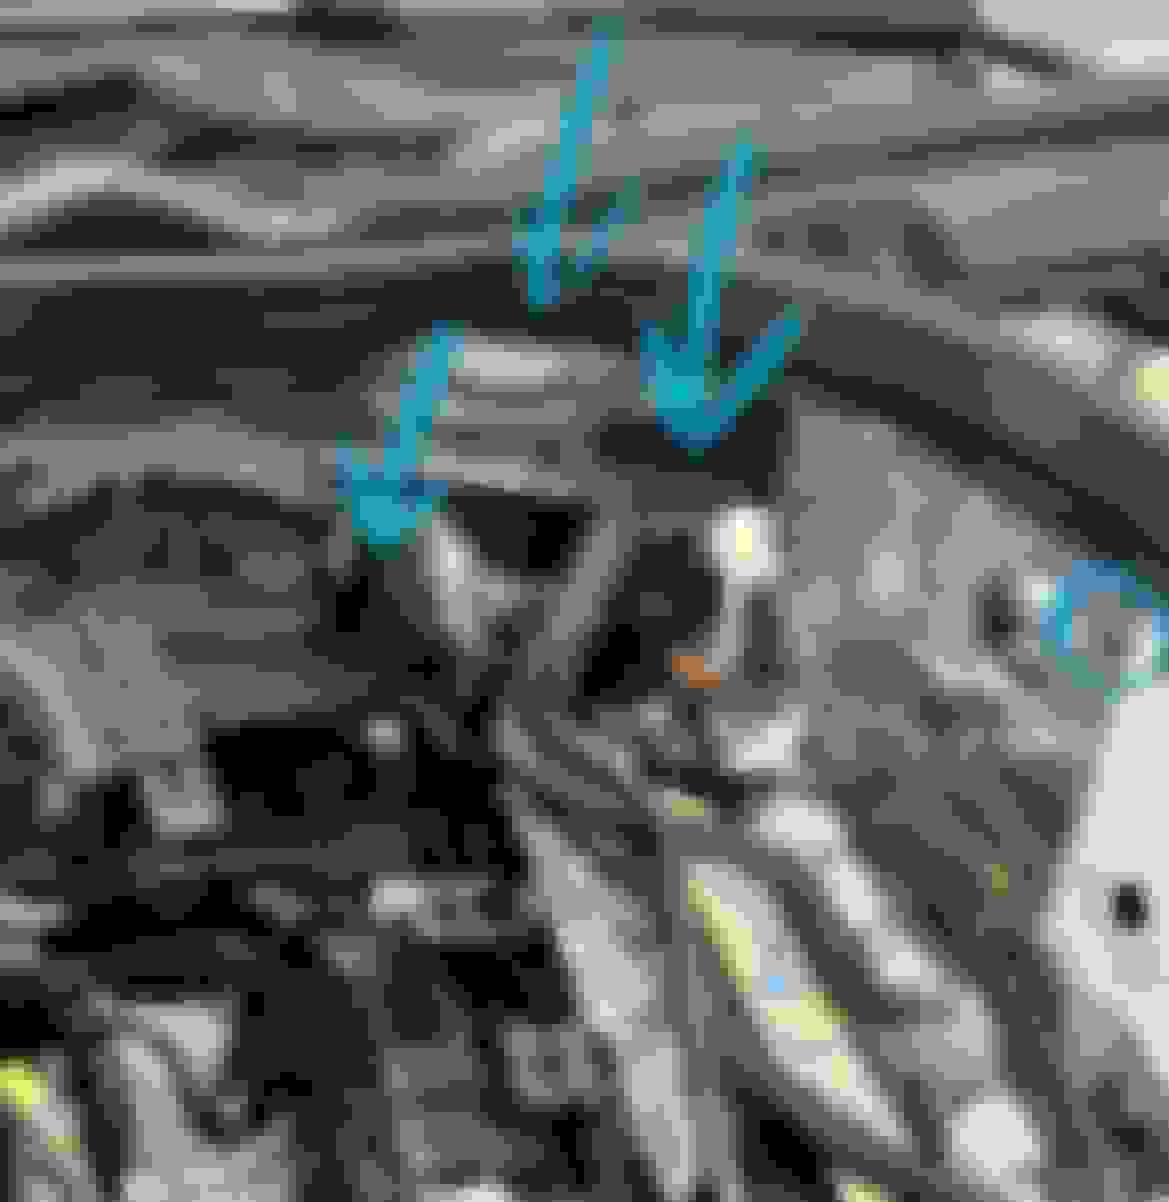
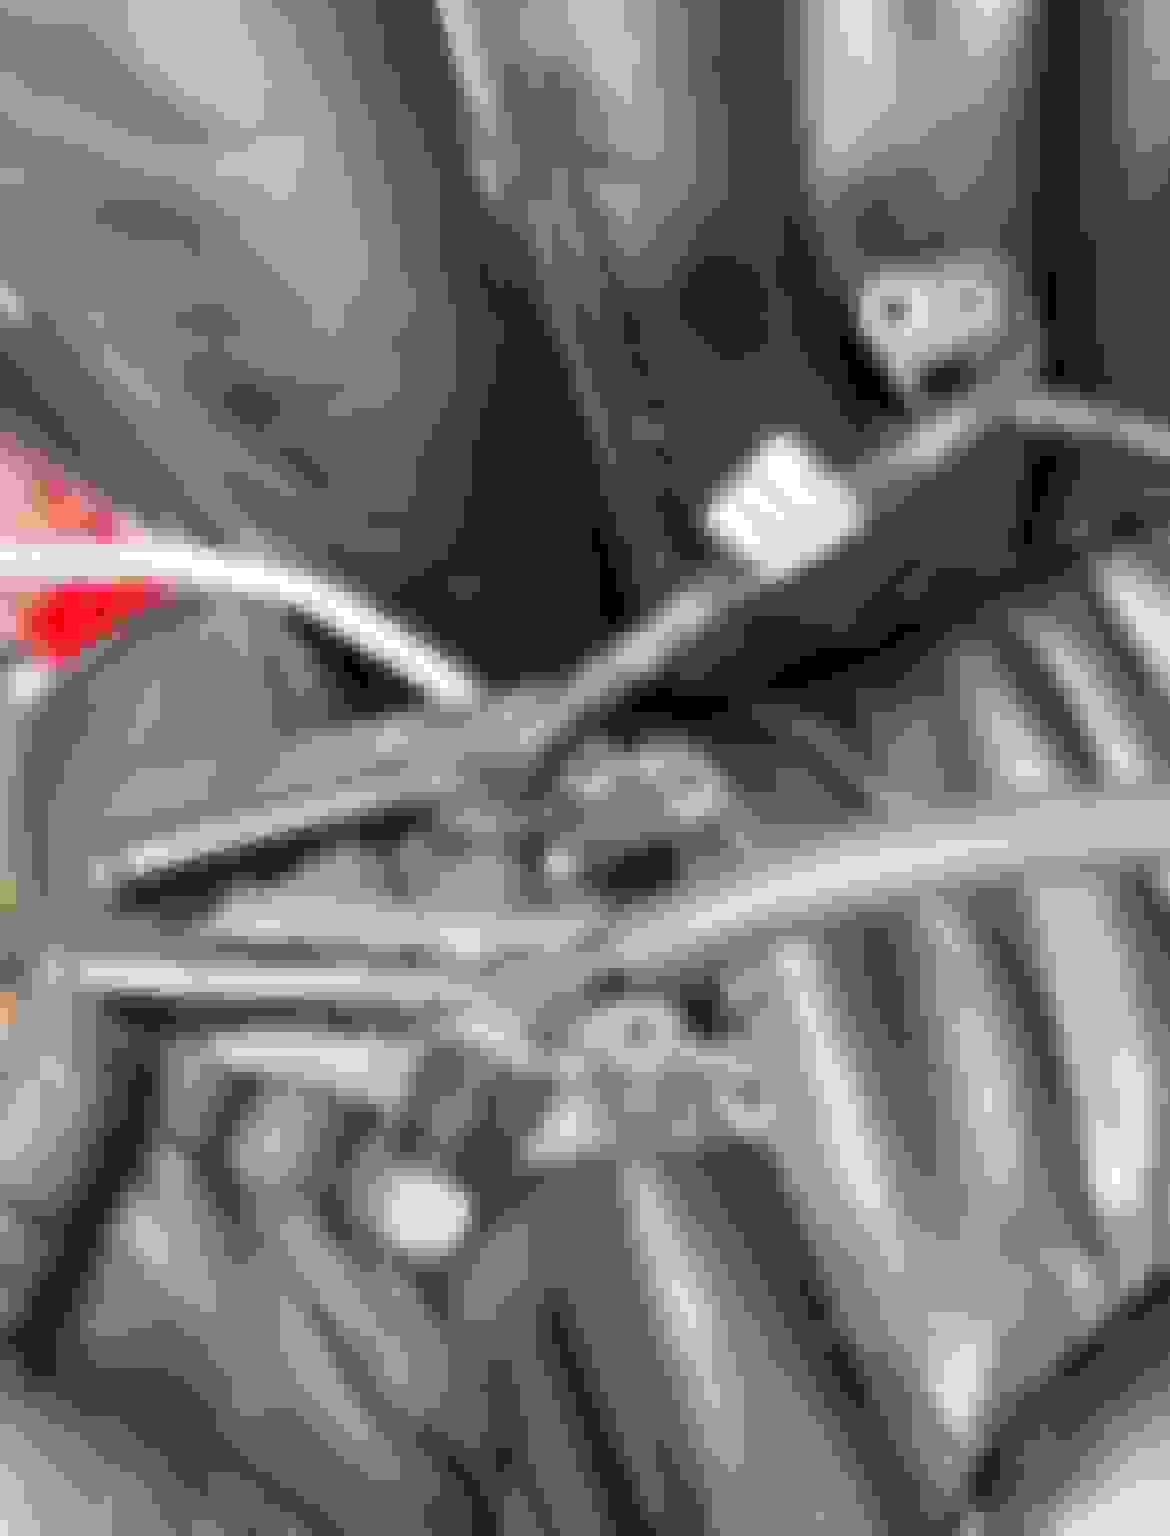
Also a lot of you that are suffering a ton of oil may want to look into your pcv system and intake connection. What's happening to a lot of you is either, you have upgraded your intakes, or the connection to your pcv hose has broken. How it supposed to work, the pcv spring/door (the gold looking flat piece with the spring in the picture) that opens during WOT which allows the crank case pressure to release back into the turbo inlet, it sees vacuum from the turbo compressor spooling, which helps pull it out of the crank case . Basically it helps suck the blow by out of the block. Well what's happening is that check door is not opening during WOT because it's not seeing the vacuum from the turbo inlet. Either the hose is broken or when you installed the new intakes you changed the amount of vacuum the pvc sees because now the turbo is pulling air from the point of least resistance, where as before since the stock intakes were restricted to a certain amount of flow it was able to create enough vacuum to open that check door. . So now the crank case pressure needs a place to go. This will blow seals out over time and it forces itself backwards into the pcv through the head and works it's way passed the small hose that connects to the intake manifold at the back and dumps blow by and oil all into your intake. It's a lot of oil. Enough to dramatically coat the inside of your intake. With all these so called performance shops that claim they know everything they need to know about the m157 I've been waiting years to see if they would actually inform their customers what's happening or they really just have no clue what's happening . Im starting to see them just code out the pcv code which is a major
no no. So I decided to make this post to help fellow enthusiast understand what's actually happening when they they spot a code tht says CRANKCASE VENTILATION NOt OPERATING DURING WOT they need to fix the real issue. .
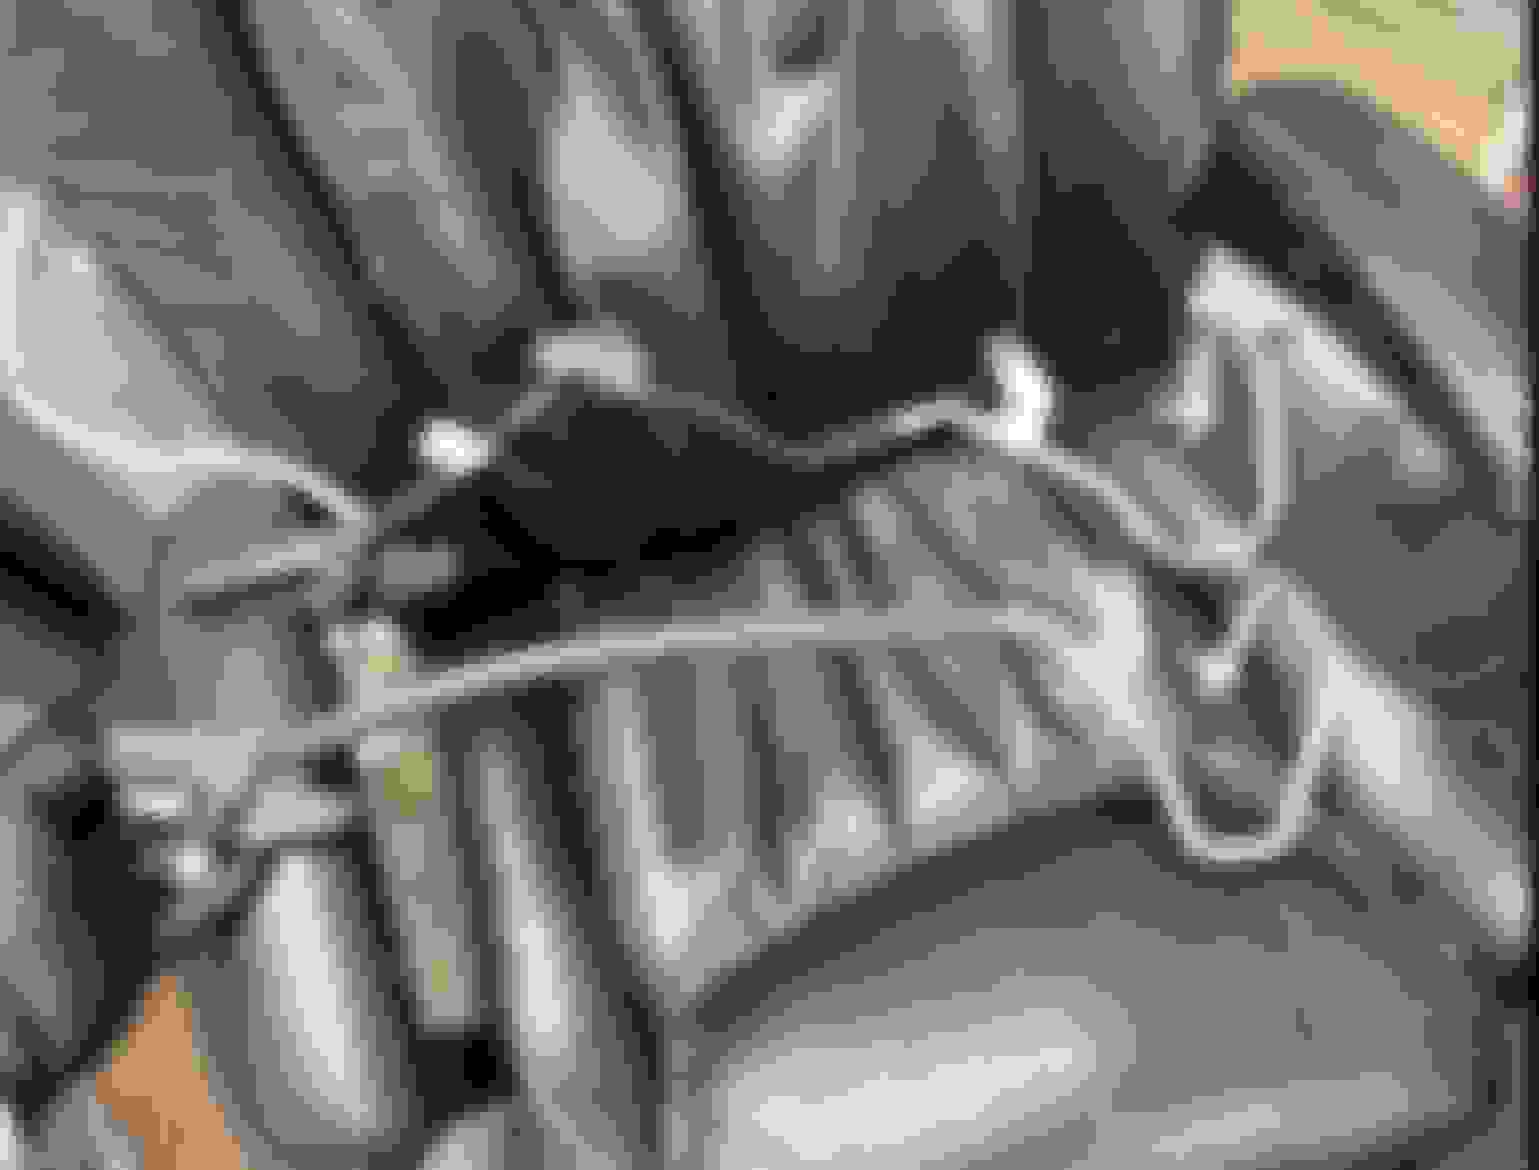
Here's another tip trick . The front coolant turbo lines . If anyone finds themselves in a bind or your tired of using the plastic, you can actually swap to longer lasting high grade rubber hose. All these junctions points are push over barbs. You can remove the plastic lines and replace them easy. Especially if your in a bind and the hose has cracked yet you still have a long way to go. The junction point in the middle doesn't go into the block it's just to mate left to right coolant lines Joiner, this also allows the lines to serve around the pulley and accessories belt, you can do it with the rubber hose as well. Just use a hose stay and run the hose through it , and screw it into the block exactly in the same spot .
Both of these tricks are brilliant.
I wish all German manufactures followed this approach for the firewall (having spent time working on a Audi A8 W12 in prior life.....)
Both of these tricks are brilliant.
I wish all German manufactures followed this approach for the firewall (having spent time working on a Audi A8 W12 in prior life.....)
I want to make sure I understand the turbo coolant hose tip. Are you saying you can just repair the line in place with rubber? Or remove the line, replace plastic with rubber and reinstall? Trying to understand if you are pitching a part savings (no need to buy new hoses, maybe just new O-rings) or a massive part+labor savings (i.e. no need to remove from vehicle at all).
Technically is the resistance is to lob could we plug the rubber line or use a hose clamp to reduce the air flow so that it�s taking vaccine from the primary source ie turbo and hopefully allowed the crank case to vent and operated normally ?
I want to make sure I understand the turbo coolant hose tip. Are you saying you can just repair the line in place with rubber? Or remove the line, replace plastic with rubber and reinstall? Trying to understand if you are pitching a part savings (no need to buy new hoses, maybe just new O-rings) or a massive part+labor savings (i.e. no need to remove from vehicle at all).
Did you / we ever hear back on this?
If it's the latter it's a true gem.
I re-read the thread and don't really see the answer. It kind of looks like it might be possible to do in place if you already figured out the approach, hose size and length. This is for the driver's side? Supposedly the pass side is already metal, or something?
I re-read the thread and don't really see the answer. It kind of looks like it might be possible to do in place if you already figured out the approach, hose size and length. This is for the driver's side? Supposedly the pass side is already metal, or something?
The middle is a junction point and meeting point from left and right side. So eliminating that piece and putting a straight high temp rubber hose would work the same way really.
The middle is a junction point and meeting point from left and right side. So eliminating that piece and putting a straight high temp rubber hose would work the same way really.
For those that have replaced these front turbo coolant lines: IF you use a high temp rubber hose, can you reach the end points without major disassembly?
For those that have replaced these front turbo coolant lines: IF you use a high temp rubber hose, can you reach the end points without major disassembly?
You would have to work from both the top and bottom of the car and would probably have to remove at least the intake, charge pipes, splash shields, and front fan. Twenty mins of work at most to get there in my opinion. The metal parts are fixed and moving them takes the most time and frustration. If you can reach the nipples you should be fine. The plastic connections were also a weak point for me and broke in the block, which a pick quickly removed.
Here's another tip trick . The front coolant turbo lines . If anyone finds themselves in a bind or your tired of using the plastic, you can actually swap to longer lasting high grade rubber hose. All these junctions points are push over barbs. You can remove the plastic lines and replace them easy. Especially if your in a bind and the hose has cracked yet you still have a long way to go. The junction point in the middle doesn't go into the block it's just to mate left to right coolant lines Joiner, this also allows the lines to serve around the pulley and accessories belt, you can do it with the rubber hose as well. Just use a hose stay and run the hose through it , and screw it into the block exactly in the same spot .
Do you mind showing the back sides of the connector pieces that attach to the block for those that have not seen it. Thanks
Here's another tip trick . The front coolant turbo lines . If anyone finds themselves in a bind or your tired of using the plastic, you can actually swap to longer lasting high grade rubber hose. All these junctions points are push over barbs. You can remove the plastic lines and replace them easy. Especially if your in a bind and the hose has cracked yet you still have a long way to go. The junction point in the middle doesn't go into the block it's just to mate left to right coolant lines Joiner, this also allows the lines to serve around the pulley and accessories belt, you can do it with the rubber hose as well. Just use a hose stay and run the hose through it , and screw it into the block exactly in the same spot .
I'm working up to this since I have to do a thermostat now. What ID of rubber hose fits snugly over the pipe and plastic nipple? I might try silicone hose.
Okay, I was Soooooooooooo confused as to what in the hell you did to your seats to get them to look like that. Well, that is not your car seat! I am simply not so bright today.
Thank you for the awesome information. I kinda want to take out my firewall just to take it out (then again, I did have a small 'fire' in my car yesterday (another thread)
So, I had followed this tip when it appeared in a pcv thread previously. The firewall comes out very easily and really makes the repair fast. I was stuck in the water before that tip. Only issue I had was on re installation which I found very difficult to line back up perfectly due to the insulation. It did work out after some gentle persuasion. Wear some gloves and long sleeves since the little metal barbs that hold the rubber seals will rip up your hands and arms since you are squeezing by them .
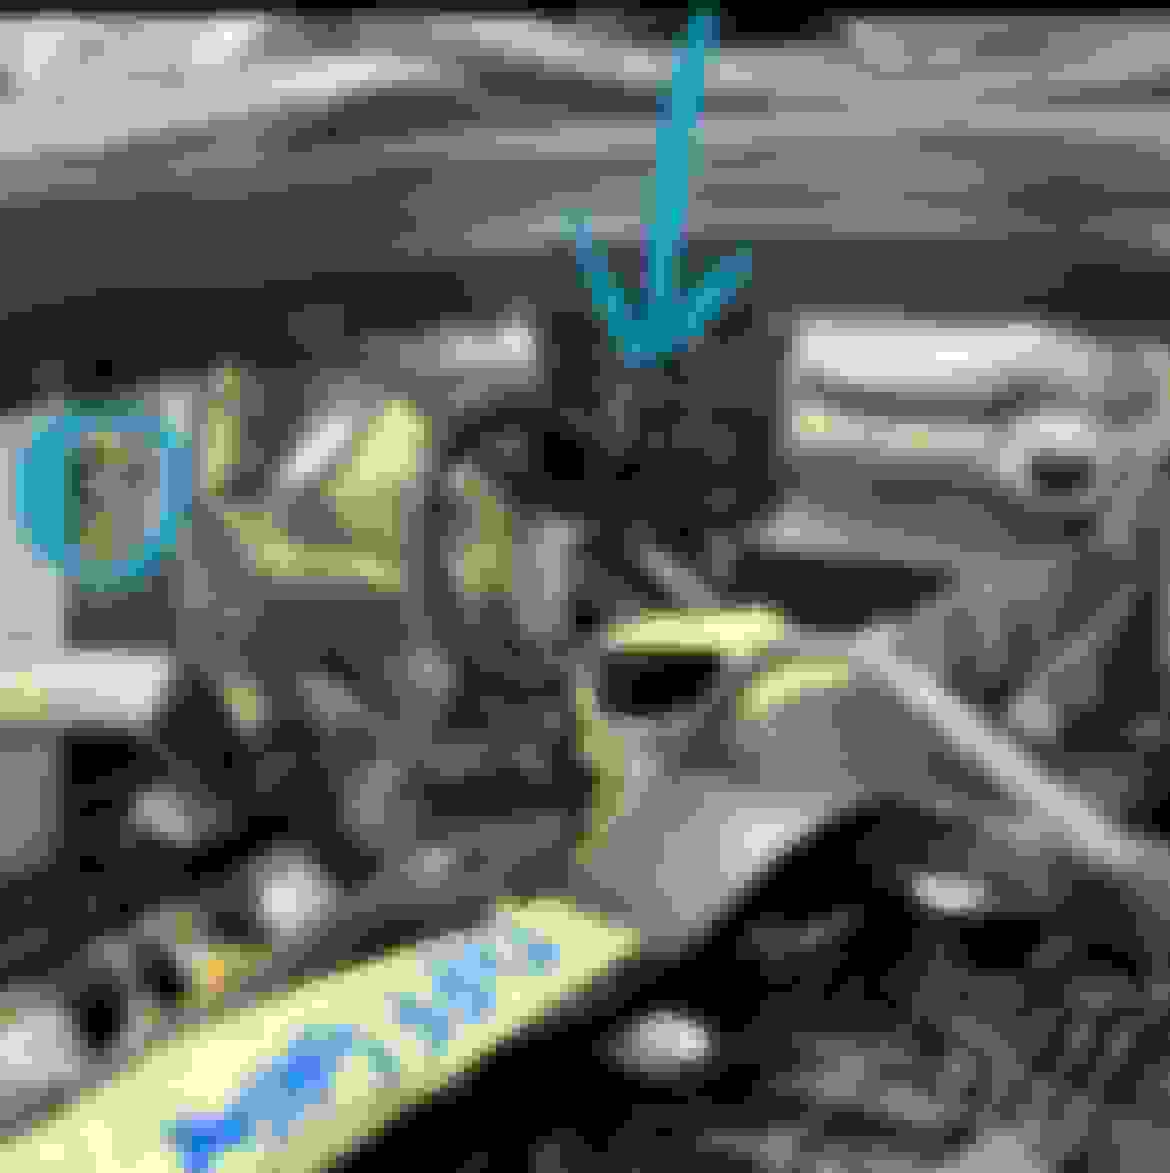
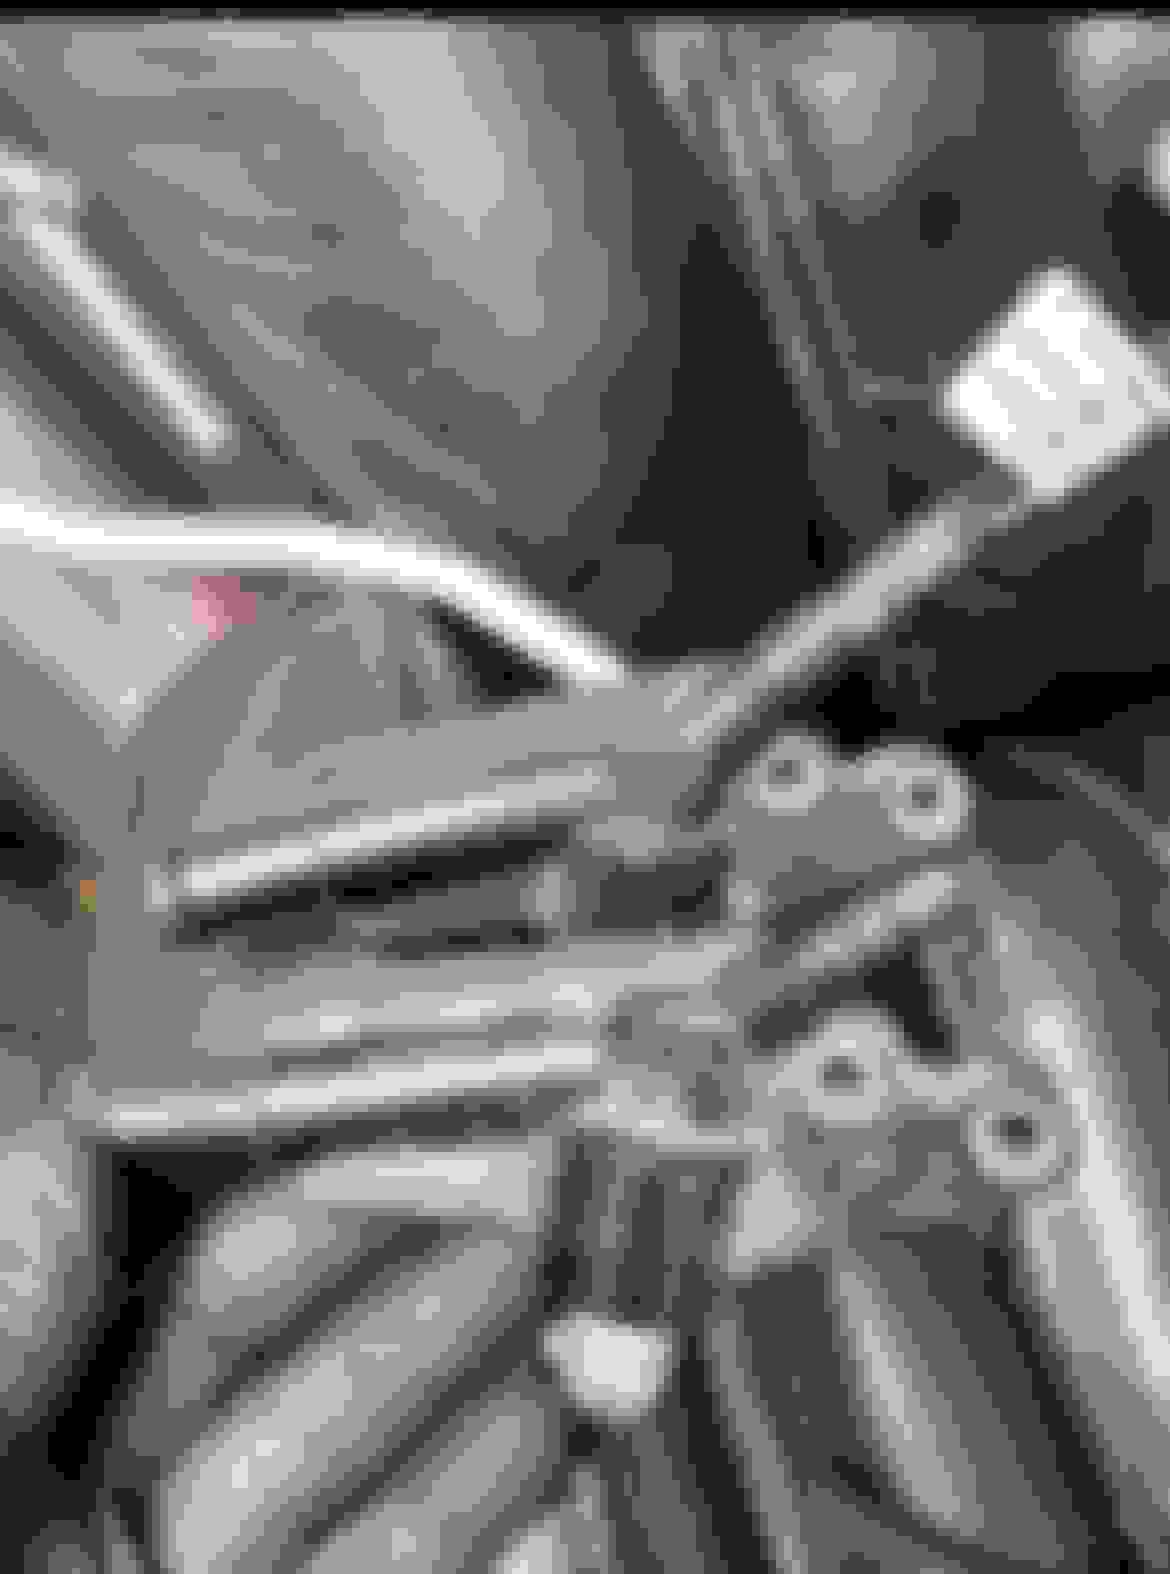
A few pix and what not I had collected for future turbo cooling line work. It should help with some of the questions I see above.
The oem Alum tube is 10mm OD, so you'd want to use 3/8" hose if you don't have metric. And of course use hose that can withstand the high heat. The normal water temp can get pretty high, but these carry away turbo heat so who knows what that reaches.
When I looked at mine, it seems I could cut the plastic line off the Alum without removing the tubes, but it is a rather tight space. Since the plastic seems to be rather tough, I doubt it'll cut off easily, so I'd suggest a hot knife.
You will also need to route it in a way that won't touch the belt or pulley no matter what. Considering that, and how much fatter the hose will be vs the oem tubing, you might want to use metal tube. I'd rather do that and use the rubber hose to make the connections at each end.
There is also the feed line to worry about, just above the return. That one, at least on mine, has very little room between the water pump and belt. I found a brass fitting that should work. A 3/8 Flare to 3/8 NPT 90.
Also, this has some good visuals
Mercedes SLR McLaren 722 S Is Extremely Rare Example Modified by McLaren
Slideshow: A one-of-one U.S.-spec Mercedes-Benz SLR McLaren Roadster became even rarer after a factory-backed transformation at McLaren's headquarters.