


DIY: W203 Sedan Headlights Removal
Thread Starter
MBWorld Fanatic!
Joined: Mar 2006
Posts: 6,665
Likes: 4
From: Boston
2004 C32 ///AMG
DIY: W203 Sedan Headlights Removal
I replaced my Bi-Xenons with the Stock healights.
You can use this process to put in Bi-Xenons, Clear Headlights or Depo Projectors into your car.
Lets Start on the Driver's Side
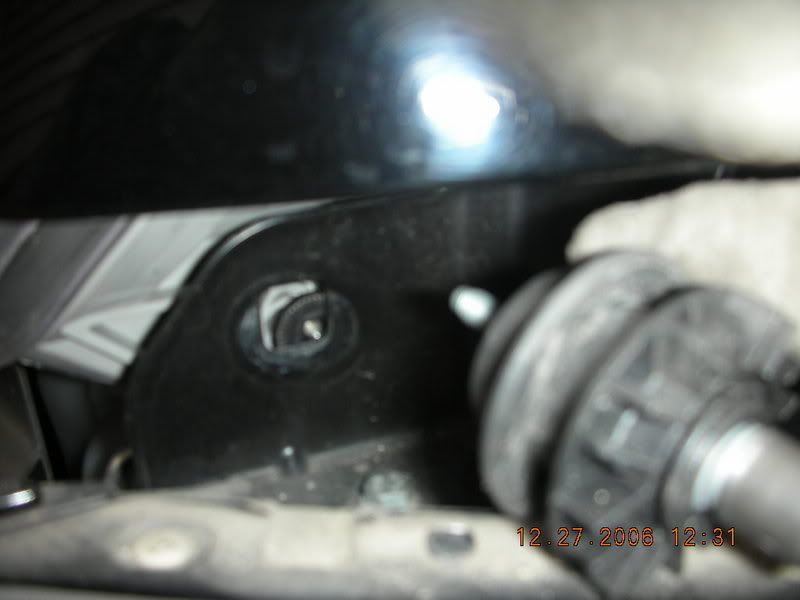
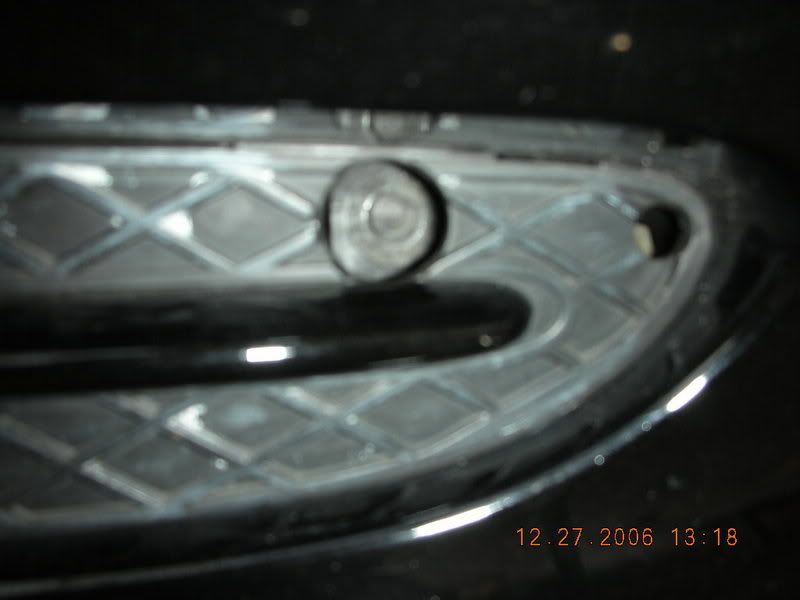
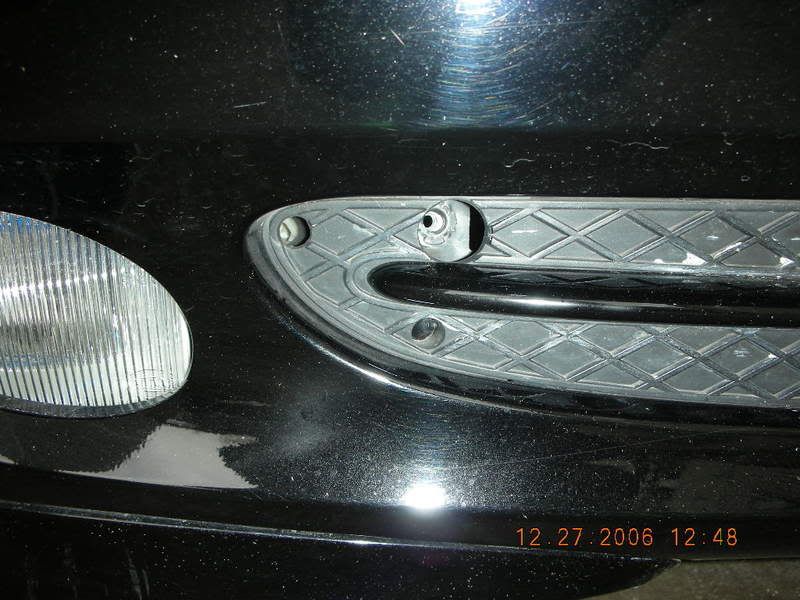
1) Remove the 8mm screw in this hole
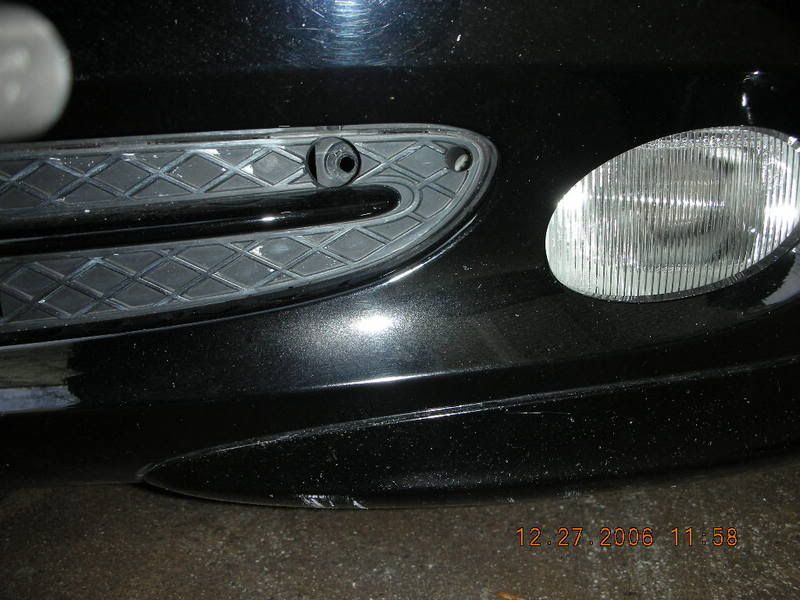
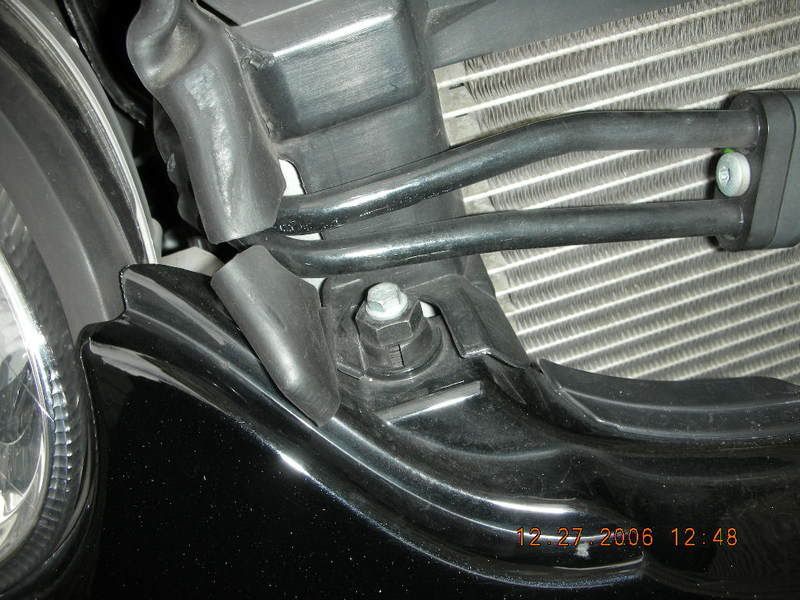
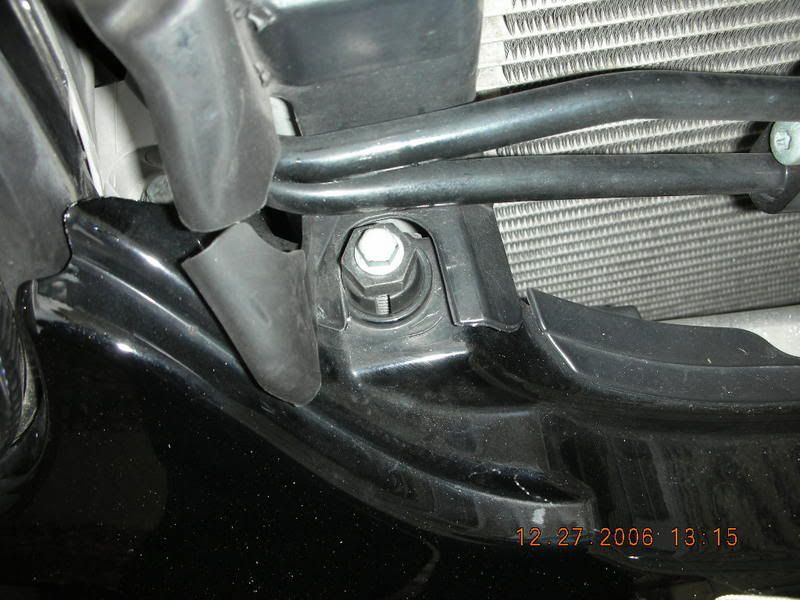
2) Remove the 8mm bolt here
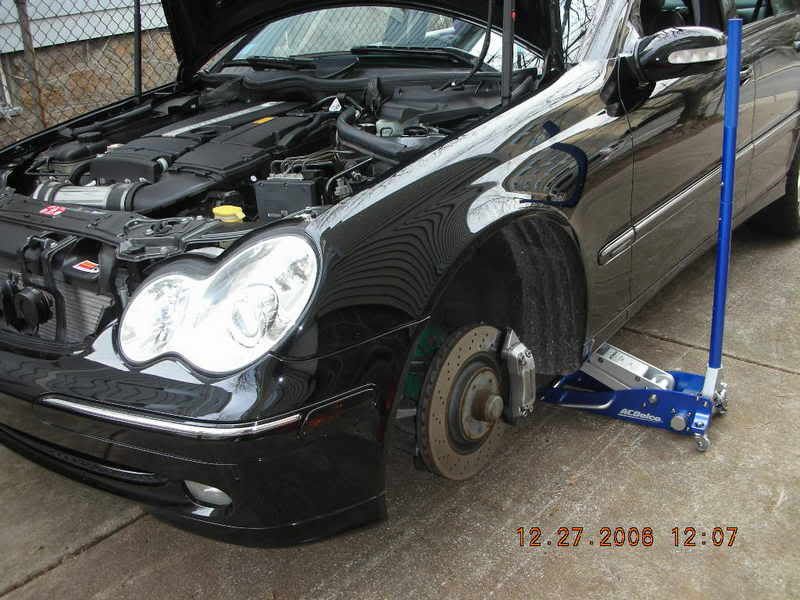
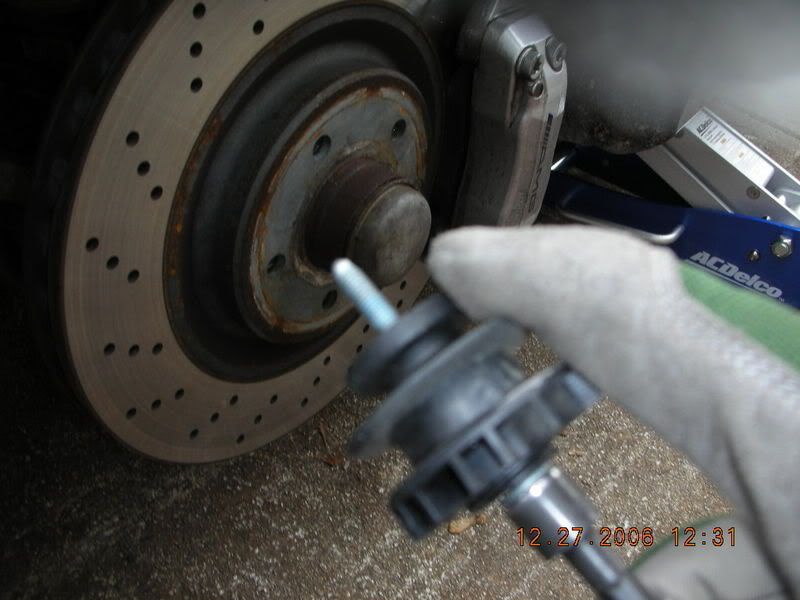
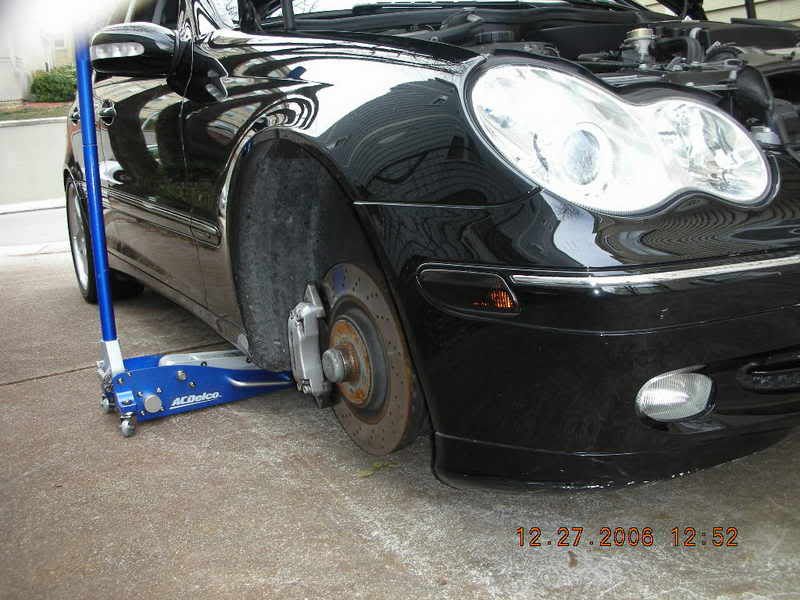
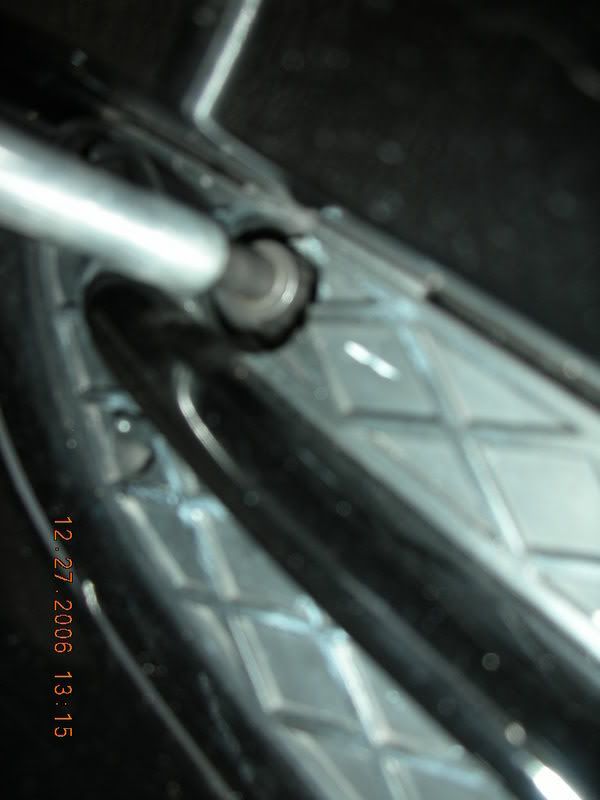
3) Jack up the car and remove the wheel
4) Remove the bottom bumper cover by taking out a few push pins and some 8mm screws
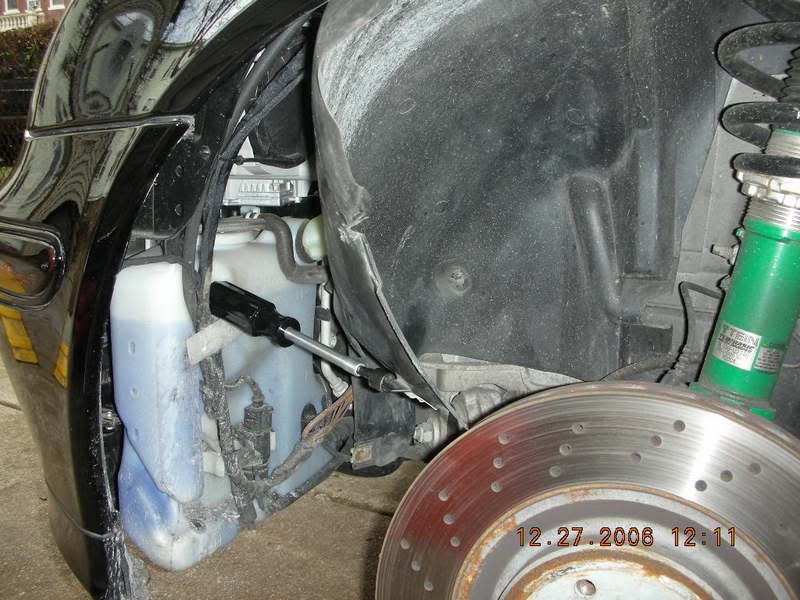
5) Remove a few push-pins and 10mm nuts, then push aside the inner fender
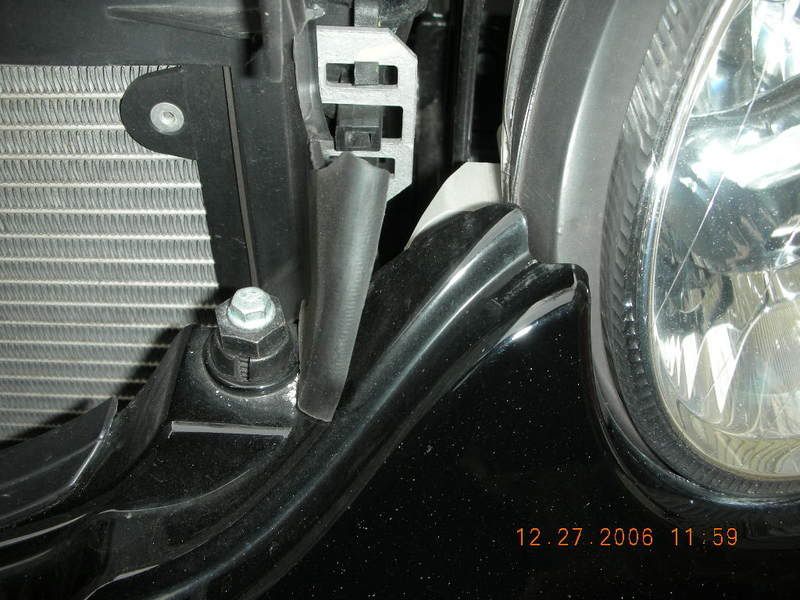
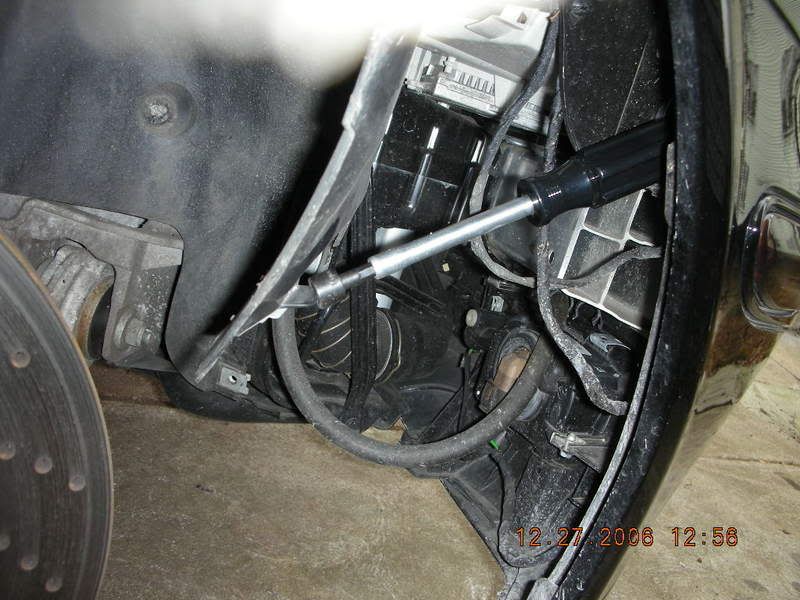
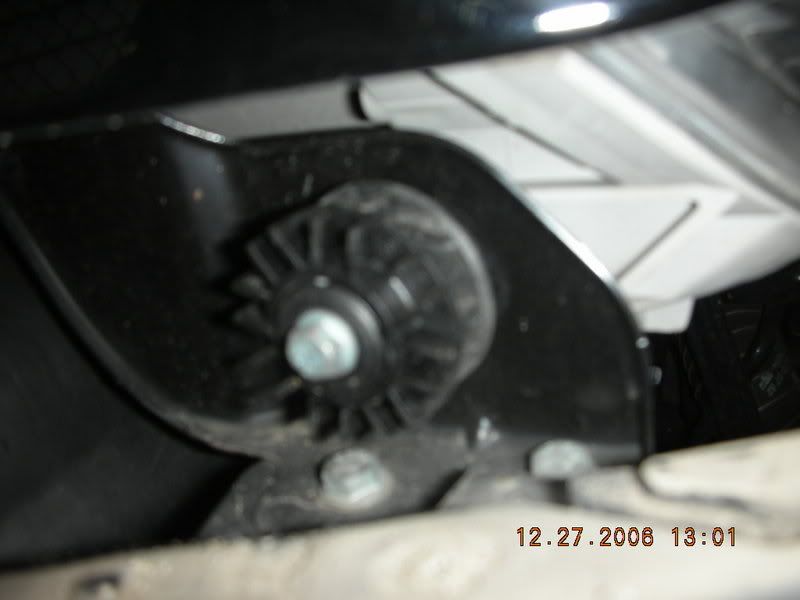
6) Remove the T20 Torx screw under where the bumper meets the fender
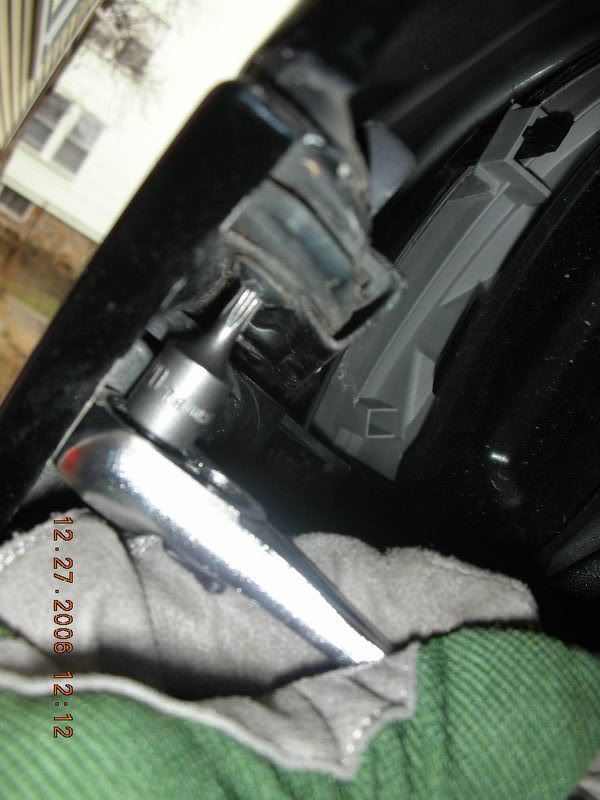
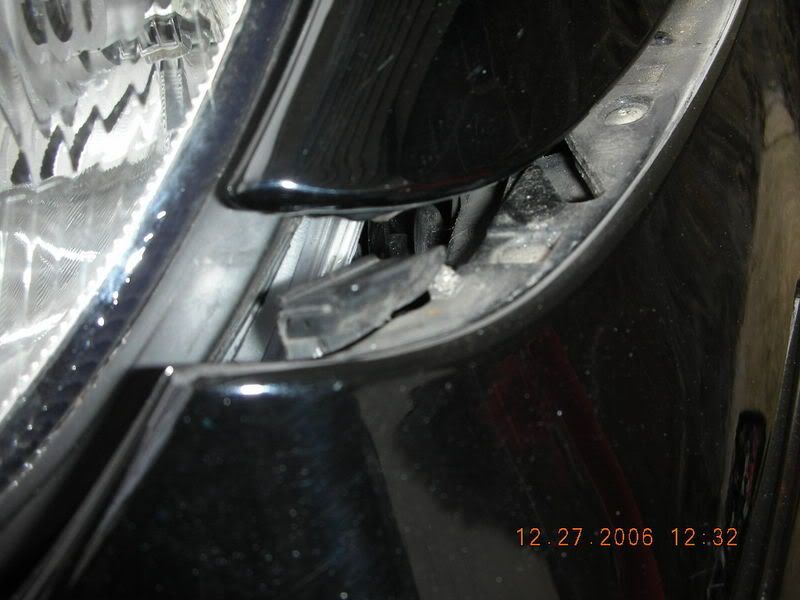
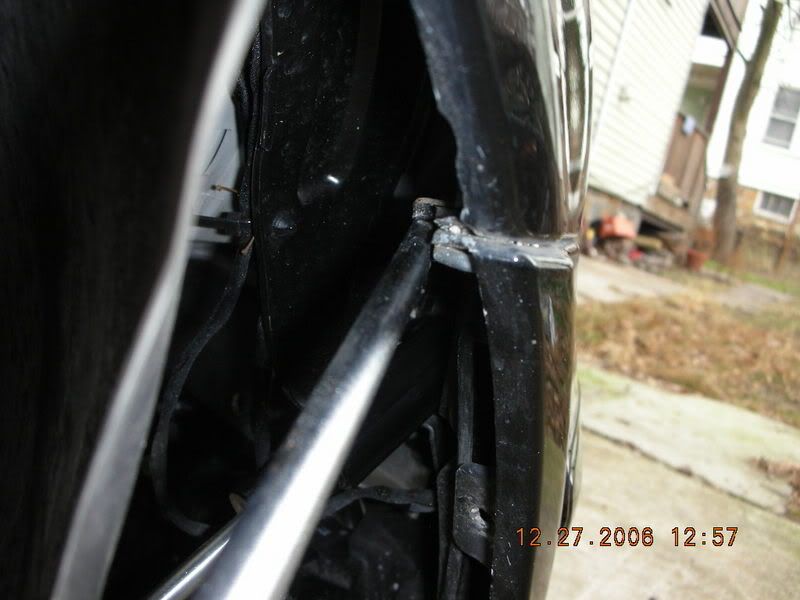
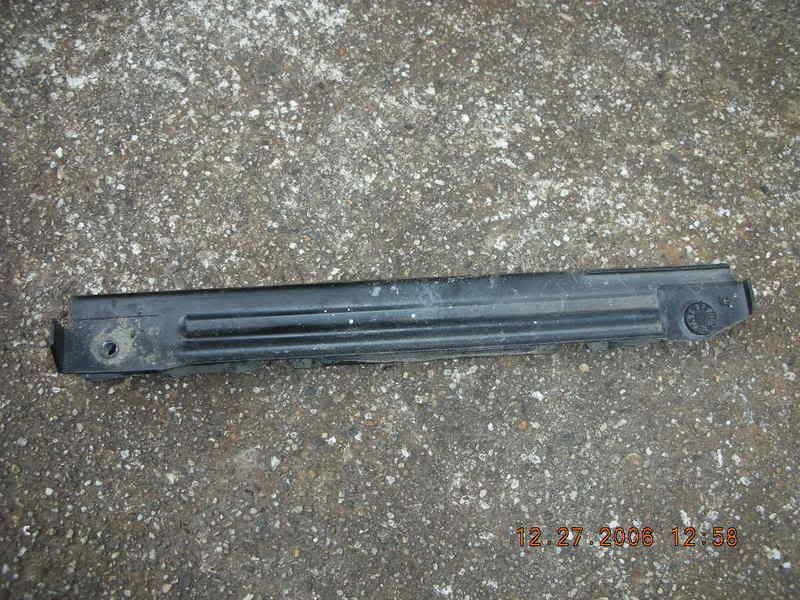
7) Pull out the bumper-fender clip. You may need a screwdriver to pry it out
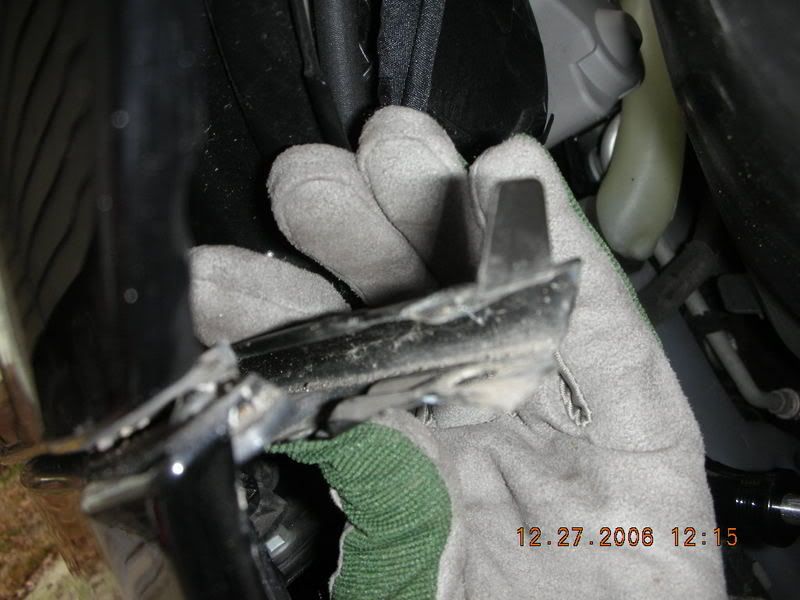
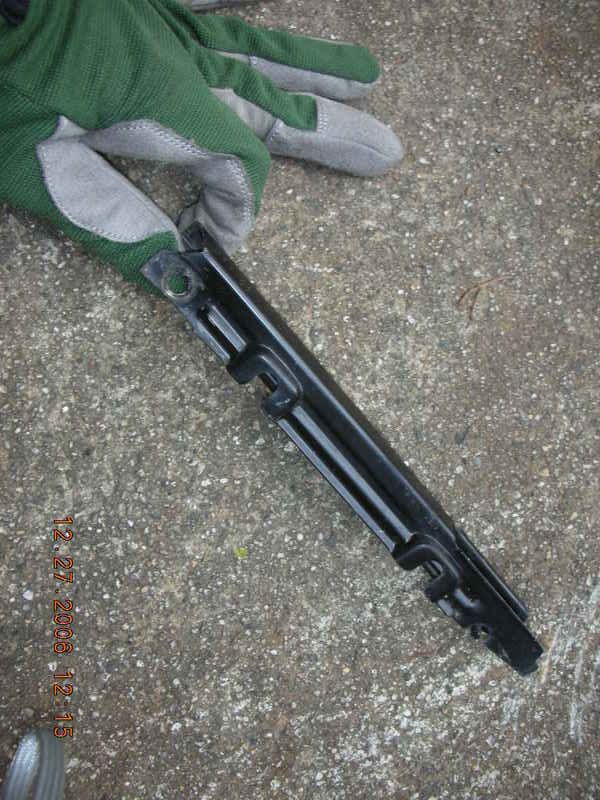
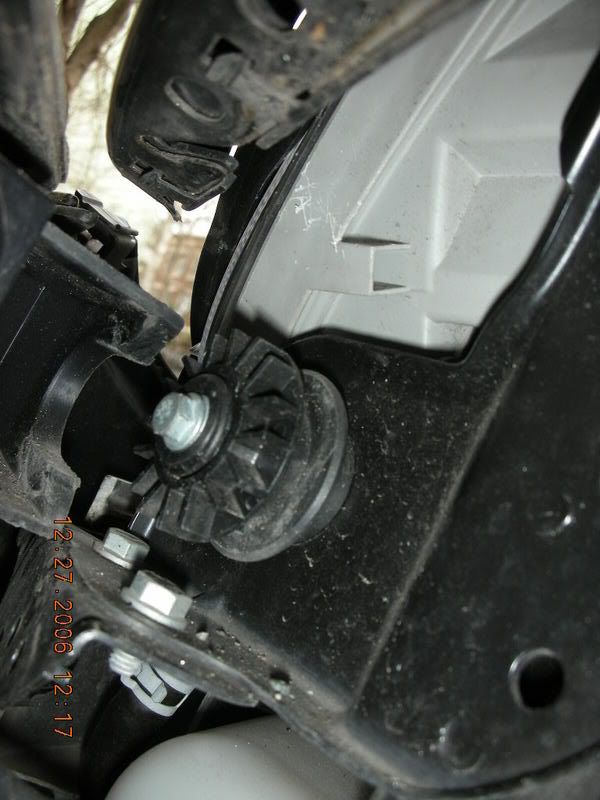
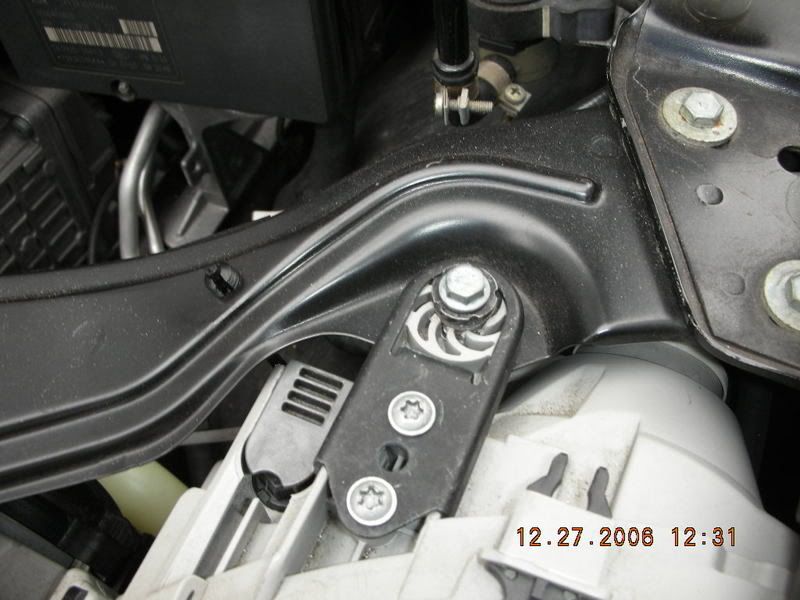
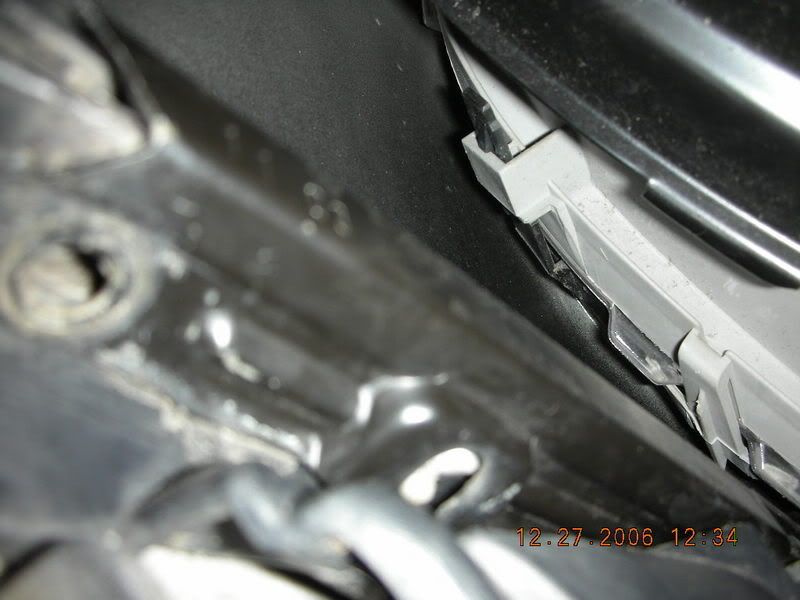
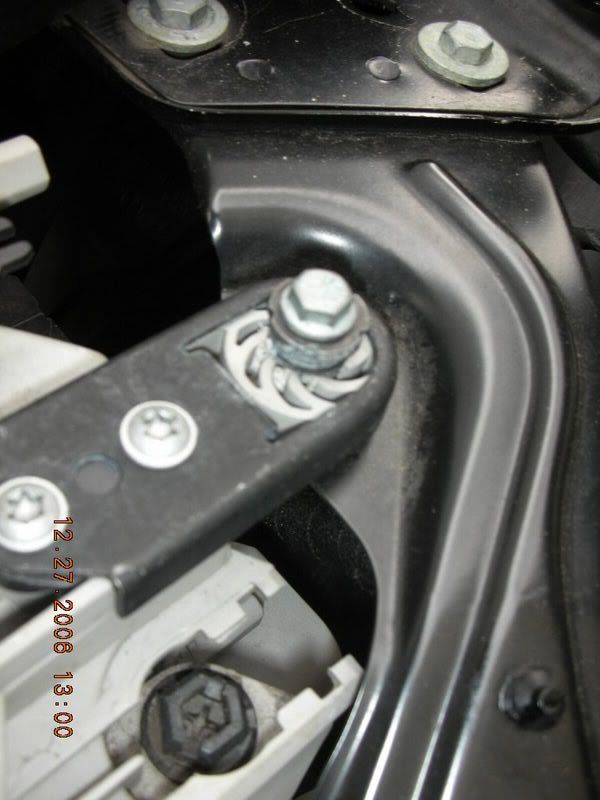
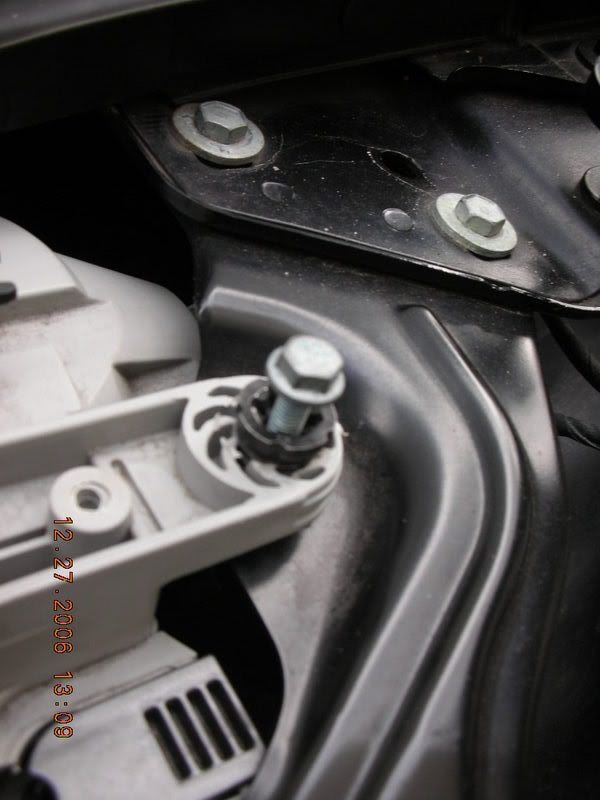
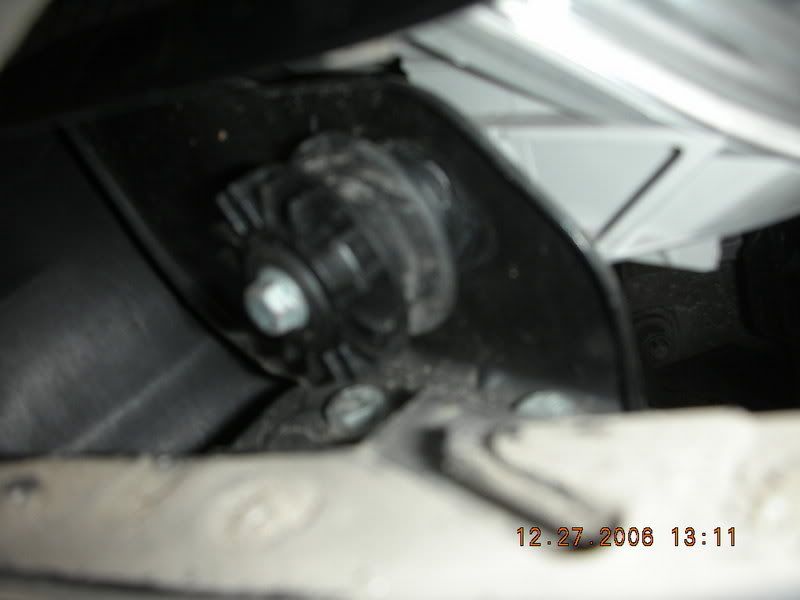
8) Remove the 8mm bolt on top of the headlight
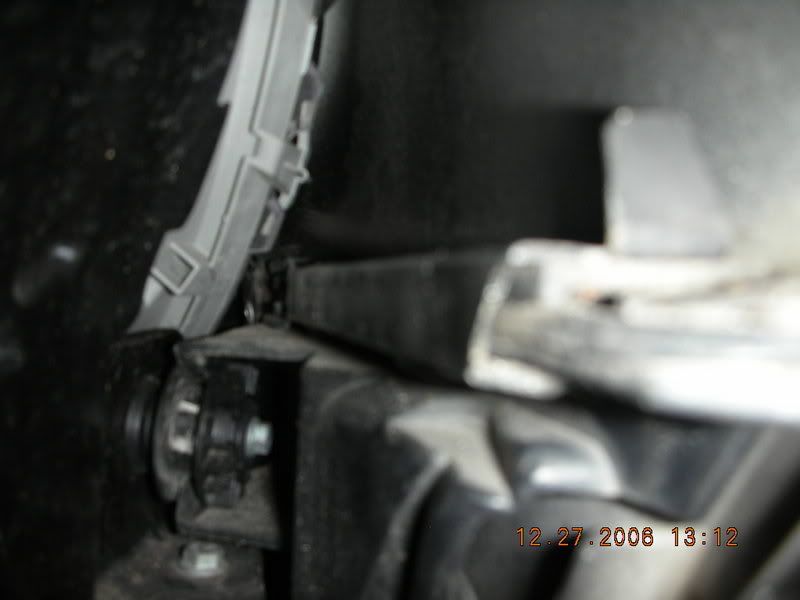
9) Remove the 8mm bolt on the left side of the headlight
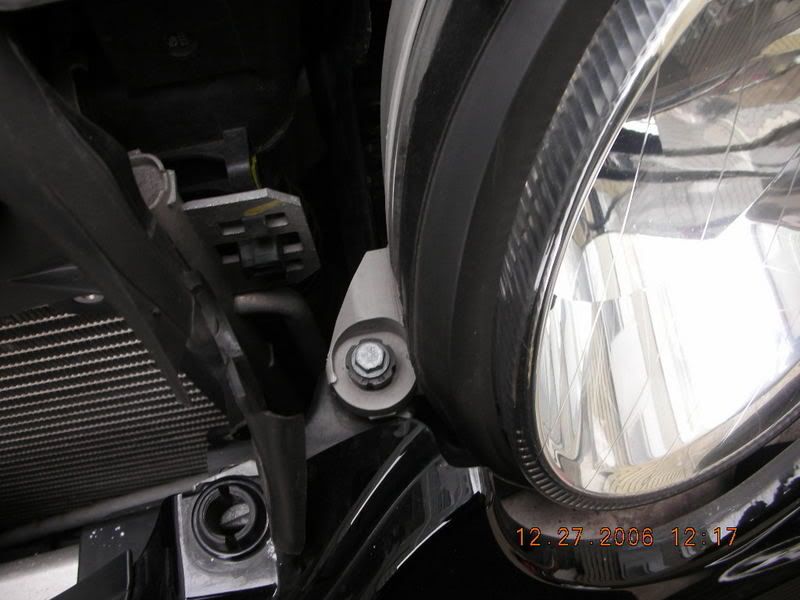
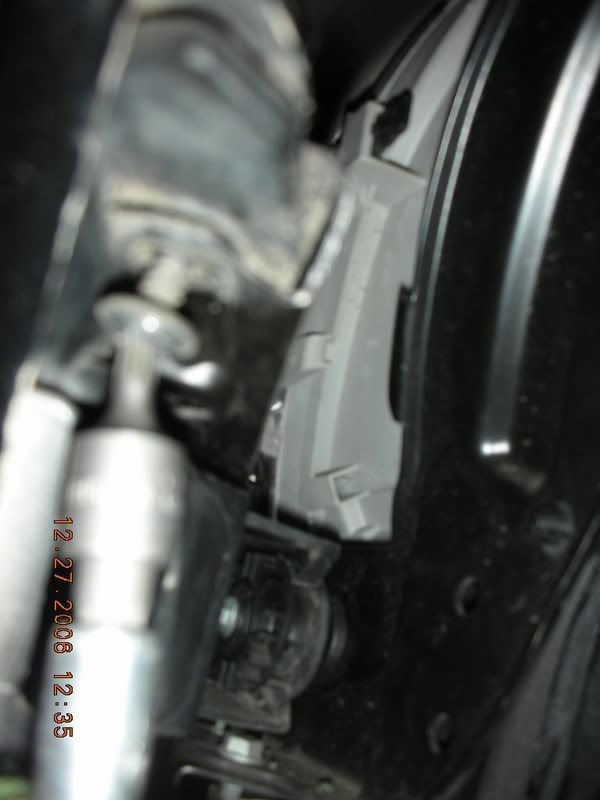
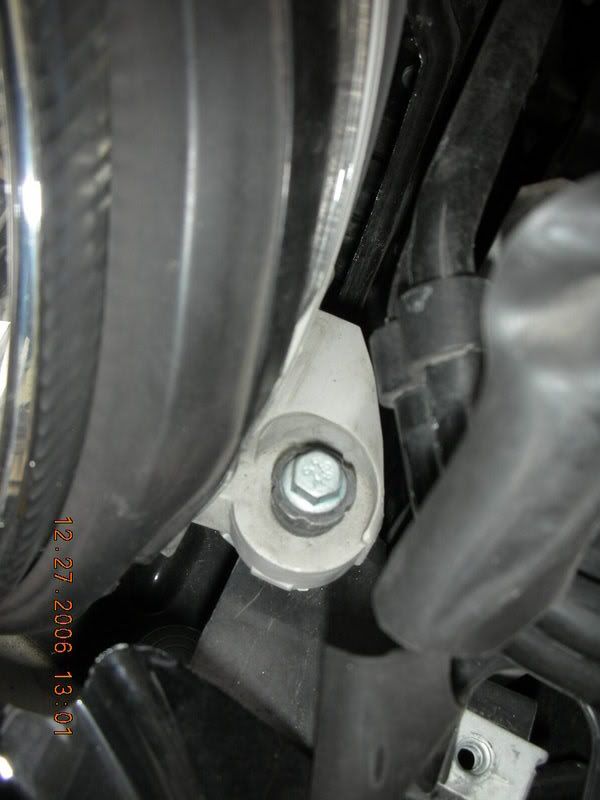
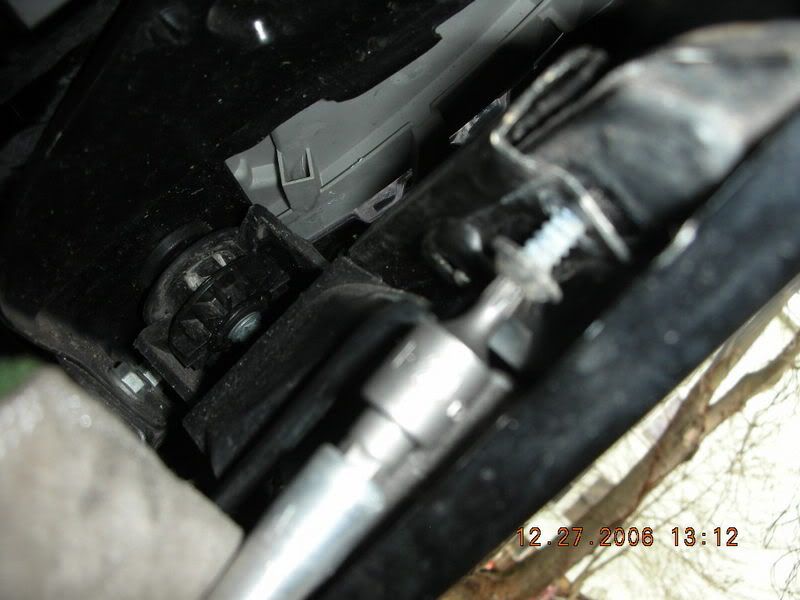
10) Pull the bumper down a little, and remove the 8mm bolt on the right side of the headlight
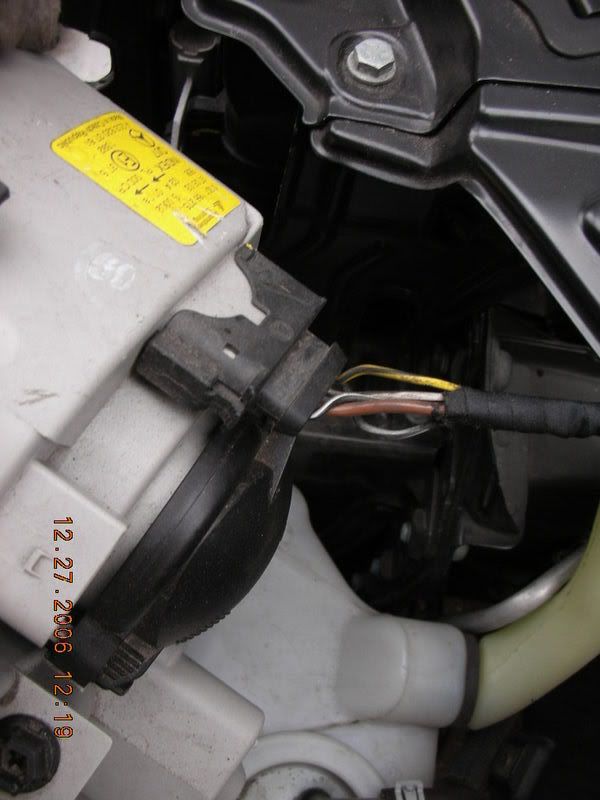
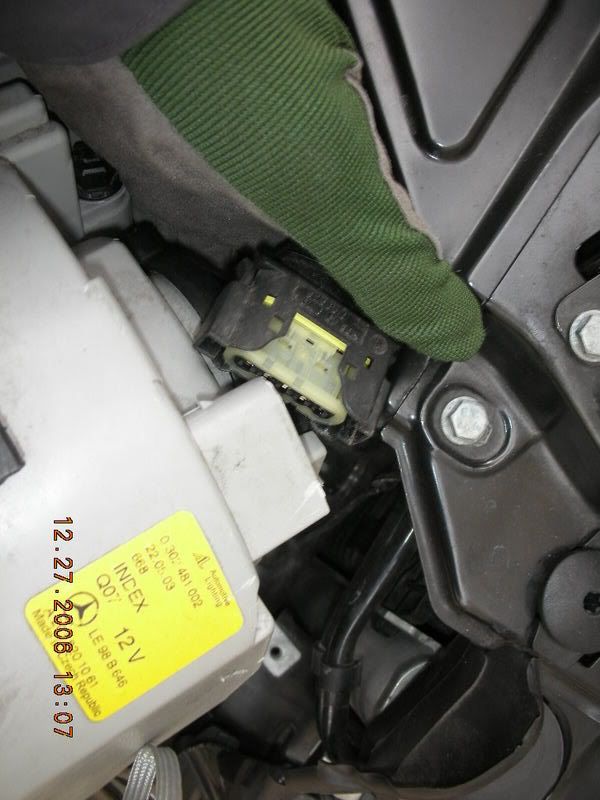
11) Unplug the connector from the headlight
You can use this process to put in Bi-Xenons, Clear Headlights or Depo Projectors into your car.
Lets Start on the Driver's Side
1) Remove the 8mm screw in this hole
2) Remove the 8mm bolt here
3) Jack up the car and remove the wheel
4) Remove the bottom bumper cover by taking out a few push pins and some 8mm screws
5) Remove a few push-pins and 10mm nuts, then push aside the inner fender
6) Remove the T20 Torx screw under where the bumper meets the fender
7) Pull out the bumper-fender clip. You may need a screwdriver to pry it out
8) Remove the 8mm bolt on top of the headlight
9) Remove the 8mm bolt on the left side of the headlight
10) Pull the bumper down a little, and remove the 8mm bolt on the right side of the headlight
11) Unplug the connector from the headlight
Thread Starter
MBWorld Fanatic!
Joined: Mar 2006
Posts: 6,665
Likes: 4
From: Boston
2004 C32 ///AMG
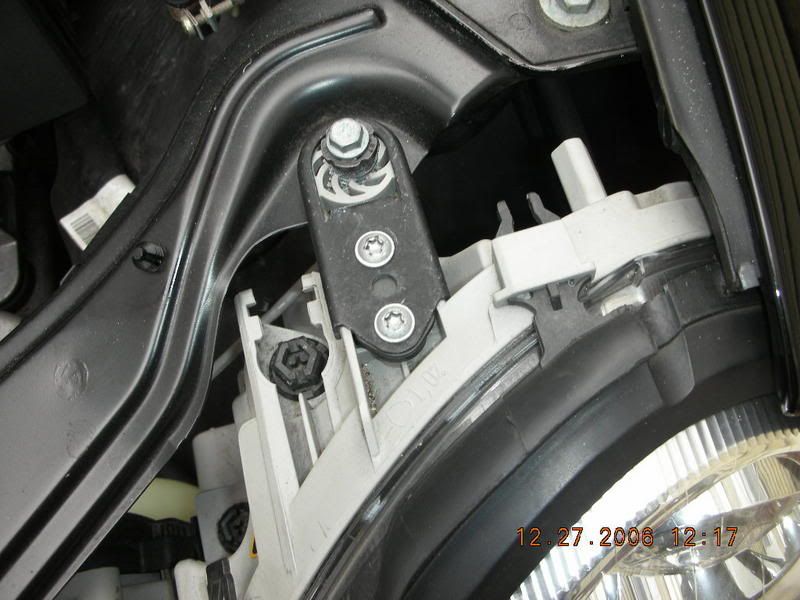
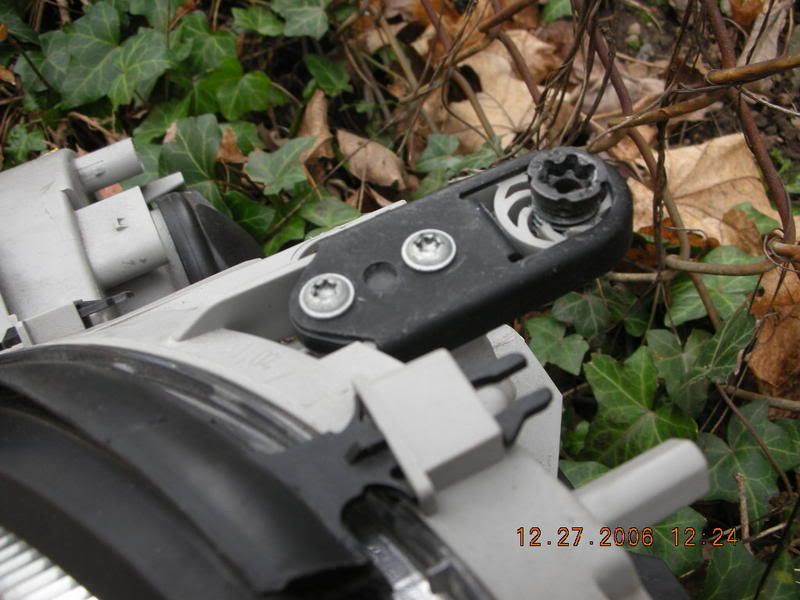
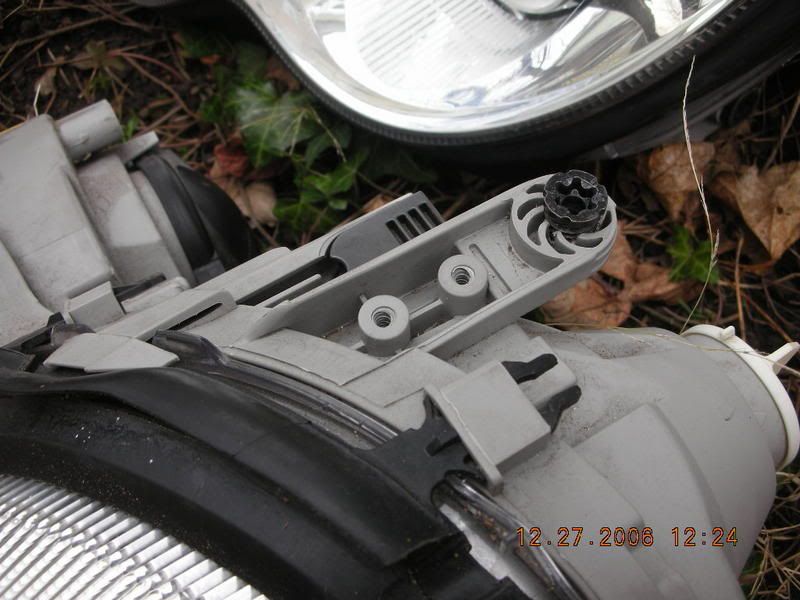
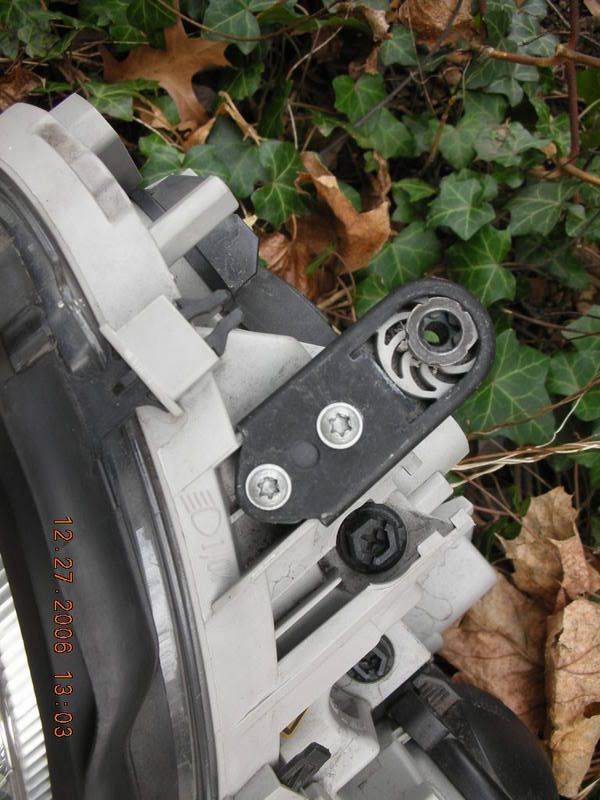
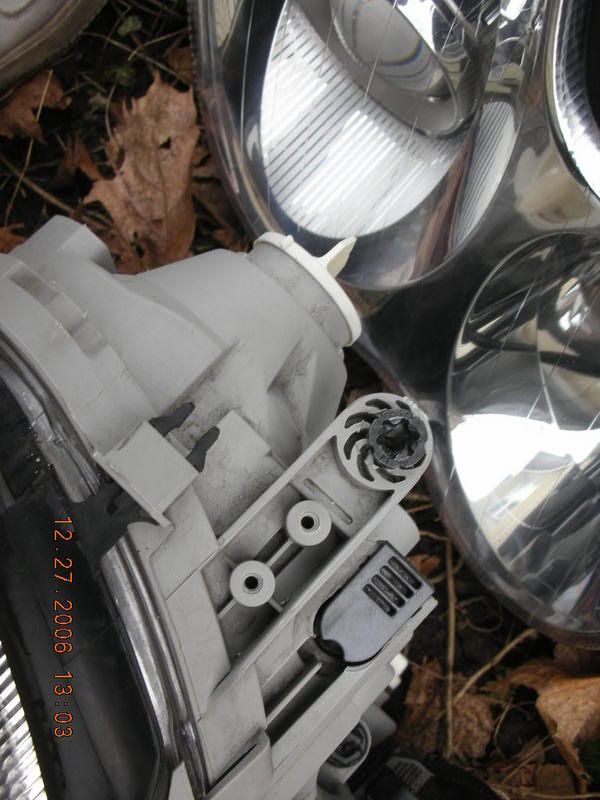
12) Take off the two T20 Torx screws and put the black piece on the new headlight
13) Place the headlight back in the hole carefully, and plug in the connector
14) Put the 8mm bolt back on top of the headlight
15) Put the 8mm bolt back on the left of the headlight
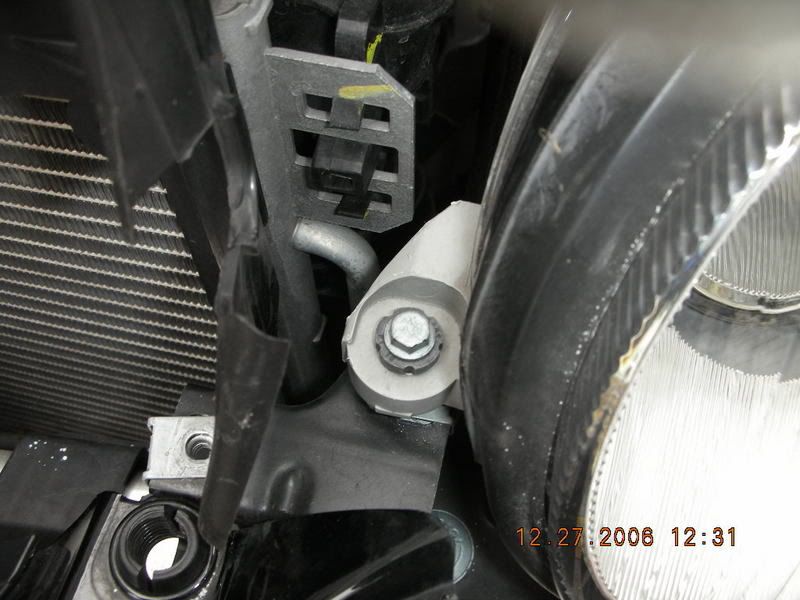
16) Put the 8mm and the plastic piece that goes with it back on the right side of the headlight
17) Make sure the fender clips on to the bumper
18) Put the bumper-fender clip back in, pushing towards the front of the car
19) Put the T20 Torx screw back into bumper-fender clip
20) Put the 8mm bolt back in here
21) Put the 8mm screw back in the hole
22) Put the wheel back on
13) Place the headlight back in the hole carefully, and plug in the connector
14) Put the 8mm bolt back on top of the headlight
15) Put the 8mm bolt back on the left of the headlight
16) Put the 8mm and the plastic piece that goes with it back on the right side of the headlight
17) Make sure the fender clips on to the bumper
18) Put the bumper-fender clip back in, pushing towards the front of the car
19) Put the T20 Torx screw back into bumper-fender clip
20) Put the 8mm bolt back in here
21) Put the 8mm screw back in the hole
22) Put the wheel back on
Thread Starter
MBWorld Fanatic!
Joined: Mar 2006
Posts: 6,665
Likes: 4
From: Boston
2004 C32 ///AMG
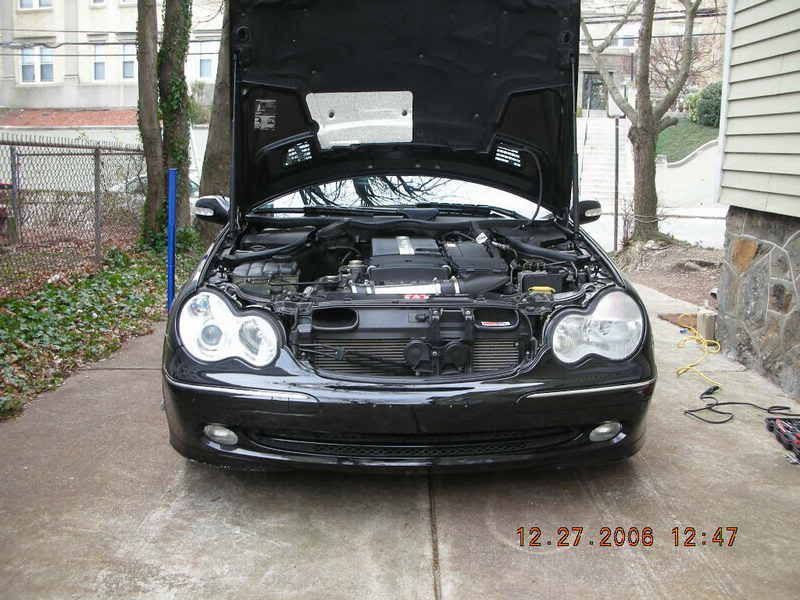
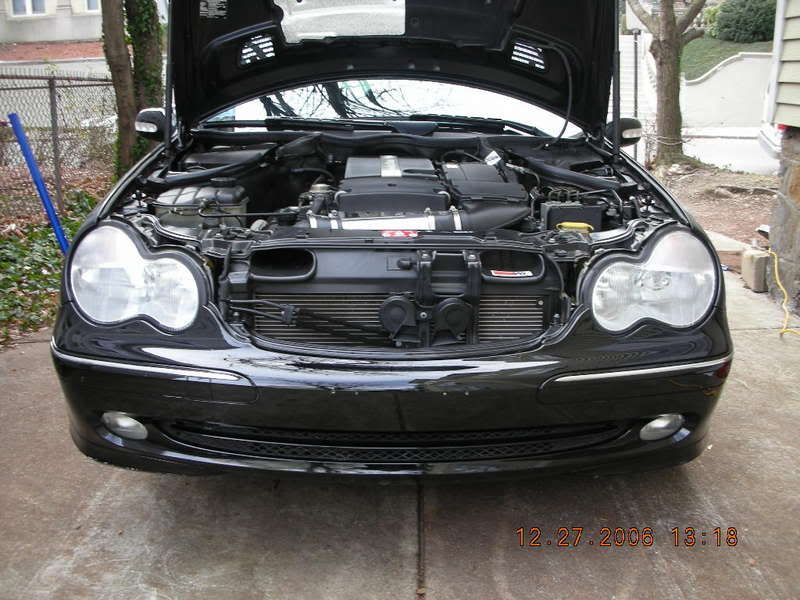
Result:
Now the Passenger Side
1) Remove the 8mm screw in this hole
2) Remove this 8mm bolt
3) Jack up the car and remove the wheel
4) Remove the bottom bumper cover by taking out a few push pins and some 8mm screws
5) Remove a few push-pins and 10mm nuts, then push aside the inner fender
6) Remove the T20 Torx screw under where the bumper meets the fender

7) Pull out the bumper-fender clip. You may need a screwdriver to pry it out.
8) Remove the 8mm bolt on top of the headlight
9) Remove the 8mm bolt on the right side of the headlight
10) Pull the bumper down a little, and remove the 8mm bolt on the left side of the headlight
11) Unplug the connector from the headlight

Now the Passenger Side
1) Remove the 8mm screw in this hole
2) Remove this 8mm bolt
3) Jack up the car and remove the wheel
4) Remove the bottom bumper cover by taking out a few push pins and some 8mm screws
5) Remove a few push-pins and 10mm nuts, then push aside the inner fender
6) Remove the T20 Torx screw under where the bumper meets the fender
7) Pull out the bumper-fender clip. You may need a screwdriver to pry it out.
8) Remove the 8mm bolt on top of the headlight
9) Remove the 8mm bolt on the right side of the headlight
10) Pull the bumper down a little, and remove the 8mm bolt on the left side of the headlight
11) Unplug the connector from the headlight
Thread Starter
MBWorld Fanatic!
Joined: Mar 2006
Posts: 6,665
Likes: 4
From: Boston
2004 C32 ///AMG
12) Take off the two T20 Torx screws and put the black piece on the new headlight
13) Place the headlight back in the hole carefully, and plug in the connector
14) Put the 8mm bolt back on top of the headlight
15) Put the 8mm bolt back on the right side of the headlight
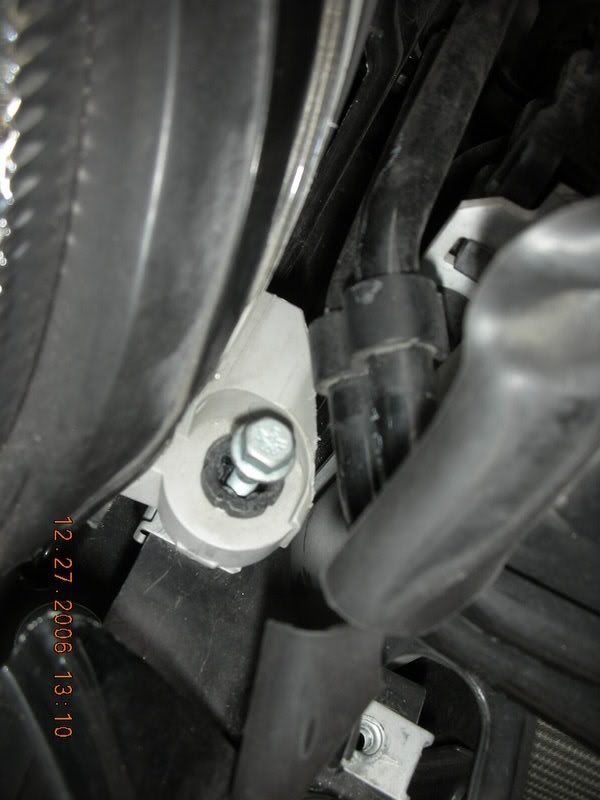
16) Put the 8mm and the plastic piece that goes with it back on the right side of the headlight
17) Make sure the fender clips on to the bumper
18) Put the bumper-fender clip back in, pushing towards the front of the car
19) Put the T20 Torx screw back into bumper-fender clip
20) Put the 8mm bolt back in here
21) Put the 8mm screw back in the hole
22) Put the wheel back on
Final Result:
13) Place the headlight back in the hole carefully, and plug in the connector
14) Put the 8mm bolt back on top of the headlight
15) Put the 8mm bolt back on the right side of the headlight
16) Put the 8mm and the plastic piece that goes with it back on the right side of the headlight
17) Make sure the fender clips on to the bumper
18) Put the bumper-fender clip back in, pushing towards the front of the car
19) Put the T20 Torx screw back into bumper-fender clip
20) Put the 8mm bolt back in here
21) Put the 8mm screw back in the hole
22) Put the wheel back on
Final Result:
MBWorld Fanatic!
Joined: Jun 2003
Posts: 9,498
Likes: 4
From: San Diego, CA & San Jose, Costa Rica & Stuttgart, Germany
1959 220S / 1979 230 G / 2002 A210 AMG / 2003 C320 SC / 2004.5 C320 SS / 2005 ML350 SE / 2008 smart
ok, cool.
so why would I want to replace my BiX with stock headlights ?
so why would I want to replace my BiX with stock headlights ?
Thread Starter
MBWorld Fanatic!
Joined: Mar 2006
Posts: 6,665
Likes: 4
From: Boston
2004 C32 ///AMG
Trending Topics
MB World Stories
The Best of Mercedes & AMG

6 Mercedes Models That Did NOT Age Well (But Are Somehow Still Cool)
Verdad Gallardo
Manual Mercedes? 6 Times Sindelfingen Let Drivers Have All The Fun
Verdad Gallardo
Mercedes SLR McLaren 722 S Is Extremely Rare Example Modified by McLaren
Verdad Gallardo
8 Classic Boxy Mercedes Designs That Have Aged Like Fine Wine
Verdad Gallardo
Flawlessly Restored Mercedes 190E Evo II Heads to Auction
Verdad Gallardo
Electric Mercedes C-Class Unveiled: 11 Things You Need to Know
Verdad Gallardo
Mercedes EQS Gets A Major Update: Everything You Need to Know
Verdad Gallardo
5 Underrated Mercedes-Benz Models That Don't Get the Love They Deserve
Verdad Gallardo
Mercedes 300D Has Pushed Well Past 1 Million Miles and It Ain't Stopping
Verdad Gallardo

MBWorld Fanatic!
Joined: Jun 2003
Posts: 9,498
Likes: 4
From: San Diego, CA & San Jose, Costa Rica & Stuttgart, Germany
1959 220S / 1979 230 G / 2002 A210 AMG / 2003 C320 SC / 2004.5 C320 SS / 2005 ML350 SE / 2008 smart
 to my eye !


Member
Joined: Jul 2006
Posts: 182
Likes: 0
From: St. Louis, MO
02' C240 Luxury Model
Very similar to the install of my lights, only I didn't need to remove the wheel. I just turned it full lock towards the opposite side I was working on. The was plenty of room for me. Very cool of you to take pics of the process for those who aren't as mechanically inclined.


Super Member
Joined: May 2006
Posts: 664
Likes: 0
From: 02116
Is @ Home
Very nice write up. I see that you did the method of not removing the front bumper. I know its not necessary but do you know the extra steps that are needed if I do want to take of the bumper? Good luck on your 3 series.
Thread Starter
MBWorld Fanatic!
Joined: Mar 2006
Posts: 6,665
Likes: 4
From: Boston
2004 C32 ///AMG
i think you just remove the screws on both sides instead of just one, and the bumper will pull right offf


MBWorld Fanatic!
Joined: Sep 2005
Posts: 5,769
Likes: 0
From: NJ
'08 E550 4Matic
Thread Starter
MBWorld Fanatic!
Joined: Mar 2006
Posts: 6,665
Likes: 4
From: Boston
2004 C32 ///AMG
i had stock halogens, so i had to set the Xenons at the dealer
if you have the frosty xenons, you don't need to set the xenons to present..


