


Another **DIY** By Evolved8: W203 Rear Diffuser Install Pictures+10 Easy steps
Thread Starter
MBWorld Fanatic!


Joined: Nov 2009
Posts: 1,564
Likes: 6
AMG Fam
Another **DIY** By Evolved8: W203 Rear Diffuser Install Pictures+10 Easy steps
This is just a Guide. Install at your own risk.
DIY: W203 Quad/Single Rear Diffuser Install With Pictures
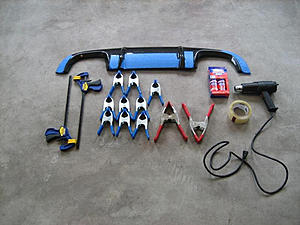
Tools Needed:
Misc Clamps
Clear Tape
Heatgun
Brake Cleaner/ Mineral Spirits
2 Part Heavy duty Epoxy
Microfiber's
Silver Paint marker
Silicone Spray
Ribbed Pliars
Tin snips
Paint brush
Blue Painters tape
Floor jack
Patience
Clear Tape
Heatgun
Brake Cleaner/ Mineral Spirits
2 Part Heavy duty Epoxy
Microfiber's
Silver Paint marker
Silicone Spray
Ribbed Pliars
Tin snips
Paint brush
Blue Painters tape
Floor jack
Patience

Step 1:
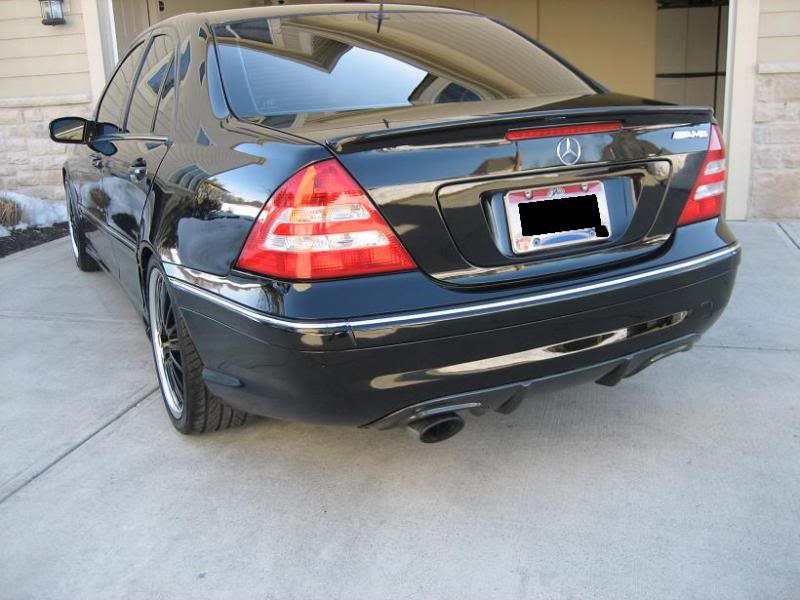
Prep the Bottom part of the rear bumper by using mineral spirits, Or any kind of detergent that will pull the wax. Then Fully dry it with a clean Microfiber towel.
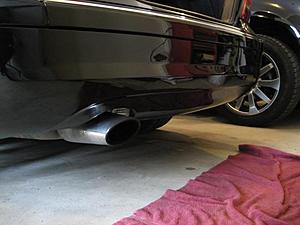
Prep the Bottom part of the rear bumper by using mineral spirits, Or any kind of detergent that will pull the wax. Then Fully dry it with a clean Microfiber towel.

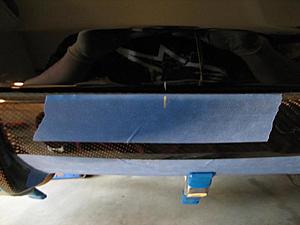
Step 2:
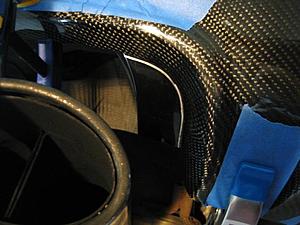
Tape up the Diffuser with blue painters tape to keep it from geting damaged by the heat/clamps then using your clamps dry test fit it to the bumper.
Tape up the Diffuser with blue painters tape to keep it from geting damaged by the heat/clamps then using your clamps dry test fit it to the bumper.
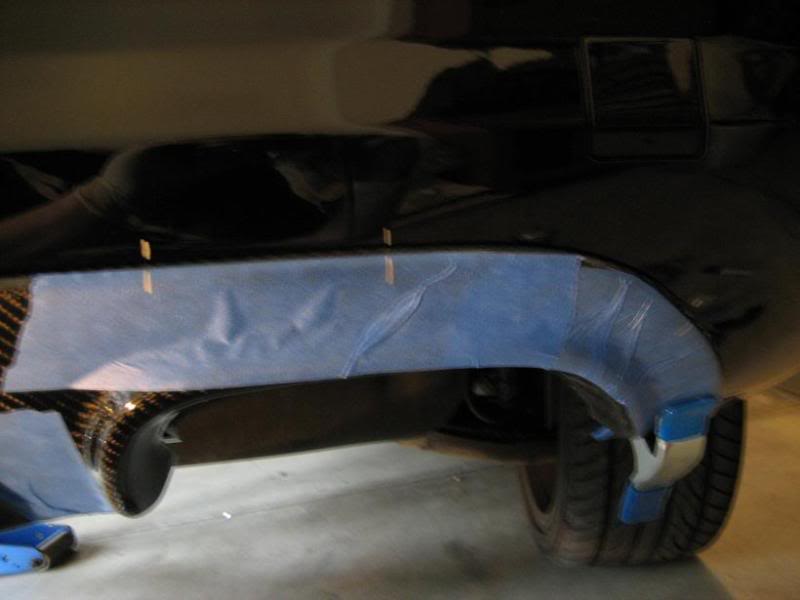
Step 3:
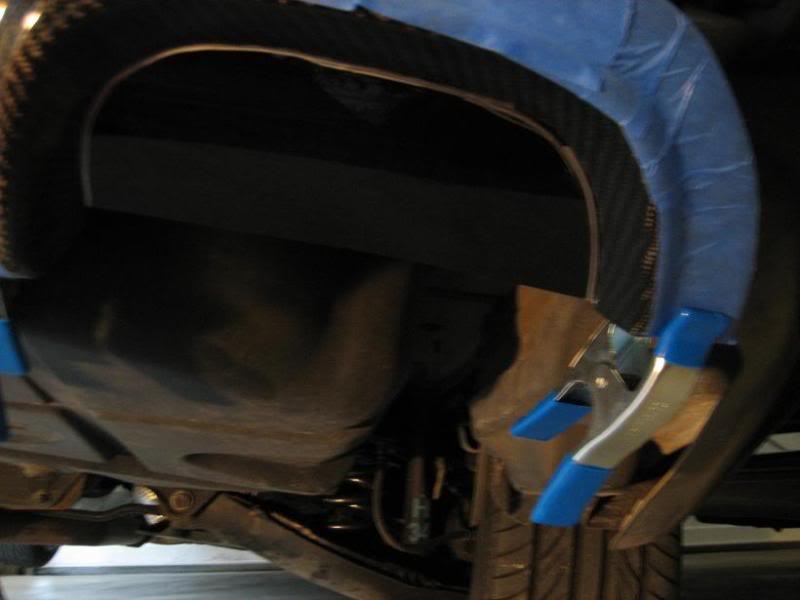
Once you have it exactly where it fits the best and fully clamped down mark it in 3 places on each corner, and one in the middle both on the bumper and on the diffuser (on the blue tape)

Once you have it exactly where it fits the best and fully clamped down mark it in 3 places on each corner, and one in the middle both on the bumper and on the diffuser (on the blue tape)

**If you are using the Dual outlet diffuser go to step 3.5 if not go straight to step 4.**
Step 3.5:
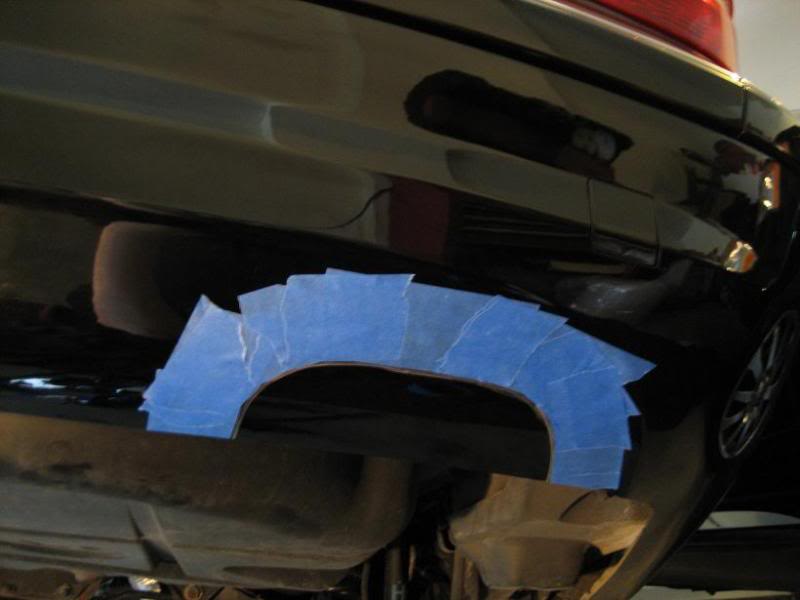
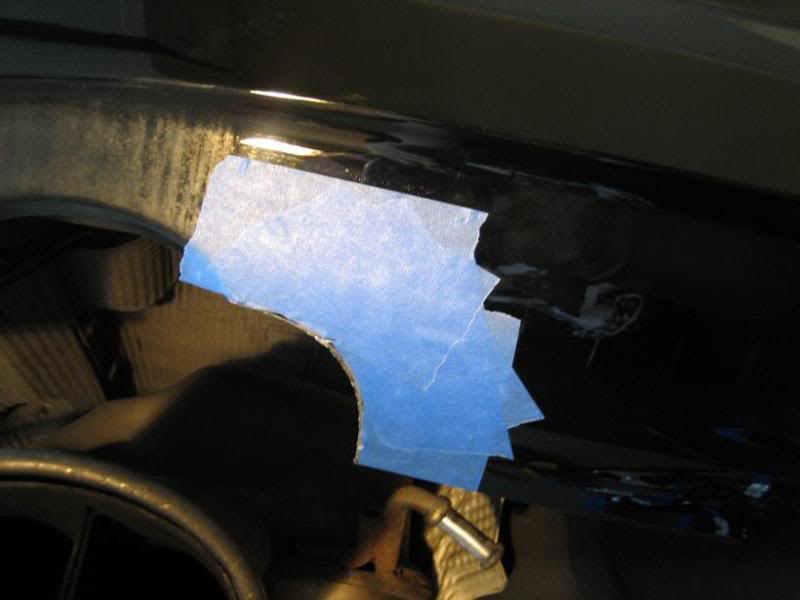
With the silver Paint marker trace out the new exhaust outlet and the partial part of the bumper that is left exposed by the driver's side exhaust opening.

With the silver Paint marker trace out the new exhaust outlet and the partial part of the bumper that is left exposed by the driver's side exhaust opening.

Step 4:
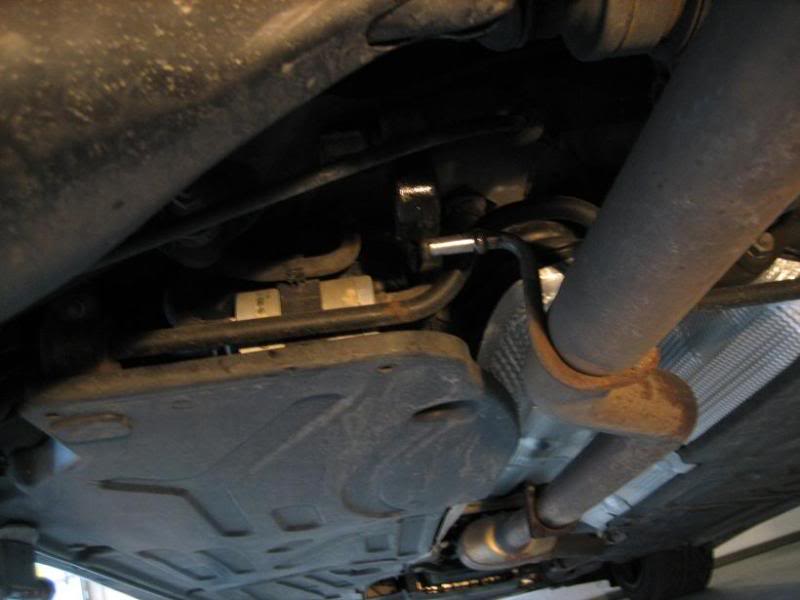
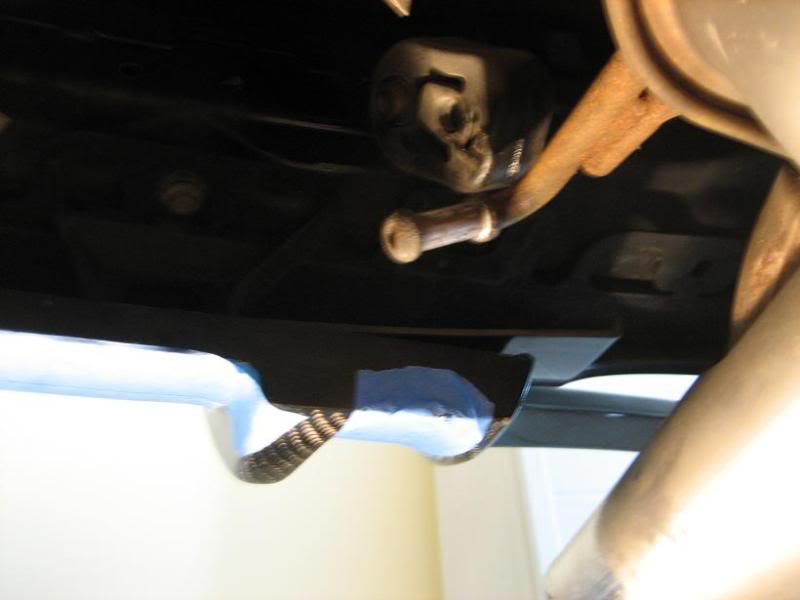
Jack up the rear enough to drop the 3 Exhaust hangers 2 on the Muffler and one twards the middle of the car If you have trouble use silicone spray and Ribbed Pliars. (this is to free the back half of the exhaust to be able to get clamps under the diffuser on the drivers side)
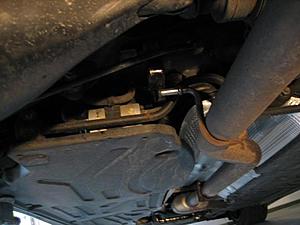
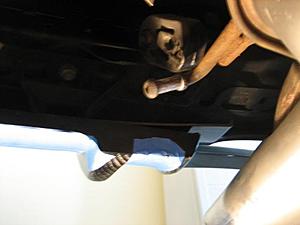
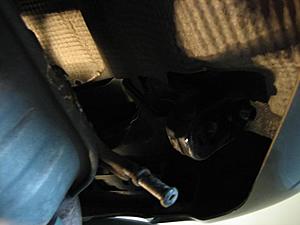
Jack up the rear enough to drop the 3 Exhaust hangers 2 on the Muffler and one twards the middle of the car If you have trouble use silicone spray and Ribbed Pliars. (this is to free the back half of the exhaust to be able to get clamps under the diffuser on the drivers side)

Step5:
Using your Blue painters tape outline the Marks you made around the Exhaust outlets. Then Proceed to use your tin snips CAREFULLY cut around pulling the excess scrap out of your way as you cut. Repeat on the drivers side.

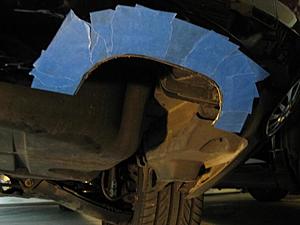

Using your Blue painters tape outline the Marks you made around the Exhaust outlets. Then Proceed to use your tin snips CAREFULLY cut around pulling the excess scrap out of your way as you cut. Repeat on the drivers side.

Step 6:
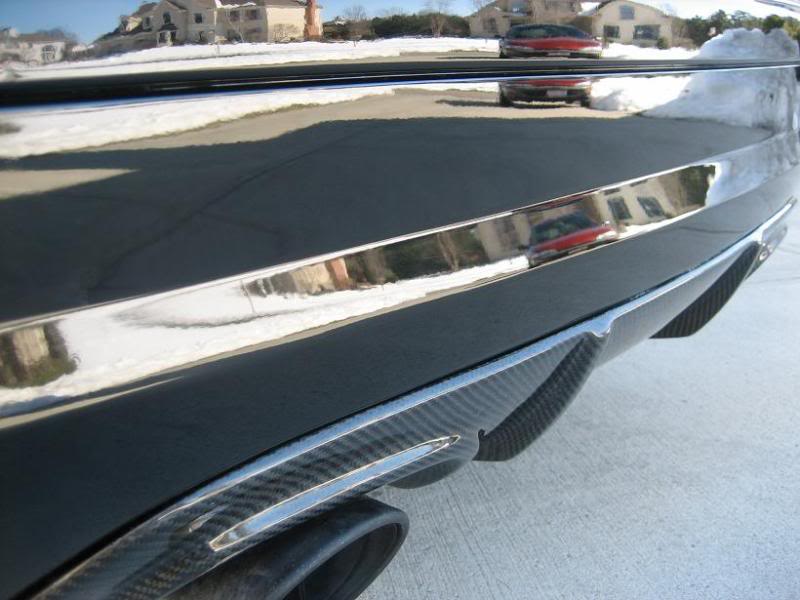
Prep the rear diffuser by cleaning the application surface and drying completly. Then start to heat your surfaces both bumper and rear diffuser with the heat gun.
Prep the rear diffuser by cleaning the application surface and drying completly. Then start to heat your surfaces both bumper and rear diffuser with the heat gun.
Step 7:
TIME IS LIMITED SO WORK QUICKLY
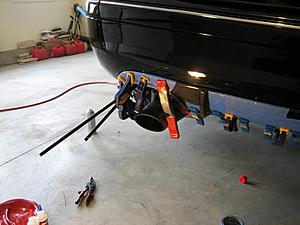
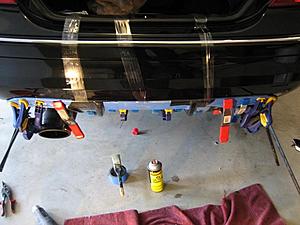
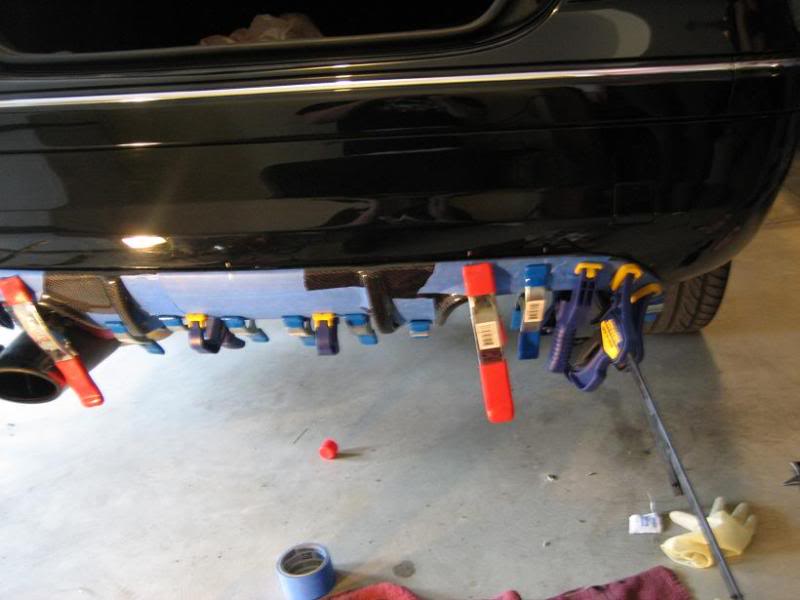
Start mixing your resion, and hardner then apply an even coat on the backside of the diffuser and to the back of the bumper. Then line up your center mark and slowly align the other marks using your free hand place a clamp in the middle of the diffuser on the bottom. Then Continue clamping all around it. Also use your clear tape to add some pressure at the top where you can not clamp.

Step 8:
This must Sit at Room temp for at least 24 Hours to set properly. Once the Desired time is met slowly start to lift the side clamps ONE at a time If It looks Like it is starting to Lift Re clamp and wait another day to be safe.
TIME IS LIMITED SO WORK QUICKLY
Start mixing your resion, and hardner then apply an even coat on the backside of the diffuser and to the back of the bumper. Then line up your center mark and slowly align the other marks using your free hand place a clamp in the middle of the diffuser on the bottom. Then Continue clamping all around it. Also use your clear tape to add some pressure at the top where you can not clamp.


Step 8:
This must Sit at Room temp for at least 24 Hours to set properly. Once the Desired time is met slowly start to lift the side clamps ONE at a time If It looks Like it is starting to Lift Re clamp and wait another day to be safe.
Step 9:
Remove All clamps, With a little brake Cleaner on a microfiber remove the alignment mars on the bumper made by the paint marker.
Remove All clamps, With a little brake Cleaner on a microfiber remove the alignment mars on the bumper made by the paint marker.
Step 10:
Hook Your Exhaust back up, Lower the jack, Stand back and admire your work and the money you just saved!!
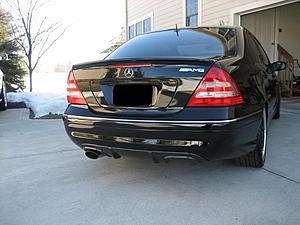
Hook Your Exhaust back up, Lower the jack, Stand back and admire your work and the money you just saved!!
Dual Exhaust to Quad Exhaust tips Comming Soon 
Thanks For looking. Enjoy!!
Thanks For looking. Enjoy!!
Last edited by Evolved8; Mar 5, 2010 at 11:47 AM.
Trending Topics
MB World Stories
The Best of Mercedes & AMG

Manual Mercedes? 6 Times Sindelfingen Let Drivers Have All The Fun
Verdad Gallardo
Mercedes SLR McLaren 722 S Is Extremely Rare Example Modified by McLaren
Verdad Gallardo
8 Classic Boxy Mercedes Designs That Have Aged Like Fine Wine
Verdad Gallardo
Flawlessly Restored Mercedes 190E Evo II Heads to Auction
Verdad Gallardo
Electric Mercedes C-Class Unveiled: 11 Things You Need to Know
Verdad Gallardo
Mercedes EQS Gets A Major Update: Everything You Need to Know
Verdad Gallardo
5 Underrated Mercedes-Benz Models That Don't Get the Love They Deserve
Verdad Gallardo
Mercedes 300D Has Pushed Well Past 1 Million Miles and It Ain't Stopping
Verdad Gallardo
10 Most Reliable Mercedes-Benz Models You Can Buy Used
Verdad Gallardo Looks amazing!!!!
")


Thread Starter
MBWorld Fanatic!
Joined: Nov 2009
Posts: 1,564
Likes: 6
AMG Fam
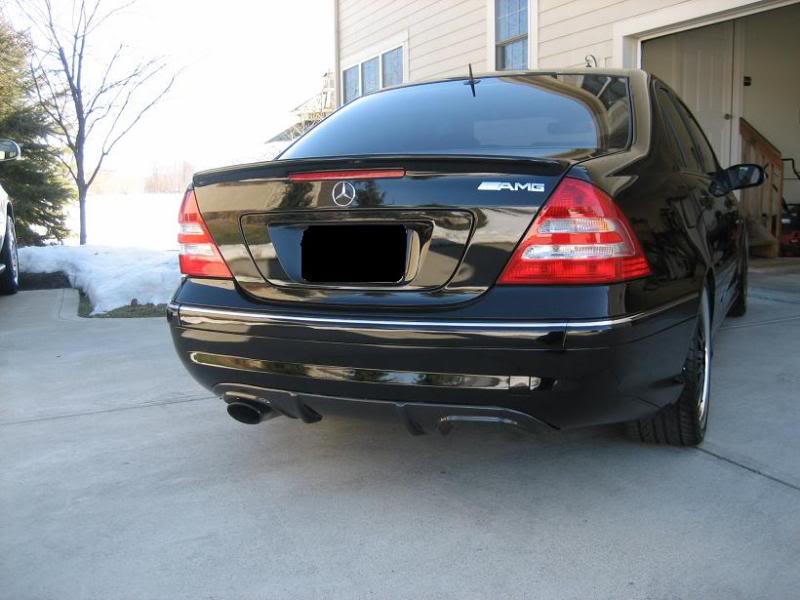
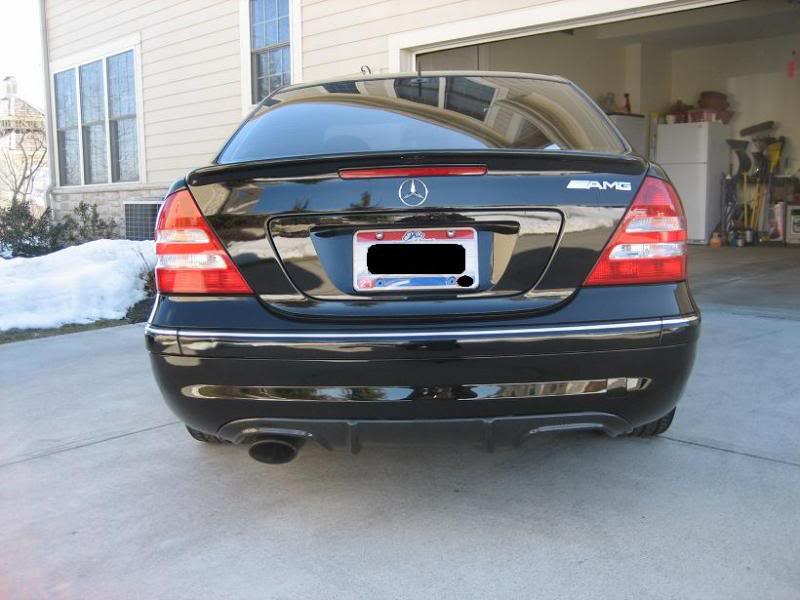
UPDATE 8/24/2010 quad exhaust is done and i tinted the Taillights.Thanks to my friends at IPS Motorsports they hooked me up with a 2.5 stainless system.
**NOTE black Mercedes symbol on the way and AMG badge is gone!!**
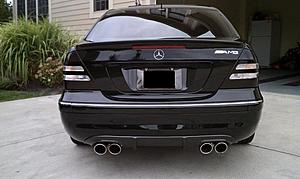
**NOTE black Mercedes symbol on the way and AMG badge is gone!!**


Member
Joined: Nov 2009
Posts: 199
Likes: 0
2007 C230 Sport


