When you click on links to various merchants on this site and make a purchase, this can result in this site earning a commission. Affiliate programs and affiliations include, but are not limited to, the eBay Partner Network.
Hi dears,
Shame on me this is my second post, I thought I had this issue under control till this morning and it was not on my plans to write here for this (As I think there is a lot of information around about this already), but as I said this morning it got a little worst and I need some help from the people around to be sure I'm on the right path.
I bought my C200 SportCoupe ~3 months ago, a 2006 face lifted one with an M271 with just 86k km on it (52k miles). After I bought it (3 weeks maybe) the first issue showed up, misfire p0304 and p0302 (Misfire on cylinders 2 and 4) only when starting it up after sitting for hours (not necessarily a cold start, but sitting for 6 hours is enough), if it starts with misfires and you listen that fast, if you stop and start the engine back again the issue does not happen, and there are no misfires on the counter with DAS neither so there are no random misfires during normal usage, just on the start, but if it starts with misfires it will continue till stopped and started (starting it for 30 seconds, stopping it and starting it back already gets this issue away, sometimes it takes two of those restarts, but not warming it even a bit). I'm a DIY so I started my brainstorming like this:
2019 and it just has 52k miles on it, I know that at least the last 5 years it was driven on short trips (few miles per week maybe...), and not even constantly (The owner had a RAM and used it overall and this car as a weekend car and not all weekends)
Based on the first premise the car was stopped and used against recommendations (short trips), the only good thing is that I know that owner was not a slow driver as I saw him driving the RAM
First conclusion:
Maybe sparkplugs are ready to be changed
Got a 4 NGKs and got all of them replaced
Unfortunately issue persisted, anyways, it was time to swap spark plugs so not a waste so far.
So I changed the sparkplugs and the issue persisted
Coils could be ready for a swap too? When I got them out were a little dirty so I cleaned them up and added some dielectric grease, the normal stuff when changing spark plugs.
Swaped them
P0304 gone for good and never appeared again
P0302 (misfire on cylinder 2) persists
Following the DAS procedure and based on my motor number, the next step was to get the engine at 4k rpm for 10 minutes or so, but for some reason my DAS doesn't have the option to manage that itself (As I saw other DAS do).
Keeping in mind that up to that point never got the car on the road I took it out for a 30 minute "Italian tuneup", and for my surprise P0302 was gone (For a few weeks, 2 maybe).
Then it appeared again, and I notice a second issue on the car (As I got the alert on the cluster): "Check coolant level"
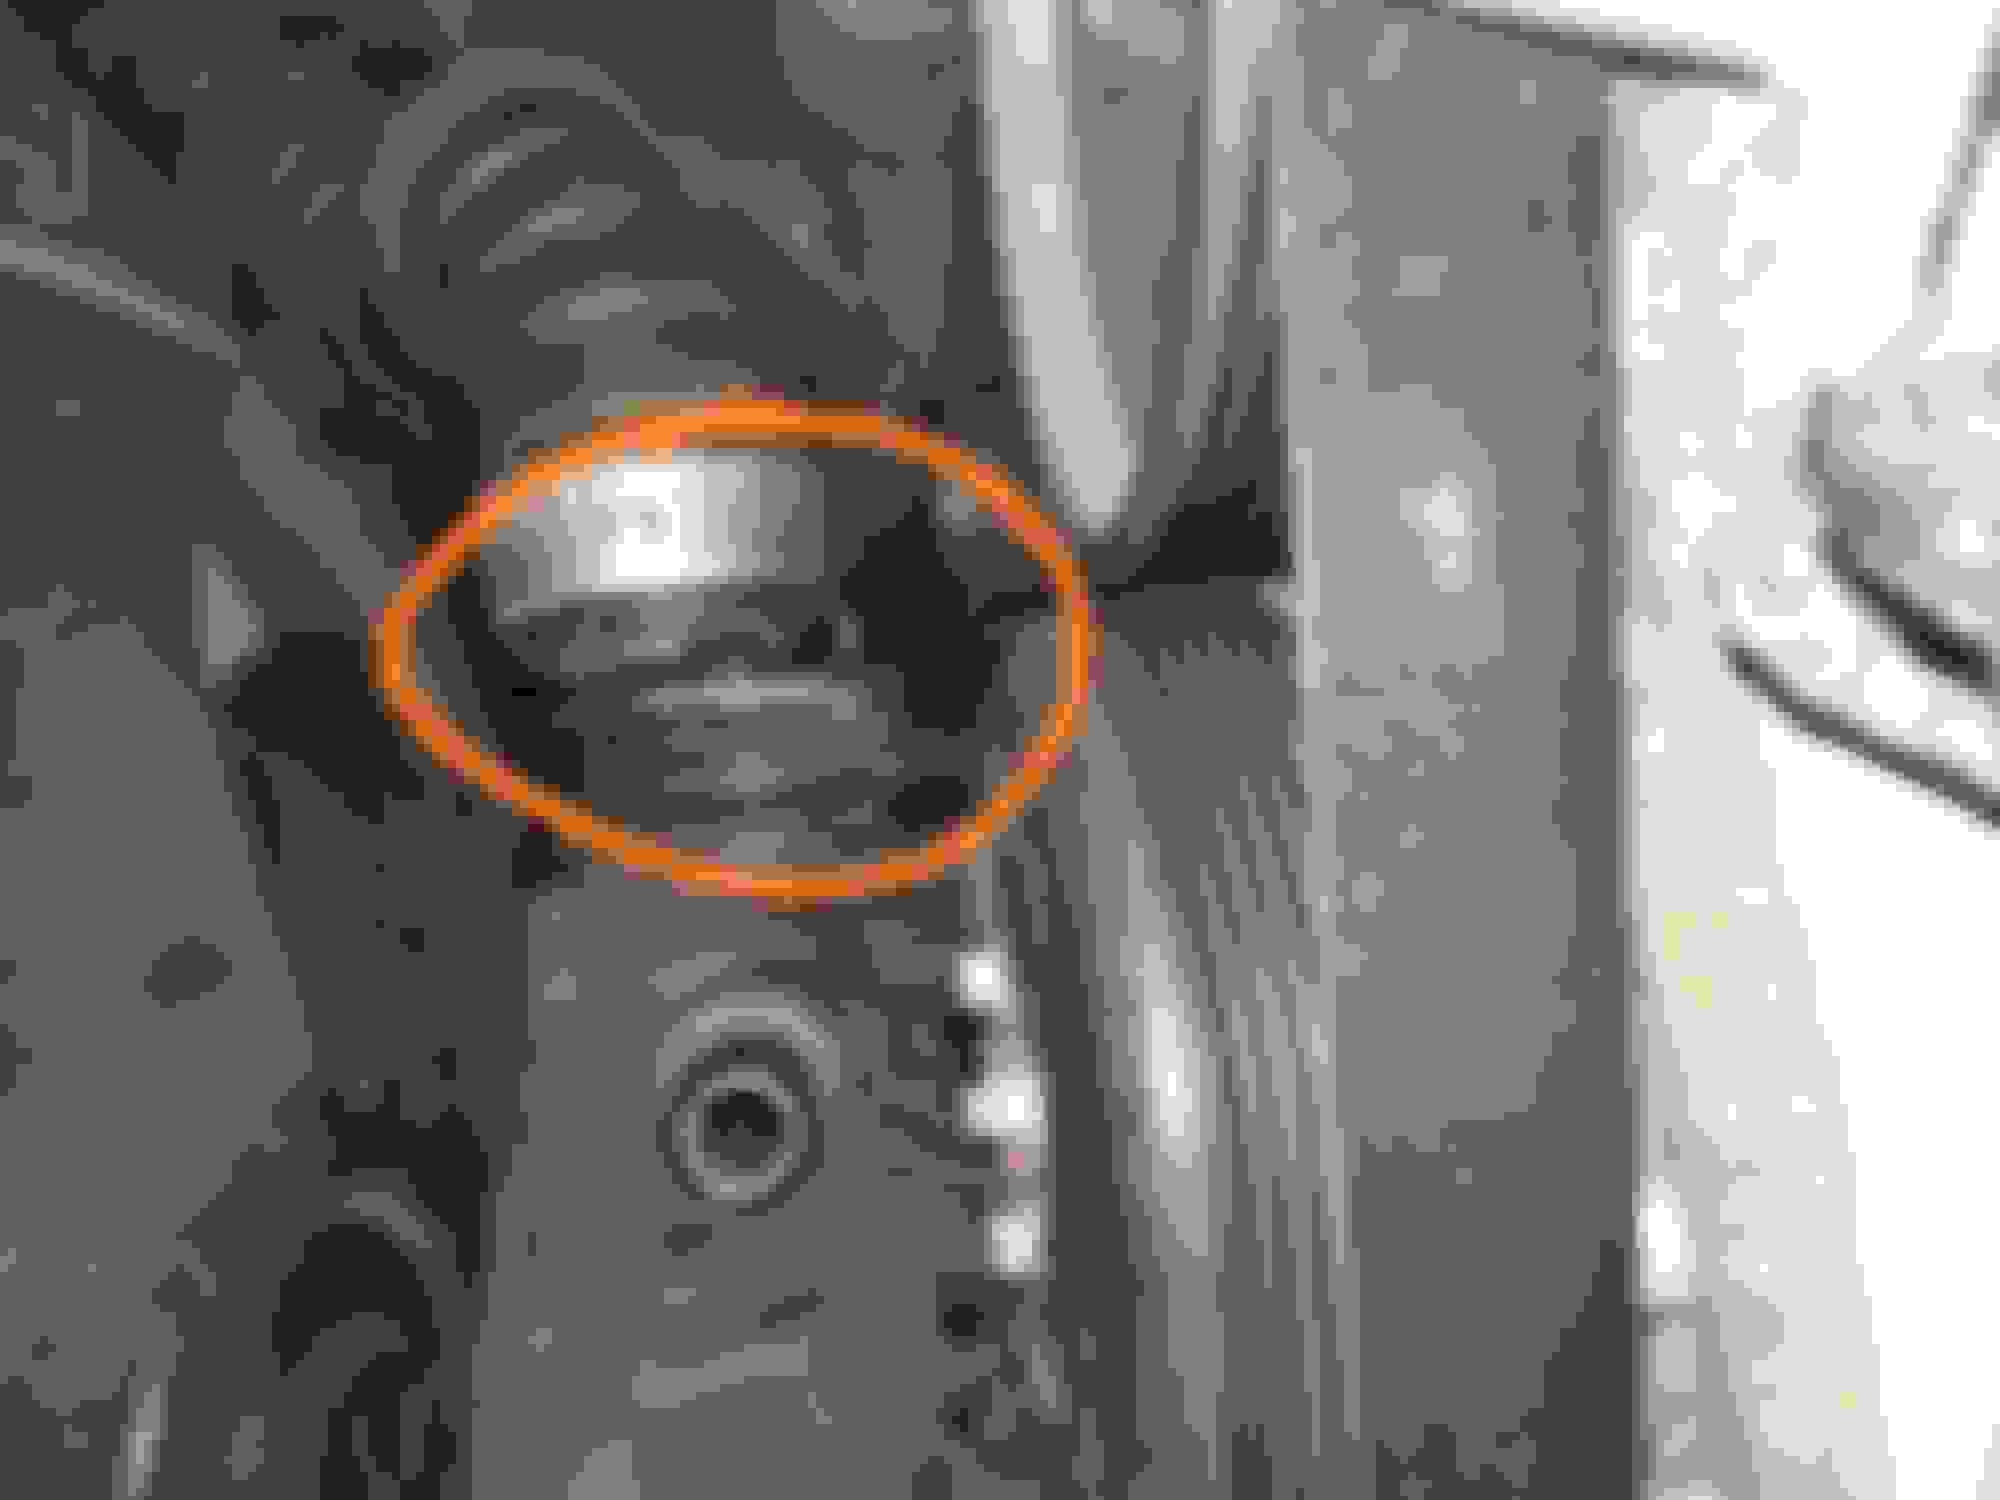
So I did and found it a little low, long story short, it continued to leak but super slow (filling it up to level it takes 3 weeks to get the level alert again). I think so far the only leak I found is a pretty small one on the water pump shaft, it leaks just when cold or when getting cold after usage, so it took a while to find it.
I'm planning to work on the distribution by middle 2019, so it will be a good time to get the water pump and all engine gaskets changed at the same time.
Still P0302 worries me a bit, it got a little worts over the weeks.
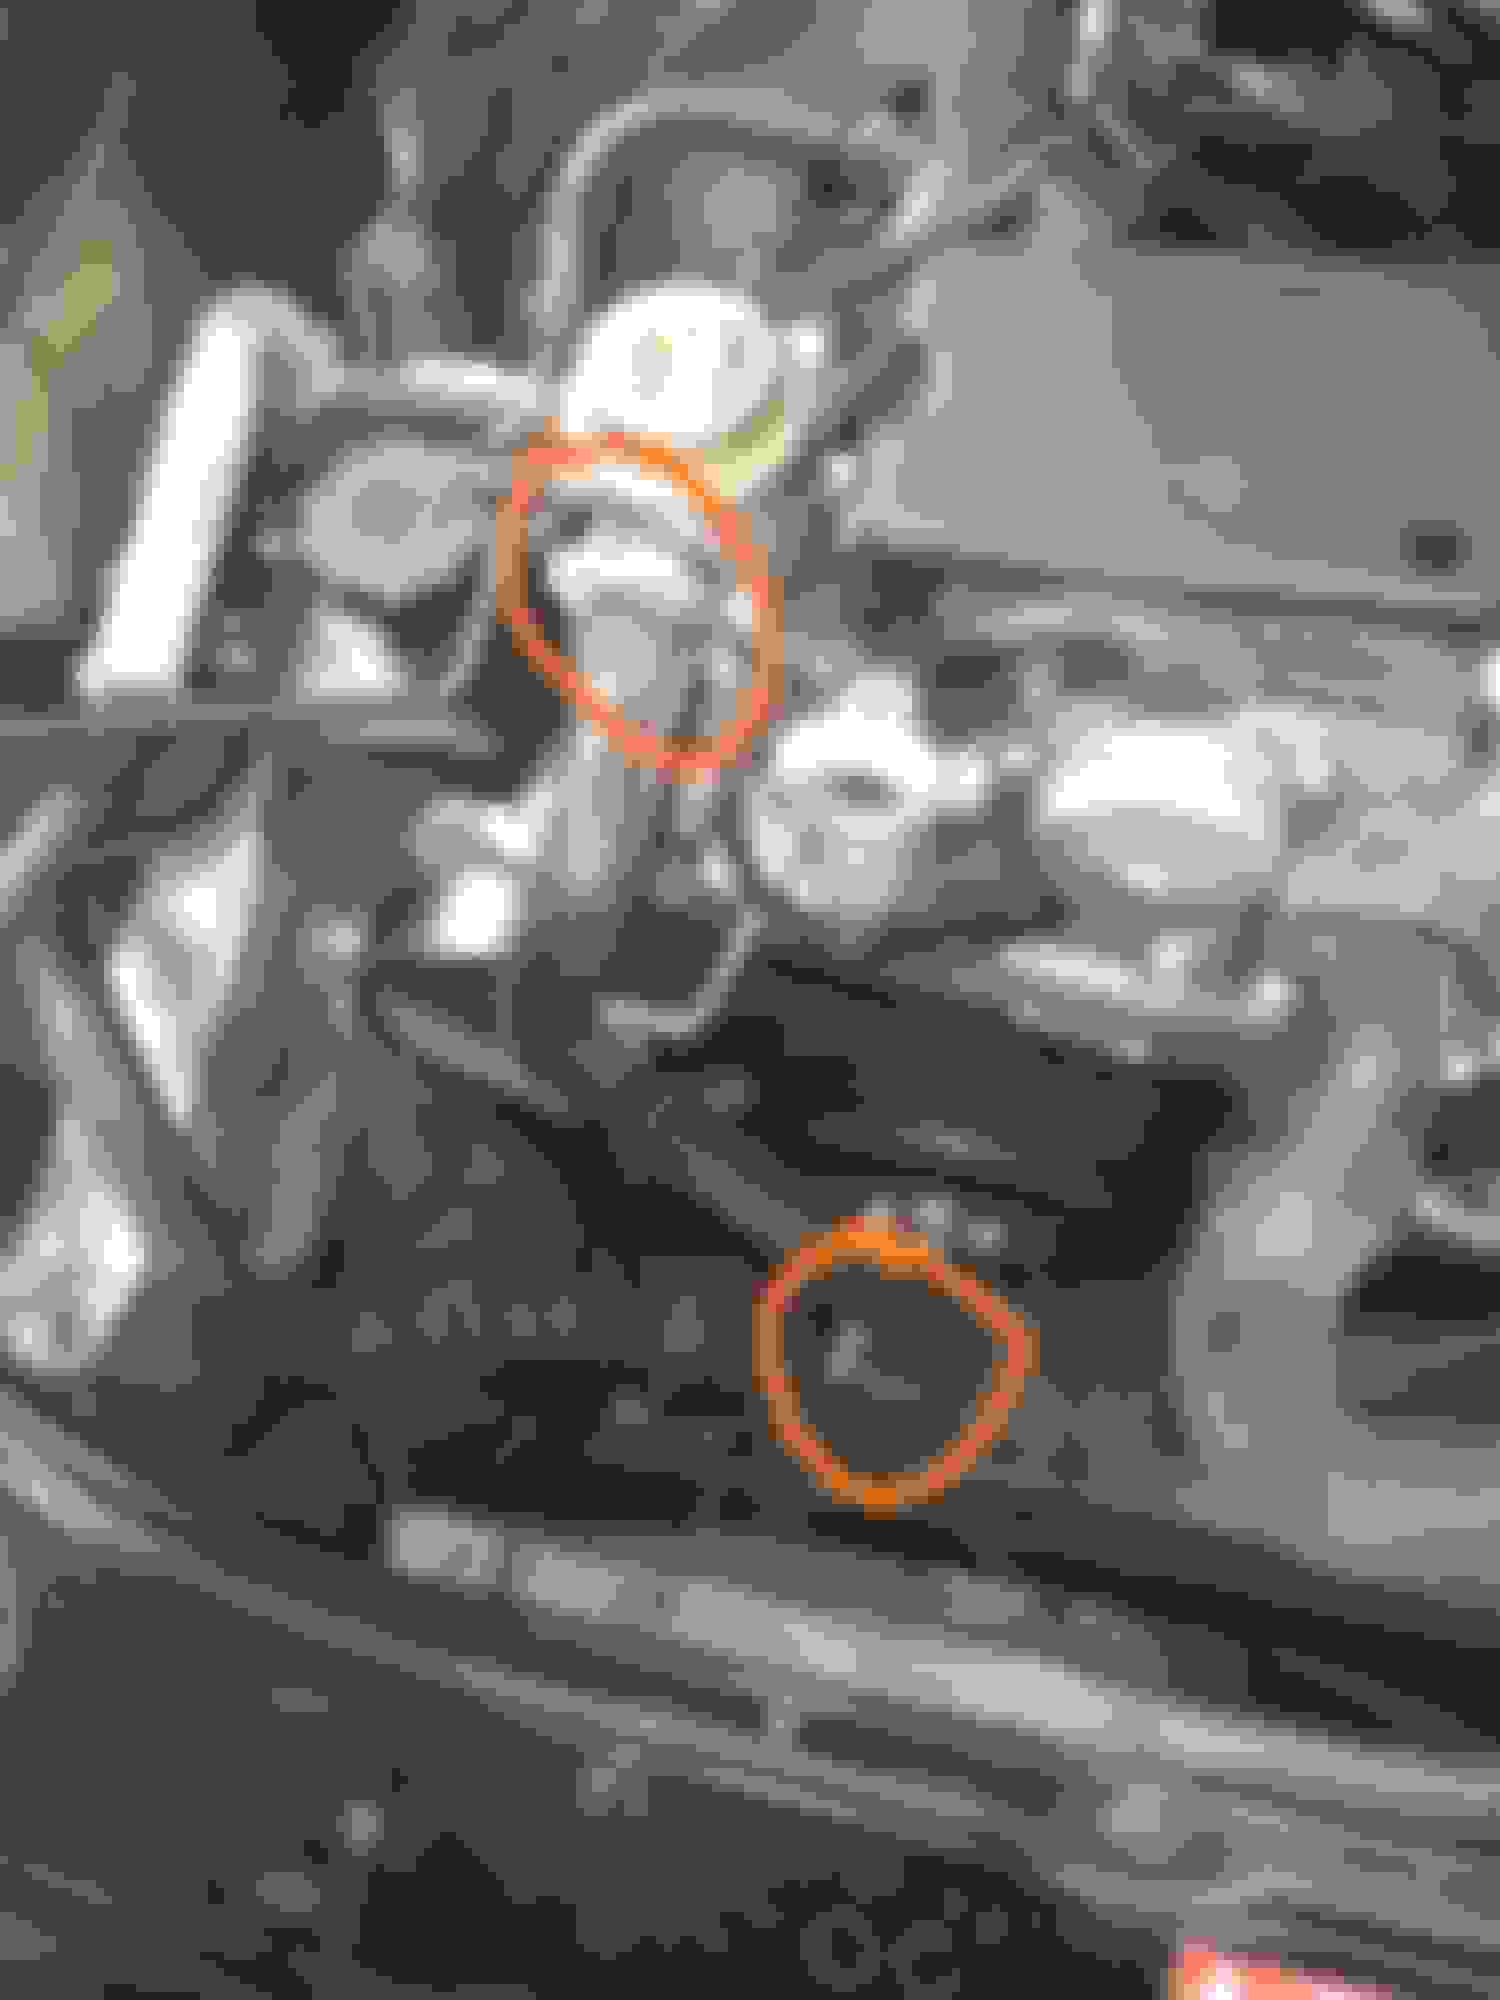
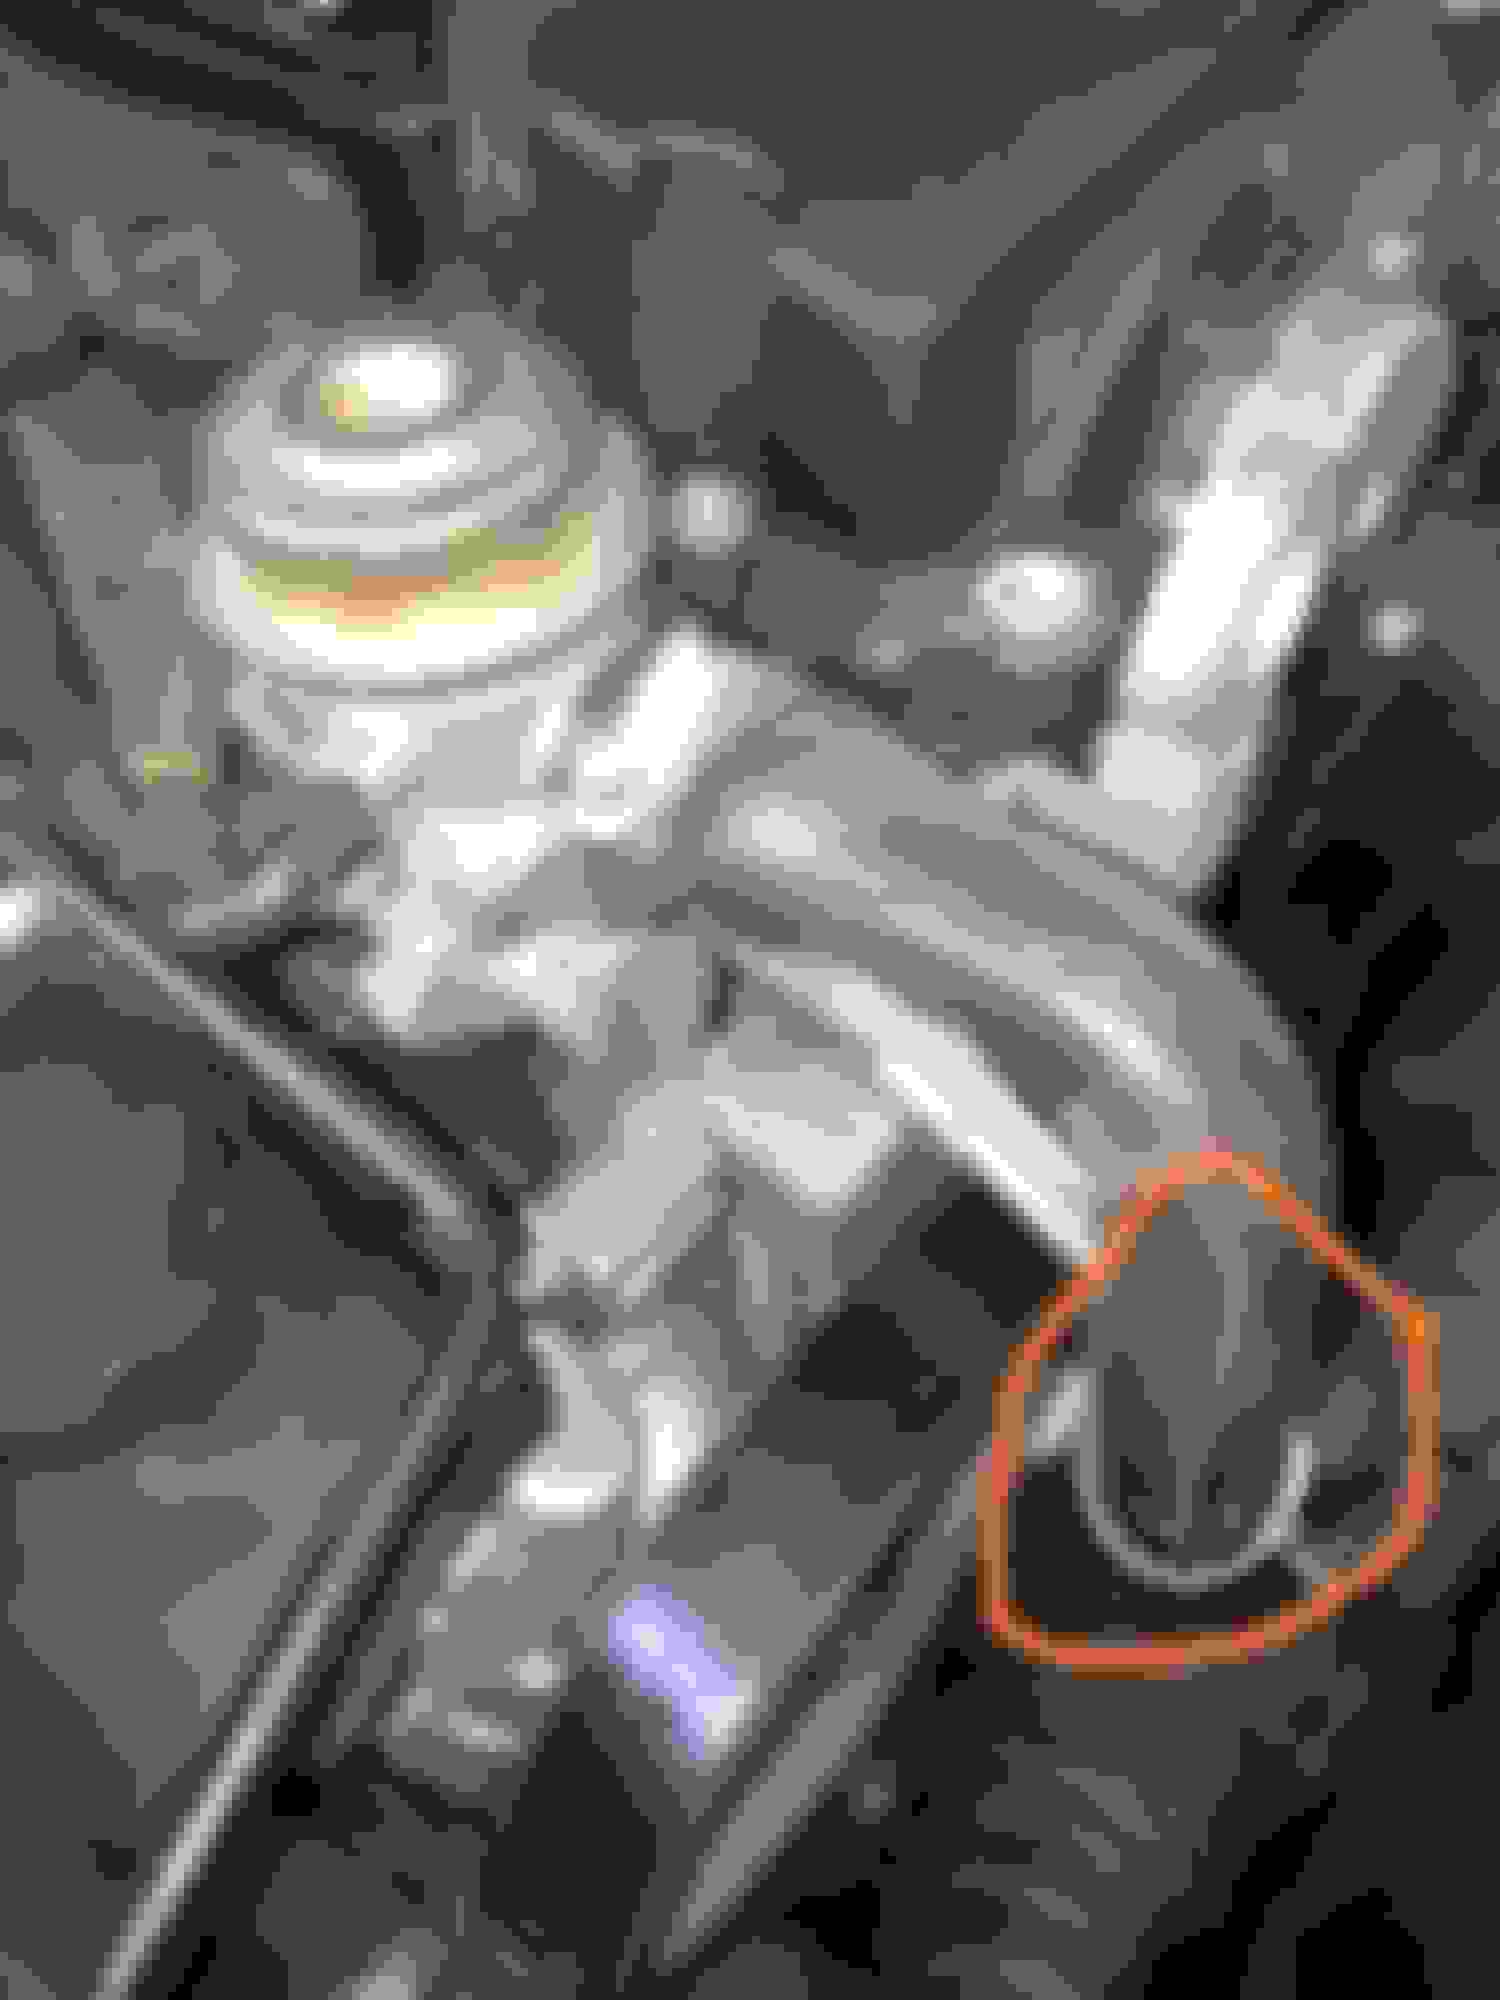
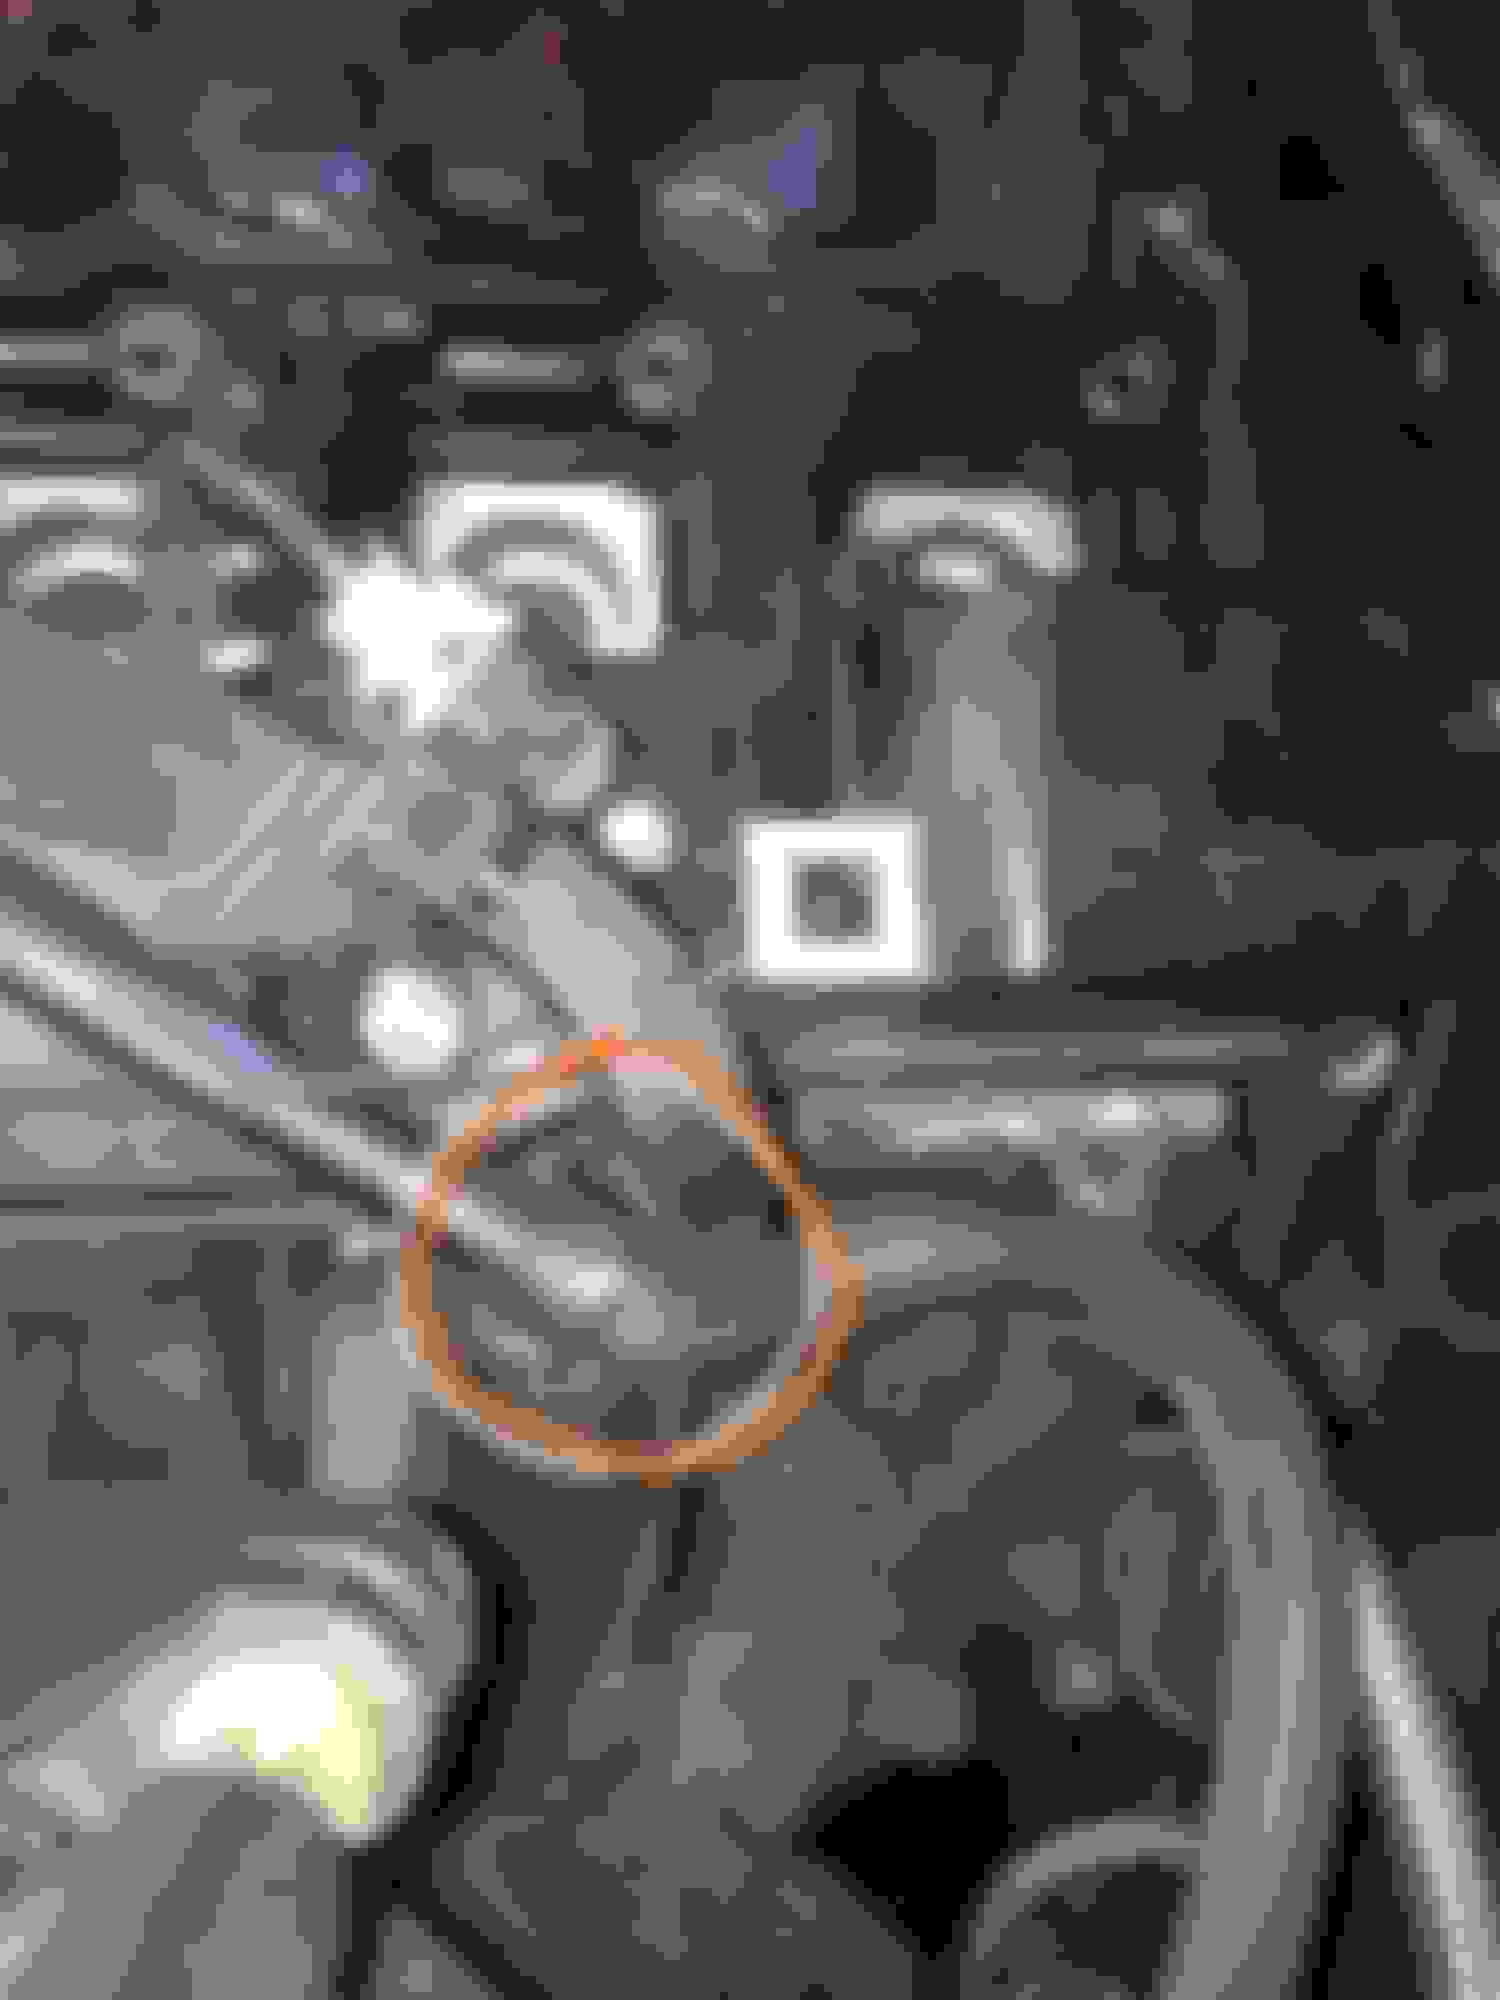
This morning it even smoked (I think it is smoke) a few seconds on startup:
On my own brainstorming so far I have the following:
It could be still a failing coil on the same cylinder despite I swapped them
I bought one and I will be changing it this evening
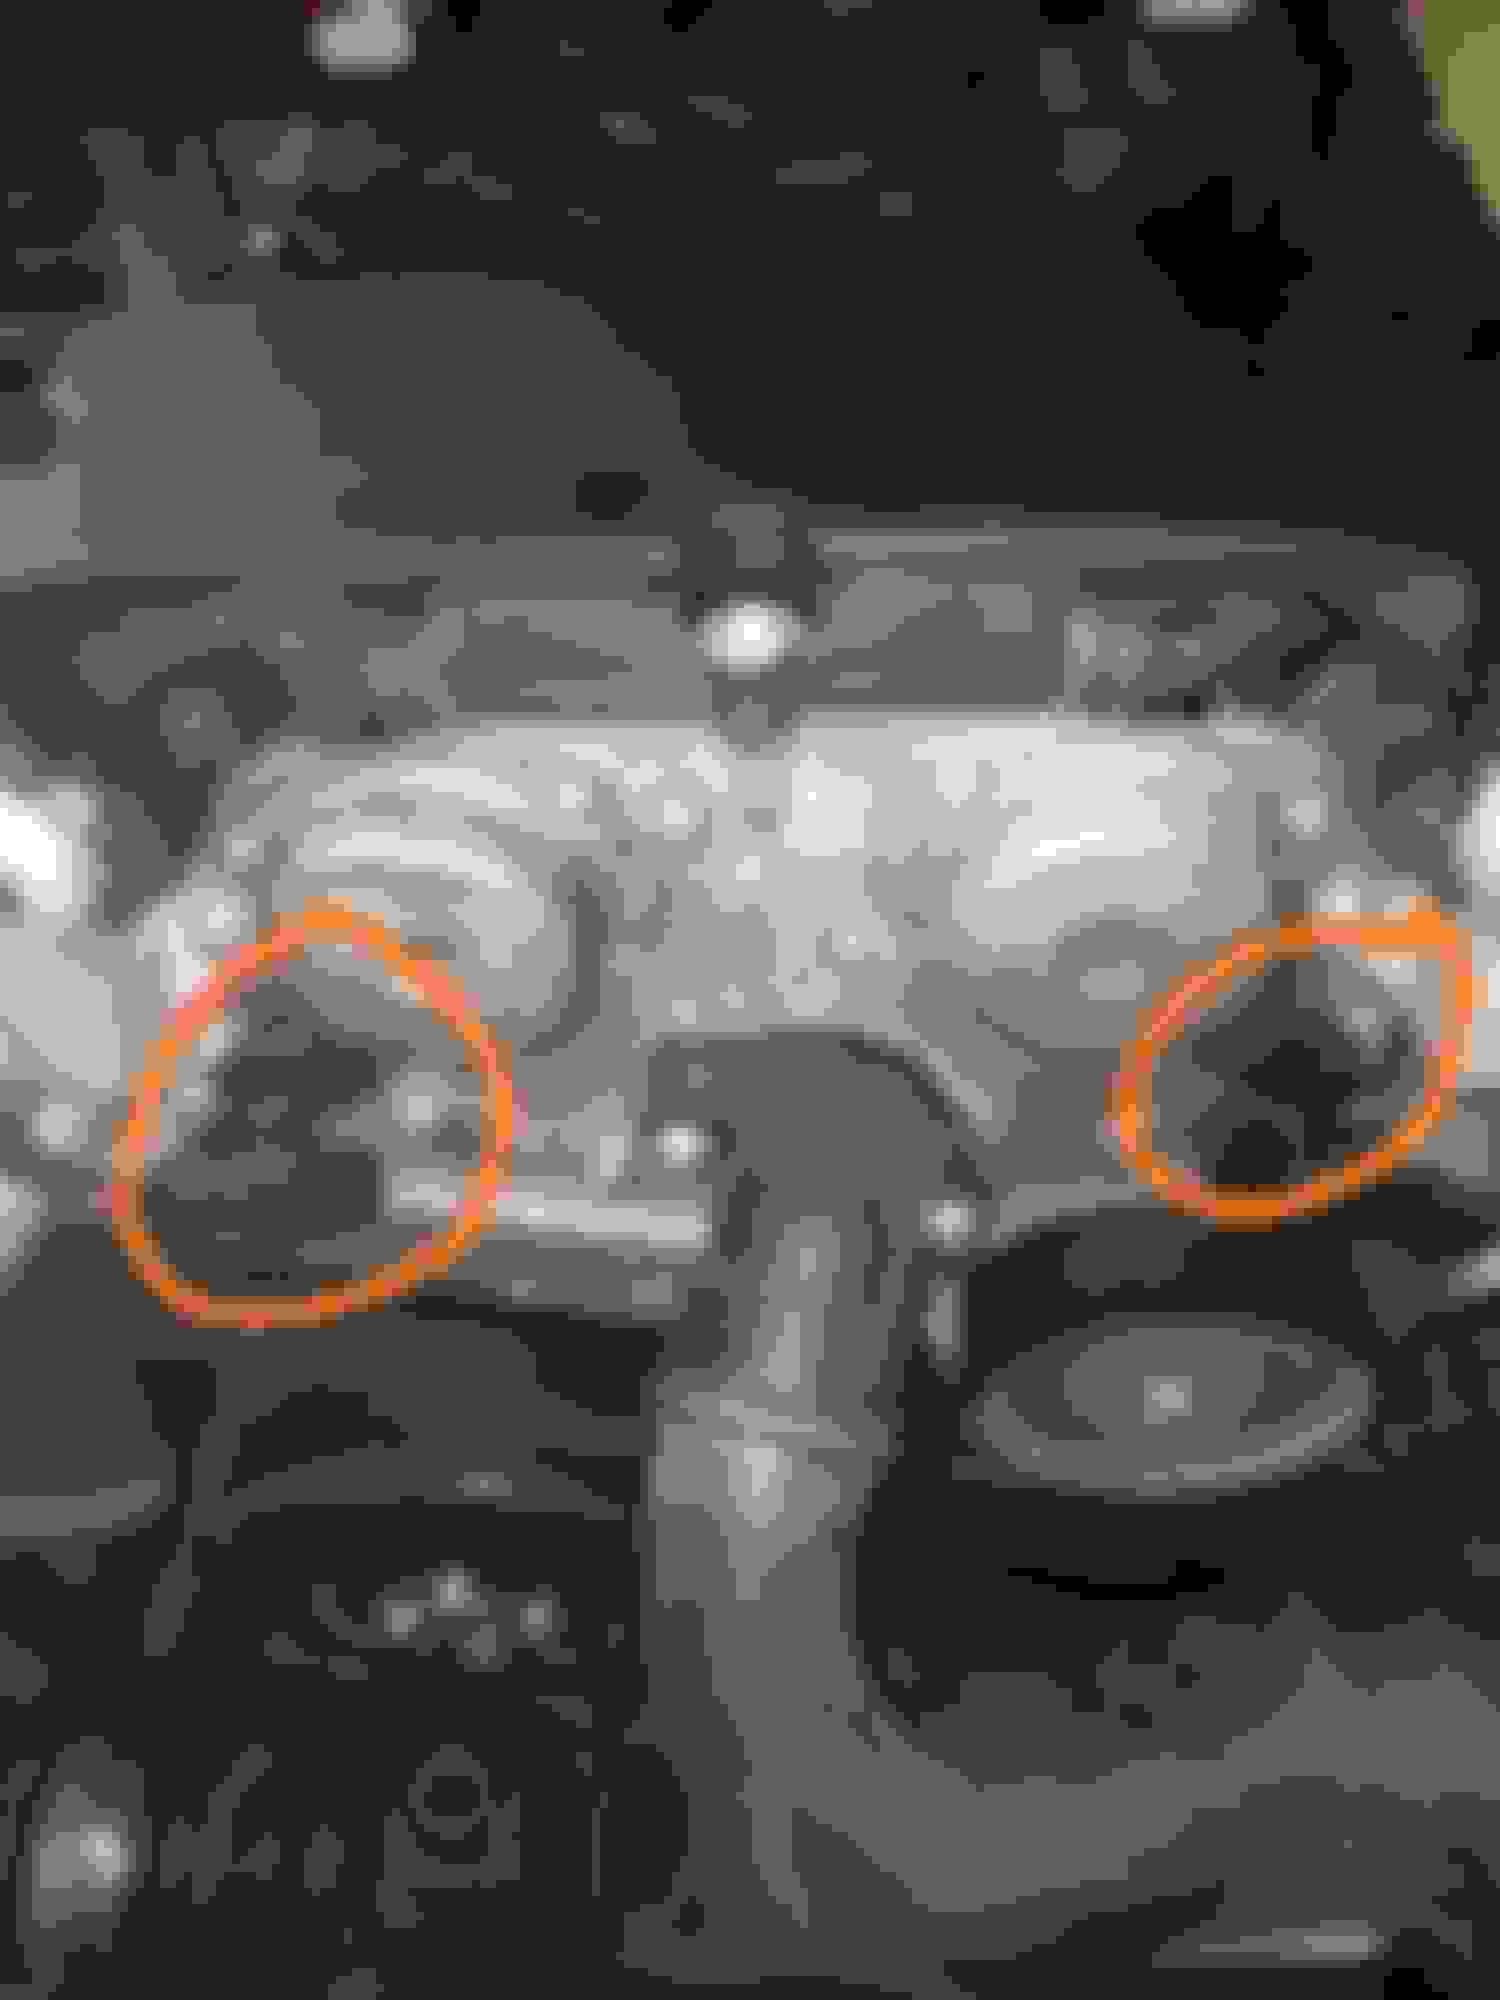
I will take the chance to remove the spark plug for inspection and check with the borescope if everything looks good down there.
I still have to measure compression, but I don't think it is the root cause of this misfire as it only happens on cold starts (even in summer cold starts) and then does not reappear, if reseted the misfire counter stays at 0.
It could be a clogged/failing injector sticking on cold starts? I think it wouldn't hurt to get the four out and put them on my ultrasonic cleaner for a while, not done so far though.
I know about the sticky valves issue, and while I know this is an issue on the direct injection ones, is it on this ones too (with sequential injection?). Anyways, correct my if my thinking is wrong, but it would bother all along the usage and not just on the cold start and disappear?
My worst nightmare is that coolant is also getting there, I think there are 0 chances, but as the leak is still present the only way to really know is to get the borescope there. So I got to my office this morning and left the coupe sitting on the pit (I work on IT consultancy, but it is a miracle that I have a pit here to work peacefully, it even has an engine pulley... owned previously by a mechanic).
And that is all I have in mind to move forward with this. There is a last one and the main reason I will be working on distribution this year, and it is the known issue with the chain skipping a tooth on the sprocket). I don't have this one really into account because I think it could be causing different issues too, and in this case is just on cold start. Unless you tell me my thought is wrong, but as getting it started for 30 seconds and then stopping and starting back gets the issue gone, I don't think it is not even warm enough to affect the VVT right? Am I wrong on this? Does VVT varies not only based on load by on engine temperature?
Sorry for the long post, and sorry for getting just another post on misfires, but I feel I need someone that is out of the box to assure my thoughts are ok.
Just to keep the thread updated, tomorrow I will start getting prices for the parts locally and abroad to compare. And also start some disassembly this week to check what (Aside the head gasket, timing chain with the tensor and guides kit, and water pump) do I have to buy.
I assume the 12$ hose will also have to be replaced but I will disassembly first to verify, the idea is to get up to the pistons just to ensure the rings are fine before I put the new gasket on.
By the way, I will get the chance to do some valve job (Mostly cleaning and re-seating).
If anyone has something in mind that is worth to be checked/replaced when disassembling this far pelase let me know so I can take it into consideration, the idea is to get some photo or video shoots of the procedure and then share it (The main purpose is for me to know what I did when going backwards).
How long have you had the car?
How many miles on the car?
Did the engine ever overheat?
Imho, it's extremely unlikely that the head gasket "went bad" by itself.
I bash the POS M271 engine a lot, and it deserves about a billion times more bashing!
But, I bash the decisions that MB made that screw the owner.
Other than the stuff that I've mentioned many times, the engine is rock solid.
The head gasket, head, bolts are a very good design.
Btw, for the timing chain, you must have the proper tool to crush/peen the master link pin.
Since you don't have an American spec engine, with the higher boost, regular oil changes (3K to 5K full synthetic) should keep your intake valves clean enough.
How long have you had the car? 4 months How many miles on the car? 66K Did the engine ever overheat? No (Asked the previous owner and said that he neither when he had it)
Imho, it's extremely unlikely that the head gasket "went bad" by itself. I know, my worst worry that it effectively overheated at some point on its lifetime (I'm the fourth owner), I'm starting the disassembly today to do start the damage discover, and will get the head out to a machine shop to give it a look.
Since you don't have an American spec engine, with the higher boost, regular oil changes (3K to 5K full synthetic) should keep your intake valves clean enough. Didn't know this one, I know as per registry that the maintenances on this engine were done at 6K miles (10k kms), at least since 2010, I don't have the previous registry unfortunately.
Good Luck! Thanks!!! I hope it is on my side and that it is just the gasket, however, we will know pretty soon, all my fingers are crossed!
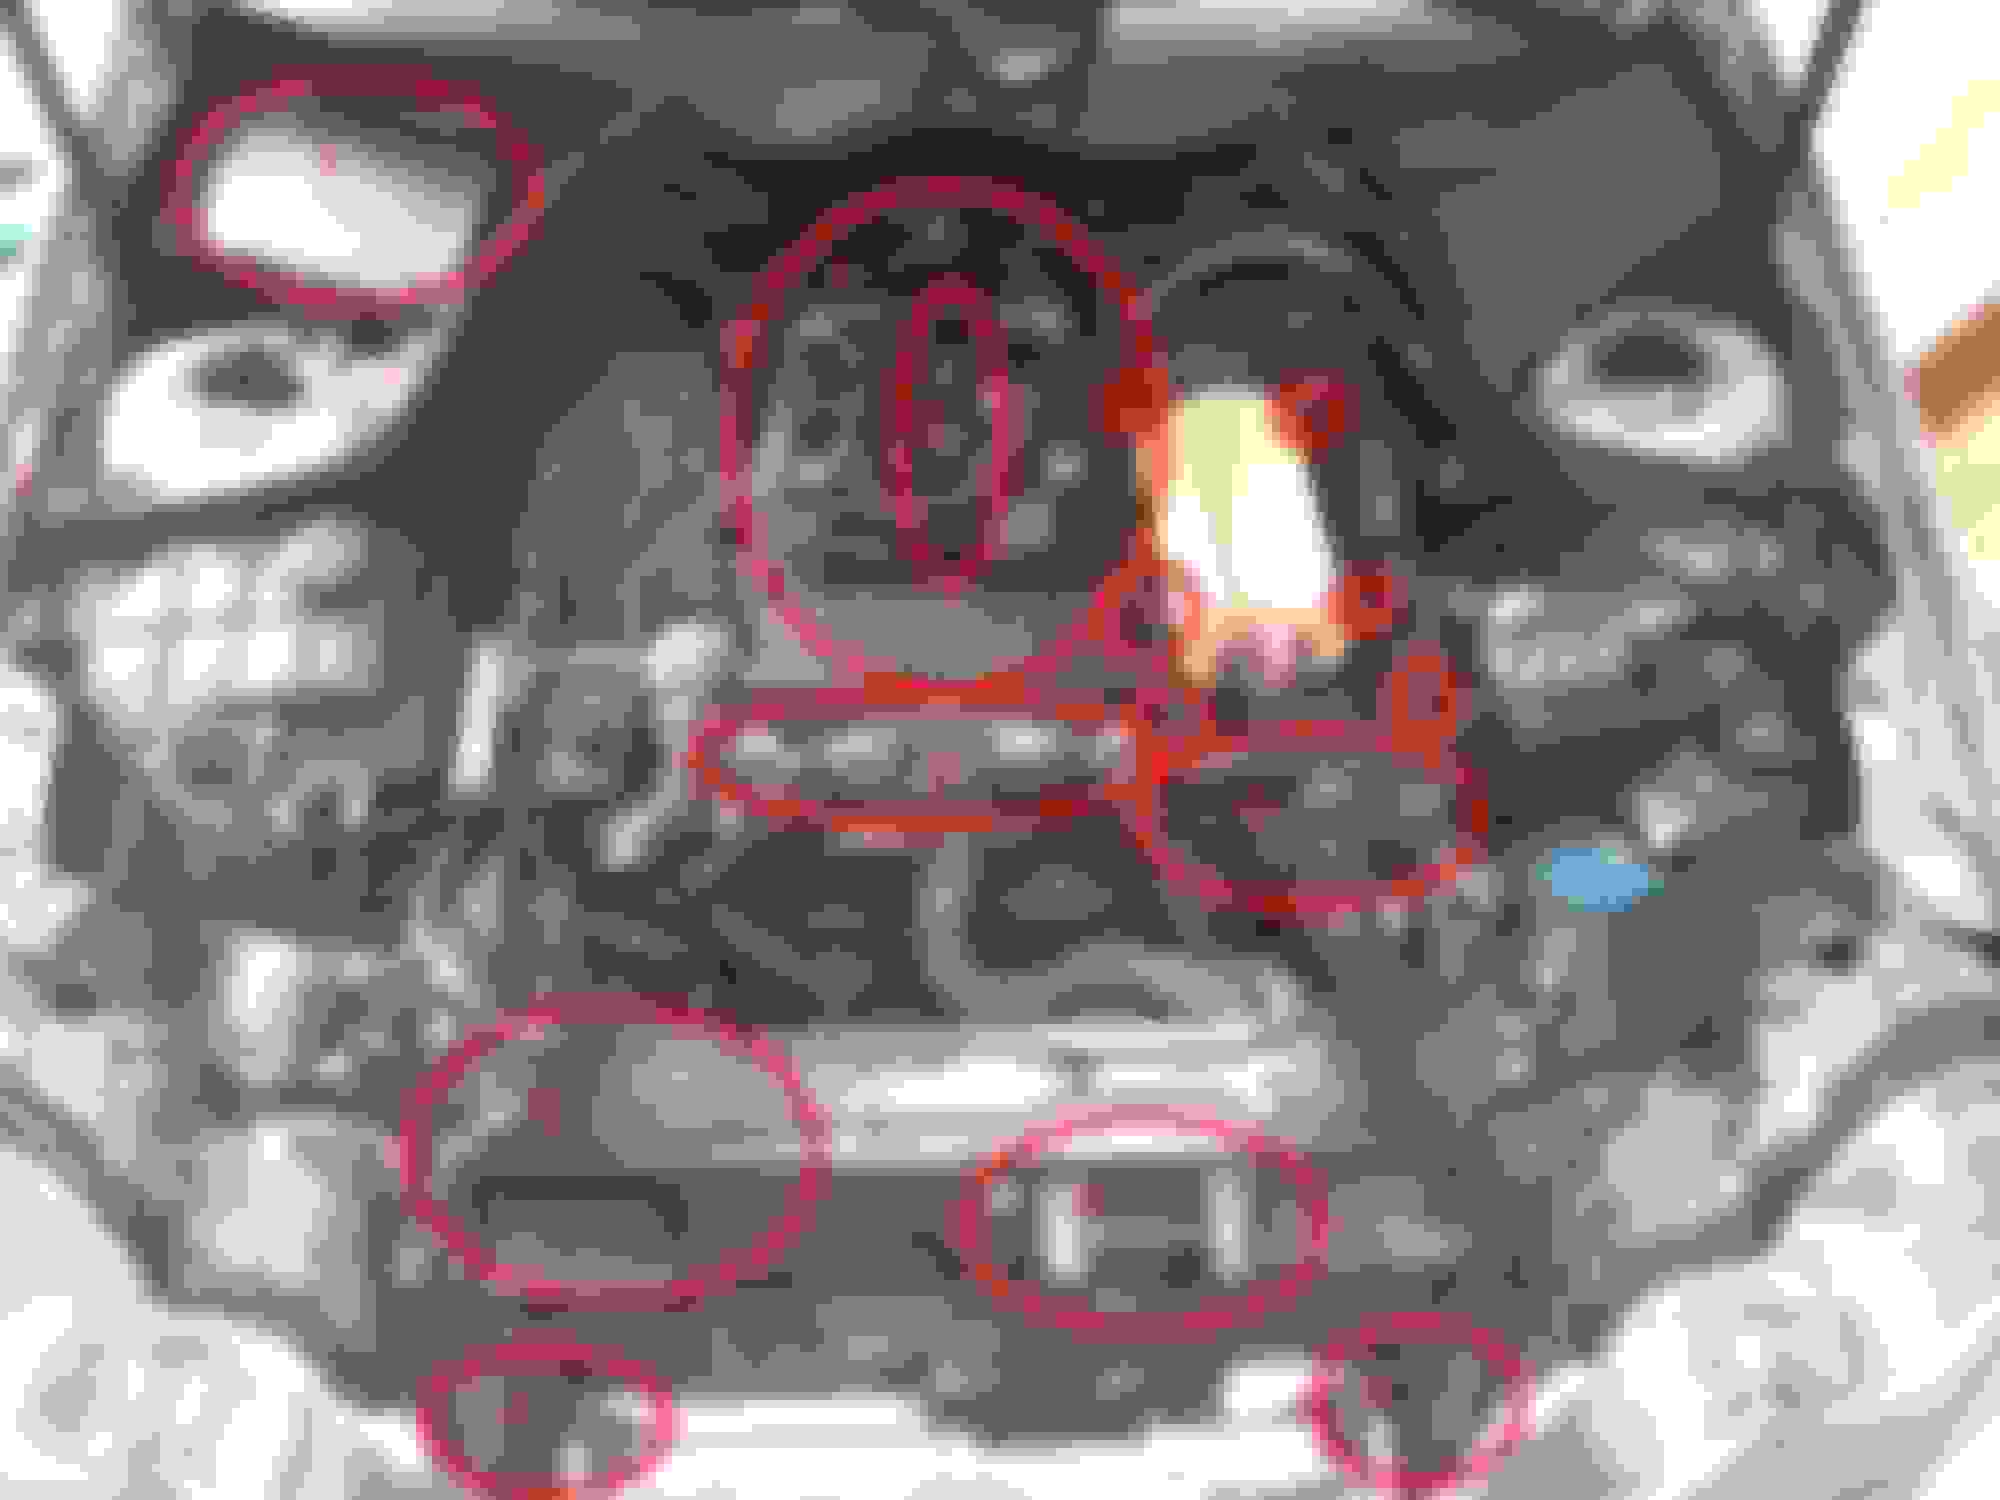
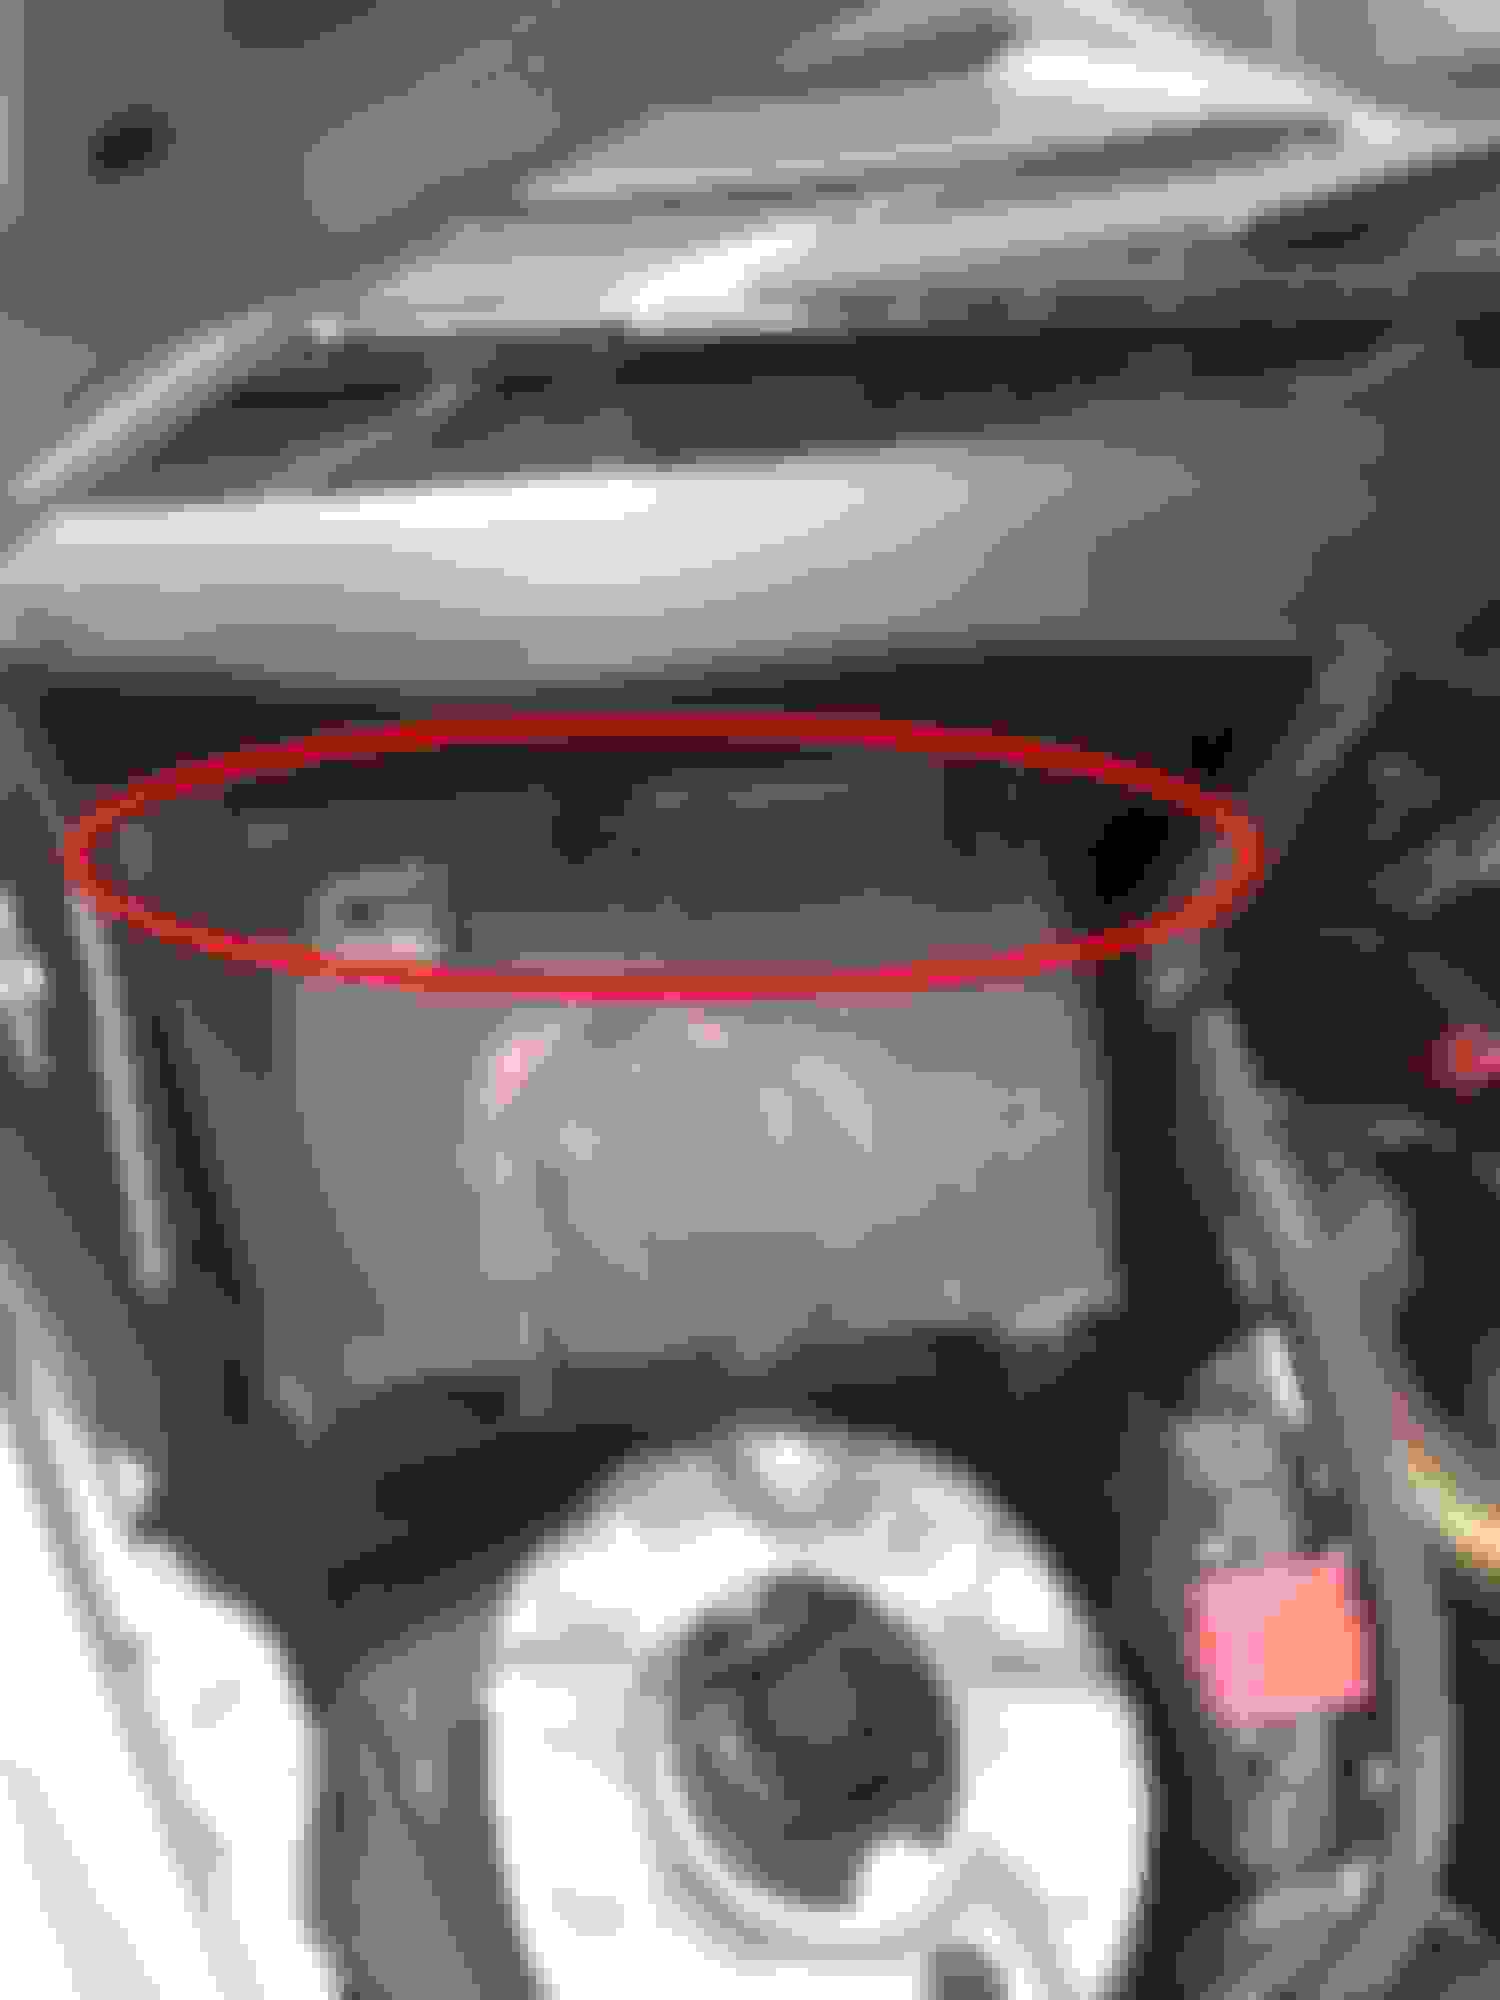
1 - Removed Battery (Unclip the plastic, then remove negative first, positive second, way a minute or so before leaving the connects touching ground and some components retain power for a while)
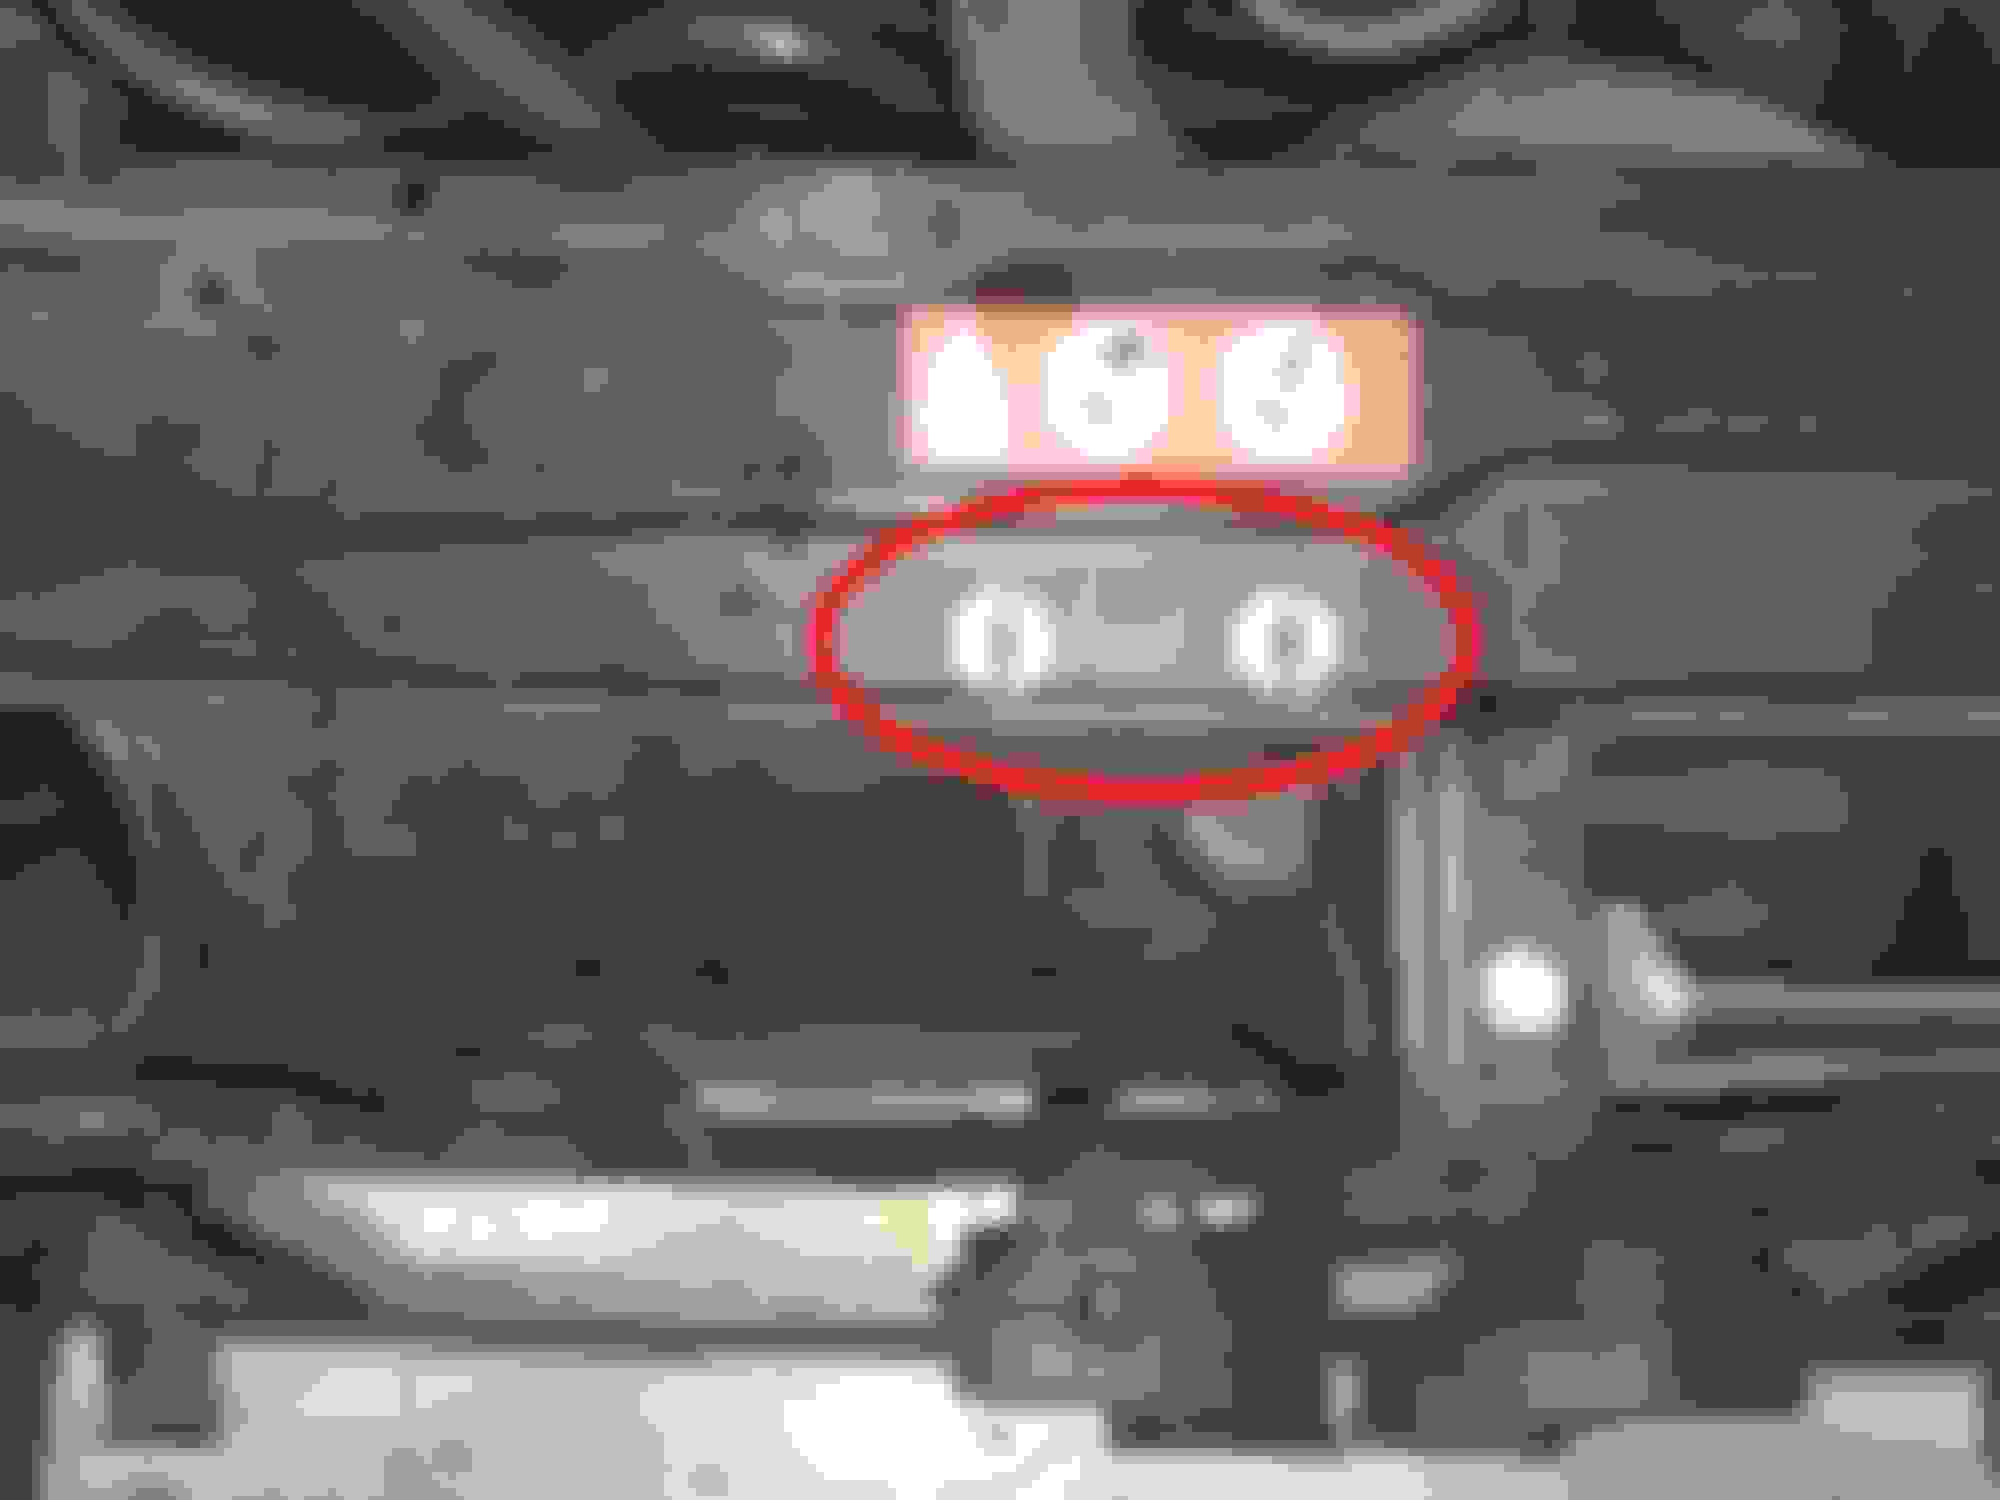
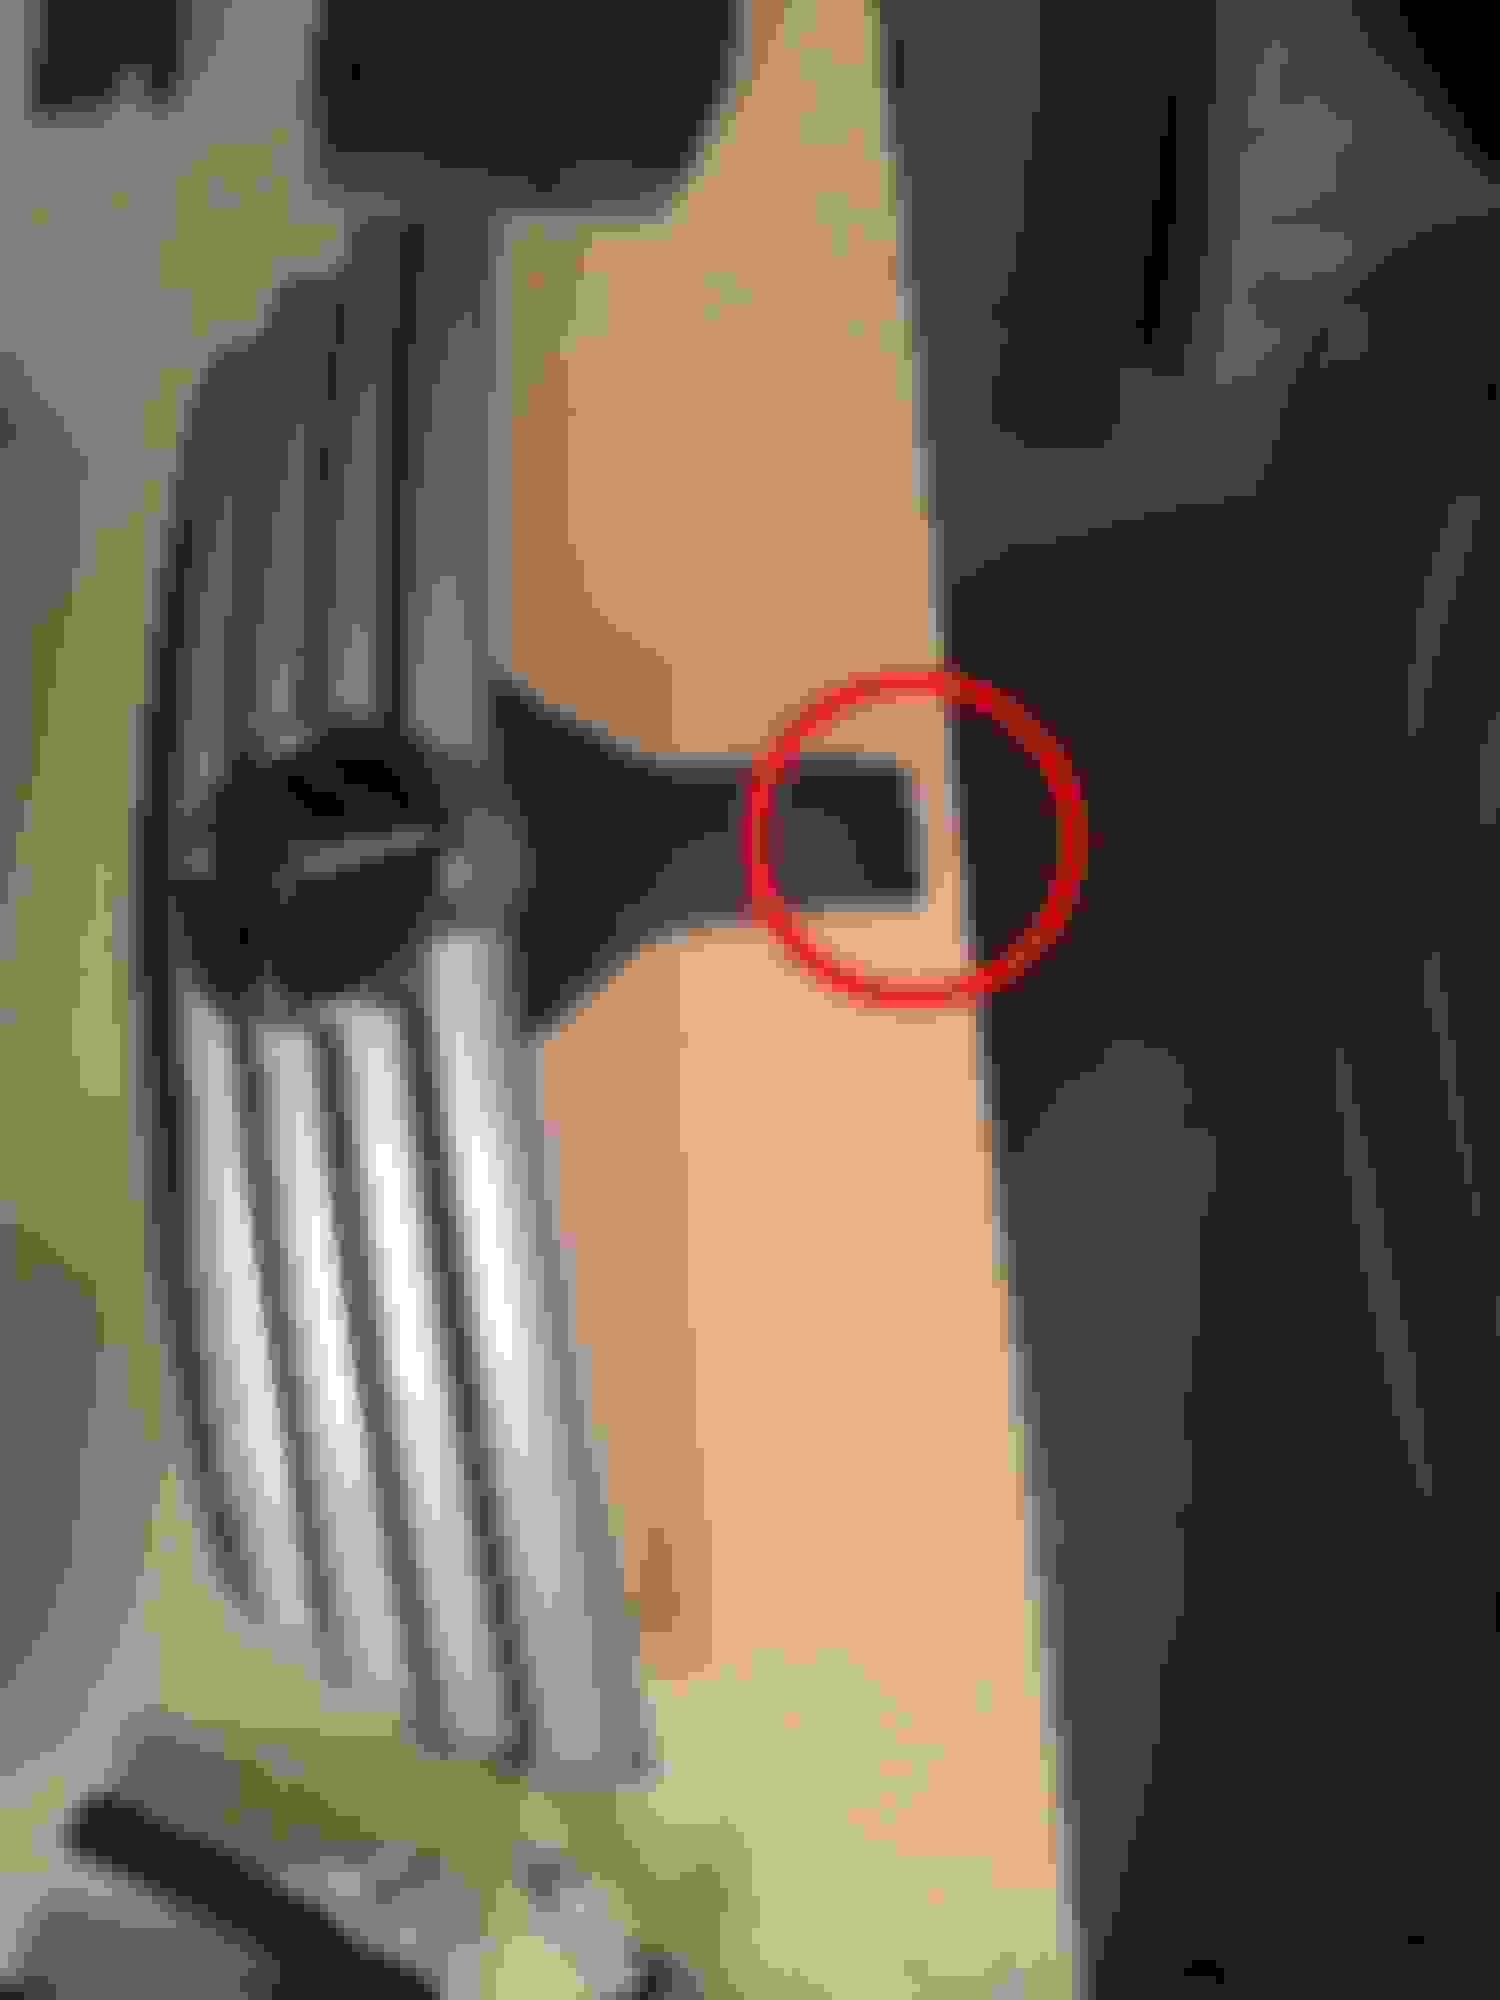
2, 3 - Front grill removal. It has two bolts on the upper side, then two plugs on the sides (I had one broken, probably some front touch), and then it unclips BACKWARDS
4, 5 - Air hose removal, the box part (4) removes applying a little pressure down and then up (making sure it unclips from both sides), on the fresh air side the clip is instead on the plastic that holds the hose, you need something to apply pressure on that clip and the put some down pressure.
6 - Remove the air box cap and unclip the connectors holding it in place, unplug the ECU. There are some zip ties (At least on my car) to be cut to release cable pressure during this job
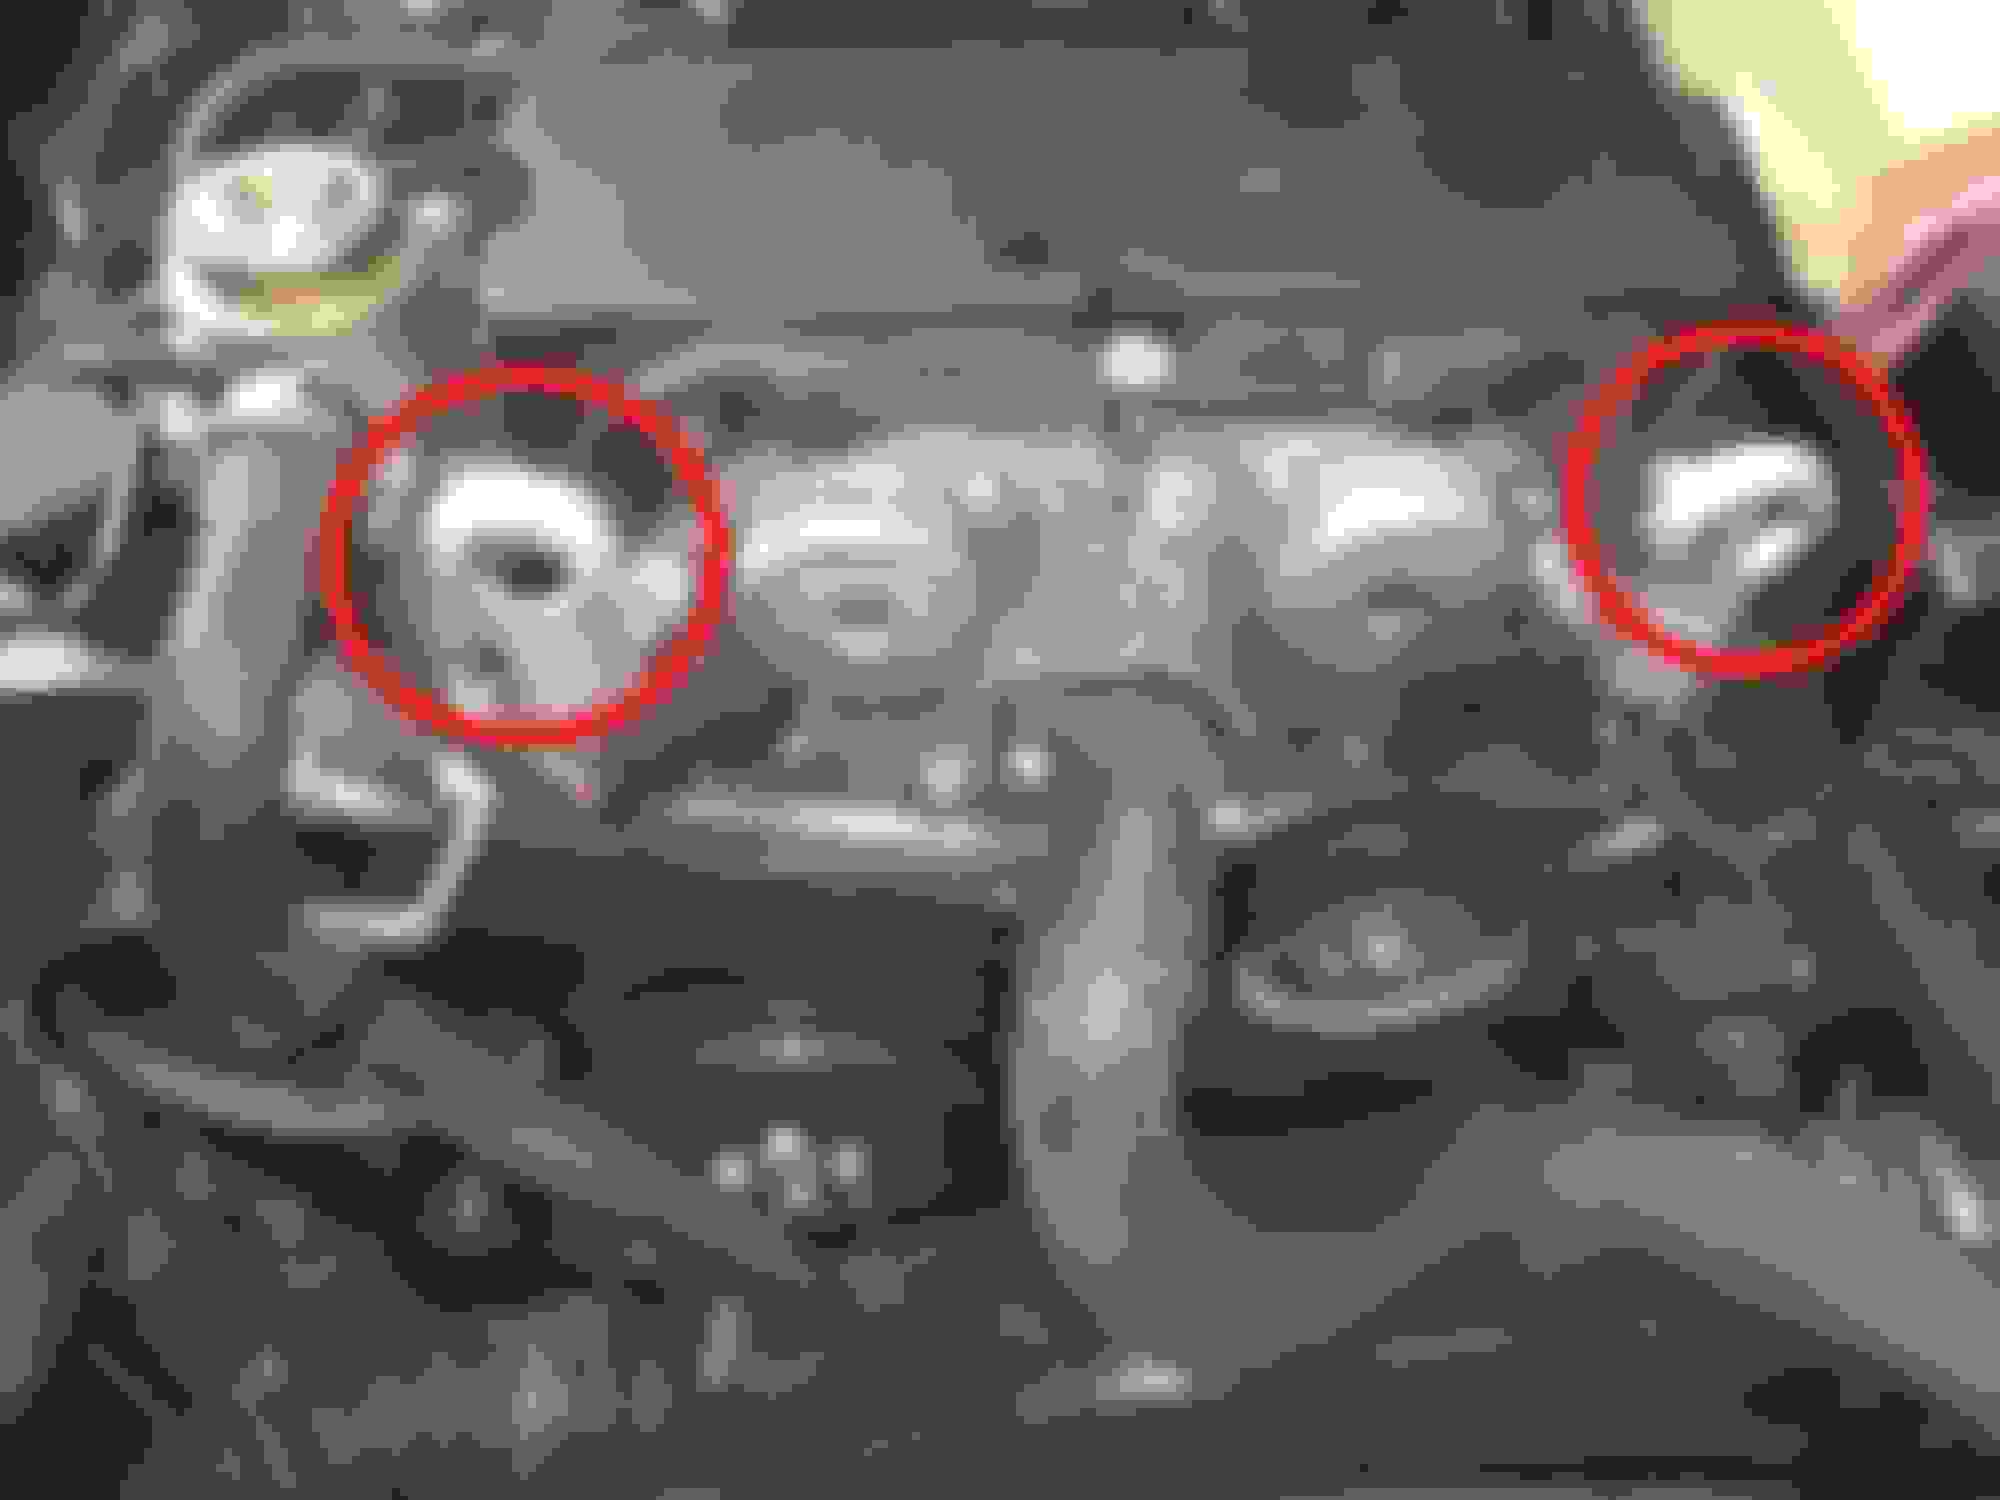
7, 8 - Remove the cap, again release zip ties to work comfortably, remove the coils (Not the spark plugs, we don't want anything to fall down there).
Some detail pictures of each part touched so far: The plugs that hold the grill on the sides Battery bracket to be removed The air hose and its clipping points Air box cover screws This is were the grill holds on its down side, it unclips backwards Ecu connector to be removed (On its sides it has some plastic to pull that releases the whole connector. Then a few other connects (Maf, and etc) to be removed. In my case cables were tighted by zip ties that I removed to work more comfortably ECU Connector The hose in the middle has to be disconnected too. Metal clips to be released to remove the battery plastic cover Engine cover, front engine plastic, air box cover The two upper bolts holding the grill More shots about the connectors This are the two plugs that hold in place the front engine cover This is where the two upper bolts hold the grill This is where the two plugs hold the front engine cover some zip ties removed to start releasing cables and connectors Battery connectors freed The battery out Some connectors released on the sides of the air box.
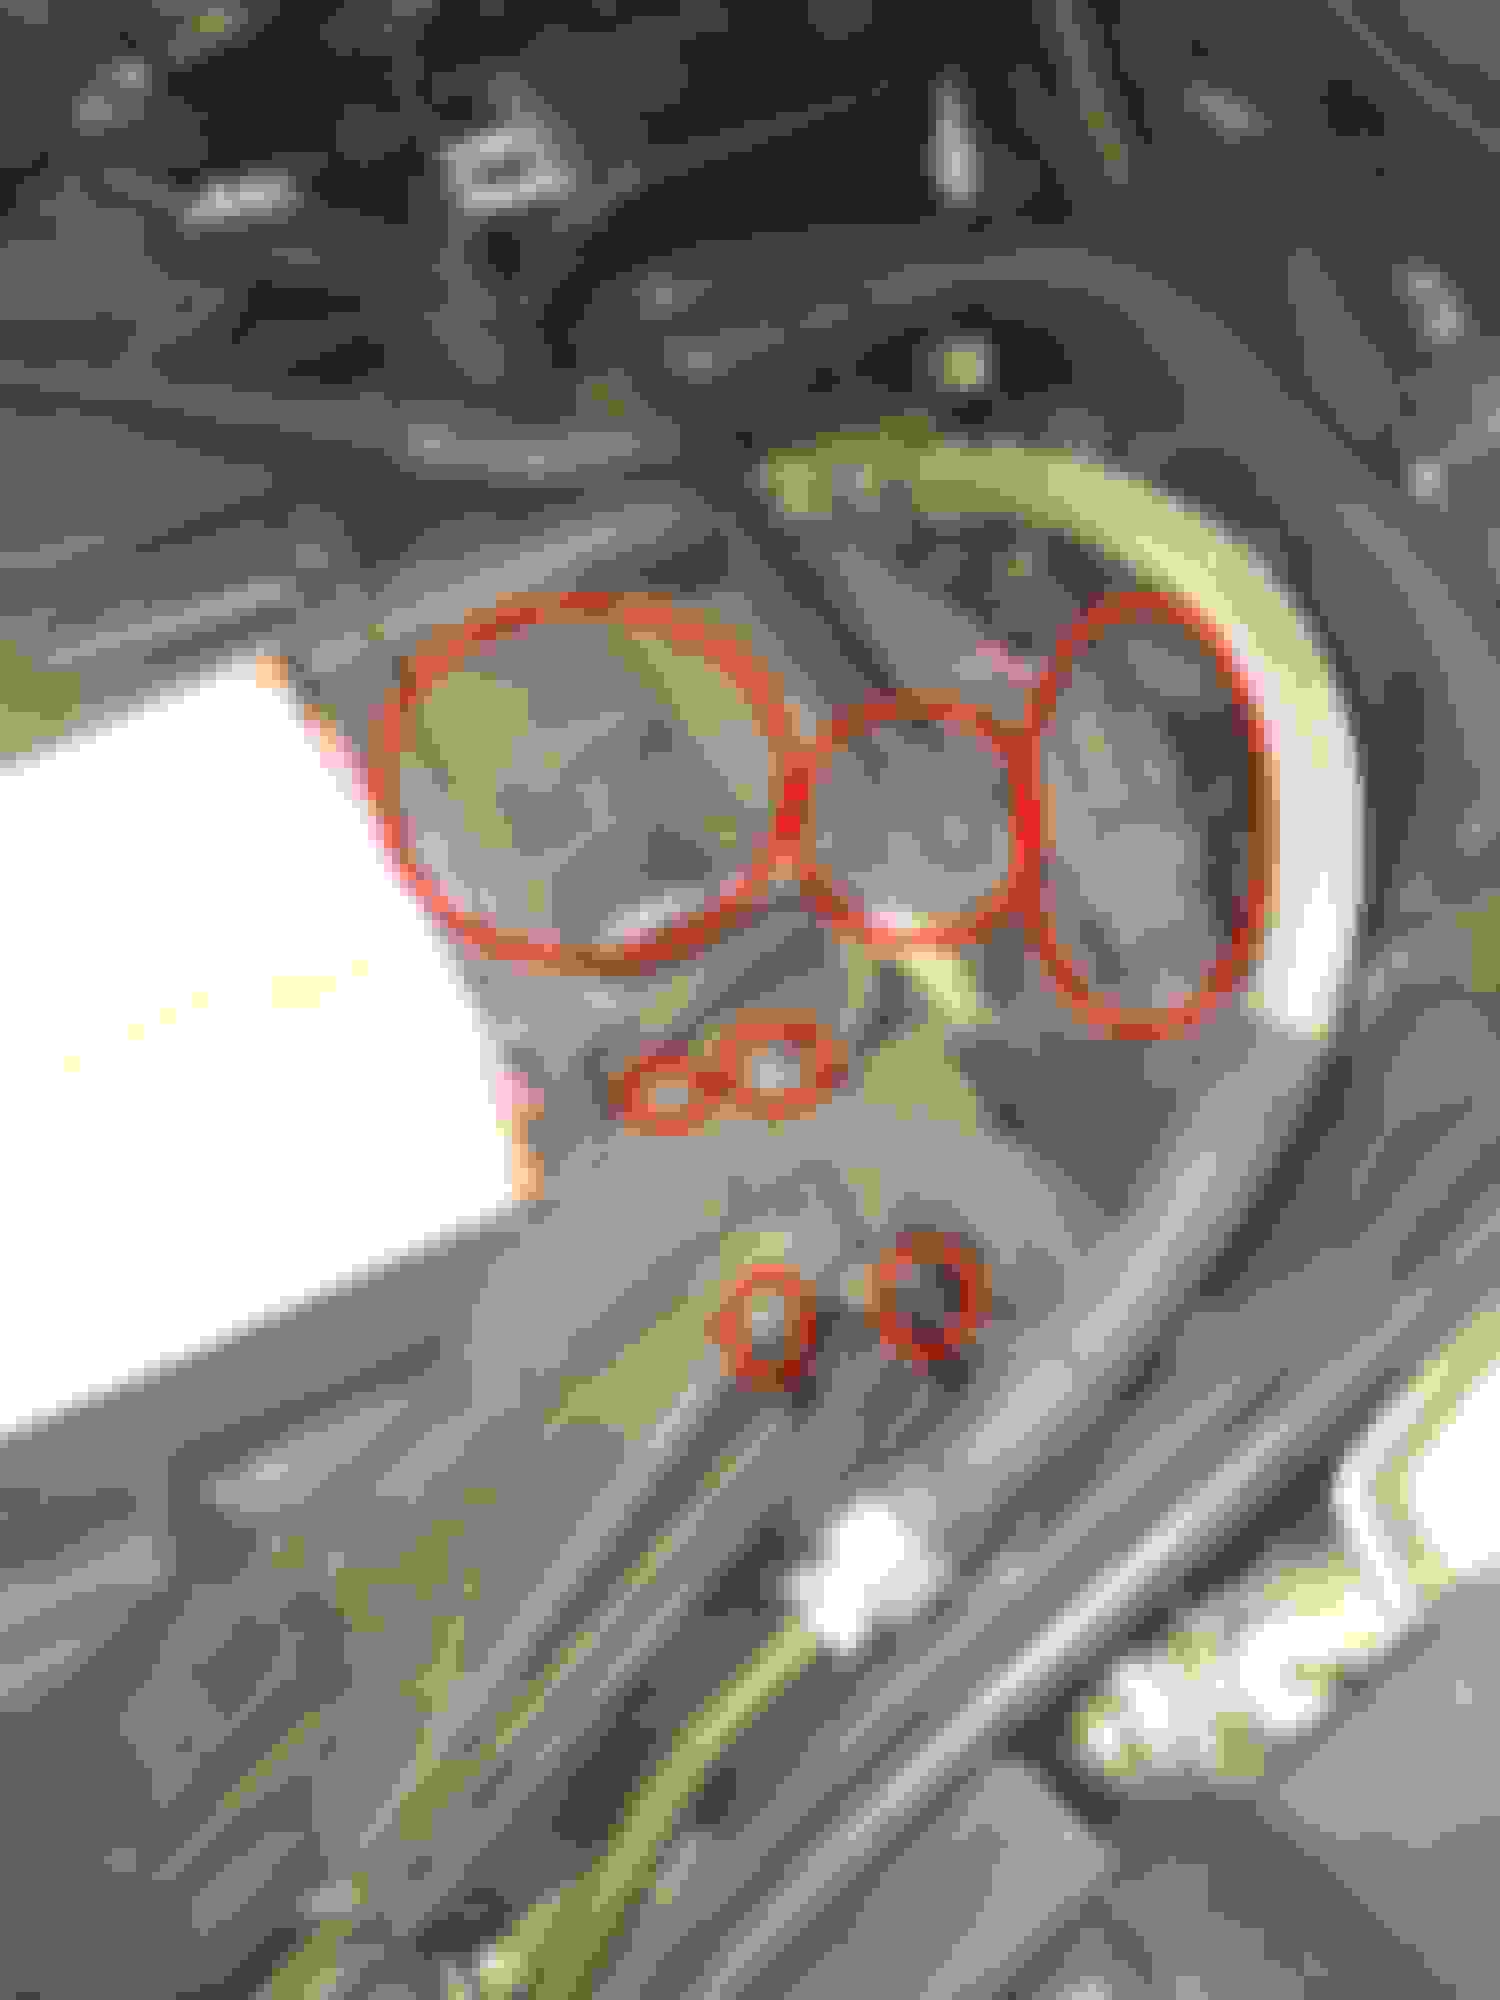
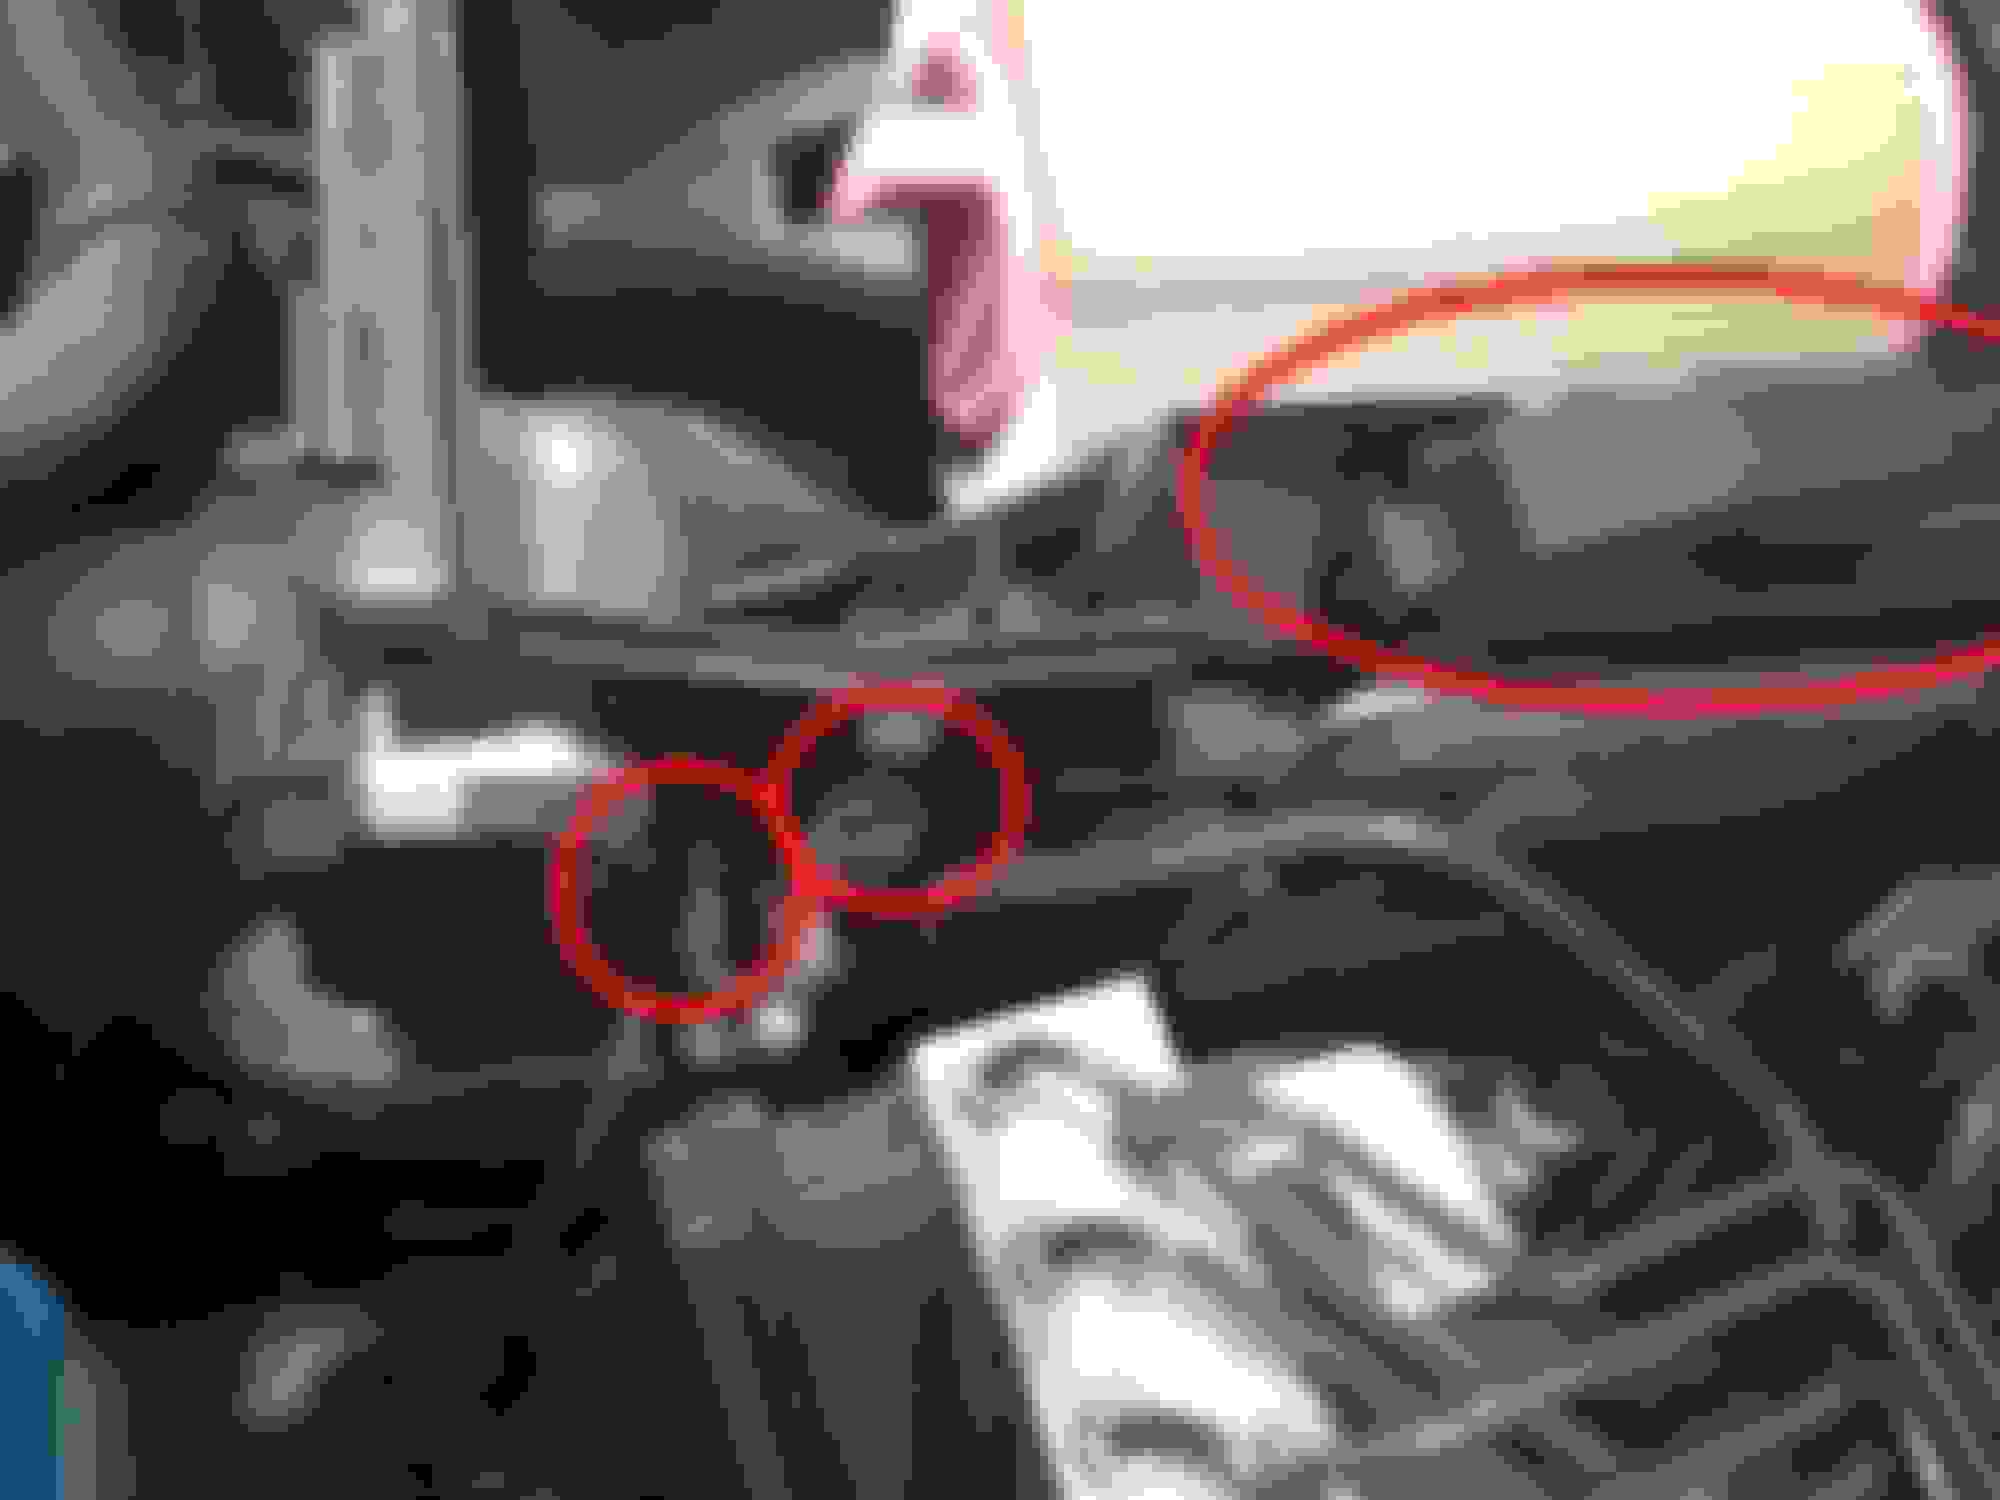
A photo with the coils numbered, and the tool I made to press on hard to reach clips :P One of the rear bolts to remove the air box (E10 if I'm not wrong) The other bolt to remove in order to the air box out. This one is a E8 I guess but I had to use a hex of 8mm to get it out because I had no E8 that can get into that small tube The two brides to be losen in order to remove the return hose A plastic clip to be loosen to remove the return hose The hose was stuck on the valve, when tried to get it out it got destroyed... Another piece to be changed... This one is a metal clip, to take it backwards and it will release the hose These twi brides and the clip are on the other end of the muffler, I had to get down the car to remove the other. luckily me the car is over the pit, so it was nothing hard. This connector is on the throttle body, just another one to get out. This tube is the one coming from the supercharger, depends on this bride and another one that is on the other end. It is actually a short tube but to reach the other bride you can get down the car (As I will), or remove the other hoses first
What were the results of the compression tests?
You need to do compression tests.
The only thing that makes sense is that the engine over heated in the past.
If that was the case, the head and/or the block warped/distorted for some period of time.
Therefore, you must check the straightness of both the block and the head.
Hi @RedGray
Well, dry & wet compression tests were done before starting with this, while we had similar readings on cyls 1, 3 and 4, cyl 2 was lower on both dry and wet.
And yes, the idea of disassembling before starting to buy is to discover what and how hard things are damaged. Hopefully (just based on that the issue was not so advanced) the damage is low, but I do expect to discover things not in the scope till now.
I already have the machinist rule prepared to check for distortions when I get it out.
Just talking about this, some more pics about the disassembly: This has to be loose, not right now but later one to separate it from the supercharger Bolt holding the air box The other bolt holding the air box, if your E8 doesn't get though the tube a hex 8mm will do it two brides to be loosen to remove the return hose another hob of the lower bride The hose out, mine just broke as it was stuck, part number A2711410783 This hose gets out just releasing that metal clip and then pulling the hose out, it shouldn't require much pressure This two brides should be loosen to remove the muffler (Between the previous clip and this two brides). Will finally get loose later one, but just to get them loose already
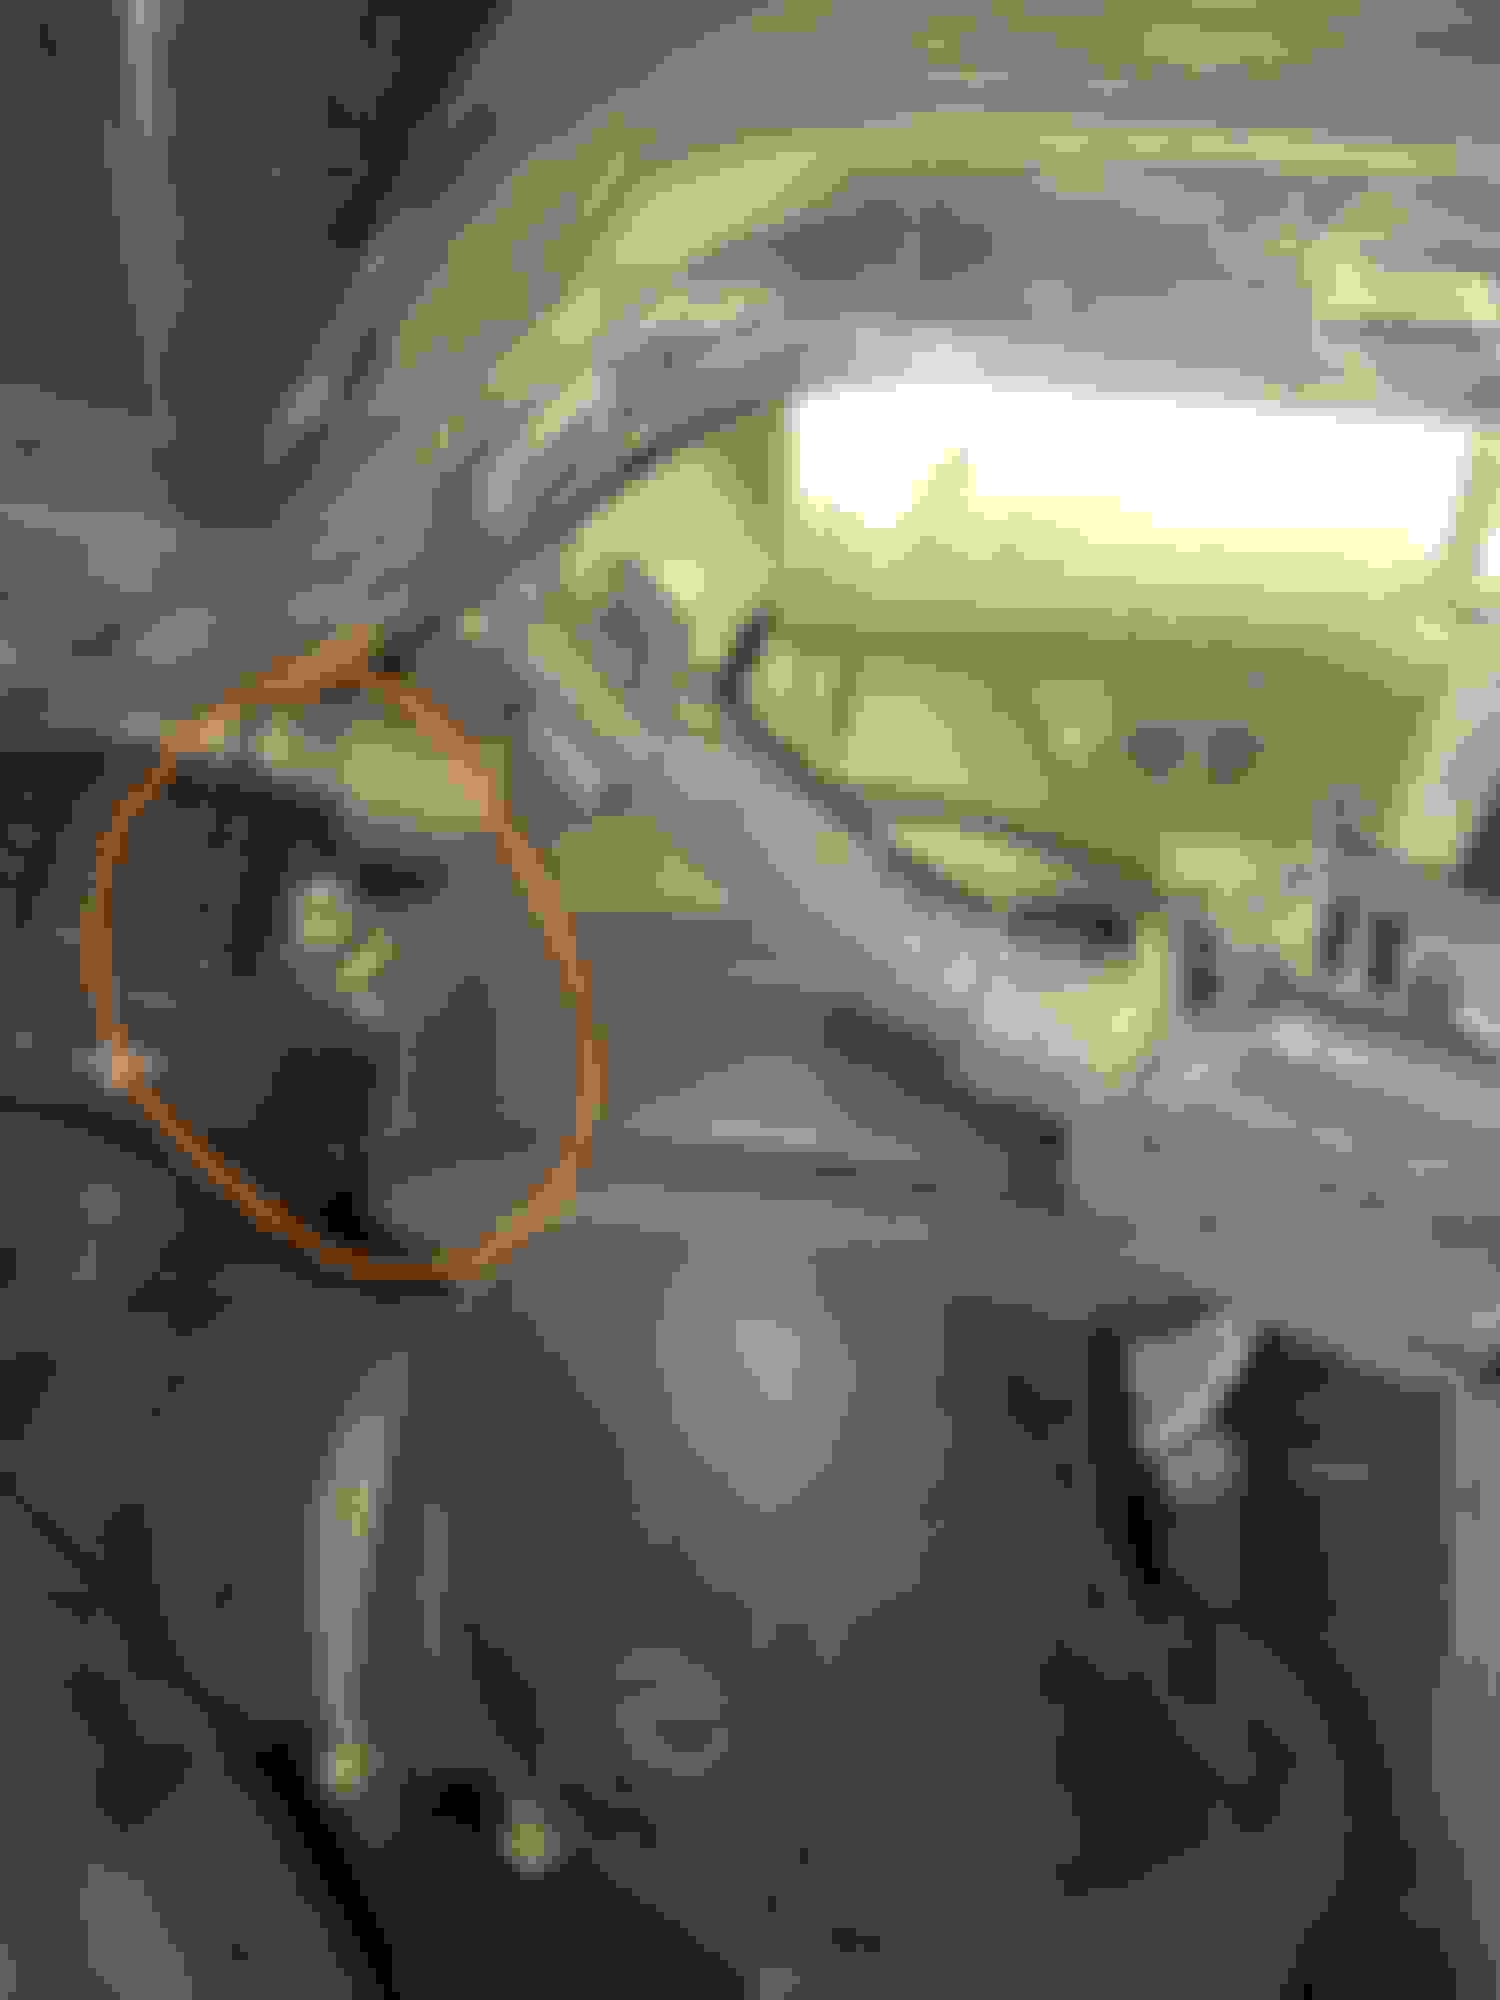
More photos. Vacuum hose to be released Another shot Camshaft magnets disconnected Vacuum hose to be released (Twisting it gently helps unstick it from the tube) This connector has to be removed before taking the air box out, it as a lock underneath, just get your finger under the connector, push it to the front of the car, and release the connector moving it backwards Another shot from the bottom This connector should be disconnected too, by the way, the sensor can be taken out of the TB at this point, and it is a good idea to clean it a little with MAF cleaner This bride will hold the air box back tube down, you need a special tool to release it, cheap though A closer shot Once the bride is loosen push the air box up and then push it backwards Another closer shot of the air box with the hose and connector spots more visible (Just to understand why should be disconnected) This is where the bride goes And this is my method to leave the bride somewhere, don't leave it on the air box tube, as nothing will stop it to get further closed and finally broke that tube.
It's good that you did a compression test before.
It's very important that you are sure that the head has a flat surface - especially all around the cyl#2 area in your case.
A professional straight edge is best. But, I've found that even mid-range carpenter's squares are often more than flat enough to check for head/cylinder flatness over a "small area" - like ~~10". Just get a 12 carpenter's square (or what ever is close in metric).
I have a couple of long flat straight edges. But, those do cost a good amount more. In your case, I think that a mid-range ~12" carpenter's square should be good enough.
Well, thanks all for the help.
I will make the long story short, disassembly went well up to some point were you really need the PDFs with the instructions.
One I took the head off I found that yes there was a gasket burn mark on cylinder two, and the head in general looked good, I was gonna install it just after cleanup but I decided that it was better to get it measured properly. On the shop they told me that the head was in general good conditions, that it was apparently never took away of the vehicle before, and that there was a bent of just 0.15mm, so they resurfaced it taking away 0.2mm, and then washed it in some hot water and detergent chamber they had to remove old oil, dirt, etc.
The installation went in reverse order, just that before installing the head I changed all valve seals, and before reinstalling the valves I cleaned up all of them and made a slight seating procedure, everything was fine actually but it was to remove dirt and carbon that was there (I don't wanna take this head never again while I have the vehicle if possible).
I have to say that disassembling this engine on the car is an actual pain, there are a hundred bolts that are stupidly difficult to reach and handle, but aside that, it is doable.
Also, for the reassembly I had to print all the PDFs I avoided at the beginning just to get all torque specifications (Not just the head, but the whole engine).
Just to mention the most idiotic problem I had during the re-assembly, camshaft adjusters front cover two of those little bolts broke (And I installed as per torque specs!), lucky me there was enough part of bolt out to remove it with some pliers, went to the fastener shop and got two replacements (the had no zinc torx, so I got two allen screws, the torque on those screws is so low anyways that it is not a major problem that are not zinced).
I had been using the car for the last two weeks, made already 100km (60 miles) on it, and so far so good, no coolant consumption, no oil consumption, the engine started awesomely well after maintenance, and I'm enjoying it again (driving like a grandpa till yesterday that was the first night I drove as I normally do, not excessively hard but at least now I can overpass a car if I want).
Only thing that I noticed after driving the car again is that while doing the head gasket job I made a gearshift and differential oil change too, the car was sitting for almost a month but the gears were a little hard at the beginning, mostly when going down, like 3rd to 2nd, or 2nd to 1nd (some streets are terrible here, and bumps too, so sometimes the speed reduces a lit that going back for 1st feels better than leaving it on 2nd). Anyways, I noticed this week that this effect went away with usage, and last few days it felt much much better.
Next thing to do is to change serpentine belt with the next oil change (that is in around 300k kms;180 miles), (Yes I'm changing the oil again that short just to be sure that all debris from maintenance caught on oil and filter go away as soon as possible).
BTW. I have hundred of pics, but still haven't found a practical way to upload them to the forum.
Yes, and also the order of the pictures is not names based, so that makes it a little more difficult, but I saw there is an album feature on the profile, will check that.
Mercedes SLR McLaren 722 S Is Extremely Rare Example Modified by McLaren
Slideshow: A one-of-one U.S.-spec Mercedes-Benz SLR McLaren Roadster became even rarer after a factory-backed transformation at McLaren's headquarters.


 , looks like coolant are we aligned?