When you click on links to various merchants on this site and make a purchase, this can result in this site earning a commission. Affiliate programs and affiliations include, but are not limited to, the eBay Partner Network.
You should be able to code out the SAP fault with Xentry (makes the system N/A, as commonly the case for European versions of cars).
The only argument for keeping the SAP system is that it protects the factory cats. It serves little purpose with aftermarket cats and zero purpose for anyone with a cat delete.
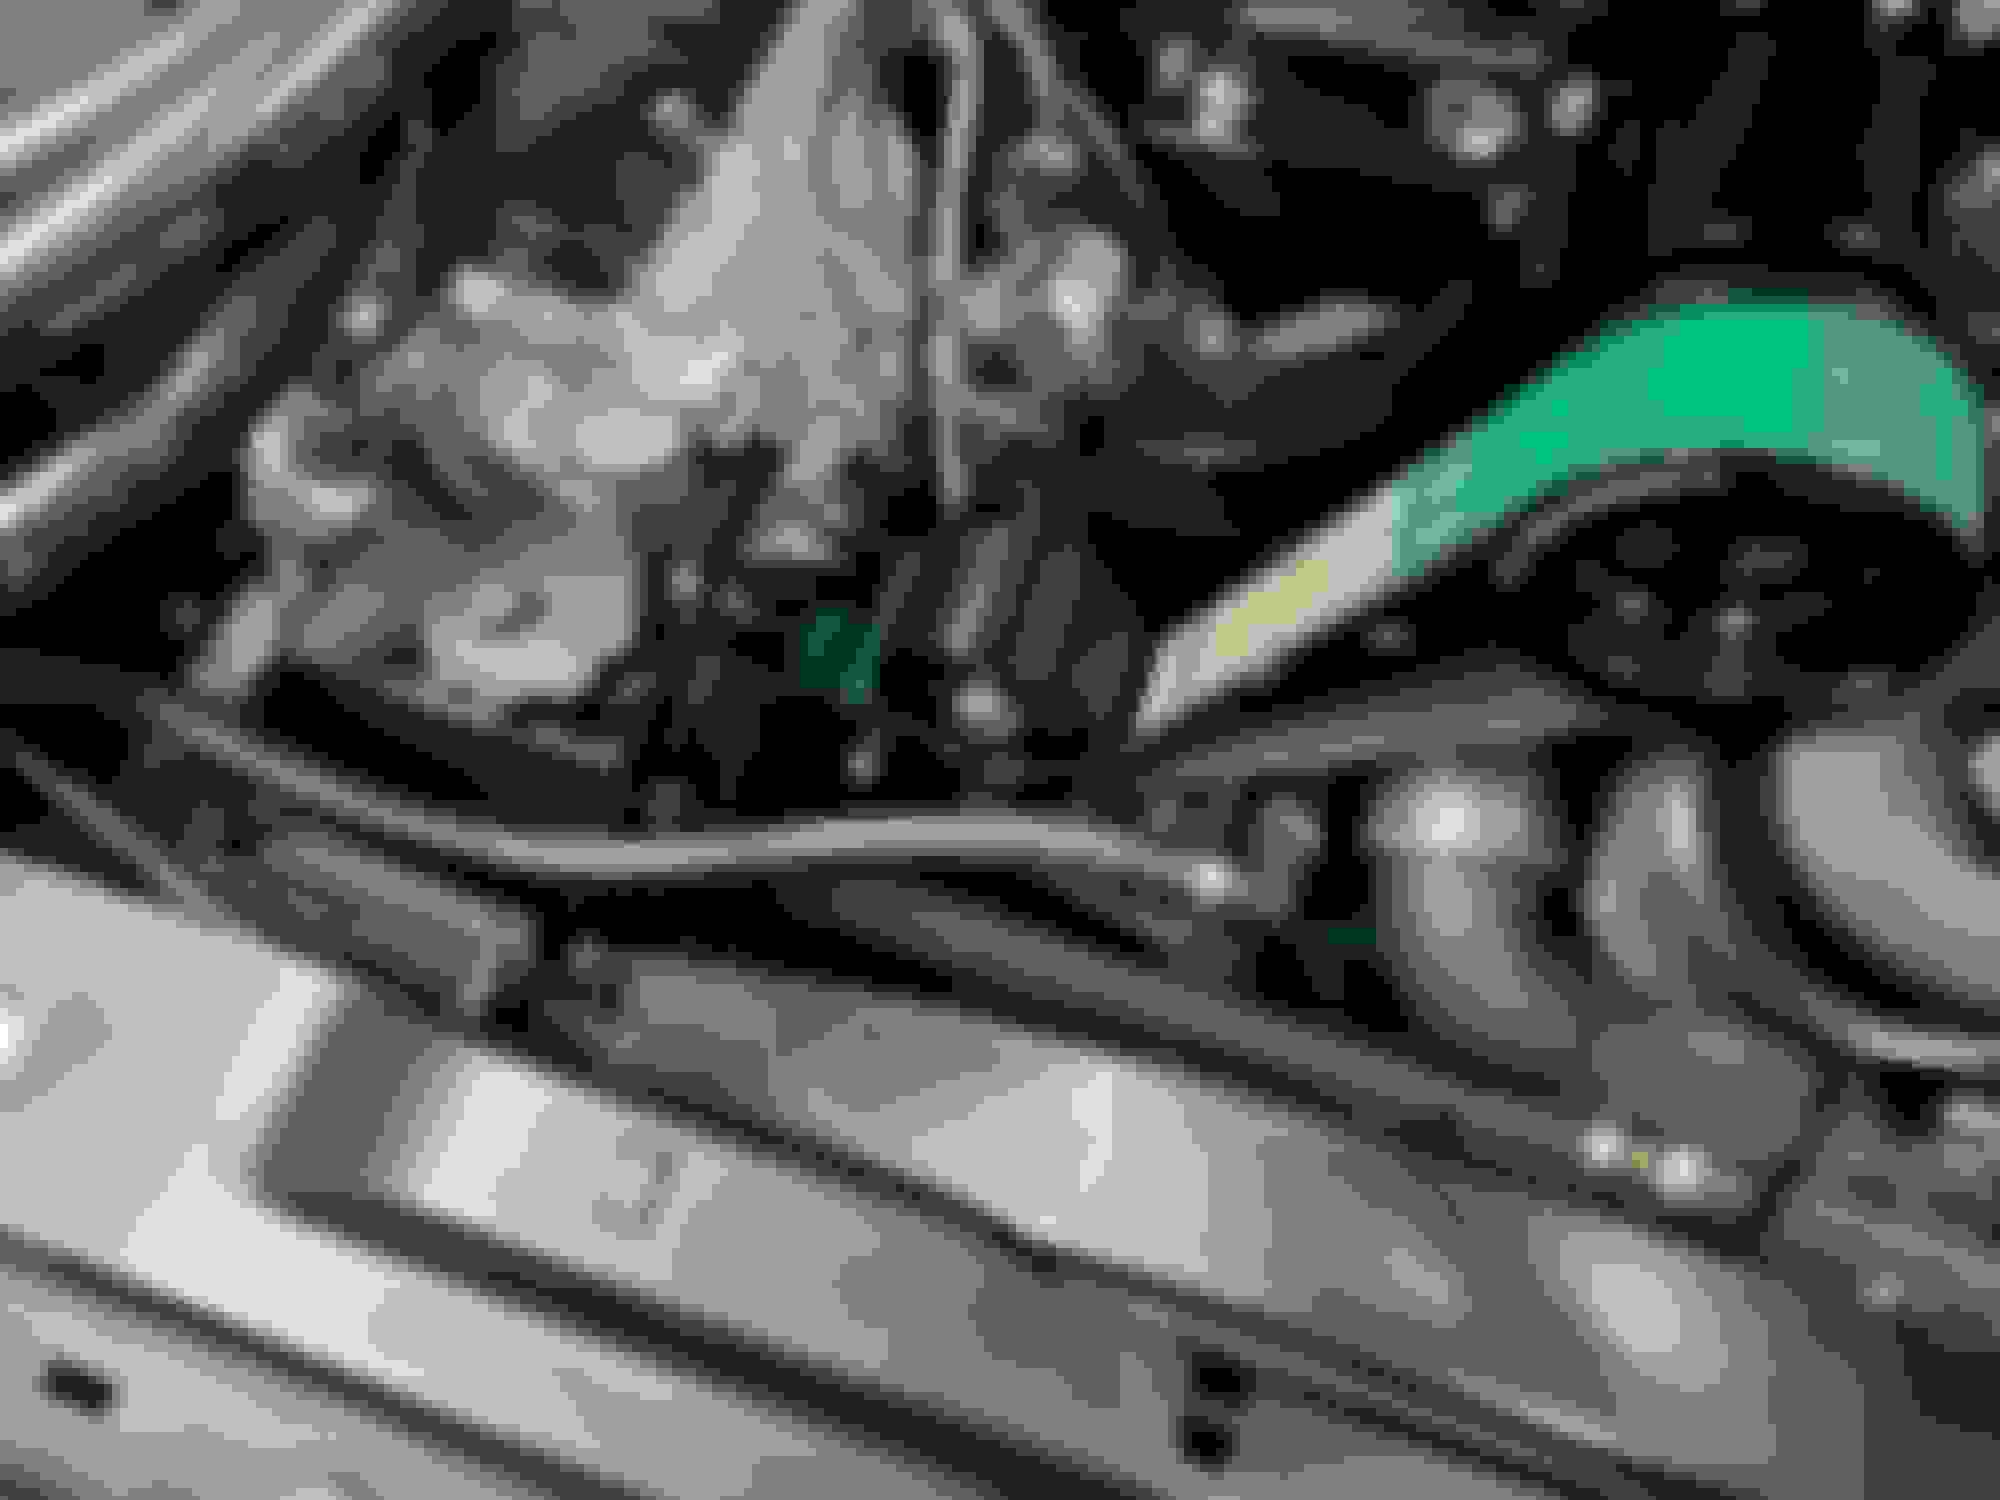
Last night I git the intercooler fully mounted with through bolts for a more secure setup. Also had a friend of mine tig weld AN fittings on to the flanges for the oil cooler hose between main and auxiliary oil cooler. Im just waiting for the hoses and fittings to show up.
Another buddy of mine came over to help drop the blower on top of the engine. Its loose for now ill bolt it down today after work.
they did not, they were just flat. Which wasn't bad but getting the left side lined up behind the power steering pump was a *****.
Hah yeah that one was a pain. I put some grease on the torx bolt head so it would stick in the socket. You could get a few threads in to hold the cap, then used a long extension to rotate the cap into place to tighten.
Just returned to MB forums and your thread caught my attention. Just finished reading through it and I�m impressed. Headers done with jacks and stands, bravo!! Doing them on a lift is a PITA as is. I hope the transmission holds up long enough for you to enjoy the FI before having to upgrade. Keep us updated.
Just returned to MB forums and your thread caught my attention. Just finished reading through it and I�m impressed. Headers done with jacks and stands, bravo!! Doing them on a lift is a PITA as is. I hope the transmission holds up long enough for you to enjoy the FI before having to upgrade. Keep us updated.
Thanks, yea it was a pian on jacks, but i do everything i can by myself. I am a mechanic for trade so it wasnt so bad fir me.
Also, from what I'm hearing the mct should hold the power for a while as long as i stick to rolls and dont dig it too much. Right now I'm just finishing the tedious stuff up.
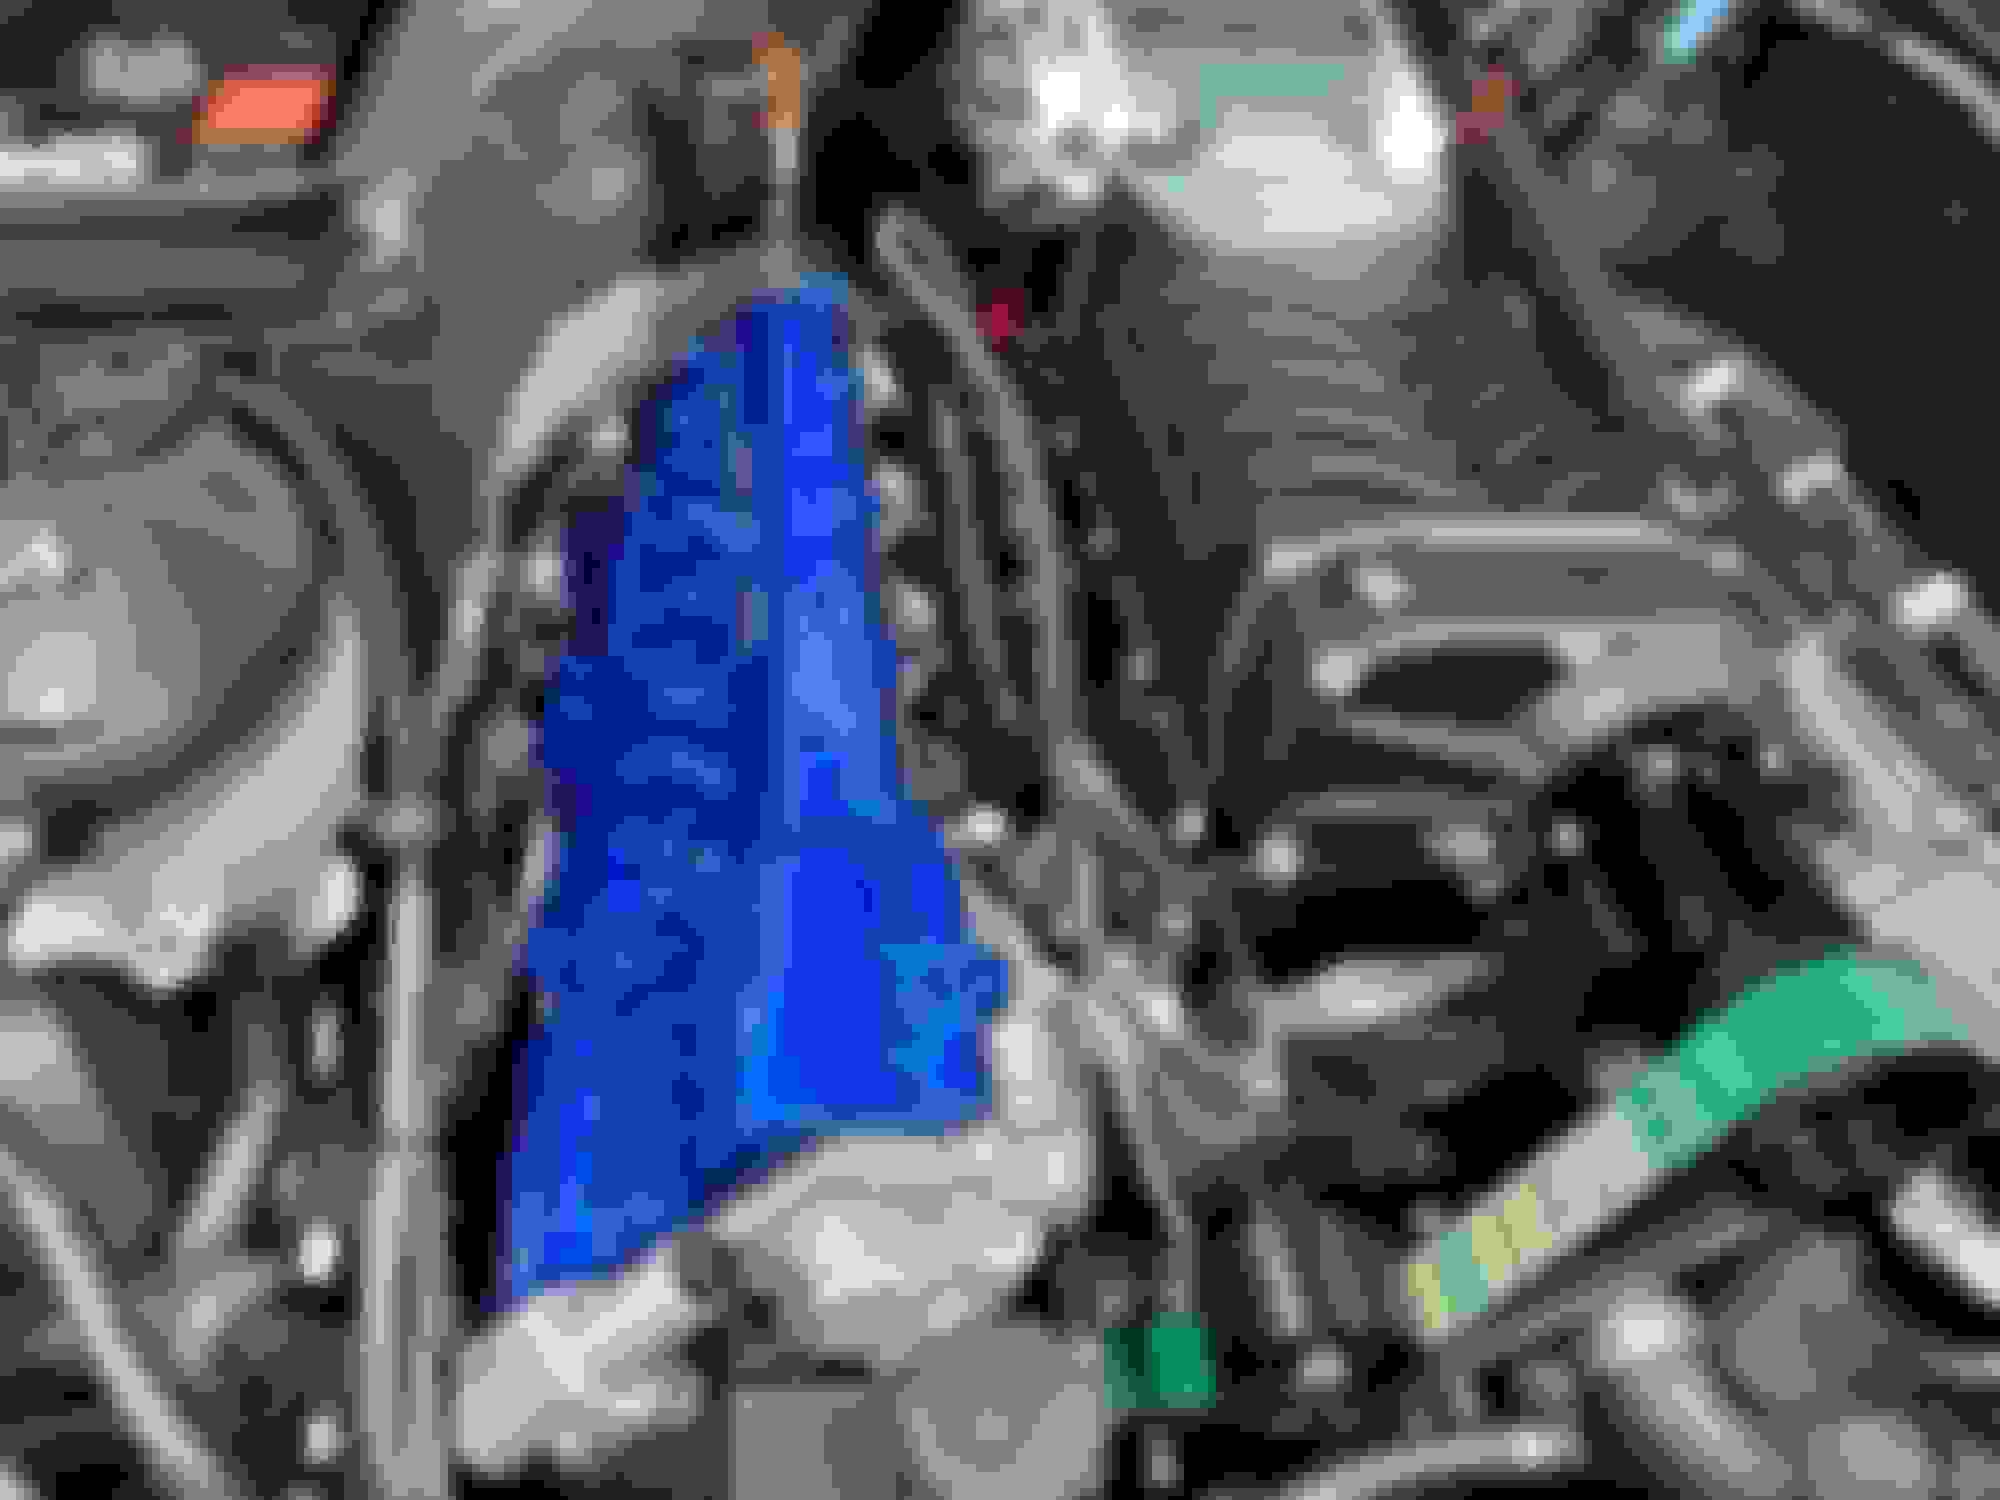
Haven't done much at all over the week as I'm back on night shift and also my part time job. Today after work this morning I finally got the oil cooler hose on and decent enough for me to be happy with it for now. It looks kinked but I assure you its not, its a little oval but barely.
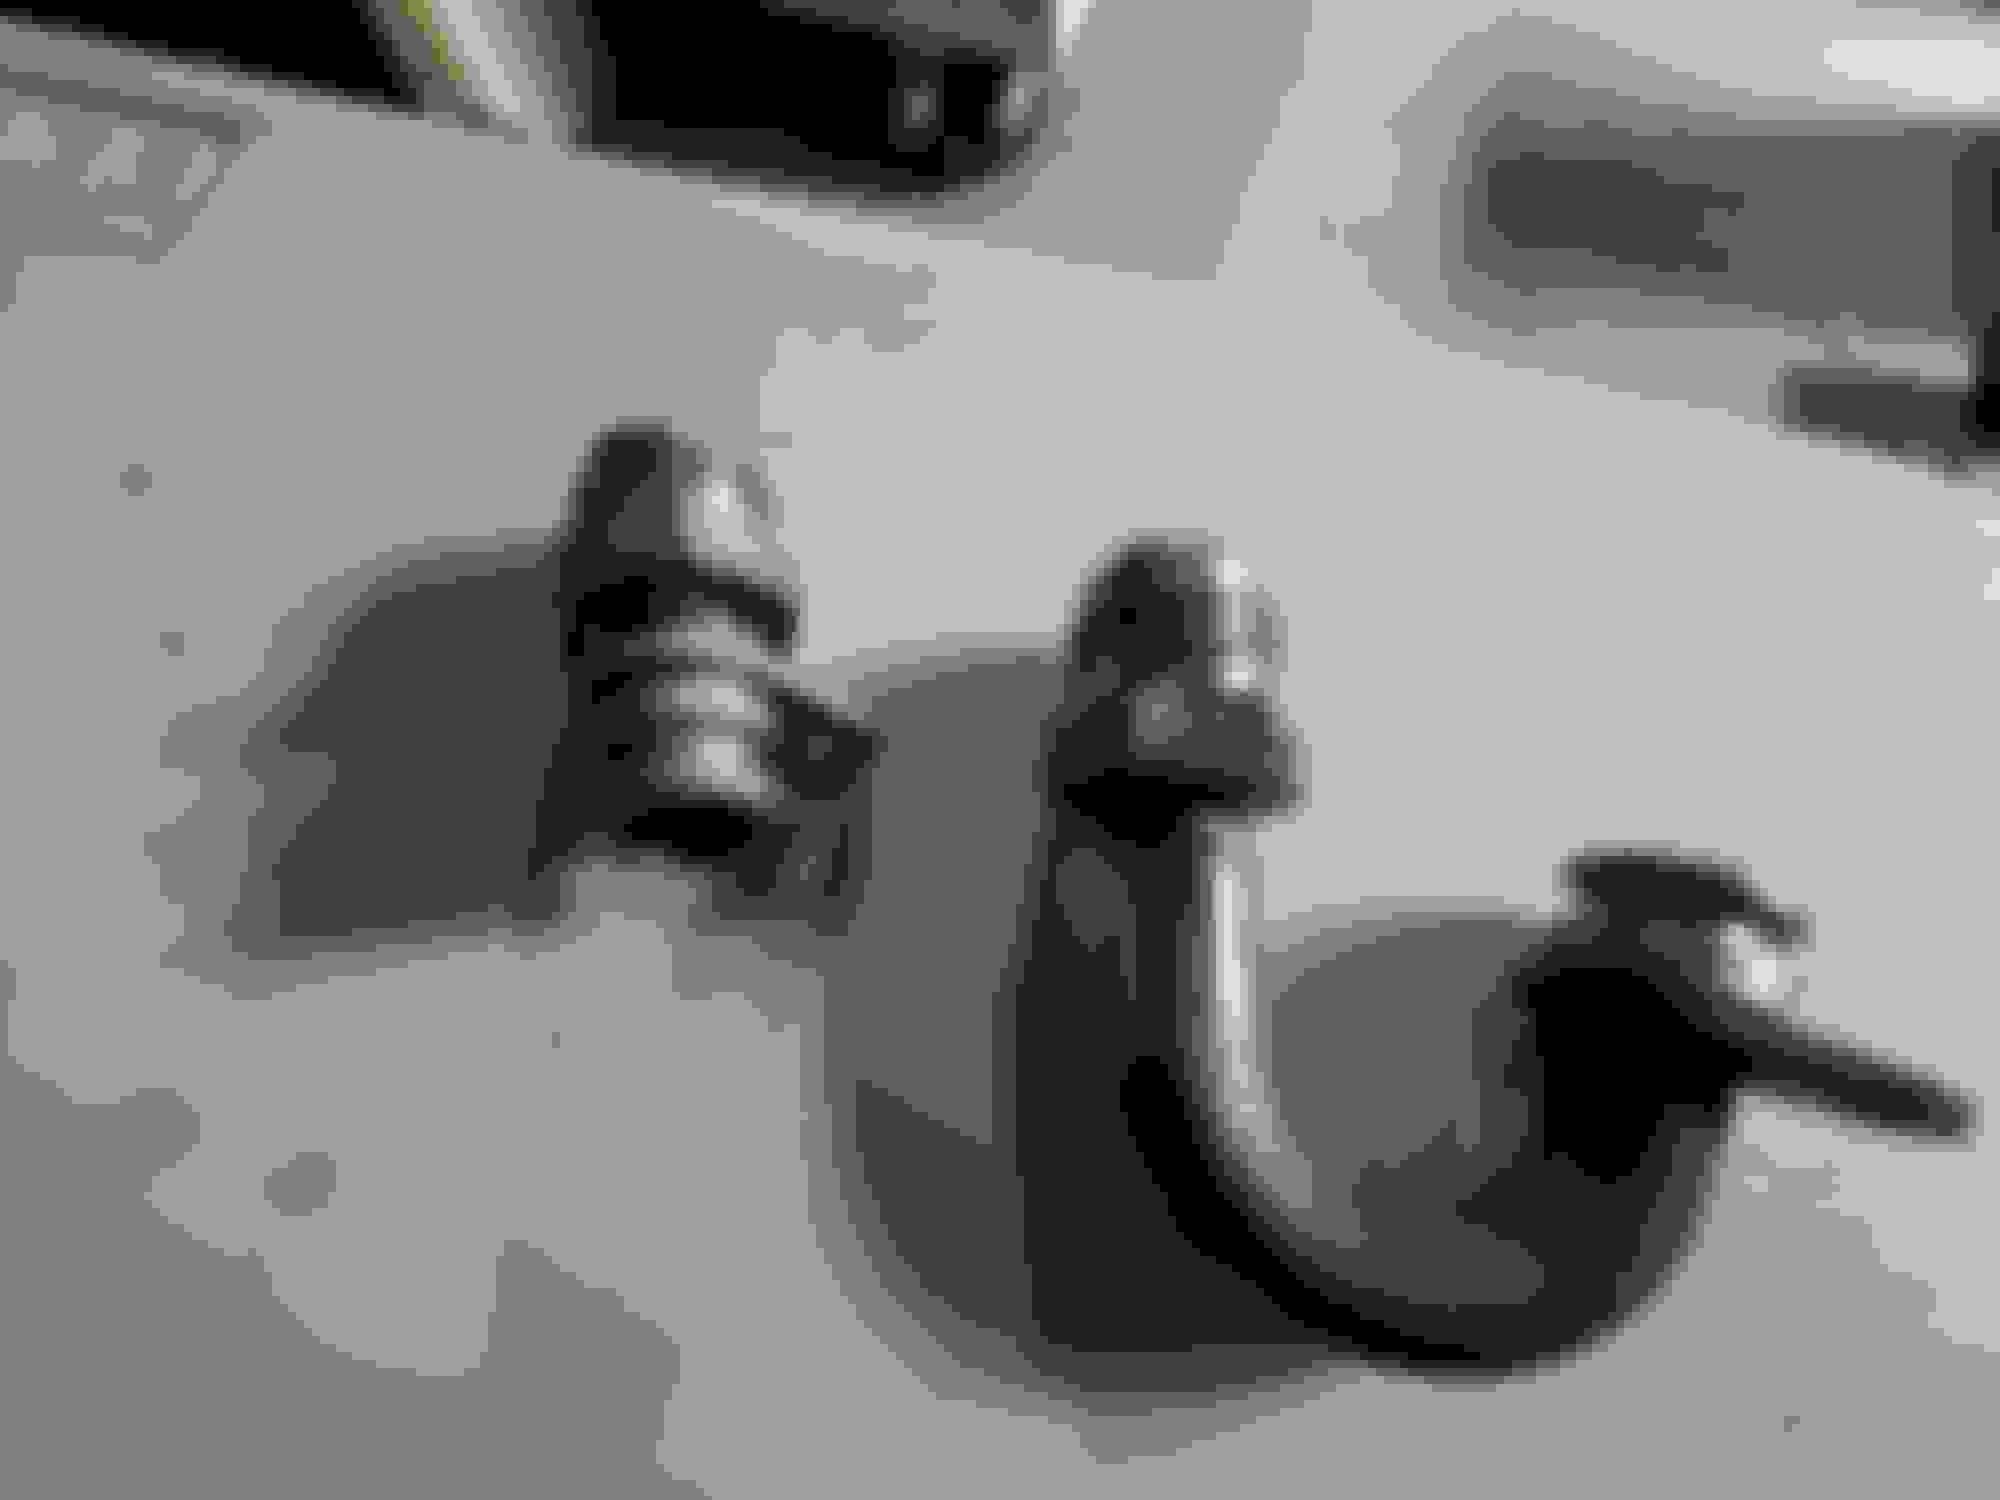
Also, got my purge valve relocated right behind the ABS unit to clear some room for my intake.
i put the blower pulley on and the belt to button that up, along with the radiator fan and upper rad support. I also started on the trunk ice tank but I have to make spacers at work to mount the tank to my liking. Once the tank is mounted and hoses ran then ill get the bumper back on.
Intake I plan to have made similar to this one.
Last edited by Phil1305; Jul 13, 2020 at 03:19 AM.
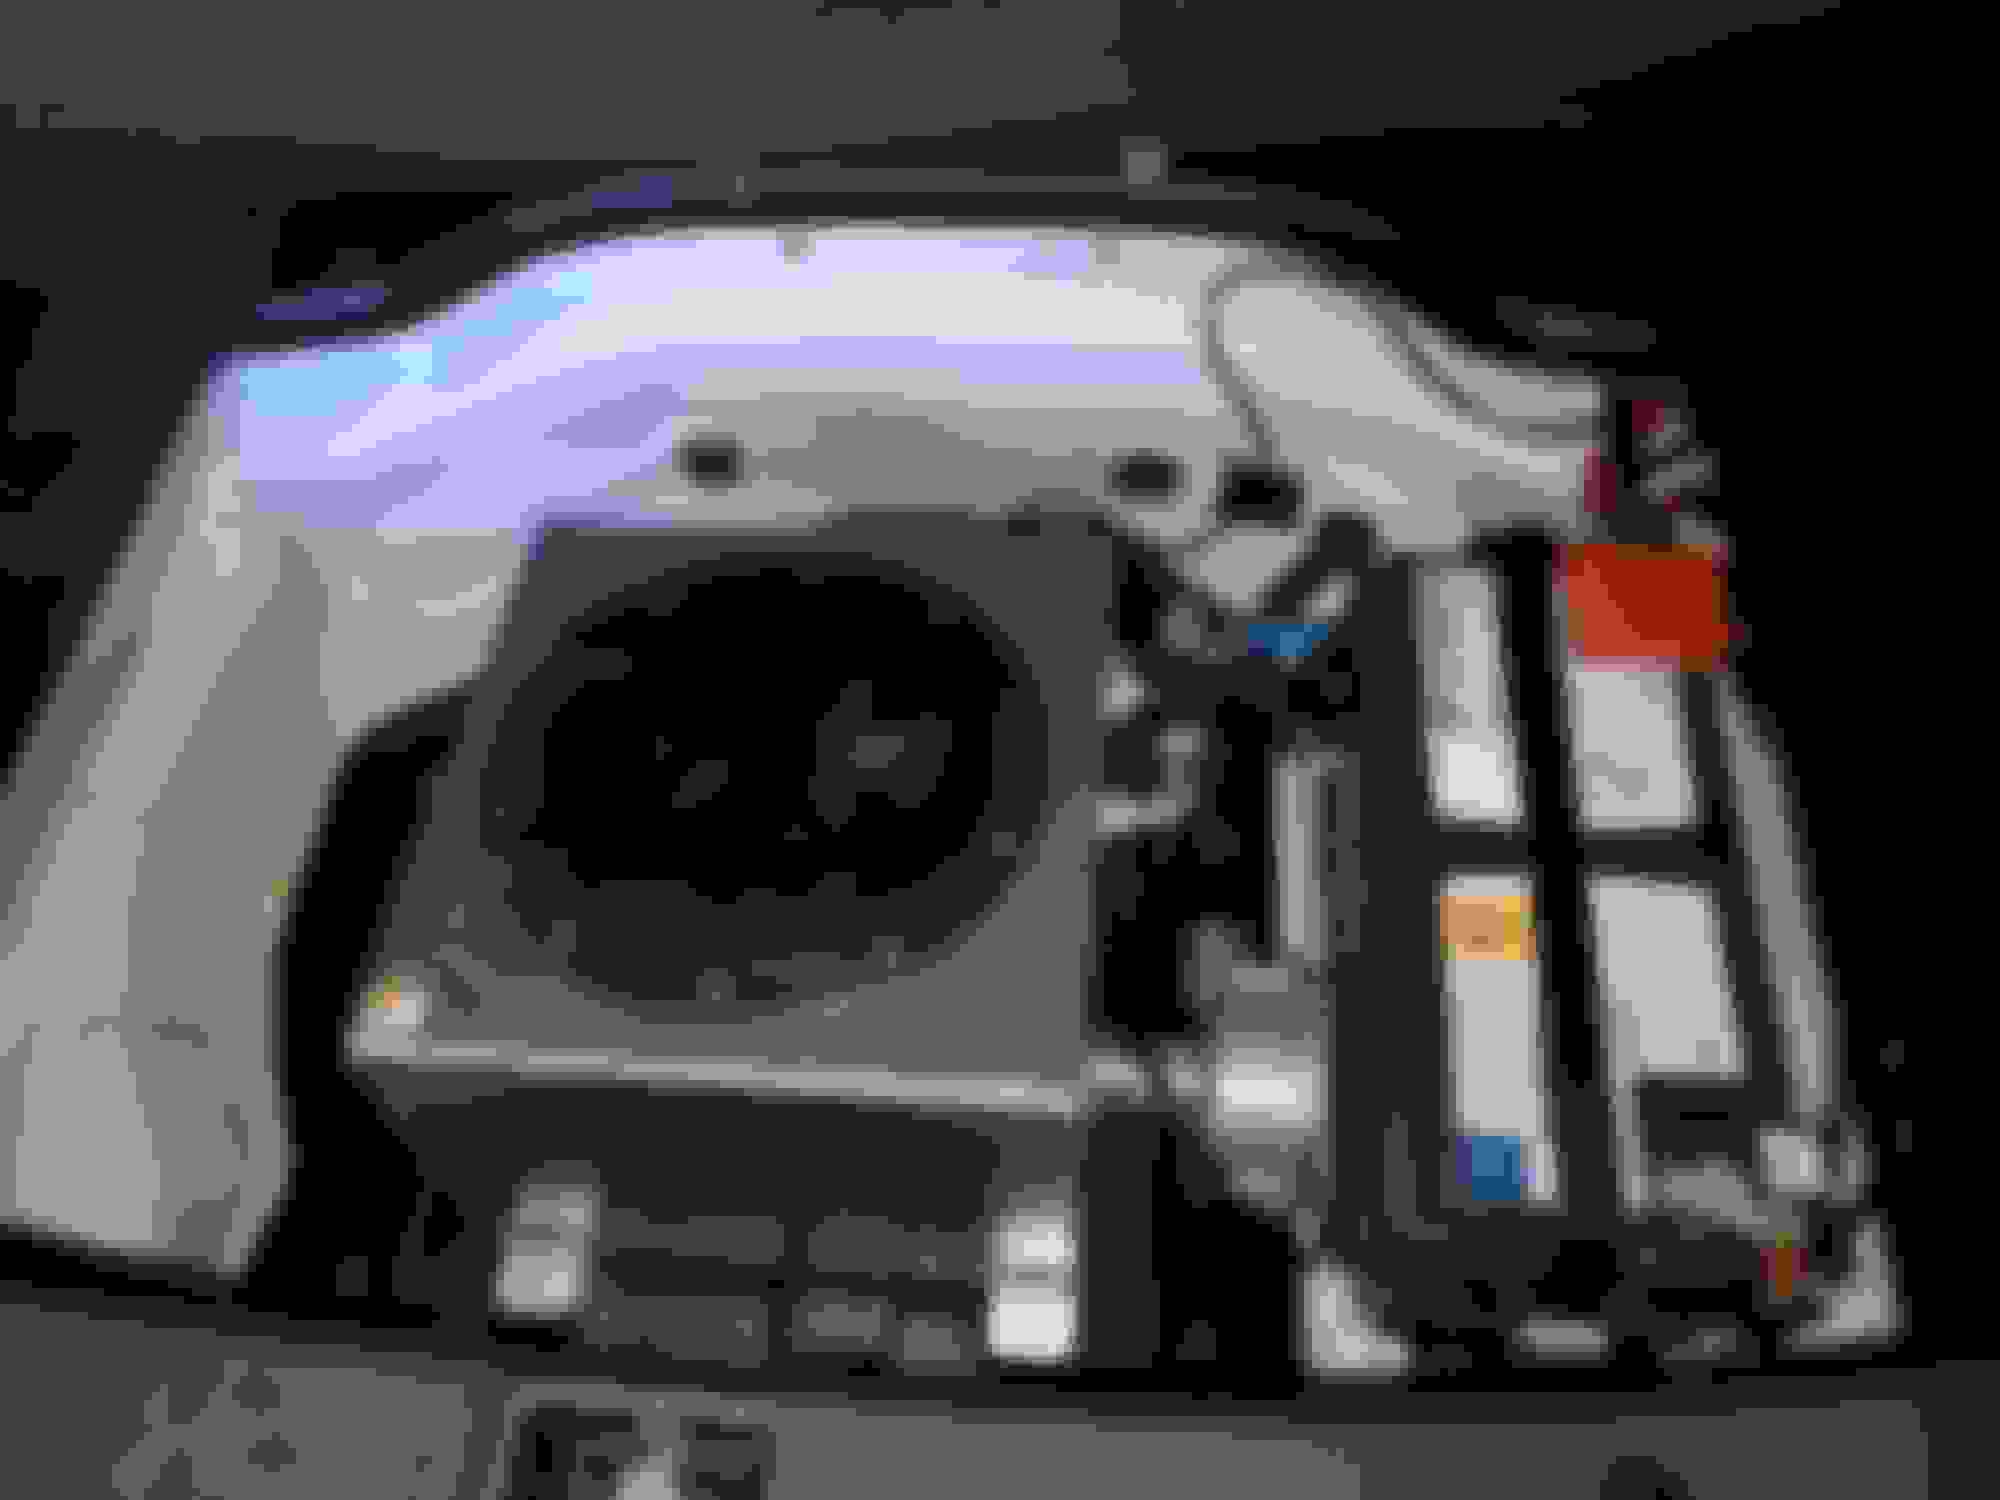
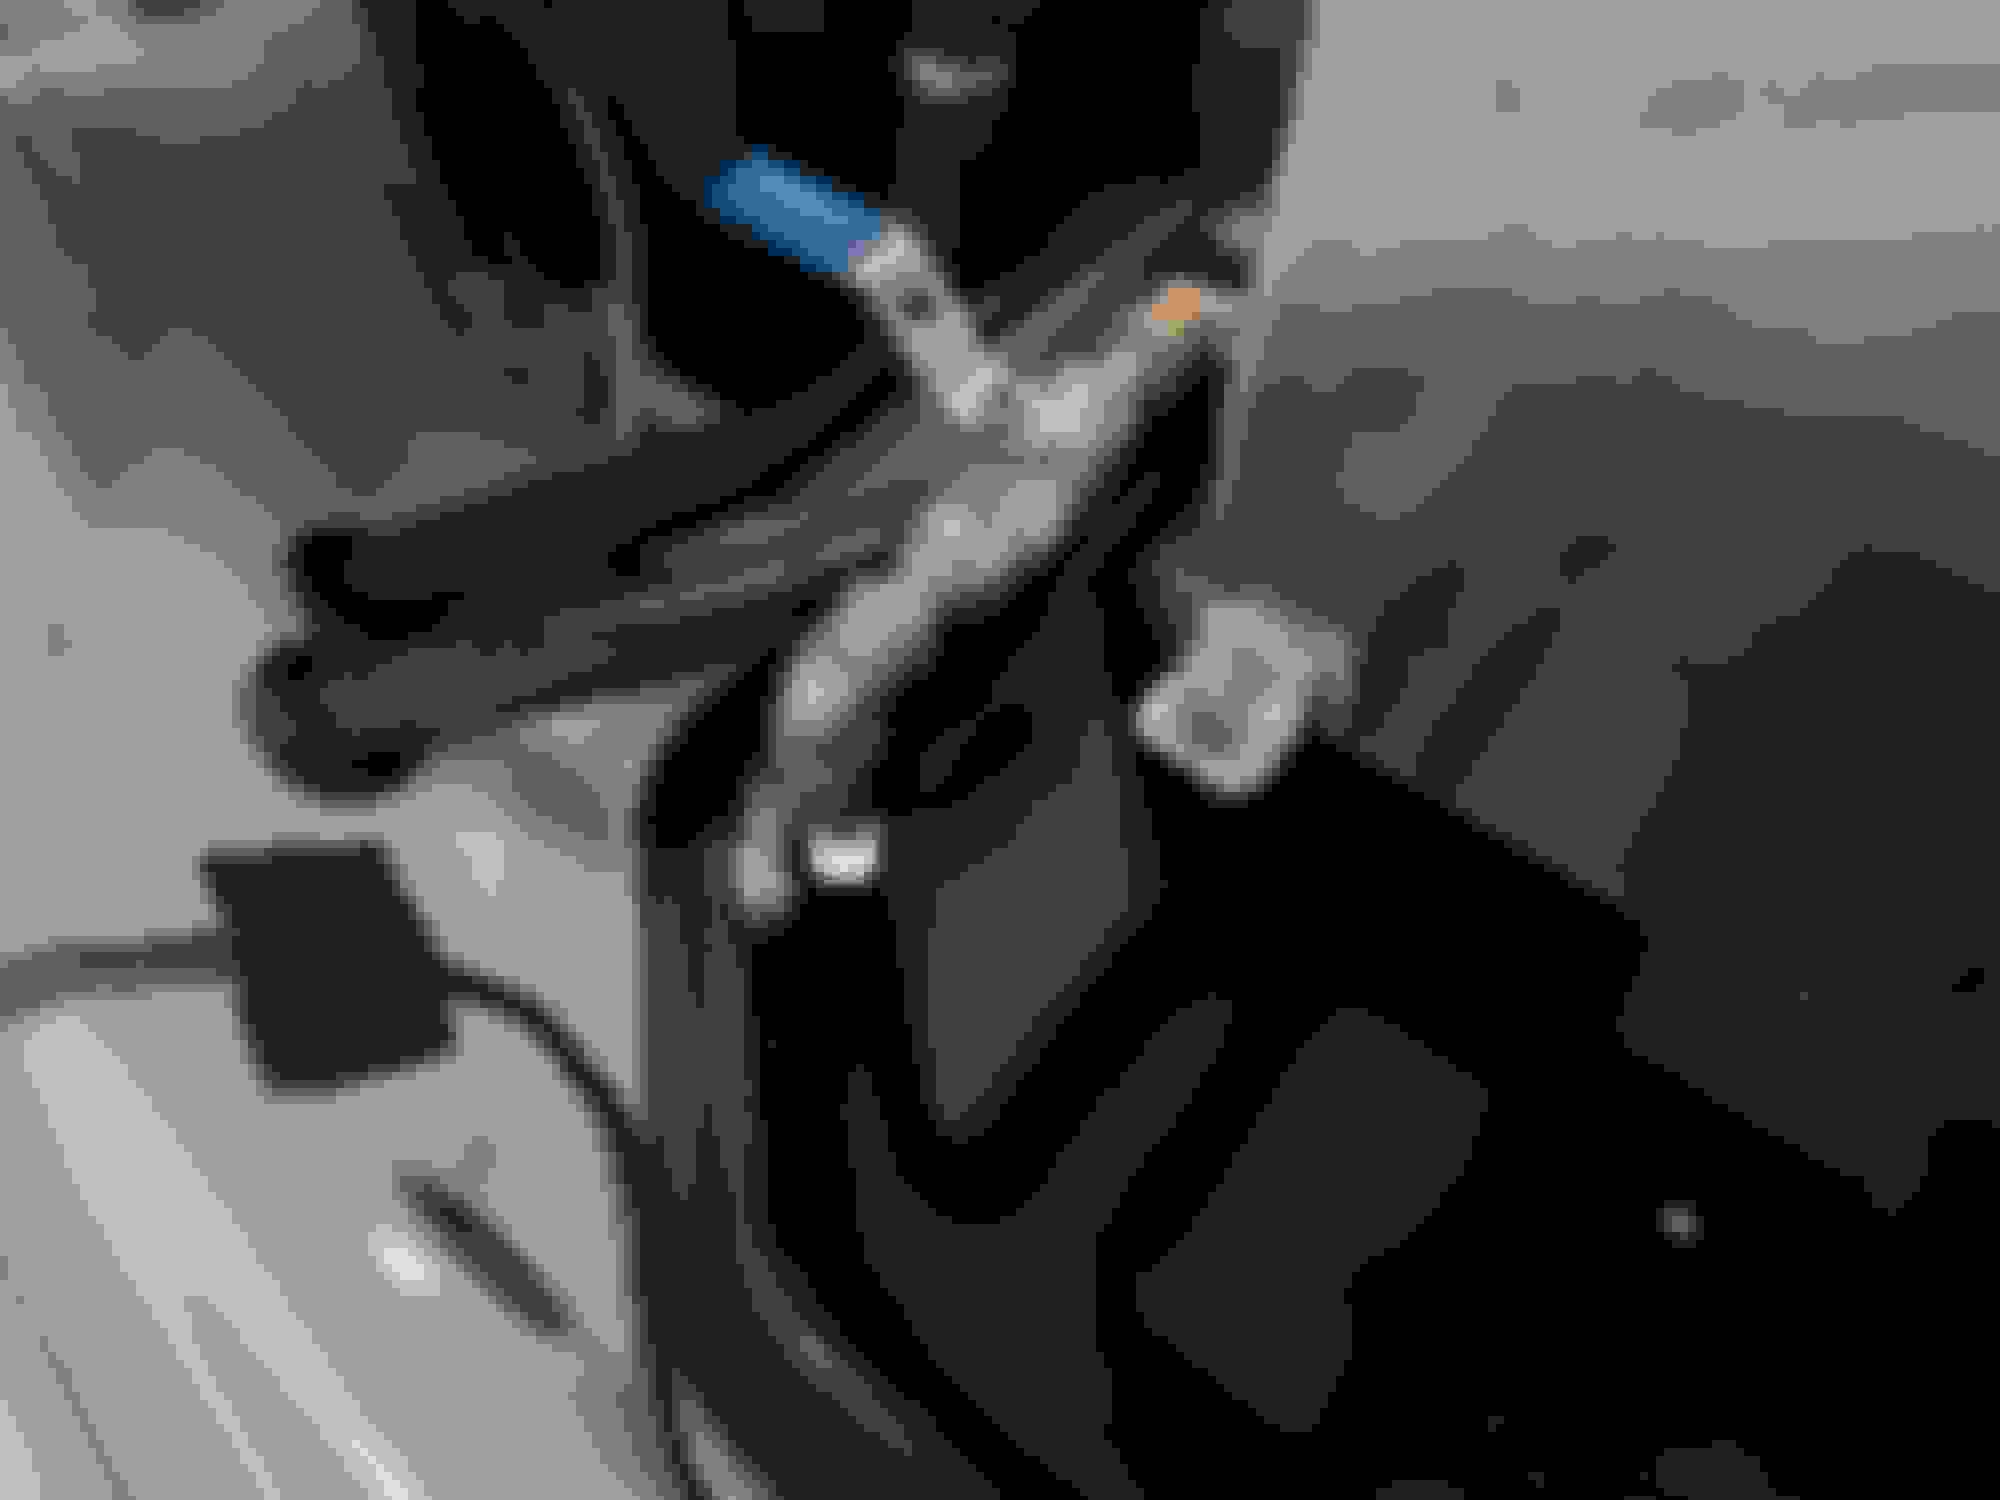
I put the radiator fan and associated parts back in. I also mounted the power steering reservoir and adapted the hoses.
I ordered all the 3/4 hose i need to run for the trunk ice tank. Drilled holes in the spare tire well and ran them through the grommets. Also, used stainless clamps and modified the plastic nuts for the plastic under tray, and used the studs already on the body and the plastic nuts to mount them. It only mocked up for right now as I need to buy some silicone heat sleeve and some anti abrasion sleeve as well. I will say it is tight to run the hoses when you get to the engine bay and front bumper area.
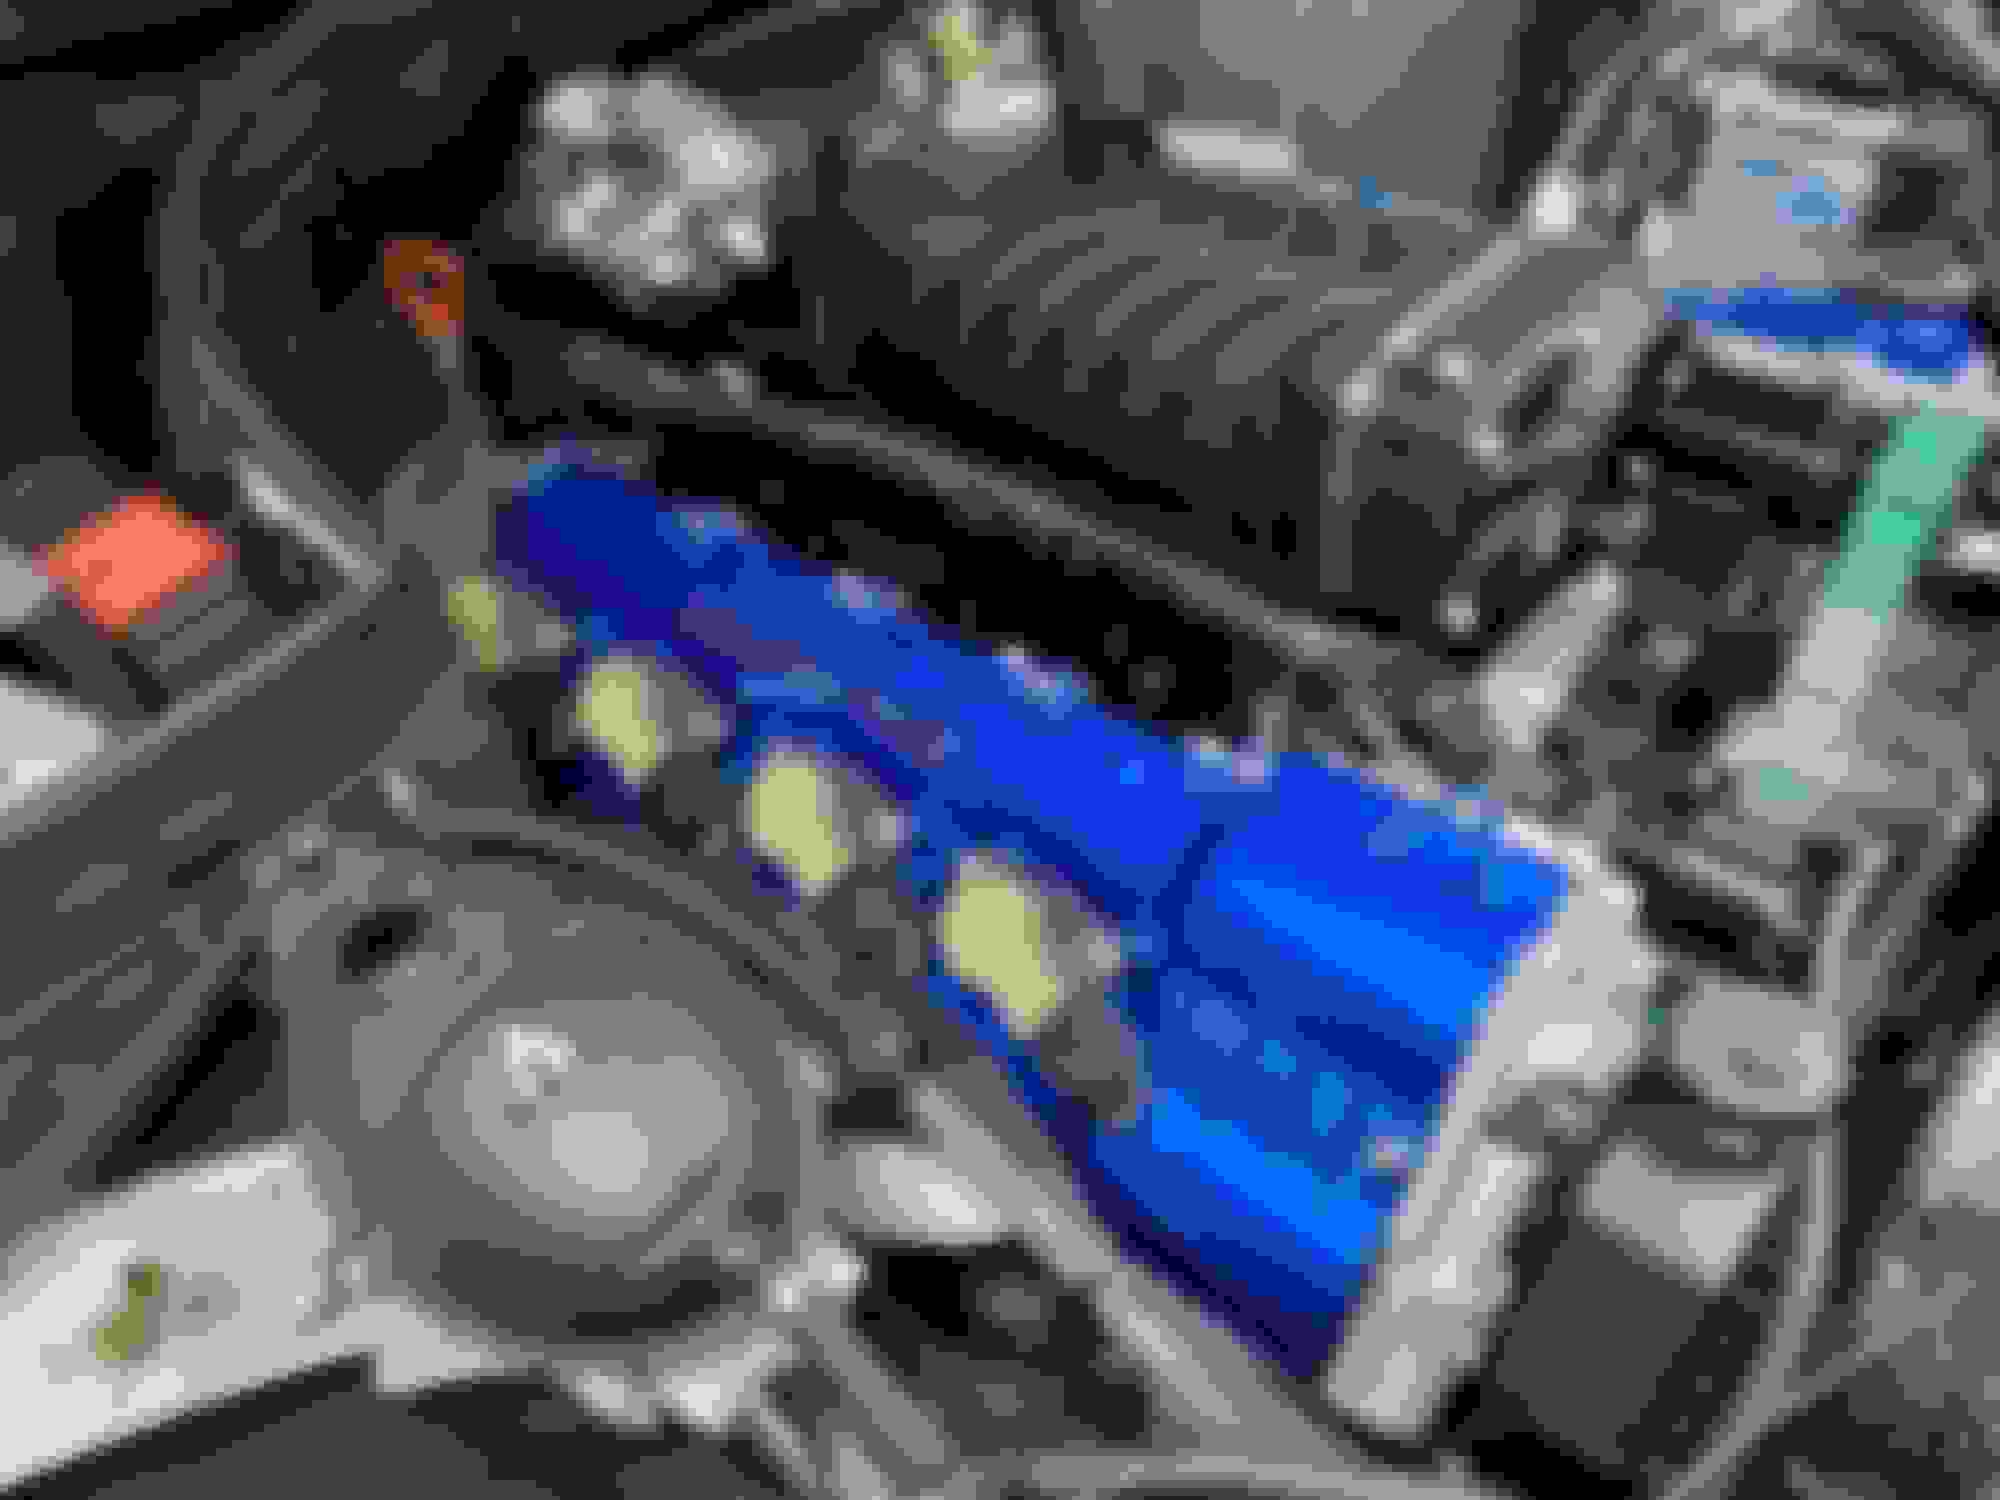
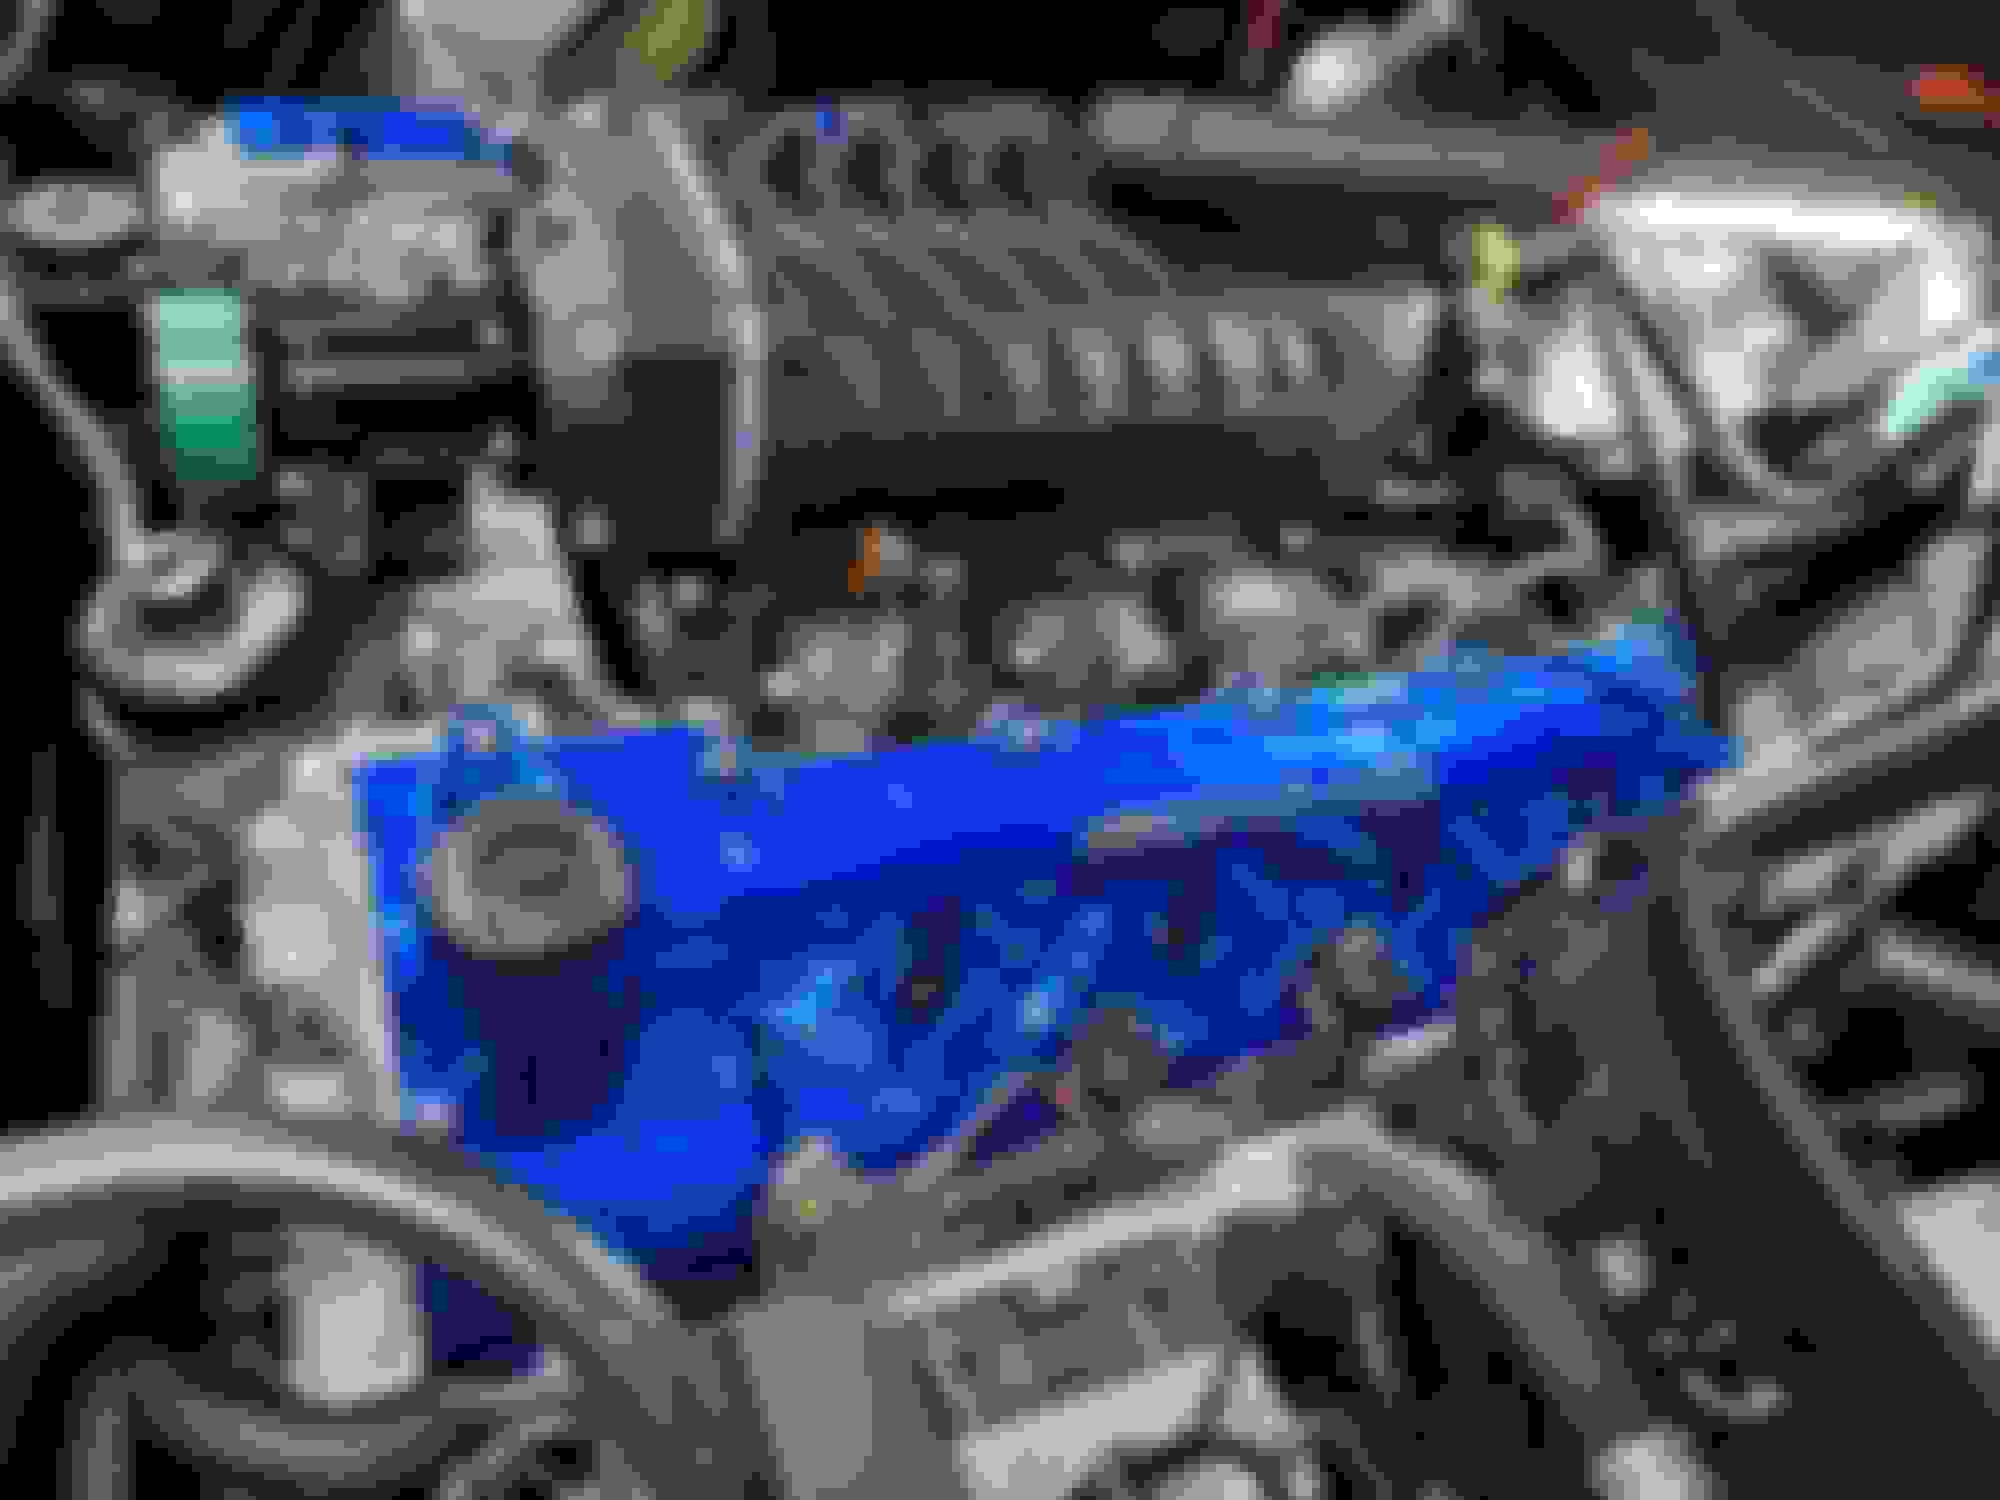
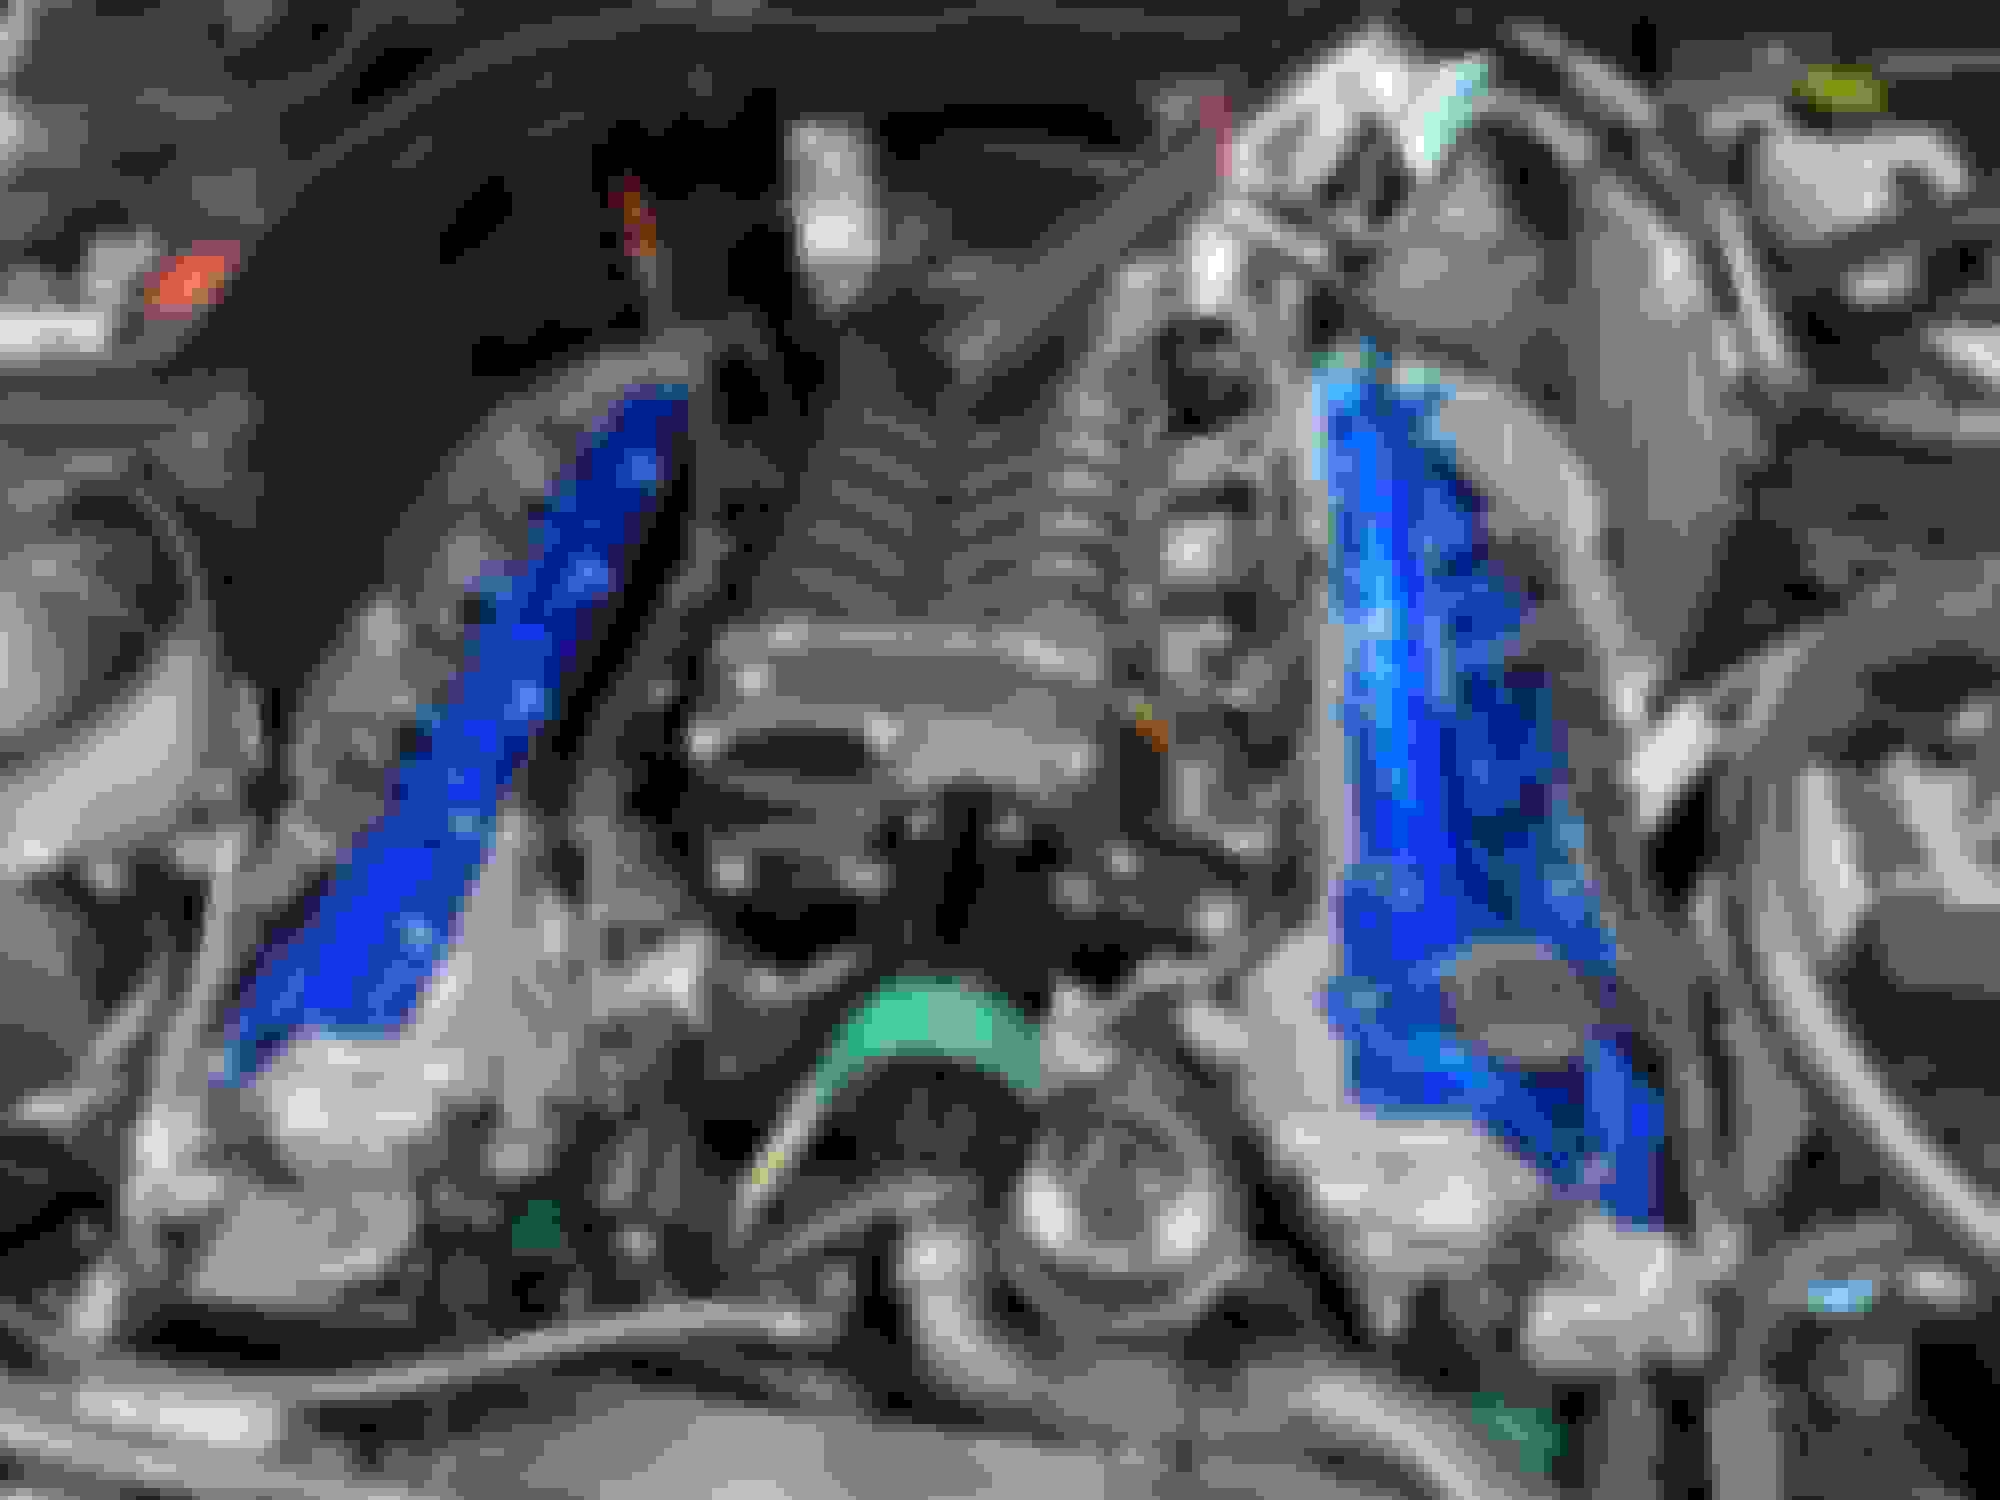
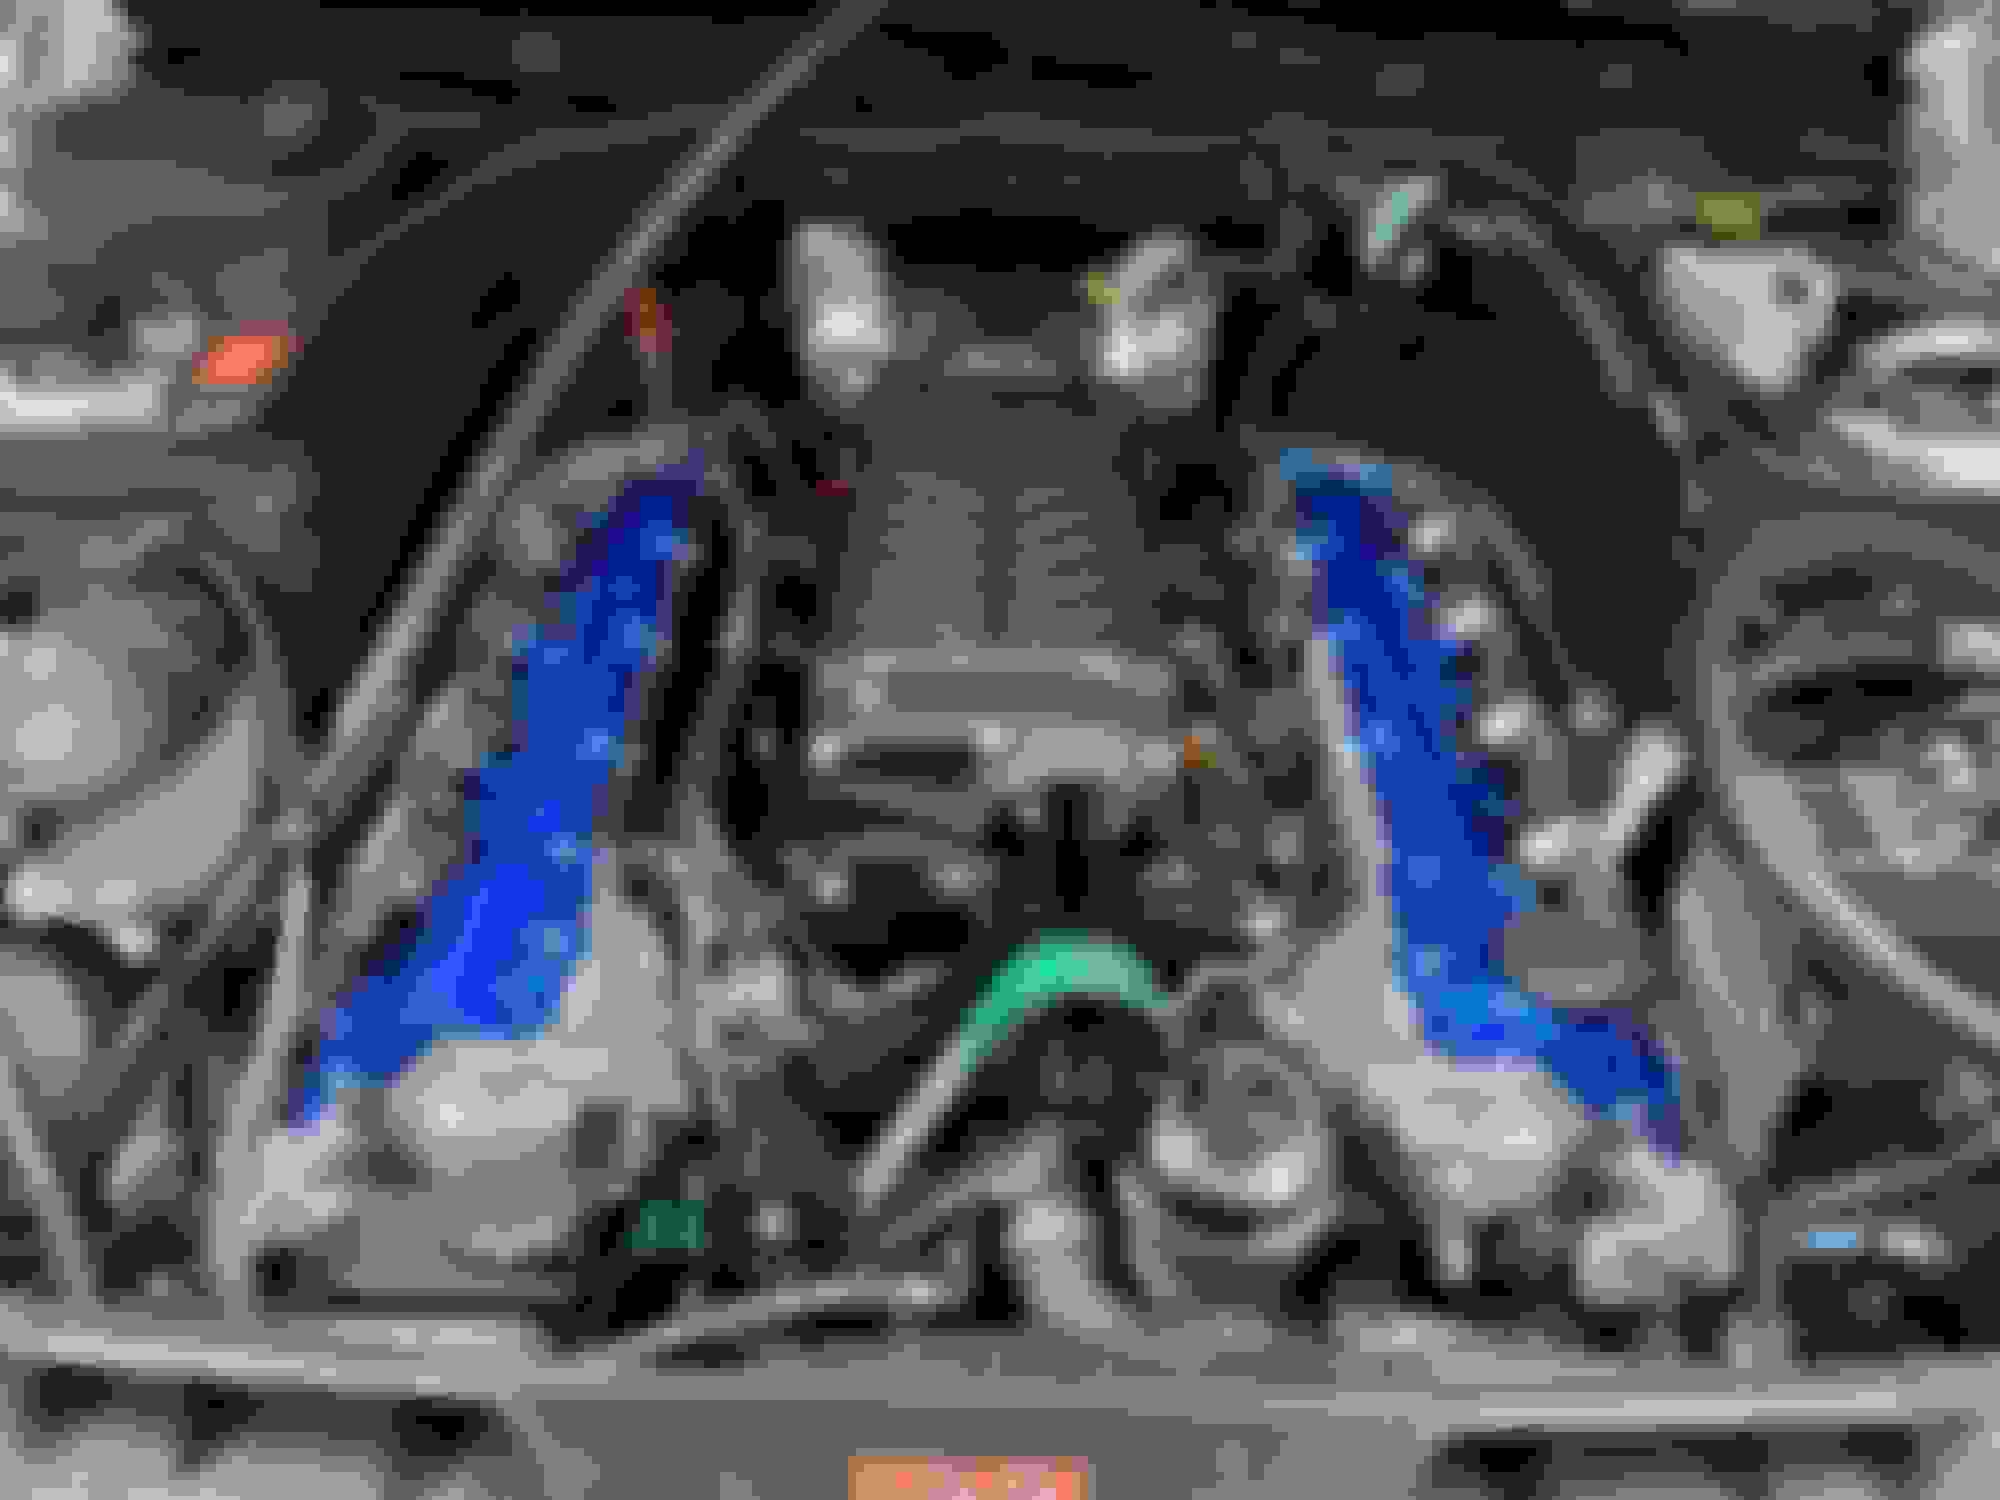
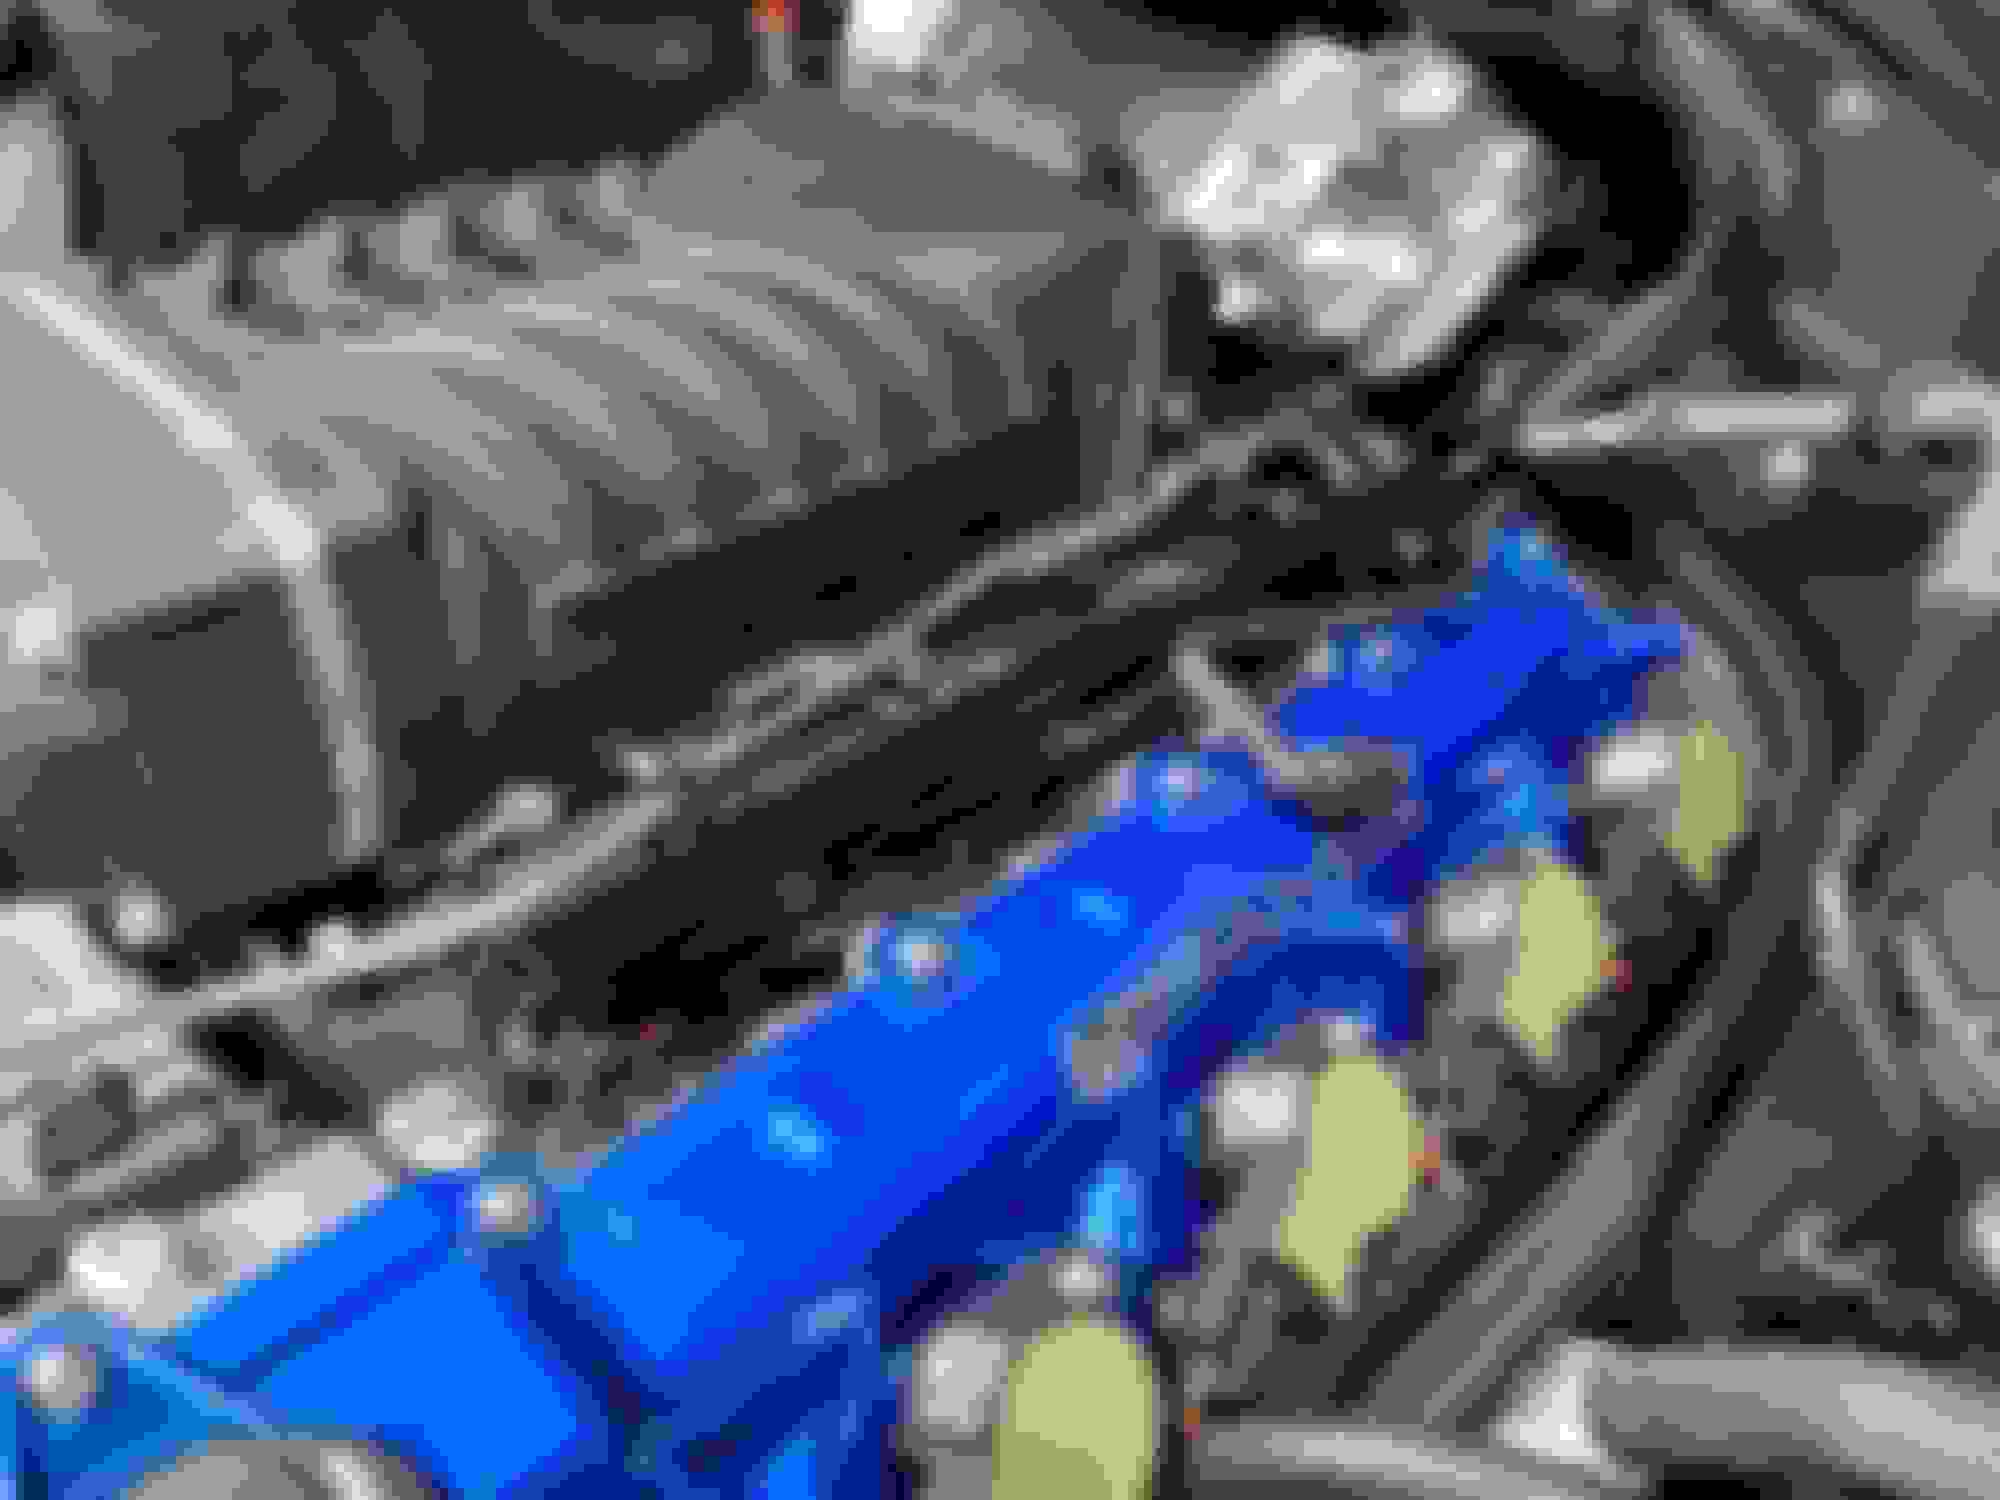
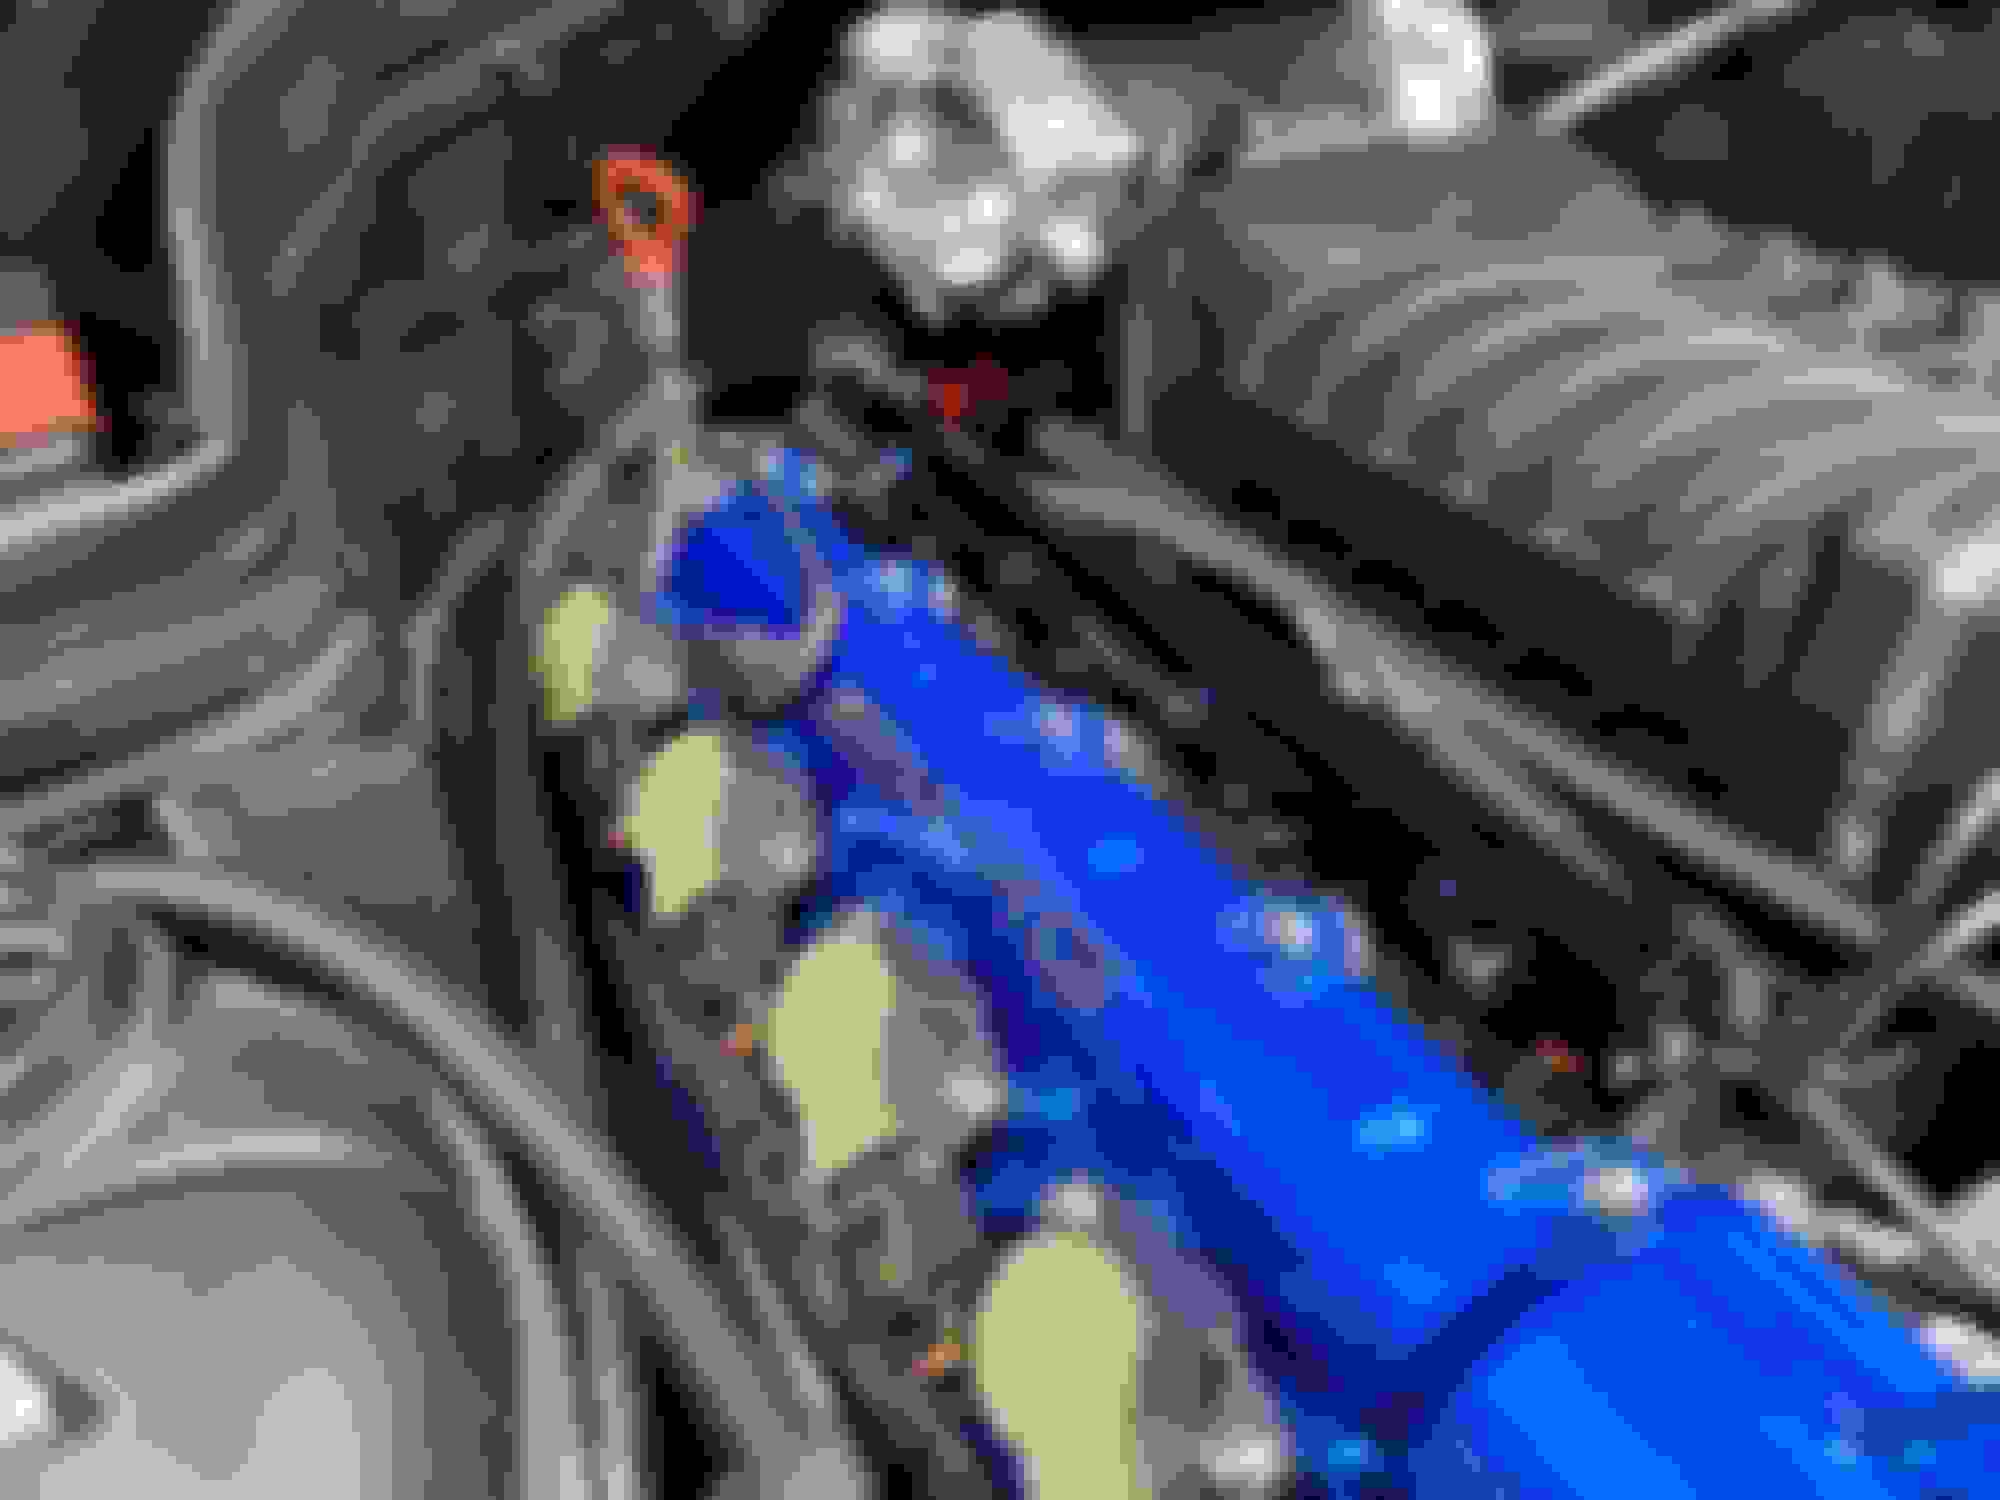
Had a day off finally and made some more progress!! This is the longest blower build I swear.
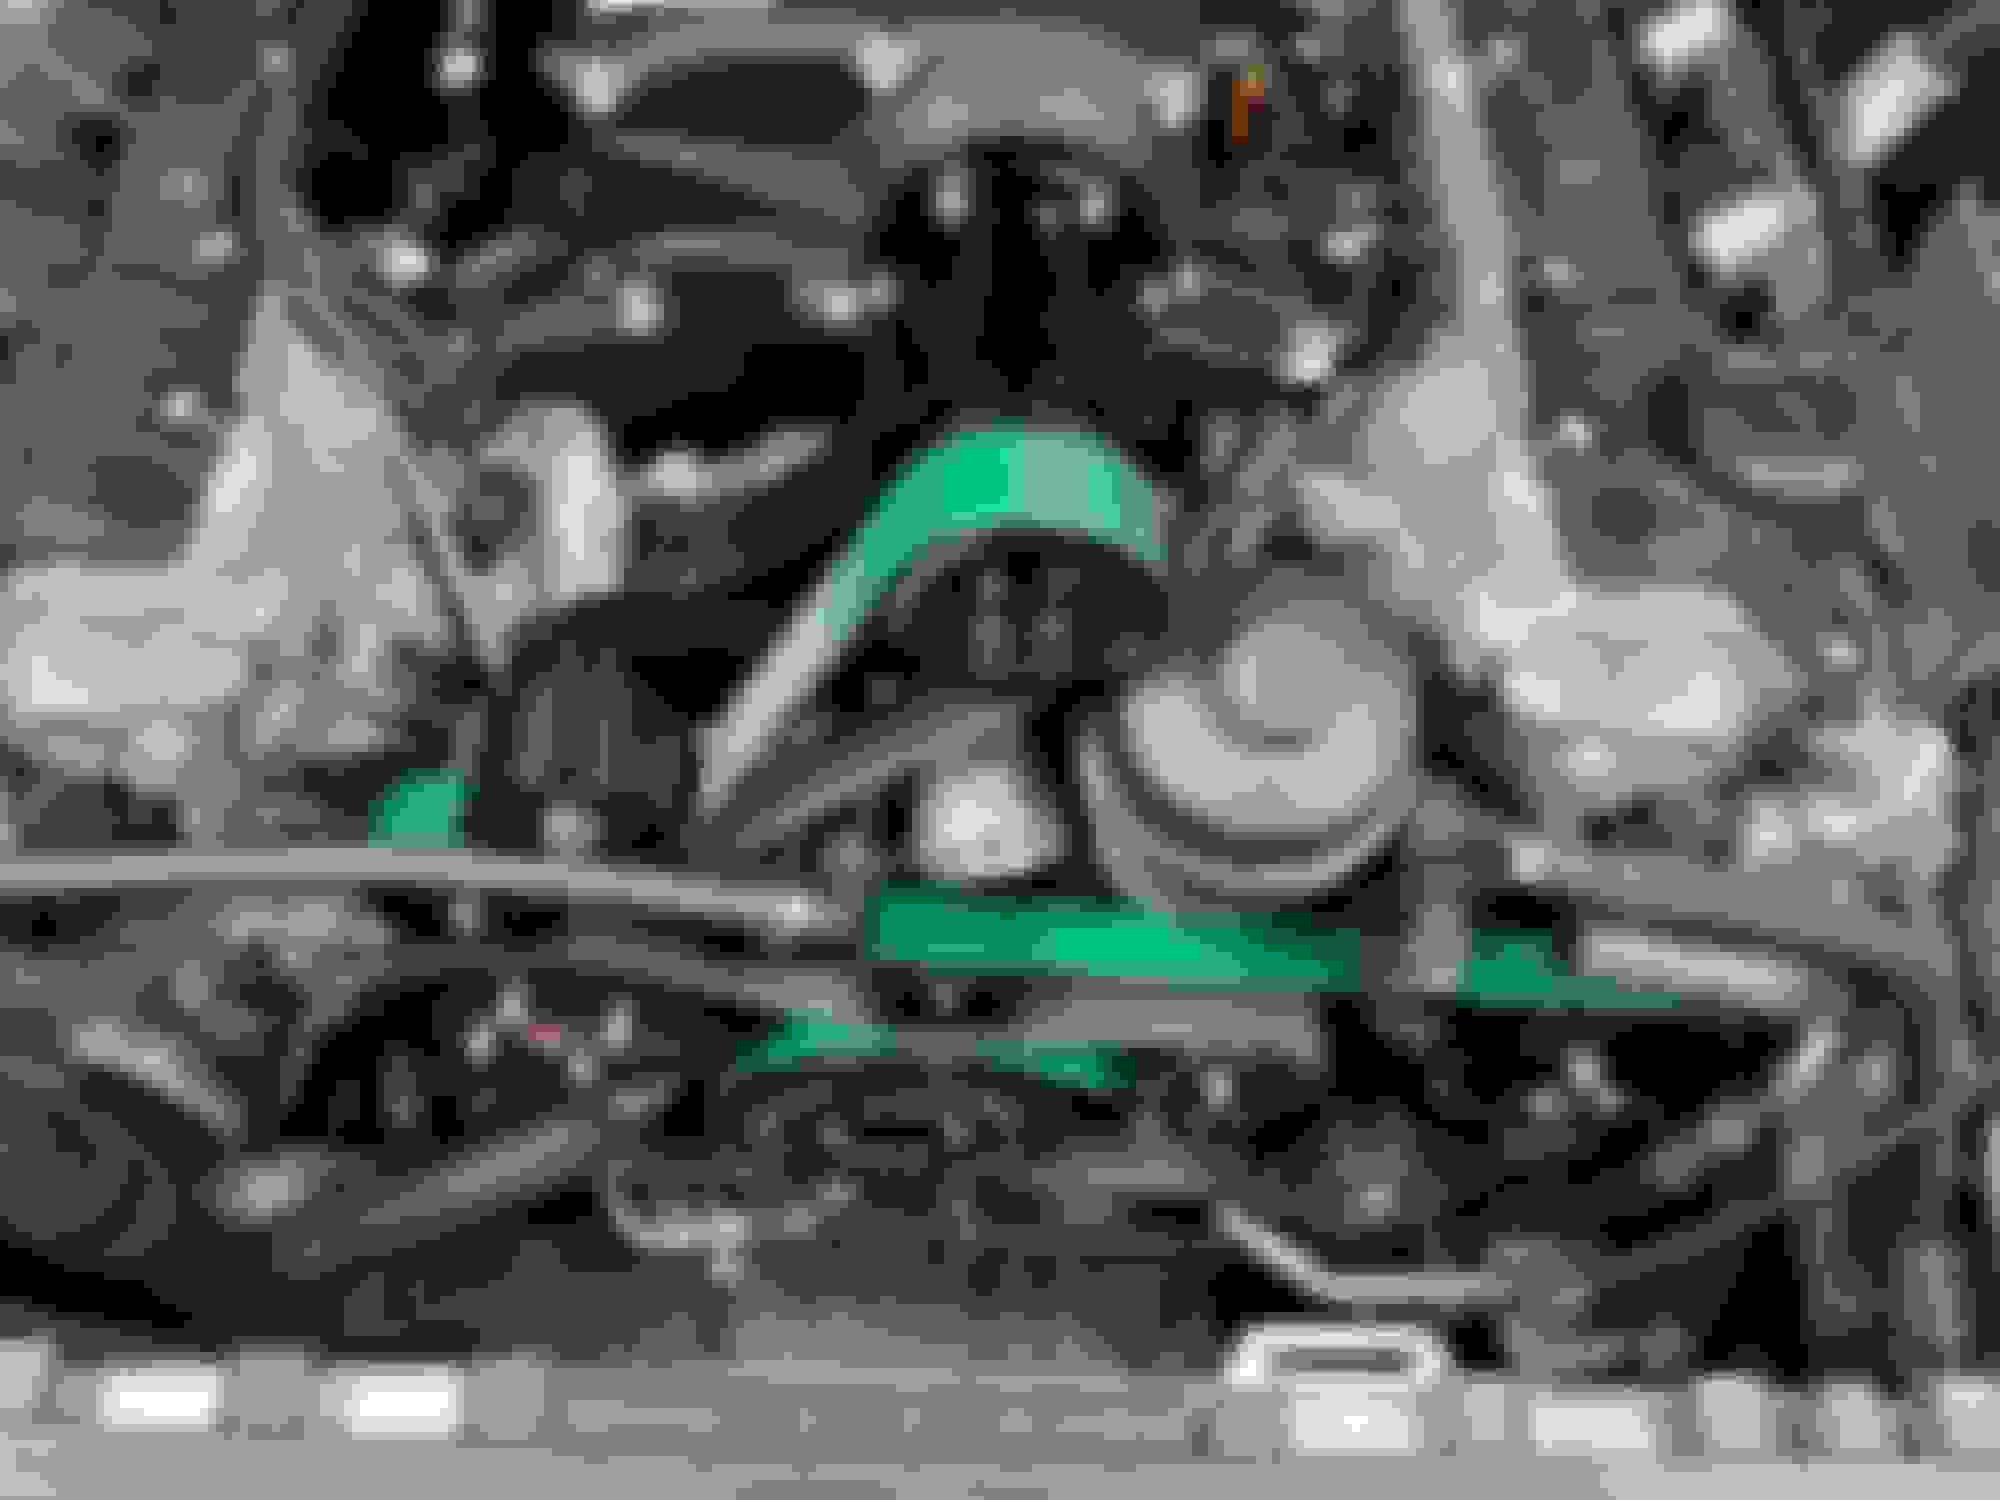
Put my candy blue valve covers on with all the ARP 12 point hardware. While doing this pulled my plugs and closed the gap down to .028 since thats what weistec recommends. I already have SLS plugs with only 10-12k on them.
Made a bracket at work and mounted my catch can setup where I wanted it. I think it'll work out and look awesome once everything is finished. At the bottom I drilled and tapped for 1/4 npt and put a ball valve in, so i don't need to unscrew the can to drain it. Ill just add some 3/8 push pushlok hose and run it out the bottom of the car so I can drain it below into a pan.
Last edited by Phil1305; Aug 28, 2020 at 07:05 PM.
The catch can on an angle like that will reduce the efficiency and if the inlet is on the top it will be virtually useless.
The angle looks worse in the pics. I'm also adding real course stainless mesh inside to help separate the oil. Plus keeping it drained all the time it will be fine is my guess. Not ideal but it should be ok, if not I can weld a small divider or get a different design catch can thatll fit in the same area.
was trying to get it fired last weekend buttoning up everything. Then disaster struck! I was pulling off the right fuel rail when the stainless allen bolt slipped out of my hand and fell right down the injector hole and landed on top of the valve. I tried a coat hanger with electrical tape with no luck the first night. I didnt have a flexible grabber claw so I had to order one. Came the next day and within 5 minutes success!!!
I also finished plumbing the ice tank completely and have it tightened down with the drain plumbing done.
Started plumbing the catch can but didn't like how i routed it the first way. So I had to order more hose to make them longer and another 90� fitting.
Last few things to do yet is to install and wire injectors and figure out how i want to do the vacuum line fir the booster. Then get my intake made at my buddies shop.
Little progress today, wanted to check polarity for injectors. So I had to button up the fuel system to turn the ignition on. So fuel system done and pressure checked. Few more tedious things to finish up.
Well, got the injector pigtails wired in and my catch can plumbing all done. Waiting on some supplies to show up so I can make everything nice and clean and tucked nicely. The injector wiring was the last thing to do before firing it up and doing checks.
Also Did a first fire video after finishing the wiring. This is a legit first fire with no test starts before hand. Just primed the fuel system a few times.
Lastly, I am pretty disgruntled with weistec on this kit. You pay alot of money and get some cheap **** in with it. My injector pigtails are used cut offs from another car, and its plain as day that they are. I even took pics to show. They're dirty from normal service and one had blue paint/chalk pen on it.
And the wiring for the heat exchanger pump is of cheap Chinese and mine was damaged. one female pin in the relay receptacle was pushed in and bent. I ordered new 30 amp relay/receptacle off Amazon, 5 of them for 25 bucks and is exactly identical to what i received from weistec. So they could've not cheaped out to save a few bucks. I mean a 6-9k kit maybe but 13k+ is just ridiculous. Here's some pics of these issues.
that's disappointing...btw I offer adapter harnesses for EV6 to MLK but wouldn't be useful at this point in time
lol, I definitely wouldve went that route. But I honestly wasn't sure what connector the oem was. But theyre butt splice and heat shrunk really well and I plan on going to injector dynamics also anyway.
Phil, if you you haven't decided on a tune yet, keep me in mind. I'm in the final stages of custom supercharged tune for another MBWorld member. Power output so far continues with each map revision I send over to him. We're nearing the final stages of his tune as well.
Phil, if you you haven't decided on a tune yet, keep me in mind. I'm in the final stages of custom supercharged tune for another MBWorld member. Power output so far continues with each map revision I send over to him. We're nearing the final stages of his tune as well.
Hey, that's me! Haha. I can officially rep Eightsixtuned now. My car has never felt so smooth man. Sorry. didn't mean to thread jack!
All wiring wrapped and tucked neatly. I wrapped it in fabric electrical tape. Now just waiting to get it in for the intake to get made, then schedule to get tuned. I'm going with a local company cbtuning btw. They've tuned supercharged c63 before.
Last edited by Phil1305; Sep 21, 2020 at 10:40 AM.
Mercedes SLR McLaren 722 S Is Extremely Rare Example Modified by McLaren
Slideshow: A one-of-one U.S.-spec Mercedes-Benz SLR McLaren Roadster became even rarer after a factory-backed transformation at McLaren's headquarters.