When you click on links to various merchants on this site and make a purchase, this can result in this site earning a commission. Affiliate programs and affiliations include, but are not limited to, the eBay Partner Network.
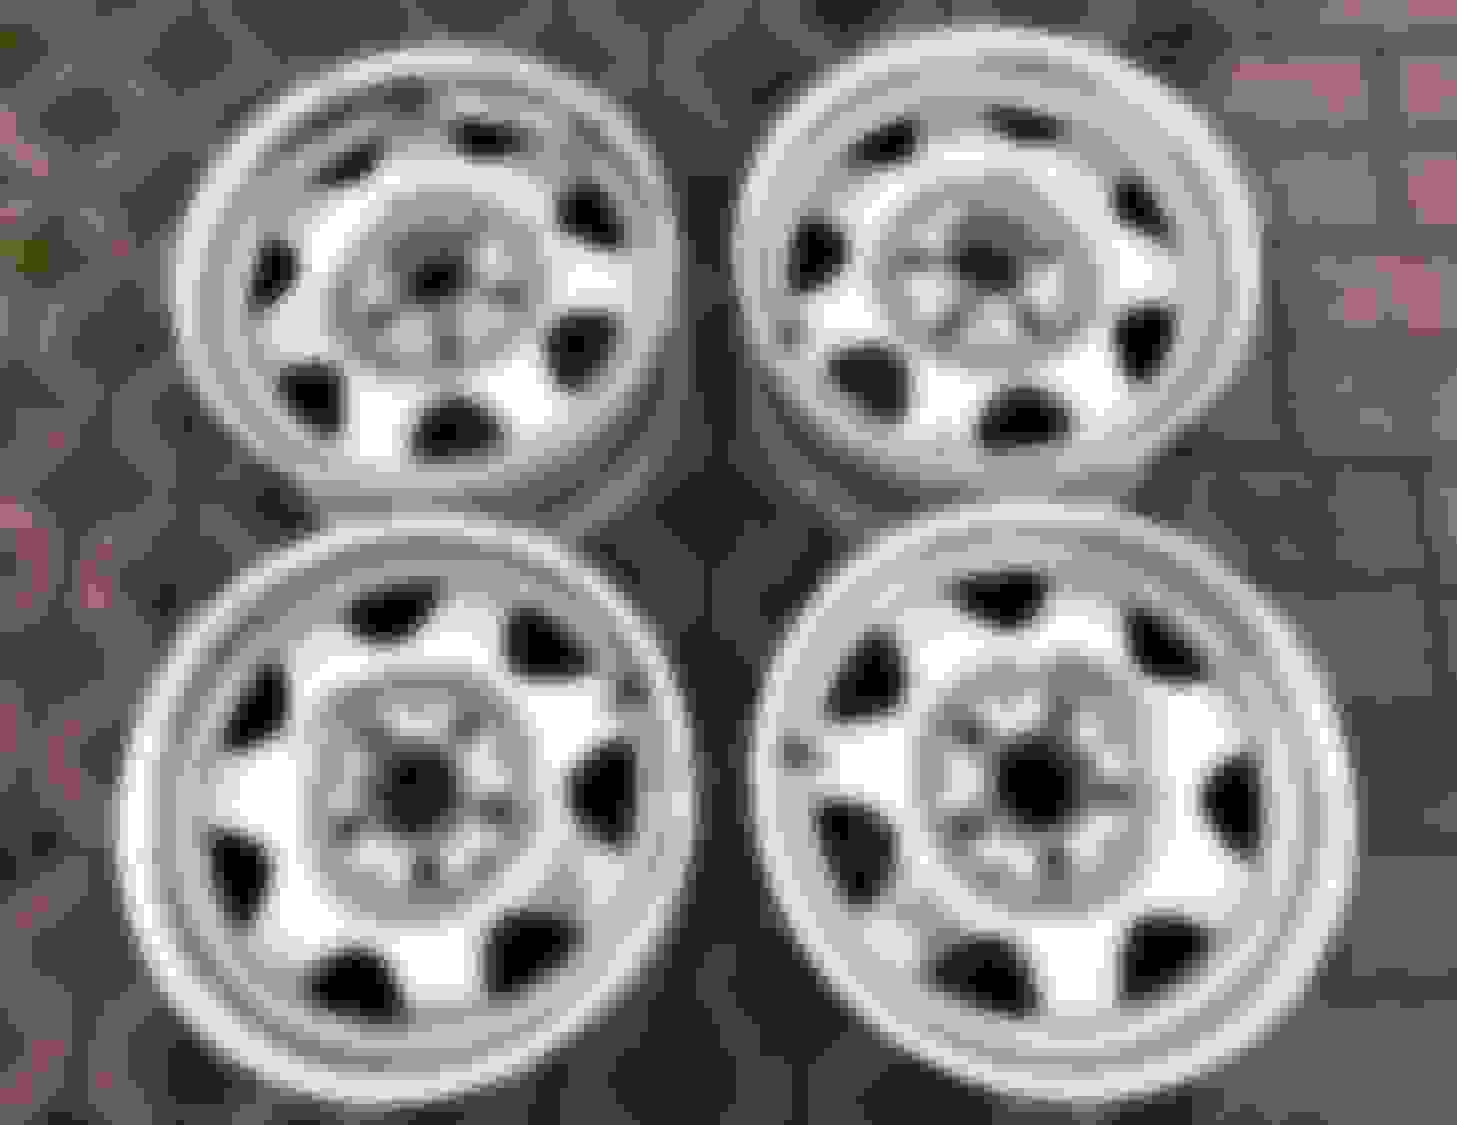
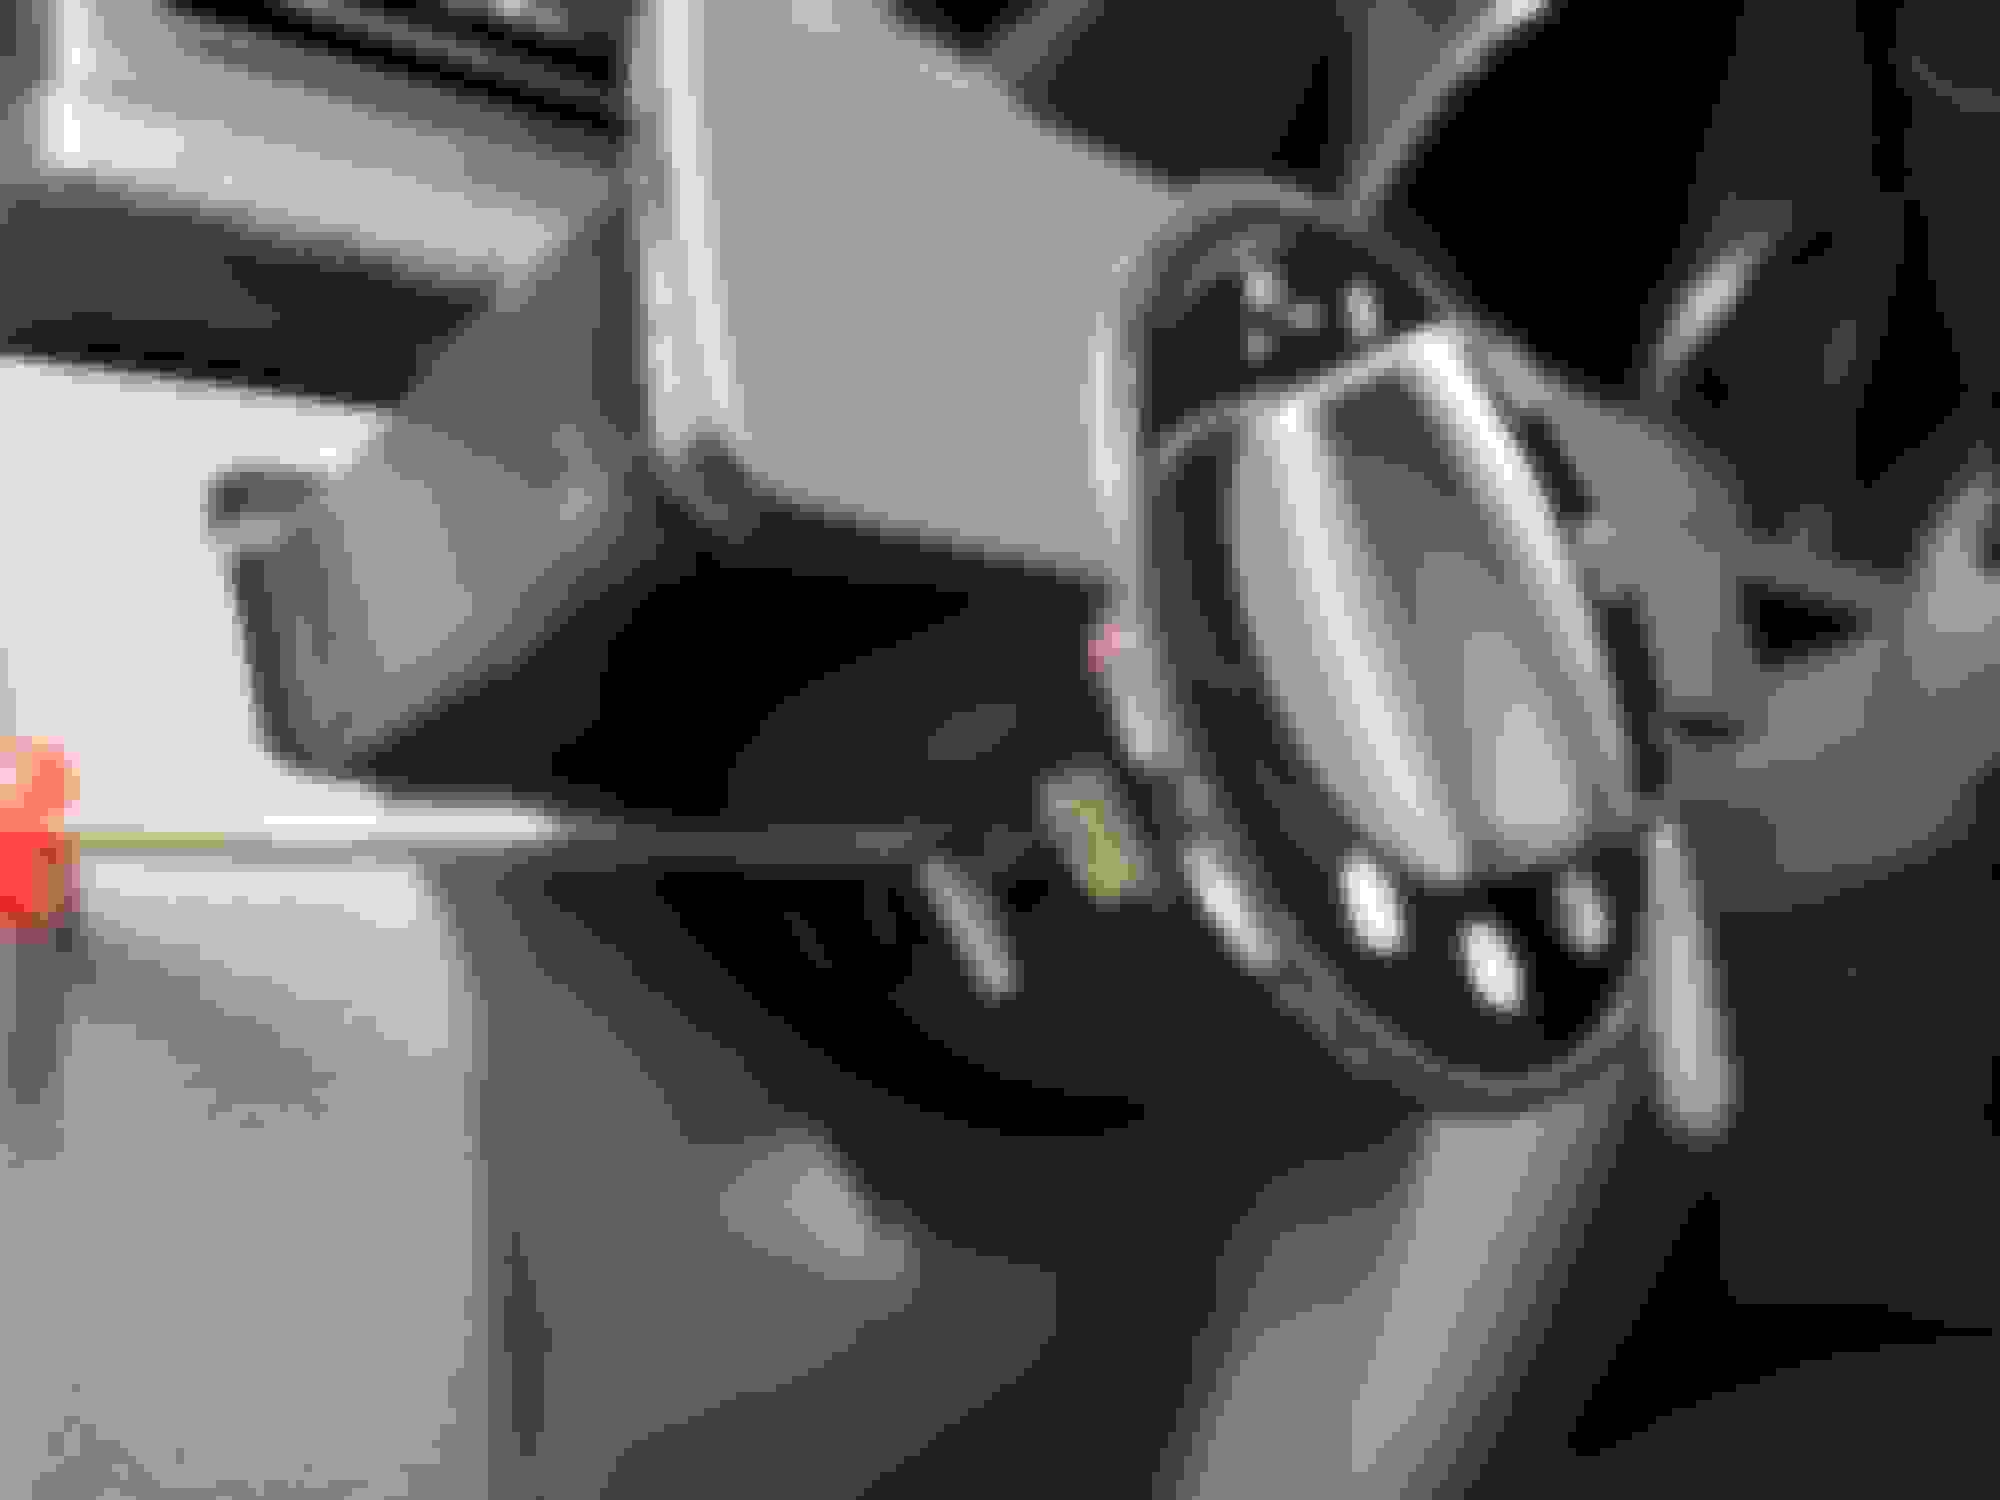
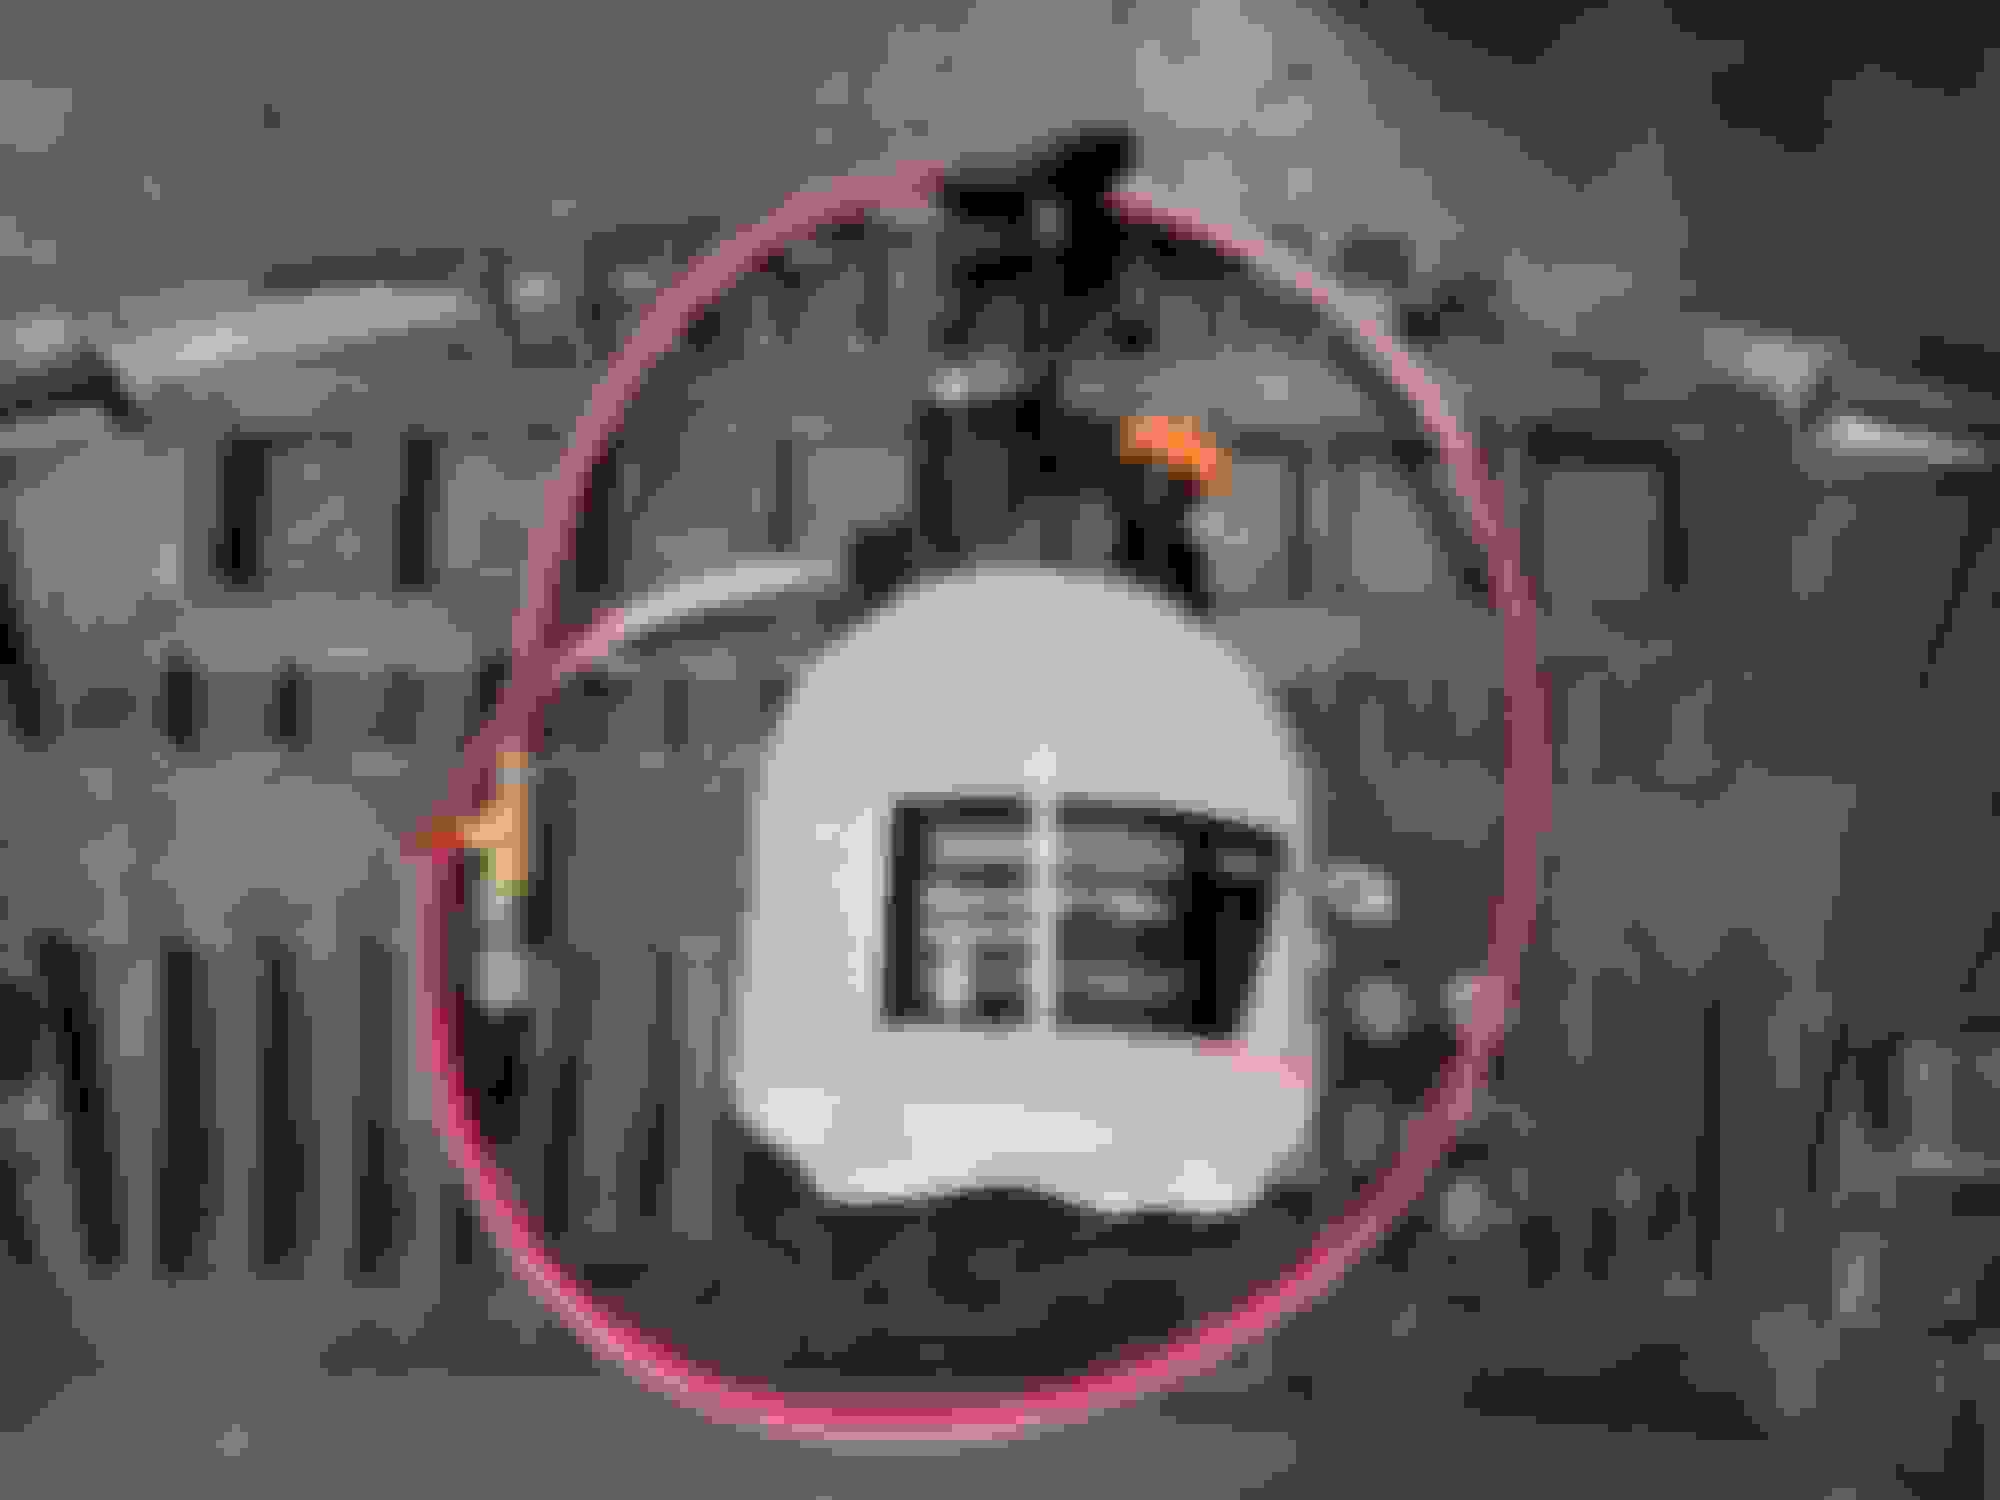
Due to the current events CCW couldn't meet my deadline so I searched high and low for possibly a quicker course of action to only come across that the E55/C63 platform has been sporting 16" CLK rims since the day of dawn. Since tire selection had already been determined during my CCW interlude I was dead set on an 15" rim so 16" was not a conversation. After extensive research while moving heaven and earth it came to my attention that SOME R170 SLK models were equipped from factory with 15" rims with similar offsets/center bore as the 16" CLK's. All this info was great but with them being as rare as hens' teeth I knew there was a snowball's chance in hell that I'd cop a set in the states. The one and only @olszowa12 who never ceases to amaze me had located a decent set and had them powder coated to my liking in satin black, within 5 days they were on my doorstep in one piece from Poland (decent shipping since they're roughly 10lbs/rim. Same CLK modifications will be required on the SLK rims (R12 lug holes redrilled to R14 to accommodate C class diameter, 20mm spacers, and C300 rear brakes) However, there will be additional minor requirements that will be revealed to you if your ever so blessed to cop a set (don't quote me on this but Matt may have an additional set for sale) Rim screws inspired by @mthis since 2008 to ensure bead/rim spin in harmony, rims will spin roughly an 1" after every pass once you start cutting anything below 1.6xx 60ft's w/o screws or bead locks.
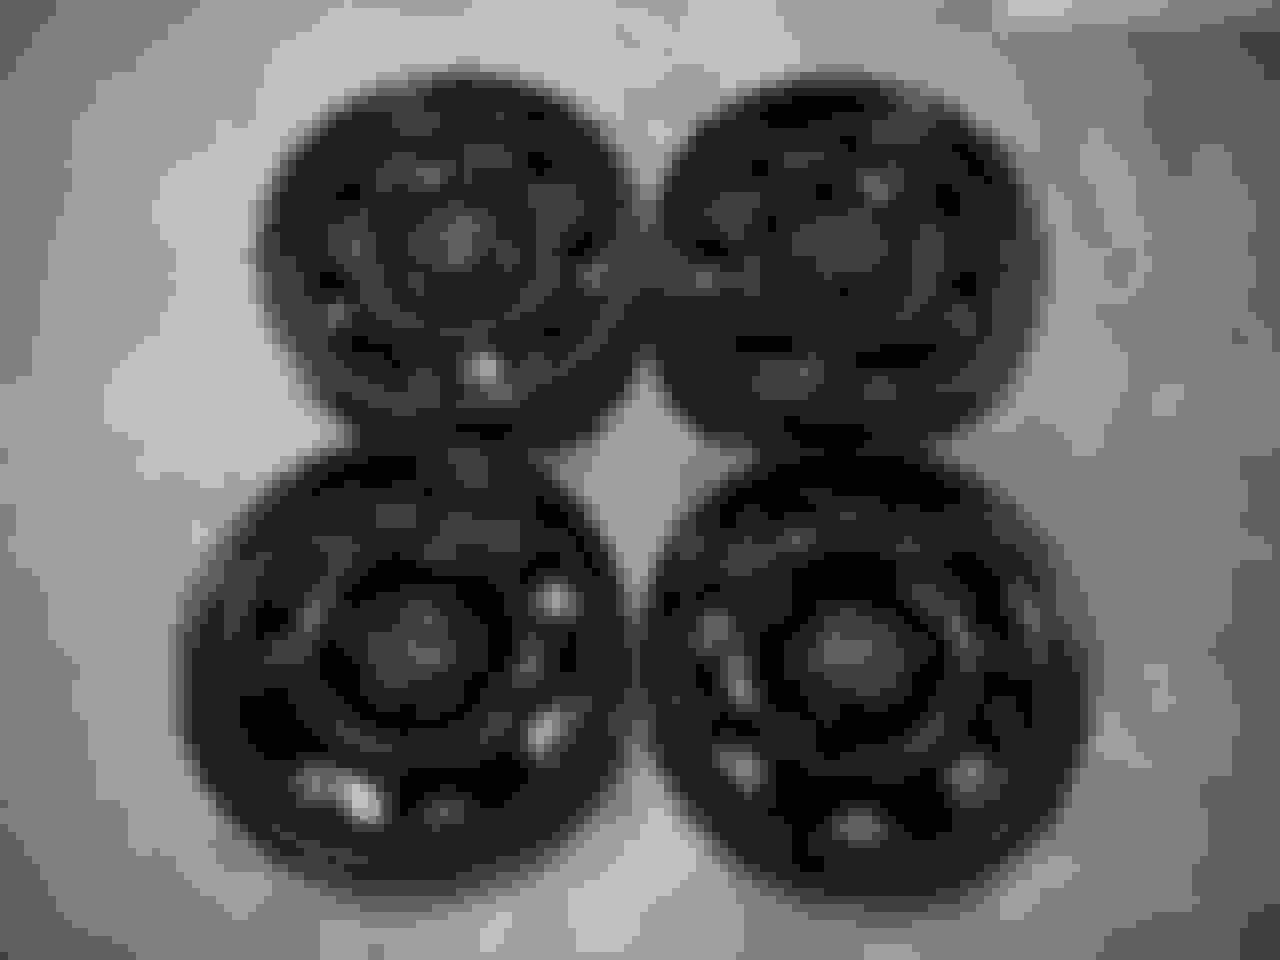
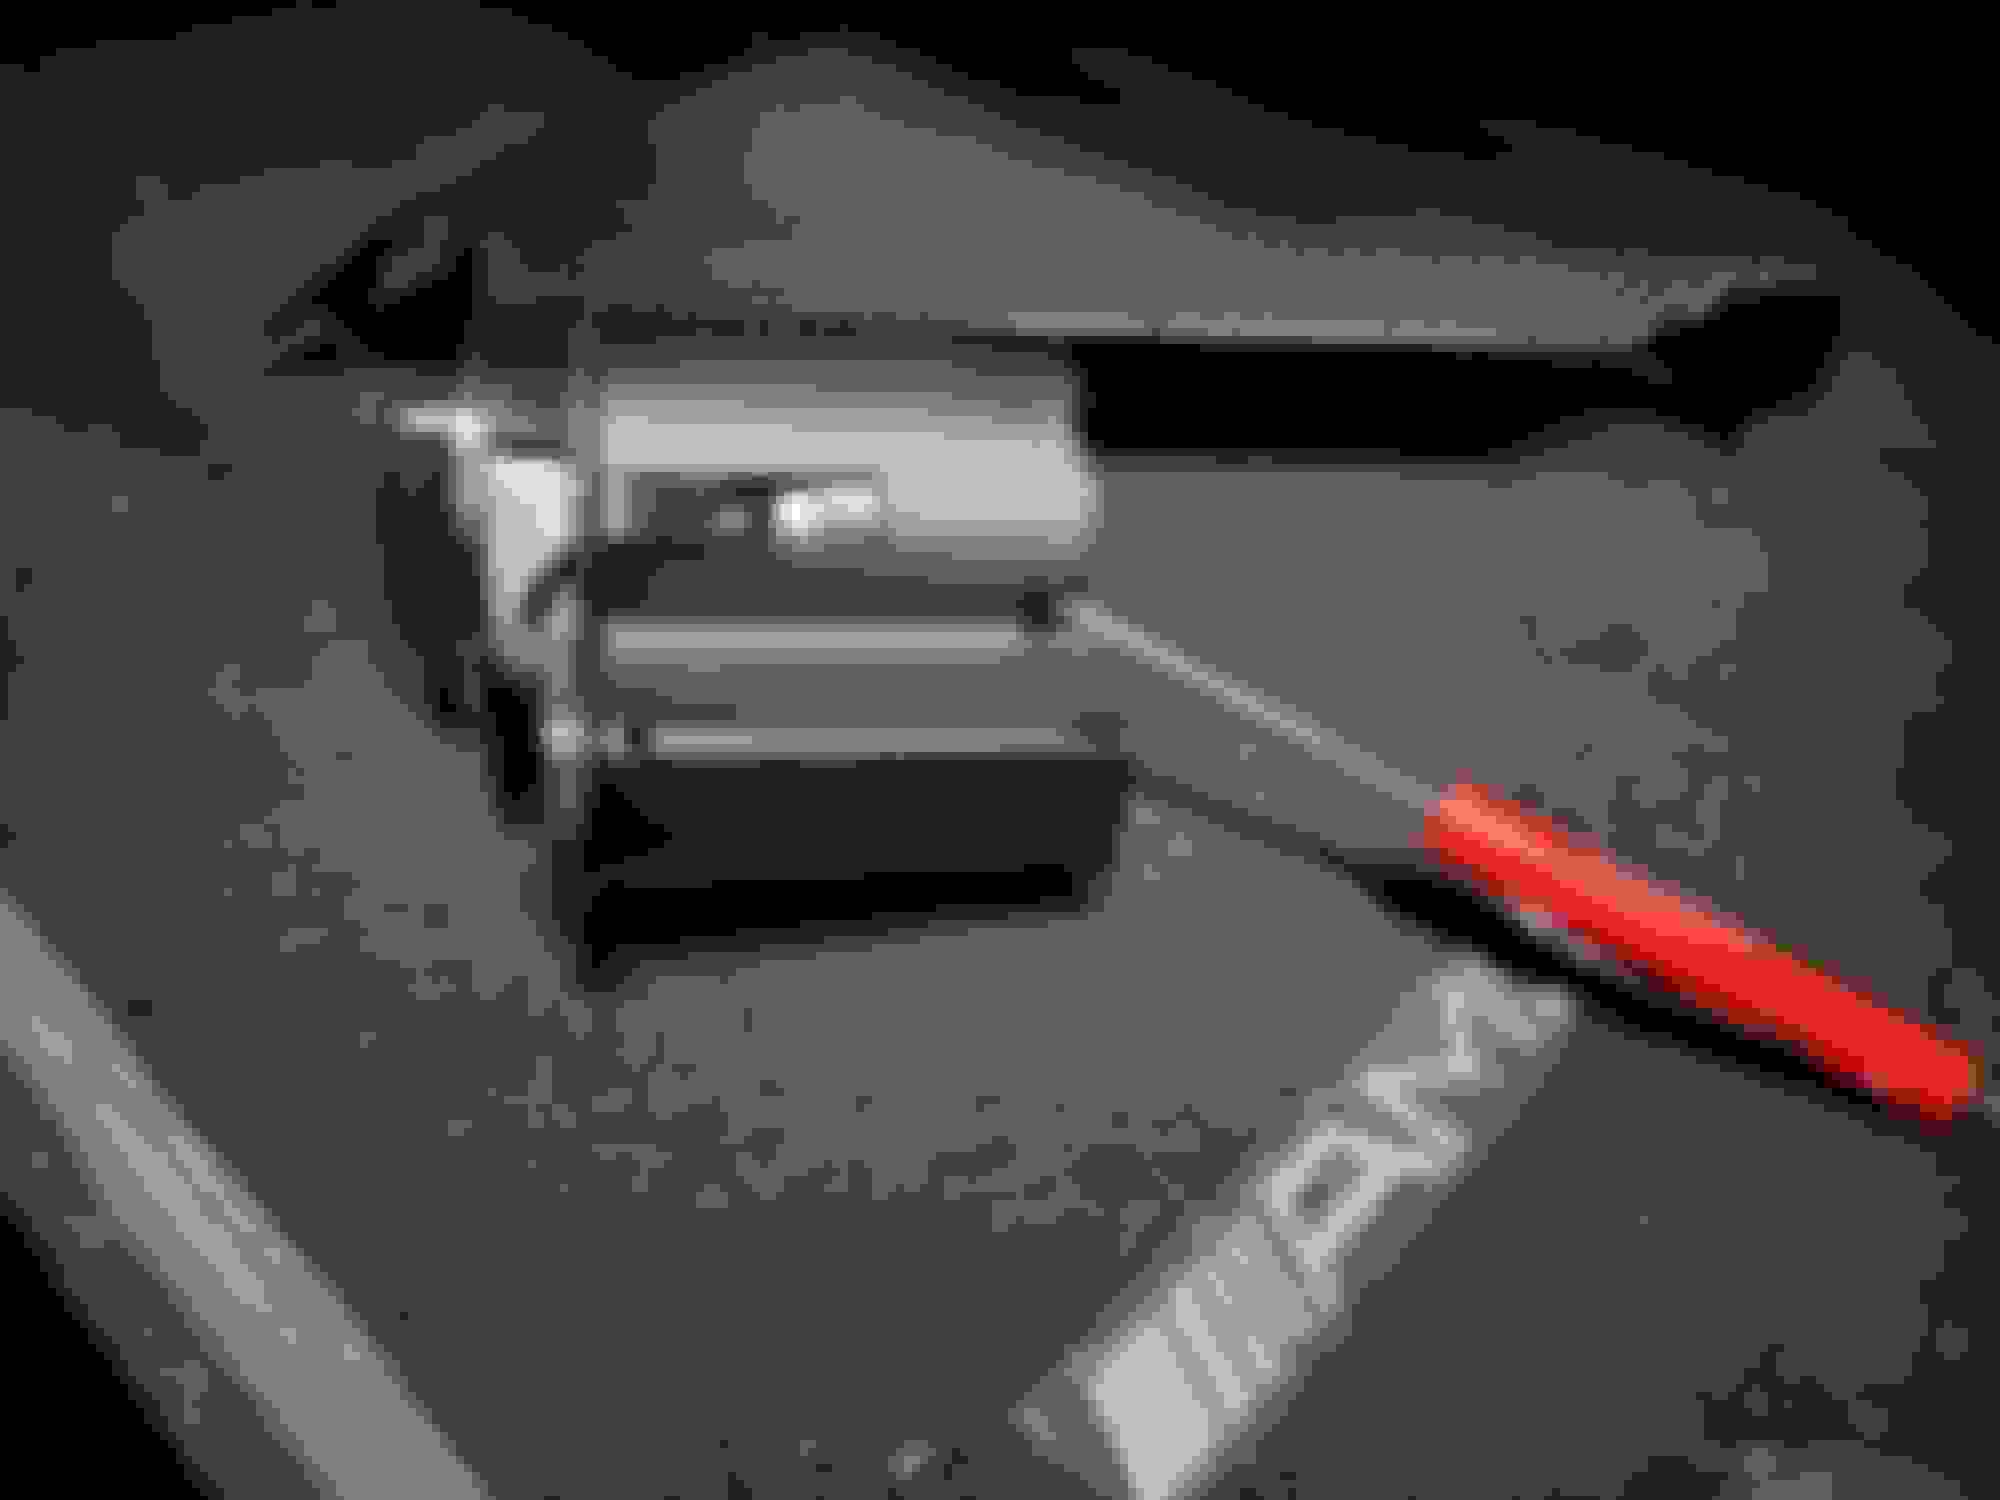
*RIM SCREW KIT*
*REMOVE TIRE FOR BEST LEAKFREE RESULTS (CAN STILL BE PREFORMED IF TIRE IS ALREADY MOUNTED) *CENTER 15" RIM SCREW TEMPLATE ON FRONT/BACK SIDE OF RIM* (8 PER SIDE IS MORE THAN ENOUGH)
*MARK/ CENTER PUNCH DESIRED RIM SCREW DRILL POINTS FRONT/BACK
*DRILL DESIRED POINTS WITH MODERATE PRESSURE SCRUPULOUSLY * (DEFLATE AIR COMPLETELY IF TIRE IS MOUNTED W/O DRILLING TOO DEEP)
*BLOW OUT/ DEBURR ALUMINUM DRILLED HOLES ELIMINATING ROUGH EDGES/ DEBRIS
*ENSURE ALL HOLES ARE CLEAN/CLEAR
*FILL TIRE TO OPERATING BALL PARK PSI
*INSTALL/SECURE RIM SCREW FASTENERS BY HAND ONLY OR YOU RISK BREAKING THE HEAD OFF OTHERWISE (THREADING RIM SCREWS CLOCKWISE WILL CREATE NEW THREADS)
*INSPECT/LISTEN FOR ANY AIR LEAKS (CHANCES ARE LIKELY YOU DRILLED TOO DEEP IF LEAK OCCURS; NEW TIRE REQUIRED)
Afterthoughts: SLK>CCW. SHOW TIME 02/05/22. 40LBS UNSPRUNG ROTATIONAL MASS SAVINGS. 160~280LBS STATIC WEIGHT SAVINGS.
Logging/Loading maps have now become a second nature and memorize the process like the back of my hand. Right off the bat I realized/acknowledged the inner workings of @hachiroku meticulous thought process during tuning. Not only is he cautious but extremely diligent reviewing data logs ensuring nothing slips his attention (he can sense a bad batch of gas). Barry isn't a technician. However, he has his craft down to a T and is more than likely to be of great assistance exposing any underlying/current issues, dare I say resolve but don't mistake his kindness for weakness. Hate to admit it but after 3 tuners I no longer feel like a dollar sign and have regained faith on this platform, was one more tune away from moving onto the next. In a nutshell you're not only getting a real custom tune but will be learning/addressing any underlying or current issues along the way resulting in a much more effective machine/tune.
Well like most ventures some eggs must be broken to make an omelette. As mentioned, nothing slips Barry's attention. Ideal WOT fuel pressure typically holds steady at 60 psi. However, WOT fuel pressure was tapering off into the low/mid 30's which is unacceptable. Barry shared his 2 cents and encouraged not to resume tuning until addressed. He had also taken the time to review previous tunes to only come to realize that this had been an underlying issue for some time now, no one up to this point had brought this to my attention, whether this slipped their attention or could care less this could have very well led to engine failure. Shockingly there is no CEL or Xentry errors regarding insufficient fuel pressure which leaves me no choice but to begin the inspection/testing process of elimination in the fuel system one component at a time. Stay tuned, 86 tuned.
Since fuel volume test specs were not met while also seeing that the fuel filter is fixed into the jet suction pump (driver side unit) and fuel pump modules are being replaced for good measure to narrow down any potential restrictions going forward.
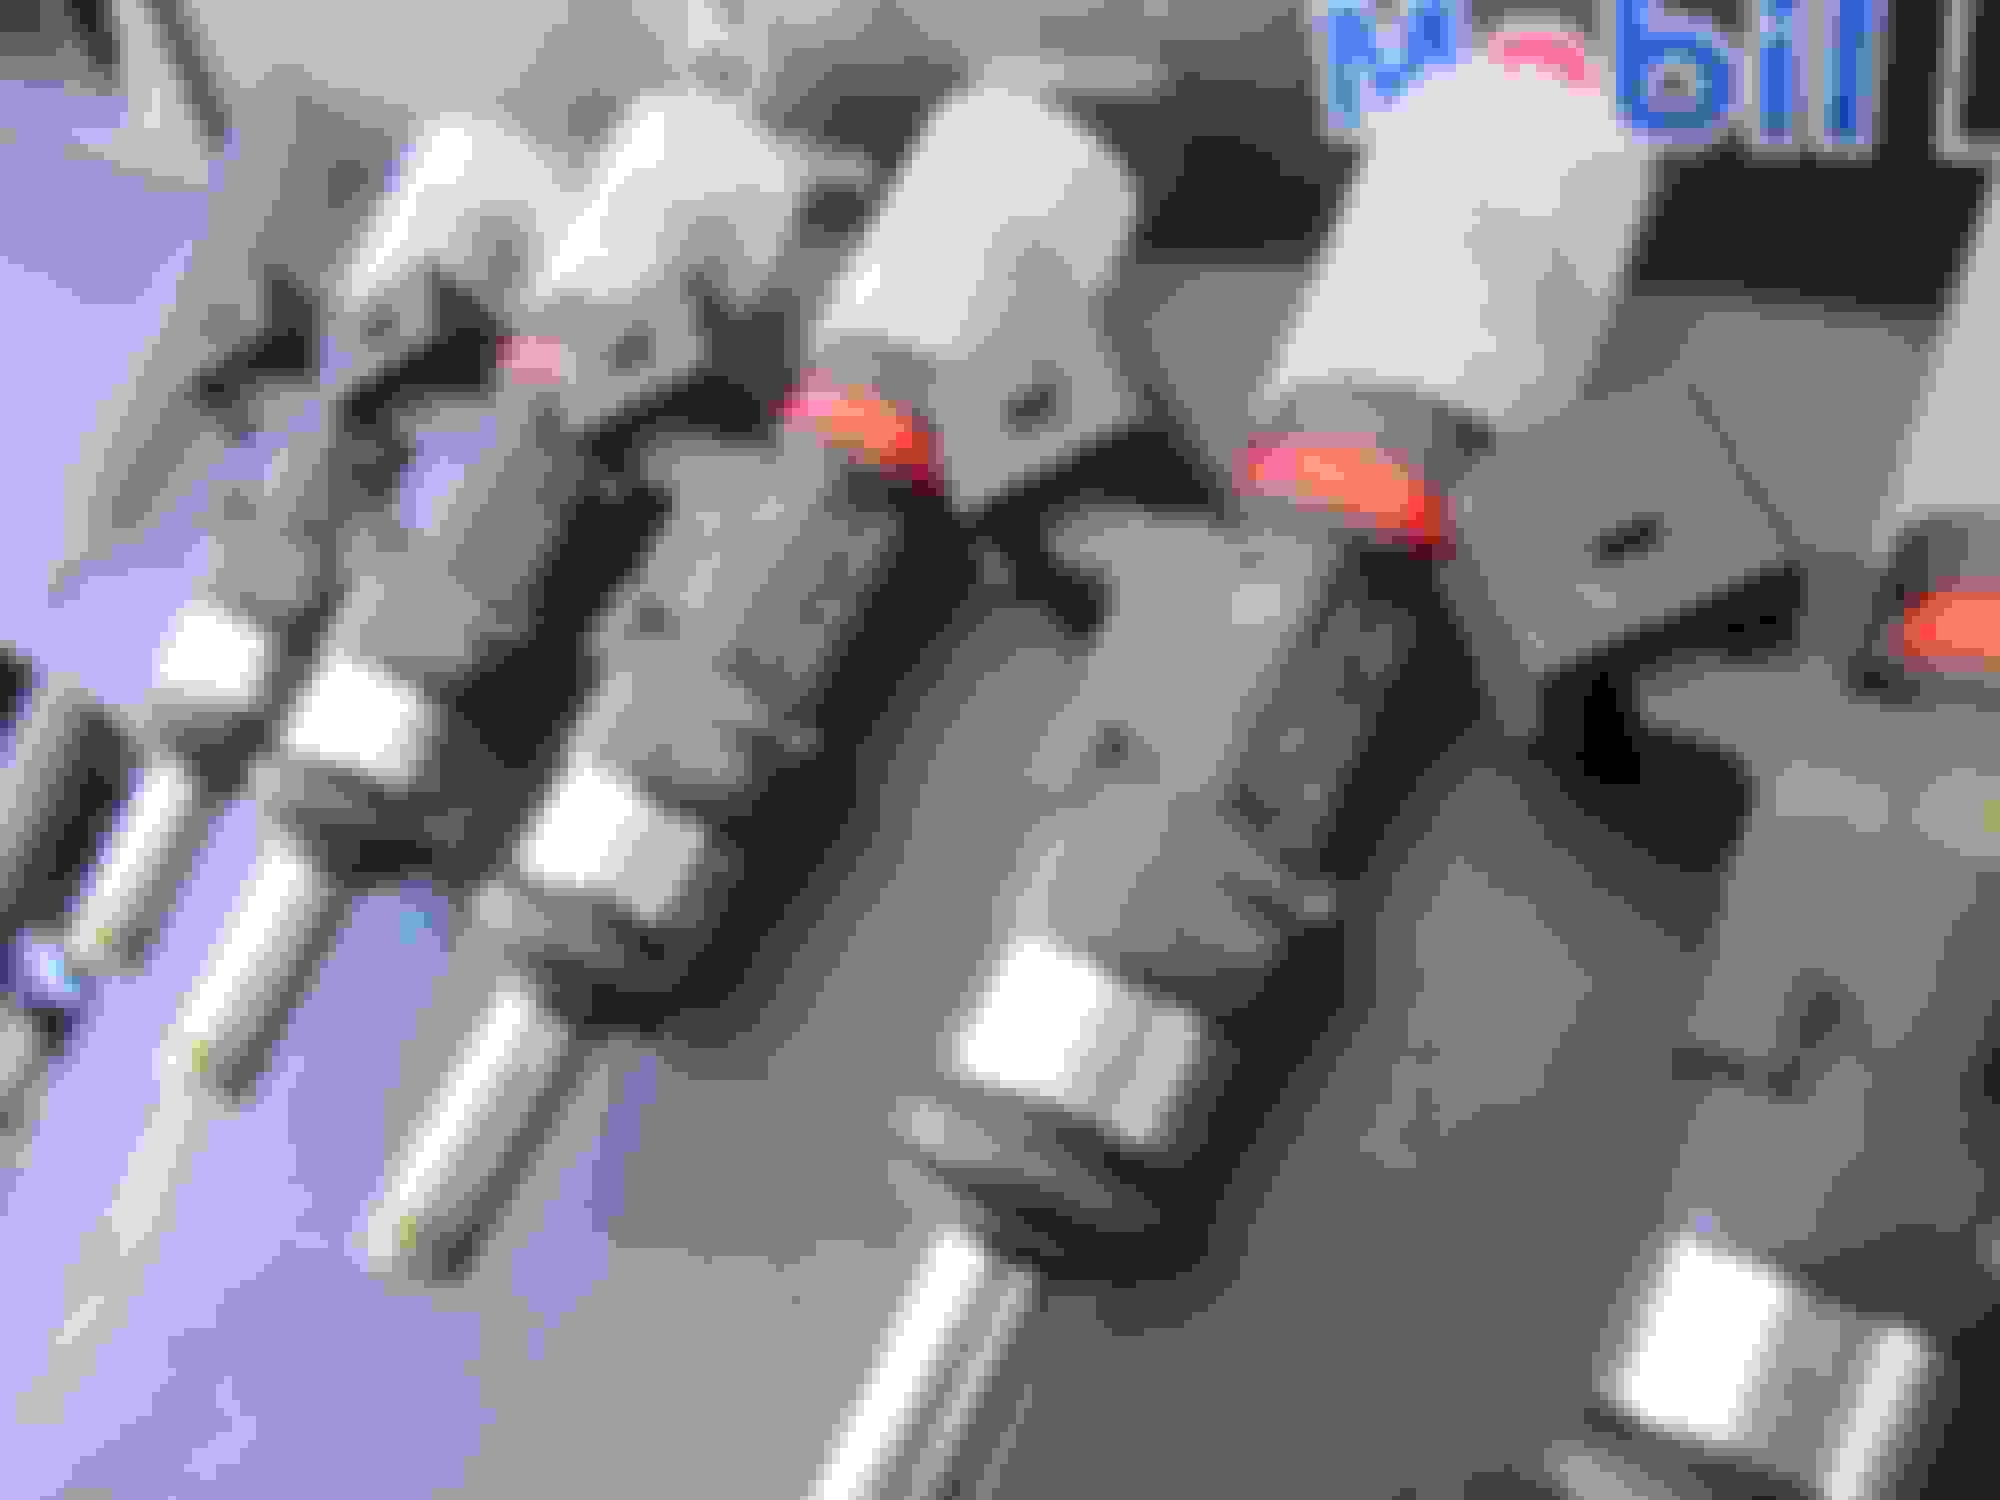
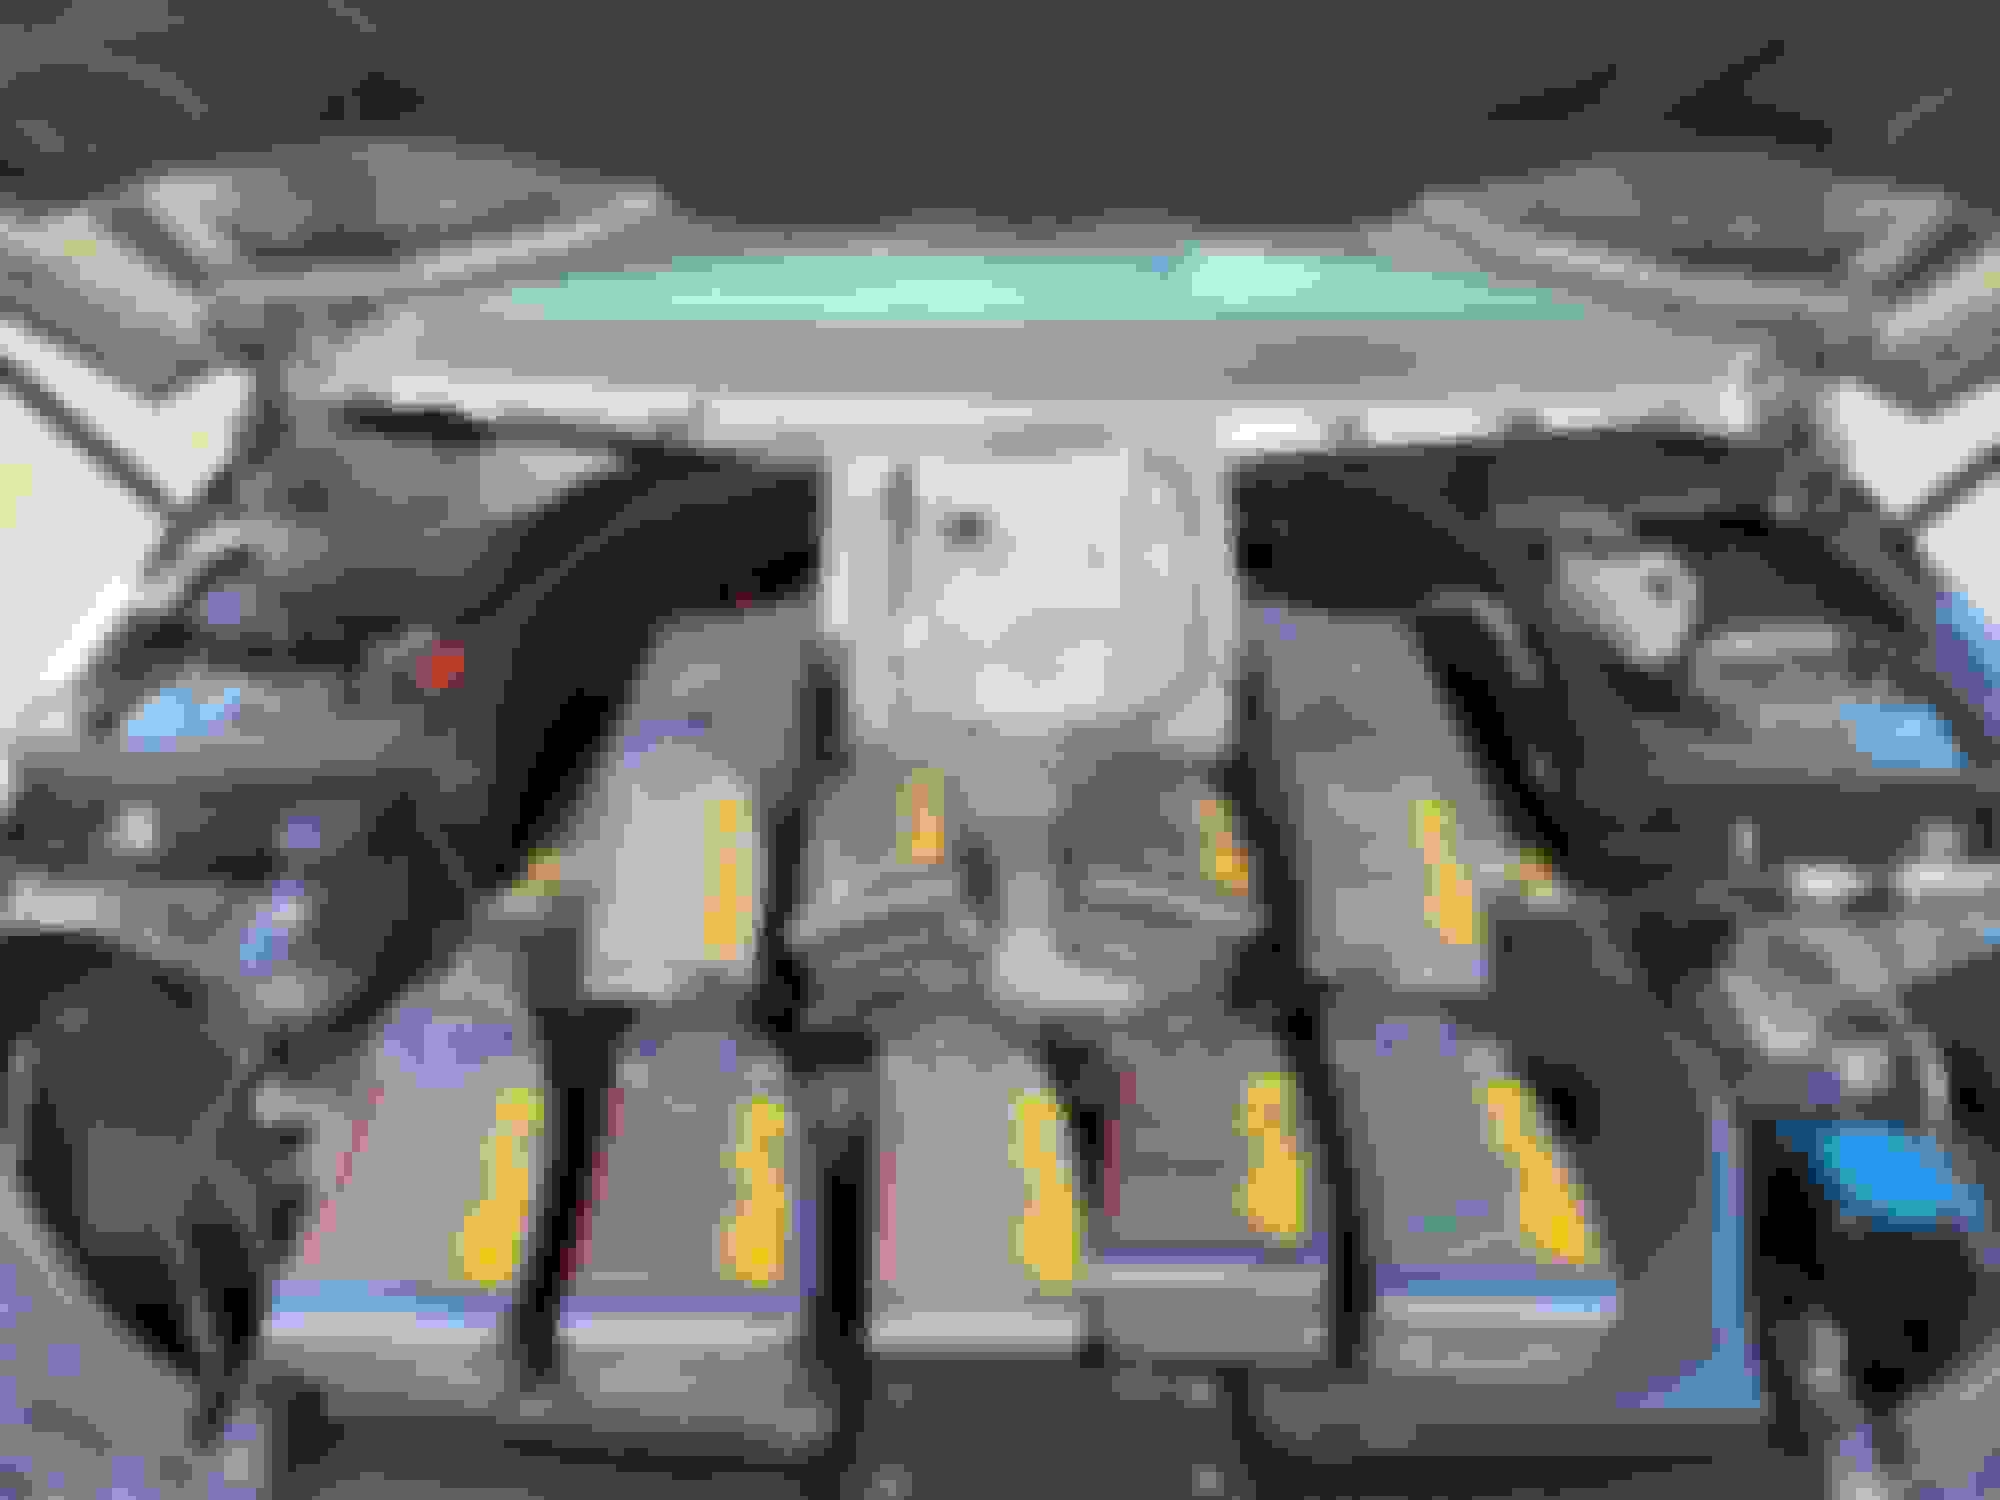
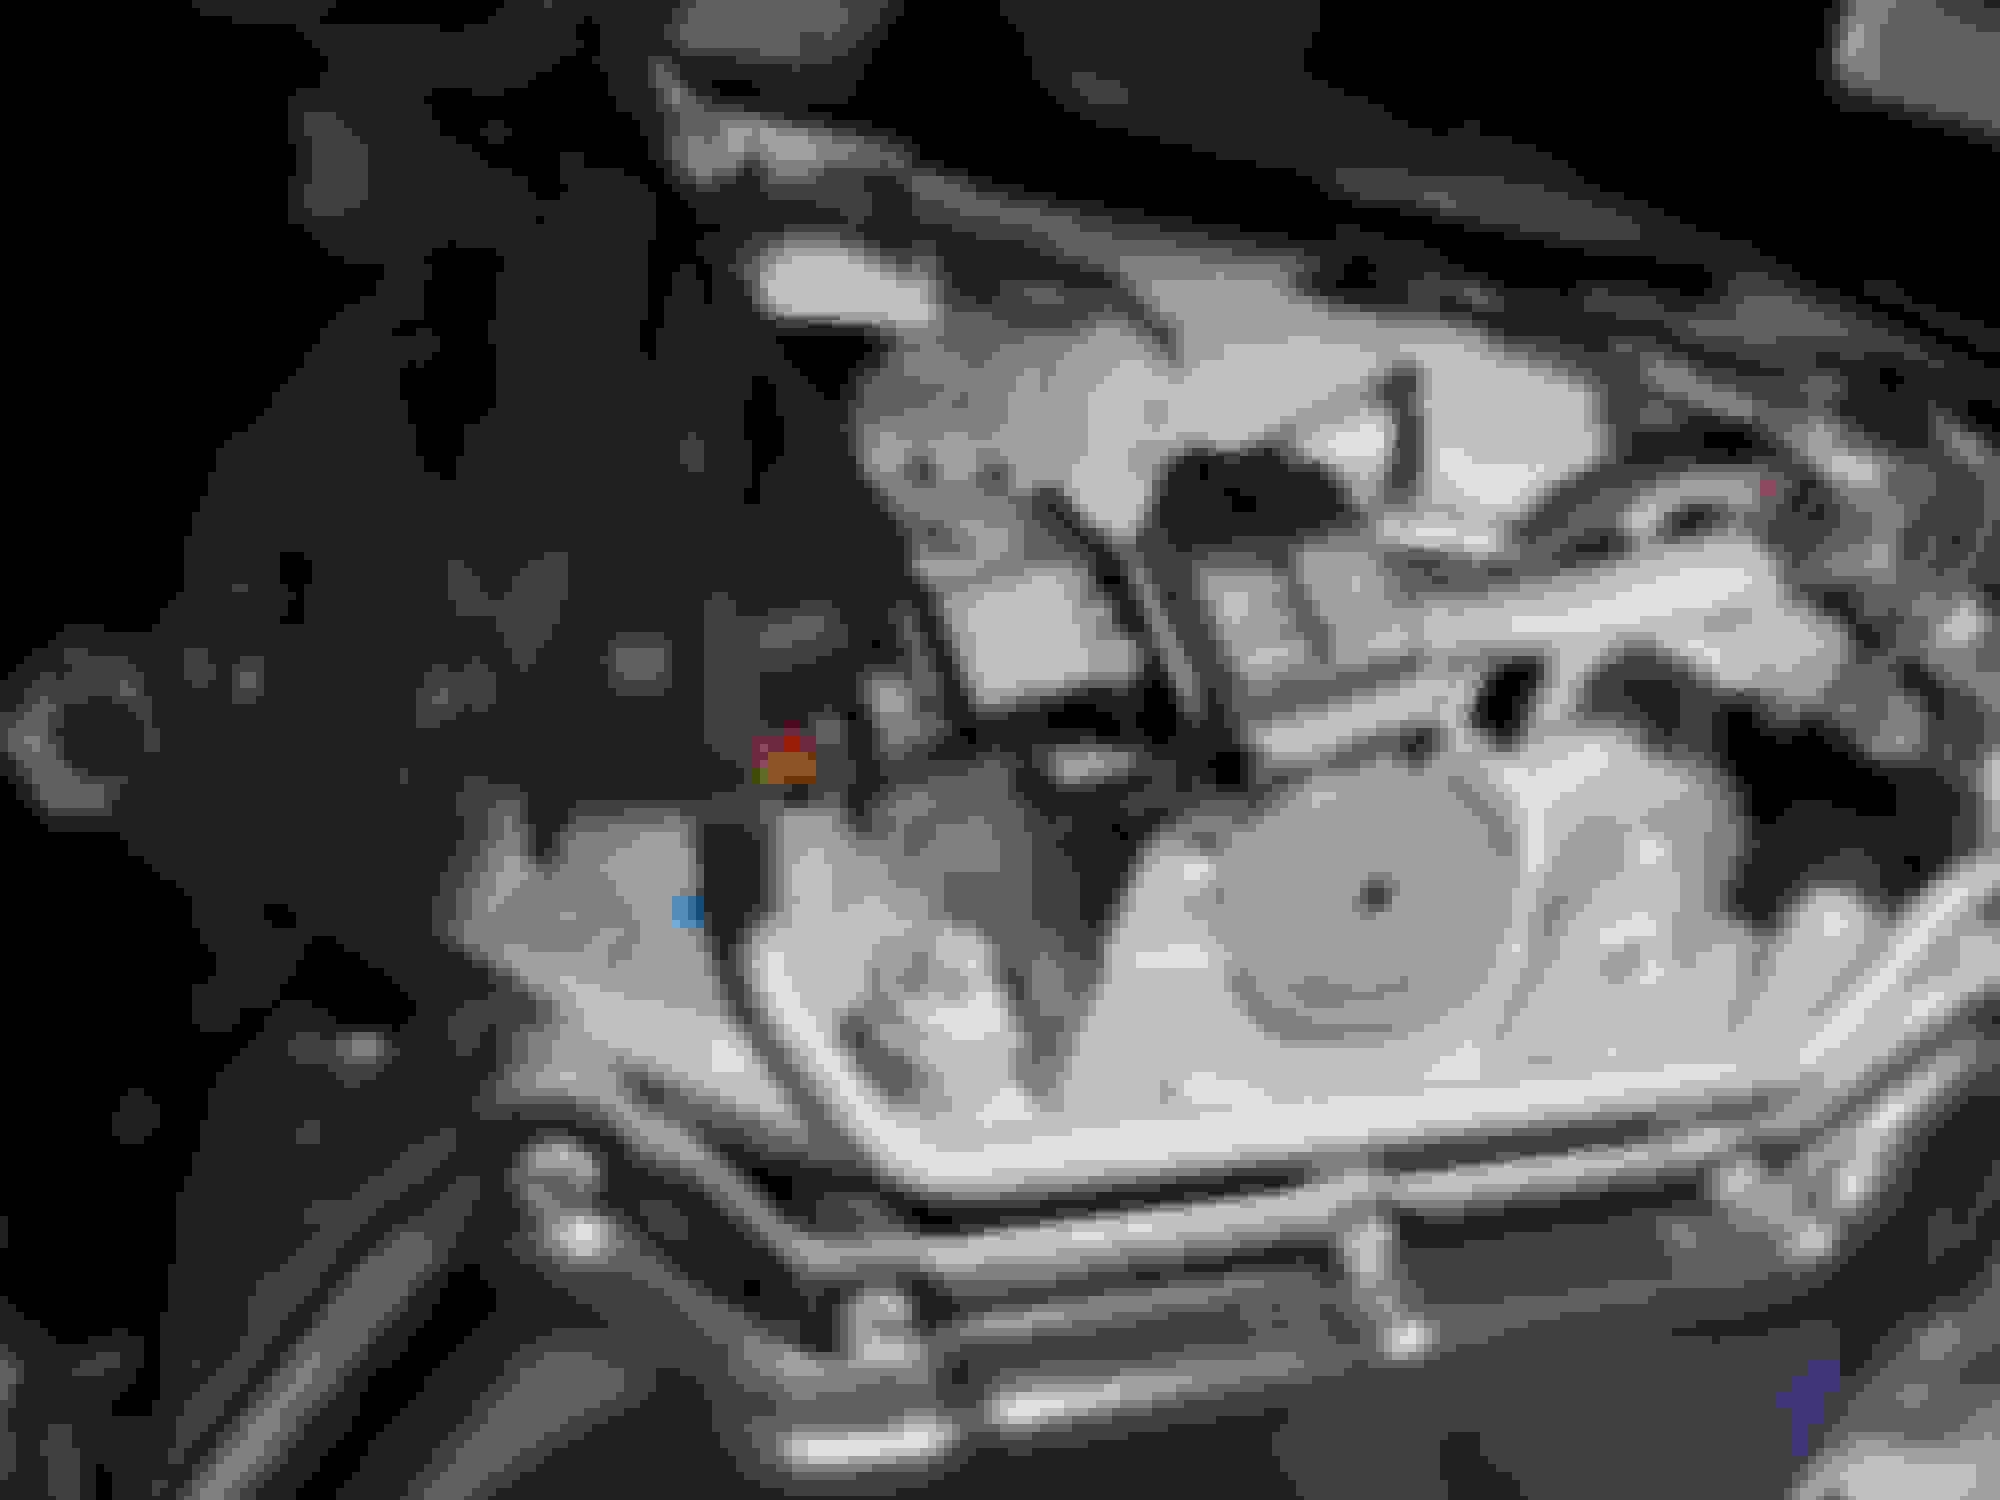
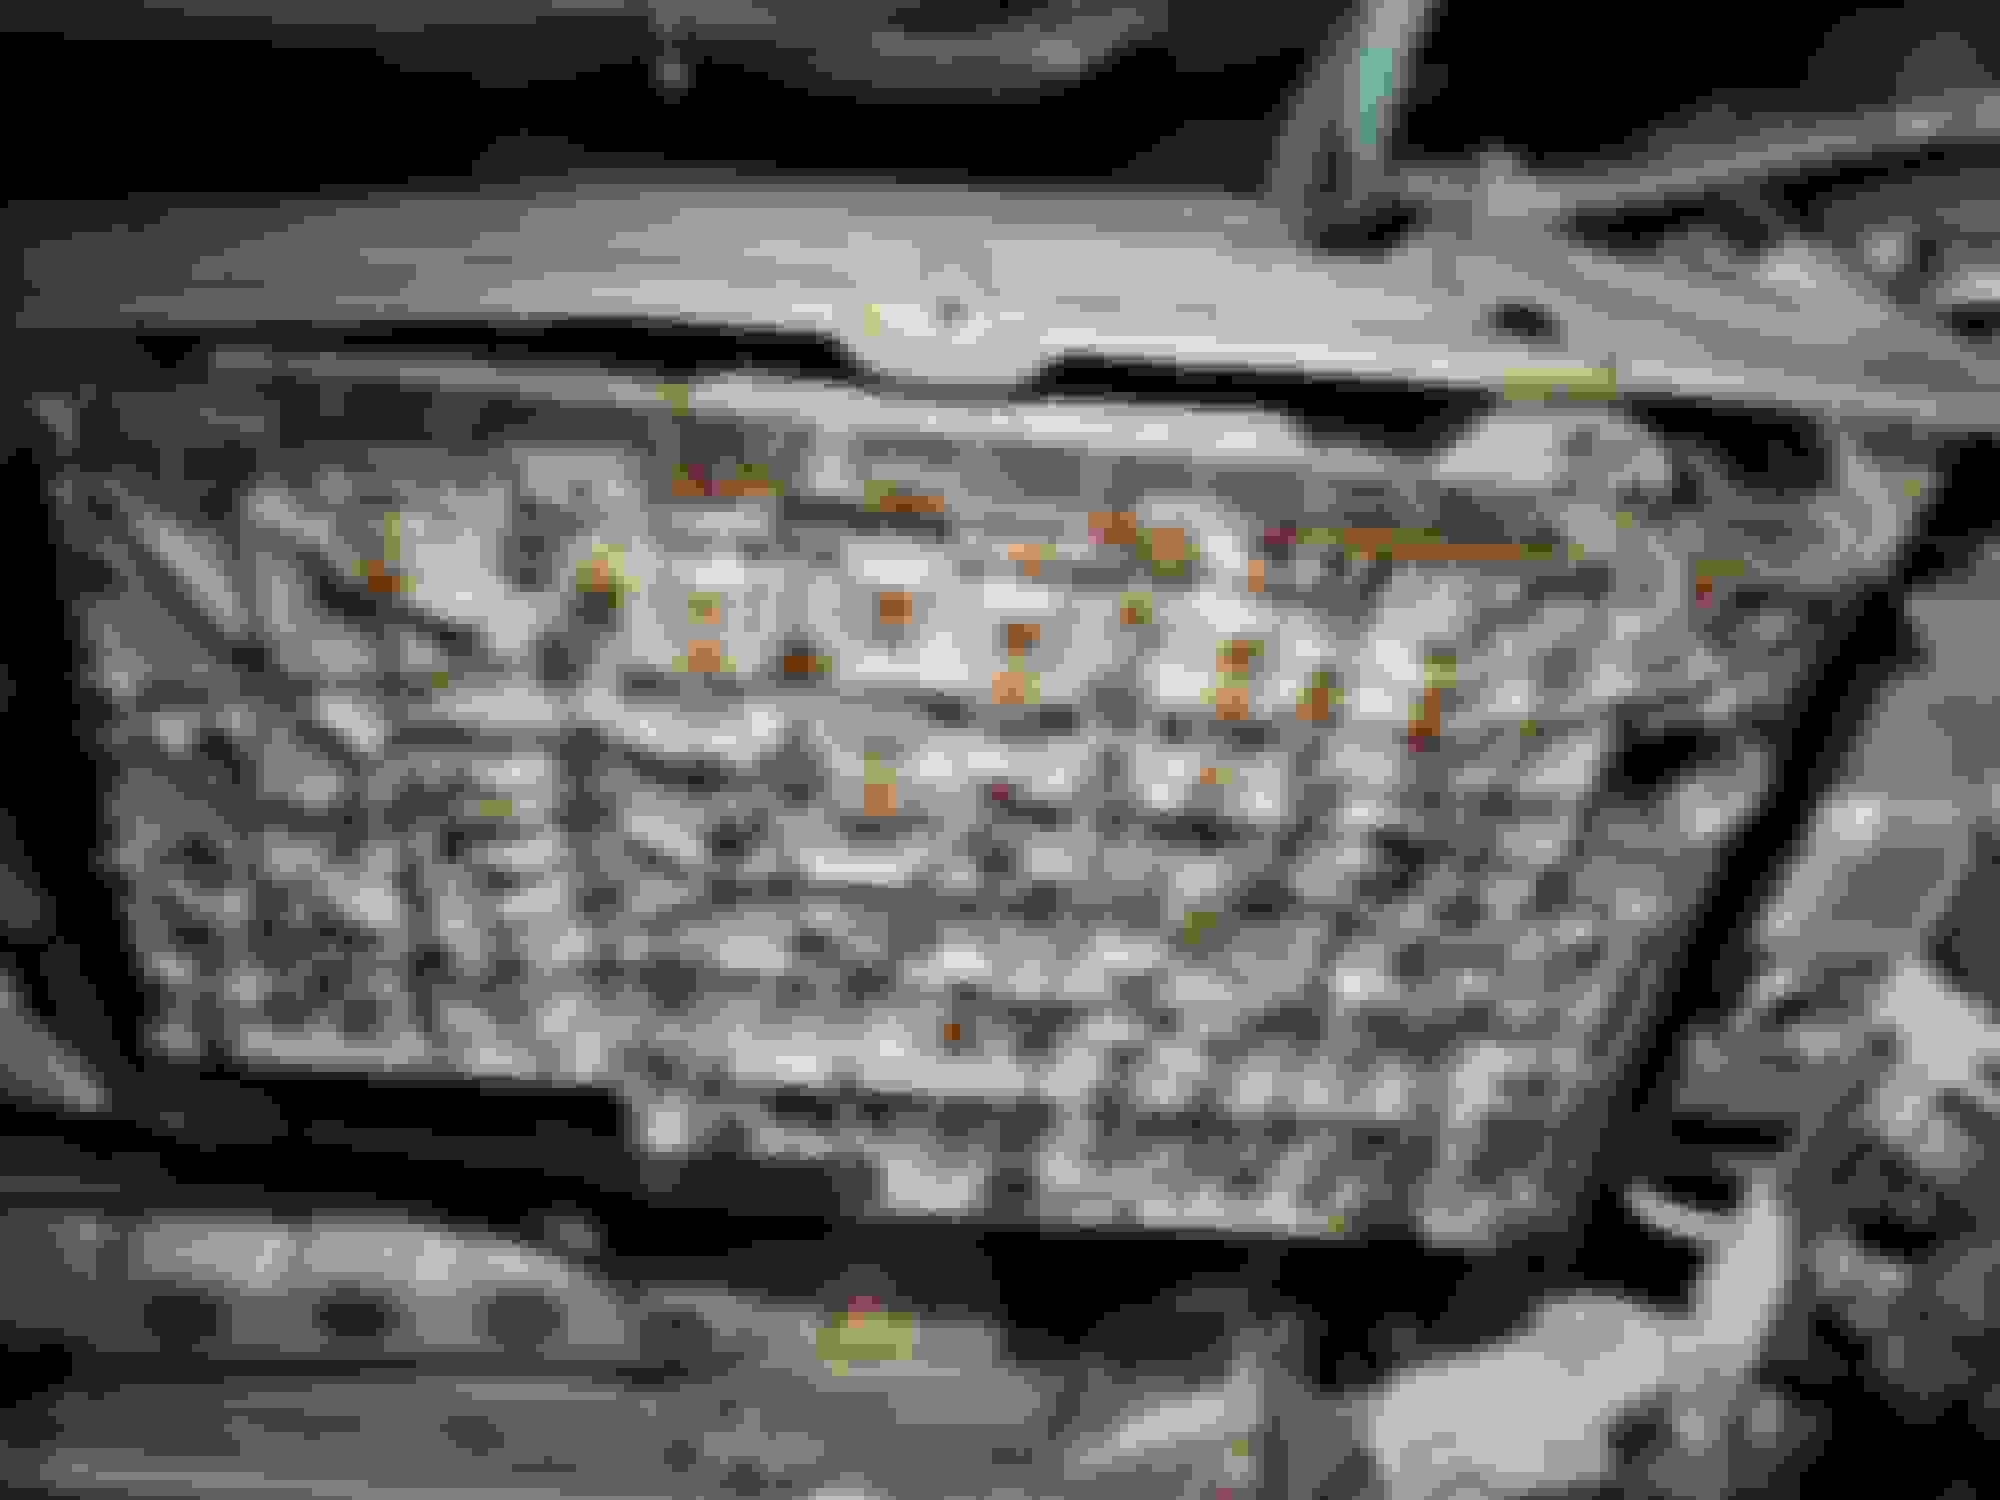
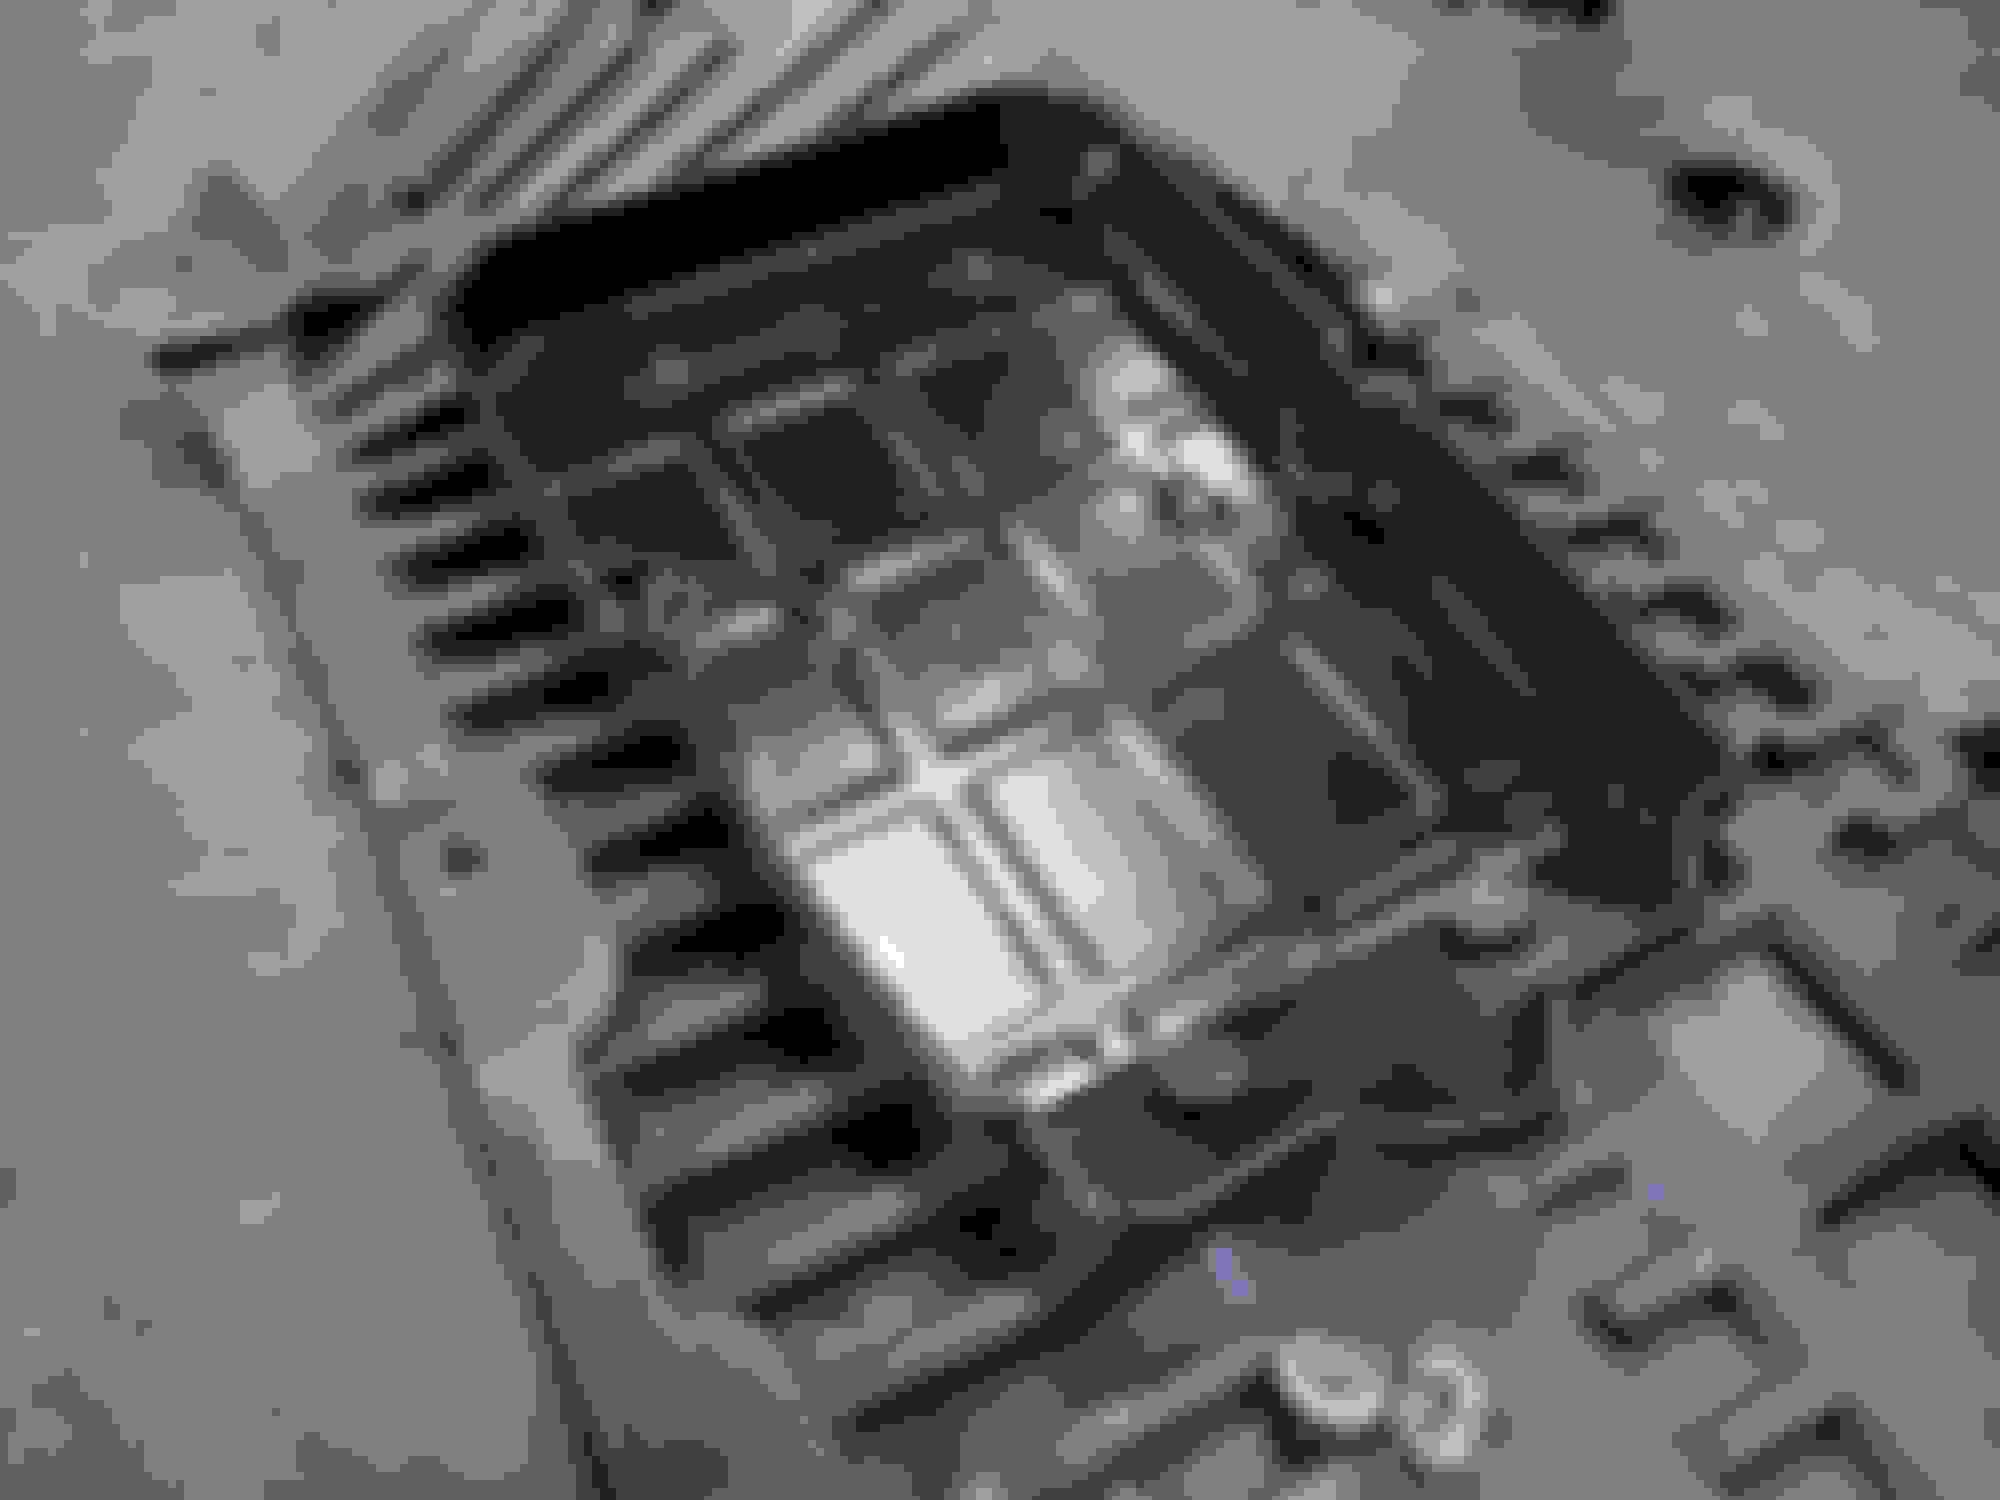
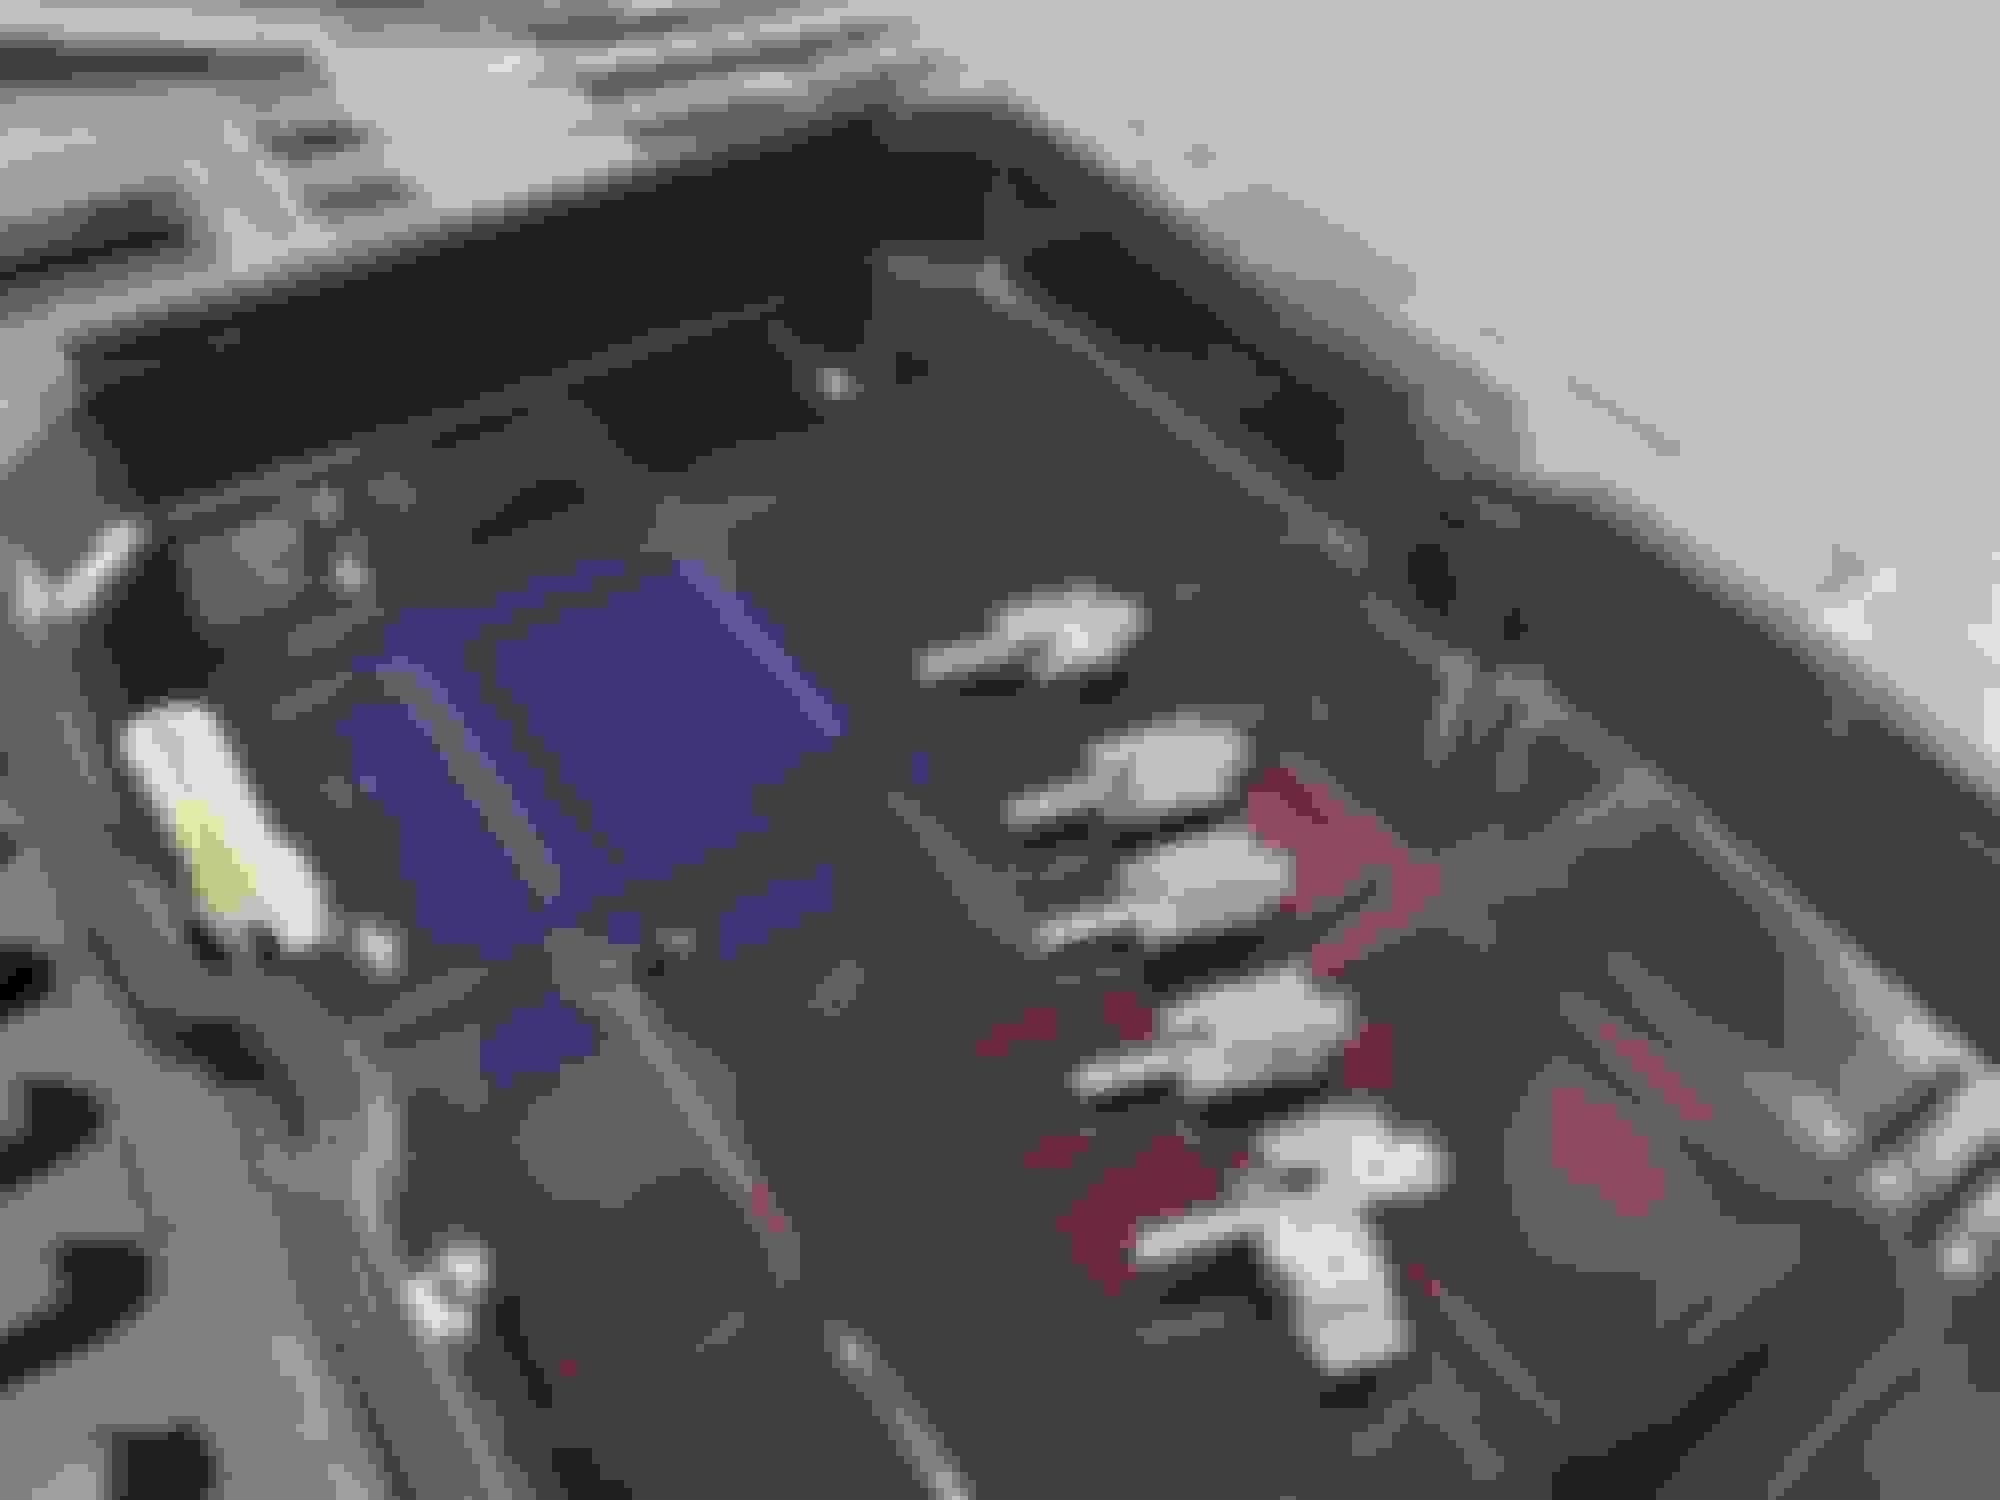
*REMOVAL* *ENSURE FUEL LEVEL IS 1/4 TANK (LESS FUEL EASIER TO MANUEVER COMPONENTS) *DISCONNECT BATTERY *REMOVE LOWER SEATS *REMOVE DRIVER/PASSENGER FUEL PUMP ACCESS PANELS (4) 8MM FASTENERS PER SIDE (START WITH PASSENGER SIDE FIRST) *VACUUM/CLEAN ANY DUST/DEBRIS ACCUMULATED WITHIN FUEL PUMP VICINITY TO PREVENT FUEL FROM GETTING CONTAMINATED *DISCONNECT/TUCK PASSENGER SIDE ELECTRICAL CONNECTIONS/FUEL LINES ASIDE (HAVE RAGS ON HAND TO CATCH/SOAK UP FUEL RESIDUE) *REMOVE DRIVER/PASSENGER FUEL PUMP LOCK RINGS WITH MERCEDES TOOL 45346GM OR TAP FUEL PUMP LOCKING RING TABS COUNTERCLOCKWISE WITH MEDIUM THICK FLAT HEAD SCREWDRIVER/HAMMER *REPLACE FUEL PUMP LOCKING RING GASKETS IF WORN WITH PART NUMBER PICTURED BELOW (CORRECT REVISED O RINGS ARE NOW ORANGE INSTEAD OF GREEN) *REMOVE/DISCONNECT PASSENGER FUEL PUMP LINES FROM FUEL PUMP MODULES AND CAREFULLY ISOLATE/PULL UP ALL 3 TABS RETAINING WHITE CLIP MATING BOTH FUEL PUMPS TOGETHER THEN ISOLATE FUEL PUMPS FROM EACH OTHER IN TANK (PRESSURE CLIP POINTS PICTURED BELOW TAKE MENTAL IMAGE OF ORIGINAL ORIENTATION ON HOW PUMPS SEAT INSIDE TANK PRIOR TO REMOVAL TO AVOID CONFUSION DURING INSTALL) SHIFT/LIFT ONE FUEL PUMP AT A TIME OUT WHILE ENSURING THE FUEL LEVEL SENDER DOESN'T GET CAUGHT *DISCONNECT/TUCK DRIVER SIDE ELECTRICAL CONNECTIONS/SUPPLY FUEL LINE ASIDE (HAVE RAGS ON HAND TO CATCH/SOAK UP FUEL RESIDUE) *REMOVE JET SUCTION PUMP OUT SCRUPULOUSLY ENSURING ALL 3 FUEL LINES (DO NOT CUT ZIPTIES) AND SENDER CLEAR WHILE NOT GETTING CLIPPED IN FUEL TUNNEL
*INSTALL*
*INSTALL NEW LOCKING RING GASKETS *INSTALL/GUIDE DRIVER JET SUCTION PUMP INTO TANK ENSURING ALL 3 ZIP TIED LINES CLEAR TUNNEL TO DRIVER SIDE (IF LINES DON'T ALIGN IN ORIGINAL POSITION, YOU MISSED THE TUNNEL) *INSTALL PASSENGER FUEL PUMPS ONE PUMP AT A TIME, ONCE BOTH PUMPS ARE IN TANK ENSURE ORIENTATION IS CORRECT BEFORE CLIPPING/MATING FUEL PUMP MODULES BACK TOGETHER. RESINTALL/LOCK WHITE CLIP THAT CONJUNCTS/SEATS THE PUMPS AS ONE ASSEMBLY. ENSURE FUEL PUMP WITH FUEL LEVEL SENDER ISN'T SEATED REVERSE OR ELSE SENDER WILL CONTACT TANK HALF TANK NEVER REGISTRATING AS A FULL TANK. ONCE PROPER ORIENTATION IS CONFIRMED ENSURE ALL FUEL LINES AND TOP HAT WIRING ARE ROUTED/CONNECTED PROPERLY W/O ANY KINKS. DOUBLE CHECK LOCKING RING GASKETS ARE STILL IN PROPER POSITION WHILE APPLYING PRESURE WITH ONE HAND ON BLUE FUEL TOP HAT SLIDE LOCKING RING OVER WITH OTHER HAND AND ALIGN/TWIST LOCKING RING CLOCKWISE SIMULTANEOUSLY AS FAR AS YOU CAN BY HAND. FINISH SECURING LOCKING RING TABS CLOCKWISE WITH MERCEDES TOOL OR MODERATELY TAP TABS WITH MEDIUM SCREWDRIVER/HAMMER METHOD, REPEAT FOR DRIVER SIDE JET SUCTION PUMP. *REINSTALL/CONNECT ELECTRICAL CONNECTIONS AND FUEL LINES
*RECONNECT BATTERY
*PRIME/ENSURE FUEL SYSTEM HAS ZERO LEAKS
*REINSTALL FUEL PUMP ACESS PANELS (4) 8MM PER SIDE (ENSURE ELECTRICAL HARNESS IS ROUTED PROPERLY BENEATH ACESS PANELS SO IT ISN'T PINCHED)
*REINSTALL LOWER SEAT
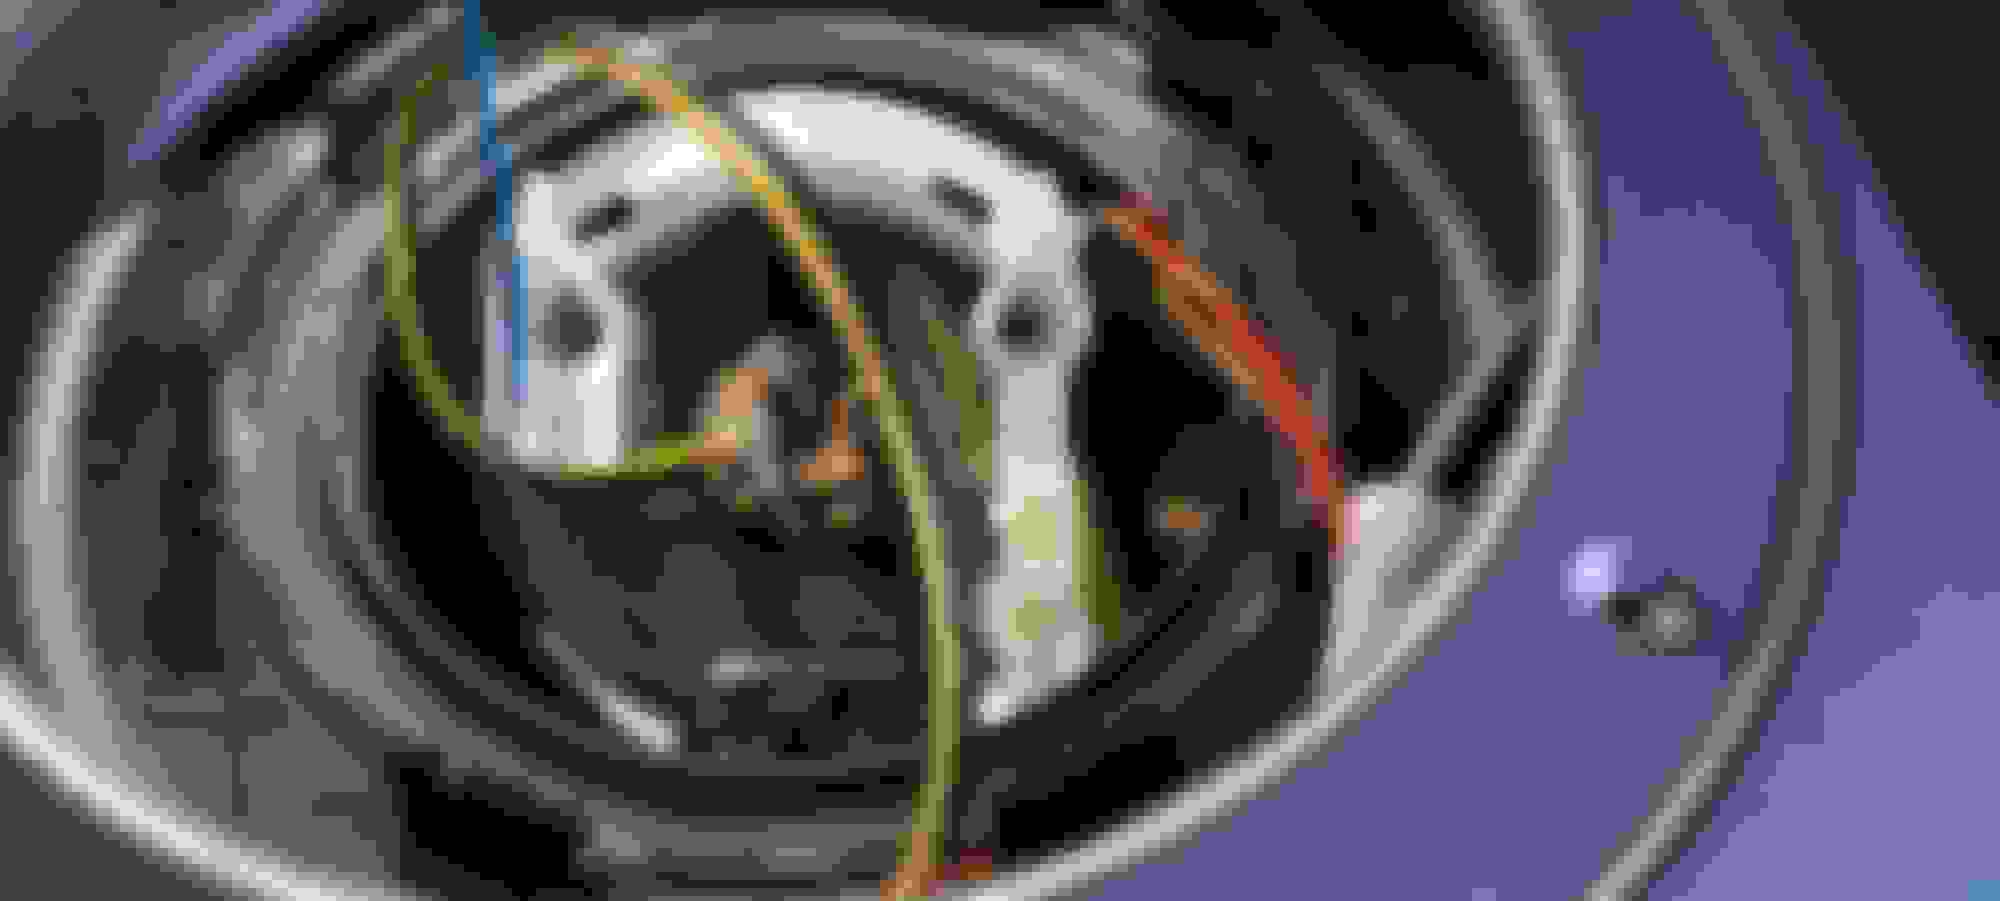
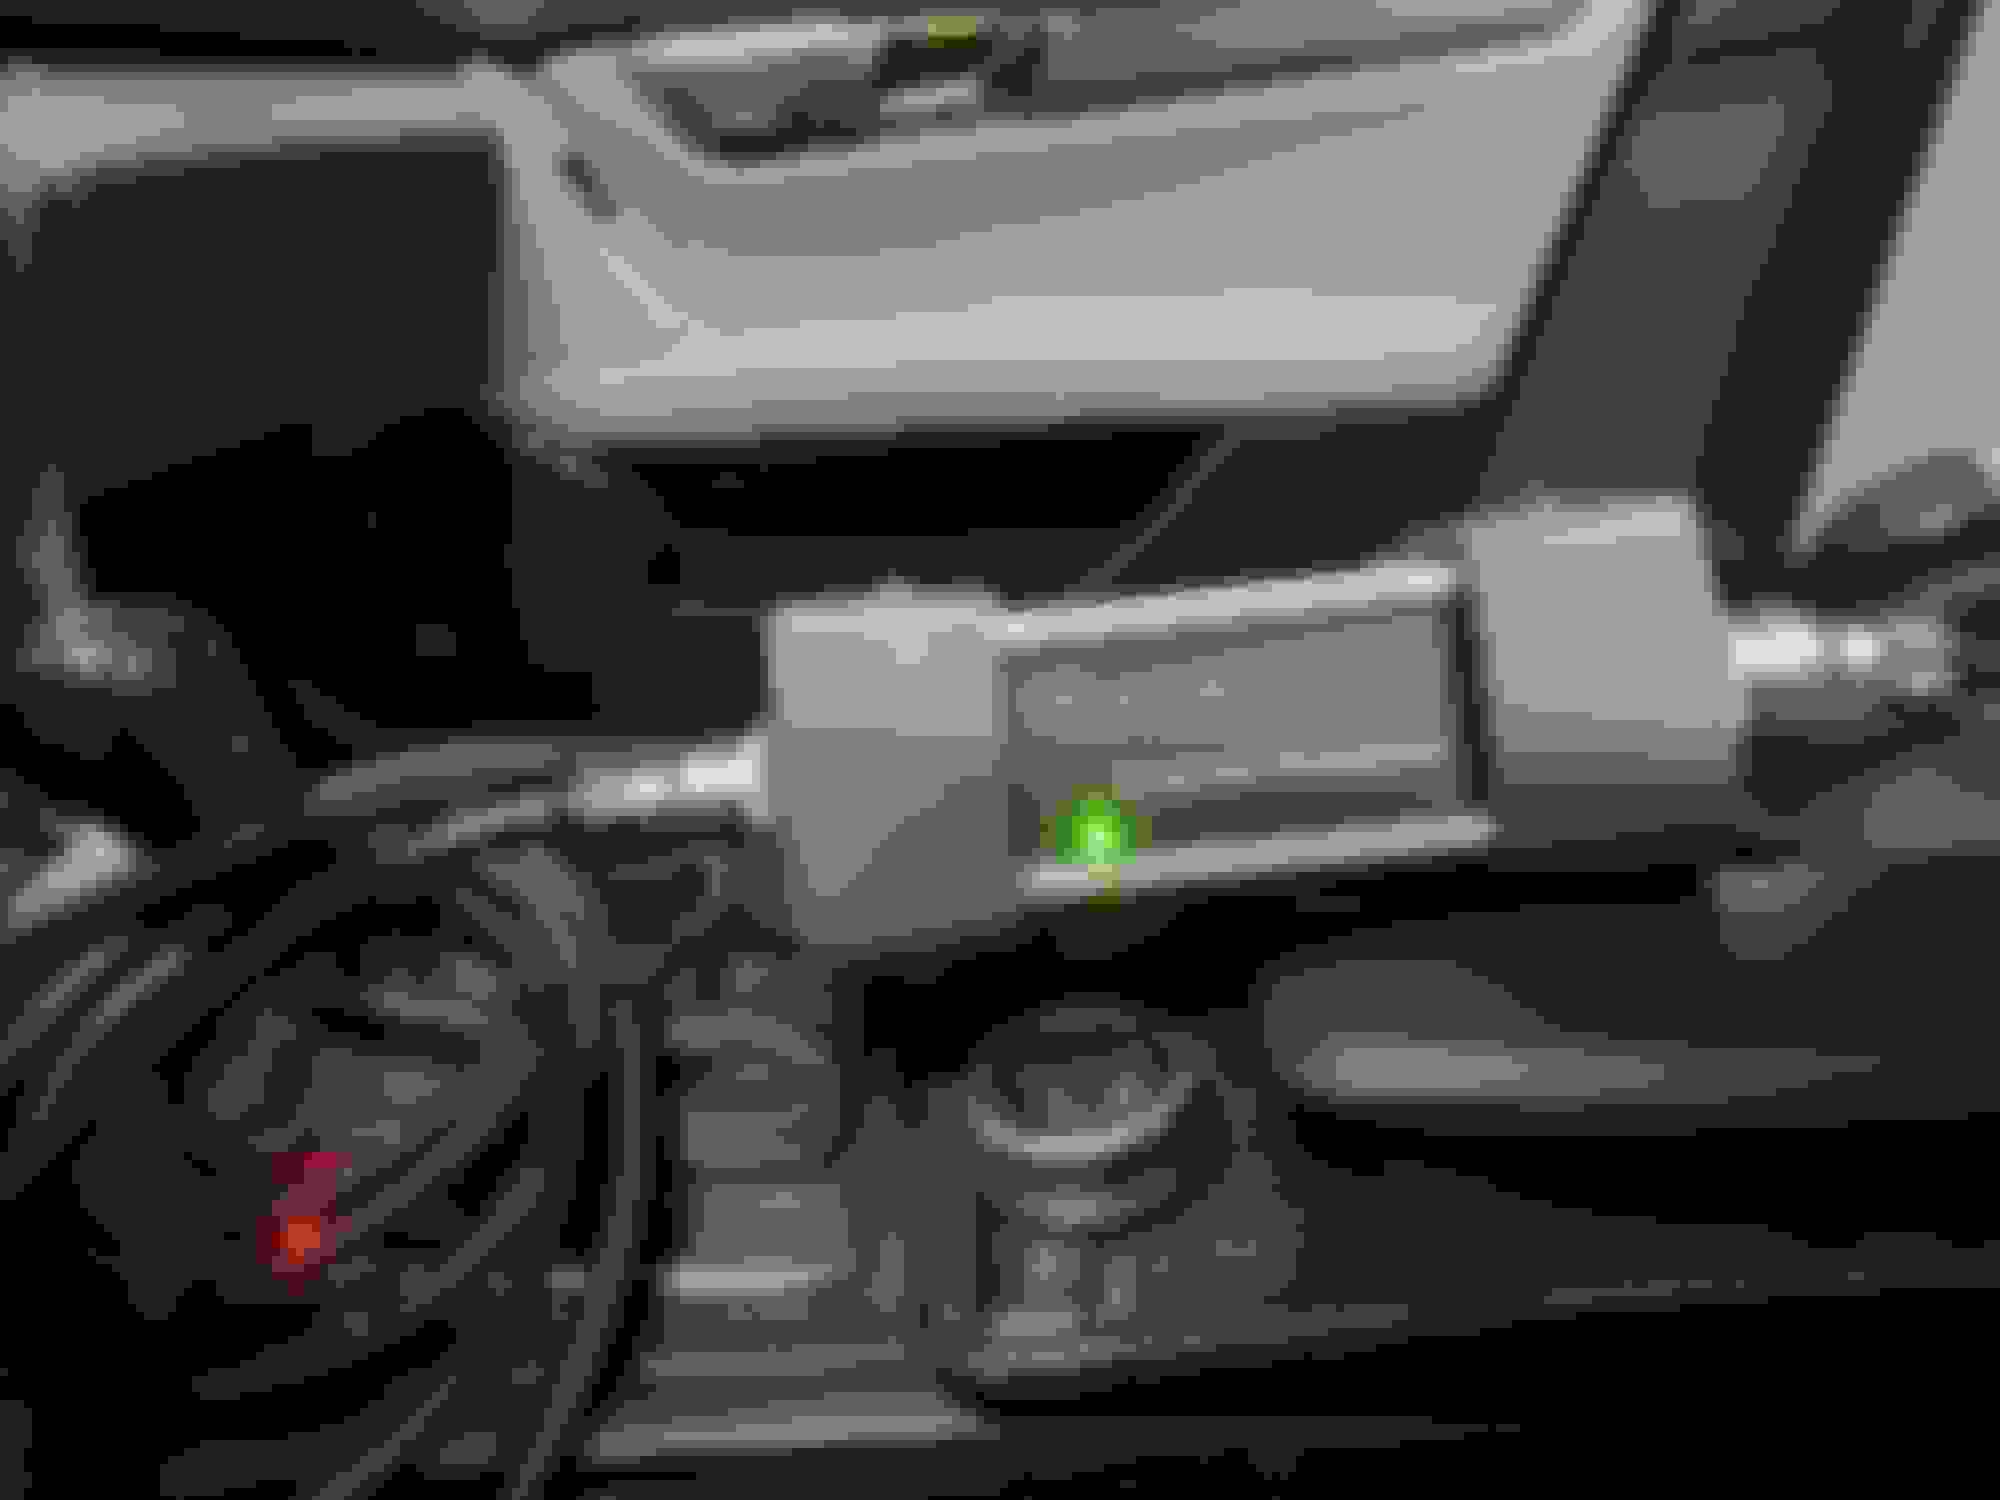
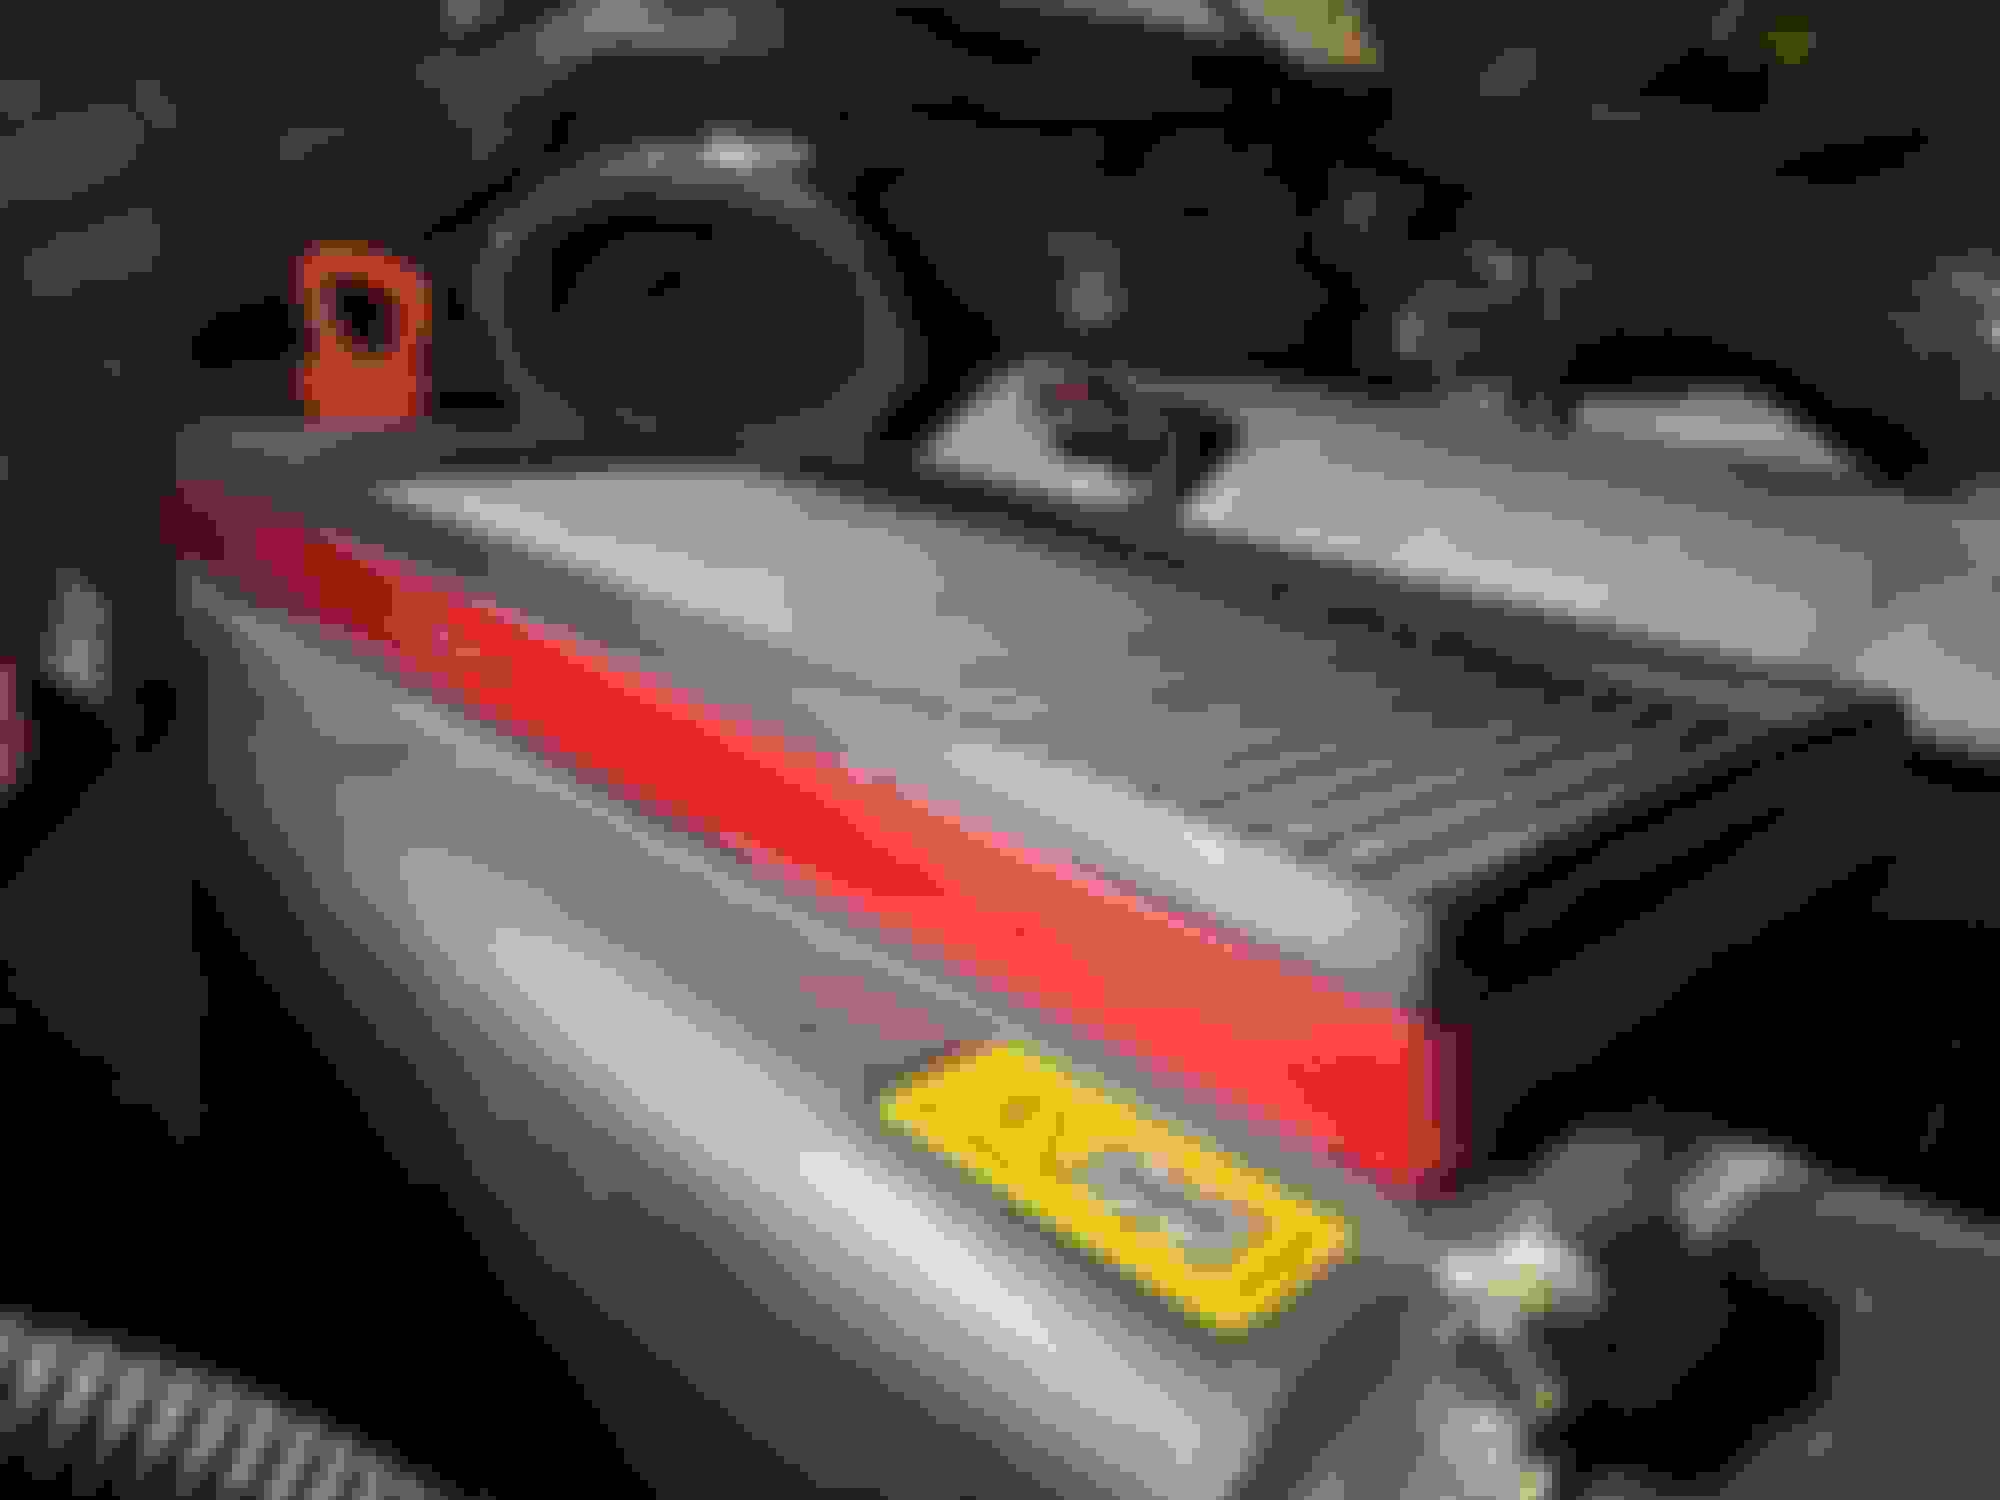
In spite of new fuel pumps and fuel pressure sensor, fuel pressure continued to drop off intermittently between 5-8K RPMS. After dropping the tank and inspecting the entire fuel system (rail, fuel lines, air inlet valve, tank potentially internally collapsing etc.) I was convinced this quandary was no longer a mechanical issue. Just to make sure I didn't leave any mechanical stone unturned I inspected the tensioner/belt/crank pulley to ensure there was no excessive play in either component possibly creating a slippery/skipping slope scenario, after establishing and rest assuring myself it was no longer mechanical, I started monitoring/running electrical parameters in HP tuners and sure enough module voltage would intermittently drop as low as 10~11V (less than resting battery voltage) at WOT between 5-8K. Once I discovered a correlation drop between fuel pressure/module voltage I tested the small battery, although it passed the test with flying colors, I swapped a brand-new OEM battery in with the same results. Then ran a load-free test on the brand-new alternator/voltage regulator just to make sure it wasn't failing/defective that also passed with flying color actual values. Fuel pump module voltage within range as well. Even started to believe that I may have alternator management. However, after verifying my data card it was apparent that wasn't the case, unplugging the battery sensor made no difference. At this point I'm STUMPED that Xentry has not detected any fuel pressure faults or anything in between which leaves me with no leads. After extensive testing, tracing, several components I had a buddy who decided to sign his life away by riding in the back of my tin can without any seats during WOT pulls. AT LAST, after several WOT pulls a voltage drop at the SECOND fuel pump module (they're two modules, one in the trunk and the other tucked along passenger rear door sill) Traced the power wire all the way back into the trunk that led to a fuse holder mounted adjacent to the battery which consisted of fuse F33f113 (prefuse113) and N10/1f4 fuses (fuse 4) Upon removing the plastic fuse housing it was now clearer that one of the power wires were discolored which reveals continuous excessive heat which chalks up to high resistance. While fuse 4 was fine, prefuse113 had partially melted. I can only speculate but had the fuse popped instead I'm led to believe Xentry would've detected a fault giving me a cue where to begin saving heaps of time. Before it slips my mind, I should also mention that on the other side of the fuse there is an additional red wire that runs/loops back to the positive battery post. Due to the excessive heat, not only did the fuse partially melt but so did the plastic fuse holder/housing which in turn fuses the two including the factory male spade pin which results/requires new fuse holder/prefuse113/male spade pins because the only way to remove the fused male spade is to simply destroy the melted plastic housing surrounding it. Once the plastic housing begins to melt the fuse no longer seats properly and is only a matter of time before it starts to arc. Don't bother trying to locate/find part numbers for original wiring harness or male spade pins because your Mercedes parts department will not find them, after several orders/hours' P/N: A0005405205 cut in half will serve this repair best. Now that you have the proper design spade/gauge wire properly crimp (solder will create resistance issues at some point defeating the purpose of this repair to begin with) connections. Long story short, don't run below a 1/4 tank of gas haphazardly. Not only do the pumps starve/heat up so does everything in between inviting electric gremlins to brew.
BACK IN THE RACE. With module voltage/ fuel pressure being restored to optimal range and factory injectors fulfilling their duties it's time to reintroduce the 630cc injectors to fully support my dedicated ethanol maps allowing us to resume tuning. @hachiroku isn't Jesus so it's part of your duty to ensure your machine is running in tip top shape or else the data being provided will be skewed resulting in a flawed tune full of holes which will only stretch out the tuning process. Spanking new 630cc injectors, fuel pressure sensor, coupled with upstream 02 sensors (Barry has the ability to completely eliminate the downstream 02 sensors w/o triggering any cels without resistors) to ensure all targets/tune is spot on.
For anyone who's unfamiliar with 91 octane its good as **** gas (far cry from being knock resistant) Shockingly, Barry's 91 octane tune is effortlessly holding 29~30� of ignition timing (I challenge anyone to find another tuner that can currently achieve over 30� on 91 octane without knock) which is considered ethanol territory based off previous maps from former tuners. To be brutally frank not only does shifting feel more stiff/consistent no one can hold a candle to these pump gas maps at this time. Although we can continue to ramp things up, I have zero desire advancing forward and only intend on utilizing 91 in the event when ethanol is unattainable while traveling. While 91 octane served well as a baseline it's time to shift gears with ethanol. Stay tuned, 86 tuned.
Nice!
But how differs a tuner from a tuner when both tunes are same AFR and same advance in between eachother?
Is it camtiming?
afr has little effect on driveabikity or power output. So many other factors are at play in a tune and the fact you think there is no different shows you don�t understand. There are thousands of maps in regards to afr and timing based on throttle inputs, load and temperatures. To think a tune is a tune is to not understand how tubers work
Nice!
But how differs a tuner from a tuner when both tunes are same AFR and same advance in between eachother?
Is it camtiming?
your question comes from 1 + 1 = 2 and with simple computers that is true. the bosch motronic 9.7 computer is a volumentric efficiency computer so the same rules do not apply when you have over 1000 available maps to modify.
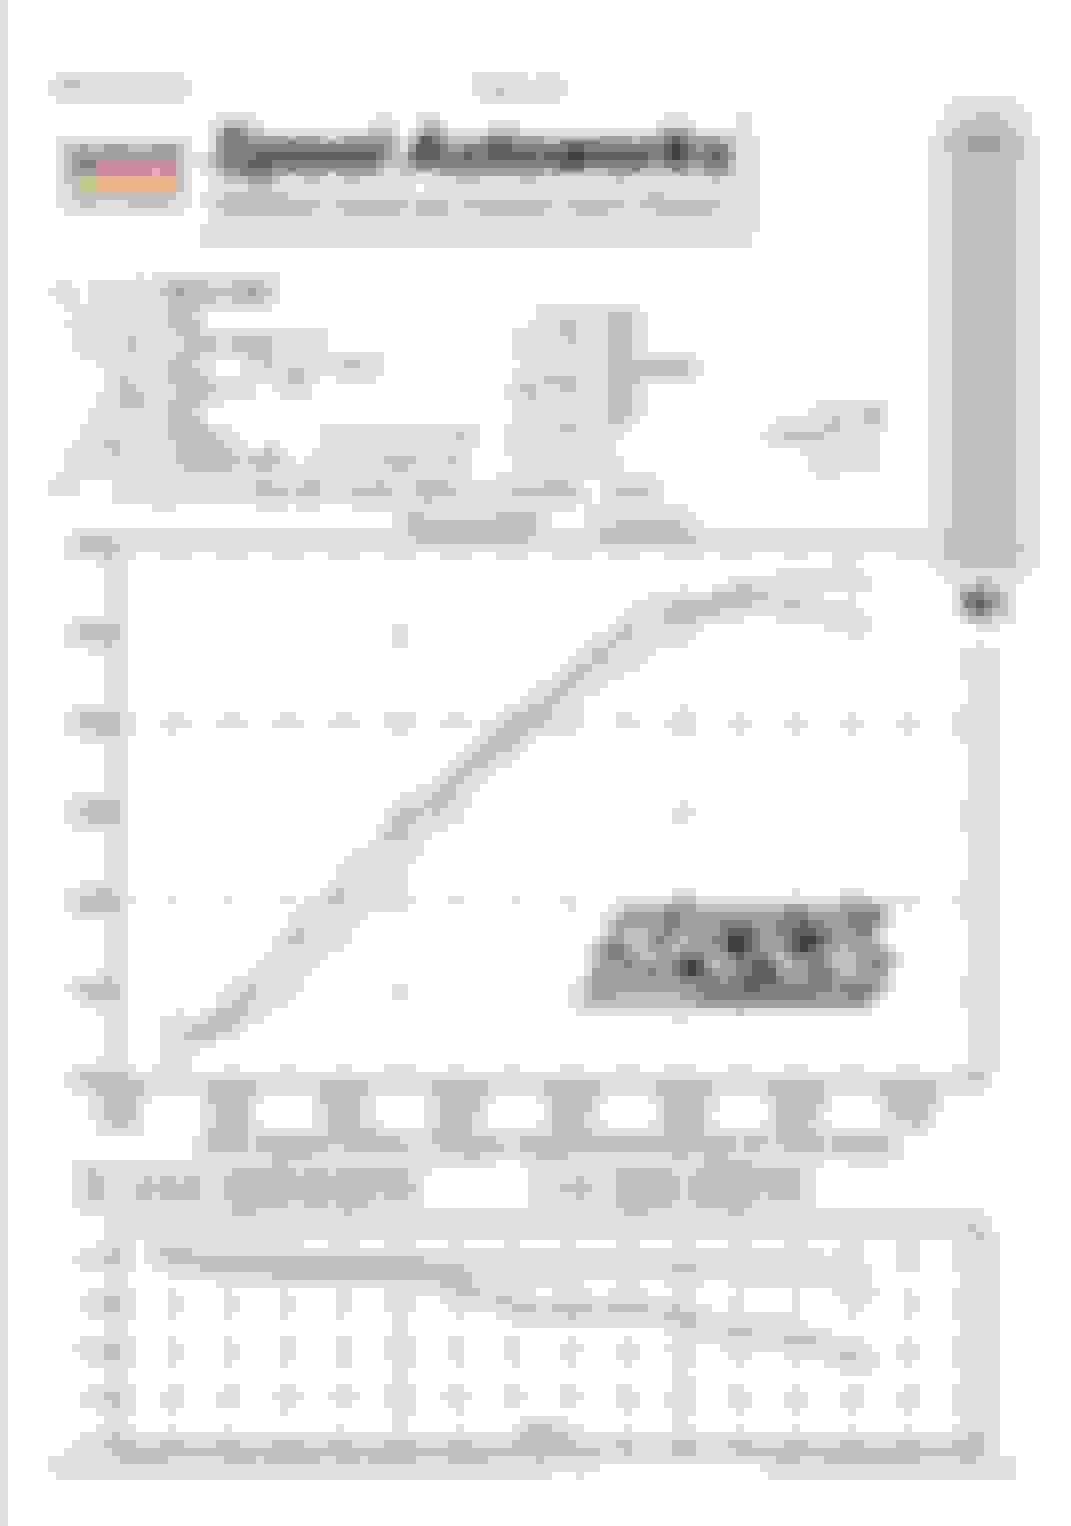
here is a dyno if another customer of ours. our BASE TUNE which has FACTORY ignition timing and FACTORY air fuel and still retains the FACTORY power limits at the higher rpm's. we produce more power than a top tuner who has their air fuel ratio perfect.
Originally Posted by Panzerbiscuit
Another update if anyone is interested.
Car is booked in for it's build on the 5th of July! I am so excited, the 5th of July can't come fast enough.
I FINALLY got my Weistec Trans pan, after ordering it in February and paying a $500 deposit. The company I dealt with here in Perth was recommended to me by the local AMG club and could offer me a ~$200 discount compared to Dyne Performance. Lesson learnt. The cheapest option isn't necessarily the best.
After paying my deposit at the beginning of Feb, the shop went radio silent. I messaged the shop a few times asking for an update/ETA/tracking number only to be ignored. When I called the receptionist fobbed me off and promised to have someone call me back. They never did. Anyway, I picked it up last Wednesday nearly 5 months after I ordered it. With the shop citing "Weistec is the worst company to deal with, it's seriously like getting blood from a stone". Having ordered stuff direct from Weistec and the US before, I find a 5 month delay hard to believe. All up the trans pan cost me ~$1100 AUD. Ouch.
On a happier note, 63Motorsports has contacted me about a core exchange of his adjuster kit, whereby he will assemble the adjuster and I will send him mine in exchange. I think this is a fabulous idea, as it removes the potential for a shop/mechanic to over torque the titanium fasteners or have some other issue. I am all for a drop in solution. I have also opted for his "lightened" assembly, which is lighter than stock and should hopefully make it a bit more happy to Rev. I am very excited for this to arrive.
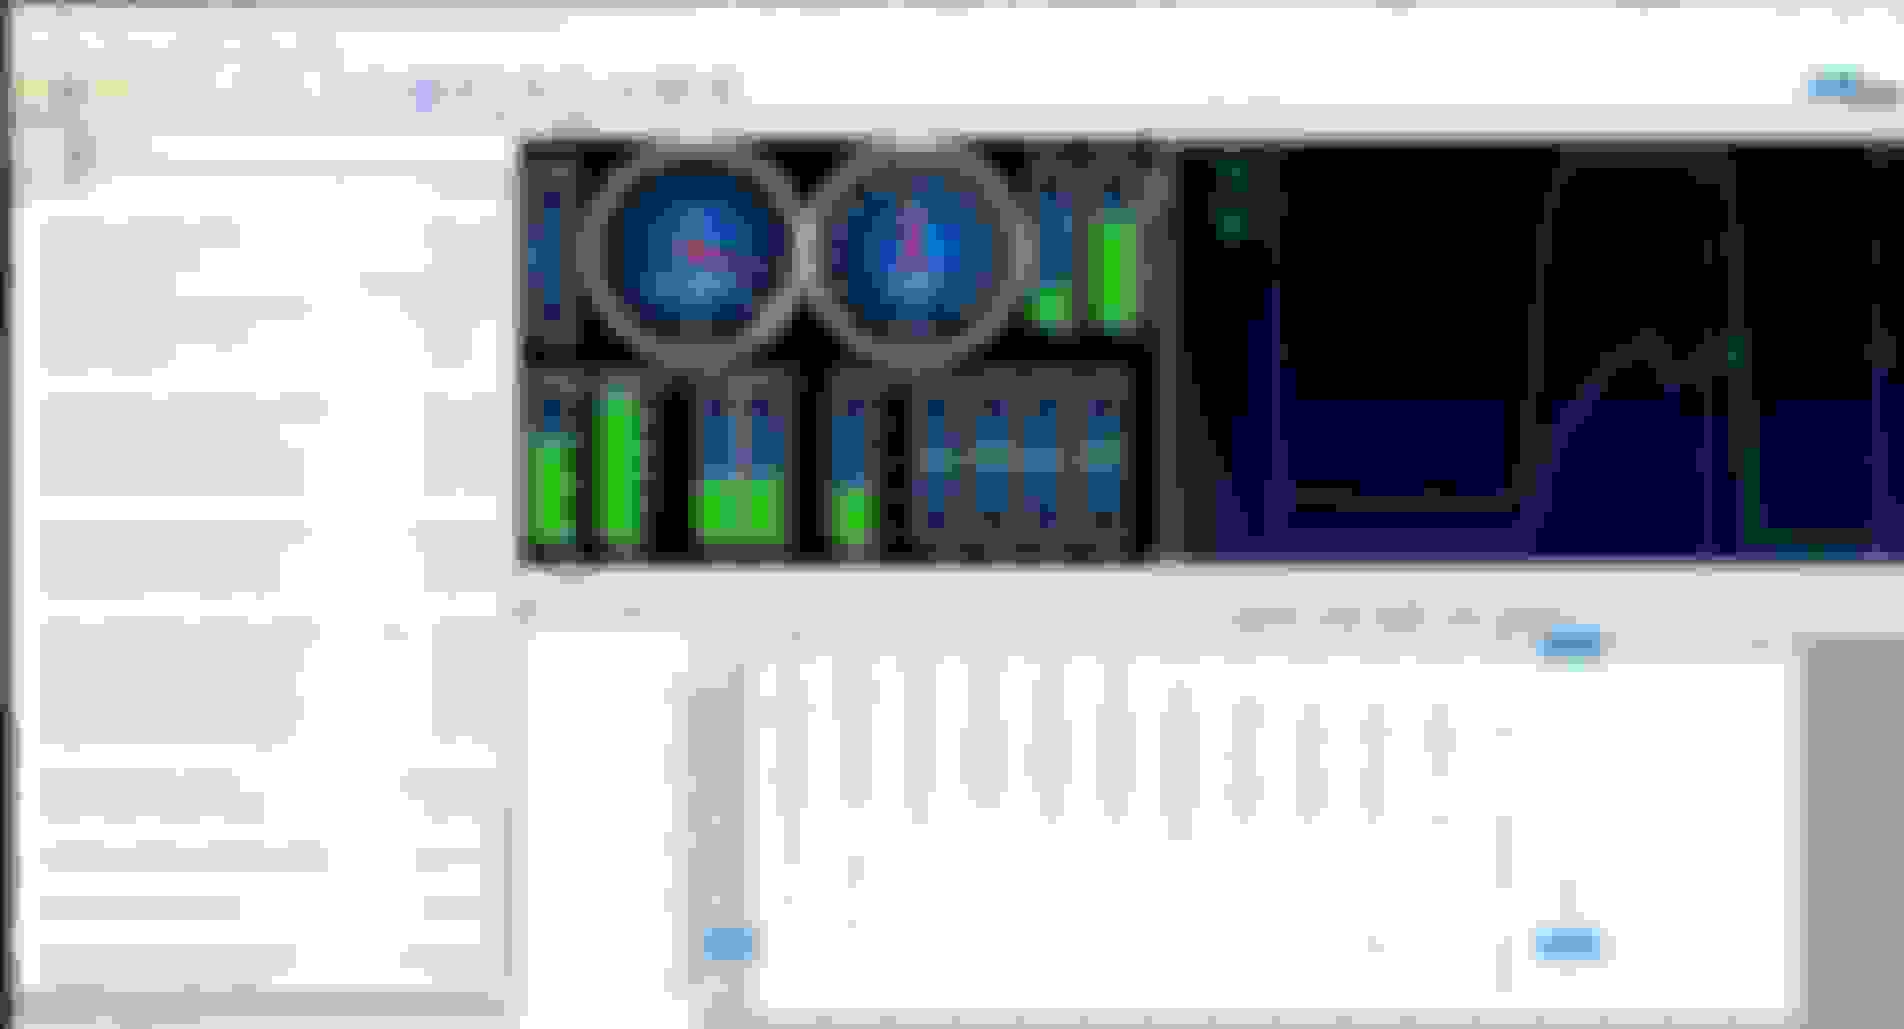
On a whim, I ran the car of on the dyno today(while the new daily was being done), just to see how Hachiroku's tune was. The butt dyno says it's doing a great job!, but I was curious how it differed to the one I had previously.
I have attached the graph showing the comparison between Hachiroku's BASE tune that he sent me, and IAH's stage 1 tune.
Hachiroku's tune has about 20whp more across the rev range than the IAH tune, which is why it is so much more enjoyable to drive, and faster in the real world. Whereas the IAH tune makes about 20whp more at the top of the rev range in the last ~1000rpm which is basically useless for real world applications.
The car also makes more torque, which is always nice With this tune i knocked ~1 sec off my 0-100 times as measured with the dragy.
Again, I have to stress that this is a BASE tune, and is therefore incredibly conservative and not designed for maximum power. With further refinement I have no doubts that it will crack 400whp.
Updates/Progress may be a bit slow over the next few months as I have just bought a house. I thought cars were expensive.... Hachiroku's base file vs IAH Stage 1
If having the EXACT same AFR and the EXACT same timing on a certain area in the engines register,(the end result from the thousands of maps inside the bosch unit compiled and sent to the injector drive and the coils so to speak).
What makes the power differ with an another guy behind the keyboard?
Is it the camphasing as i asked?
If having the EXACT same AFR and the EXACT same timing on a certain area in the engines register,(the end result from the thousands of maps inside the bosch unit compiled and sent to the injector drive and the coils so to speak).
What makes the power differ with an another guy
Nothing, it�s not magic. A tuner just allows the engine to do what it will do basically. It�s sad but there are just so many bad tuners who modify a few maps and show a dyno showing under good conditions and max throttle the cars tune is good. They fail to modify any other maps and the engine and even transmission get mixed signals or values that differentiate from one point to another in a substantial manner and cause the system to run erratically. But ya if tuner a puts in inputs in x amount of maps and tuner b does the same and they both are shooting for the same afr and timing they will be the same.
Are you able to?
I ask because i've seen huge gains in my earlier builds when phasing cams different.
Advance inlet = more torque
retard inlet = more peak power.
inlet has the biggest impact on engines footprint.
But there are gains(small ones) in phasing exhaust also, but mostly in boosted applications.
I can modify them, but all of the dyno shops near me are charging exorbitant prices for dyno rental. I also will need to utilize a loaded dyno like a dynapack or mustang that can be setup for loading the vehicle. mustang dynos require training dynapacks are easier to load up. owners of dynapacks have told me they will not allow an automatic transmission vehicle to utilize their dyno.
I can modify them, but all of the dyno shops near me are charging exorbitant prices for dyno rental. I also will need to utilize a loaded dyno like a dynapack or mustang that can be setup for loading the vehicle. mustang dynos require training dynapacks are easier to load up. owners of dynapacks have told me they will not allow an automatic transmission vehicle to utilize their dyno.
Thats very strange... ill be getting tuned with hptuners soon on a dynapack and he has no issues tuning automatic cars even with crazy loose converters so these are super simple
Thats very strange... ill be getting tuned with hptuners soon on a dynapack and he has no issues tuning automatic cars even with crazy loose converters so these are super simple
it isn't a limitation, but the local shops won't all me to rent out their dynapack if the vehicle is an automatic transmission vehicle.
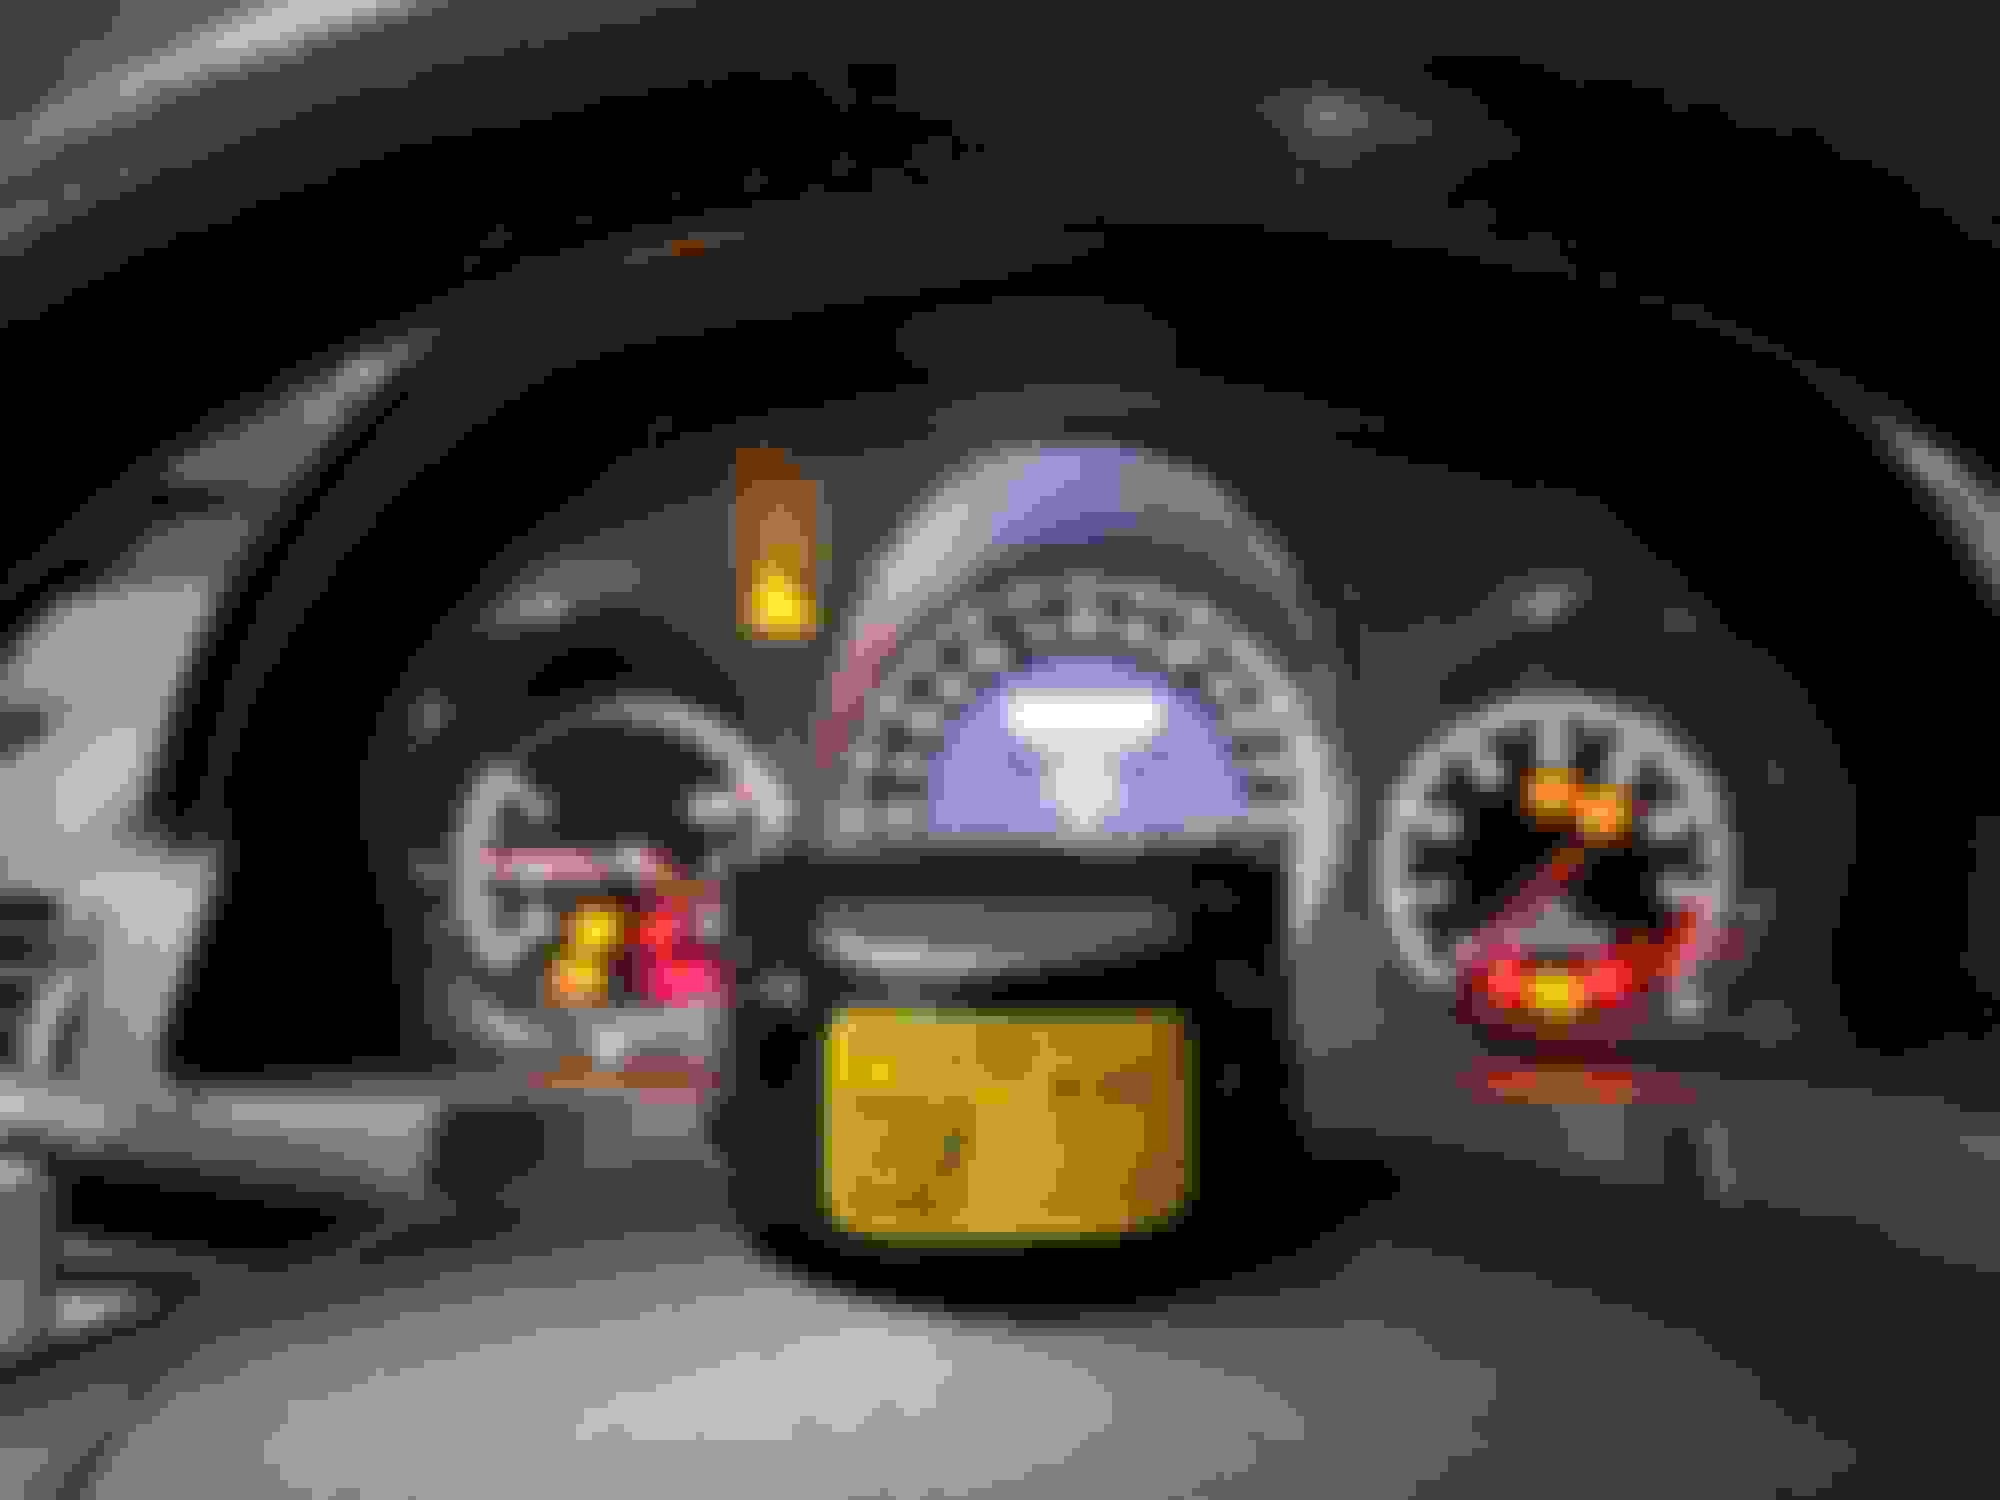
Just when I thought I was out of the woods with fuel pressure/voltage being restored another electric gremlin began to yank my chain. Small battery w/o tender can last up to a week until it becomes completely depleted. However, it began croaking overnight leaving me scratching my head for an entire week until one day I noticed my right tail/headlamp was on as if it was switched dead left on the parking light setting which is often utilized in Europe. Fiddling/ shuffling through switch settings would temporarily mask the issue but faulty condition would resurface in short intervals throughout the day. During Xentry actuation test the illumination switch displayed false actual values. Xentry actual values would not register/match actual physical switch settings which instantly condemns the faulty light switch) Whether if its due to the current events or age like the oil dip stick the illumination switch has become obsolete as well and managed to cop two of the last 5 switches within the country, not a single unit left in Germany. I can only speculate but these switches by design appear to be insubstantial out of the box and must become a notorious inoperative issue after enough cycling making a pursuit for a good secondhand unit a snipe hunt. Without going out on a limb minimize setting play for longevity's sake. New illumination switch concludes intrusive parasitic drain.
*ILLUMINATION SWITCH REMOVAL* *REMOVE DRIVER SIDE ACCESS DASH PANEL *RELEASE/PULL OUT FUSE HOUSING TAB AND SET ASIDE *SCRUPULOUSLY SIMULTANEOUSLY SQUEEZE ALL THREE TABS FROM INSIDE OF THE DASH WHILE LIGHTLY TUGGING SWITCH TOWARDS YOU SO RELEASED TABS REMAIN UNSECURED (BE PATIENT/STUDY TAB LOCATIONS, SHARP OBJECTS BEHIND DASH, ZERO RESISTANCE ONCE ALL THREE TABS ARE RELEASED) *REMOVE/ DISCONNECT ENTIRE ILLUMINATION SWITCH HOUSING AND ELECTRICAL CONNECTOR *SIMULTANEOUSLY RELEASE BOTH ILLUMINATION SWITCH TABS BEHIND THE HOUSING, ONCE ISOLATED SIMULTANEOUSLY RELEASE ALL THREE LIGHT SWITCH TABS TO COMPLETELY REMOVE FROM HOUSING *REINSTALL IN REVERSE ORDER
Thanks so much for sharing this with us.. i have the same issue for the past 5 years and don�t have the justification to spend the cash what the dealership is quoting.
Thanks so much for sharing this with us.. i have the same issue for the past 5 years and don�t have the justification to spend the cash what the dealership is quoting.
Originally Posted by N I L
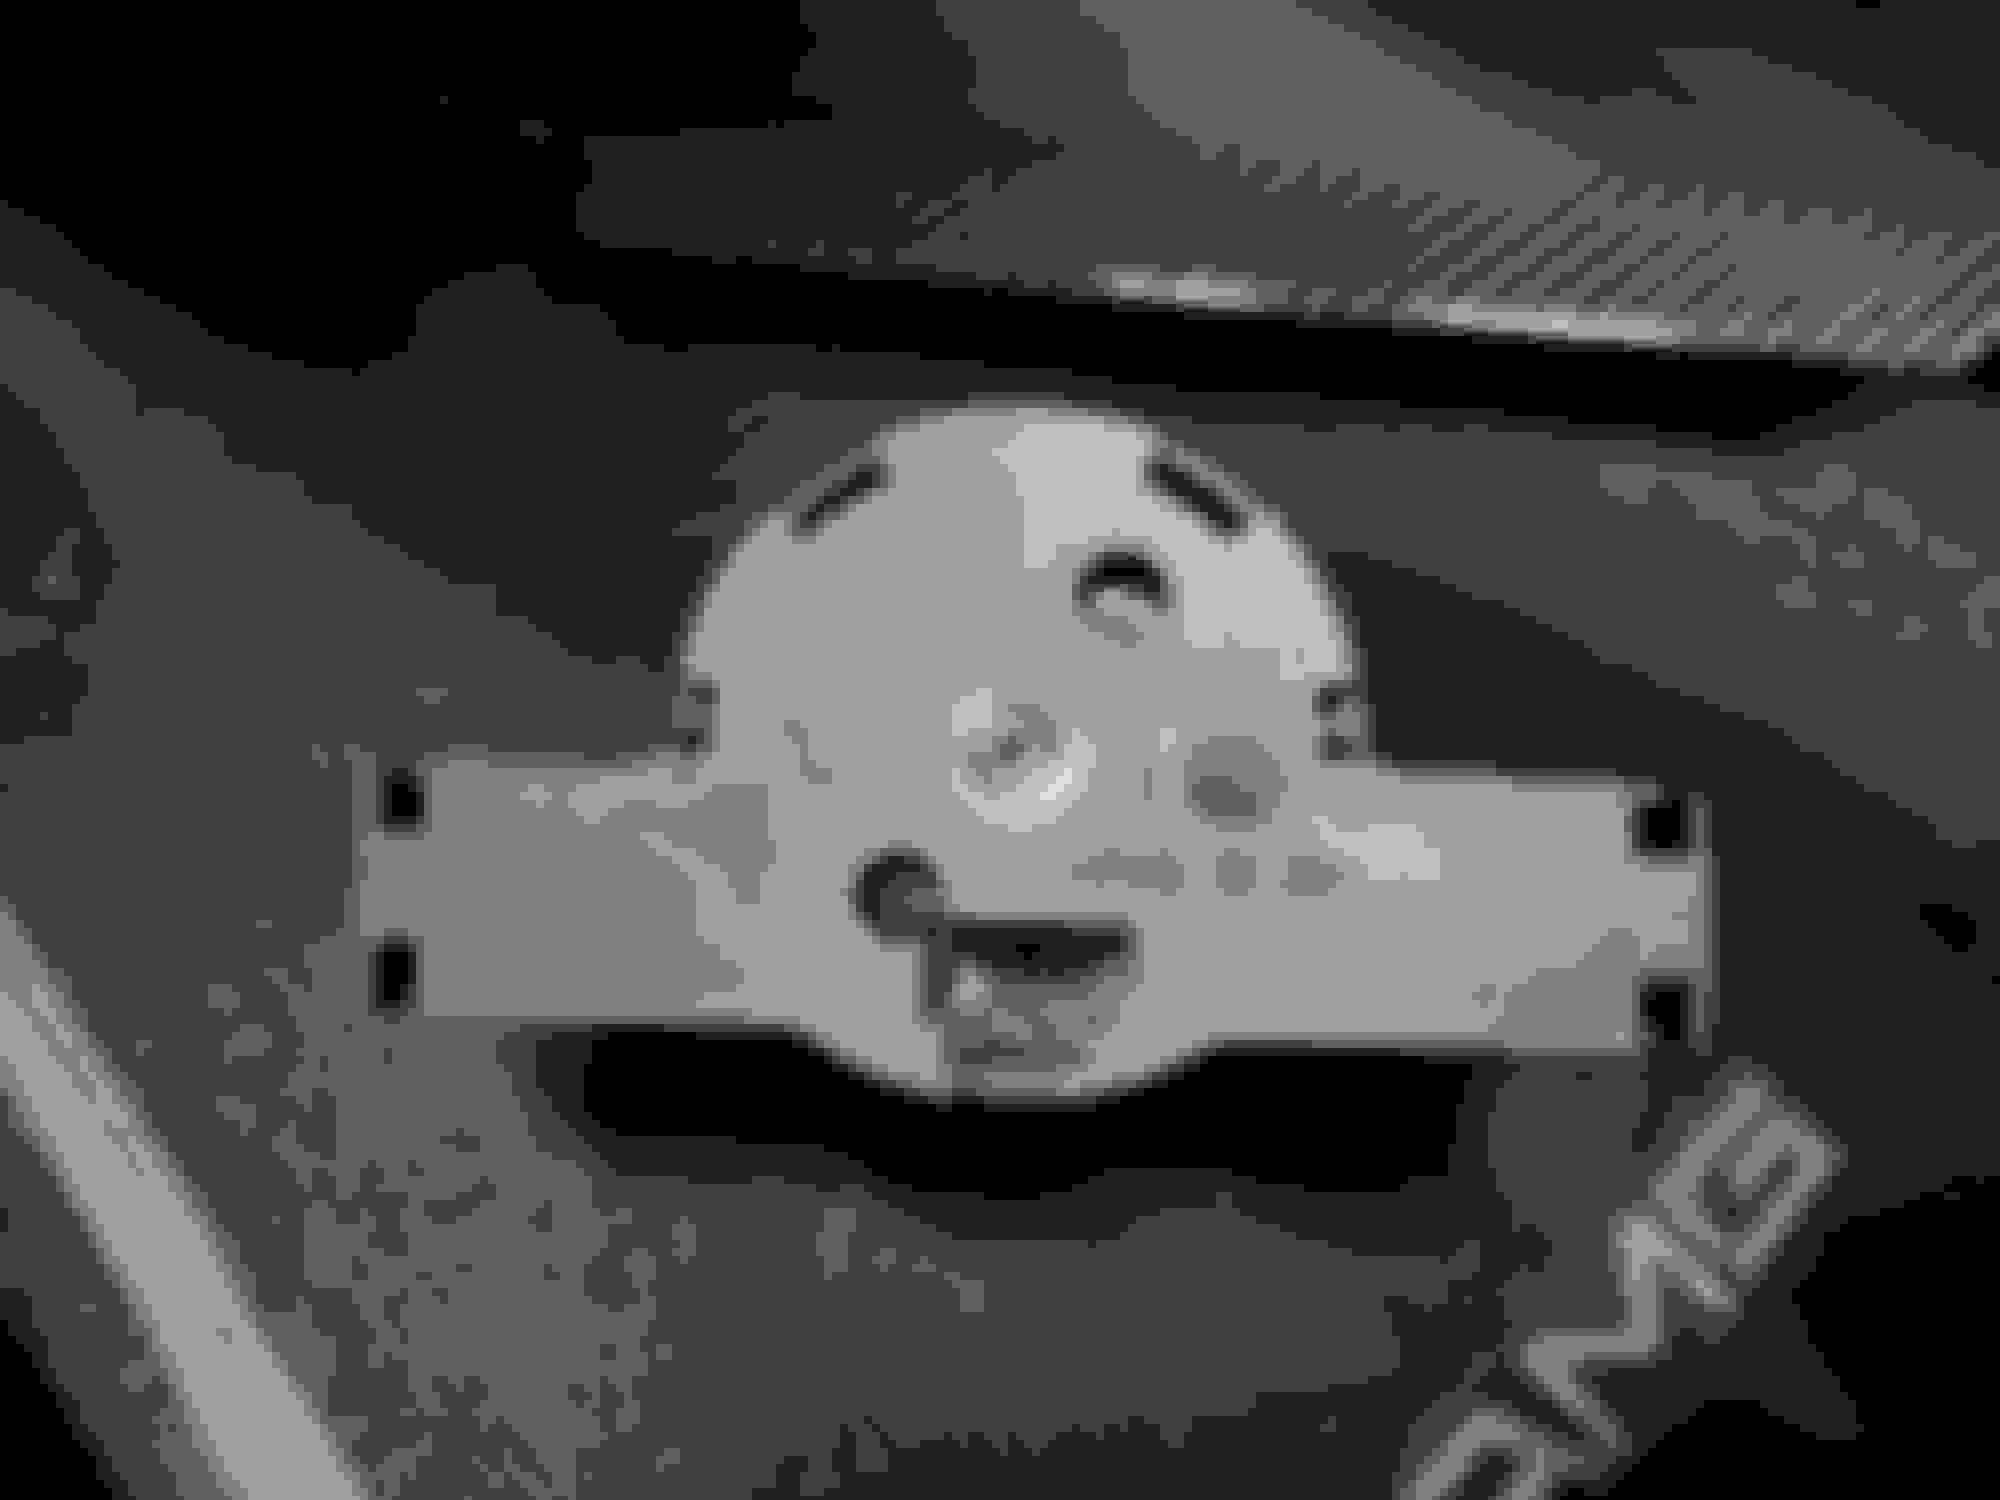
Since I had the steering column assembly removed, I figured it would be a crime not to address this culprit. For all my C class peeps with the infamous wobble, play, with minimal sway in your steering wheel that leads you to believe it may be loose when the car is in a stationary position look no further. It has come to my attention that more often than not PFL C class shafts were plagued with this issue. However, E class and facelift C classes not so much. Unfortunately, you can't obtain the intermediate shaft at the dealer without purchasing the entire column shaft assembly so source a decent mileage unit from an online dismantler for $20-50. Without getting nitty and gritty the E class/ facelift C class shafts are ever so slightly more robust/stout and share the same amount of splines and dimensions making it a drop in upgrade.
*STEERING COLUMN ASSEMBLY INSTALLED* *CENTER STEERING WHEEL AS STRAIGHT AS POSSIBLE
*SLIDE SEAT ALL THE WAY BACK
*REMOVE FOOTWELL UNDERPANEL (THREE TORX 20)
*REMOVE HOOD LATCH WITH MINI PHILIPS SCREWDRIVER (GUIDE/EXIT HOOD CABLE FROM FOOTWELL COVER AND SET ASIDE)
*DISCONNECT STEERING COLUMN NUB FROM INTERMEDIATE SHAFT TORX 45 (HIGHLIGHT/MARK CURRENT POSITION BEFORE SLIDING DOWN INTERMEDIATE SHAFT)
*SLIDE INTERMEDIATE SHAFT BOOT AS FAR DOWN AS POSSIBLE TO EXPOSE LOWER INTERMEDIATE SHAFT
*HIGHLIGHT/MARK INTERMEDIATE SHAFT AND LOWER SHAFT CURRENT POSITION AND PULL STRAIGHT OUT (SLIGHT RESISTANCE, MILD EFFORT REQUIRED TO RELEASE PLASTIC TABS SECURING INTERMEDIATE SHAFT BOOT)
*ONCE REMOVED ANALYZE/COPY EXACT LOCATION YOU HIGHLIGHTED/MARK ON THE ORIGINAL INTERMEDIATE SHAFT ONTO THE NEW SHAFT
*CAREFULLY INSTALL/ALIGN INTERMEDIATE REPLACENT SHAFT AS SCRUPULOUS AS POSSIBLE BEFORE FULLY INSERTING/SEATING INTERMEDIATE SHAFT ALL THE WAY DOWN INTO LOWER INTERMEDIATE SHAFT
*CAREFULLY REALIGN/ INSTALL STEERING COLUMN NUB SPLINES INTO INTERMEDIATE SHAFT PER ORIGINAL HIGHLIGHT/MARKS WITH PRECISION (SPLINES ARE ALUMINUM, DO NOT FORCE ON OR SPLINES WILL MAR) BEFORE INSERTING/SEATING ALL THE WAY DOWN
*REINSTALL EVERYTHING IN REVERSE ORDER
Afterthoughts: Steering wheel is SOLID, feels like a new car now. Best $20 spent, thus far
After analyzing oil/filter after 5K miles it would be in your best interest to change every 2500-3K miles, especially if they're hard miles to ensure/increase longevity for the engine's wear and tear's sake. Without saying too much dirty oil invites more deposits/rubble in other words contaminated oil creates more friction in between moving parts which results in improper engine lubrication that could very well lead to a myriad of issues. If you have the luxury of draining the pan/oil cooler overnight, she "should" drink all 10 quarts in the AM (always inspect dip stick in small increments and fill accordingly per dip stick). Glad to report after @hachiroku eliminated/disconnected the downstream 02's that there are no pending/current cels after 2K miles let alone eliminating the need for resistors to fool the computer. I'd encourage anyone who hasn't went over the exhaust manifold fasteners after a header install (disconnect battery so starter doesn't possibly arc) within a few heat cycles to do so to ensure none of them are backing out that could very well lead to an intrusive exhaust leak which most certainly will rob power among other things the time to remove/install the headers back to the very beginning.
After analyzing oil/filter after 5K miles it would be in your best interest to change every 2500-3K miles, especially if they're hard miles to ensure/increase longevity for the engine's wear and tear's sake. If you have the luxury of draining the pan/oil cooler overnight, she "should" drink all 10 quarts in the AM (always inspect dip stick in small increments and fill accordingly per dip stick).
Curious, what was concerning in your 5K mile oil analysis?
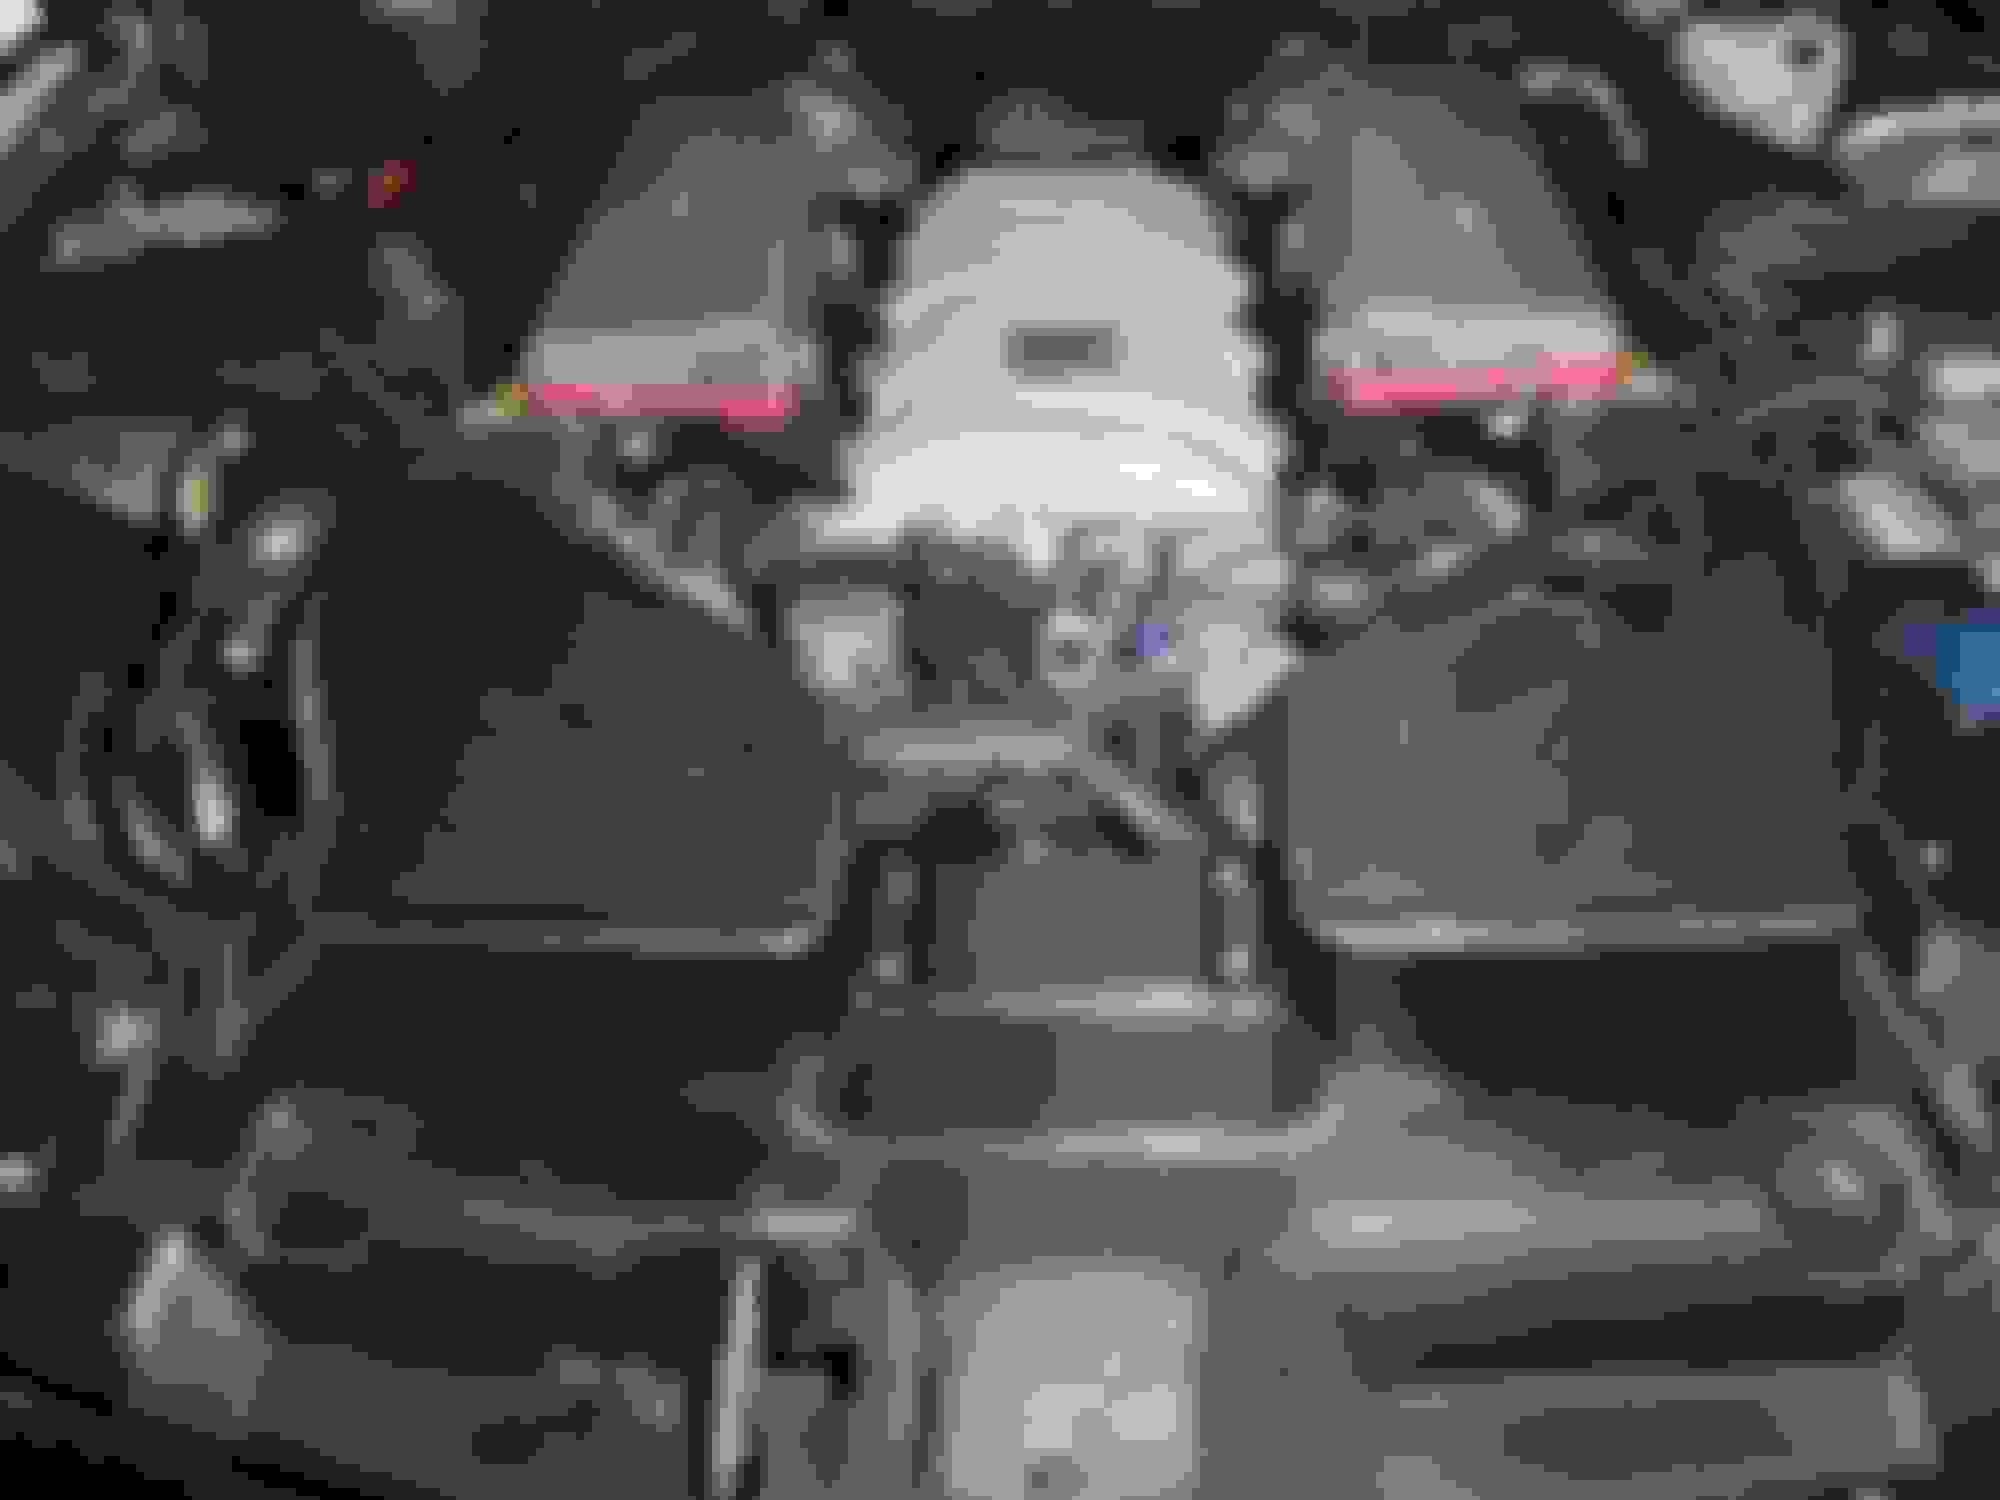
Never lost sleep why my driver side airbox took a bit longer to reinstall or why the marks were never truly aligned with the Y pipe until I noticed substantial resistance required to remove the driver side airbox recently occasionally releasing the Y pipe driver side tab from the plenum. To cut to the chase the rear air box bushing scrunched to the point to when the box would miraculously seat on the plenum studs it would create a seal/resistance making it difficult to remove. Spare a few moments to guide/ensure bushings don't get pinched before reinstalling airboxes to avoid an unnecessary potential vacuum leak.
INSULATOR BUSHING REMOVAL *RELEASE RETAINING C CLIP TAB APPLYING PRESSURE WITH SMALL FLAT HEAD FROM THE 3 TO 12 OCLOCK POSITION THEN REMOVE/ REPEAT ON ADJACENT SIDE *REMOVE/REPLACE INSULATOR BUSHING *INSTALL/SLIDE IN NEW RETAINING C LIP ENSURING BOTH TABS ARE SEATED/LOCKED *REINSTALL/GUIDE AIRBOX SCRUPULOUSLY INTO PLENUM STUDS ENSURING THEY DON'T GET PINCHED/FUBAR
*ALIGNMENT MARKS SHOULD BE CENTERED PRIOR TO SECURING WORM DRIVE CLAMP
If it's not one thing it's another. One afternoon after exiting a tunnel I noticed my lights remained on the entire trip, considering my switch is always on the auto setting the lights should shut off momentarily after exiting a tunnel. The very next evening on the way home my lights refused to wake as well, fortunately within a few moments the auto lamp error unveiled itself (always grateful for a lead) Regardless of cleaning the windshield and going over the new illumination switch that checked out the message still decided to stick around. Xentry diagnostics chalked up to a rain/light sensor replacement due to an internal electrical short. Programmed replacement concludes auto lamp function inoperative error (failure to program new light/rain replacement will result with a lingering auto lamp function inoperative error and fault code B225F54 due to missing calibration) I'd encourage anyone who doesn't have access to Xentry to perform the following light/rain function test before condemning it in the link below. For those who need a sensor replacement have two options. Take a gamble on a used unit off the same model/ original matching part number while dodging coding ($25-50) or purchase a spanking new one from the dealer that will require programming ($100+$150~200) If you don't have OCD and can live with the error message simply manually activate low beams/wipers when you please.
LIGHT/RAIN SENSOR REMOVAL *REMOVE/ PULL LIGHT SENSOR COVER WITH FINGERS* *DISCONNECT ELECTRICAL CONNECTOR* *RELEASE BOTH LIGHT/RAIN SENSOR TABS WITH 90 DEGREE PICK*
*CLEAN RAIN/LIGHT SENSOR VICINITY*
*INSTALL NEW RAIN/LIGHT SENSOR ENSURING BOTH RETAINING CLIPS SECURE/SEAT SENSOR APPROPRIATELY
*REINSTALL/ ALIGN LIGHT/RAIN SENSOR COVER*
*CARRY OUT LIGHT/RAIN SENSOR CODING VIA XENTRY/DEALERSHIP*
Service records reveal transmission flush was last carried out @35K, just shy of 65K now and fluid is dark brown so it's time (Per MB every 30K) to drain the FULL deed including torque converter this time around (If fluid isn't red, you BEST believe its contaminated) 20K transmission service flushes going forward to ensure everything remains clean, burnt contaminated fluid can't lubricate/cool components properly which will only exacerbate the wear/tear damage to come from minerals/metals. A cleaner/cooler transmission is a smoother transmission in turn increasing engine/transmission fluency/longevity. Dare I say Engine/Transmission operation is more along the lines of frictionless now following with much more responsive shifts. Differential fluid NEXT.
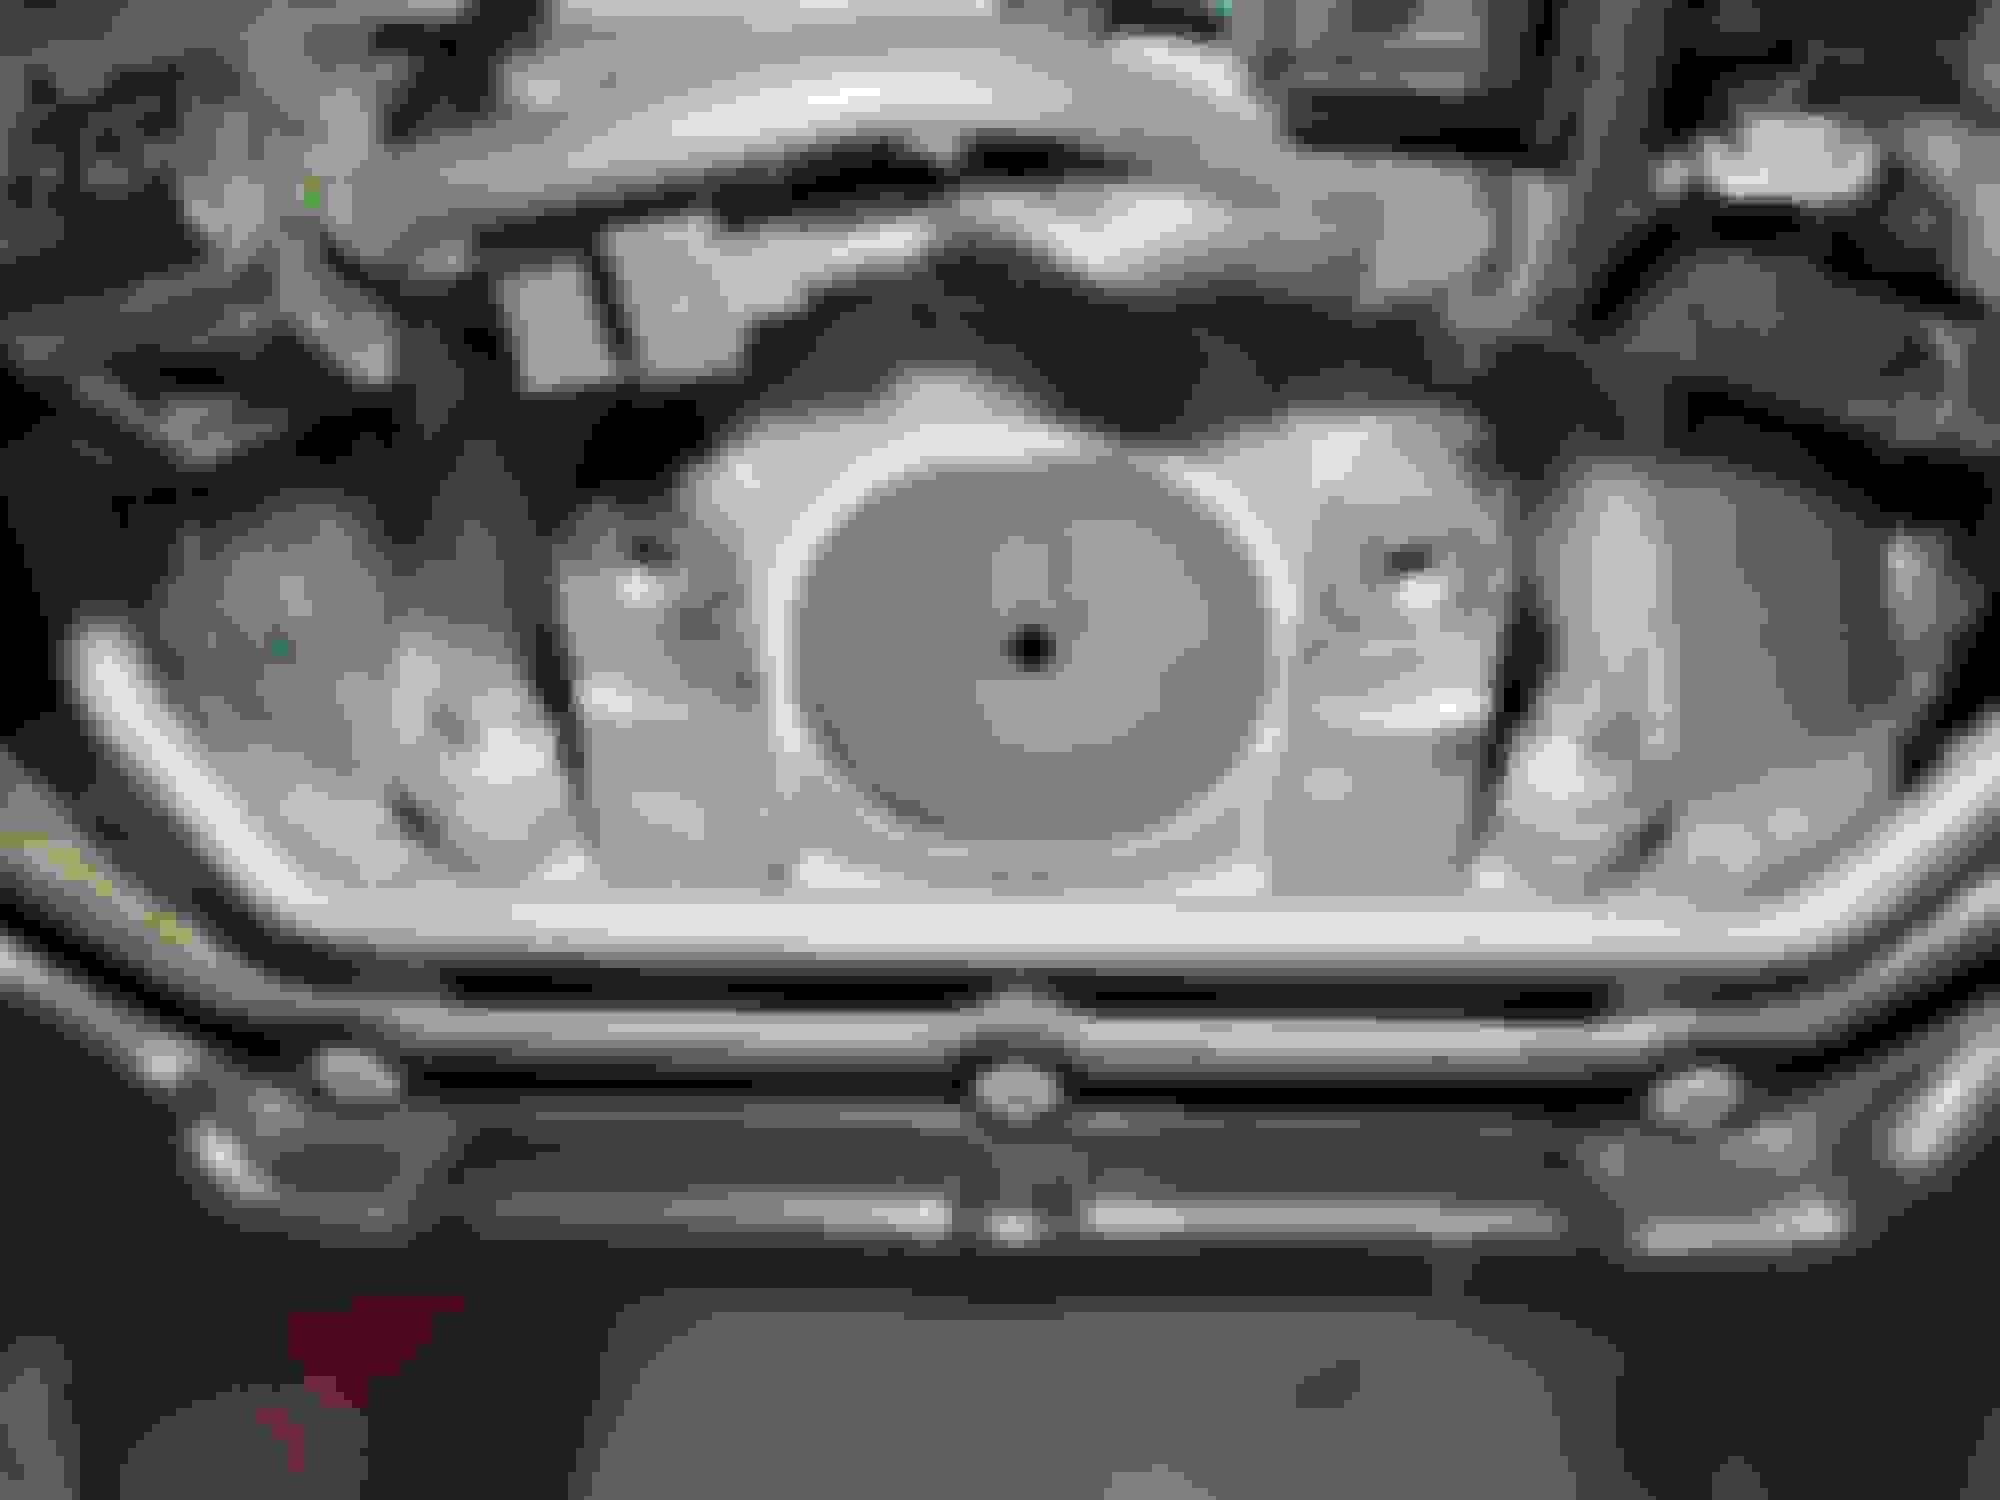
*TRANSMISSION SERVICE KIT PROCESS* *HOIST/JACK UP VECHICLE LEVELED *REMOVE ALL 3 UNDER BELLY TRAYS (8MM) *LOCATE/ REMOVE TORQUE CONVERTER ACCESS WINDOW DUST BOOT *ROTATE CRANKSHAFT 27MM UNTIL SMALL TORQUE CONVERTER PLUG IS LOCATED THROUGH ACCESS WINDOW *REMOVE/DRAIN TORQUE CONVERTER PLUG (4MM ALLEN WRENCH) TIGHT FIT ENSURE TOOL IS SECURE SO IT DOESN'T SLIP/ROUND CATCH FLUID IN CONTAINER OR UNDERTRAY (4 QUARTS) ONCE COMPLETELY DRAINED REINSTALL OR ISNTALL NEW TORQUE CONVERTER DRAIN PLUG AND WASHER (HAND TIGHT ONLY) CLEAN TORQUE CONVERTER VICINITY THOROUGHLY INSIDE OUT AND REINSTALL ACCESS DUST BOOT
*LOOSEN E12 FASTENER 02 SUPPORT BRACKET LOCATED ON DRIVER SIDE BY A FEW THREADS, REMOVE TORX 30 FASTENER 02 SUPPORT BRACKET LOCATED ON PASSENGER SIDE SECURING CONDUCTOR SHIELD (MEMORIZE ORIENTATION PRIOR TO REMOVAL) SWING 02 SUPPORT BRACKET TOWARDS OIL PAN TO GAIN CLEARANCE/ACCESS TO ALL 6 TRANSMISSION PAN FASTENERS
*REMOVE/DRAIN TRANMISSION PLUG (6MM ALLEN) INSERT/ANGLE LONG FLAT HEAD OR CHISEL THROUGH DRAIN AND PUNCH OUT OIL FILL TUBE INSIDE PAN TO DRAIN AN ADDITIONAL QUART. REINSTALL ORIGINAL DRAIN PLUG BY HAND
*REMOVE ALL 6 (E10) PAN FASTENERS (FRONT PASSENGER PAN FASTENER SPACER HEXAGON LIKE SHAPE) SECURE/STABILIZE PAN WITH ONE HAND PRIOR TO REMOVING FINAL FASTENER (1-2 QUARTS STILL REMAIN IN PAN) LOWER/DRAIN PAN SCRUPULOUSLY AND INSPECT/DETERMINE OIL CONDITION
*CLEAN PAN, MAGNETS, AND TRANMISSION PAN MATING SURFACE THOROUGHLY ENSURING THEY'RE NO PARTICLES/DEBRIS (MICROFIBER OR SHOP TOWELS FOR FINAL TOUCHES)
*INSTALL/CLIP IN NEW TRANSMISSION FILTER
*INSTALL/CLIP IN NEW OVERFILL TUBE AND SITUATE PAN GASKET IN PROPER ORIENTATION ON TRANMISSION PAN
*INSTALL ASSEMBLED PAN TORQUE ALL NEW 6 FASTENERS (4NM + 180�)
*REINSTALL 02 SUPPORT BRACKET/ CONDUCTOR SHIELD IN REVERSE ORDER
*REMOVE PAN DRAIN PLUG AND FILL/PUMP 4 QUARTS WITH OEMTOOLS MANUAL ATF FILLER SYSTEM 24441 PRIOR TO STARTING SO TORQUE CONVERTER DOESNT MOMENTAIRLY RUN DRY, START UP AND RESUME PUMPING ADDITIONAL 4-4.5 QUARTS (9 QUARTS TOTAL IF TRANMISSION OIL COOLER LINE IS DRAINED) ONCE TRANSMISSION TEMPS REACH 45 C OR 114F (COLD START 20 MINUTES FROM 18C-46C) EXCESS FLUID SHOULD DRAIN OUT, ONCE STREAM BEGINS DRIBBLING INSTALL NEW DRAIN PLUG/WASHER HAND TIGHT ONLY
*MOMENTAIRLY SHIFT THROUGH EACH SETTING (P,R,N,D,L) AND PUT THROUGH ITS PACES*
Much obliged to "6_Myles" generosity/contribution there will be before/after dyno results later this summer. Don't have high expectations so there won't be any disappointment if the benefits/results are NIL. Although Y plenum pipe/airboxes indication marks align and everything seals properly (zero leaks per smoke test) coupled with AFE PRO DRY S filters, fitment is TIGHT. MAF harness extends perfectly fine with plenty of slack and airboxes still seat 100% inside the insulator bushings on both airboxes.
AFTERTHOUGHTS: ZERO CFM OBSTRUCTION. RESULTS TO BE DETERMINED


 01-30-2022, 04:14 AM