


projector retrofit

Thread Starter
Member
Joined: May 2007
Posts: 202
Likes: 0
From: Little Rock, Arkansas
1995 E 420
ok.. so they are done.. but it ended up taking about 6 hours (kind of time comsuming) but it was fun while it saved a few coins.. The first one took longer but the second time around was a walk in the park. I've done some browsing and all of them said about the same so heres a step by step of my retro fit..
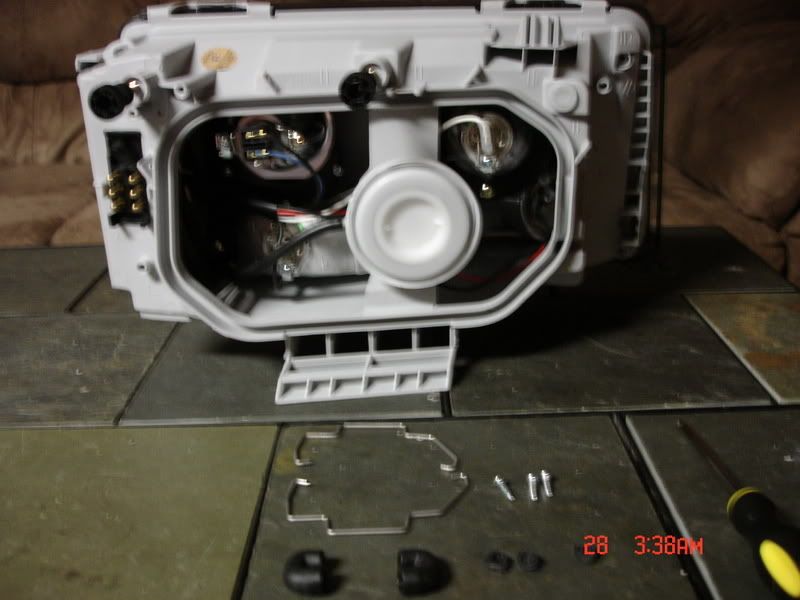
first off by removing all the lose hardware and screws from the back of the housing.
now pre heat the oven to 250 degrees F and move rack to the bottom. I used a sheet of plywood (about the size of a cookie sheet) incase the cookie sheet heated up too quick.. (i'm paranoid) and I also didnt take any picture of this step as i was too busy peeping in the oven window.. but you'll need to leave them in for 6 full mins. and dont forget about gloves! Once you have it out, you'll need a flathead screwdriver to pry the cover apart while you pull it off. (watch out for the glue thats on the cover as they might get on the lights or housing itself..
headlight with cover removed..
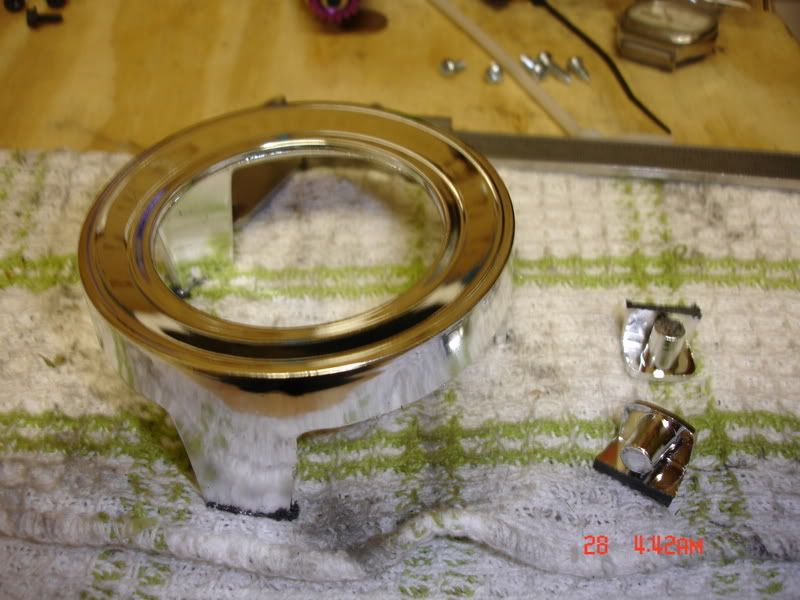
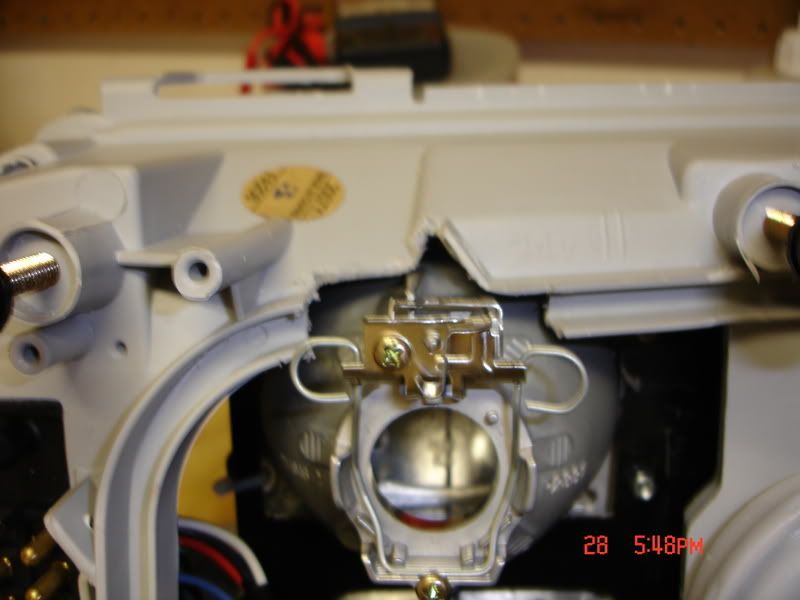
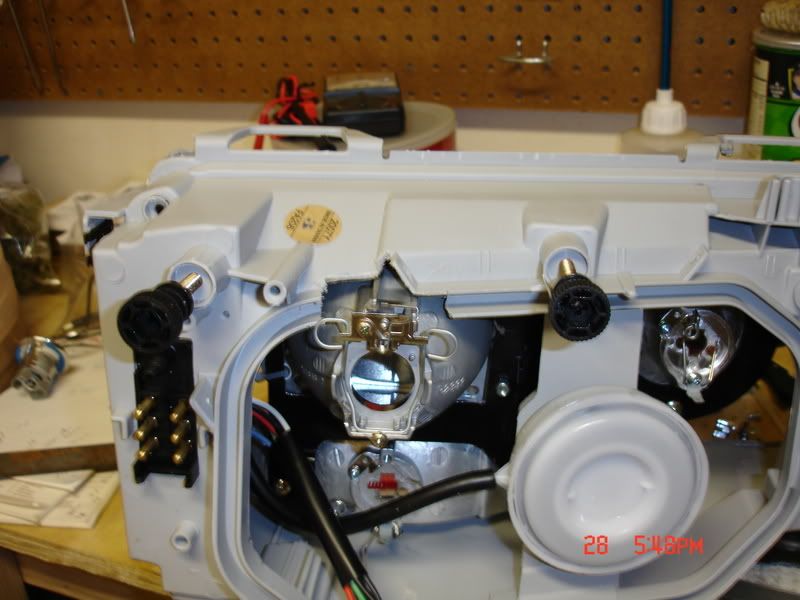
with the front cover and faceplate (i dont know what to call it) removed.. un hook the plate from the adjusting points and unplug all wires from the back while pulling the plate out..
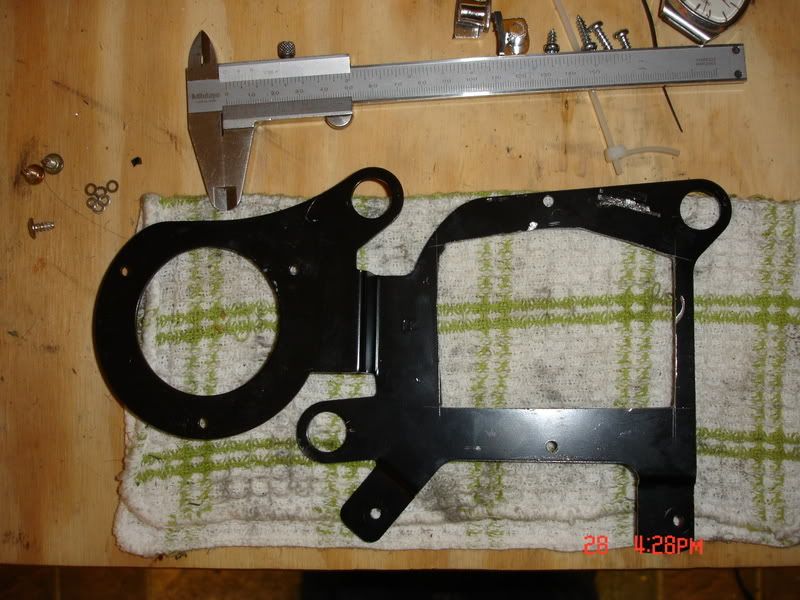
heres a picture of the plate's front andback view after i got it out..
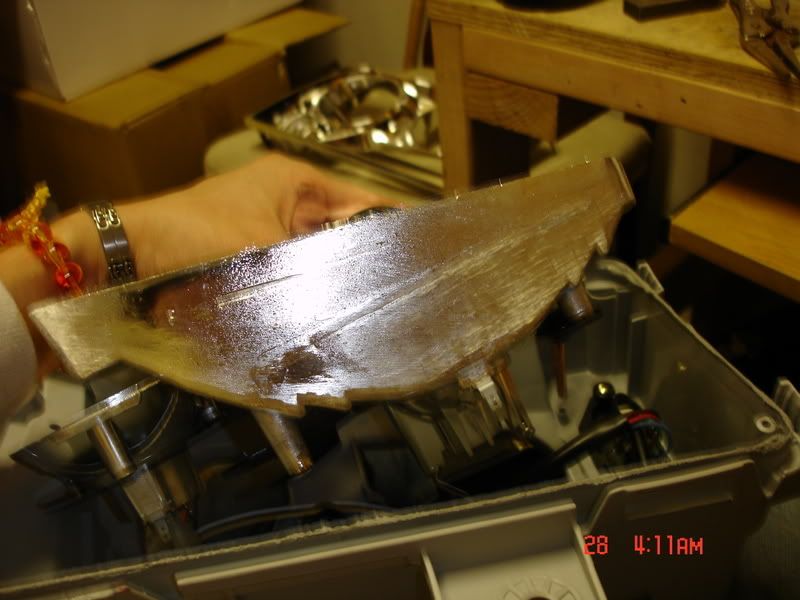
now remove everything from the plate..
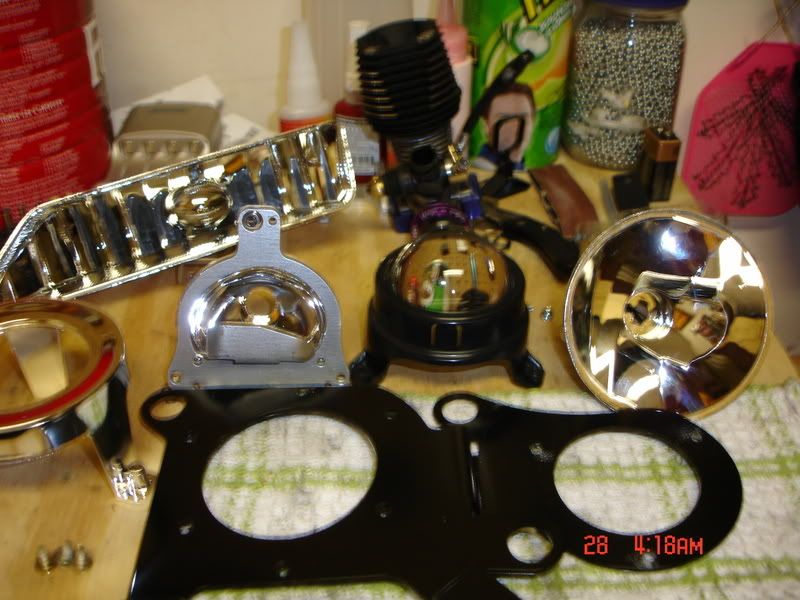
keepers..
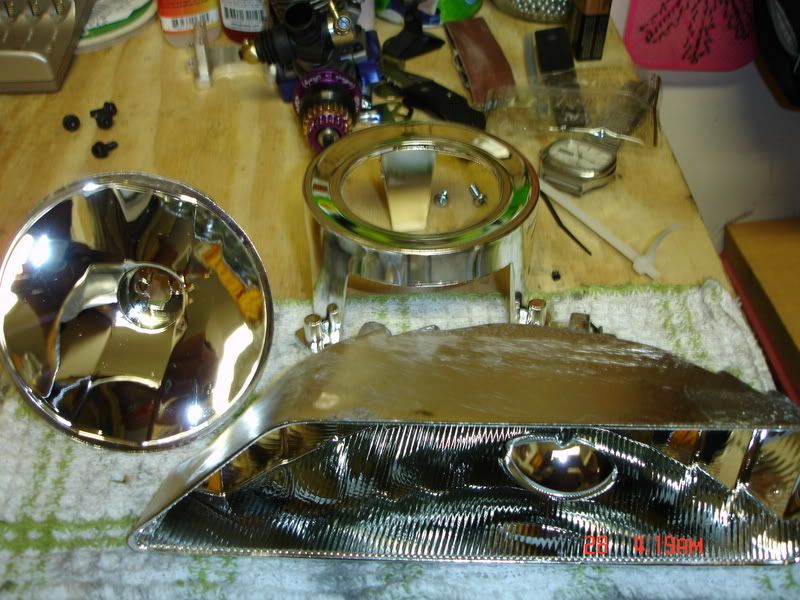
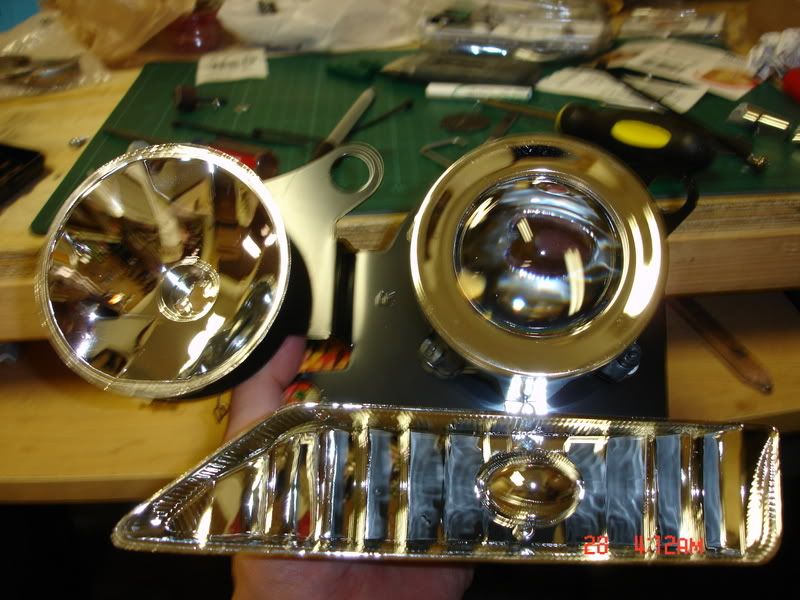
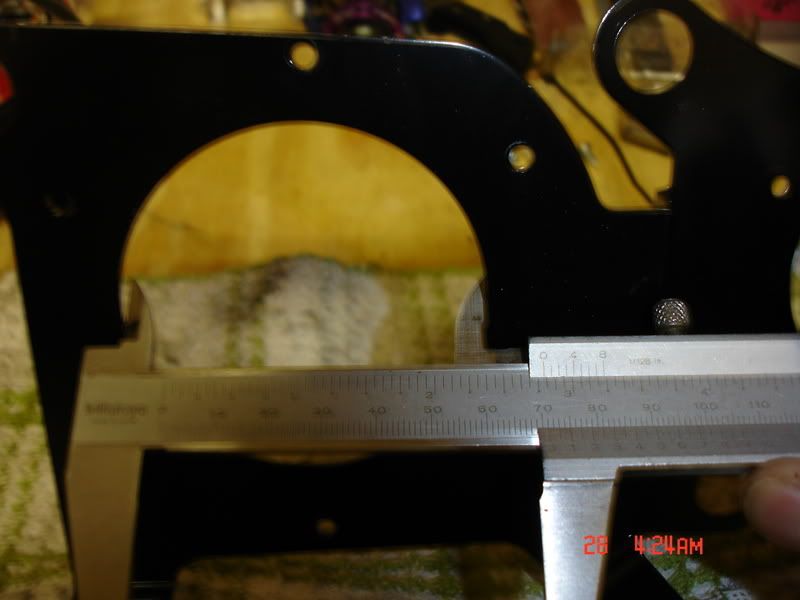
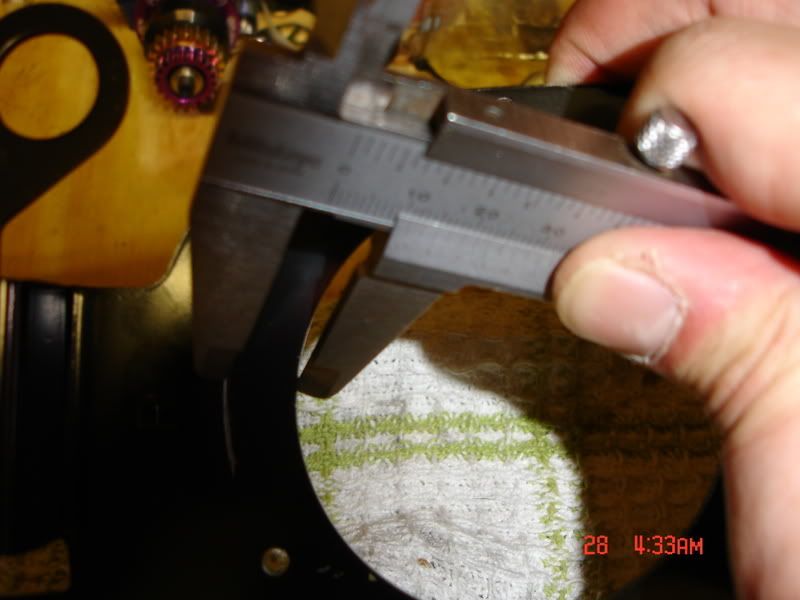
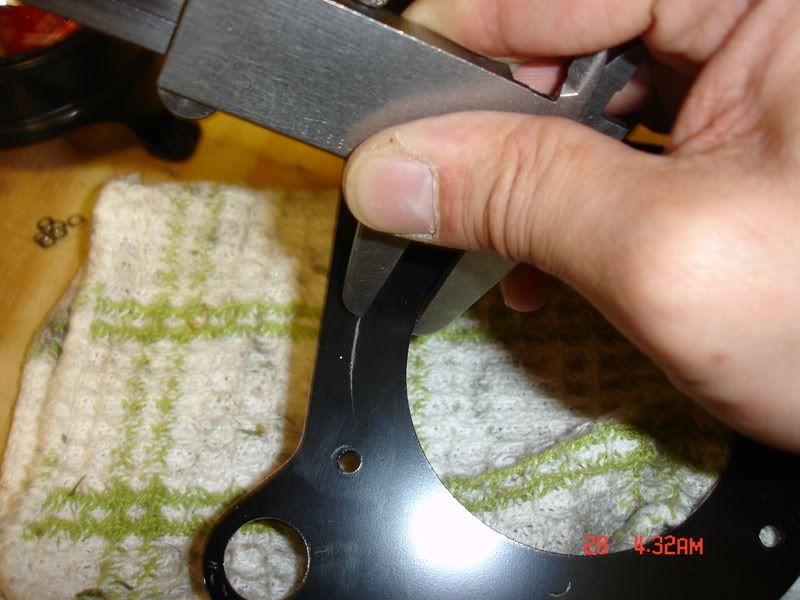
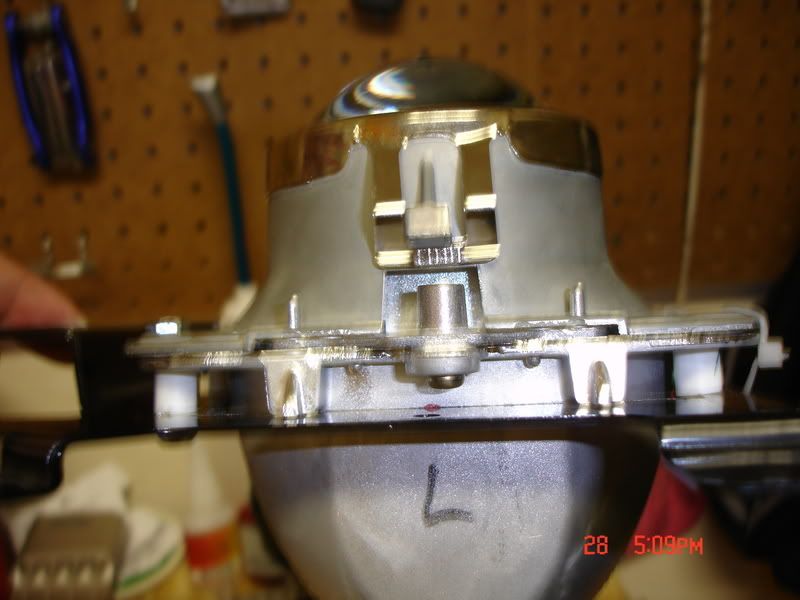
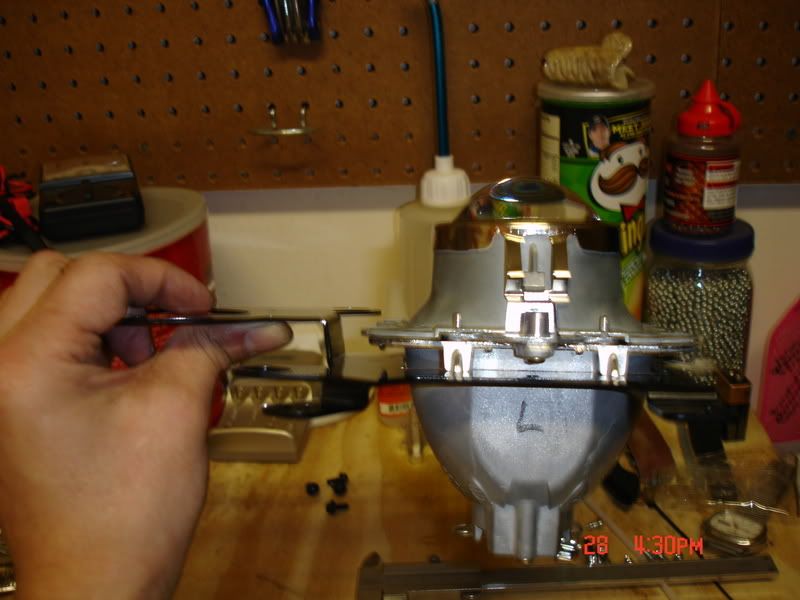
the Tsx projectors are quite a bit bigger so some cutting was in order.. heres a few pictures of the projectors..
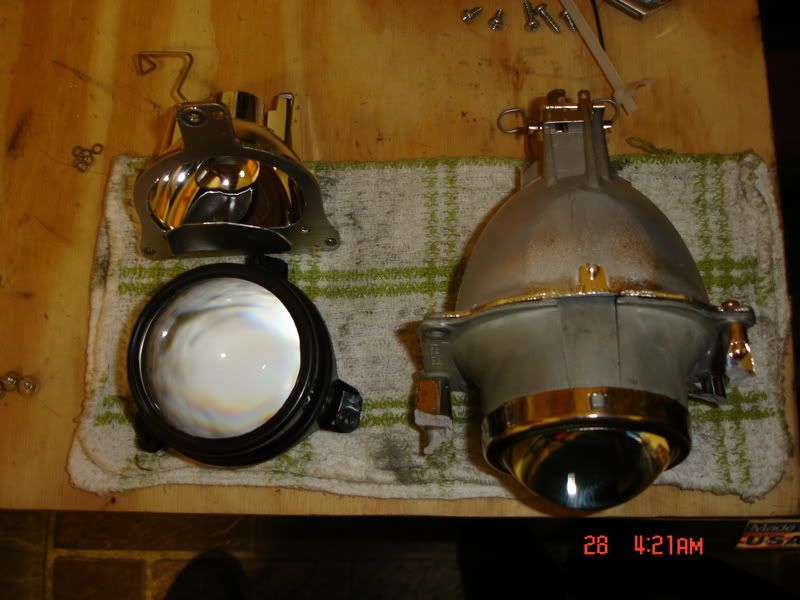
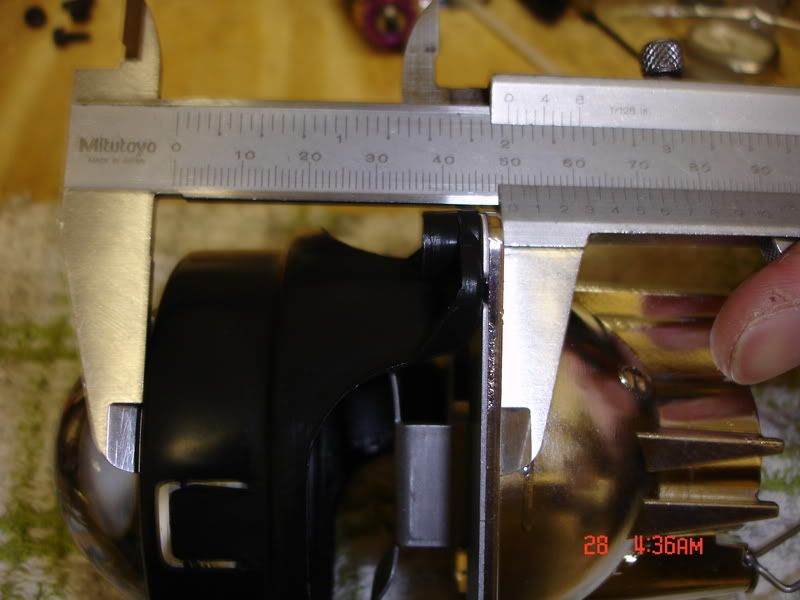
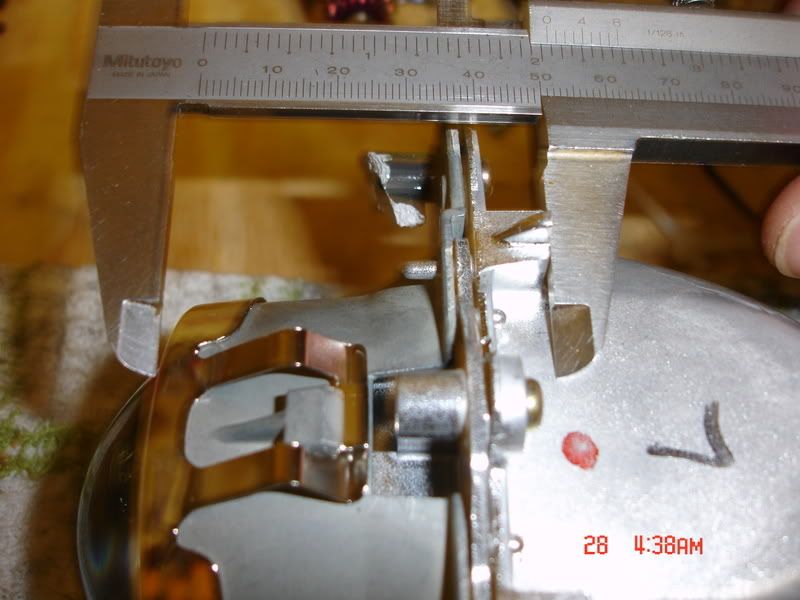
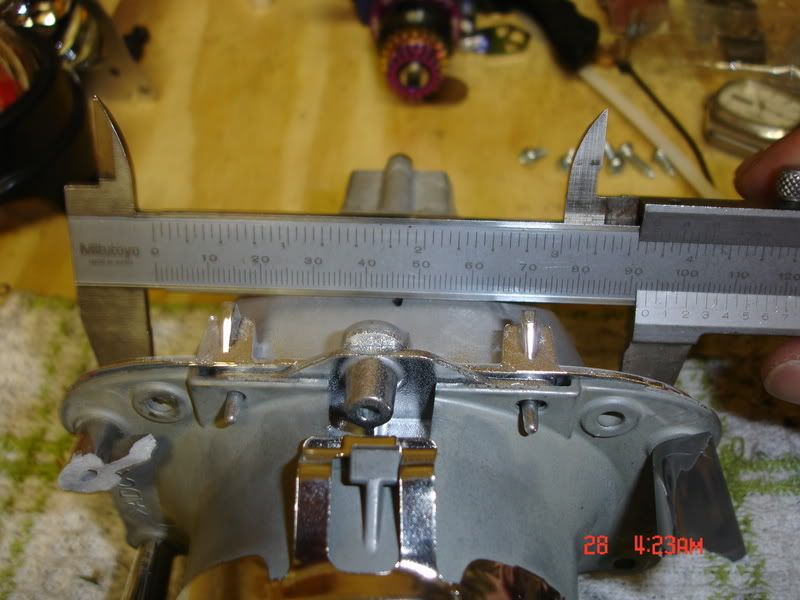
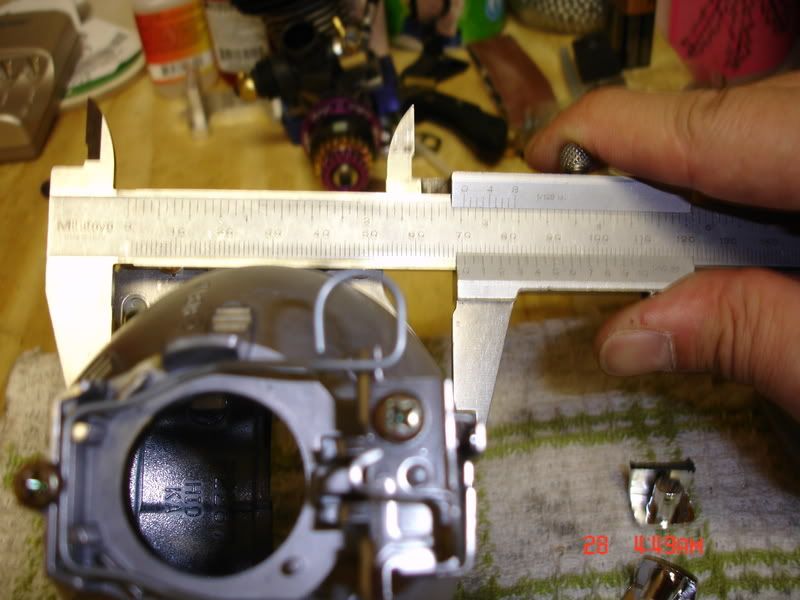
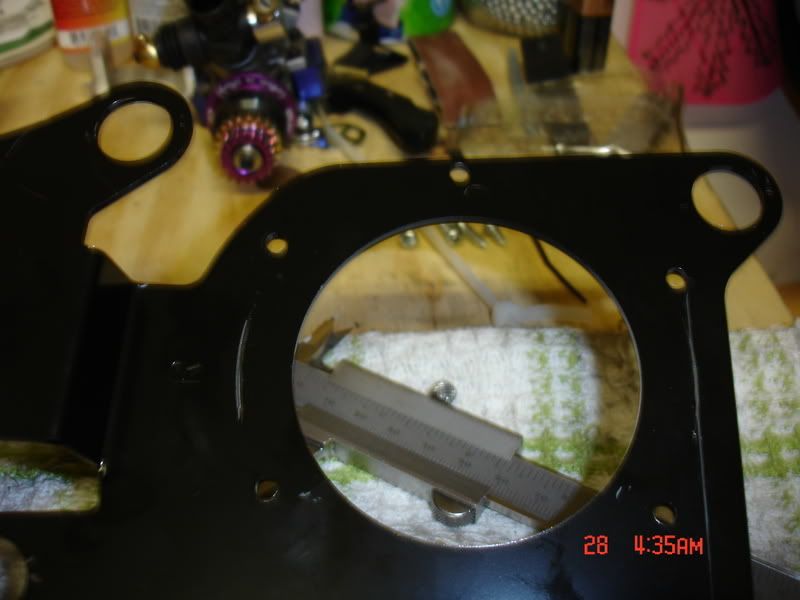
so i got lucky that the mounting depth of both projectors were really close.. (53mm vs. 50.5mm ) new vs. old. but the new projector is way wider at 94mm while the stock hole is 71mm in diameter. so i marked the plate 12mm to the most far right and left of the circle and left top and bottom because it was the same as the projectors.
first off by removing all the lose hardware and screws from the back of the housing.
now pre heat the oven to 250 degrees F and move rack to the bottom. I used a sheet of plywood (about the size of a cookie sheet) incase the cookie sheet heated up too quick.. (i'm paranoid) and I also didnt take any picture of this step as i was too busy peeping in the oven window.. but you'll need to leave them in for 6 full mins. and dont forget about gloves! Once you have it out, you'll need a flathead screwdriver to pry the cover apart while you pull it off. (watch out for the glue thats on the cover as they might get on the lights or housing itself..
headlight with cover removed..
with the front cover and faceplate (i dont know what to call it) removed.. un hook the plate from the adjusting points and unplug all wires from the back while pulling the plate out..
heres a picture of the plate's front andback view after i got it out..
now remove everything from the plate..
keepers..
the Tsx projectors are quite a bit bigger so some cutting was in order.. heres a few pictures of the projectors..
so i got lucky that the mounting depth of both projectors were really close.. (53mm vs. 50.5mm ) new vs. old. but the new projector is way wider at 94mm while the stock hole is 71mm in diameter. so i marked the plate 12mm to the most far right and left of the circle and left top and bottom because it was the same as the projectors.
Thread Starter
Member
Joined: May 2007
Posts: 202
Likes: 0
From: Little Rock, Arkansas
1995 E 420
projector retrofit part 2
now cut it out..
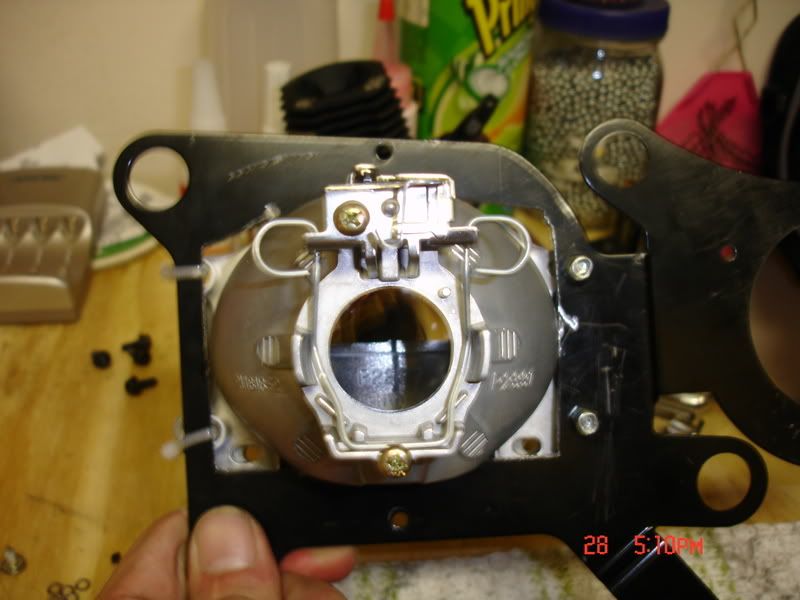
now after its done you need to make sure it fits good and its always better to make it a little bigger so you can make adjustments.. i went to home depot and got some 4mm x25mm screws and nut to mount the projectors while the other side was already really thin so i decied not to drill holes so I use zip ties.. i also made 4 8mm spacers out of a ink pen tub..
now put everything back together on the plate.. the shield that came with the old projector didnt fit the new so i had to come up with something..
ZIPTIE!
now put everything back into the headlight housing just the way you took them out! be sure not to touch the inside of the cover and light housing as you'll dirty them up!
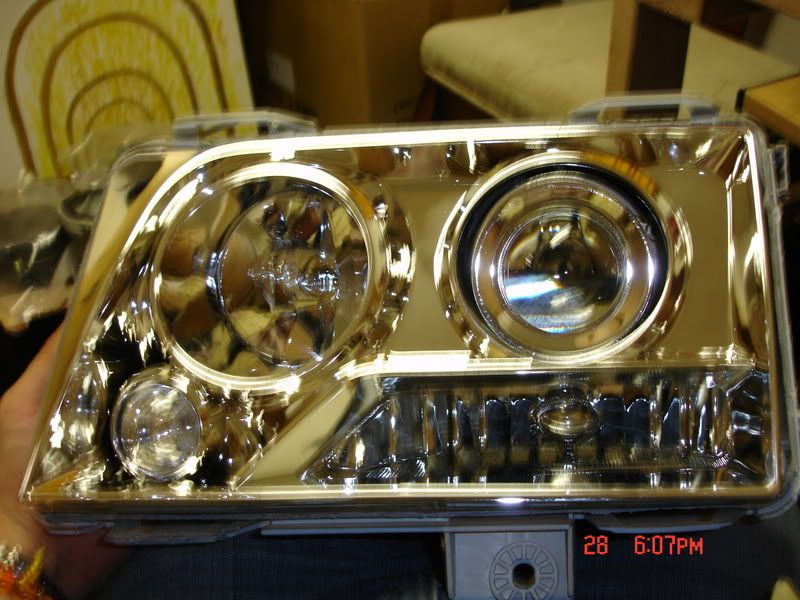
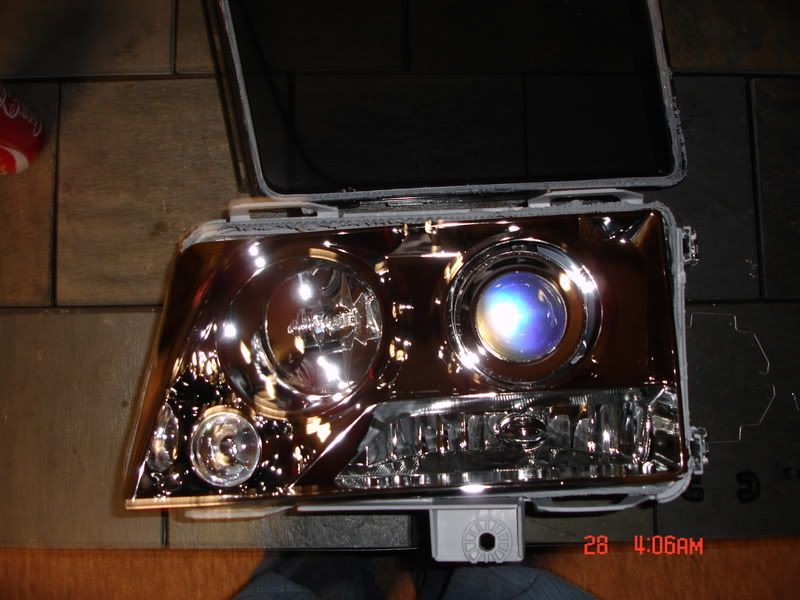
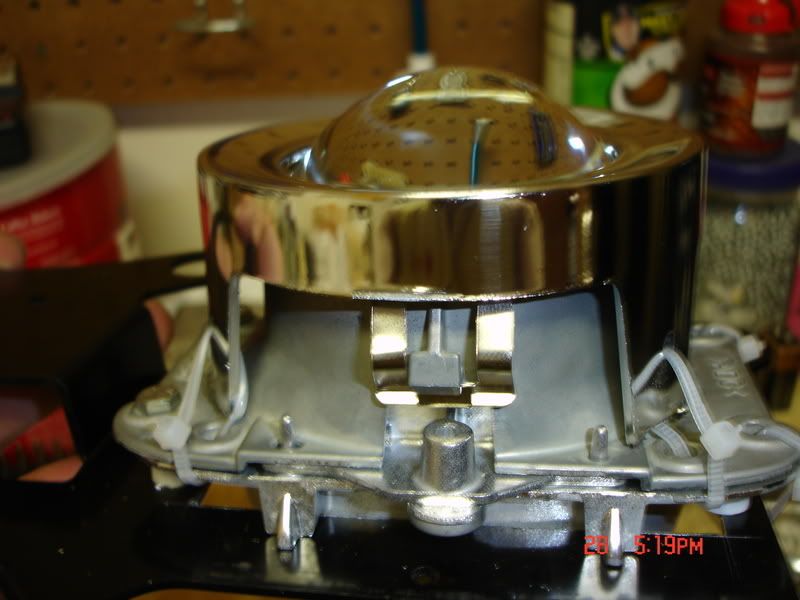
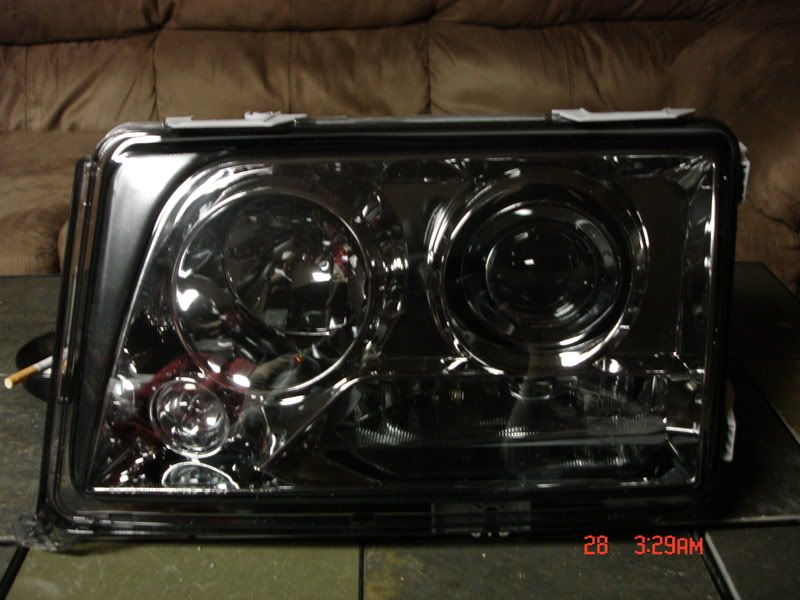
now re heat the oven up to 250 and put them babies in there for 5 to 6 full mins. dont forget gloves! take them out and gently push the outer edge of the cover till the tabs clips on the side! and now it looks like this..
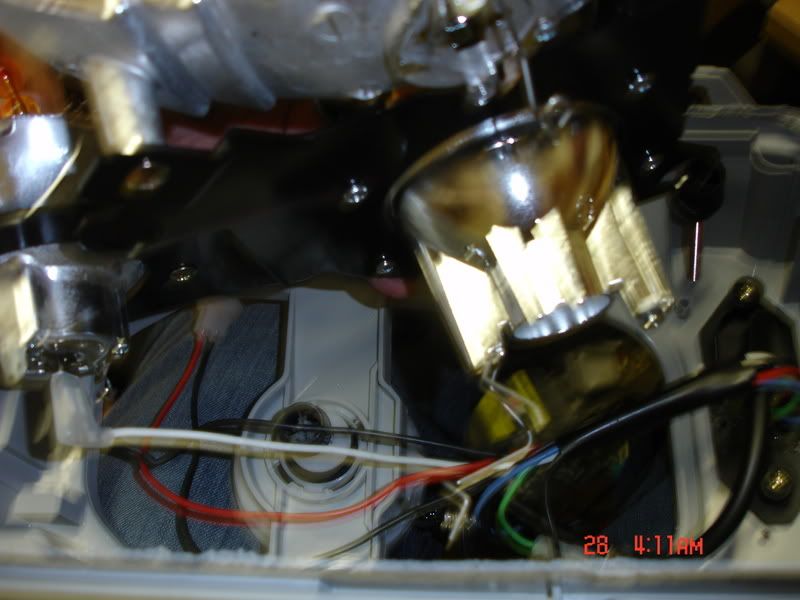
ok so now you got to mod the back of the housing and back plate so the projector will fit..
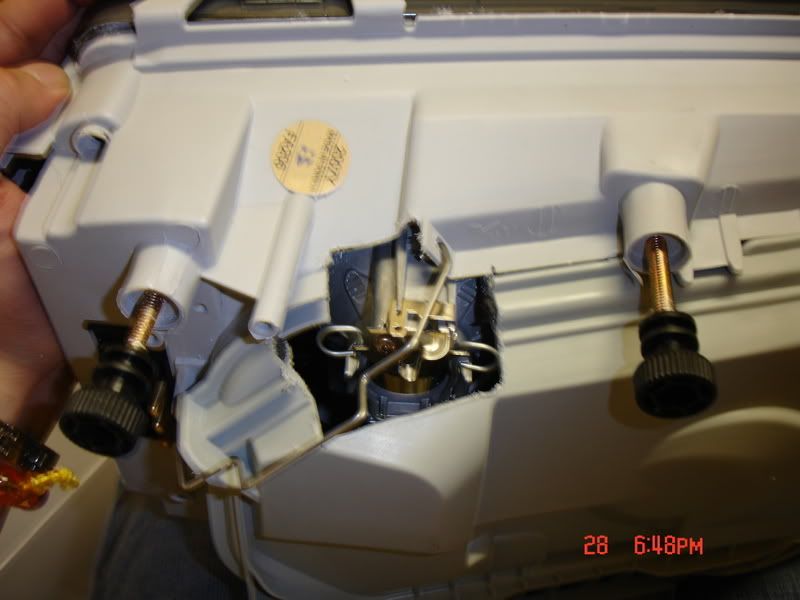
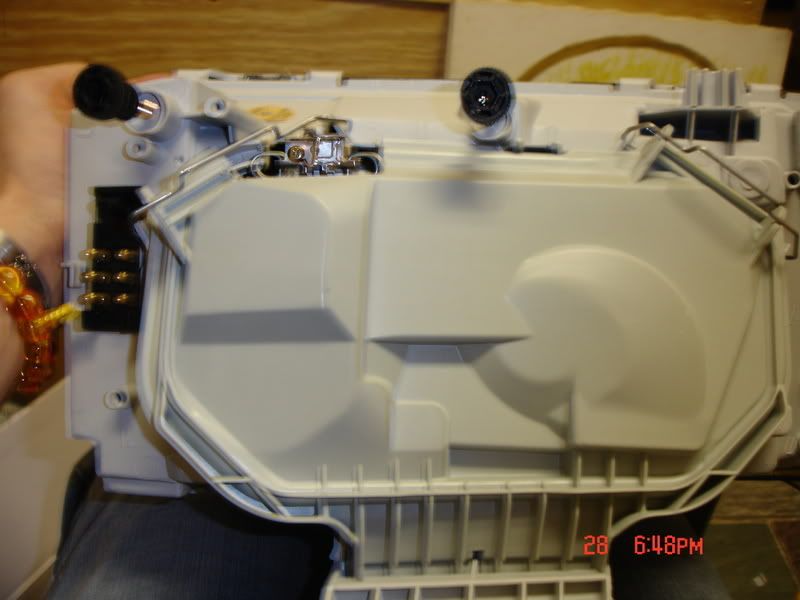
now all i got to do is run the ballast and put a rubber boot around the part thats exposed in the back of the housing!

now after its done you need to make sure it fits good and its always better to make it a little bigger so you can make adjustments.. i went to home depot and got some 4mm x25mm screws and nut to mount the projectors while the other side was already really thin so i decied not to drill holes so I use zip ties.. i also made 4 8mm spacers out of a ink pen tub..
now put everything back together on the plate.. the shield that came with the old projector didnt fit the new so i had to come up with something..
ZIPTIE!
now put everything back into the headlight housing just the way you took them out! be sure not to touch the inside of the cover and light housing as you'll dirty them up!
now re heat the oven up to 250 and put them babies in there for 5 to 6 full mins. dont forget gloves! take them out and gently push the outer edge of the cover till the tabs clips on the side! and now it looks like this..
ok so now you got to mod the back of the housing and back plate so the projector will fit..
now all i got to do is run the ballast and put a rubber boot around the part thats exposed in the back of the housing!
Thread Starter
Member
Joined: May 2007
Posts: 202
Likes: 0
From: Little Rock, Arkansas
1995 E 420
The TSX projector appears to have one of the cleanest beam that is reasonably priced.
Trending Topics
MBWorld Fanatic!
Joined: Mar 2005
Posts: 2,647
Likes: 8
Youngtimer
childofjuly, good job, you put a lot of detail work into this, and it paid off... i'm working on something similar and my attempt seems very clumsy now!
post pics of the cutoff and the lights on the car!
Last edited by ZedStyle; Dec 31, 2007 at 11:00 AM.
MB World Stories
The Best of Mercedes & AMG

7 Craziest Things AMG Gas Ever Built
Verdad Gallardo
New Electric Mercedes-AMG GT 4-Door Coupe Unveiled: 10 Things You Need to Know
Verdad Gallardo
6 Mercedes Models That Did NOT Age Well (But Are Somehow Still Cool)
Verdad Gallardo
Manual Mercedes? 6 Times Sindelfingen Let Drivers Have All The Fun
Verdad Gallardo
Mercedes SLR McLaren 722 S Is Extremely Rare Example Modified by McLaren
Verdad Gallardo
8 Classic Boxy Mercedes Designs That Have Aged Like Fine Wine
Verdad Gallardo
Flawlessly Restored Mercedes 190E Evo II Heads to Auction
Verdad Gallardo
Electric Mercedes C-Class Unveiled: 11 Things You Need to Know
Verdad Gallardo
Mercedes EQS Gets A Major Update: Everything You Need to Know
Verdad Gallardo
Thread Starter
Member
Joined: May 2007
Posts: 202
Likes: 0
From: Little Rock, Arkansas
1995 E 420
the projectors that come with the lights are designed for halogen bulbs, so they will work differently with HID capsules. I'm not sure how bad they would actually be, since i haven't really seen anyone put pictures up of HID capsules in the projectors that come with the lights....
childofjuly, good job, you put a lot of detail work into this, and it paid off... i'm working on something similar and my attempt seems very clumsy now!
post pics of the cutoff and the lights on the car!
childofjuly, good job, you put a lot of detail work into this, and it paid off... i'm working on something similar and my attempt seems very clumsy now!
post pics of the cutoff and the lights on the car!


